Buldawg76
Well-Known Member
- Joined
- Jan 11, 2022
- Threads
- 3
- Messages
- 1,312
- Reaction score
- 1,174
- Location
- Alabama,USA
- First Name
- Mike
- Vehicle(s)
- 2020 Ecoboost Premium, 76 FXE shovel, 77 KZ1000
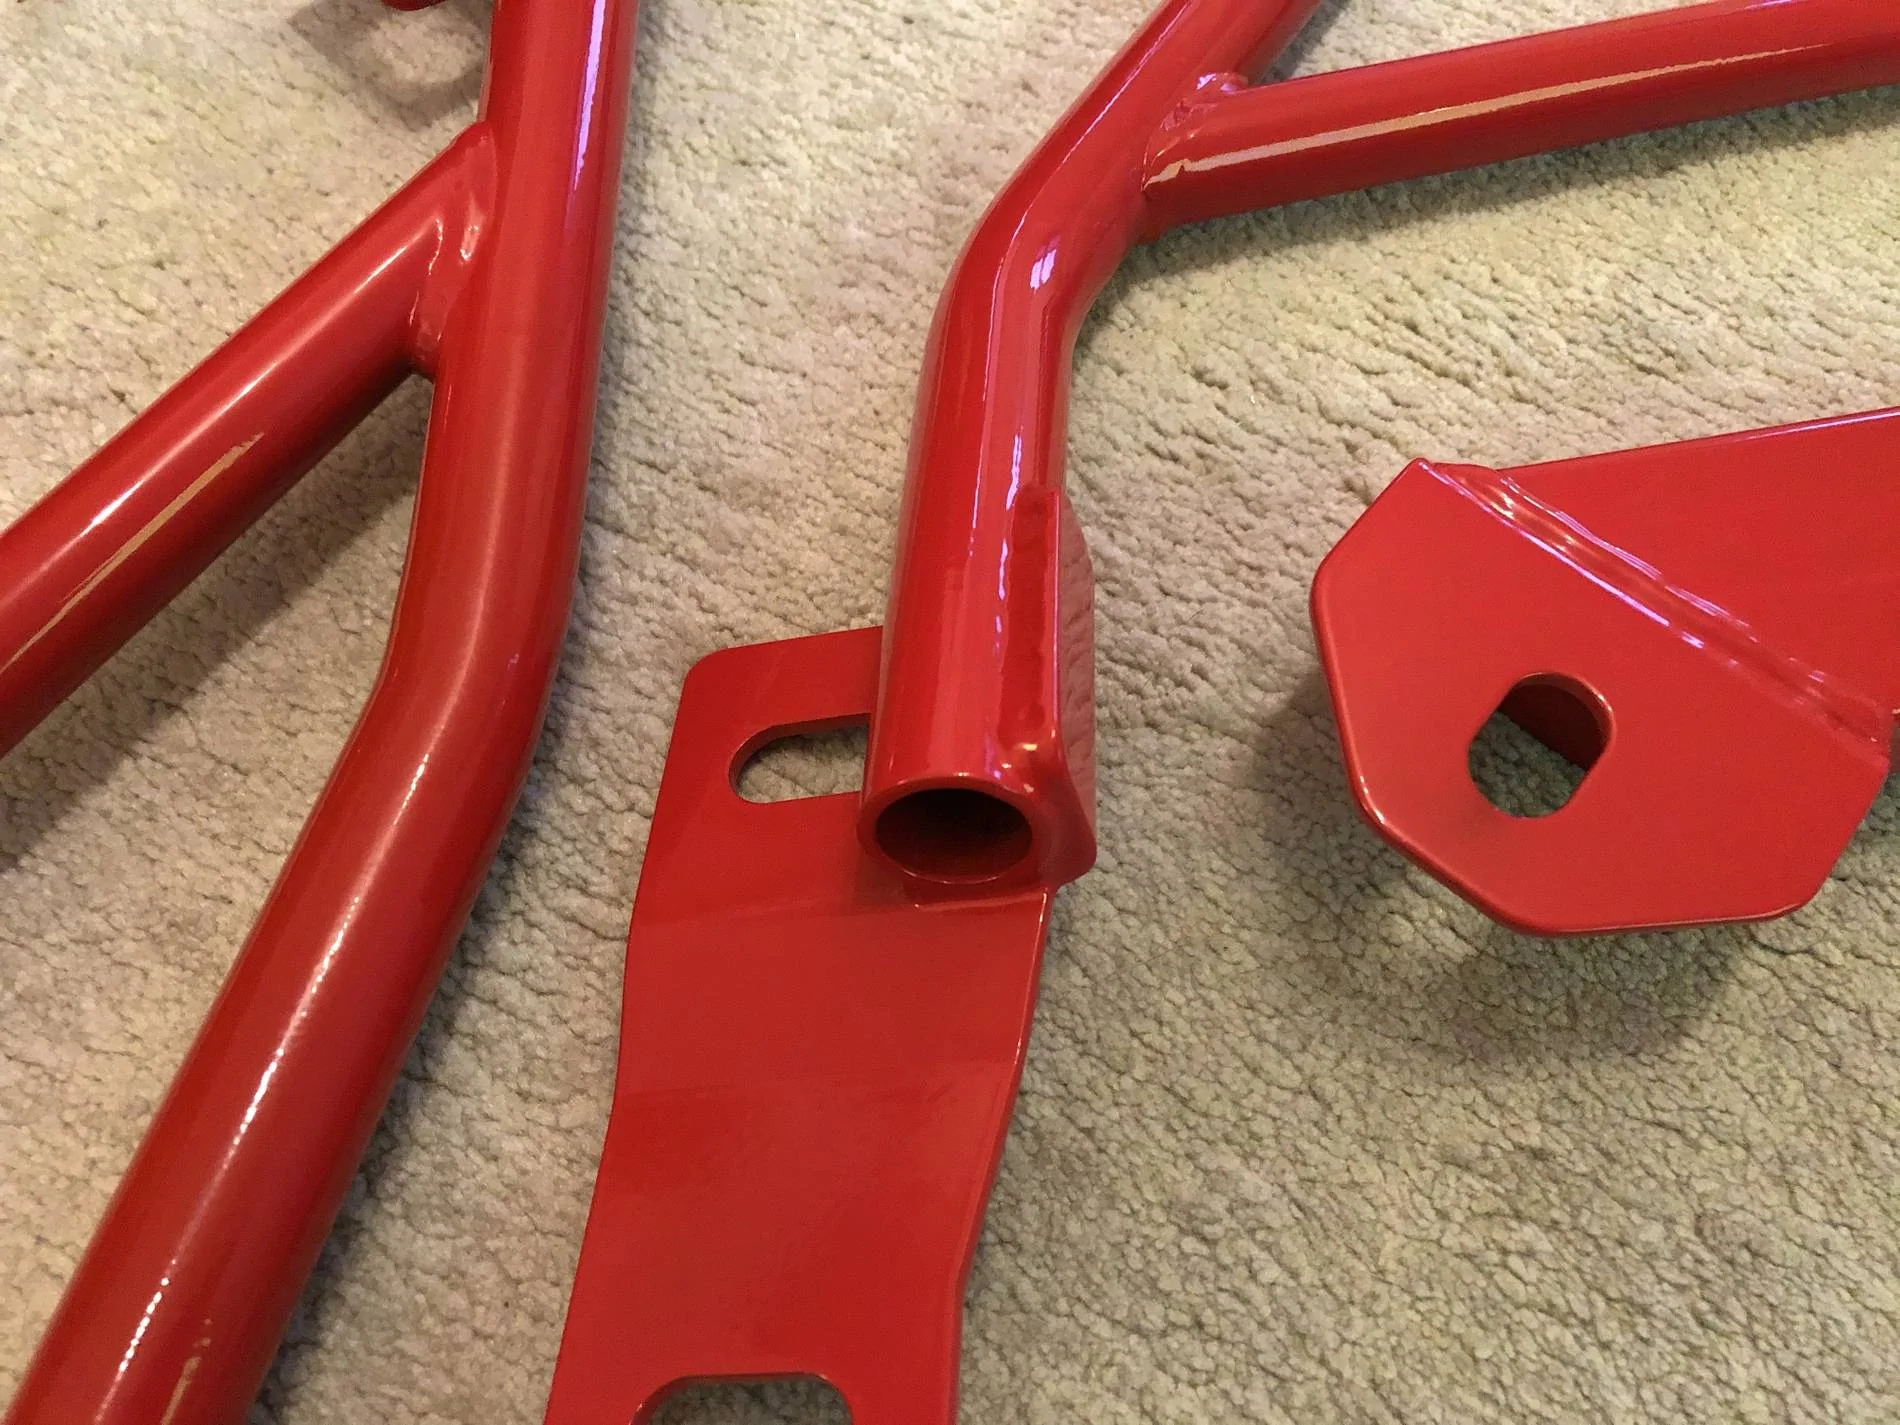
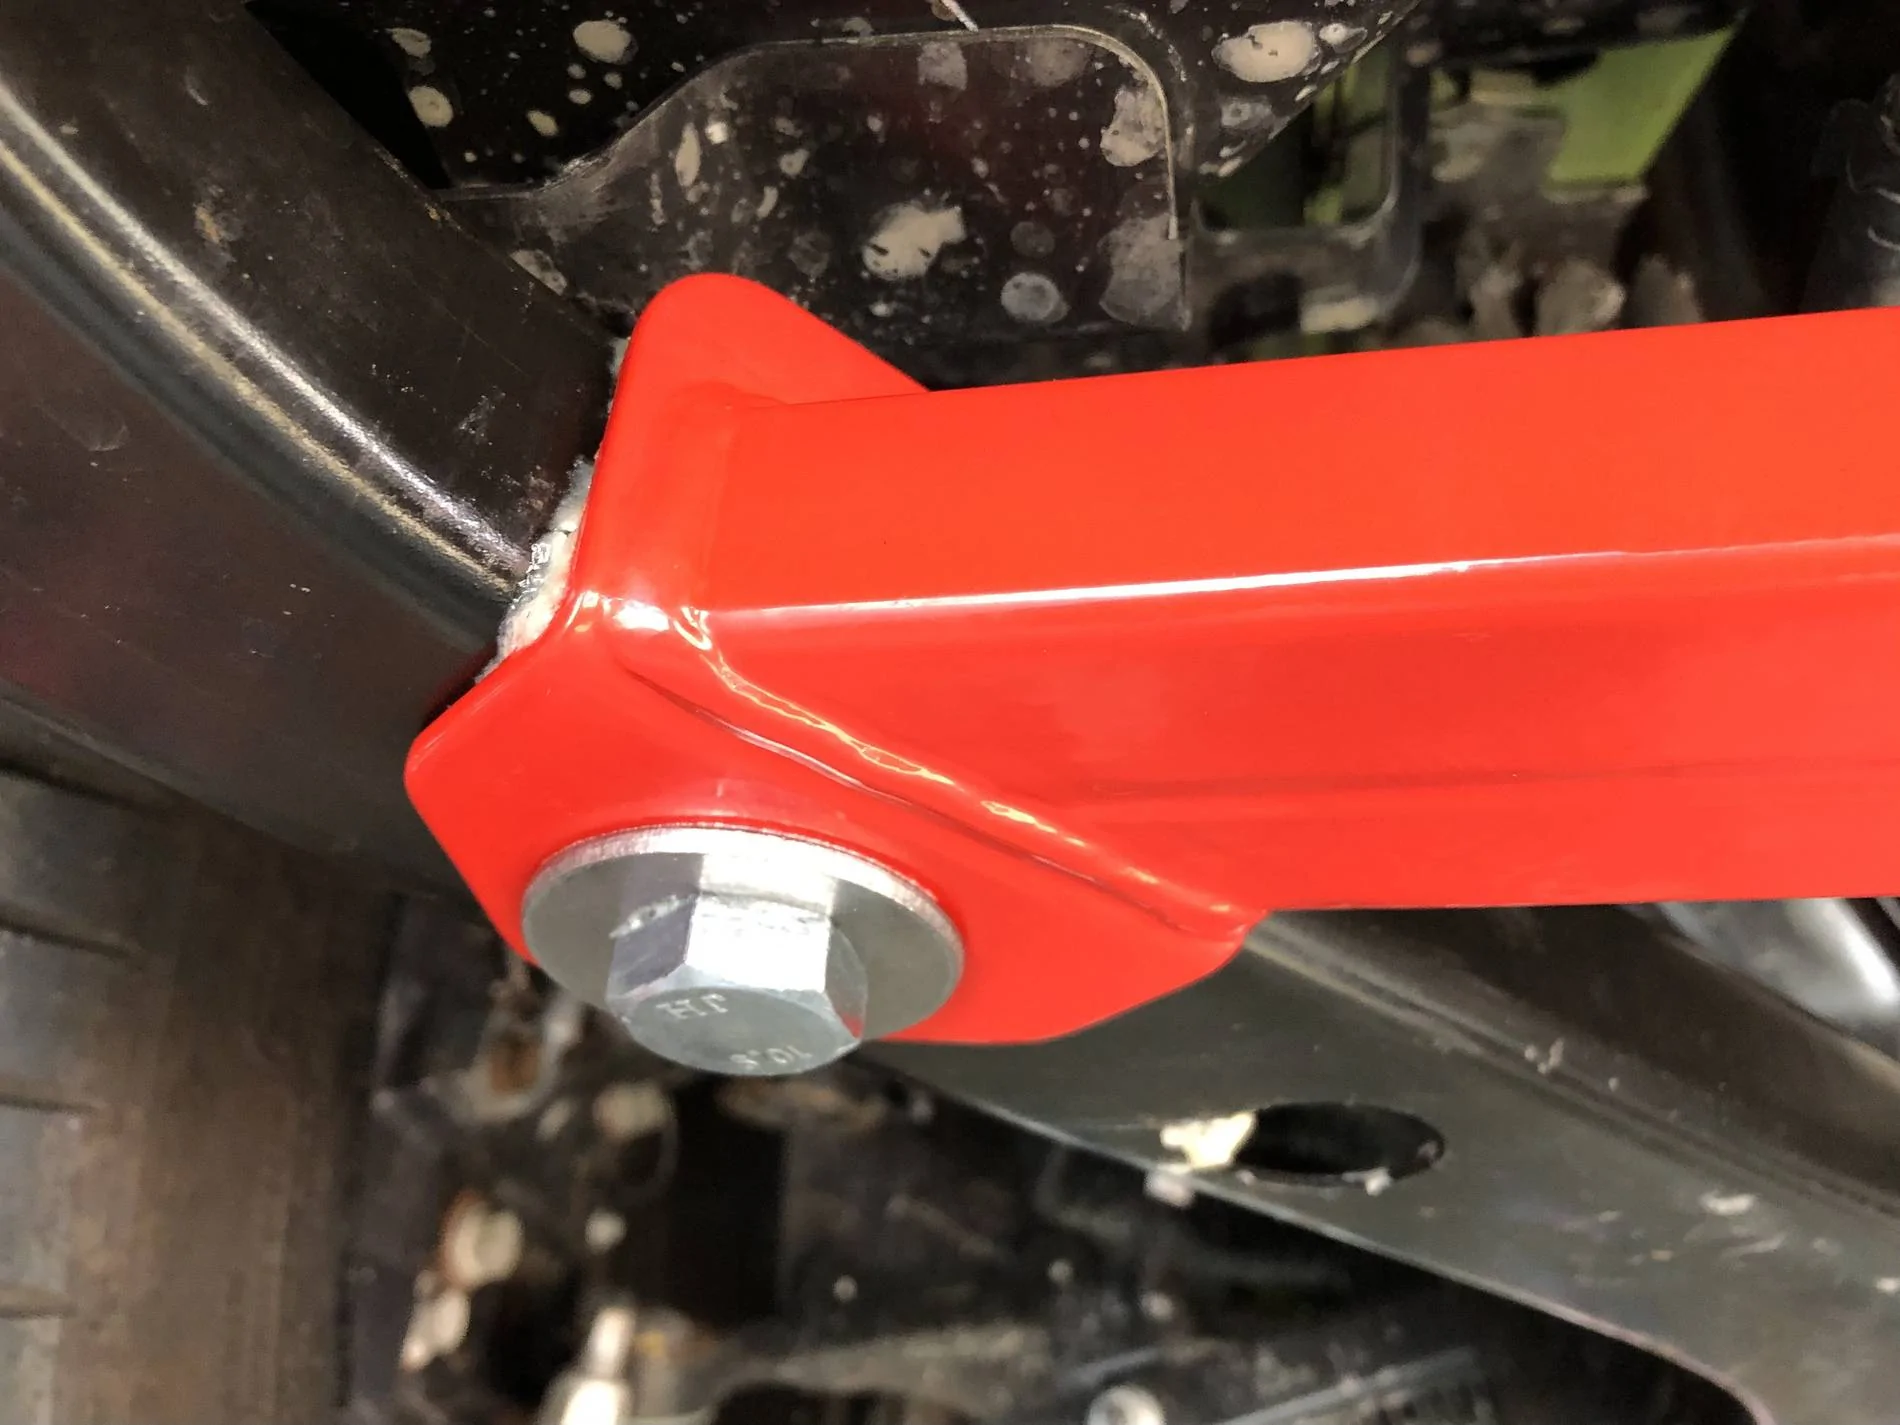
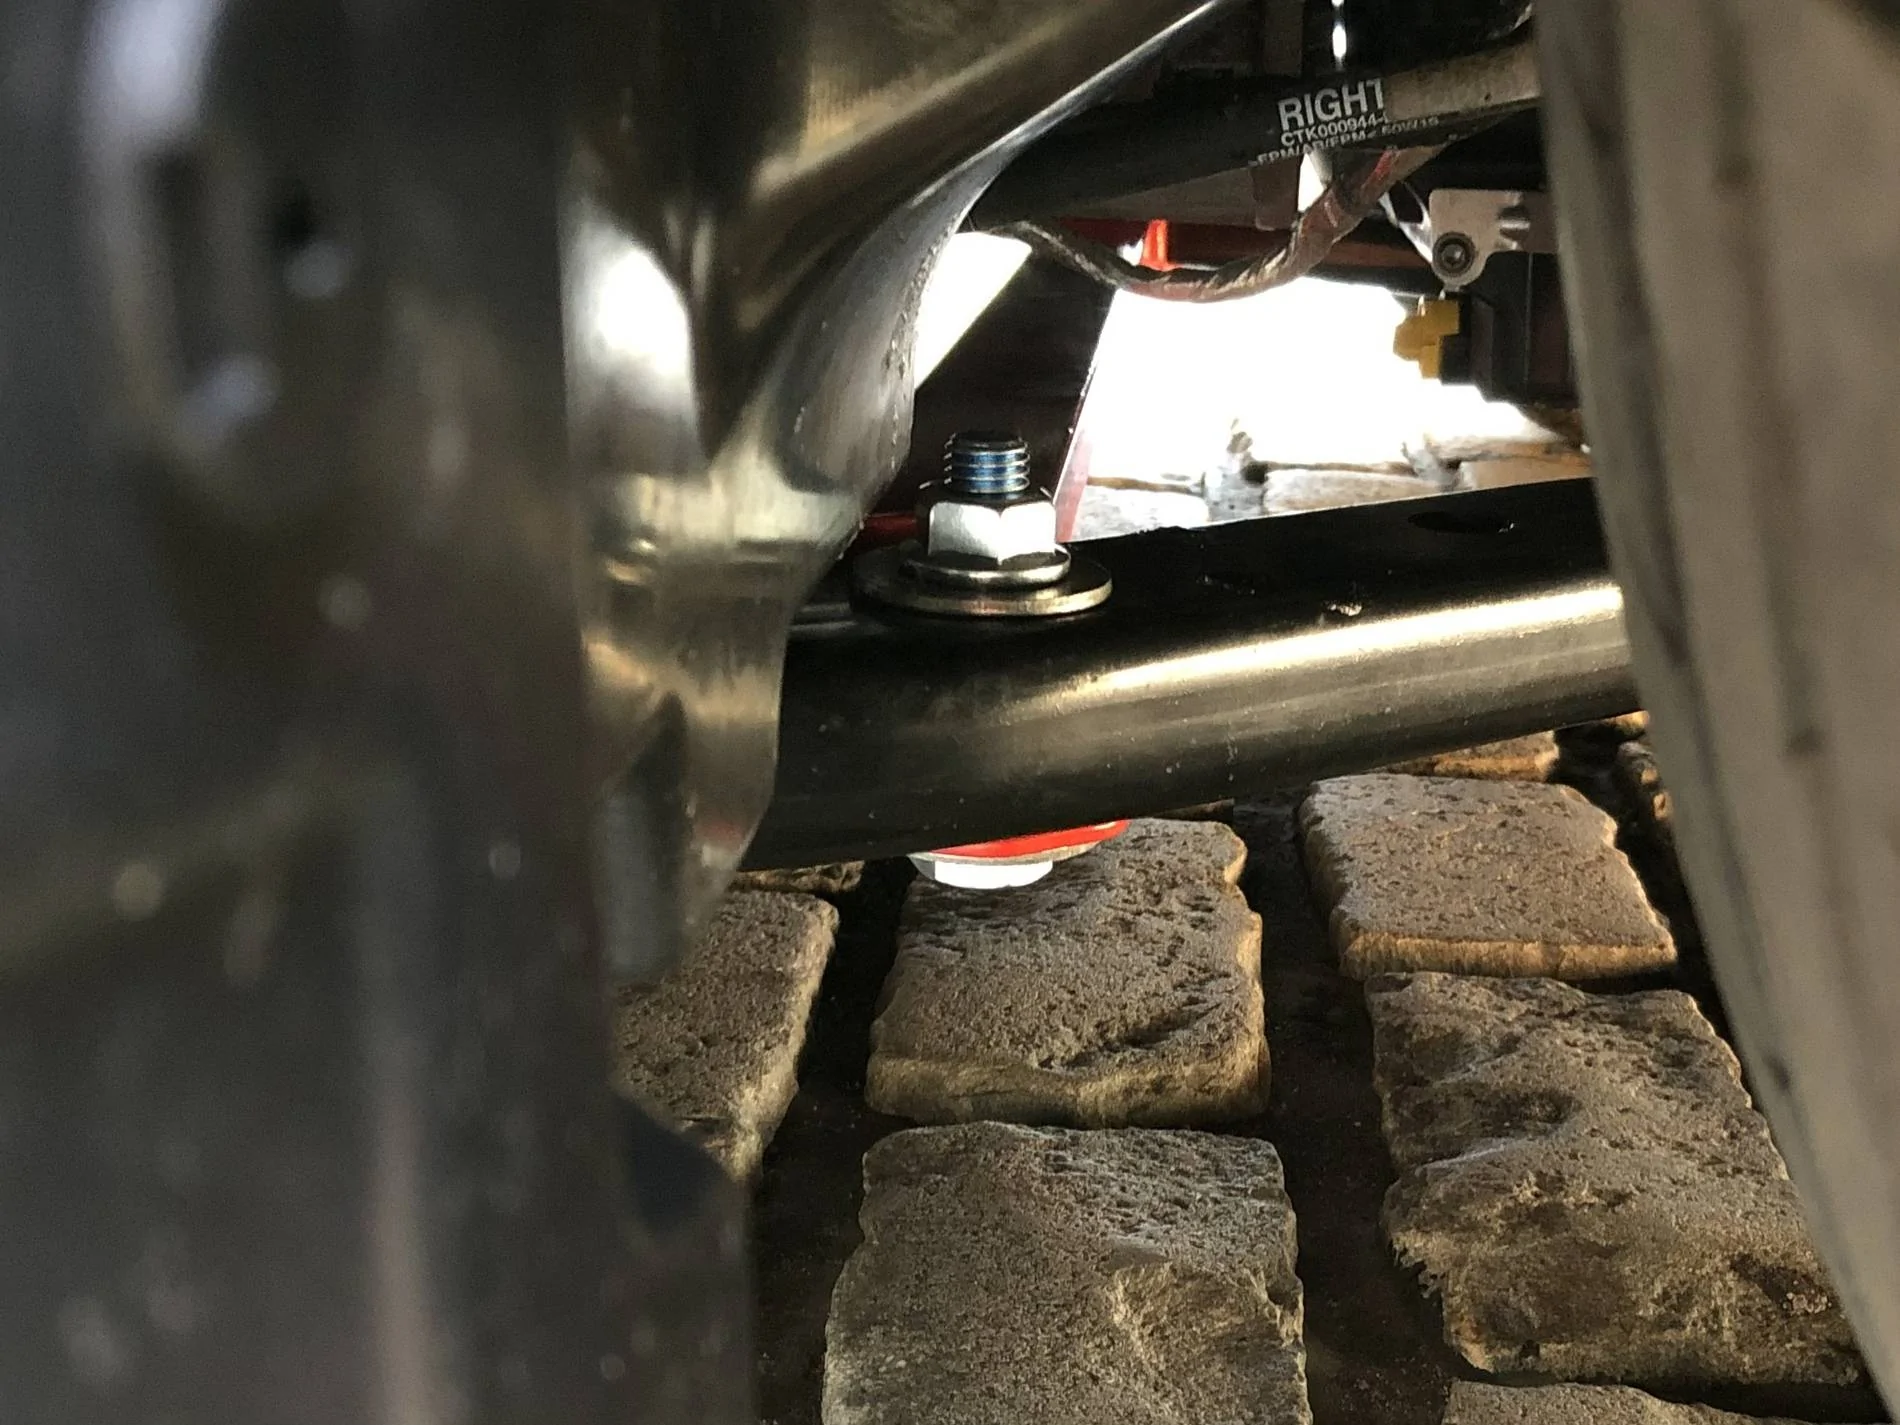
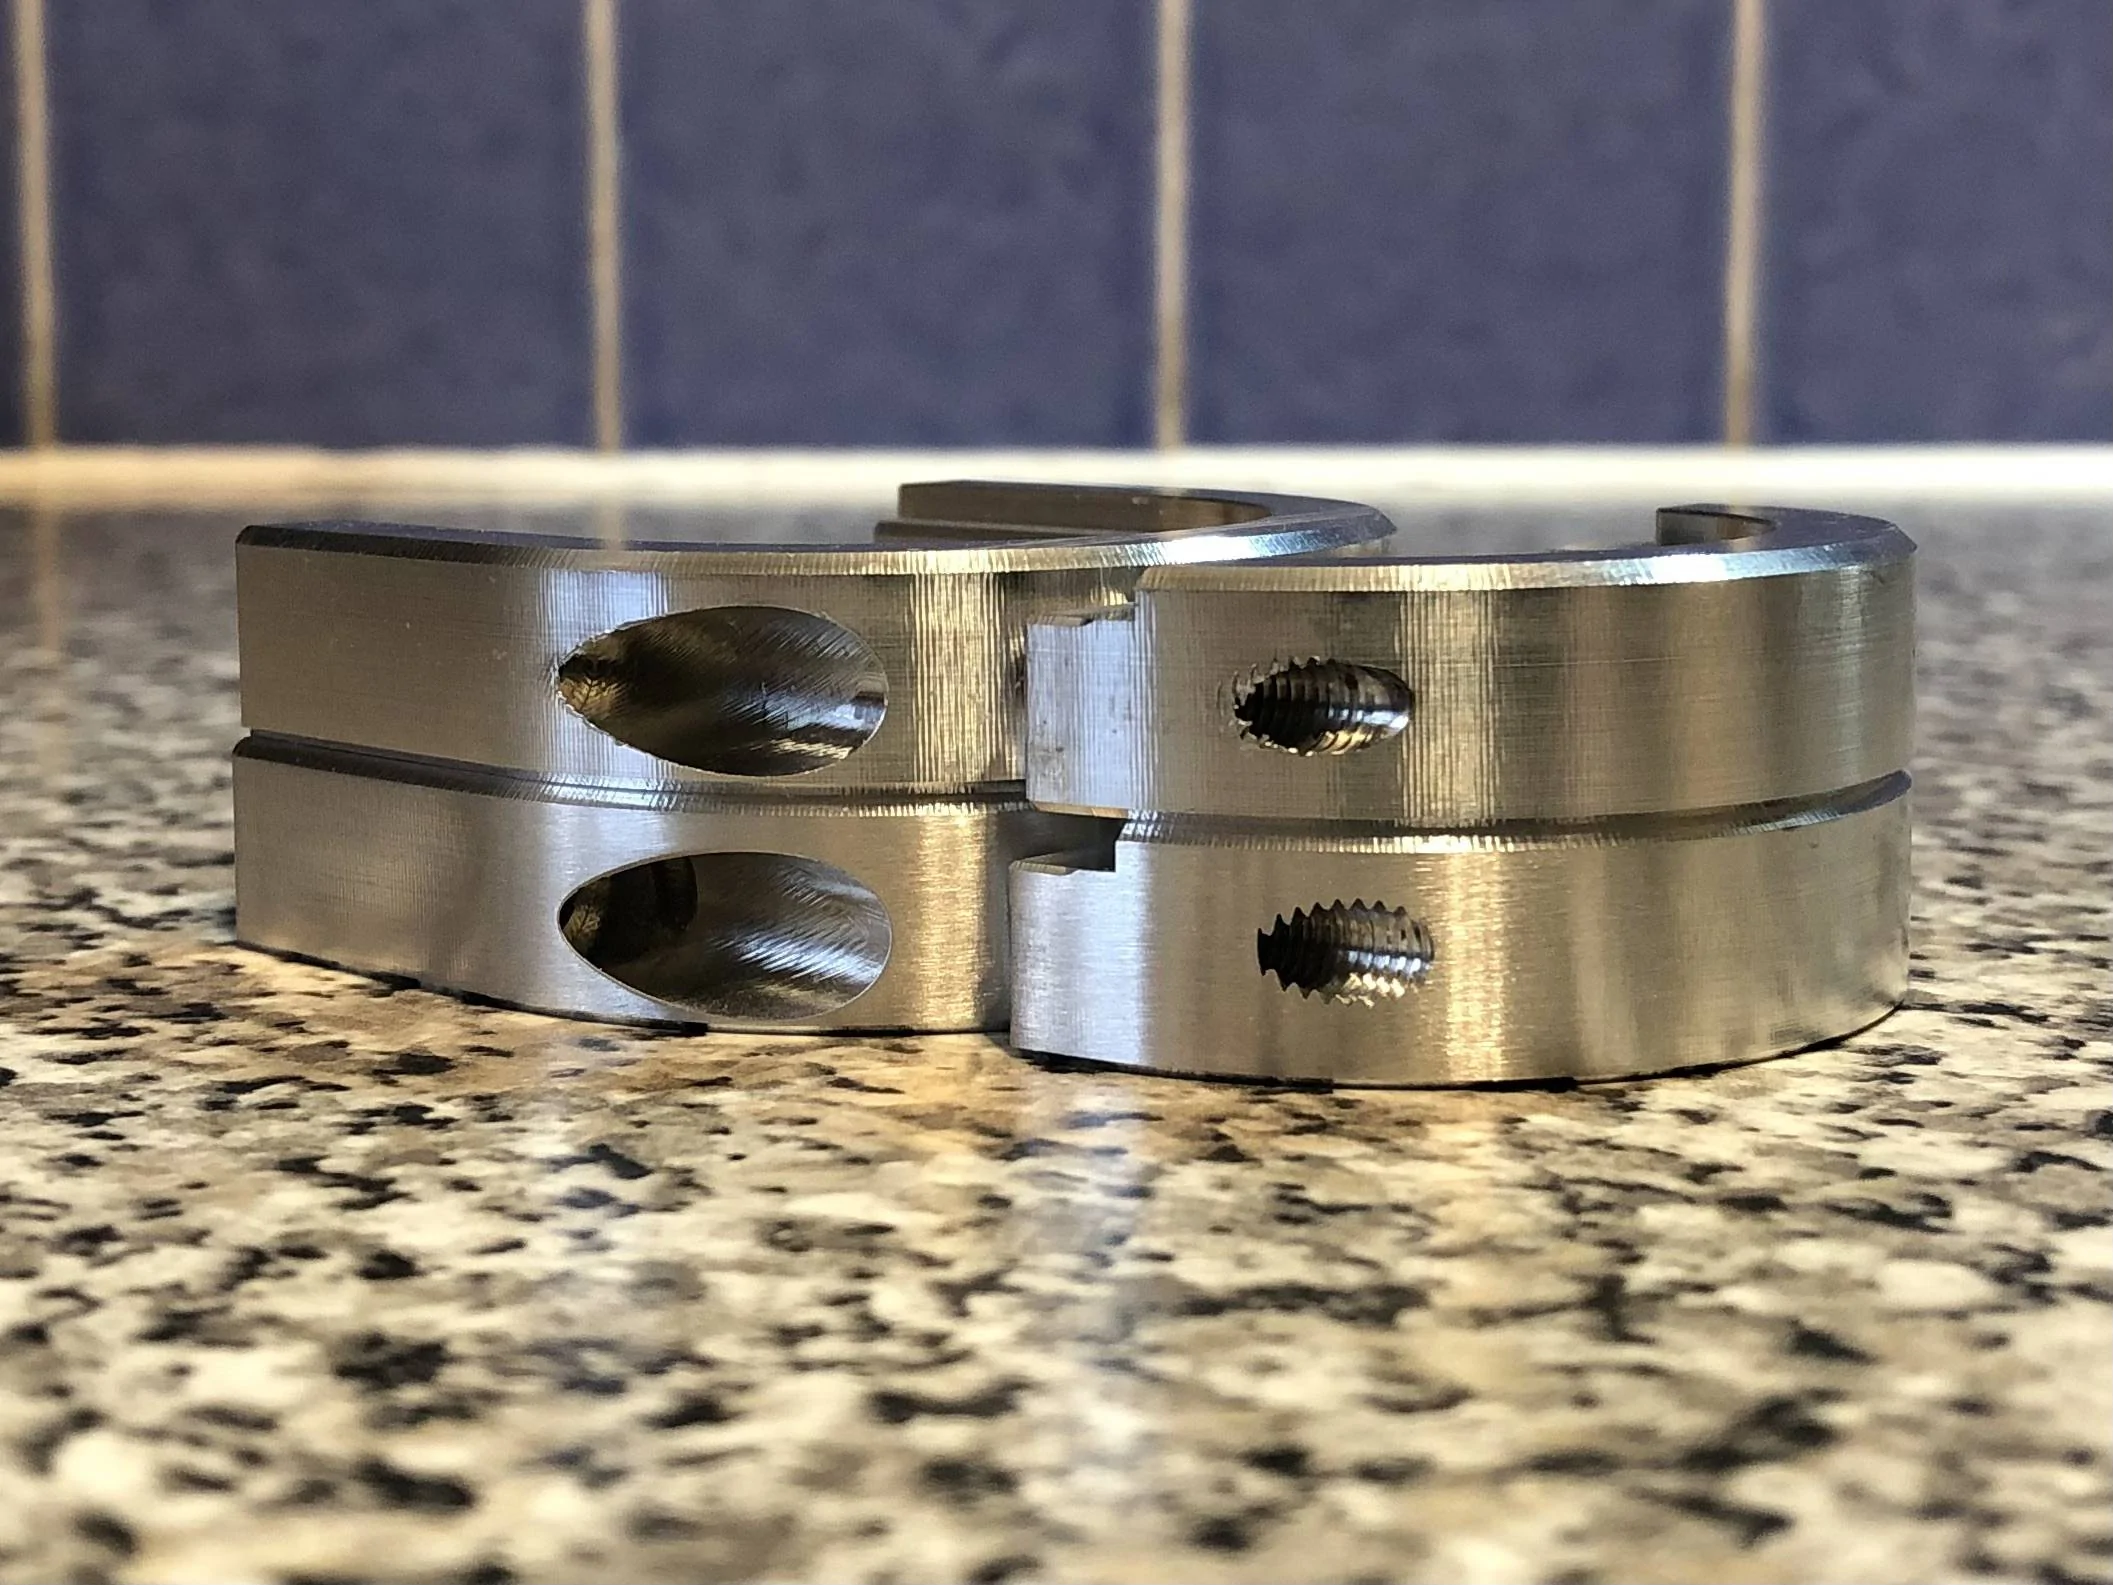
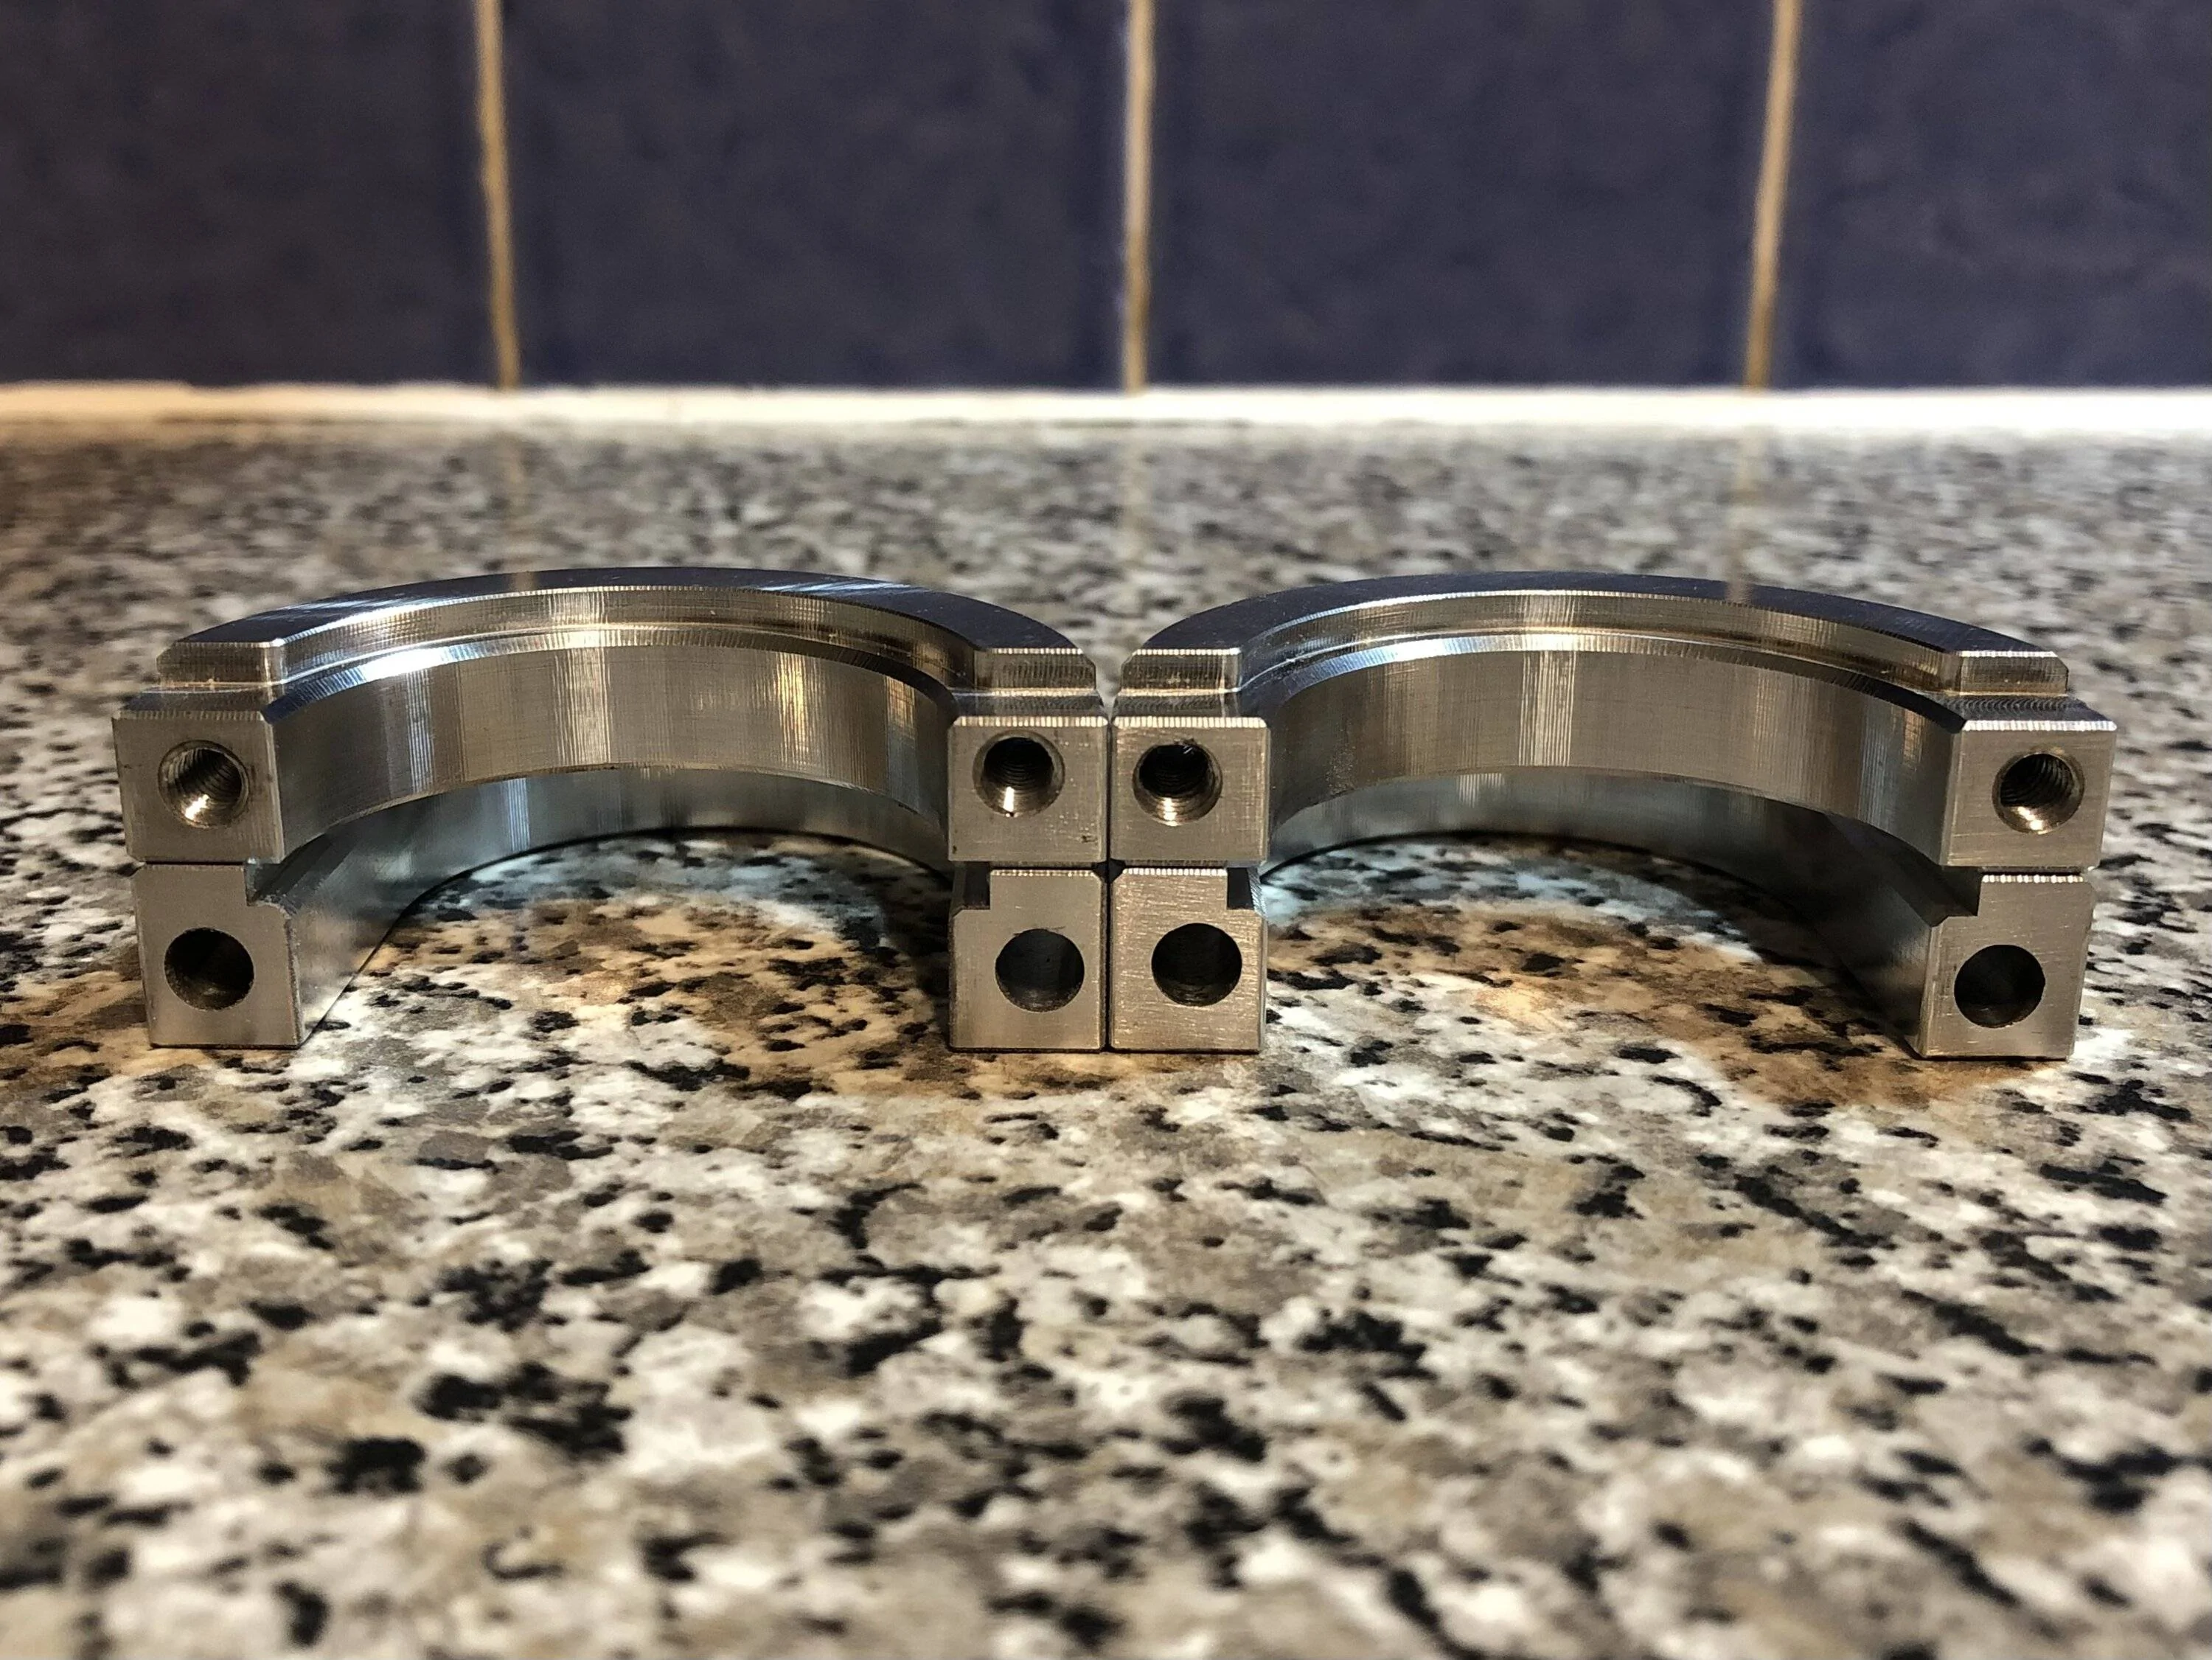
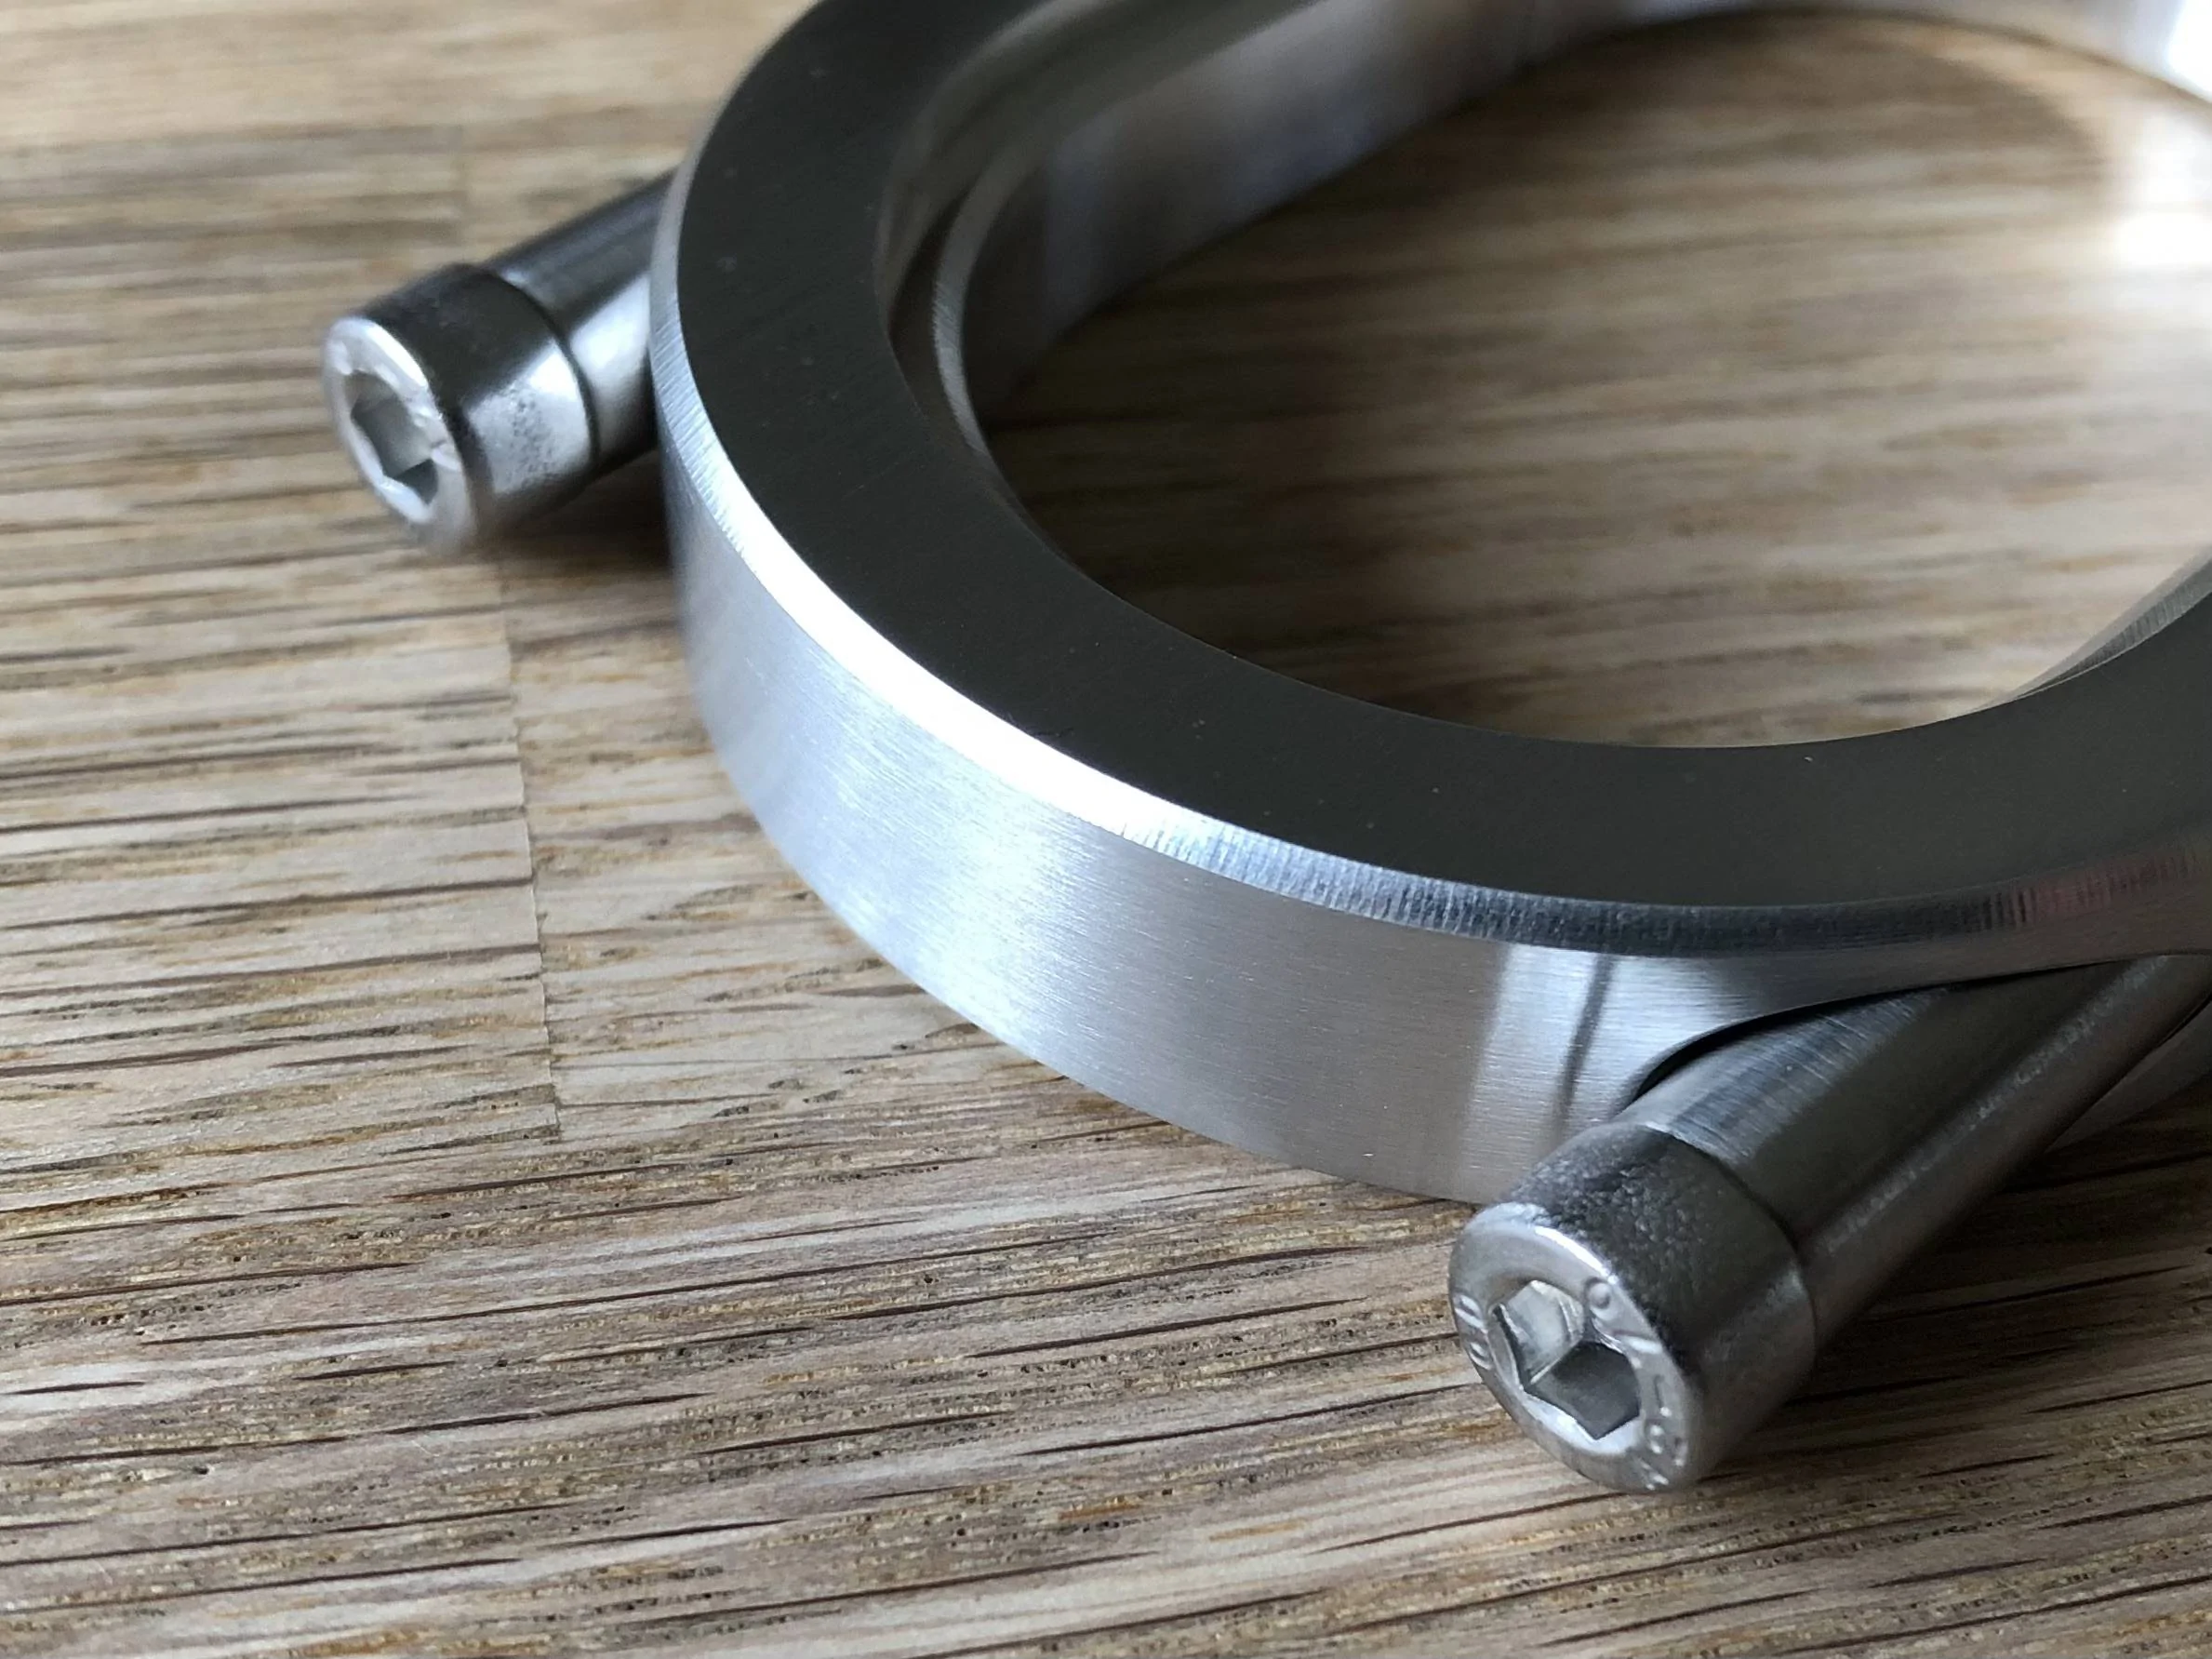
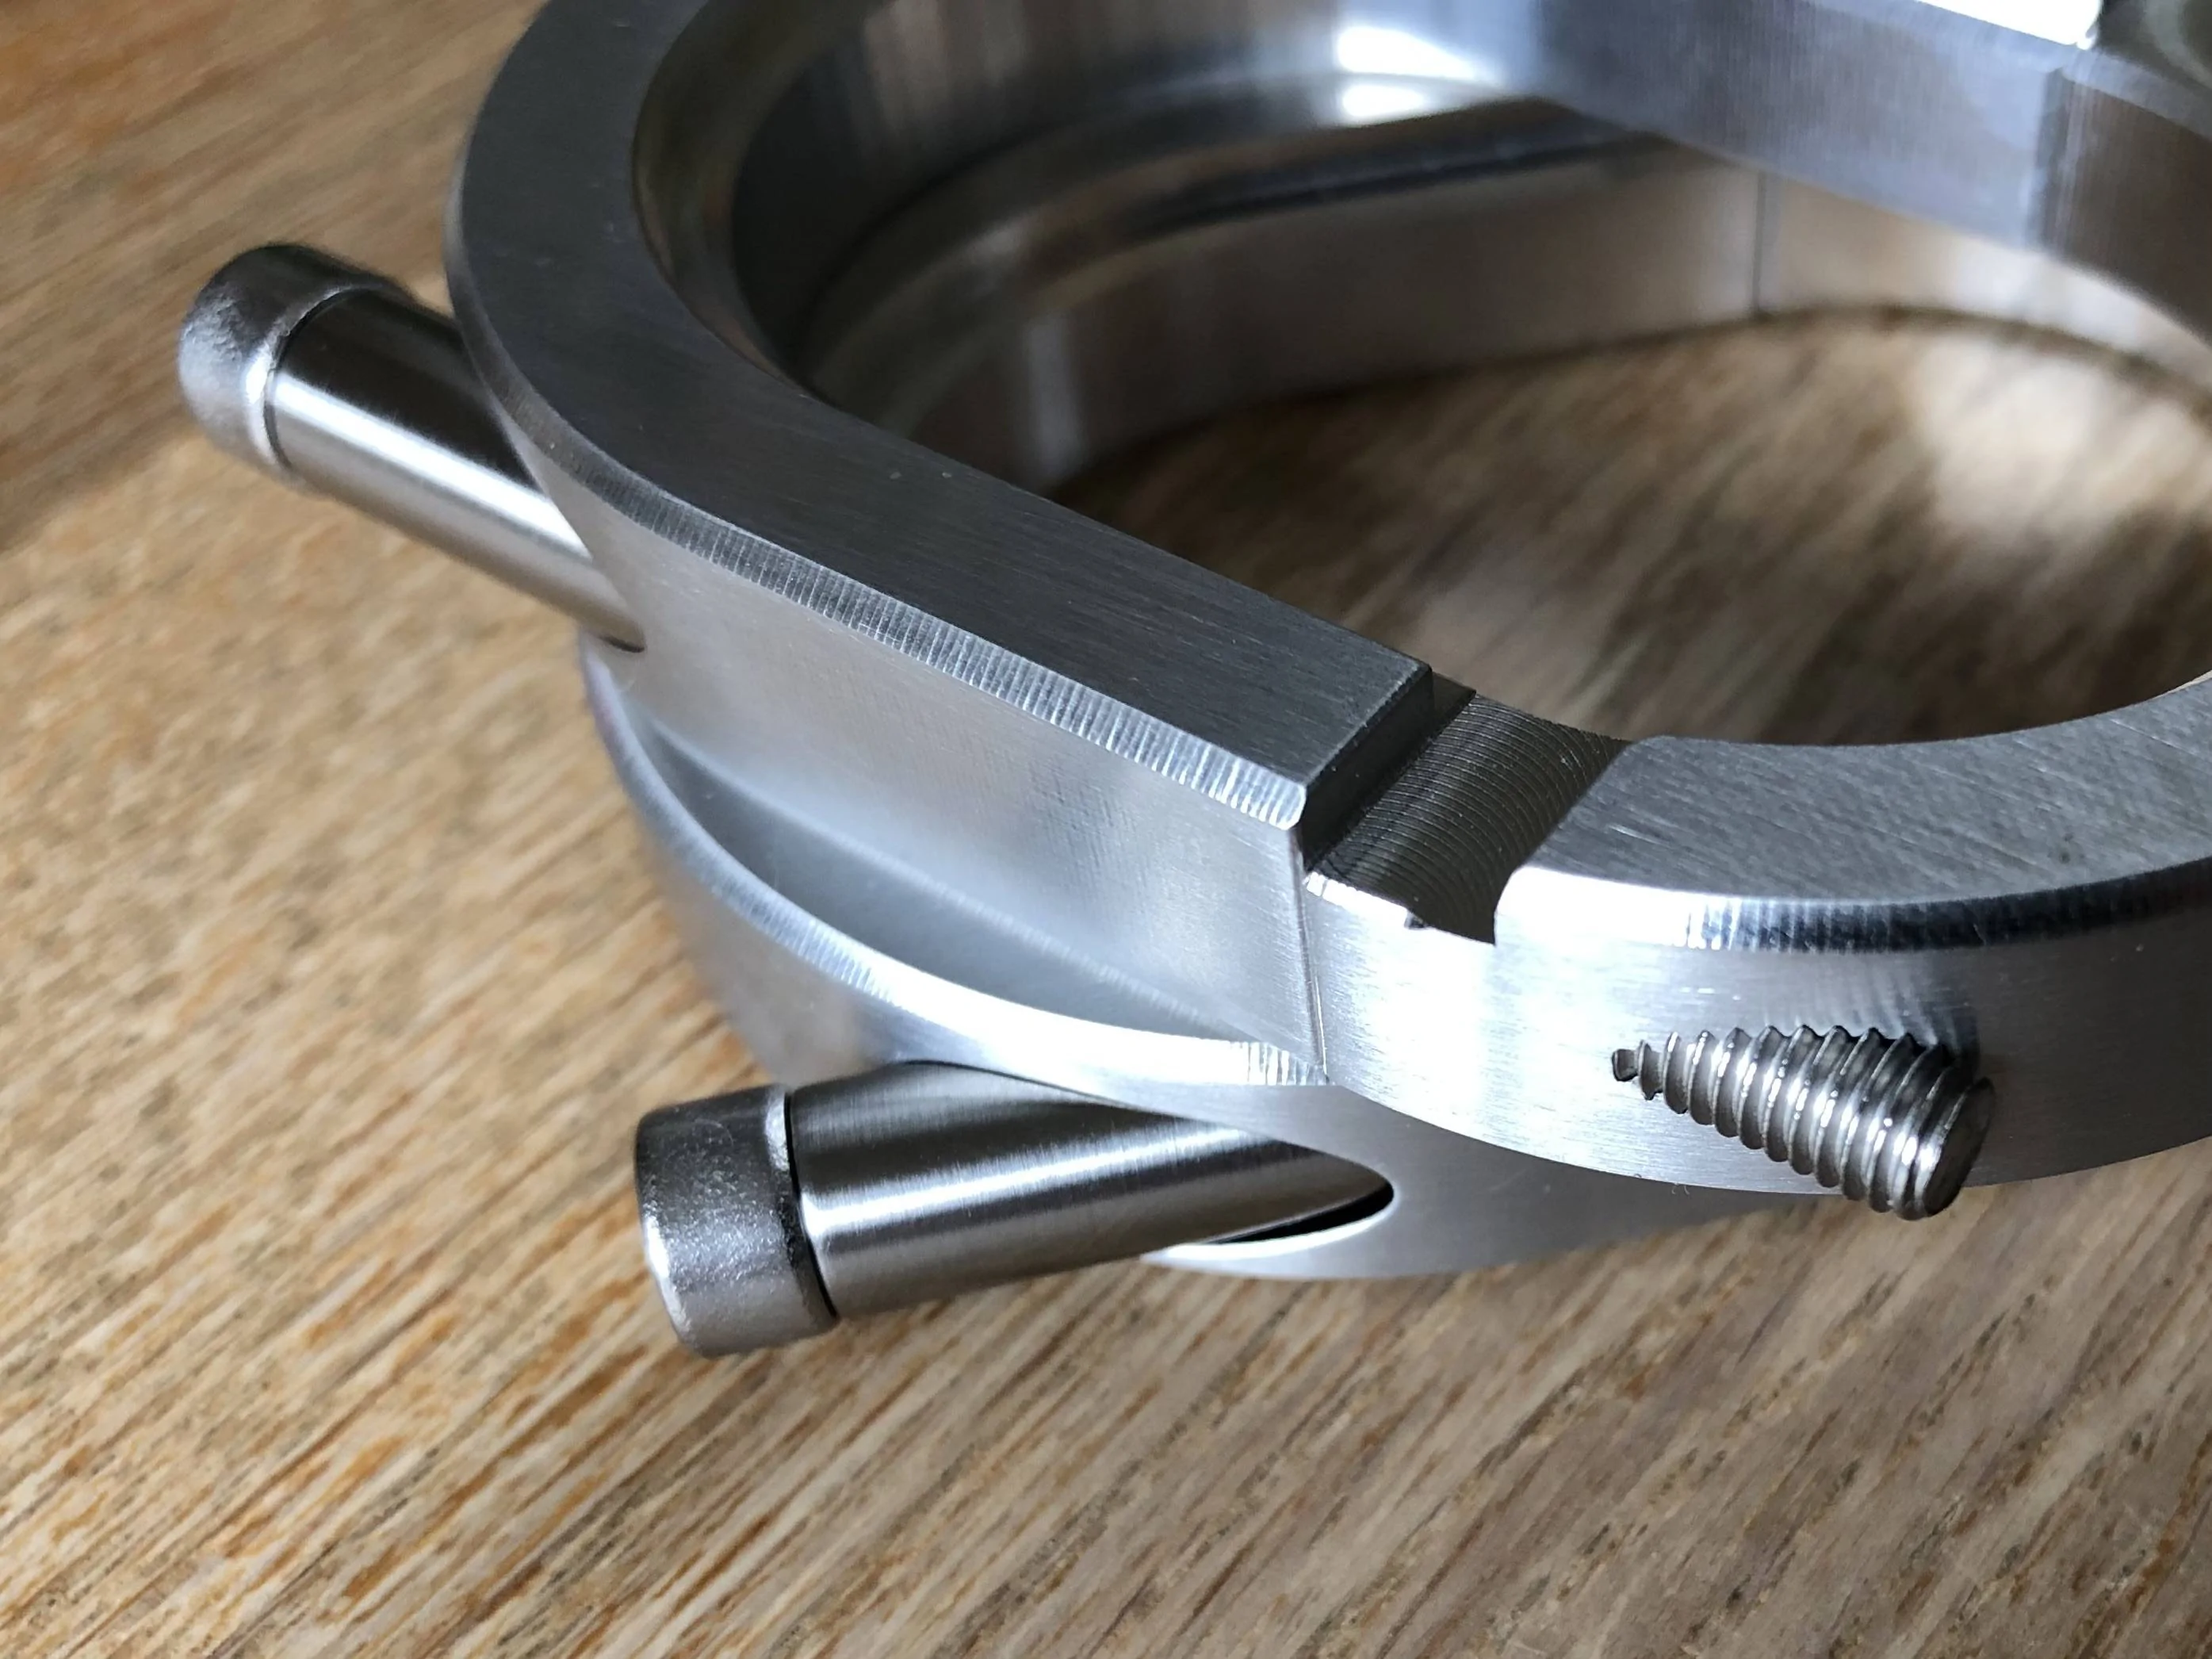
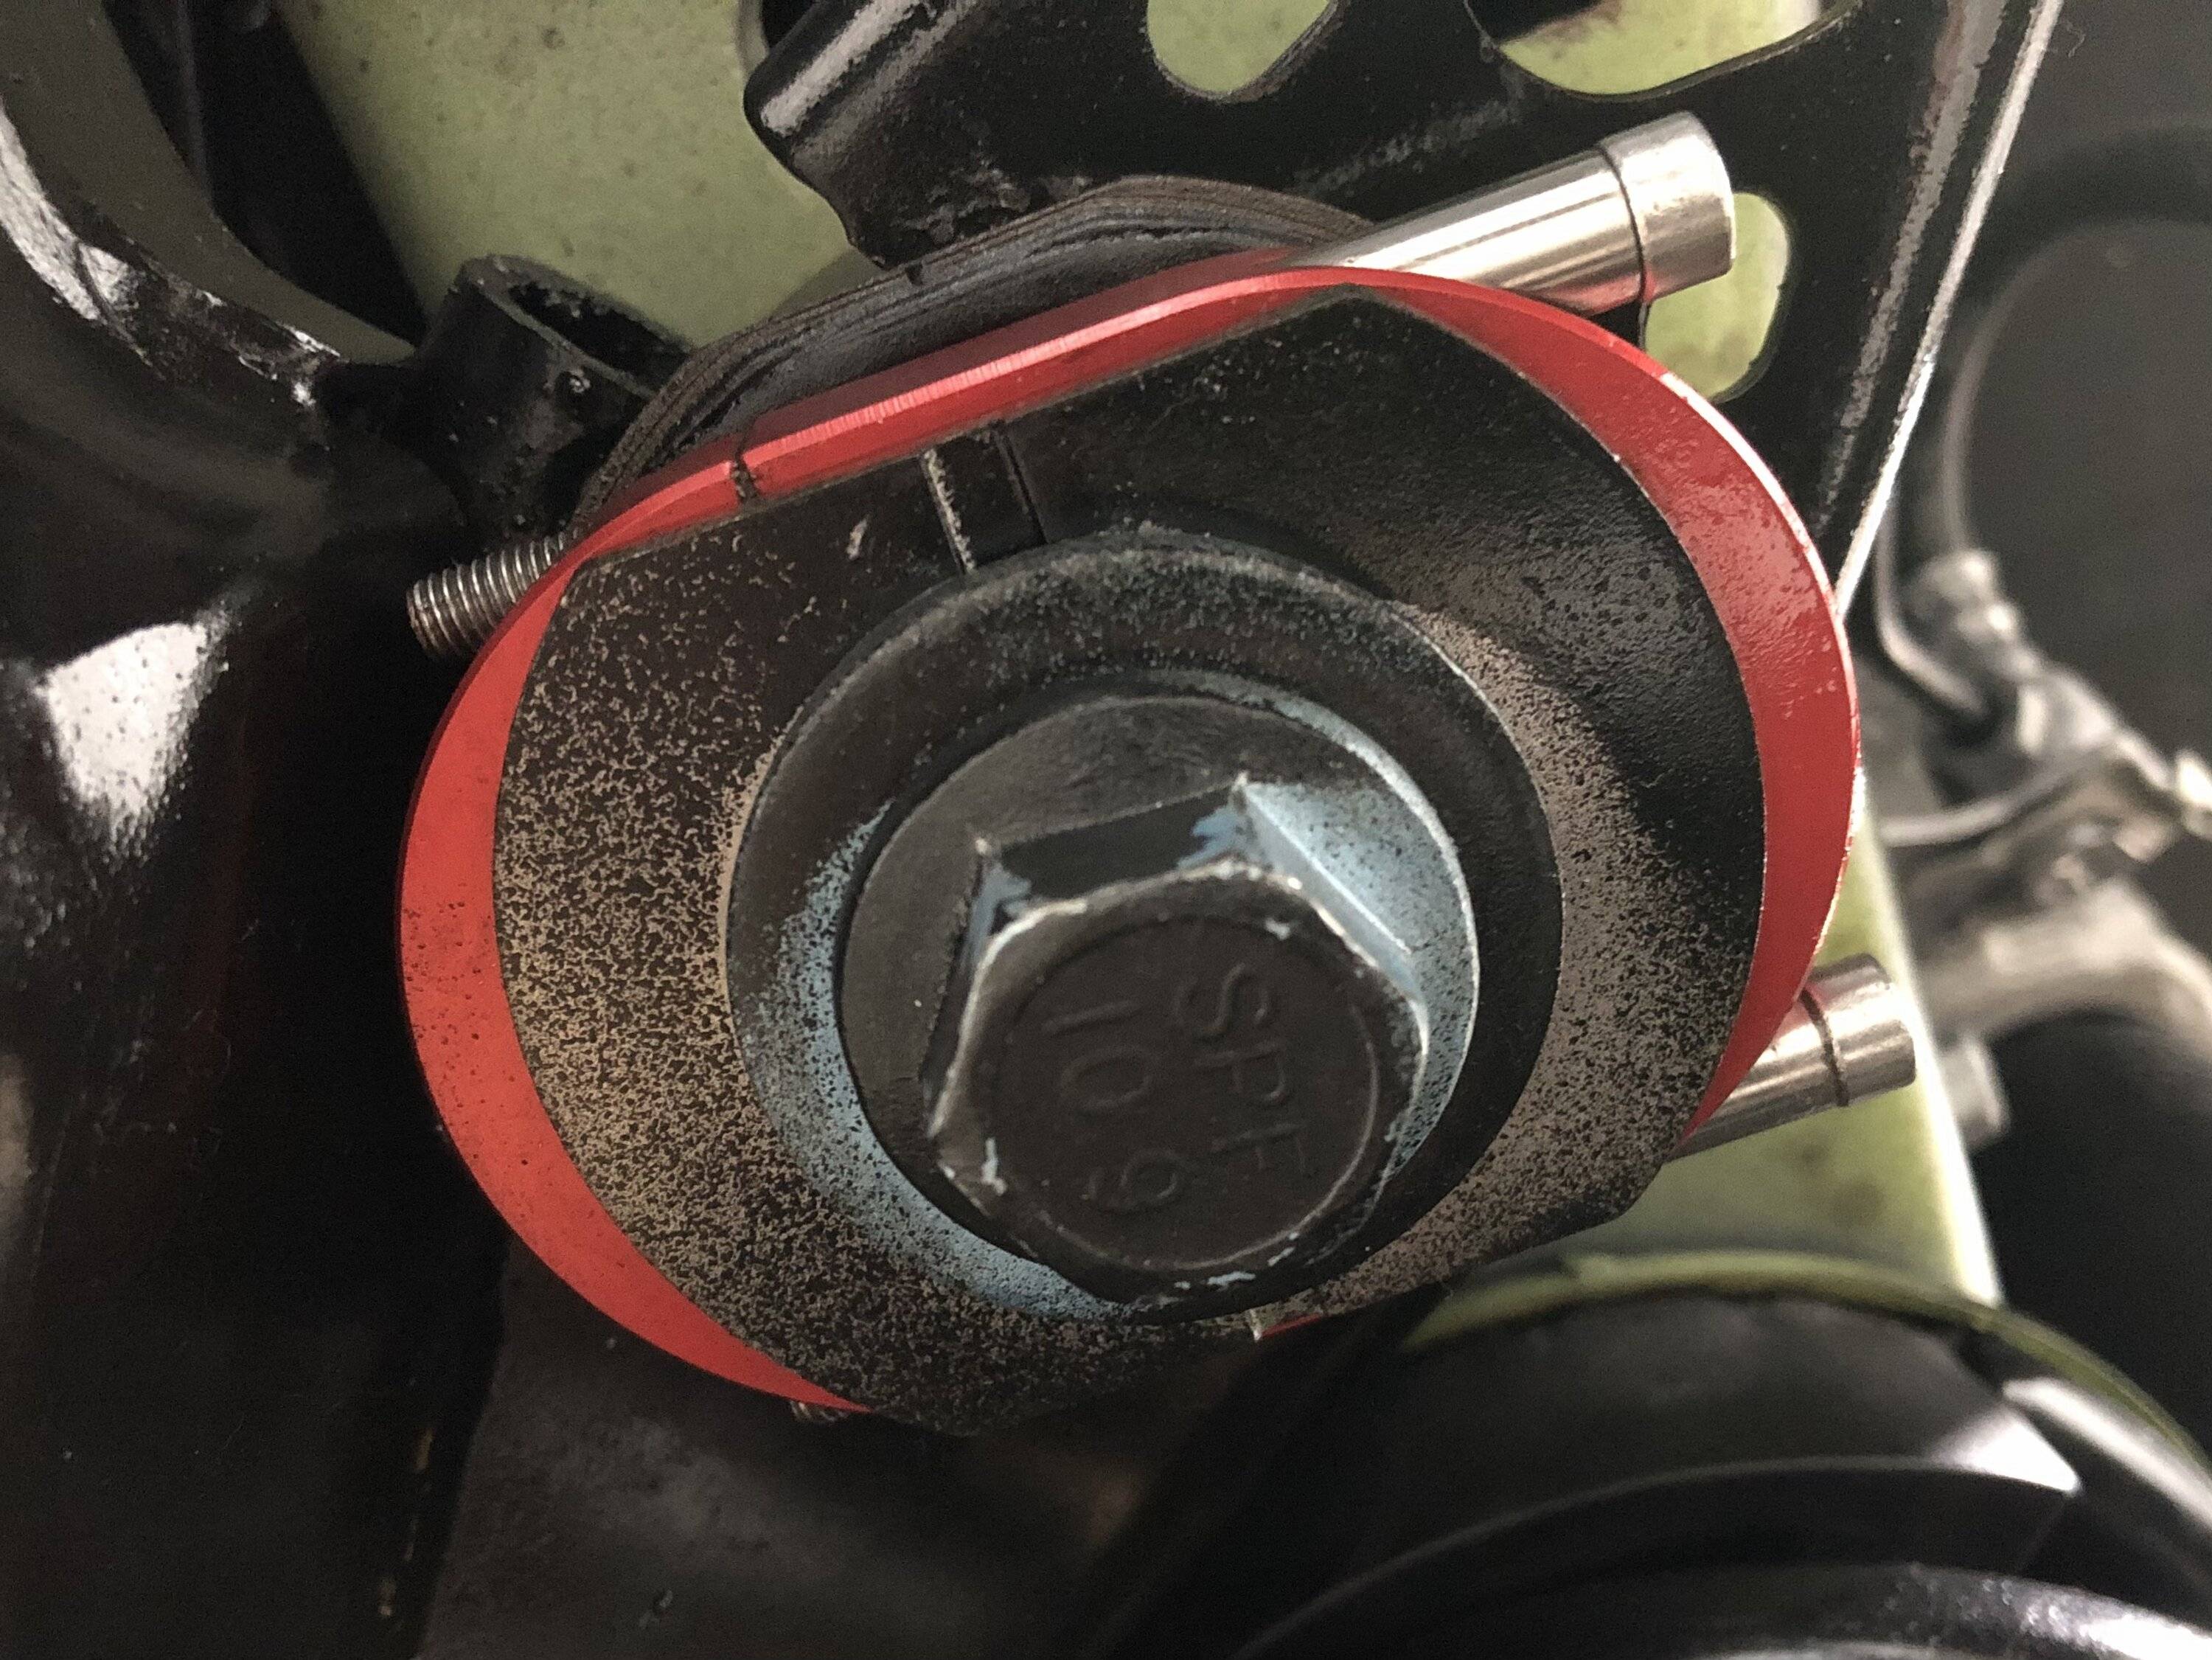
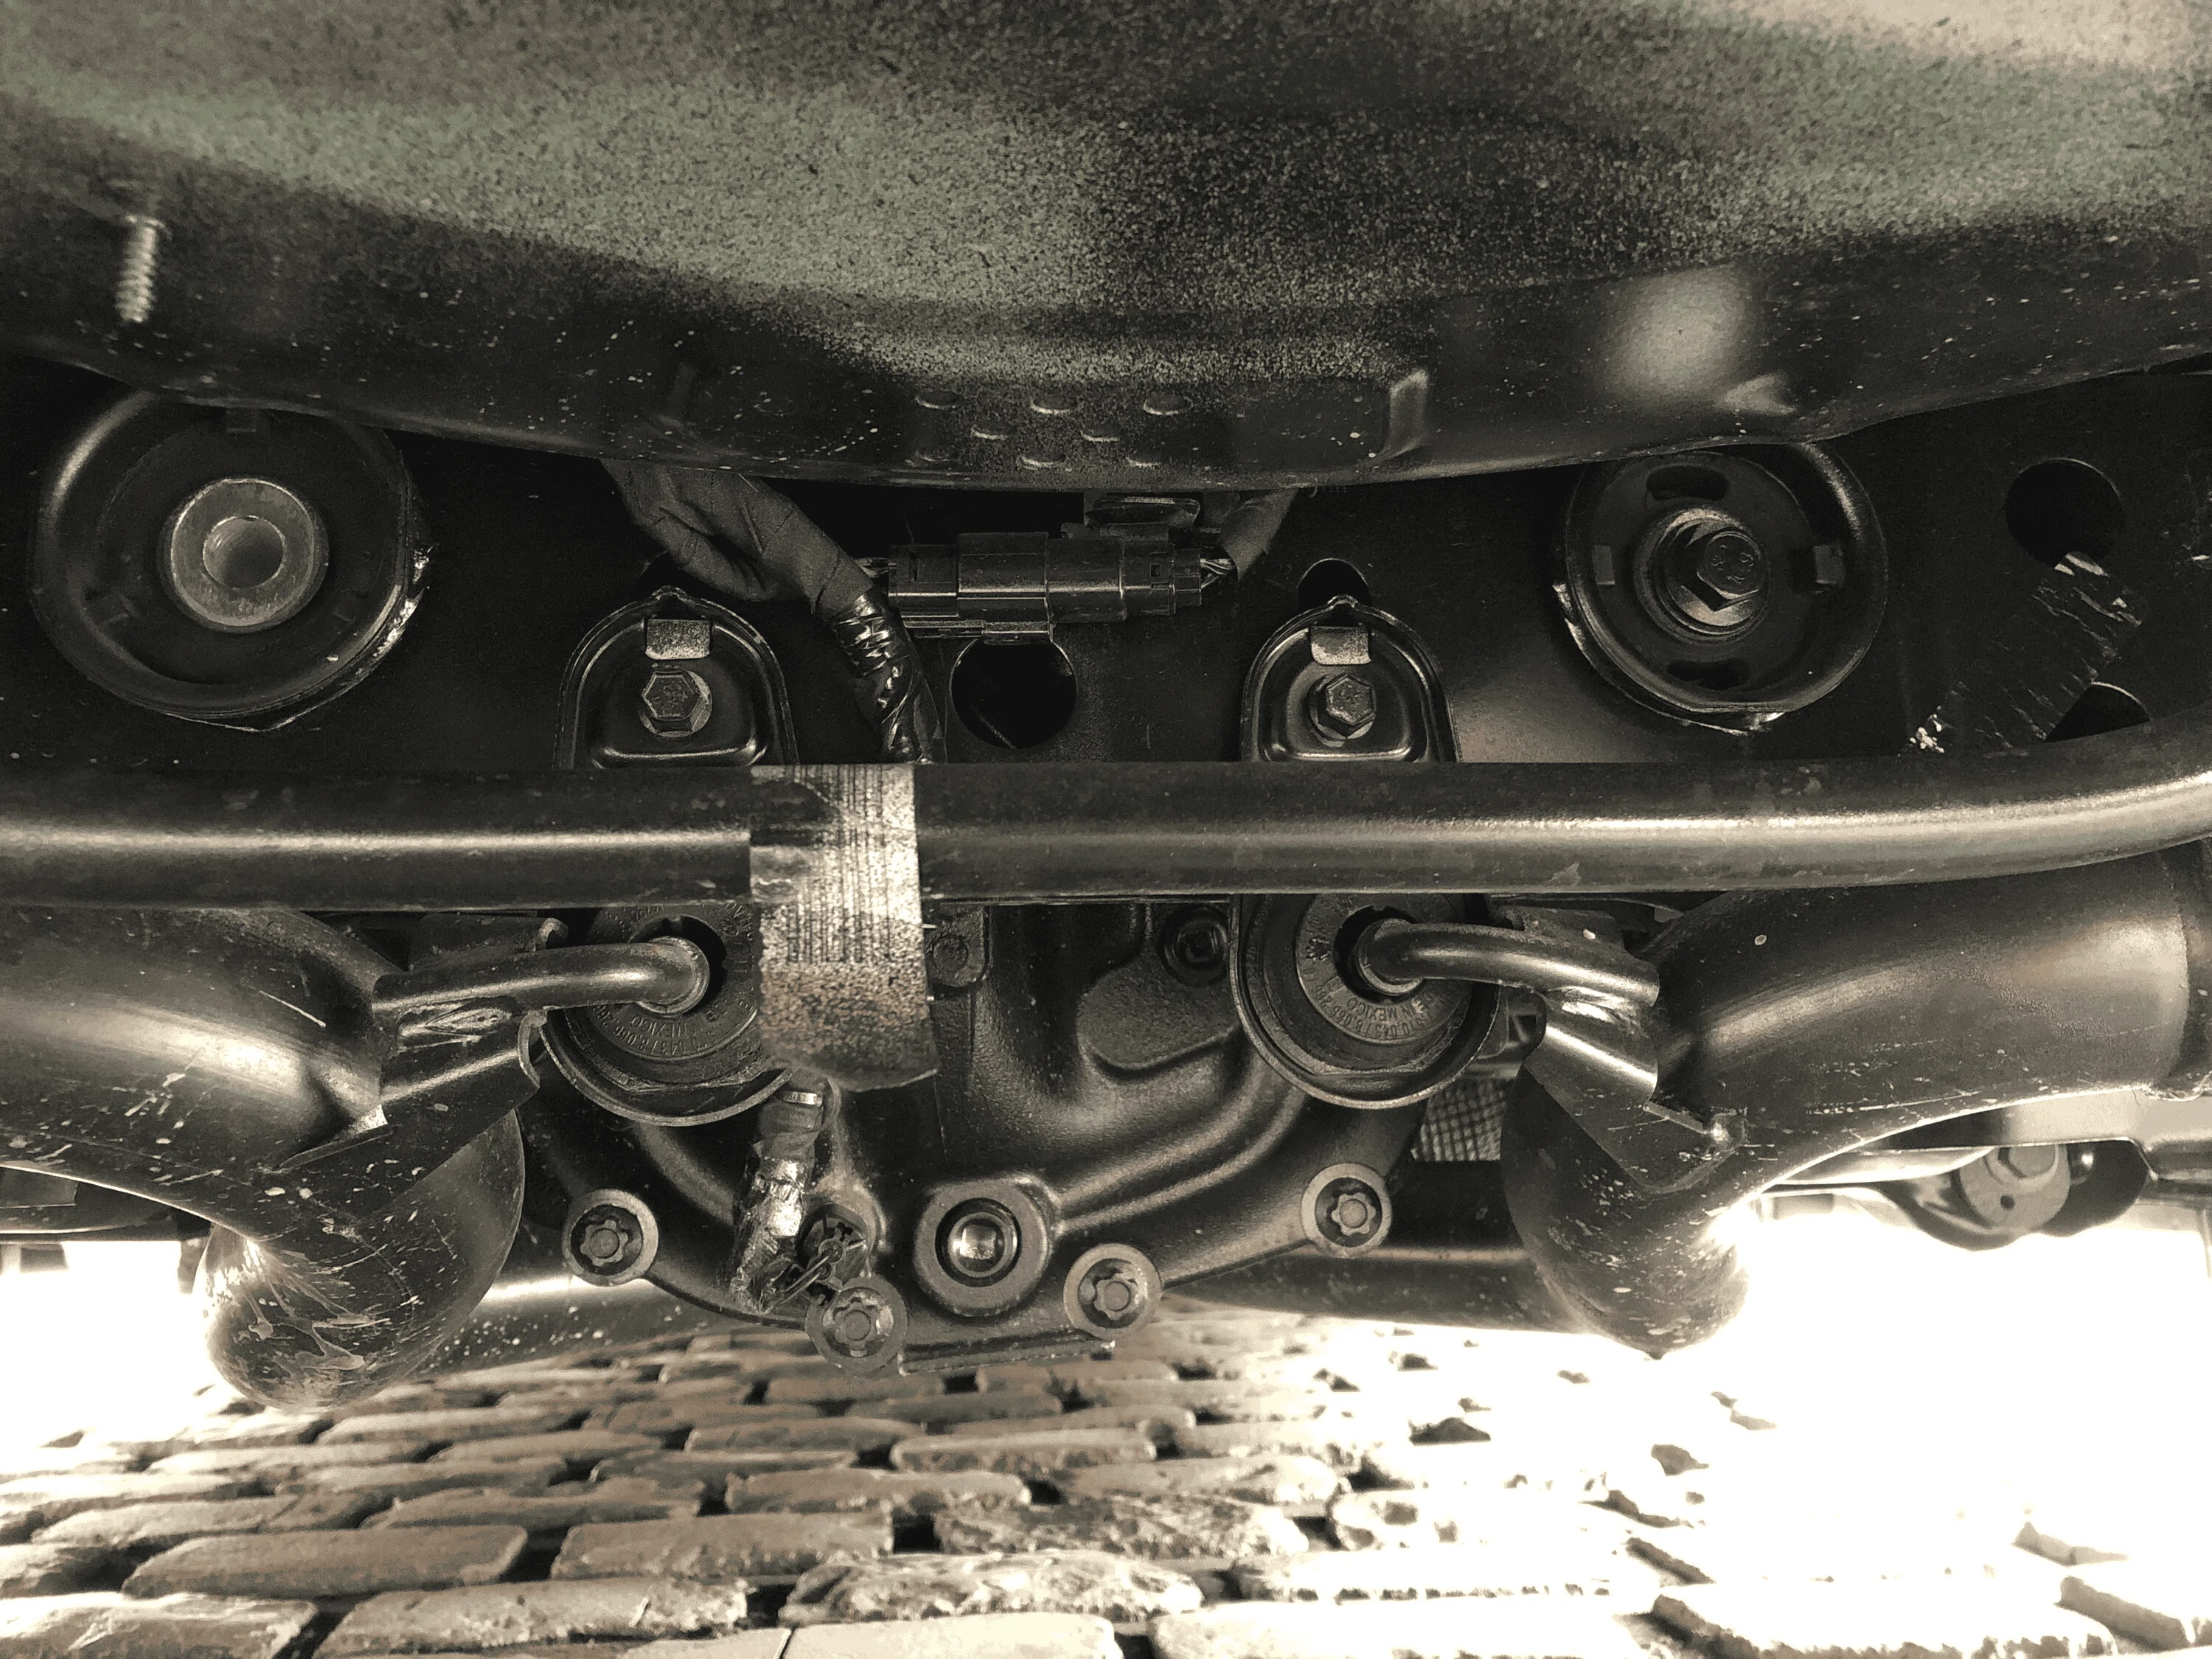
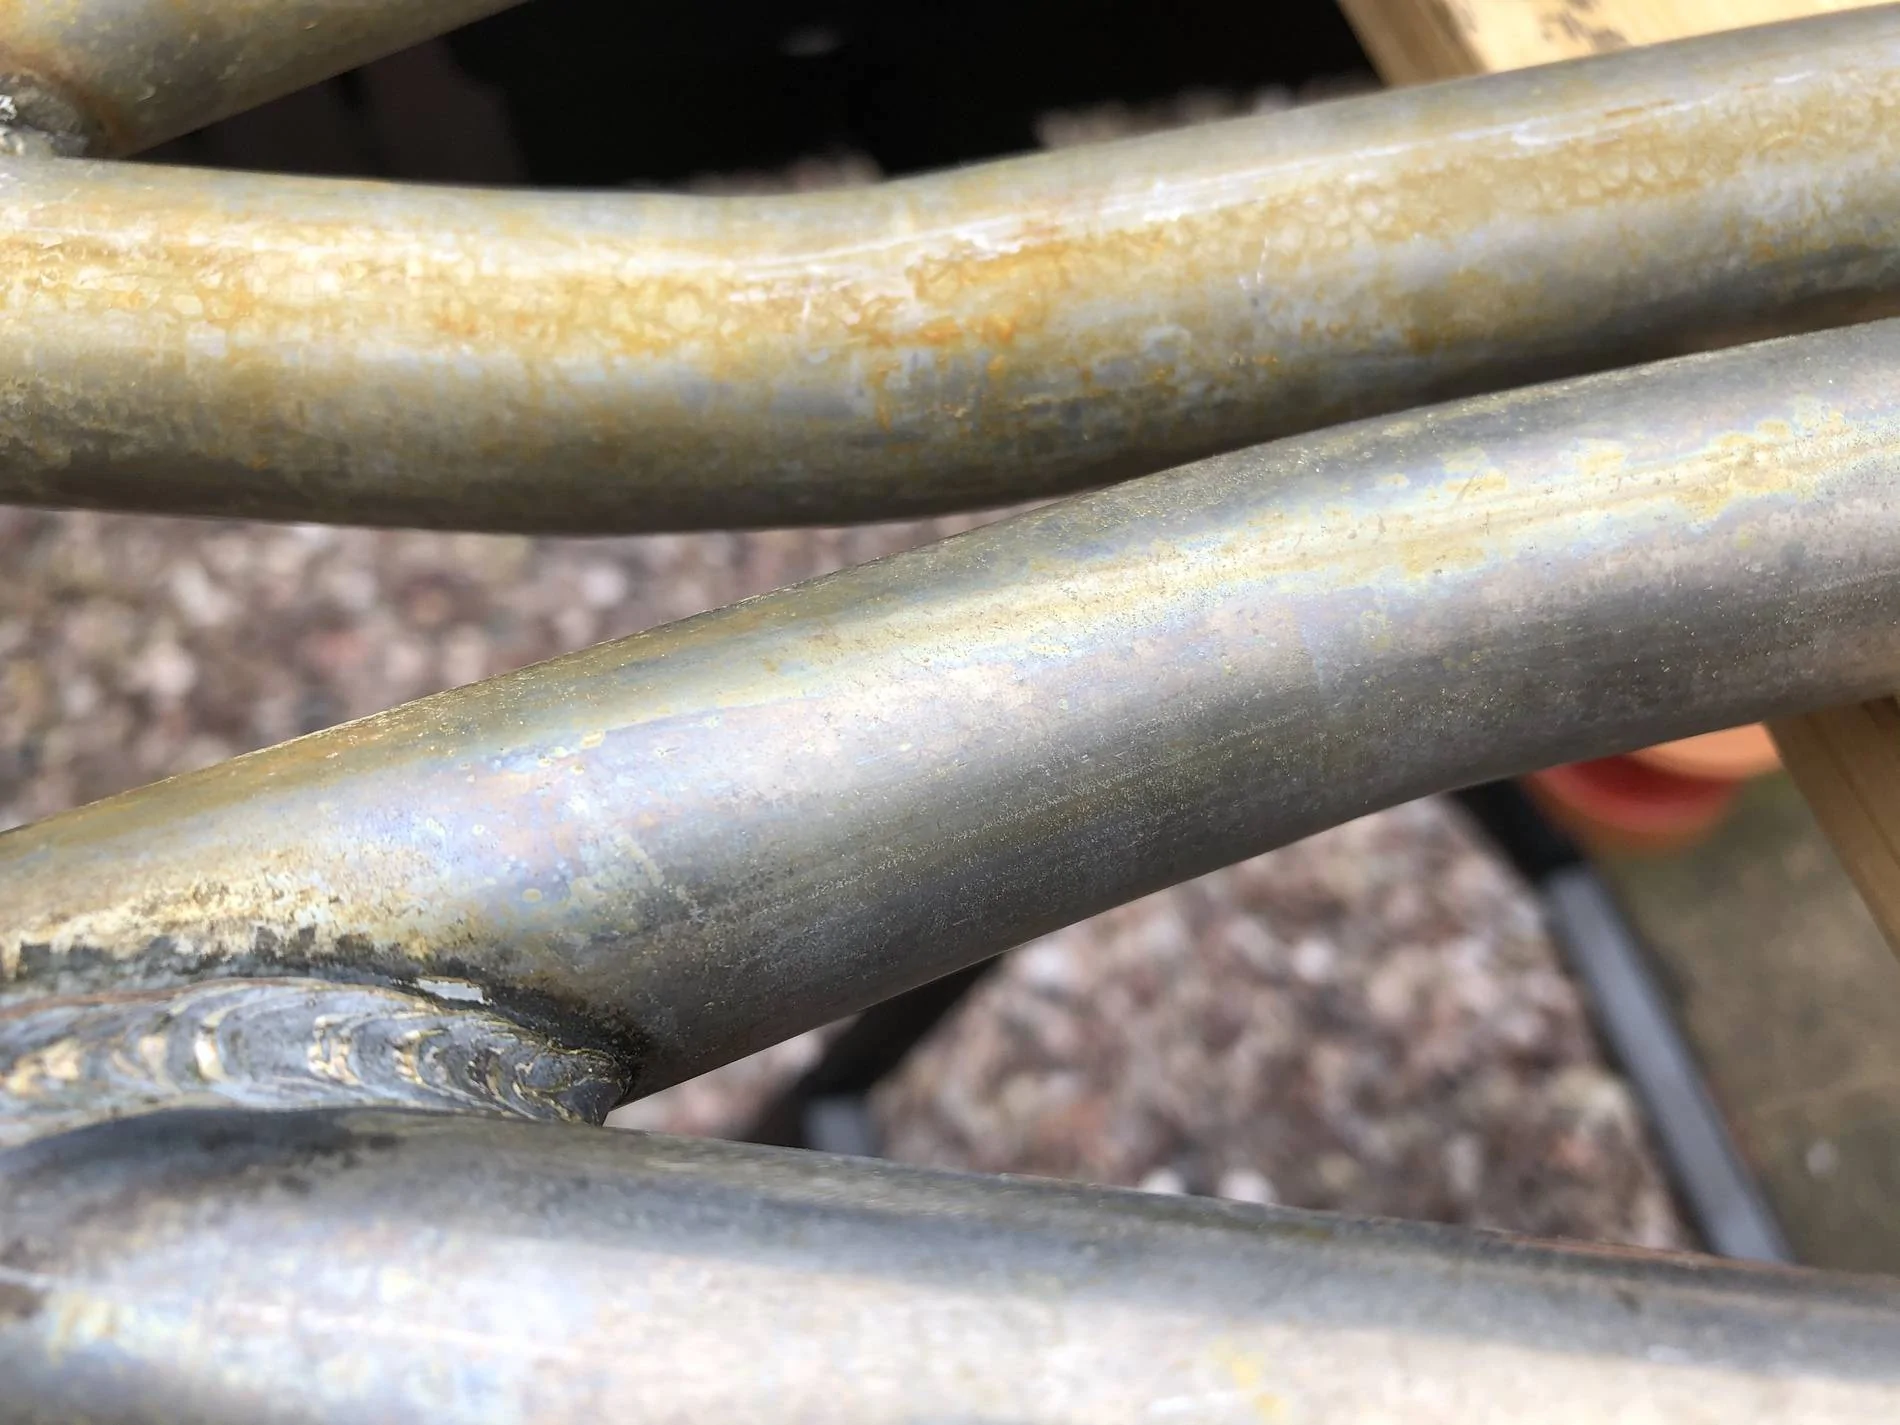
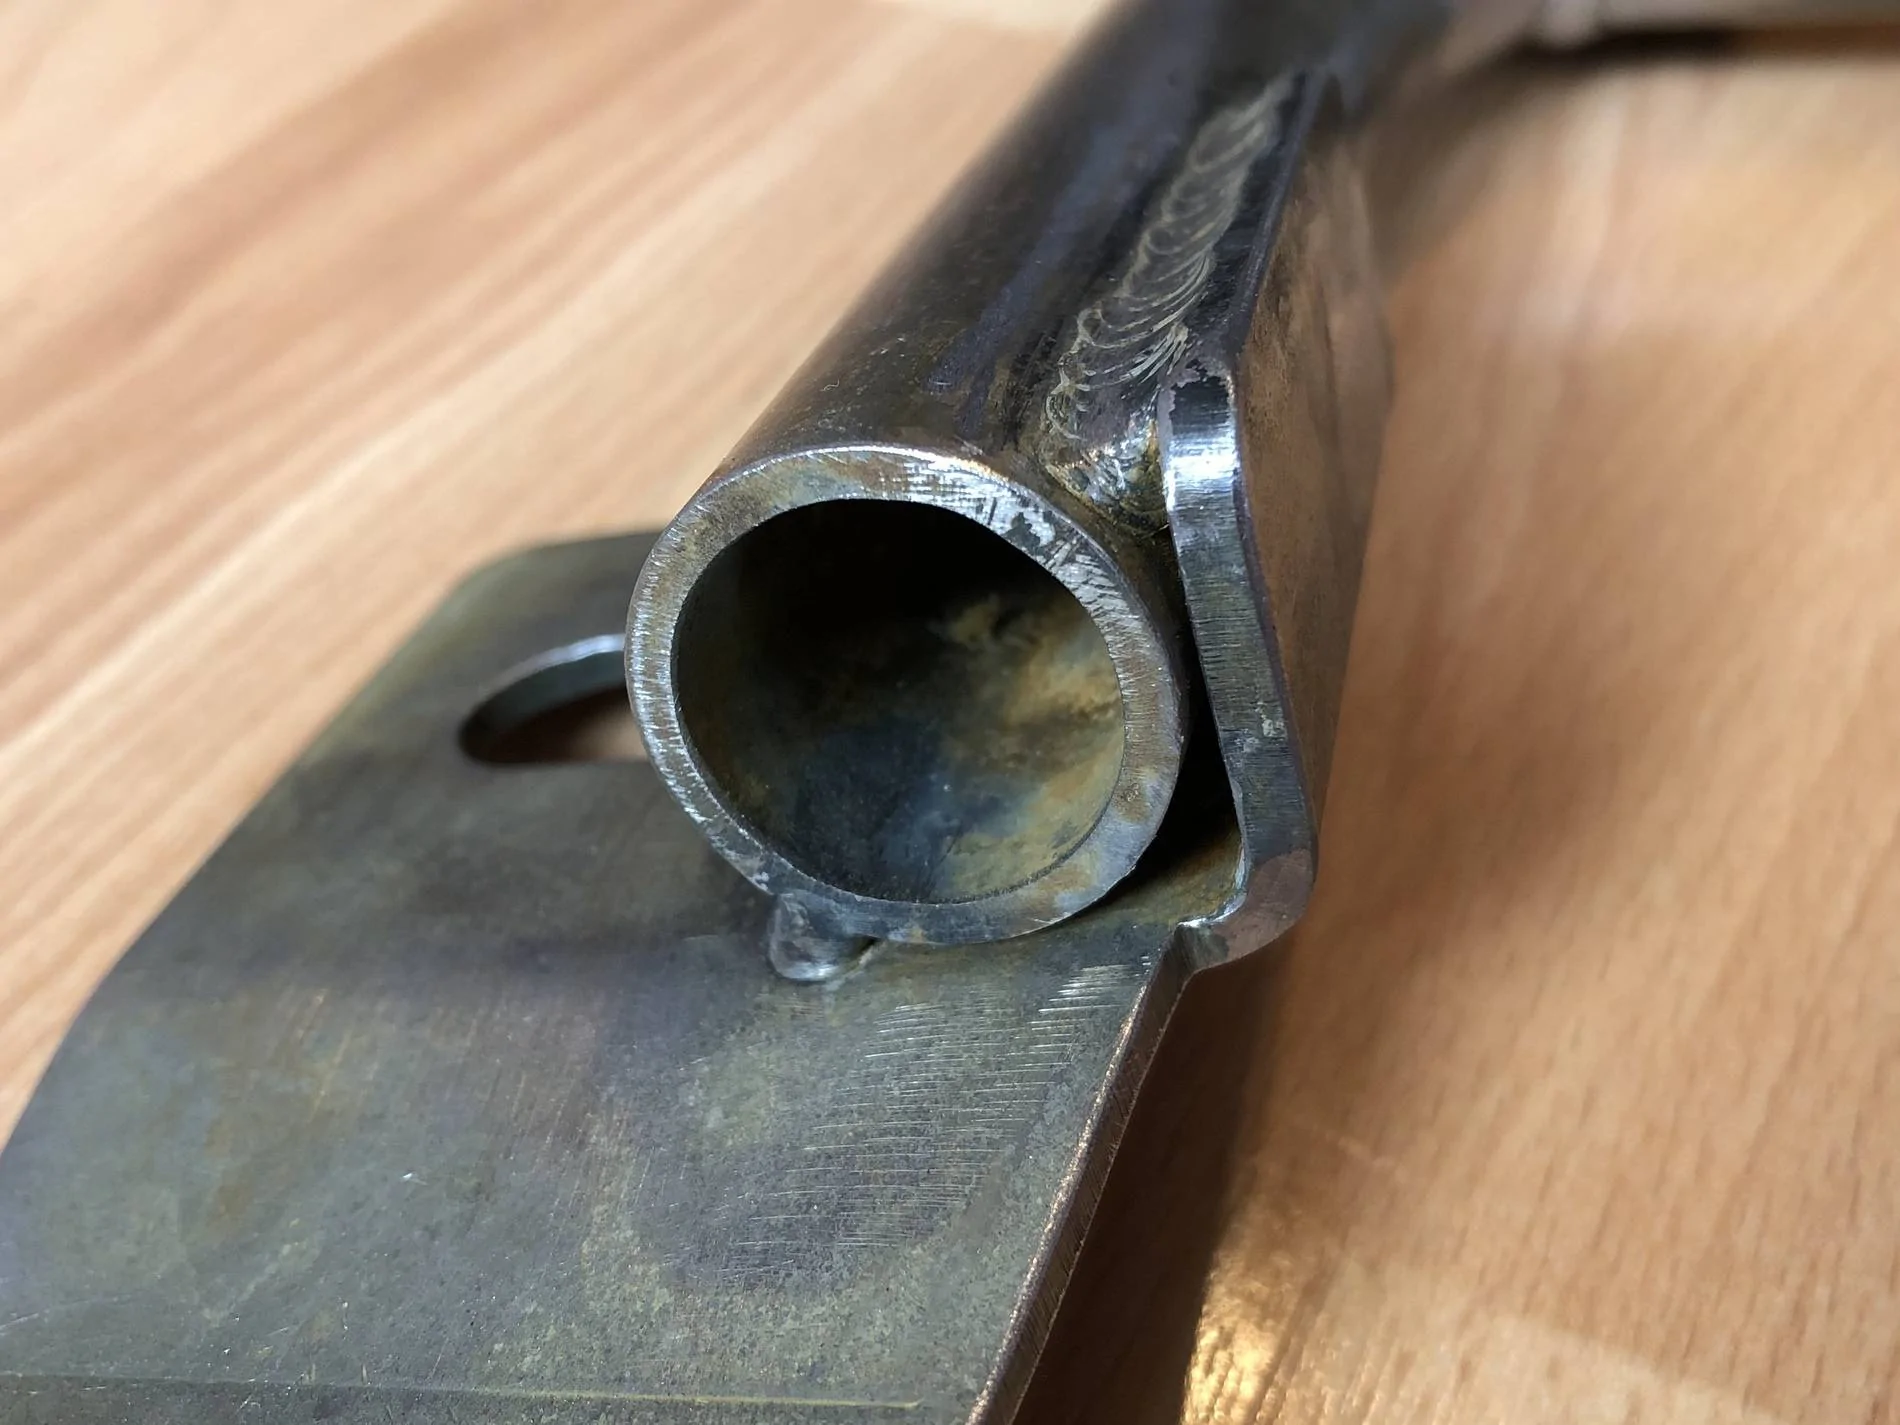
You will need to be very careful when installing the rear lower lockout bushing that are in 2 pieces since they require some prying force to get them squeezed in place on the subframe bushing. It is highly probable that you will scratch the outside radius of the longer pieces getting them in far enough to get the screws started to pull the halves up tight together.Just to follow up, subframe support bushes done :


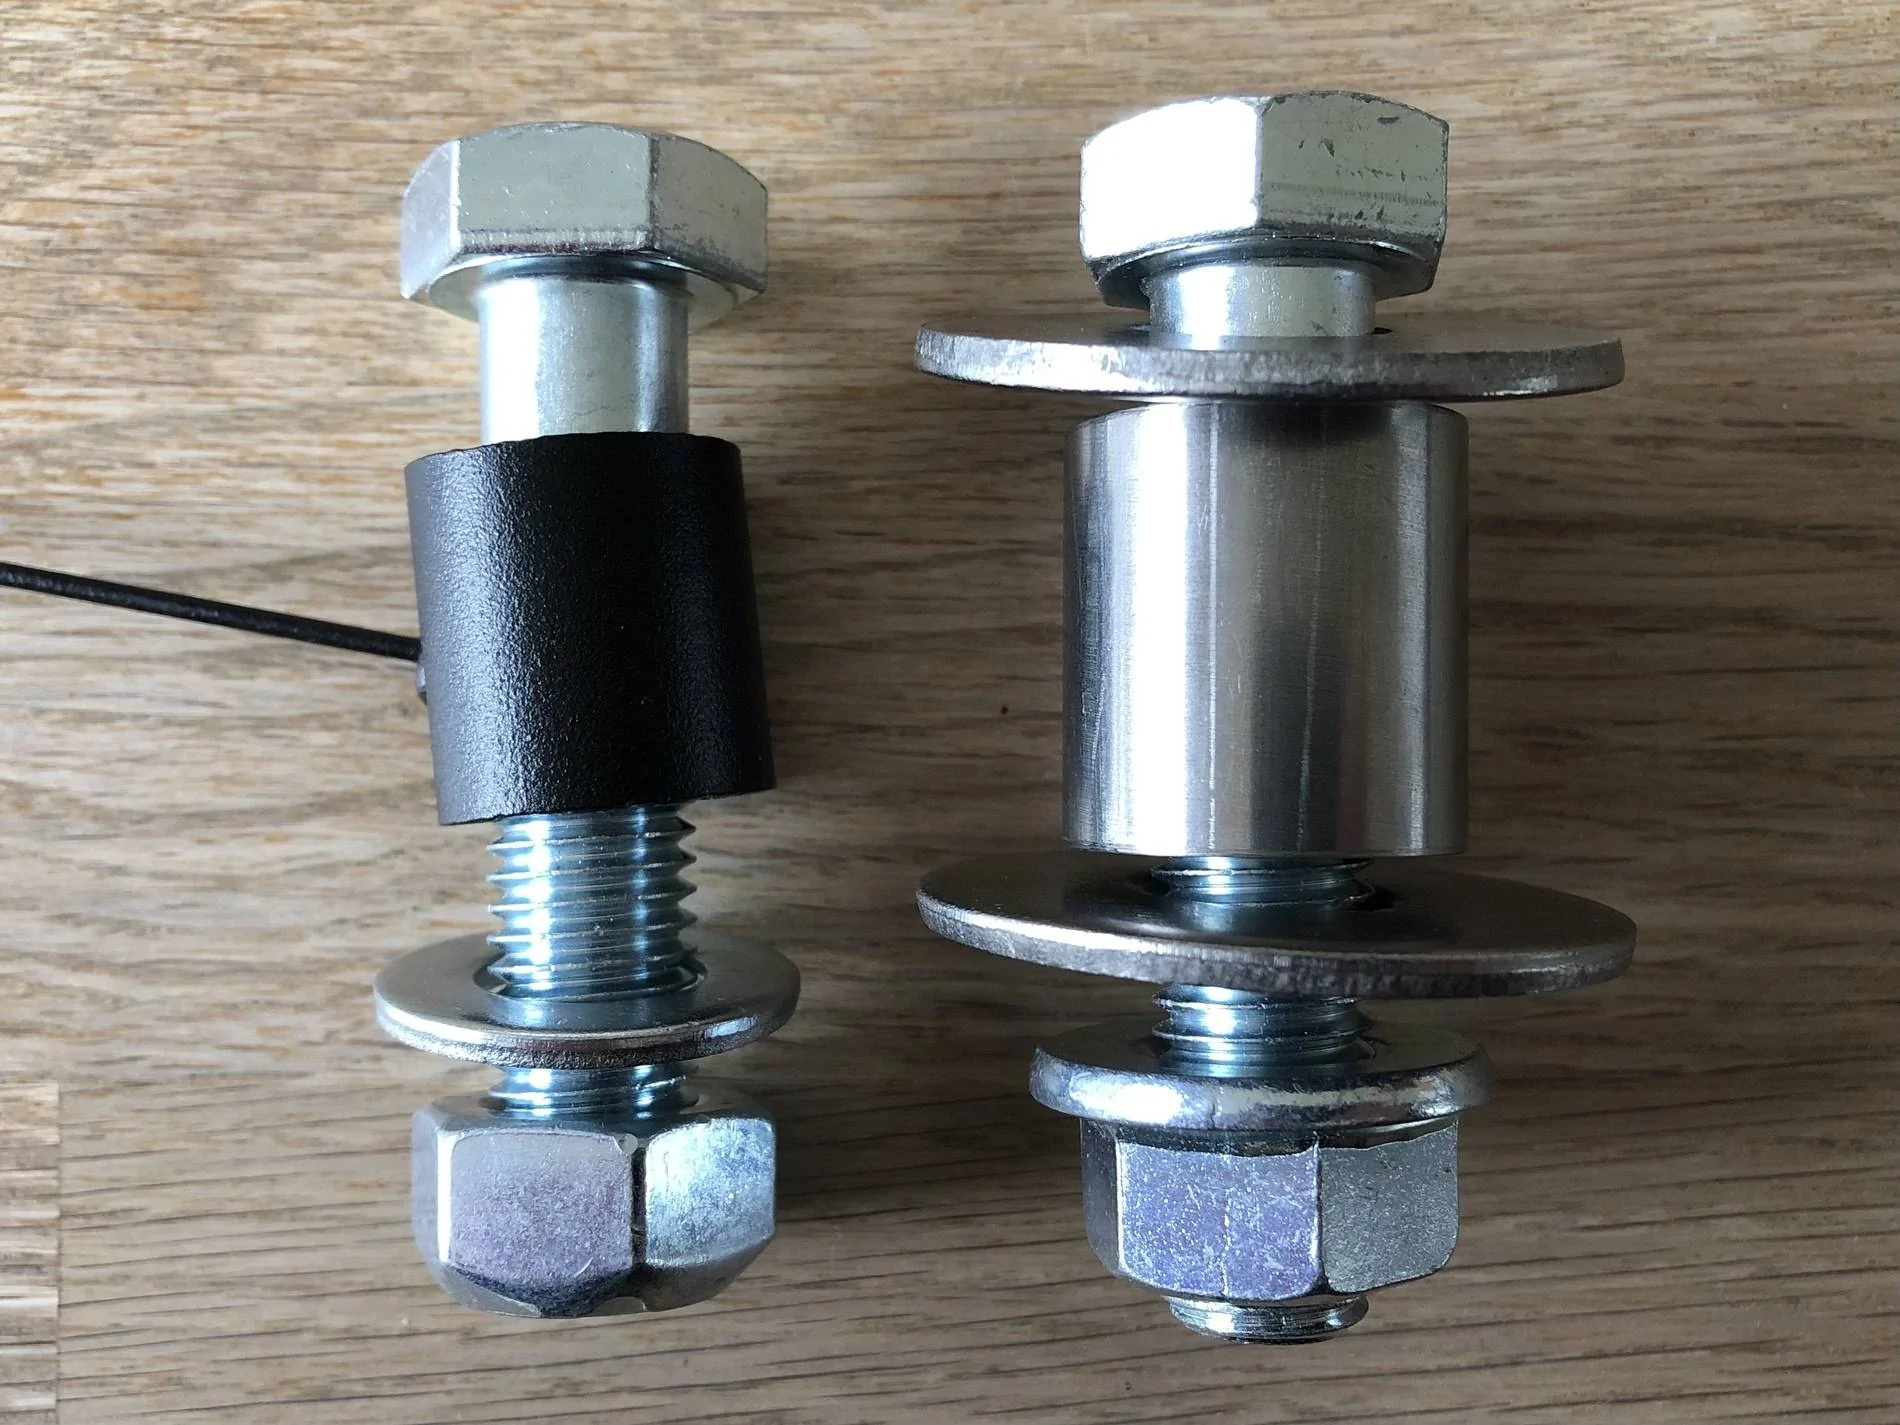
Other parts on the radar, but I've not purchased them yet ...
WD


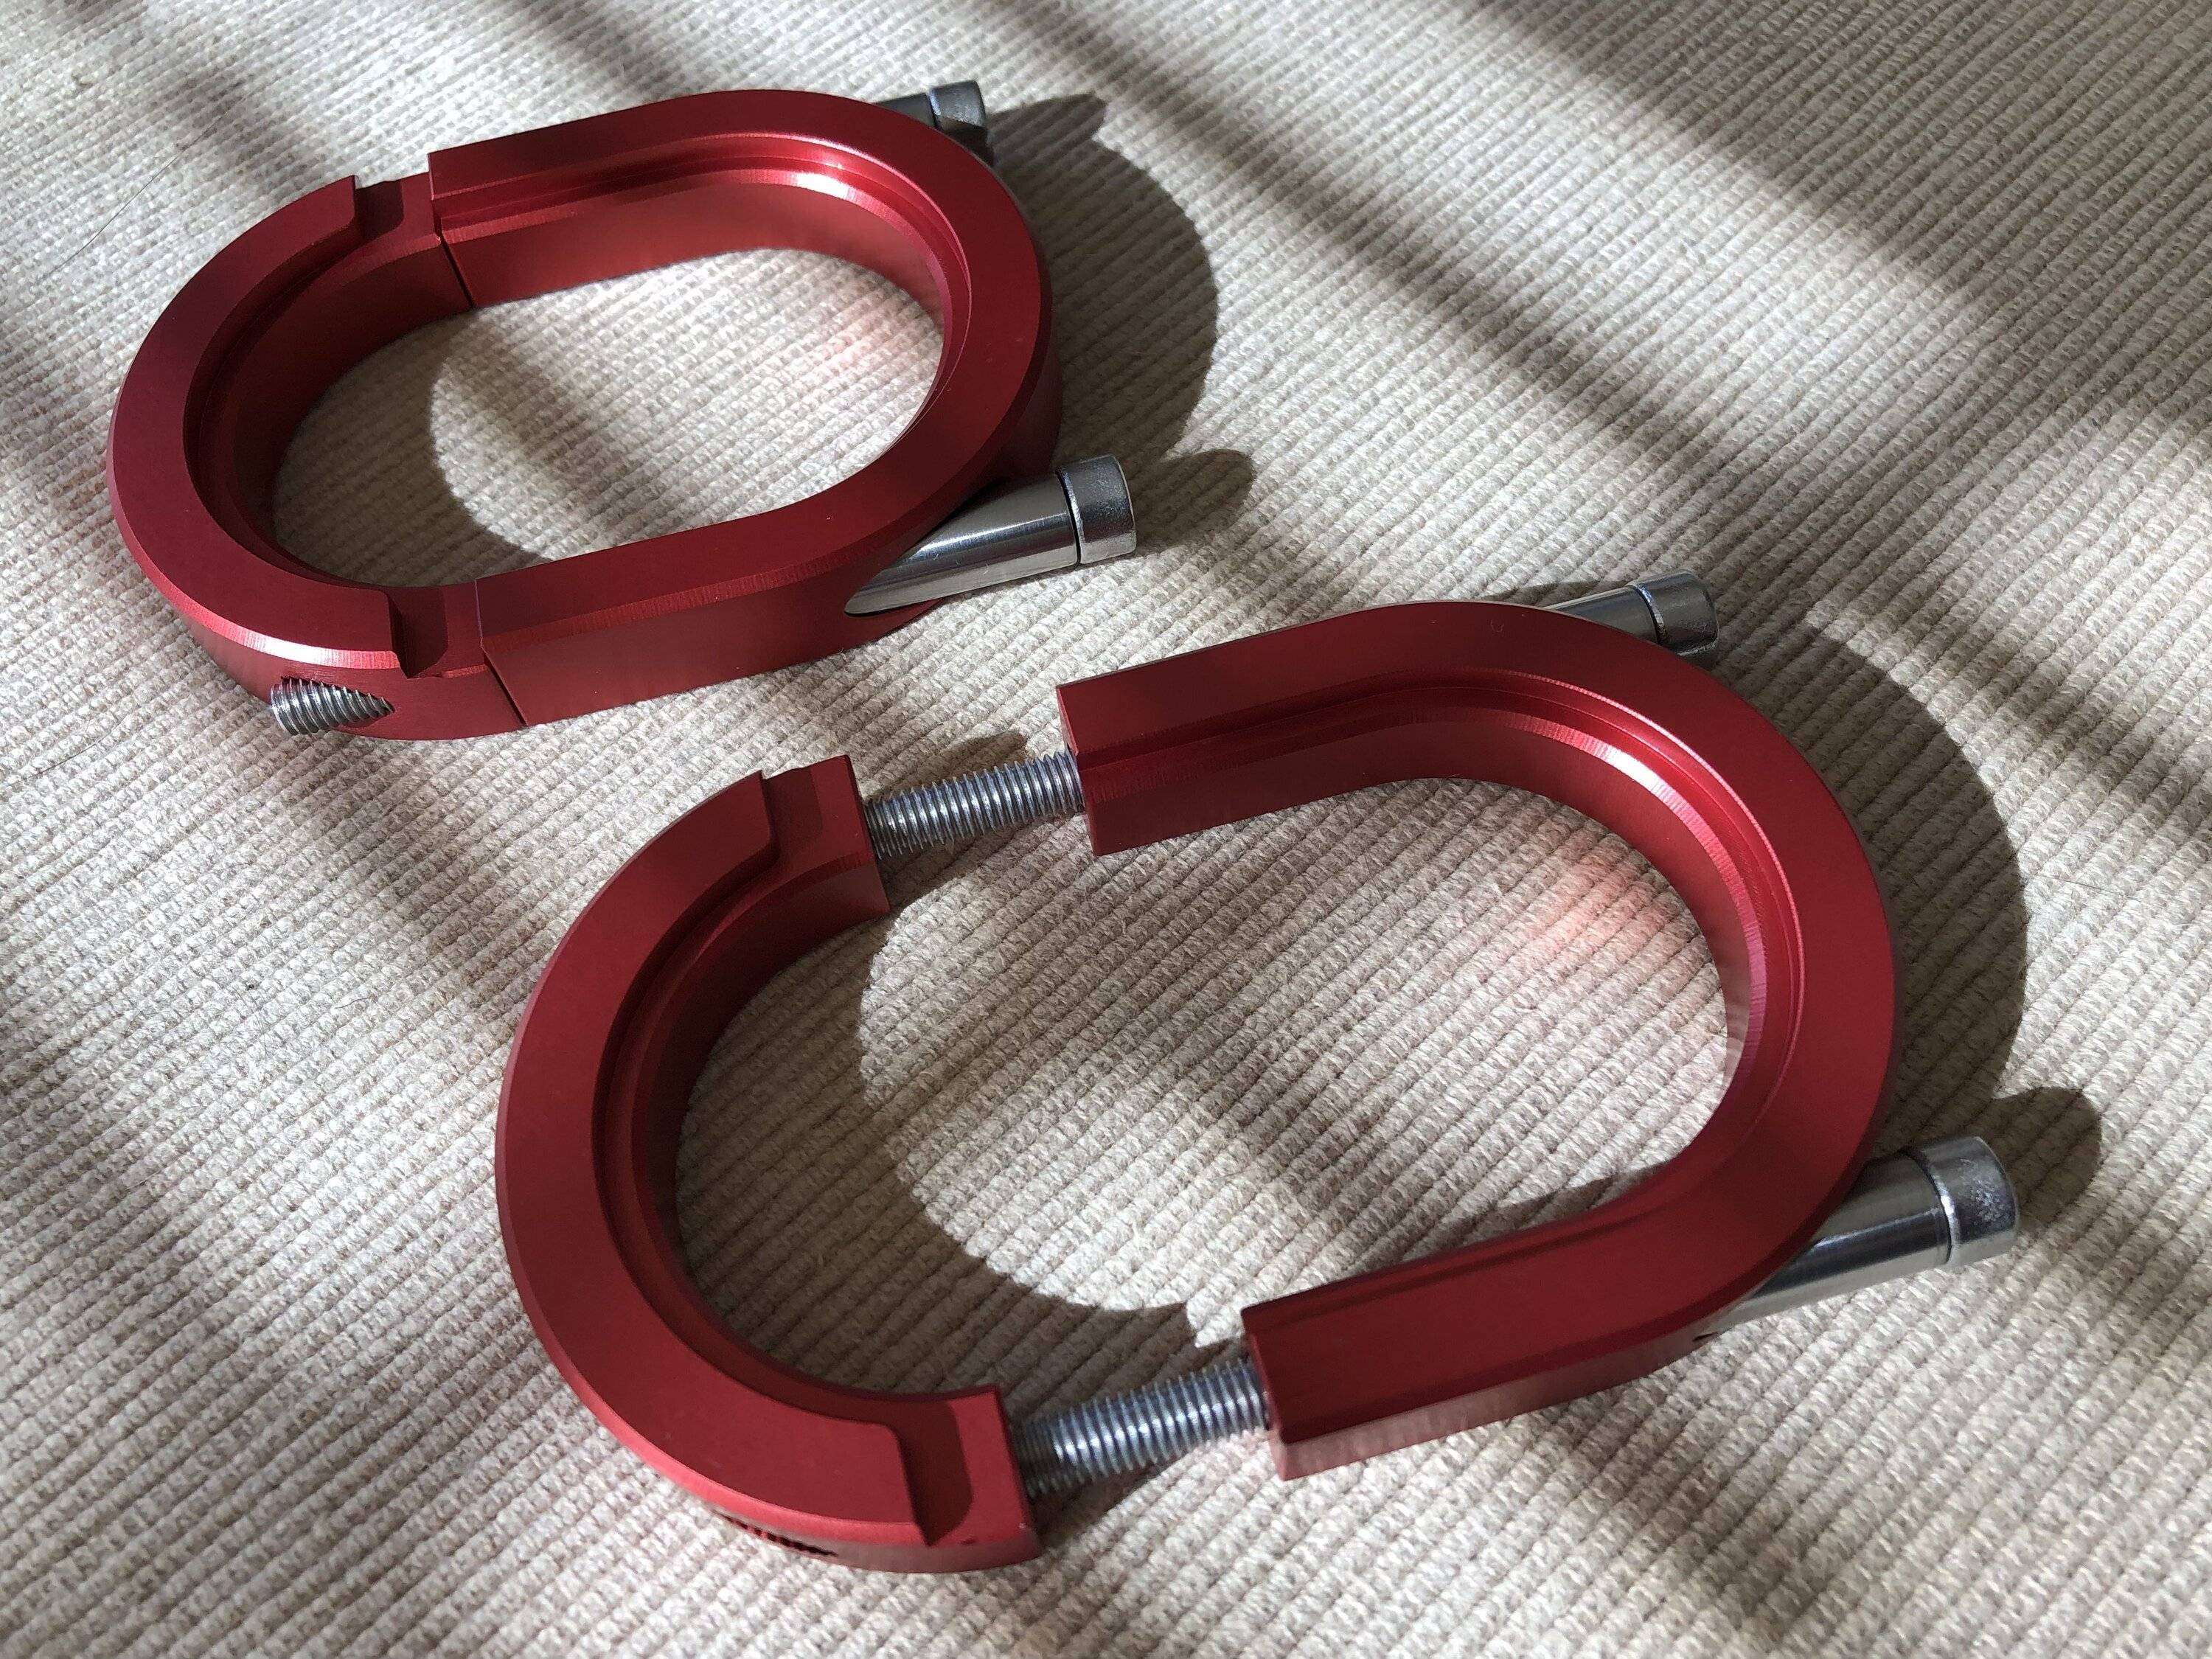
I know when installing mine they got a few light scars on the long pieces. They are a very tight fit.
BD
Sponsored
")


 ) :
) :