WD Pro
Well-Known Member
- Joined
- Jan 18, 2018
- Threads
- 132
- Messages
- 6,786
- Reaction score
- 13,596
- Location
- United Kingdom
- Vehicle(s)
- Lime GT
- Vehicle Showcase
- 1
- Thread starter
- #1
Well it’s my experience of one and YMMV, but I thought this may help some 
After reading probably every vertical link fitting instructions I could find and viewing the same on youtube, it was clear that some people really struggled - I have even seen some guys resort to using a hammer to persuade the new links to fit ...
No way was I doing that to my pretty red links, so I was a little bit nervous about how this was going to go (how long it was going to take me and if I could do it without resorting to brute force and / or marking up the new links).
Turns out it was actually really (really) easy, with nothing more than basic tools and it took me a total of 2.5 hours to do both sides, including getting all the tools out, putting them all away, taking multiple photos and spending far too long procrastinating ... lol
So based on my car (Euro / PP1 / Magride), here is what I did. Yes the steps are abbreviated, but I am sure you can fill in the rest like 'remove wheel' or 'torque bolt using a impact gun until it breaks' etc etc

This single picture should be good enough to suss out what I am describing in steps 10 and 11 :

My theory for the people that have struggled - I suspect that lifting the car by the frame and letting the suspension droop puts the link in a position that's slightly out of alignment and places stress on the bushes. That stress makes the new link difficult to align, especially in the case of a link design that resists movement in that direction i.e. (to some extent) poly and (especially) Delrin.
Whilst lifting the lower control arm with a second jack may help to bring the assembly back into alignment, it introduces another variable - and why bother when a single jack under the control arm only (in my experience) holds everything in a near perfect position ?
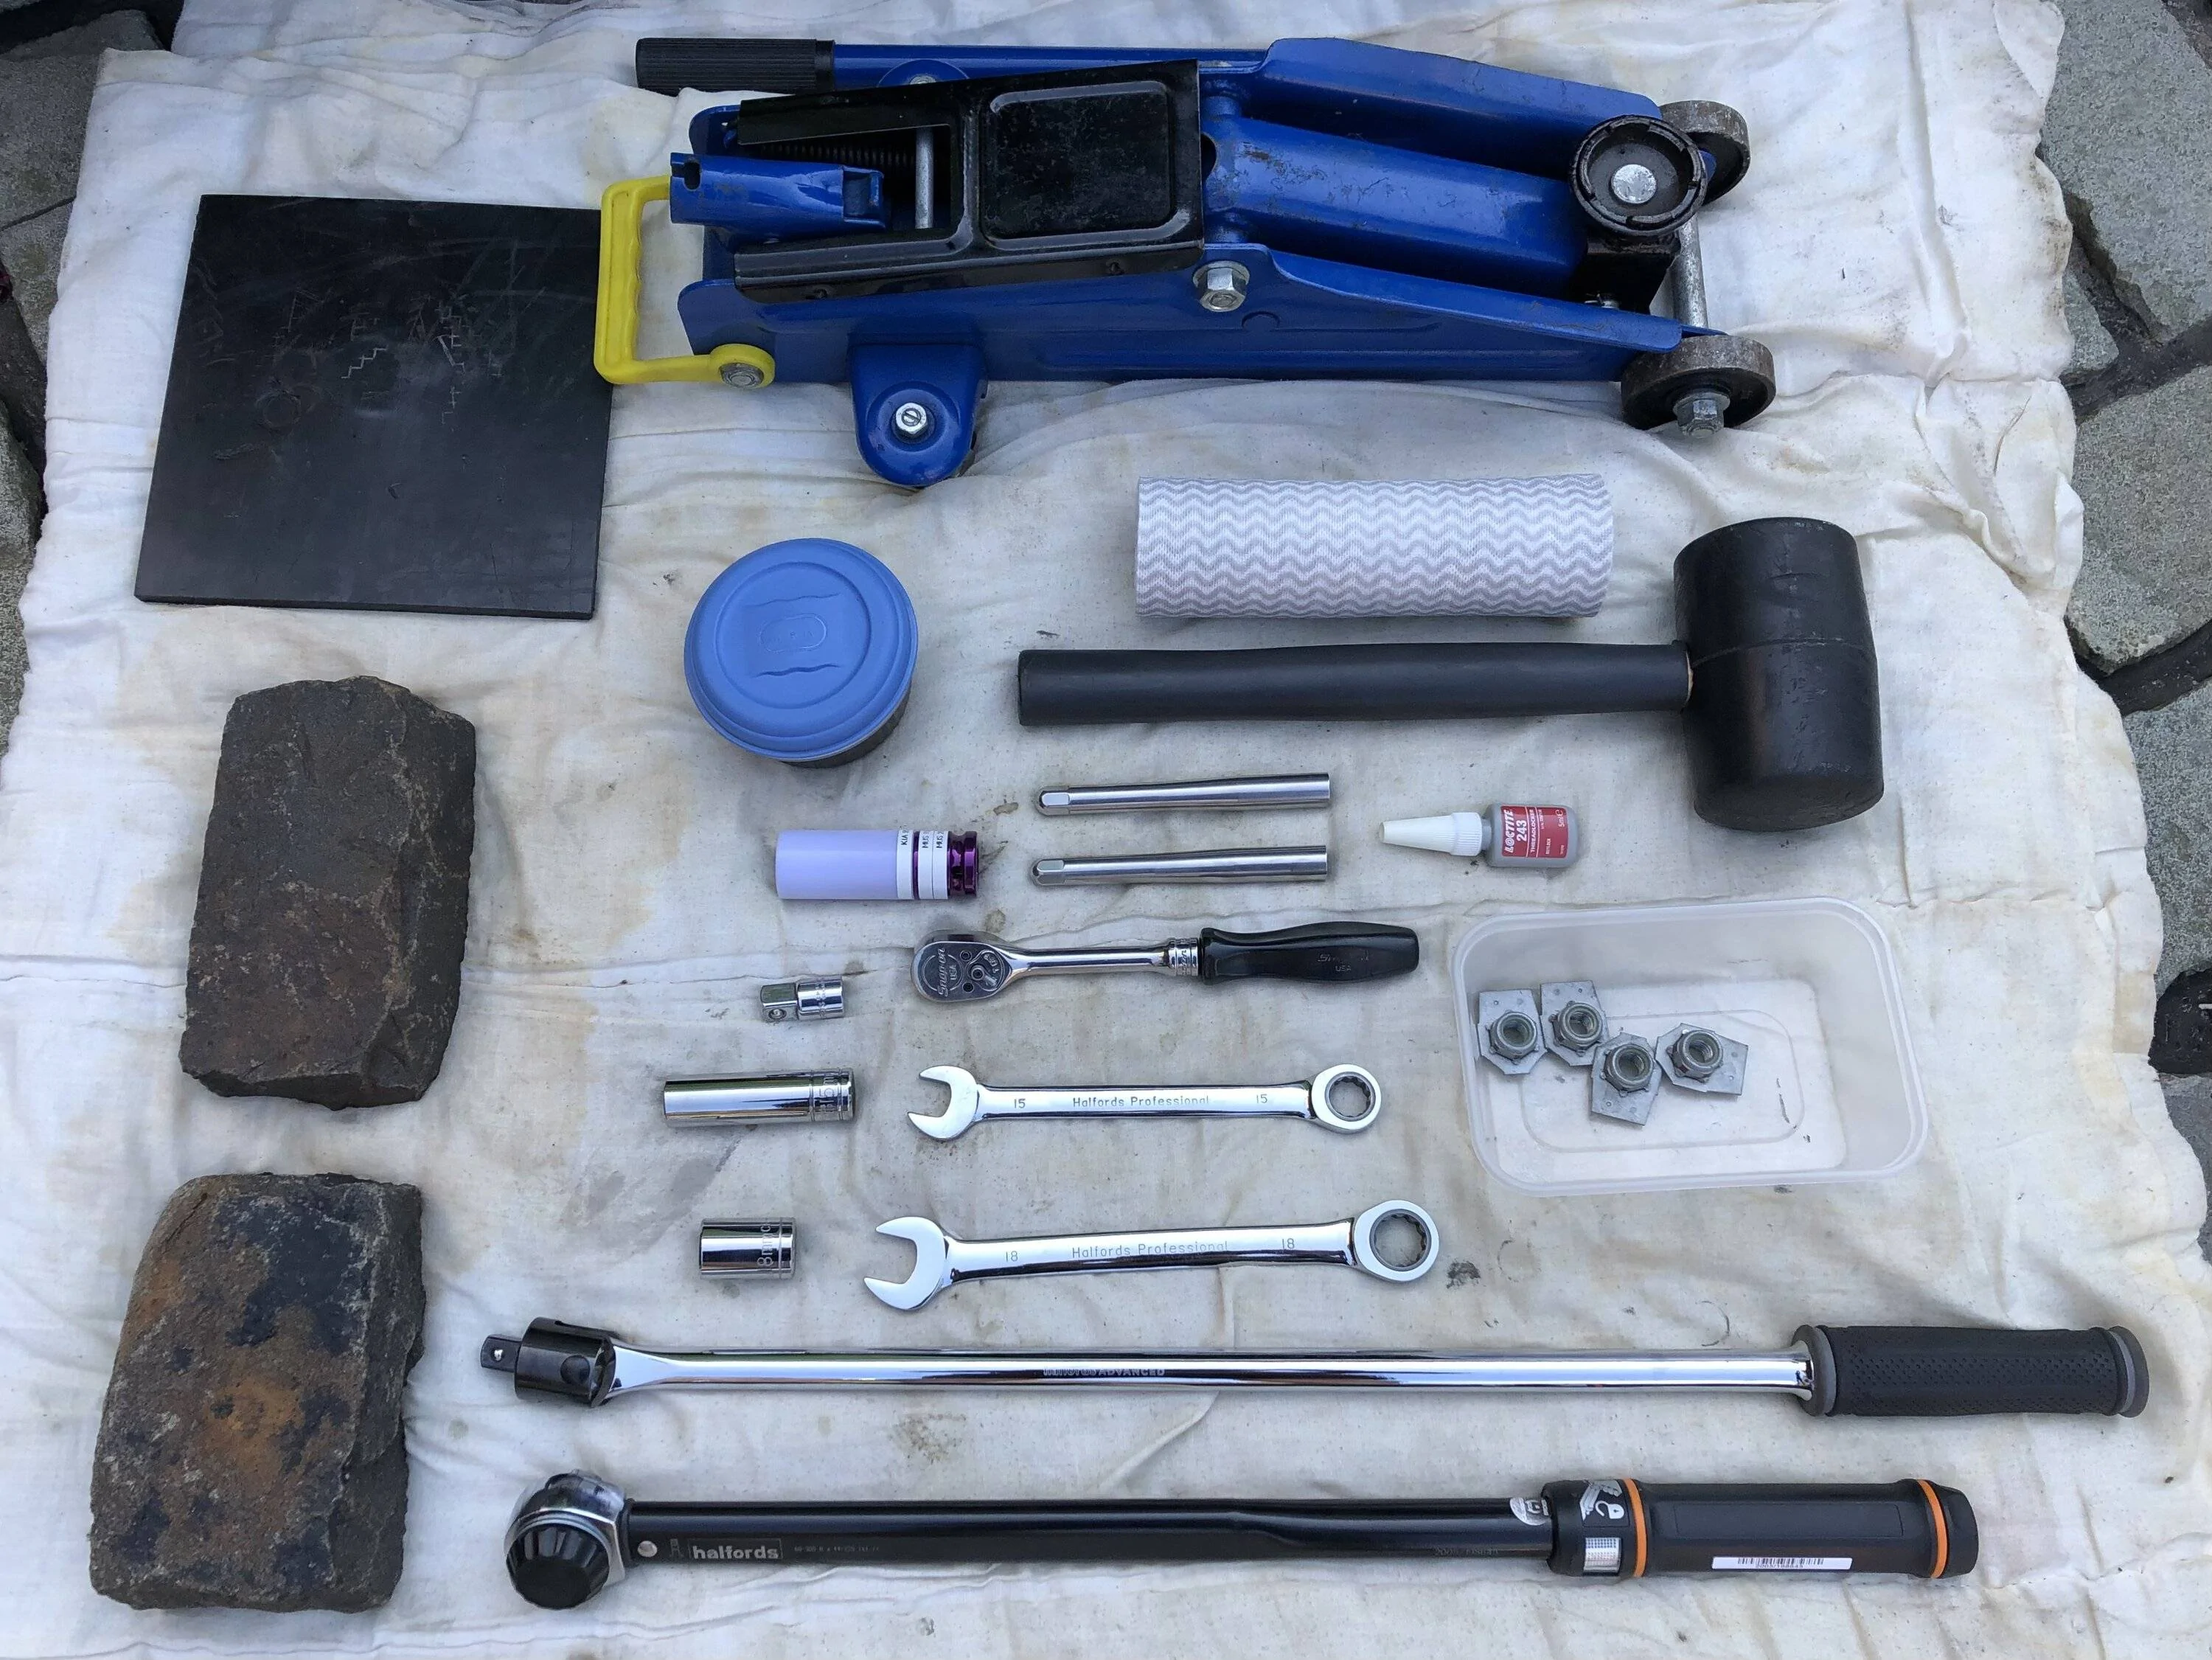
Total tools needed :

The rubber mallet was only used to remove the original links (the bottom bush bites into the ally arm), NOT for fitting the new links !
The wheel change studs are a nice thing to have, but not a necessity.
The old duvet is just a bonus to make the cobbled drive a slightly nicer place to be
Hope that helps - I would be glad to hear feedback either way
WD
After reading probably every vertical link fitting instructions I could find and viewing the same on youtube, it was clear that some people really struggled - I have even seen some guys resort to using a hammer to persuade the new links to fit ...
No way was I doing that to my pretty red links, so I was a little bit nervous about how this was going to go (how long it was going to take me and if I could do it without resorting to brute force and / or marking up the new links).
Turns out it was actually really (really) easy, with nothing more than basic tools and it took me a total of 2.5 hours to do both sides, including getting all the tools out, putting them all away, taking multiple photos and spending far too long procrastinating ... lol
So based on my car (Euro / PP1 / Magride), here is what I did. Yes the steps are abbreviated, but I am sure you can fill in the rest like 'remove wheel' or 'torque bolt using a impact gun until it breaks' etc etc
- Ignore all instructions and videos that tell you to raise all the back end on a lift or jack stands. THE SUSPENSION NEEDS TO BE SUPPORTING THE WEIGHT OF THE CAR.
- Chock the front wheels.
- Lift one corner with a jack under the rear control arm, just enough to raise the tyre off the ground so it can be removed (approx 1/2"). The car should still be pretty much level - level enough not to trigger the alarm on the enhanced security package (i.e. don't assume your rear wheels are safe with that alarm system).
- If you feel safer, put something under the frame rail BUT DON'T TAKE ANY WEIGHT ON IT, it's a safety measure in the event of jack failure etc.
- Undo the vertical link top bolt. If (like mine) the bolt is under no stress, it will remove easily by hand and the link will stay pretty much in its home position.
- Undo the bottom bolt.
- Pull the top of the link towards the front of the car (enough to unseat the top conical bush) and tap the link downwards with a rubber mallet to remove it.
- If necessary, clean up the internal faces of the fork in the lower mount of the control arm.
- If using links with spherical bearings, ensure they are straight relative to the link.
- Loosely assemble the top bolt whilst keeping the bottom of the link rotated in the gap between the control arm fork and the brake disk (like it's a pendulum on the top bolt).
- Once the top bolt is in place (but not tight), swing the bottom of the link into the fork of the control arm - a little grease and a bit of wiggling might be needed, but it should go in with reasonable hand force.
- Look down the bore of the bottom bolt hole, wiggle around the knuckle / brake disk assembly so it looks good by eye.
- Bottom bolt should go in easy and start the thread without any force.
- Tighten everything up and you are good to go.
- Wheel back on, repeat on the other side.
This single picture should be good enough to suss out what I am describing in steps 10 and 11 :

My theory for the people that have struggled - I suspect that lifting the car by the frame and letting the suspension droop puts the link in a position that's slightly out of alignment and places stress on the bushes. That stress makes the new link difficult to align, especially in the case of a link design that resists movement in that direction i.e. (to some extent) poly and (especially) Delrin.
Whilst lifting the lower control arm with a second jack may help to bring the assembly back into alignment, it introduces another variable - and why bother when a single jack under the control arm only (in my experience) holds everything in a near perfect position ?
Total tools needed :
The rubber mallet was only used to remove the original links (the bottom bush bites into the ally arm), NOT for fitting the new links !
The wheel change studs are a nice thing to have, but not a necessity.
The old duvet is just a bonus to make the cobbled drive a slightly nicer place to be
Hope that helps - I would be glad to hear feedback either way
WD
Sponsored


