John S
Well-Known Member
- Joined
- Jul 26, 2022
- Threads
- 48
- Messages
- 757
- Reaction score
- 571
- Location
- Novi, Michigan
- First Name
- John
- Vehicle(s)
- 2022 Mach 1 HP
- Thread starter
- #1
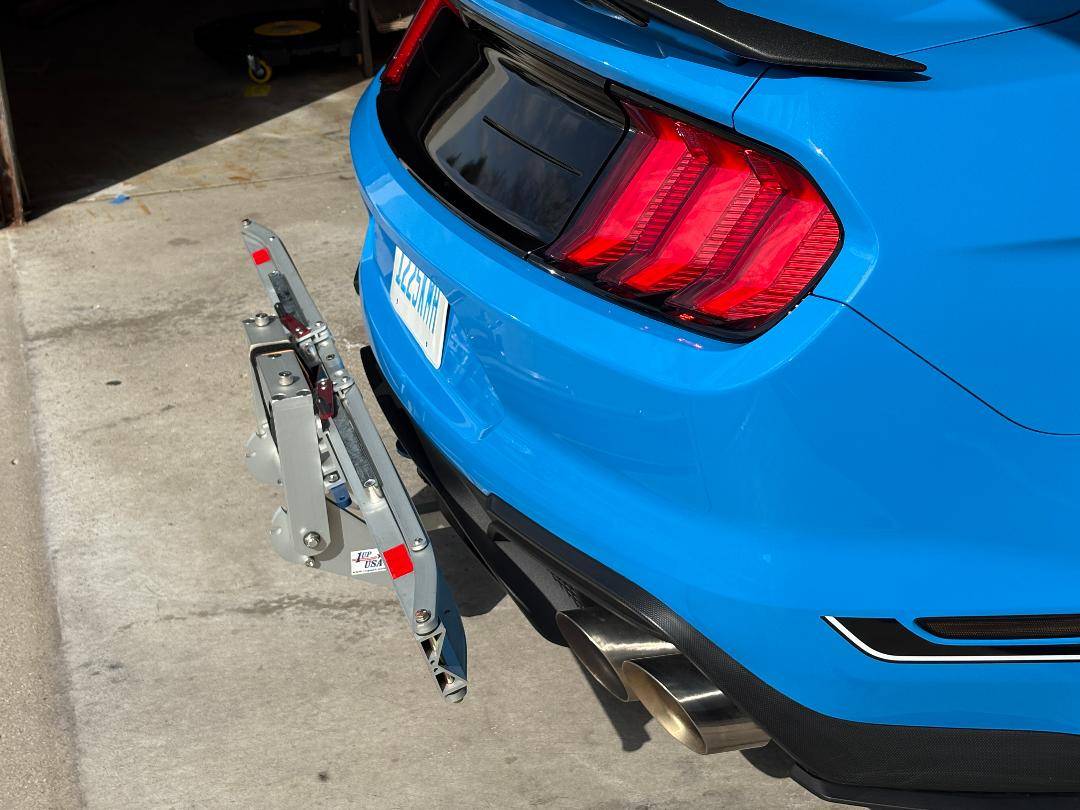
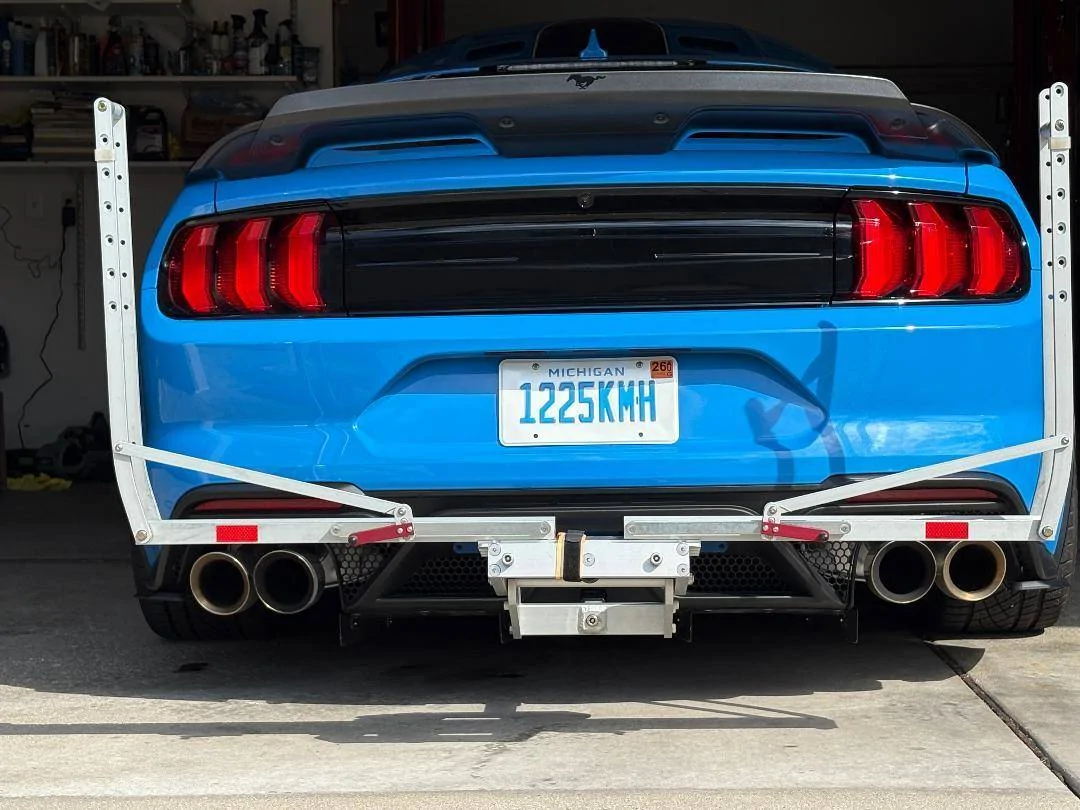
I took the plunge to install the Draw-Tite hitch on my Mach 1 per comments from previous posts. The installation was simple enough but plan on spending some time and effort to properly tackle the modifications. Here are some more tips and images:
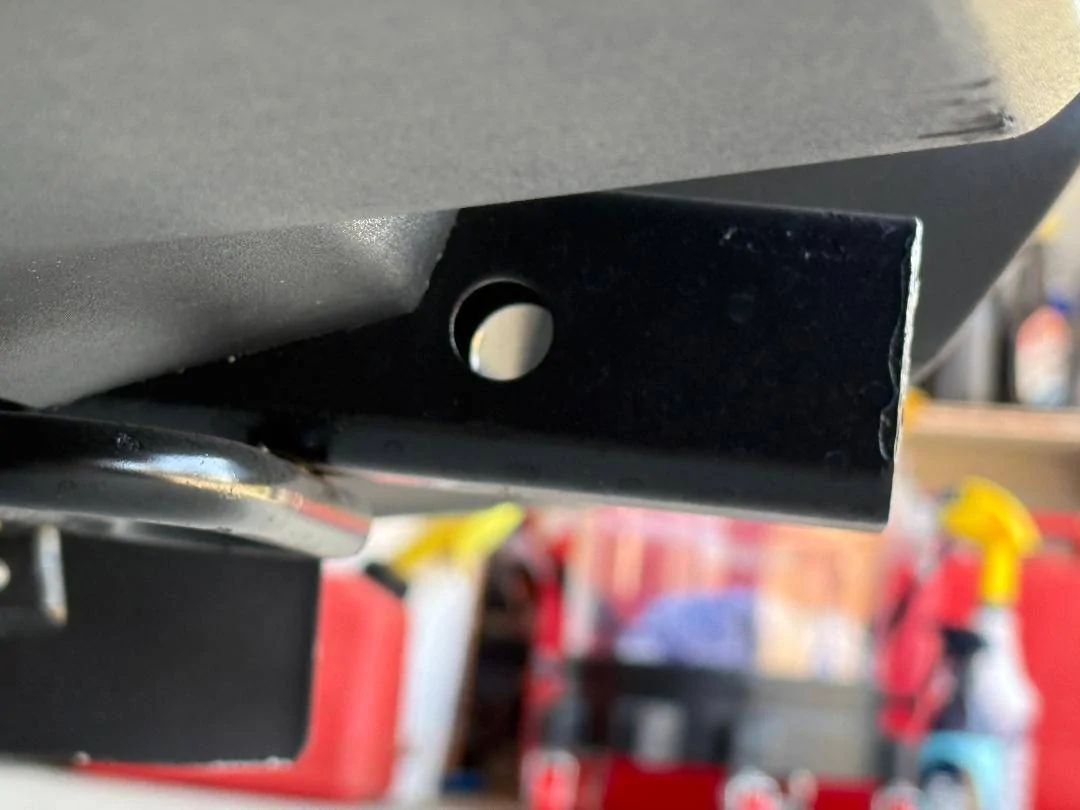
1.) The 90 degree mounting leg on each side of the hitch should be cut off to insure clearance for the active mufflers. If you really want a third mounting point per side, the legs can be re-welded to the hitch at the more forward mounting hole. It probably doesn't contribute any benefit to reducing the bending stress from the tongue load but it adds a third fastener in shear for axial forces from pulling a trailer. It shouldn't matter for such minimal loads from a tire trailer, but, anything heavier, I'd double check my math on the strength of four vs six mounting bolts. Fish the fasteners through the large opening on the side of the frame rail, no need for filing the actual installation hole as some videos show.
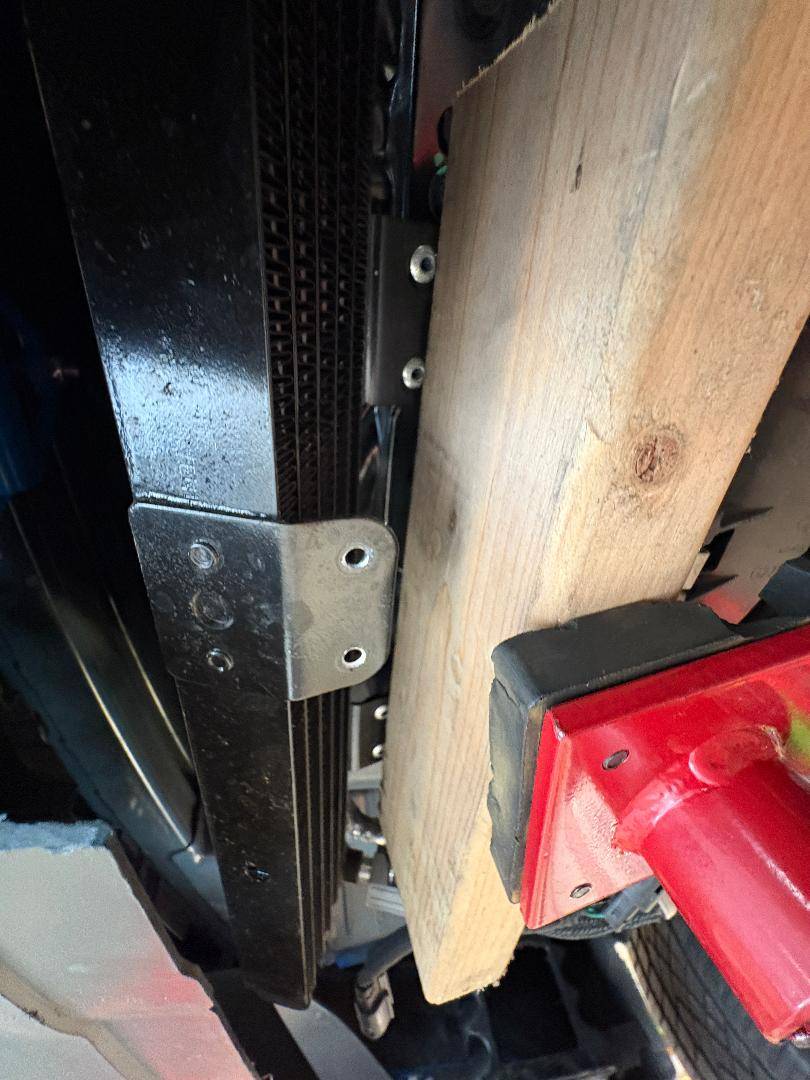
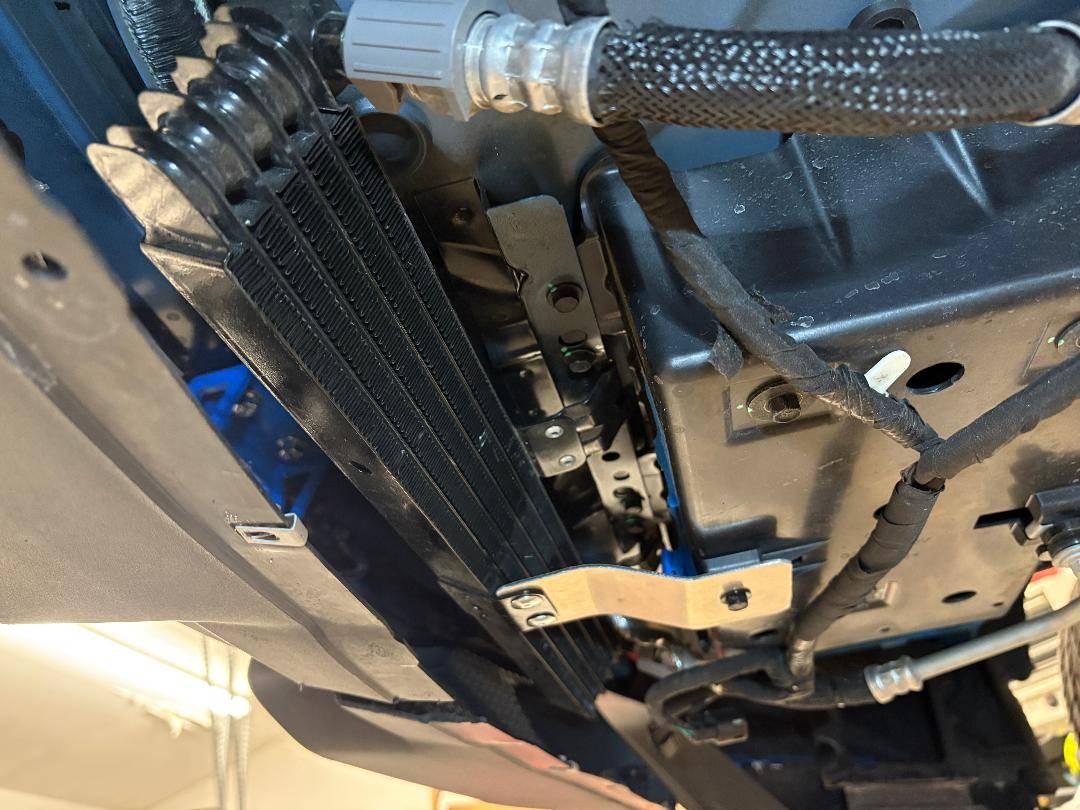
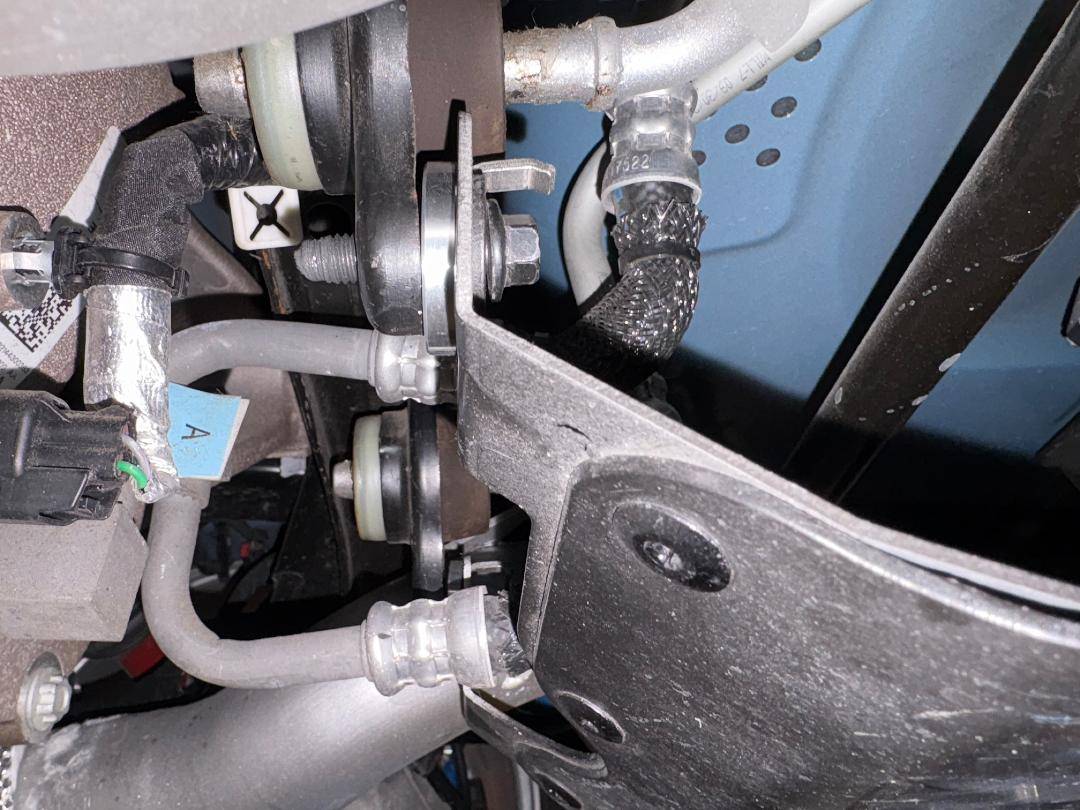
2.) The heat exchanger is right in the way of the hitch cross bar so I found the cleanest way to raise it out of the way so it won't vibrate against the cross bar is to detach the lower mounting bracket by drilling out the rivets and pushing up on the upper brackets with a piece of wood and bending them to tilt the exchanger out of the way. Then you can fabricate a longer lower bracket to re-rivet to the tab on the heat exchanger for a secure relocation of the heat exchanger.
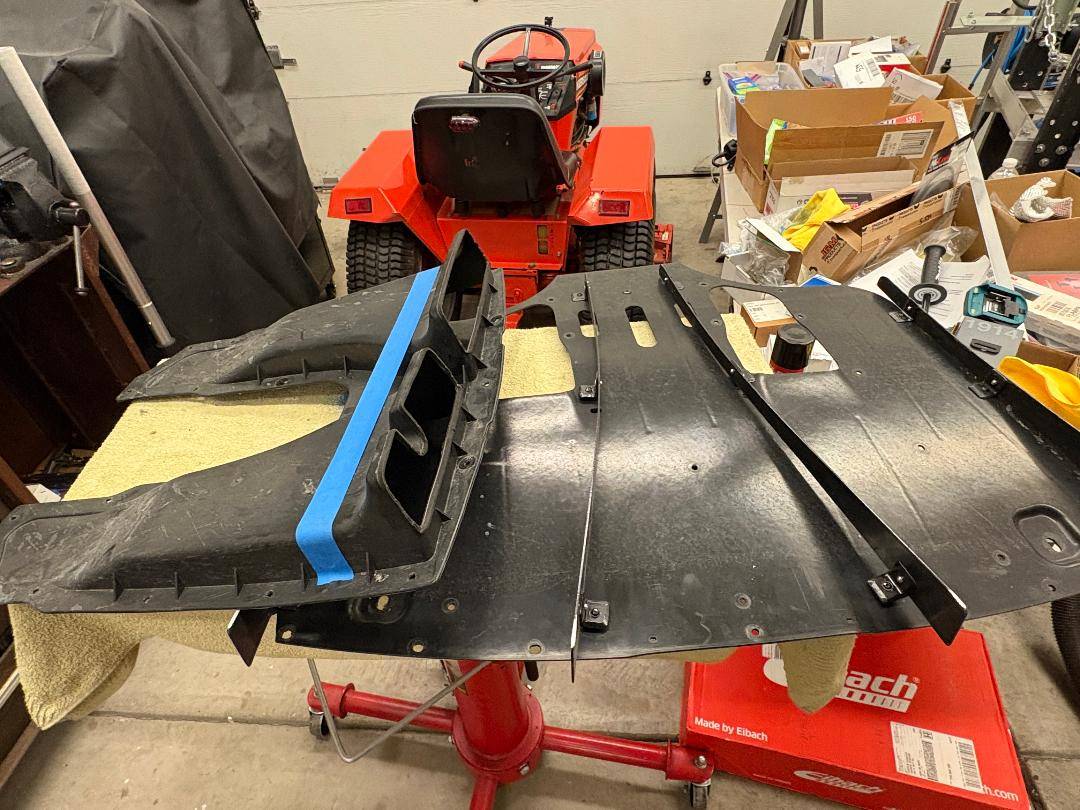
3.) The diffuser tunnels also interfere with the cross bar so the curved ends need to be cut off. I drilled out the large flange tri-fold rivets to separate the tunnels so I wouldn't accidentally cut or damage the diffuser panel and then re-riveted the modified tunnels. The directed air still has enough space to flow above the hitch's cross bar and flow into the heat exchanger so, hopefully, the disturbed air flow isn't too compromised.
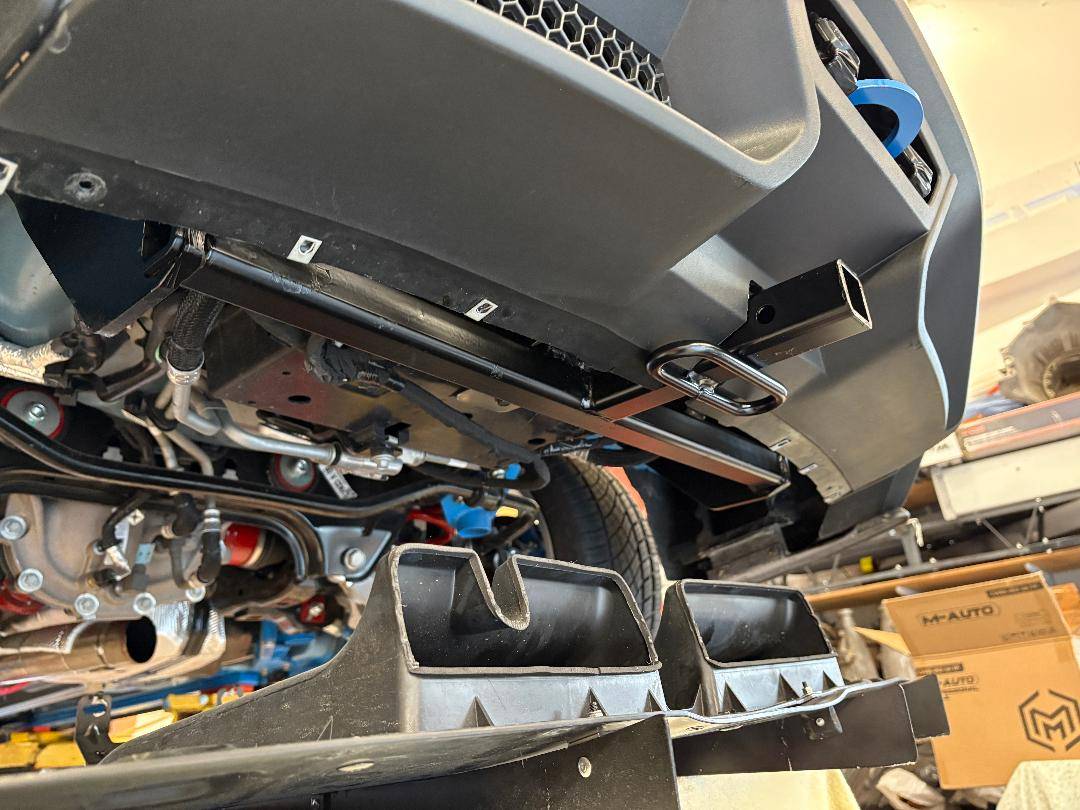
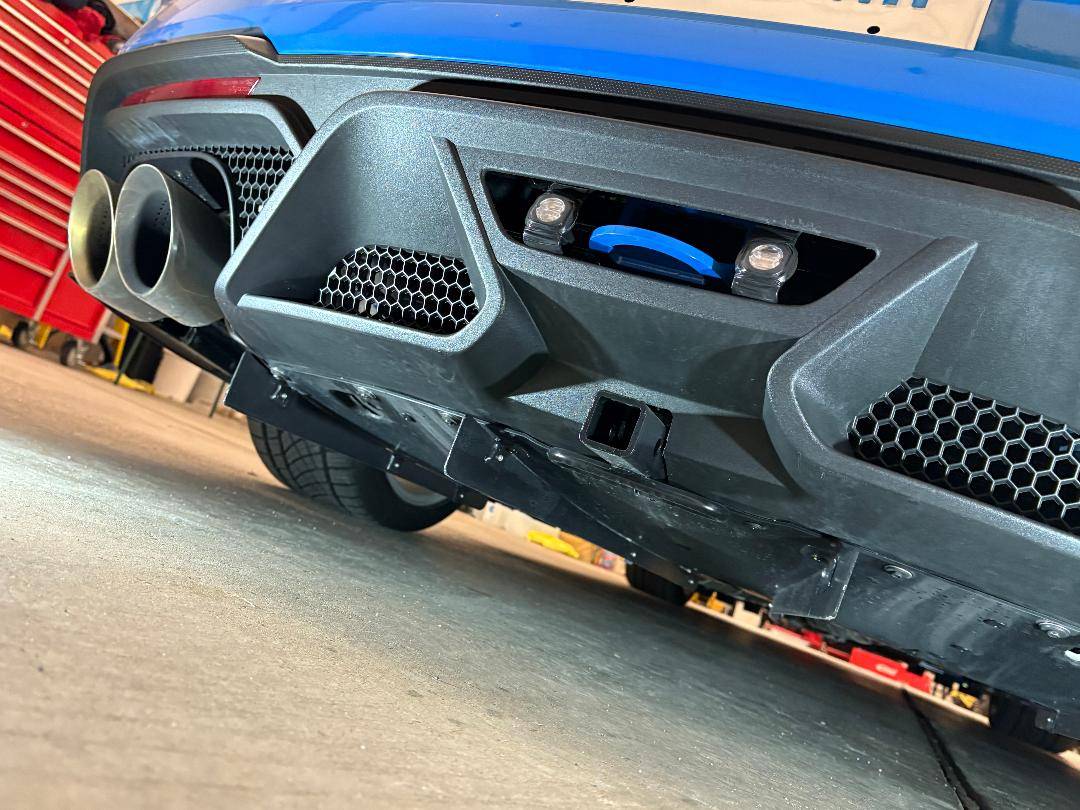
4.) The hitch tongue has a reinforcing plate welded on top of it and it wants to protrude through the bumper about 3/8" if the diffuser is properly mounted to the vehicle. The bumper is compliant enough to move "back" and away from that plate (I trimmed the plate's width to minimize any interference) if the diffuser's aluminum front mounting points are reversed from the forward part of the exhaust hanger bracket to the rearward position on the hanger bracket. This allows the most minimalist cut-out in the bumper and the diffuser wedges under the hitch's safety loops so there's no loss in support from losing the bumper's center screw tab. (You could always grind back the reinforcing plate but the welds on the tongue add some extra challenge.)
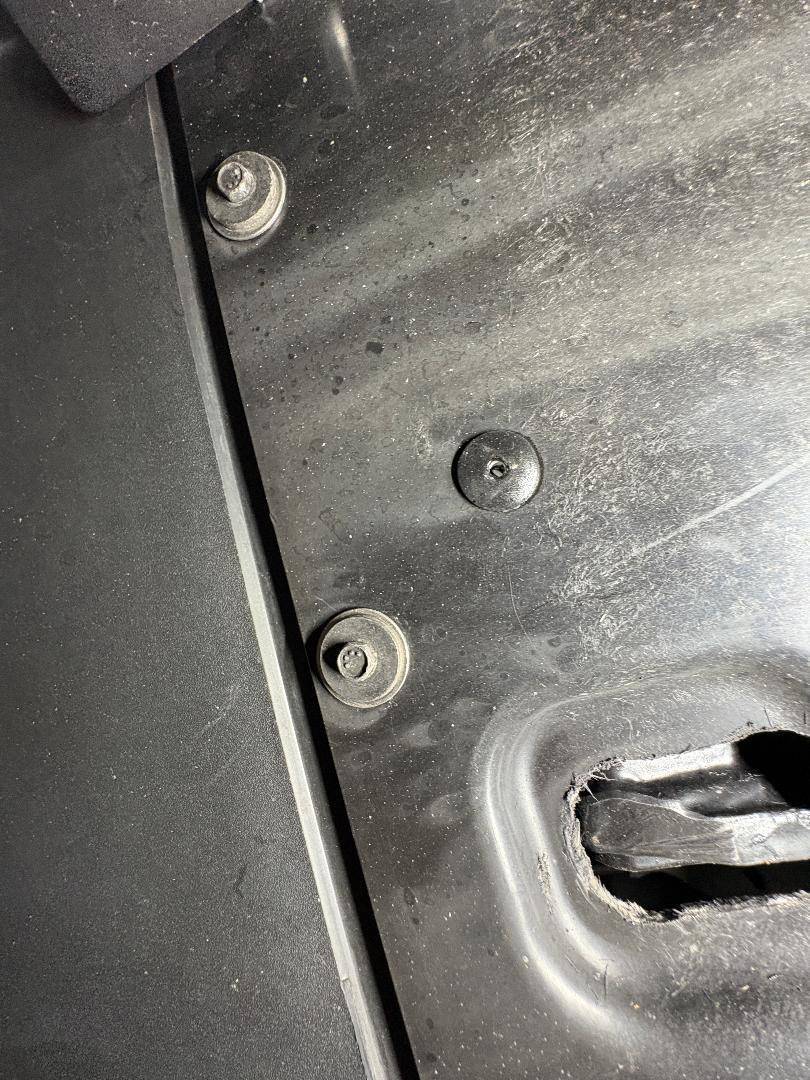
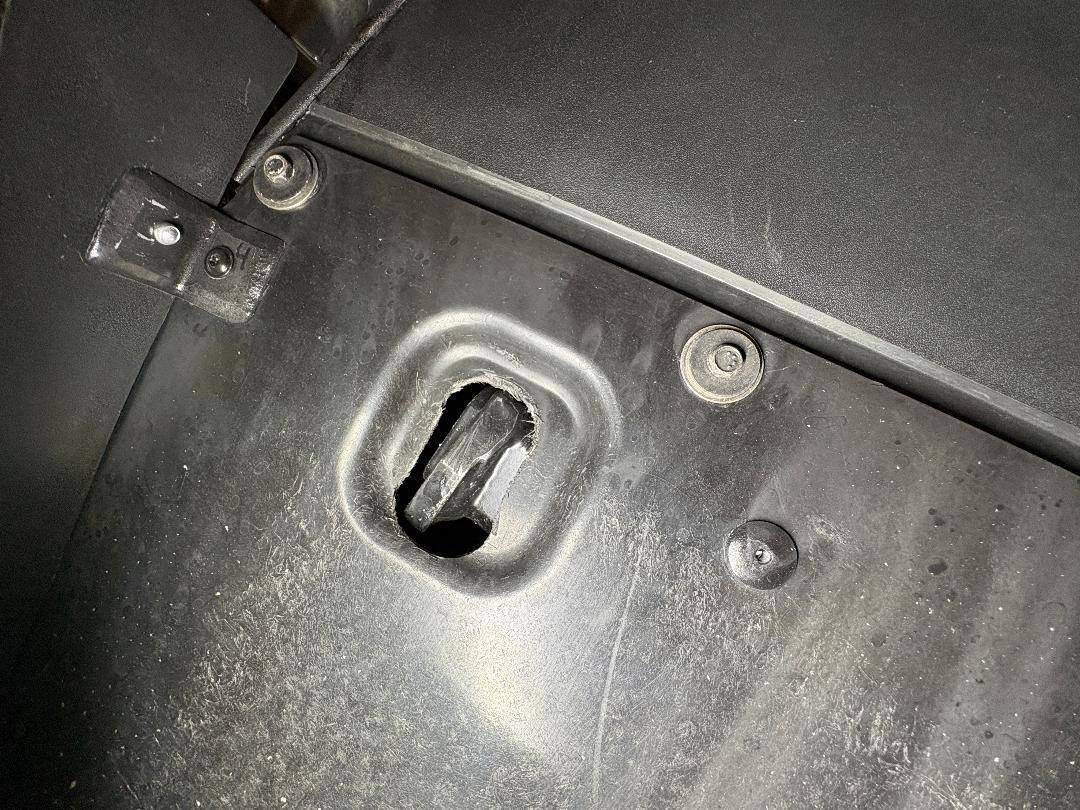
5.) Lastly, the plastic support brackets for the diffuser have to be removed because they're in-line with the side brackets of the hitch. The attachment hole in the diffuser panel is in a recessed pocket that also happens to interfere with the bottom of the hitch side brackets. A simple hogging out of the recessed pocket cures the interference.


1.) The 90 degree mounting leg on each side of the hitch should be cut off to insure clearance for the active mufflers. If you really want a third mounting point per side, the legs can be re-welded to the hitch at the more forward mounting hole. It probably doesn't contribute any benefit to reducing the bending stress from the tongue load but it adds a third fastener in shear for axial forces from pulling a trailer. It shouldn't matter for such minimal loads from a tire trailer, but, anything heavier, I'd double check my math on the strength of four vs six mounting bolts. Fish the fasteners through the large opening on the side of the frame rail, no need for filing the actual installation hole as some videos show.
2.) The heat exchanger is right in the way of the hitch cross bar so I found the cleanest way to raise it out of the way so it won't vibrate against the cross bar is to detach the lower mounting bracket by drilling out the rivets and pushing up on the upper brackets with a piece of wood and bending them to tilt the exchanger out of the way. Then you can fabricate a longer lower bracket to re-rivet to the tab on the heat exchanger for a secure relocation of the heat exchanger.
3.) The diffuser tunnels also interfere with the cross bar so the curved ends need to be cut off. I drilled out the large flange tri-fold rivets to separate the tunnels so I wouldn't accidentally cut or damage the diffuser panel and then re-riveted the modified tunnels. The directed air still has enough space to flow above the hitch's cross bar and flow into the heat exchanger so, hopefully, the disturbed air flow isn't too compromised.
4.) The hitch tongue has a reinforcing plate welded on top of it and it wants to protrude through the bumper about 3/8" if the diffuser is properly mounted to the vehicle. The bumper is compliant enough to move "back" and away from that plate (I trimmed the plate's width to minimize any interference) if the diffuser's aluminum front mounting points are reversed from the forward part of the exhaust hanger bracket to the rearward position on the hanger bracket. This allows the most minimalist cut-out in the bumper and the diffuser wedges under the hitch's safety loops so there's no loss in support from losing the bumper's center screw tab. (You could always grind back the reinforcing plate but the welds on the tongue add some extra challenge.)
5.) Lastly, the plastic support brackets for the diffuser have to be removed because they're in-line with the side brackets of the hitch. The attachment hole in the diffuser panel is in a recessed pocket that also happens to interfere with the bottom of the hitch side brackets. A simple hogging out of the recessed pocket cures the interference.
Sponsored