Sponsored

Installed a Velossa Tech Big Mouth

jmeiers

Well-Known Member
Joined
Oct 27, 2018
Threads
43
Messages
624
Reaction score
370
Location
Northern Virginia
Vehicle(s)
2019 Mustang GT PP1/401A/A10
Vehicle Showcase
1
The improvement to the IAT from the big mouth is primarily to be seen when sitting/idling. The IAT when the car is moving shouldn't be materially different than if you didn't have it because fresh air is coming in through the grille anyway.
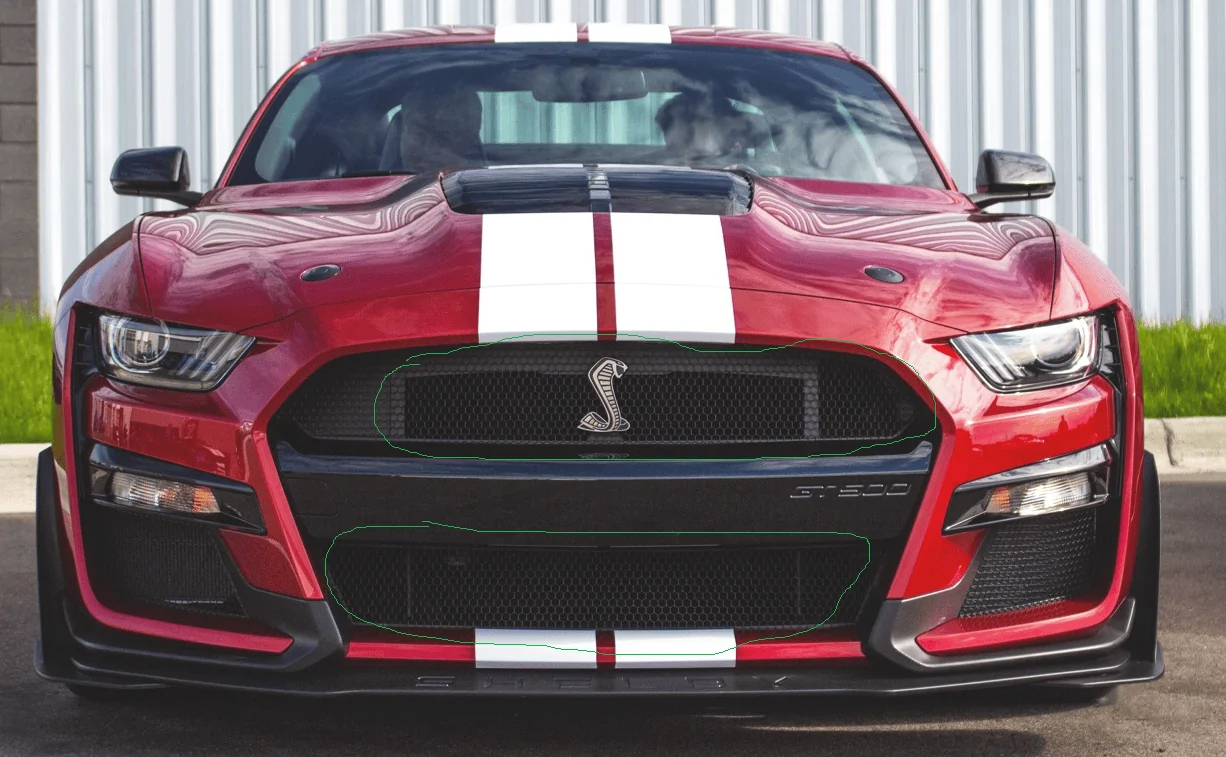
This right here is the reason I am going to get the big mouth. I want to prevent radiator backwash, as much as possible, while idling in staging lanes, traffic, etc. It should do a good job of blocking the radiator heat when the fans kick on by blocking the area behind the grille between the radiator and inlet. I already have the Cervinis C grilles so there is already plenty of flow. I also made a cover for my JLT intake so I have IAT's under control and very close to stock temps. The big mouth is just the final piece to the puzzle.
Sponsored


BigBlue

Well-Known Member
Joined
Aug 20, 2018
Threads
20
Messages
273
Reaction score
96
Location
Nevada
Vehicle(s)
2018 Ford Mustang GT - 10spd Auto, Performance Pack Lvl 1
Now with the bottom grill opened up too. Nothing behind there except the radiator, 25 sq in more flow from the bottom 40 I opened. Breathe deep baby :)

111111.webp
 

BigBlue

Well-Known Member
Joined
Aug 20, 2018
Threads
20
Messages
273
Reaction score
96
Location
Nevada
Vehicle(s)
2018 Ford Mustang GT - 10spd Auto, Performance Pack Lvl 1
Yep thats what I did too there. I would HIGHLY recommend opening up the other grid area on the left side of the fang too and if you dont mind the look, grind out the pony and leave the silhouette. I also did the bottom two rows on the lower grille. Nothing weird behind them that they need to block air from, just wide open radiator. I left the top row and all the blocked areas on the passenger side fang completely closed as there is nothing there that needs air. Essentially, mirrored what Ford did with the new GT500 regarding where they have airflow coming in. No reason to unblock the rest, just more drag and no benefit.

upload_2019-8-18_11-41-59.webp
 

chesster51

Well-Known Member
Joined
Sep 26, 2019
Threads
38
Messages
302
Reaction score
62
Location
Middleburg, FL
First Name
Rick
Vehicle(s)
2019 Bullitt
Vehicle Showcase
1
The reason I didnt do the Velossatech was that it physically changes the shape of the inlet of the intake by proxy of form fitting into the OEM duct, lengthening it etc. Not sure how it impacts the airflow into the pipe/etc or the resonance and airflow within the OEM setup, but since the OEM one works great I just focused on more flow overall since at speed, air temps drop rapidly to ambient (in seconds) with sufficient flow incoming either way.

What I did instead is i removed the OEM pony and carefully trimmed out all but the silhouette (kind of like the camaro's flowtie on the Z/28 in 2014), as well as opening up all the honeycomb on the drivers side inside fang area and the other side of that fang too. What I can tell you is that this made a huge difference in throttle response and cooling efficiency for my car. I suspect the pony causes turbulence and air to be pushed up/away from the other grill inlets so once its gone and that is open inside, the overall flow is more direct and not as turbulent, of course including more air overall directly towards the OEM inlet area and through the middle of the honeycomb. I am one very happy camper with this done. :)

I call it, my Flow Pony, or Flowny for short lmao. Use a carbide bit drill (small, then medium, then large size bits) to drill center holes in each honeycomb. Then switch to a Dremel and use the gray metal grinder cone shaped tools and literally grind it out carefully. Once the plastic heats up the dremel will cut it like butter, hence the nice smooth cutout of the horse I did in about 1hr.
Older post I know, but did you drill/Dremel the honeycombs with the grill installed or did you remove it?
 

MustangMystique

Active Member
Joined
Aug 30, 2019
Threads
3
Messages
41
Reaction score
16
Location
Greater Houston, Texas U.S.A.
Website
www.instagram.com
First Name
Mystique
Vehicle(s)
2020 Mustang GT Premium PP1
Vehicle Showcase
1
The reason I didnt do the Velossatech was that it physically changes the shape of the inlet of the intake by proxy of form fitting into the OEM duct, lengthening it etc. Not sure how it impacts the airflow into the pipe/etc or the resonance and airflow within the OEM setup, but since the OEM one works great I just focused on more flow overall since at speed, air temps drop rapidly to ambient (in seconds) with sufficient flow incoming either way.

What I did instead is i removed the OEM pony and carefully trimmed out all but the silhouette (kind of like the camaro's flowtie on the Z/28 in 2014), as well as opening up all the honeycomb on the drivers side inside fang area and the other side of that fang too. What I can tell you is that this made a huge difference in throttle response and cooling efficiency for my car. I suspect the pony causes turbulence and air to be pushed up/away from the other grill inlets so once its gone and that is open inside, the overall flow is more direct and not as turbulent, of course including more air overall directly towards the OEM inlet area and through the middle of the honeycomb. I am one very happy camper with this done. :)

I call it, my Flow Pony, or Flowny for short lmao. Use a carbide bit drill (small, then medium, then large size bits) to drill center holes in each honeycomb. Then switch to a Dremel and use the gray metal grinder cone shaped tools and literally grind it out carefully. Once the plastic heats up the dremel will cut it like butter, hence the nice smooth cutout of the horse I did in about 1hr.


Link to info about this type of thing on the Z/28. Its not about the surface area but rather the disruption of airflow around the blocked off piece:

https://www.roadandtrack.com/new-ca...eewIKE-ngcR9wE6jzqc8lb86cr6MrOlPA5C5W7lbV7Qyo

Pics (dirty car warning)!

111.webp


And with highlights to where the honeycomb / pony were opened up. The rest I left closed for minimal drag/etc and because temps are well in control, no need to do more imo:

112.webp
Did the same in the small opening - dremel'd out the honeycomb plates to be free flowing -made a huge difference.
Sponsored


Top