OP
OP
- Joined
- Nov 2, 2015
- Threads
- 107
- Messages
- 5,821
- Reaction score
- 2,399
- Location
- SE Michigan
- First Name
- Scott
- Vehicle(s)
- Carroll Shelbys Soul Lives Under My GT350 Hood
- Thread starter
- Banned
- #181
The other day I removed the stock exhaust. I had about 2 hours in removing the stock headers and exhaust. Not as bad as some say it is. I used the following tools.
15mm long ratchet wrench
15mm medium ratchet wrench
15mm deep socket
Assortment of 3/8" extensions
3/8" fine tooth ratchet
3/8" flex head mini ratchet
3/8" universal
7mm socket
1/4" ratchet
T40 torx
I removed the negative battery cable before anything was removed.
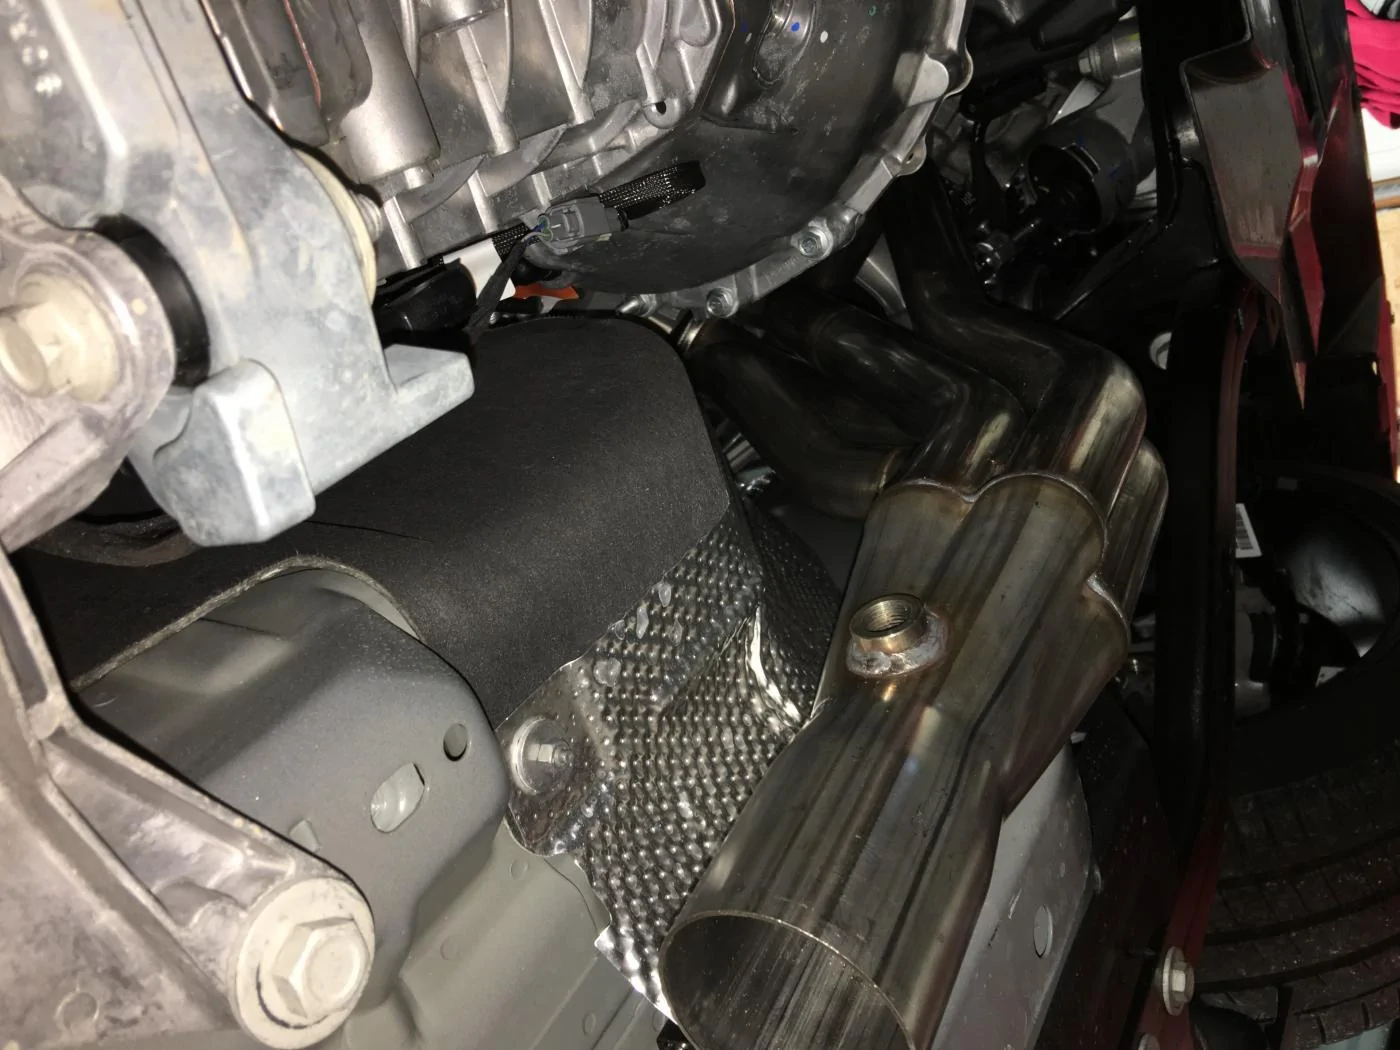
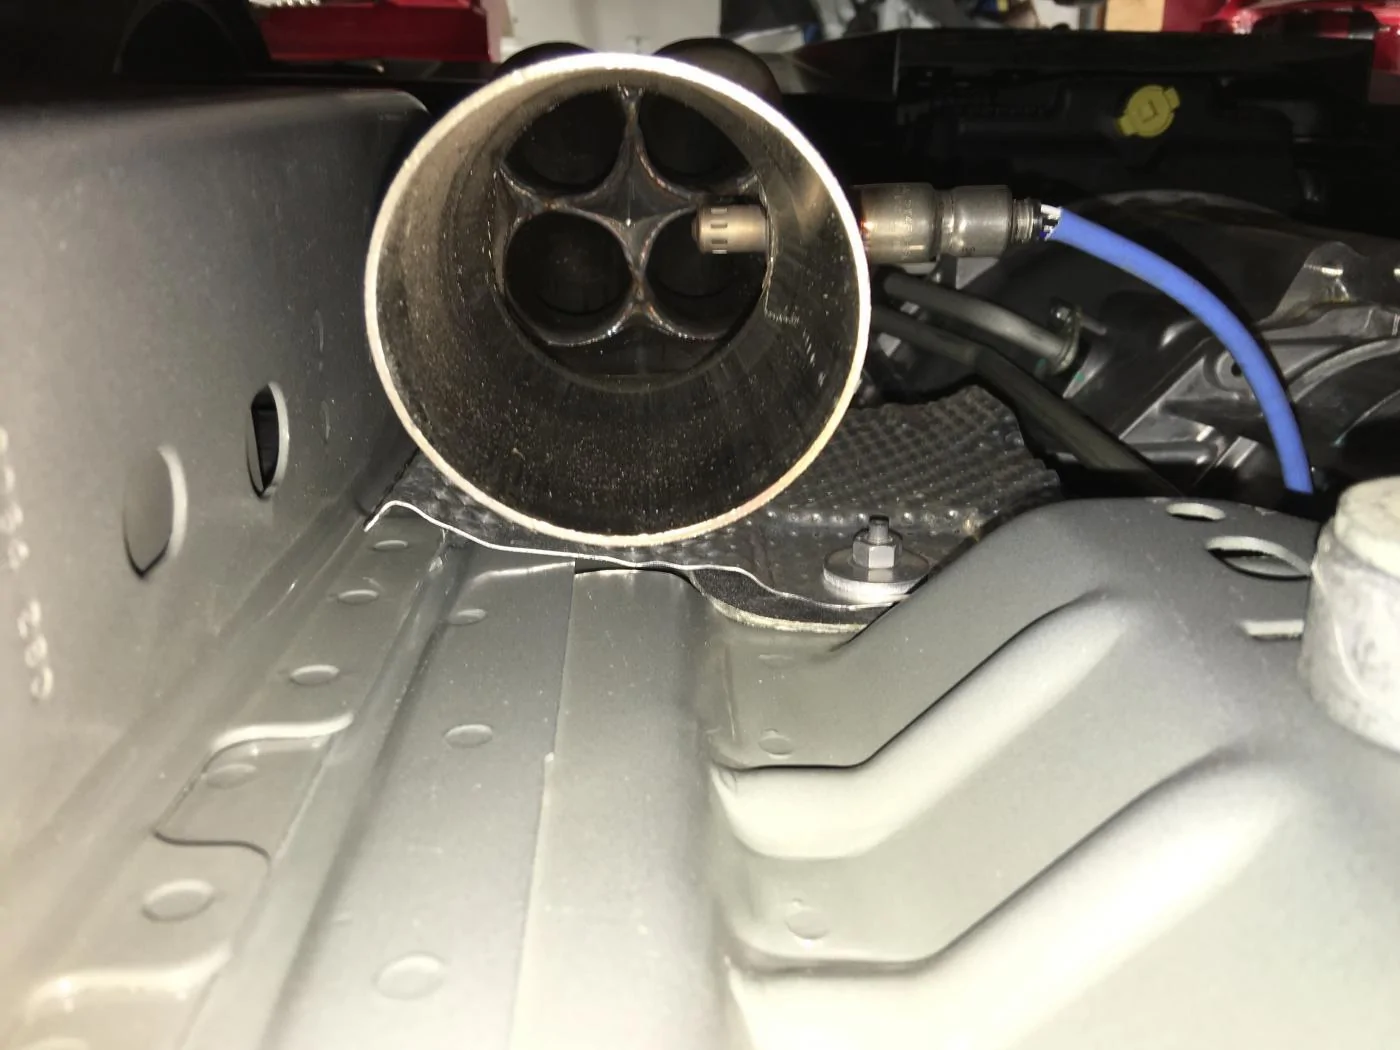
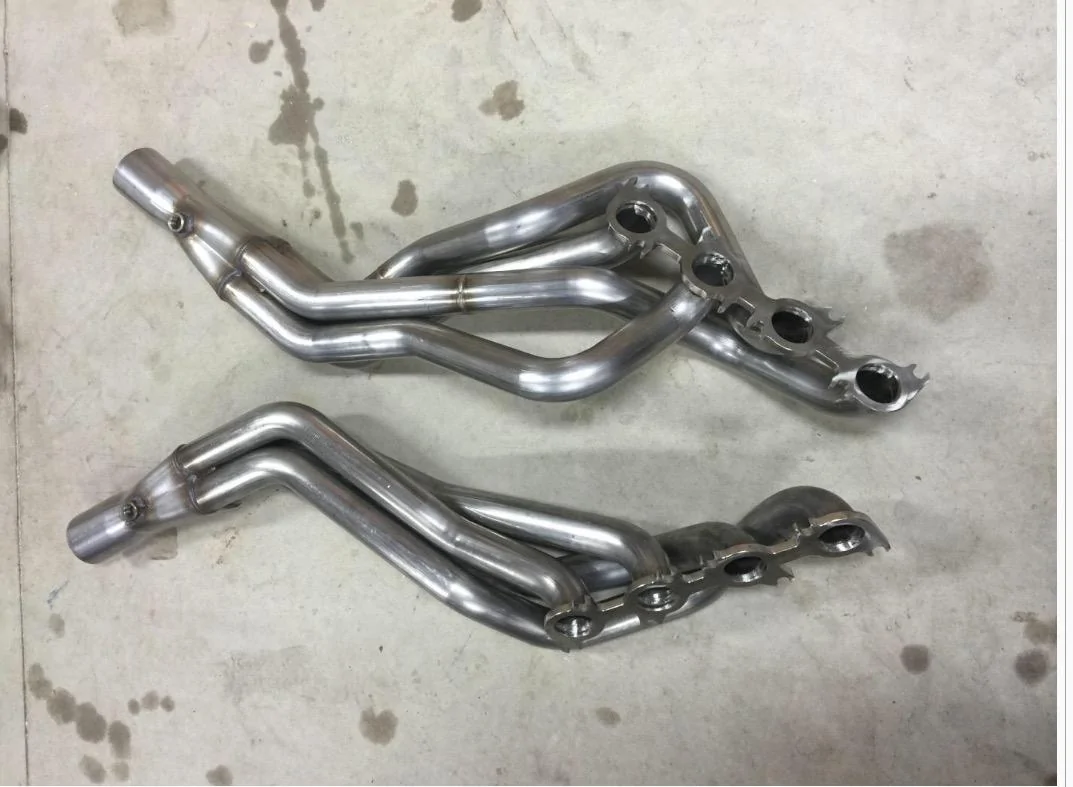
I then removed the factory X pipe and put it to the side. You can remove the driver side exhaust pipe from the header from underneath with a 15mm wrench. the passenger side you can remove the exhaust pipe nut from the bottom and the top nut will have to be removed with a socket and extensions from the top. I'll weigh the stock exhaust later. I began with the driver side header removal first. Most people from what I read loosen the steering column at the firewall, I skipped that step and just removed the steering shaft from the steering rack using a T40 torx bit. All the header nuts are 15mm and I mainly used the 3/8" short flex head ratchet and deep well 15mm socket. The only nut I used the long and medium 15mm ratchet wrench for was the 3rd nut from the front just above the motor mount. It took a little bit of time but wasn't bad. In all I had the driver side header off in about 20 minutes. I did not remove the motor mount.
I removed all the header studs first backing them out about 1/2 turn then tighten them, then back off to avoid stripped threads. Take you time here and go easy. Once I had all the studs removed I proceeded to install the driver side header. I tried to slide it in without loosening the motor mounts but no luck, I had to back off just the one nut on each motor mount to get the driver side header in place. Once I fit the header in place I installed the gaskets and just a few bolts to hold it in place.
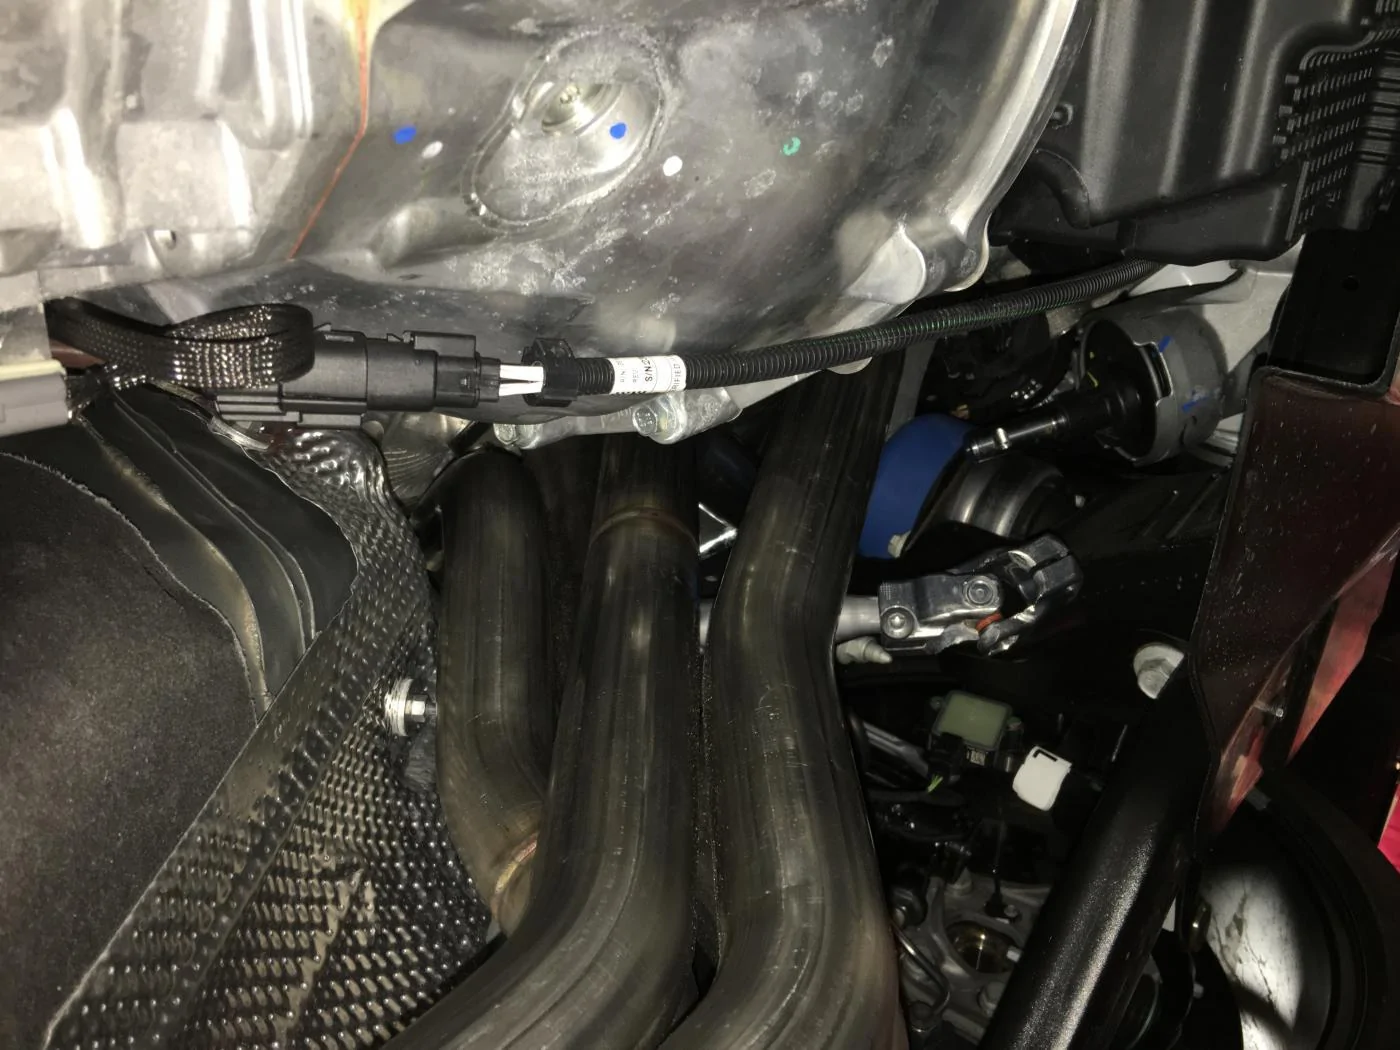
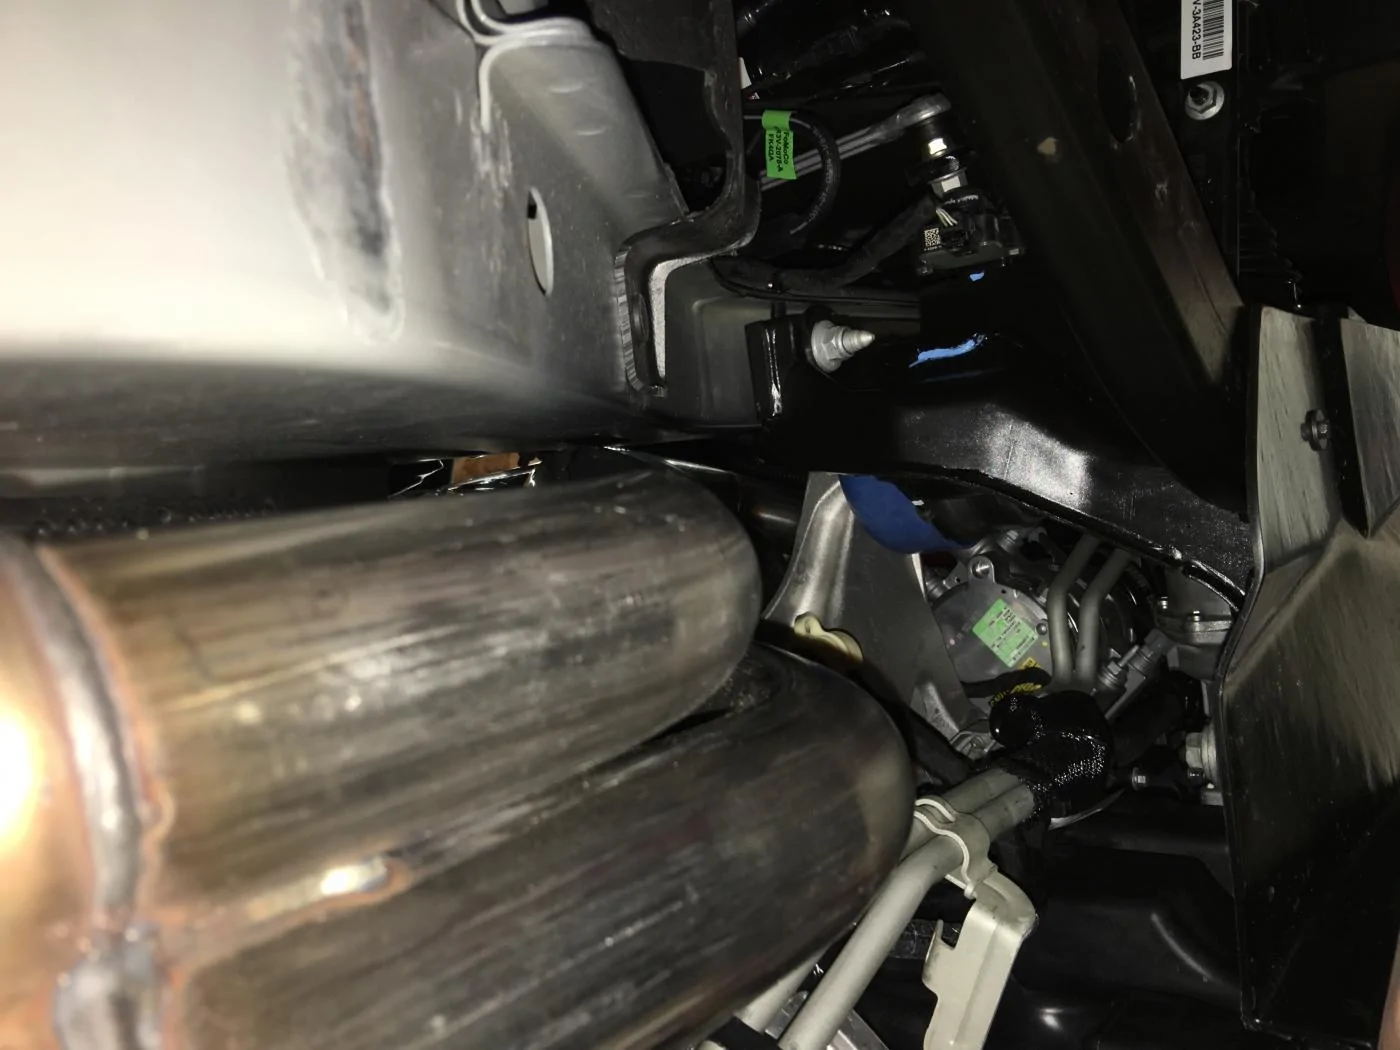
Passenger side header removal is a little more time consuming, it took me about 1 hour to remove the right header. Again I used the small 3/8" flex head ratchet, 3/8" drive extensions and ratchet wrenches. Not to bad just time consuming. I also removed the starter but not the motor mount.
Again take your time removing the header studs.
I got called back to work and I will install the right side header tomorrow. The left ARH fits like a glove. I'm sure the right side will be the same. Another nice feature ARH includes is the AC line clamp!
15mm long ratchet wrench
15mm medium ratchet wrench
15mm deep socket
Assortment of 3/8" extensions
3/8" fine tooth ratchet
3/8" flex head mini ratchet
3/8" universal
7mm socket
1/4" ratchet
T40 torx
I removed the negative battery cable before anything was removed.
I then removed the factory X pipe and put it to the side. You can remove the driver side exhaust pipe from the header from underneath with a 15mm wrench. the passenger side you can remove the exhaust pipe nut from the bottom and the top nut will have to be removed with a socket and extensions from the top. I'll weigh the stock exhaust later. I began with the driver side header removal first. Most people from what I read loosen the steering column at the firewall, I skipped that step and just removed the steering shaft from the steering rack using a T40 torx bit. All the header nuts are 15mm and I mainly used the 3/8" short flex head ratchet and deep well 15mm socket. The only nut I used the long and medium 15mm ratchet wrench for was the 3rd nut from the front just above the motor mount. It took a little bit of time but wasn't bad. In all I had the driver side header off in about 20 minutes. I did not remove the motor mount.
I removed all the header studs first backing them out about 1/2 turn then tighten them, then back off to avoid stripped threads. Take you time here and go easy. Once I had all the studs removed I proceeded to install the driver side header. I tried to slide it in without loosening the motor mounts but no luck, I had to back off just the one nut on each motor mount to get the driver side header in place. Once I fit the header in place I installed the gaskets and just a few bolts to hold it in place.
Passenger side header removal is a little more time consuming, it took me about 1 hour to remove the right header. Again I used the small 3/8" flex head ratchet, 3/8" drive extensions and ratchet wrenches. Not to bad just time consuming. I also removed the starter but not the motor mount.
Again take your time removing the header studs.
I got called back to work and I will install the right side header tomorrow. The left ARH fits like a glove. I'm sure the right side will be the same. Another nice feature ARH includes is the AC line clamp!
Sponsored