Mustang5ohMan
Well-Known Member
- Thread starter
- #16
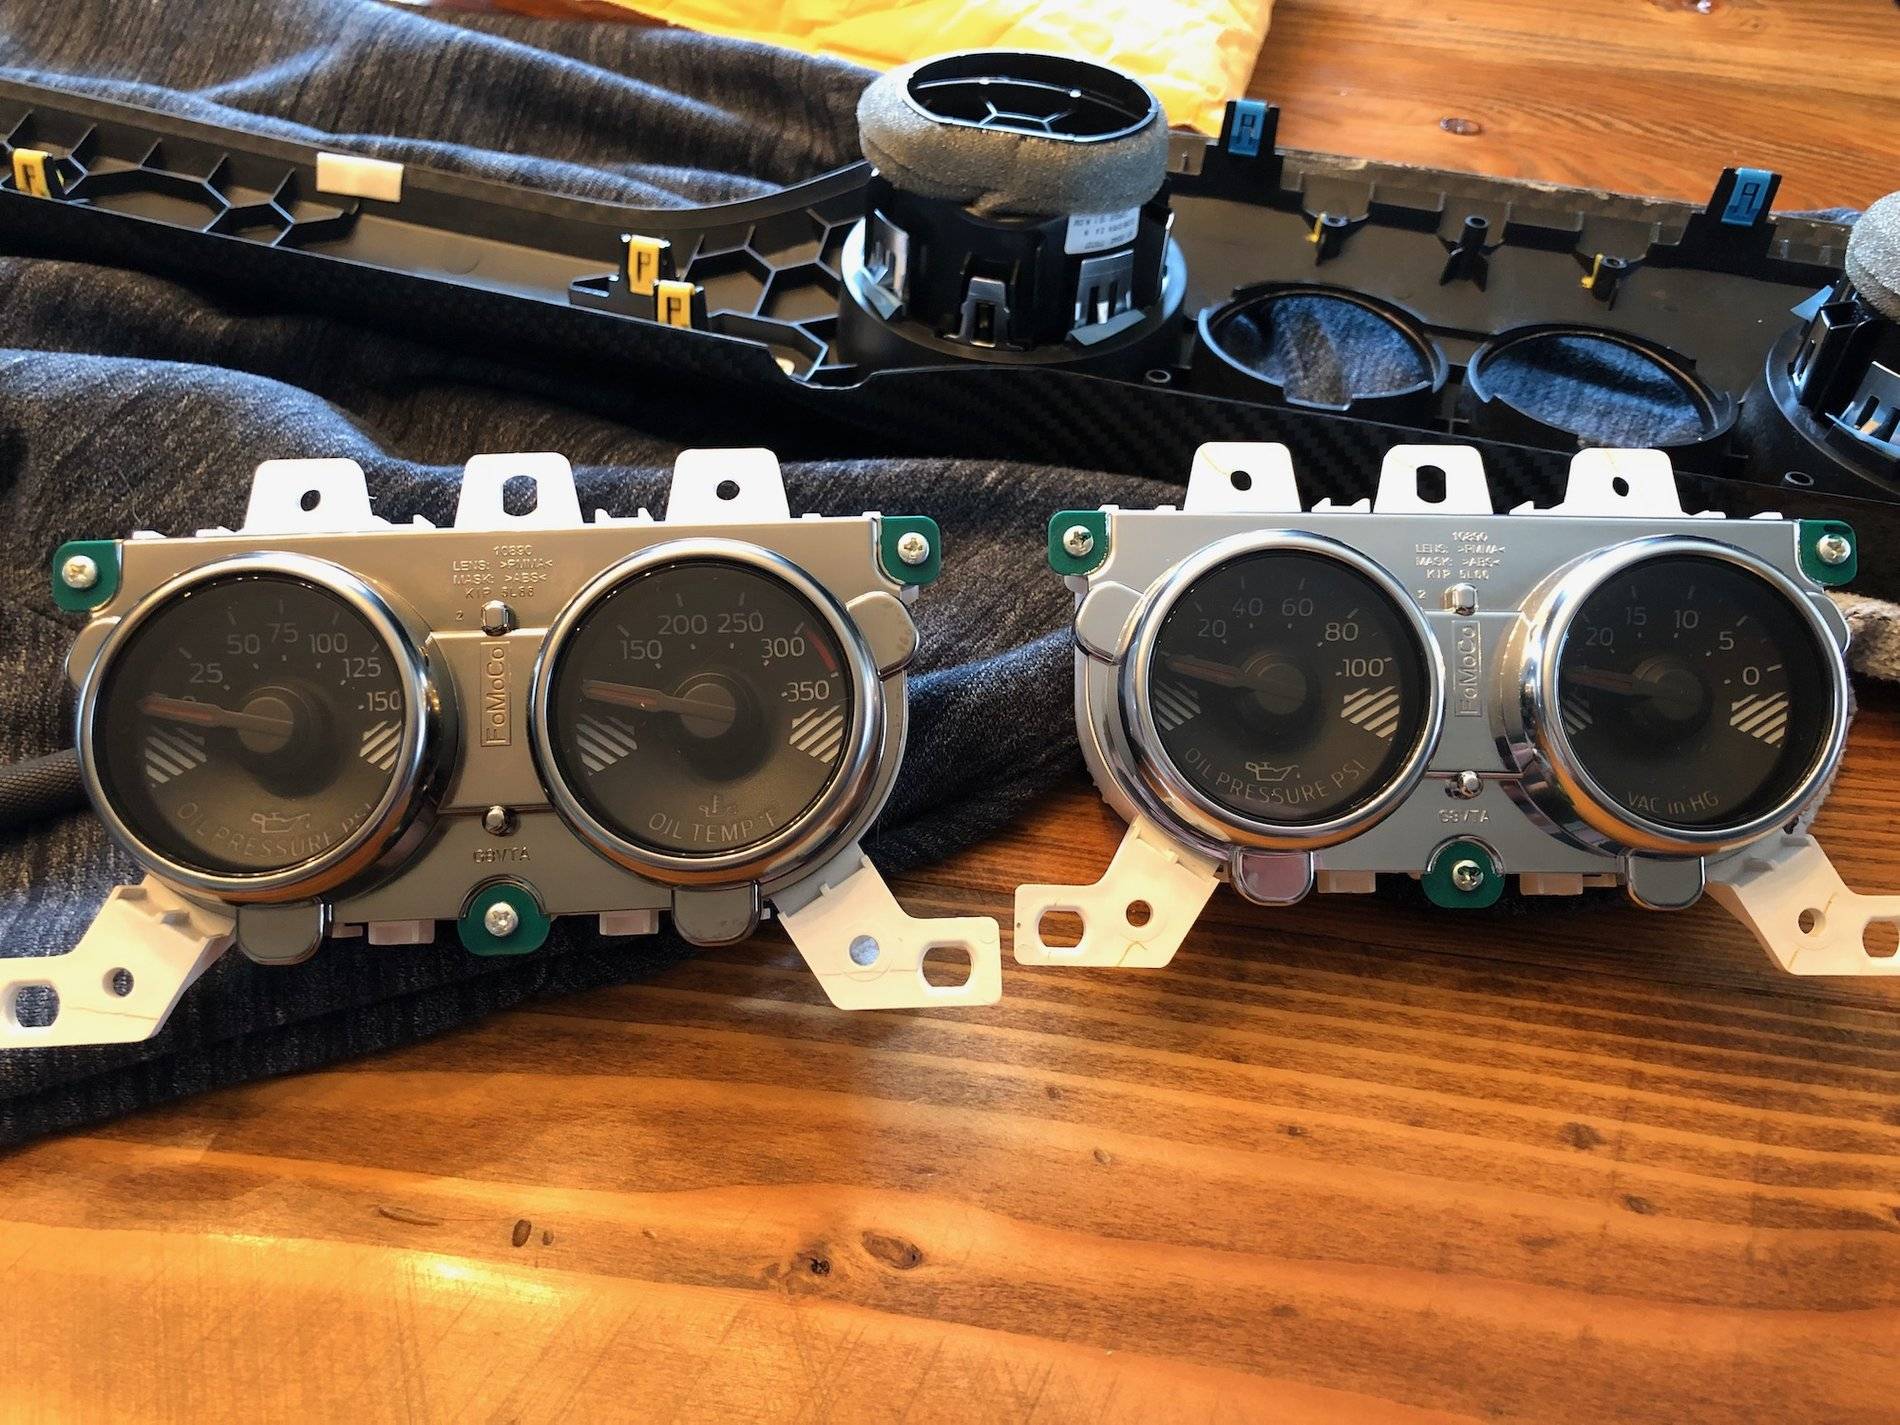
Nice. Where’d you order the 350 gauges and how much were they?
All plug and play it looks like. What did you use to remove the plastic bezel w/o damage.
May try this in the future....
All plug and play it looks like. What did you use to remove the plastic bezel w/o damage.
May try this in the future....
Sponsored


 . Good luck.