Sponsored

A/C Evaporator Replaced Due To Leak

DanyYanks

New Member
Joined
Apr 5, 2023
Threads
0
Messages
3
Reaction score
1
Location
Southern USA
First Name
Wes
Vehicle(s)
2016 Ford Mustang GT Premium
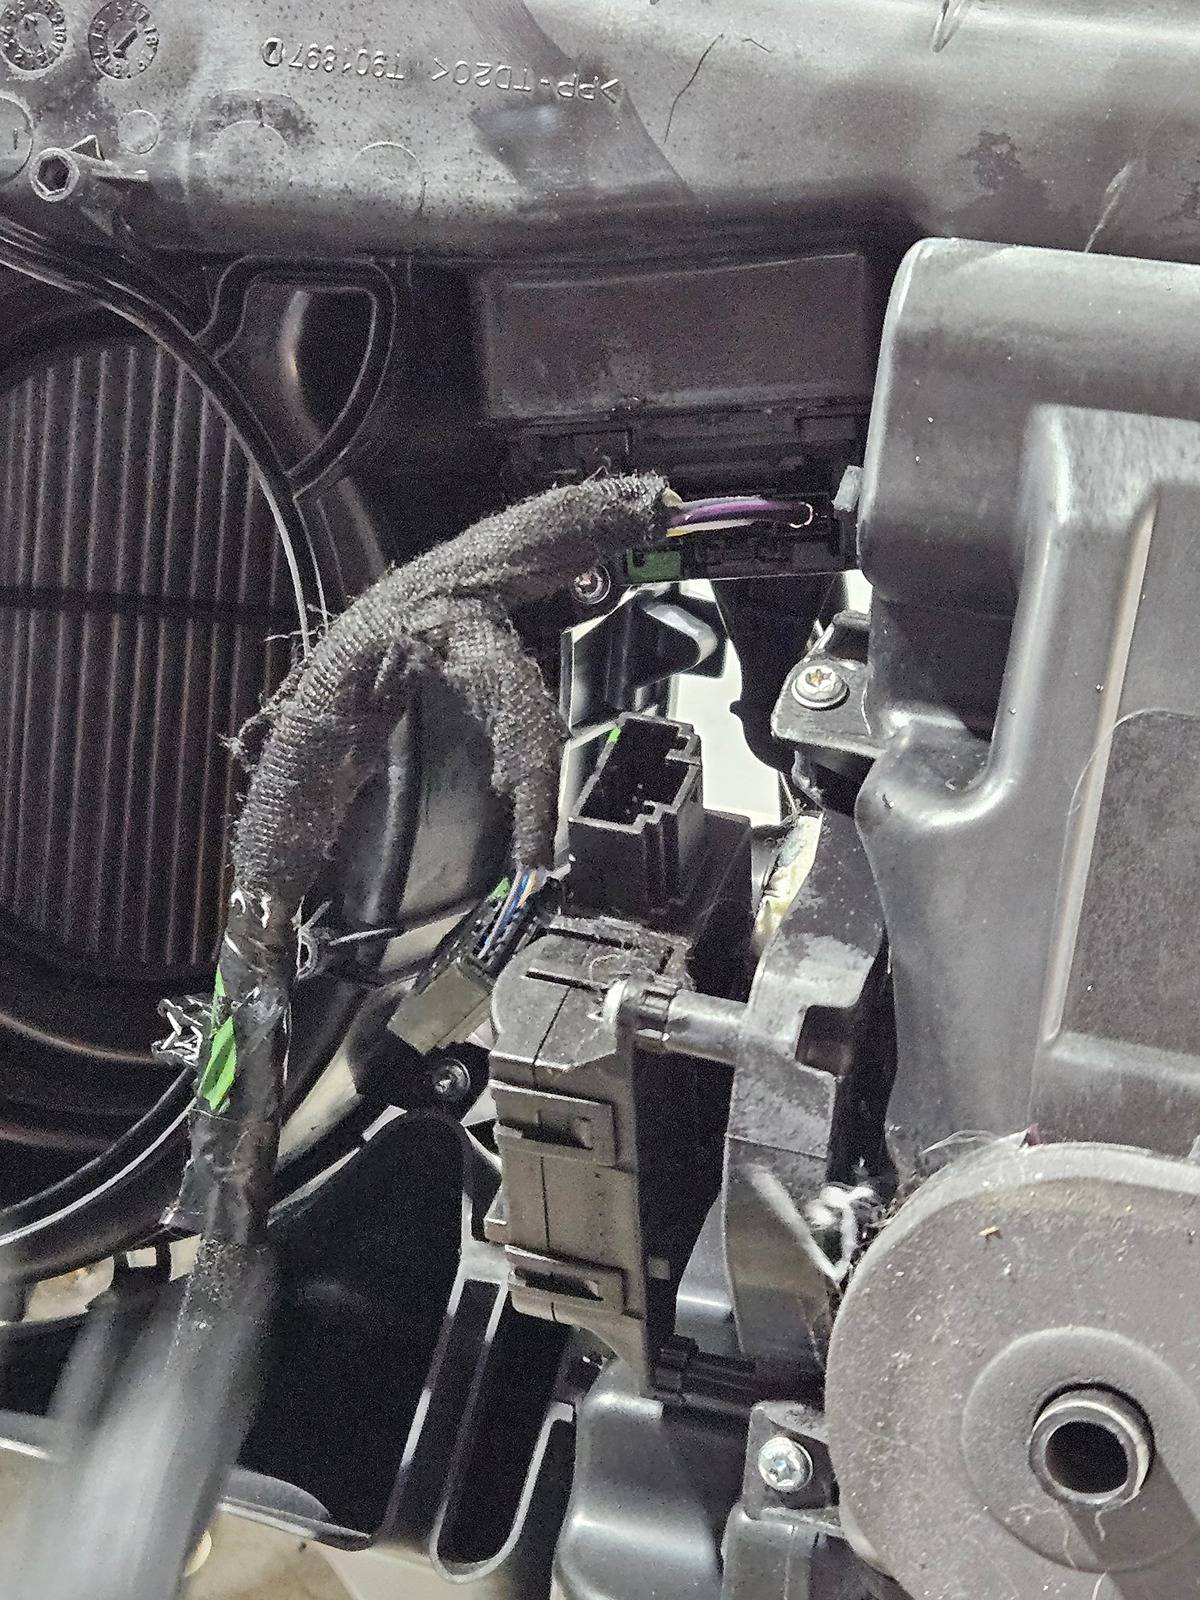
My 2016 GT is having these same problems. Does anyone happen to have the service manual PDF that has instructions on how to remove the dash? I think it running low on freon has killed my AC compressor as well, it makes a terrible whining noise and then stops spinning about a minute or two after starting the car. It could be the AC compressor clutch. Thanks for all of the useful information @Rod Schneider
Sponsored

 
Last edited:

Sponsored

OP
OP
Rod Schneider

Rod Schneider

Well-Known Member
Joined
Oct 17, 2016
Threads
12
Messages
219
Reaction score
173
Location
Ball Ground, GA
First Name
Rod
Vehicle(s)
2016 Mustang EcoBoost
Were you able to do the job without unhooking the shifter?
When I did this, I removed the automatic shifter. It comes out easily and makes it much easier to remove the dash. I also removed the steering column and wheel from the dash to make it easier to maneuver.
 

dracoval

Member
Joined
Feb 2, 2024
Threads
3
Messages
11
Reaction score
1
Location
Florida
First Name
Draco
Vehicle(s)
2017 Mustang
When I did this, I removed the automatic shifter. It comes out easily and makes it much easier to remove the dash. I also removed the steering column and wheel from the dash to make it easier to maneuver.
Thank you so much for replying, I am having trouble with the shifter, I know you said you have to unhook the selector cable under the car but I have no clue what to look for, is there any video or help showing how to unhook the selector cable and take the shifter out?
 

mindo389

Well-Known Member
Joined
Nov 28, 2019
Threads
7
Messages
266
Reaction score
318
Location
Baton Rouge, Louisiana
First Name
Charles
Vehicle(s)
2015 Mustang GT 5.0 50th AY Appearance Pkg.
Vehicle Showcase
1
This is part 1 from my experience this weekend:

To prepare, make sure you have all the correct parts. Get an O ring kit and a new cabin filter. Maybe some new motor coolant (antifreeze). A worktable is handy. The car will need to be lifted, to access the shifter cable and connectors. It is a good idea to drain the coolant and recover any refrigerant to begin.

20240419_171311 - Copy.jpg
20240419_162642.jpg
20240420_103143.jpg


Keep things clean and orderly and make sure the refrigerant line connections are clean before assembling them. Or risk a refrigerant leak and start over…
This is a 2-person job, but a third person is handy.

Take care pulling the plastic panels, use one of the plastic tools to pry them off, whenever possible. Clean all plastic mating surfaces… you know, where kids dump their drinks in your console, etc. We found 4 cents under the console, so no bad deed goes unpunished.

We disconnected the battery and removed it. We had to remove the strut tower braces so we could remove the cowl panel grille, then we removed the windshield wipers and the wiper motor assembly. The wiper arms are held by a nut that’s under rubber covers.

20240419_175245.jpg


We recovered the refrigerant, while performing the above-mentioned tasks.

We removed the battery box and the engine cover. Then we disconnected the heater hoses and the refrigerant lines.

20240419_175214.jpg


There are two 15mm bolts that need removing in the windshield wiper motor bay and two more 8mm that a pain in the ass to remove from the firewall. The hardest is toward the driver’s side, offset from the middle of the engine, slightly. You’ll need a ratcheting wrench (Gear Wrench), a ton of patience, and contorted wrist movement. These are 1 ½’ long bolts.

20240419_175356.jpg
20240420_103022.jpg


The shifter cable had to be disconnected from beneath the car, a couple of almost hard to get to clips. It helps to have a lift, because you must get under the car. And the more space you have, the better.

To remove the top half of the console, there are a couple of side panels that come off, located beside the radio, to gain access to some 8mm bolts. The bottom part of the console came out, unplug a couple of electrical connectors, a couple of brackets and inside the console there are some more 8mm bolts under a plastic base.

Next, we popped off the kick panels on both sides, exposing some more electrical connectors. The front pillars need to come out and unplug the tweeters. A bunch of plastic panels… try not to crack or break them. We got lucky.

20240419_170440.jpg
20240419_183709.jpg
20240419_170708.jpg
20240419_183722.jpg


There are several electrical connectors that are under the dashboard, on both the driver’s side and the passenger’s side to disconnect. The fuse panel has several on the passenger’s side. And under the console are a few, and after they’re disconnected, we pulled the cable tie down pins and popped it free from the driveshaft hump.

If you don’t, you must remove the front cover, exposing the radio and unplug those electrical connectors from behind the radio. It’s not a good idea…

The shifter comes out, and a couple of brackets come out afterwards. And there’s a couple of screws and electrical connectors to remove under the chrome cover before the shifter can be removed. We loosened the hand brake but did not remove it. It provided enough room to remove the dashboard.

20240419_165309.jpg


To remove the dashboard, disconnect the steering wheel from the steering shaft by loosening a bolt below the steering column. The steering wheel remains on the dashboard assembly. There are several bolts that must come out and two are reached by opening the doors. These secure the sides of the dashboard. The bolts will not clear the edge of the doors but will remain in place. Just don’t close the doors until the bolts are tightened when the dashboard is put back in. And they’re long winded…

20240419_180158.jpg


Take caution removing the dashboard and try not to scratch up everything. It has a bit of awkward weight, but two people can handle it. A third person makes it easier to remove out of the car. Pull it out on the driver’s side and set it out of the way. Top edge by the windshield is plastic, so don’t break it.

20240419_183451.jpg
20240419_183605.jpg
20240419_183411.jpg


It took about an hour and a half to get the dashboard out. Going into this task for the first time, and using all data online for references, it wasn’t as daunting as I thought before we began.
 

mindo389

Well-Known Member
Joined
Nov 28, 2019
Threads
7
Messages
266
Reaction score
318
Location
Baton Rouge, Louisiana
First Name
Charles
Vehicle(s)
2015 Mustang GT 5.0 50th AY Appearance Pkg.
Vehicle Showcase
1
This is the second part:

We pulled the evaporator housing assembly, after removing a couple of 10mm screws.

20240420_110623.jpg
20240420_101612.jpg


The new evaporator housing assembly did not come with the blower motor. Also, there is two upper damper actuators, a square heater resistor, wiring harness, and a cold air sensor that needs to come off the old assembly and installed on the new one. Care to install the actuators, check to make sure the dampers are in the same position on each housing when swapping them.

20240420_095257.jpg
20240420_094131.jpg
20240420_095305.jpg
20240420_100338.jpg


There is a triangular shaped rubber gasket that seals the heater and refrigerant line firewall access that needs swapping over to the new assembly. It’s a good time to change out the cabin filter, unless you like doing it through the glove compartment later….

20240420_101259.jpg


The housing goes back in reverse order. We started with the two larger bolts that go through the firewall from the windshield wiper motor bay but did not tighten them. One person holds the assembly in place and the other gets in the engine compartment to install the two bolts. Then we installed the other screws. That one screw took the longest time… Once all the screws were in, we tightened them.

At this point, we performed a leak test on the refrigerant lines. After about 15 minutes, the automatic recovery/charge unit passed the leak test. You don’t want to know you have a leak when it’s too late.

The dashboard goes back in place. It went in easier than it came out. Something’s wrong… right?

Not this time.

Three of us put it in place: two people in the seats, one person outside the driver’s side door and we managed it in position. There are two small studs that the dashboard sits on, that is helpful.

Align all the bolts, by starting them but not tightening them, and start the two that enter the dashboard from the sides before tightening all the bolts, nuts and screws.

Once the dashboard is in place and tightened, begin the task of connecting all electrical plugs.

Then the console bottom half, shifter, hand brake and console top can be installed.

The windshield wiper motor, arms, covers, heater hoses, battery box and battery all went back in place.

Then, we charged the A/C system with R-134a, 1.5 lbs. and topped off the motor coolant.

We started the car and began to test the cooling and heating systems. Also, we checked the damper movements (upper, lower vents and defroster) for air movement. Satisfied things worked, a test drive and a trip to the gas station… it’s all good now.

Basically, it took us about five and a half hours total. But it was a learning curve and IF we do it again, it won’t take as long.

Thanks to: Rod Schneider, Jimayy, and Eric Eggers who went before me on this post. Y'all were helpful with your pictures and info. I hope my .02 helps someone else!
 

jloshotz

Active Member
Joined
Feb 11, 2024
Threads
1
Messages
41
Reaction score
20
Location
NY
First Name
Jack
Vehicle(s)
2016 GT Premium
Excellent write up, thanks for all the photos 👍🏻 
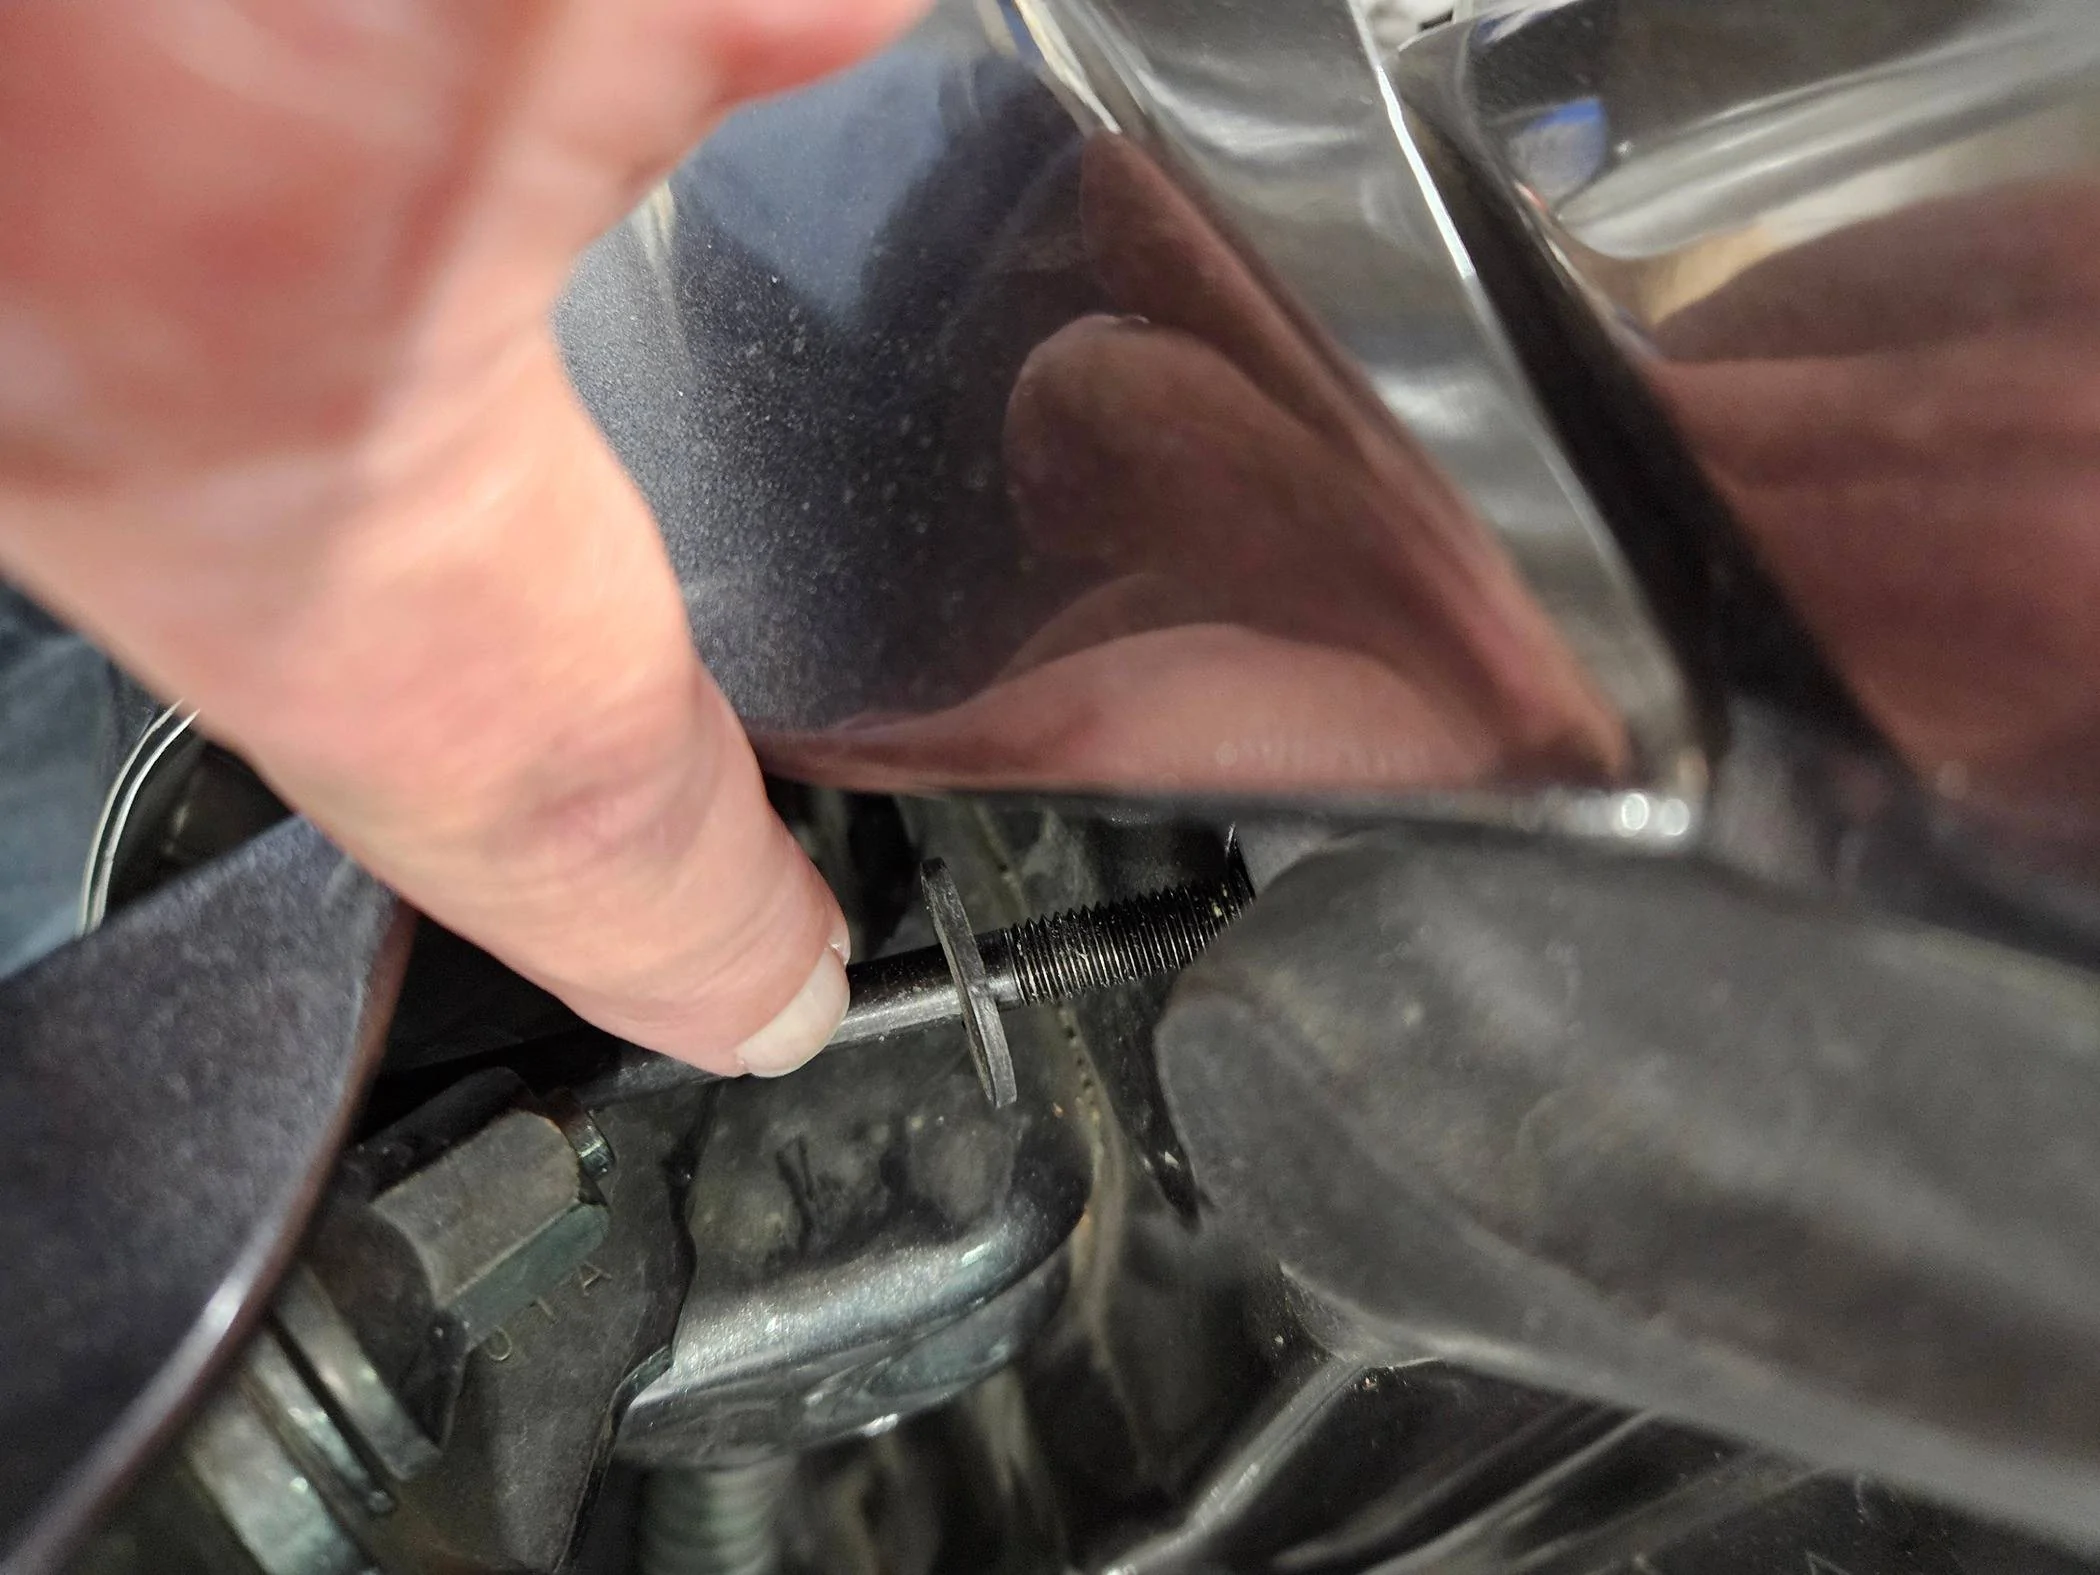
Having a manual car, I’ll just have to figure the difference there when I finally decide to do this job. Not looking forward to it 🤨 Big help here 🫡
 

Sponsored

MrMike

Well-Known Member
Joined
Feb 15, 2016
Threads
19
Messages
455
Reaction score
523
Location
US
Vehicle(s)
16 Mustang GT, 23 Bronco Wildtrak
Vehicle Showcase
1
That's probably the best write up I've seen on this. Saving that to my bookmarks hoping my evap does not take a crap again.
 

Jimayy

Active Member
Joined
Nov 30, 2016
Threads
2
Messages
43
Reaction score
6
Location
Houston, TX
First Name
Jimmy
Vehicle(s)
2016 EcoBoost
that brings back memories. =)
nice job!

The "If I have to do it again".... that's a never, please. 5 hours is a quick pace, that's nice! Mine was over weekend in the driveway.

As an update guys. It's April 2024, I did this back in Summer 2020. So far, everything still runs cold. No A/C problems. Lines are holding. So still feeling pretty solid, as this was the only 'major' thing with my S550.
 
Last edited:

mindo389

Well-Known Member
Joined
Nov 28, 2019
Threads
7
Messages
266
Reaction score
318
Location
Baton Rouge, Louisiana
First Name
Charles
Vehicle(s)
2015 Mustang GT 5.0 50th AY Appearance Pkg.
Vehicle Showcase
1
I wanted to see what the problem and cause was. So, having nothing better to do, I took the assembly apart...
20240422_161027.jpg
Note the discoloration.
20240422_161104.jpg

These coils are mass produced and someone's quality control (if they have one) didn't show up.
Ford apparently got away with a recall.
 

Cobra Jet

Well-Known Member
Joined
Feb 12, 2015
Threads
711
Messages
16,310
Reaction score
18,091
Location
NJ
Vehicle(s)
2018 EB Prem. w/PP and 94 Mustang Cobra
How much did the HVAC assembly in the box in your first image cost?
Sponsored


Top