Sponsored

What did you do to your Mach 1 today

skinnyb

Well-Known Member
Joined
Jun 25, 2022
Threads
12
Messages
3,555
Reaction score
8,865
Location
Knoxville TN
First Name
Alex
Vehicle(s)
21 Mach 1. FJG, Tremec
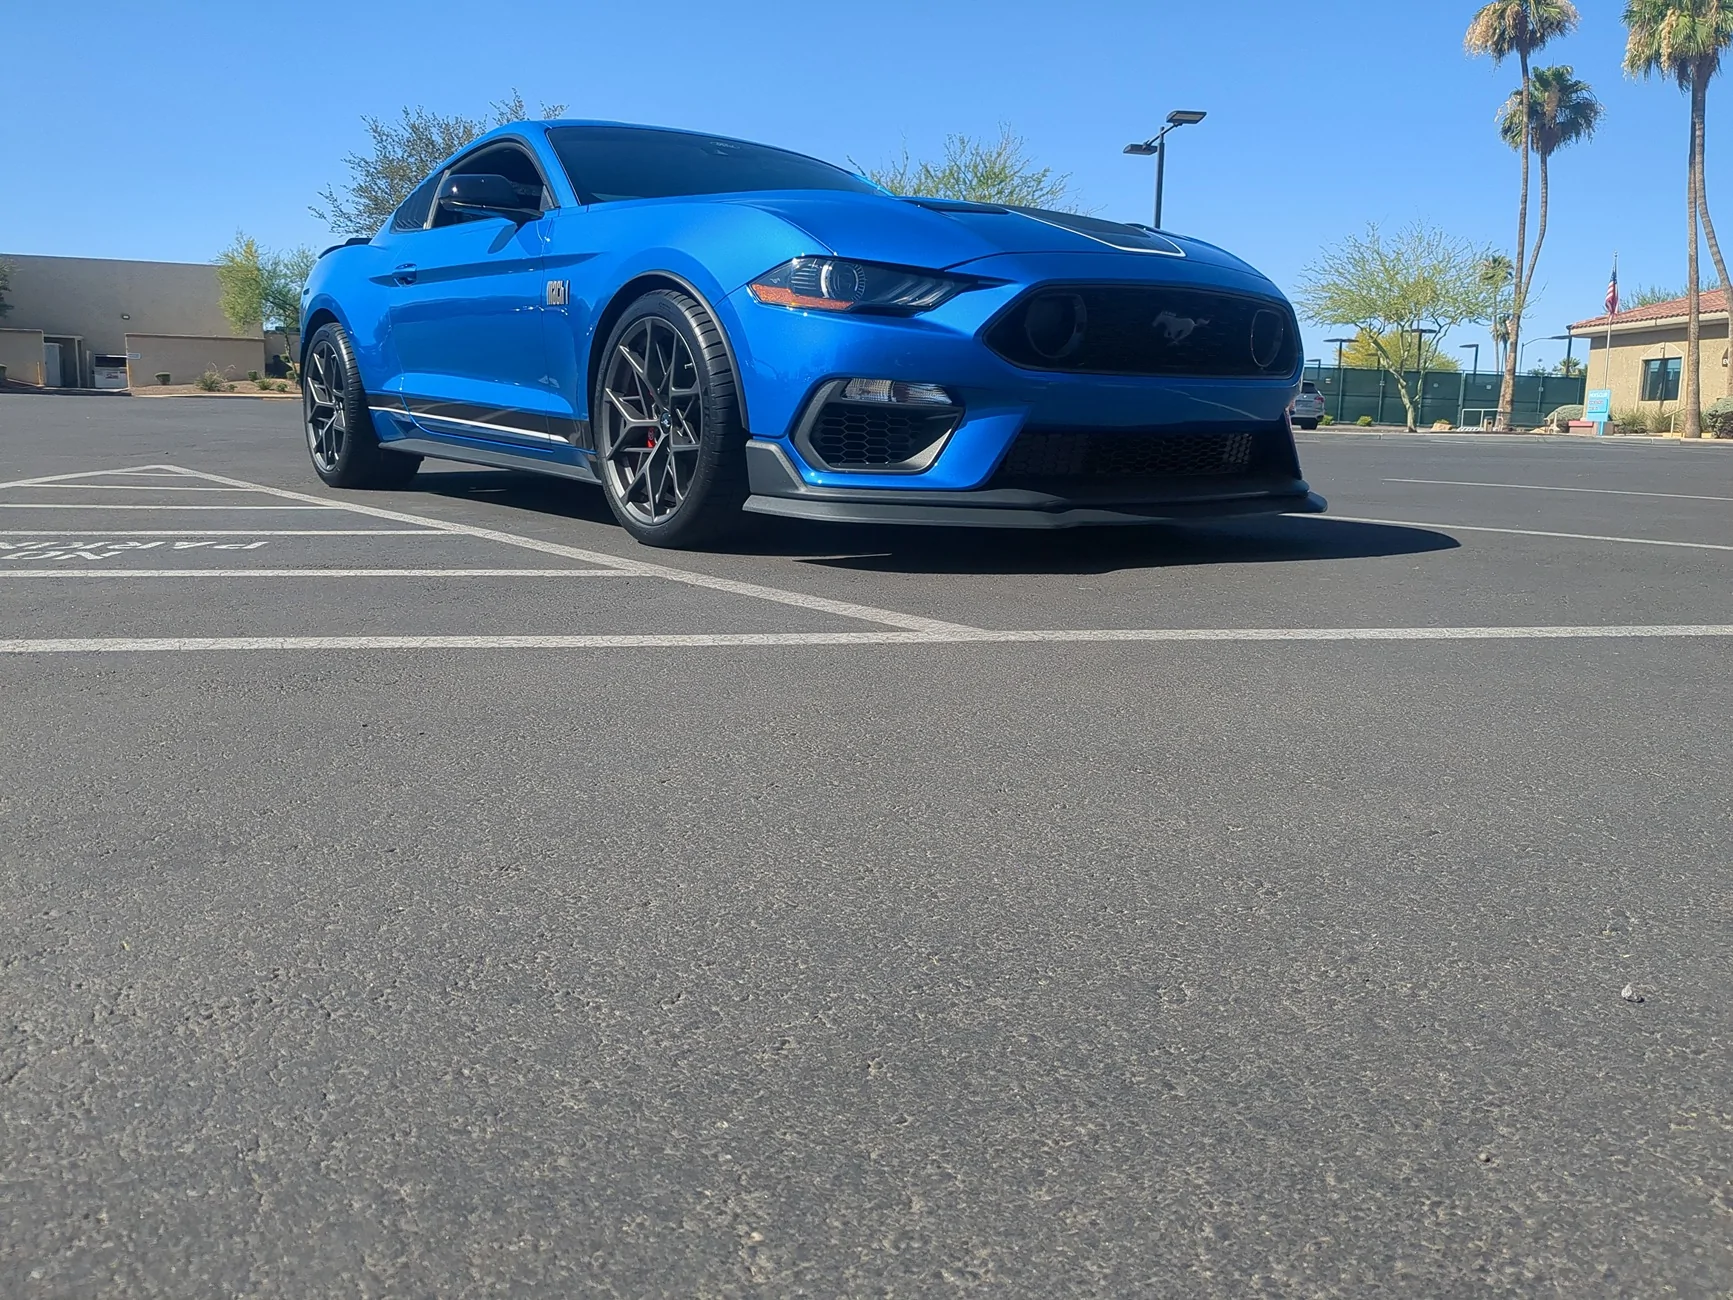
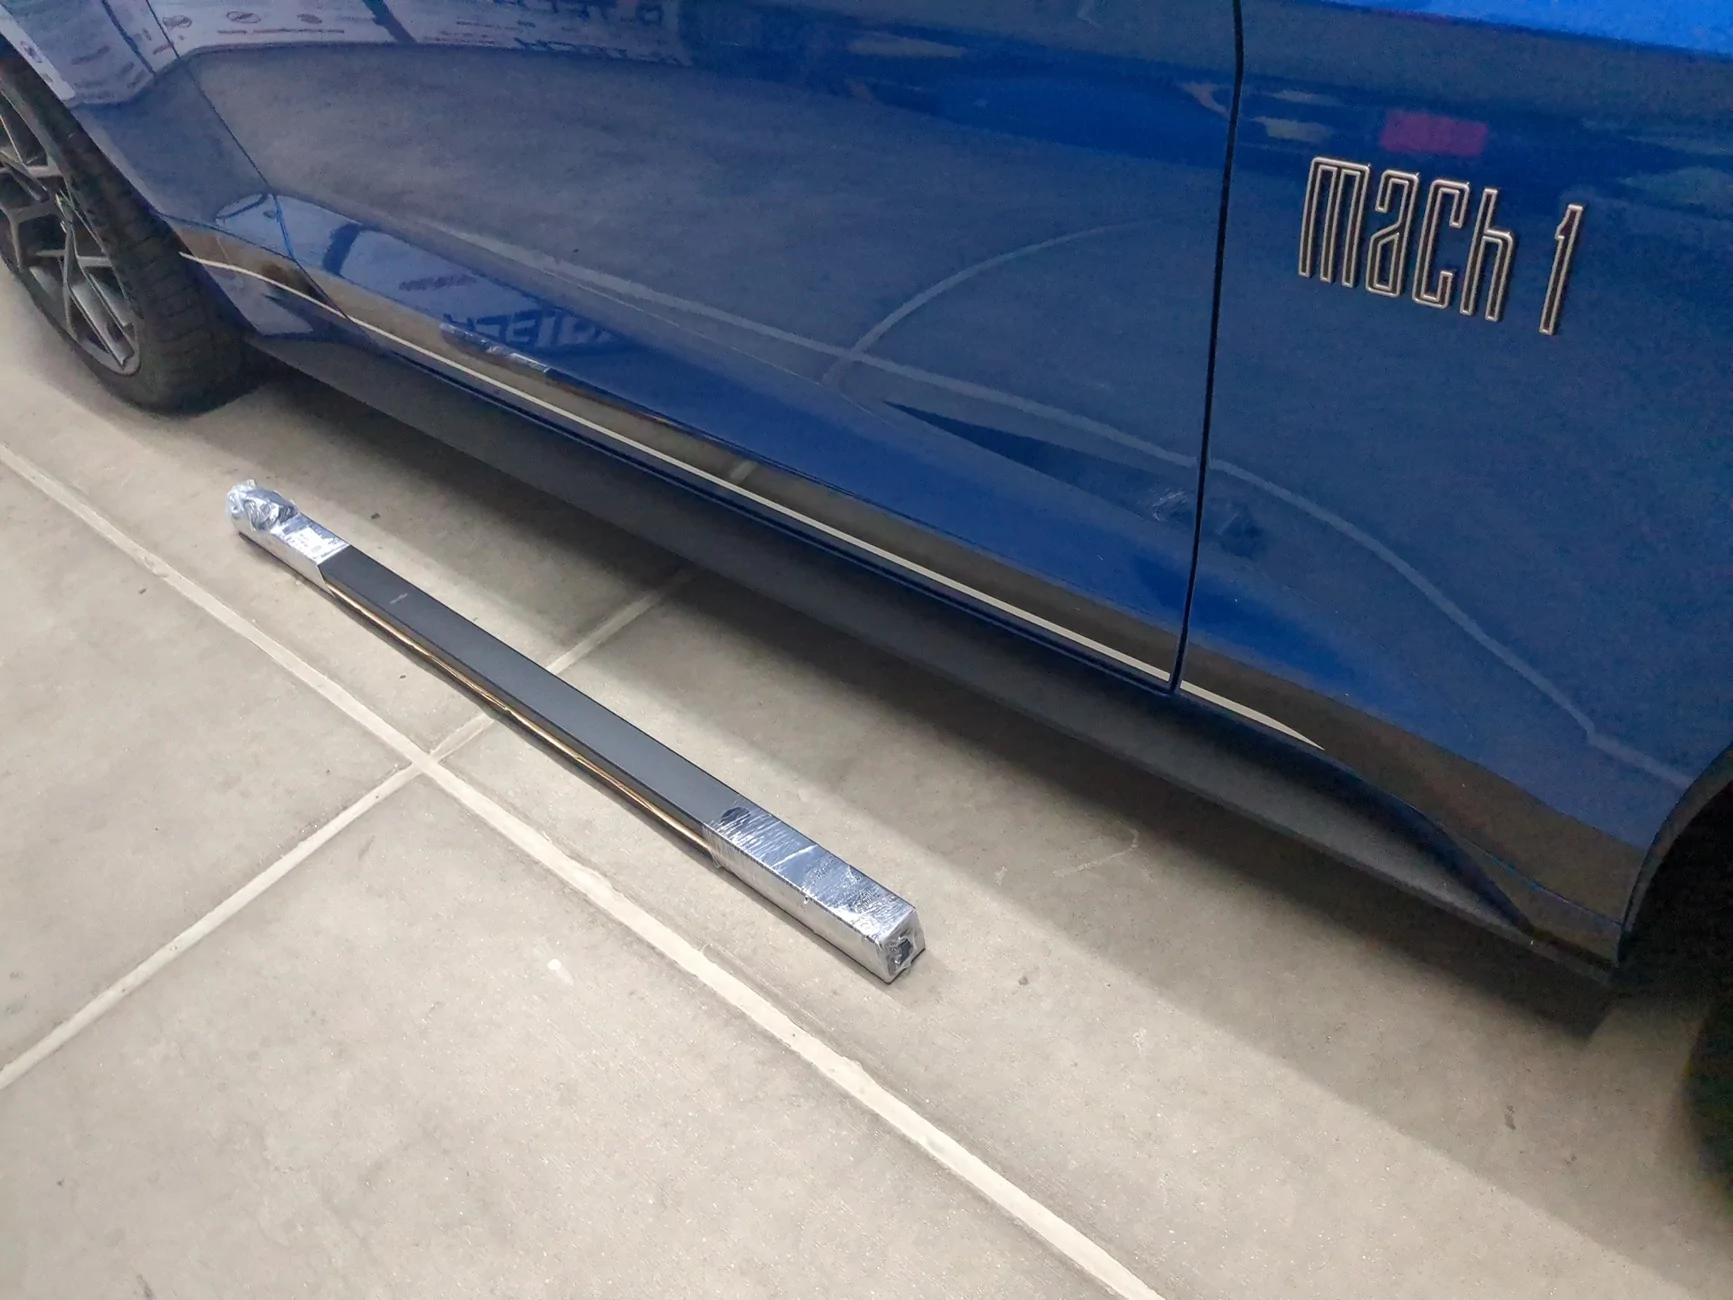
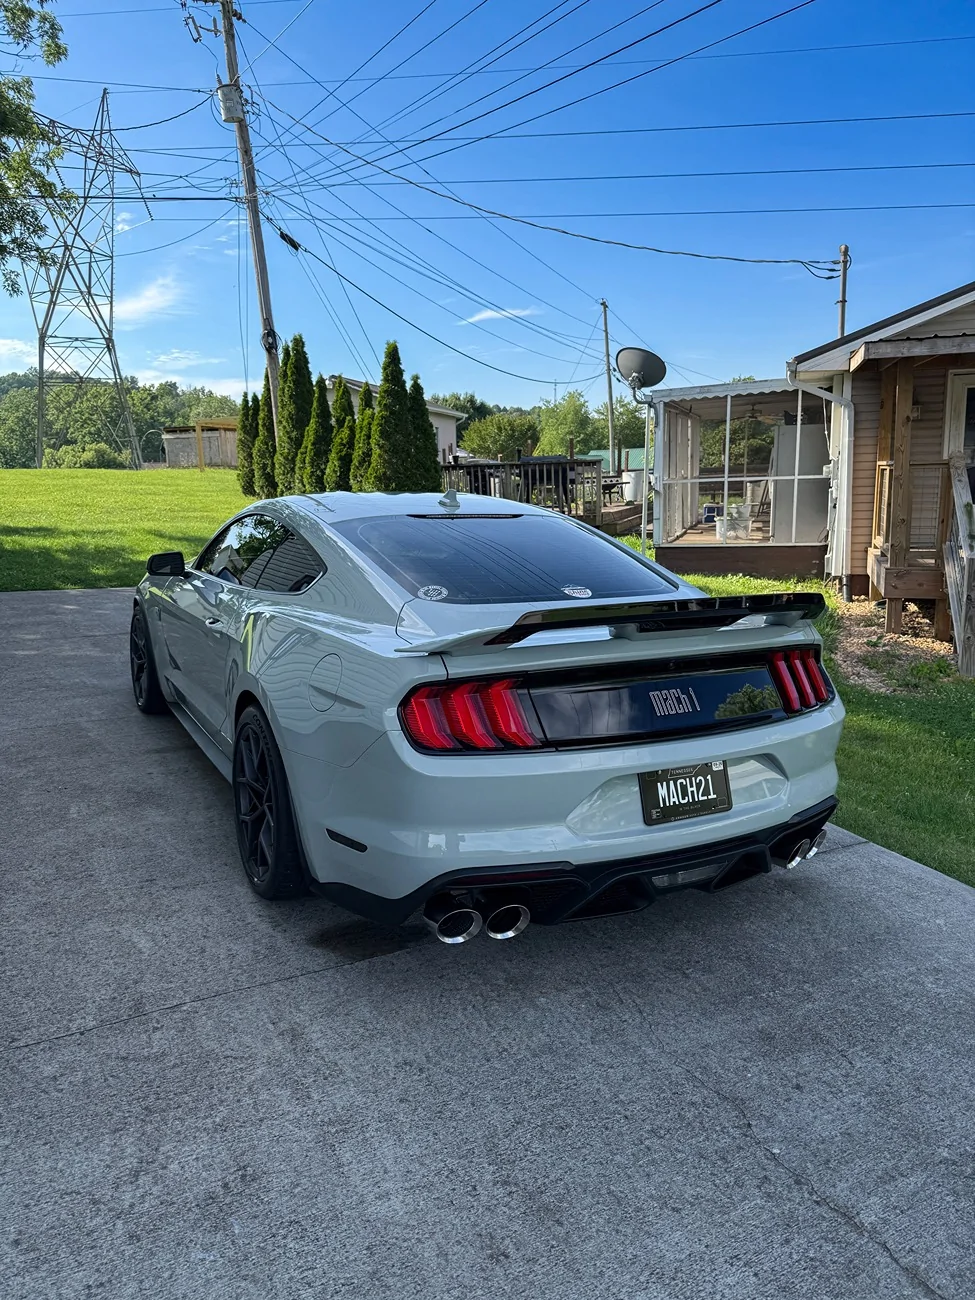
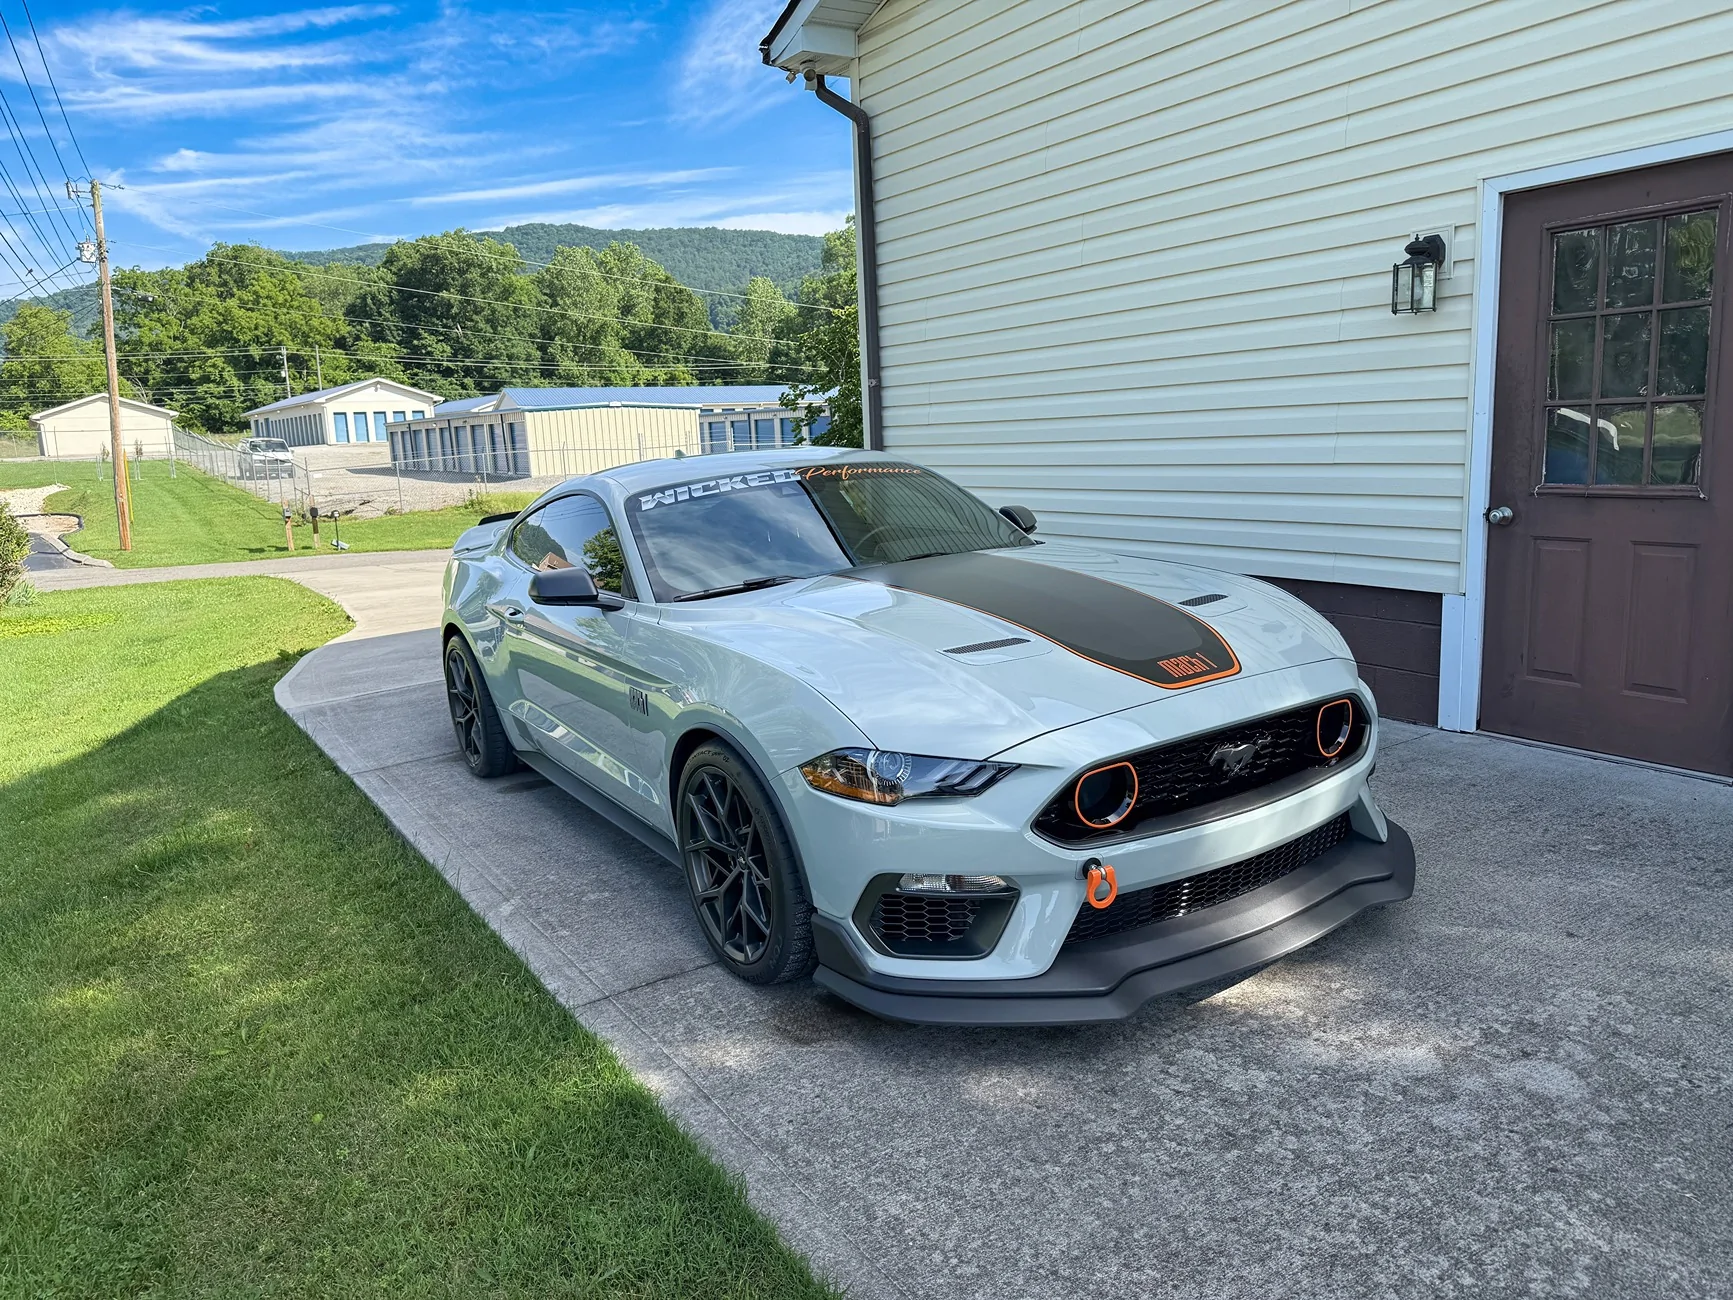
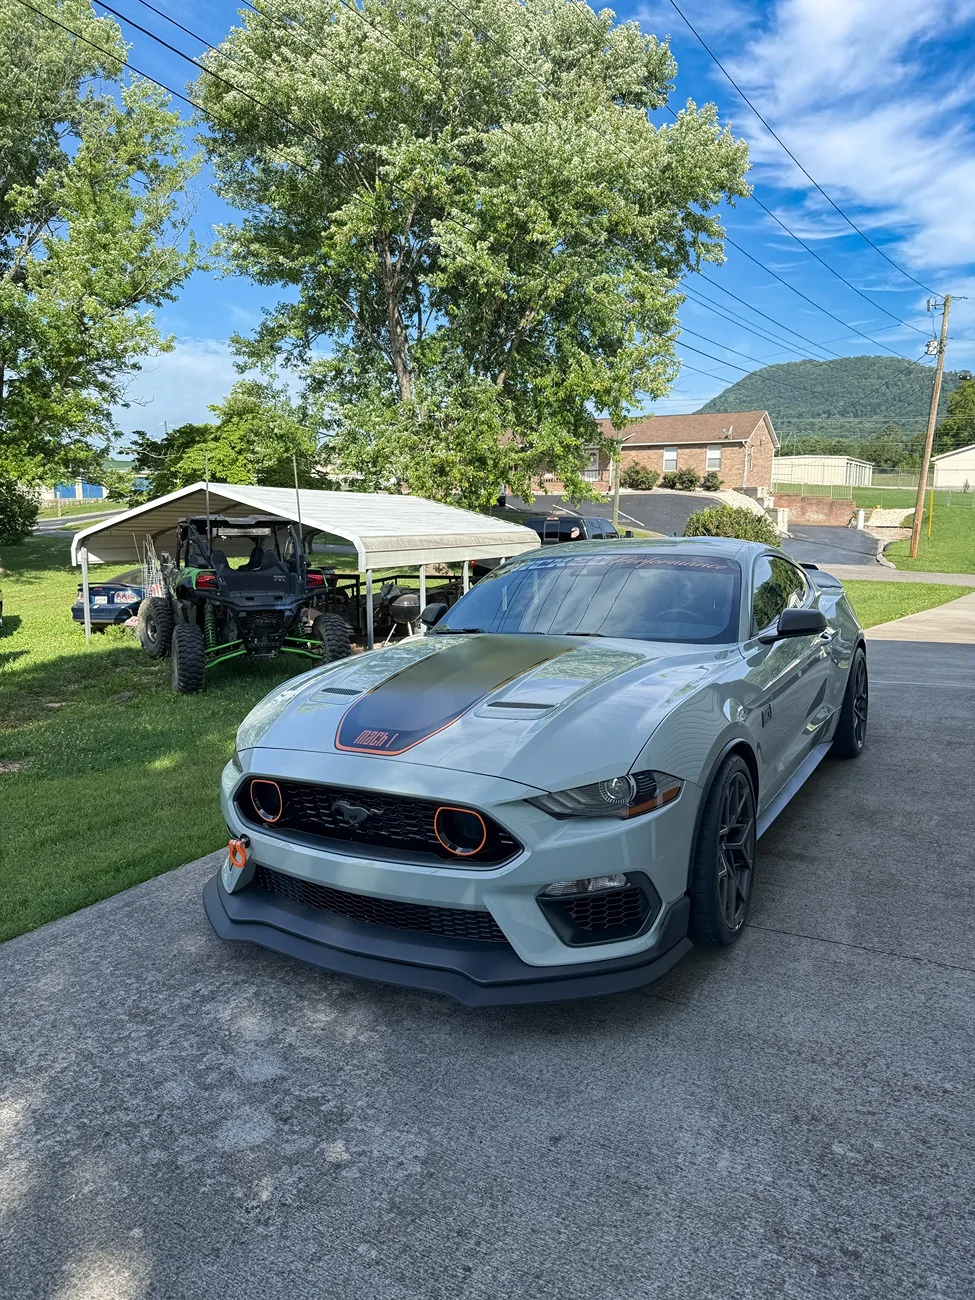
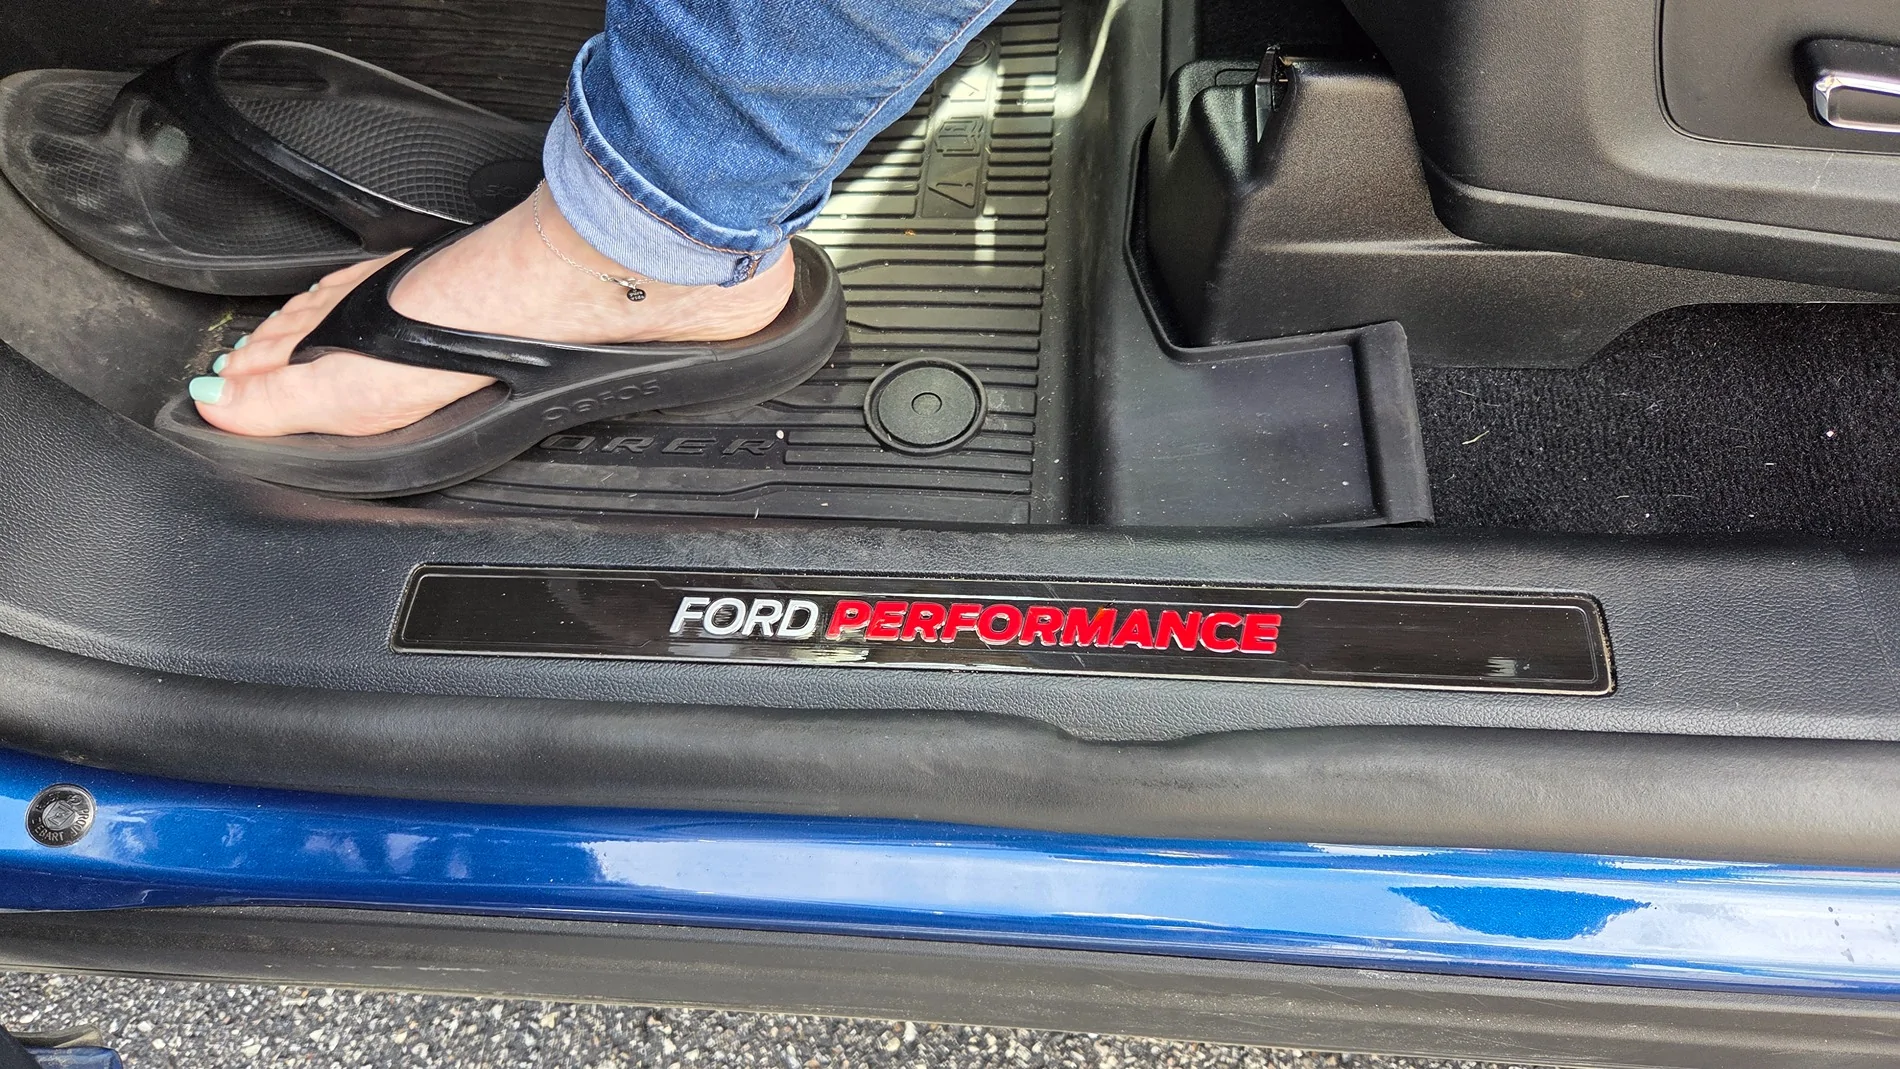
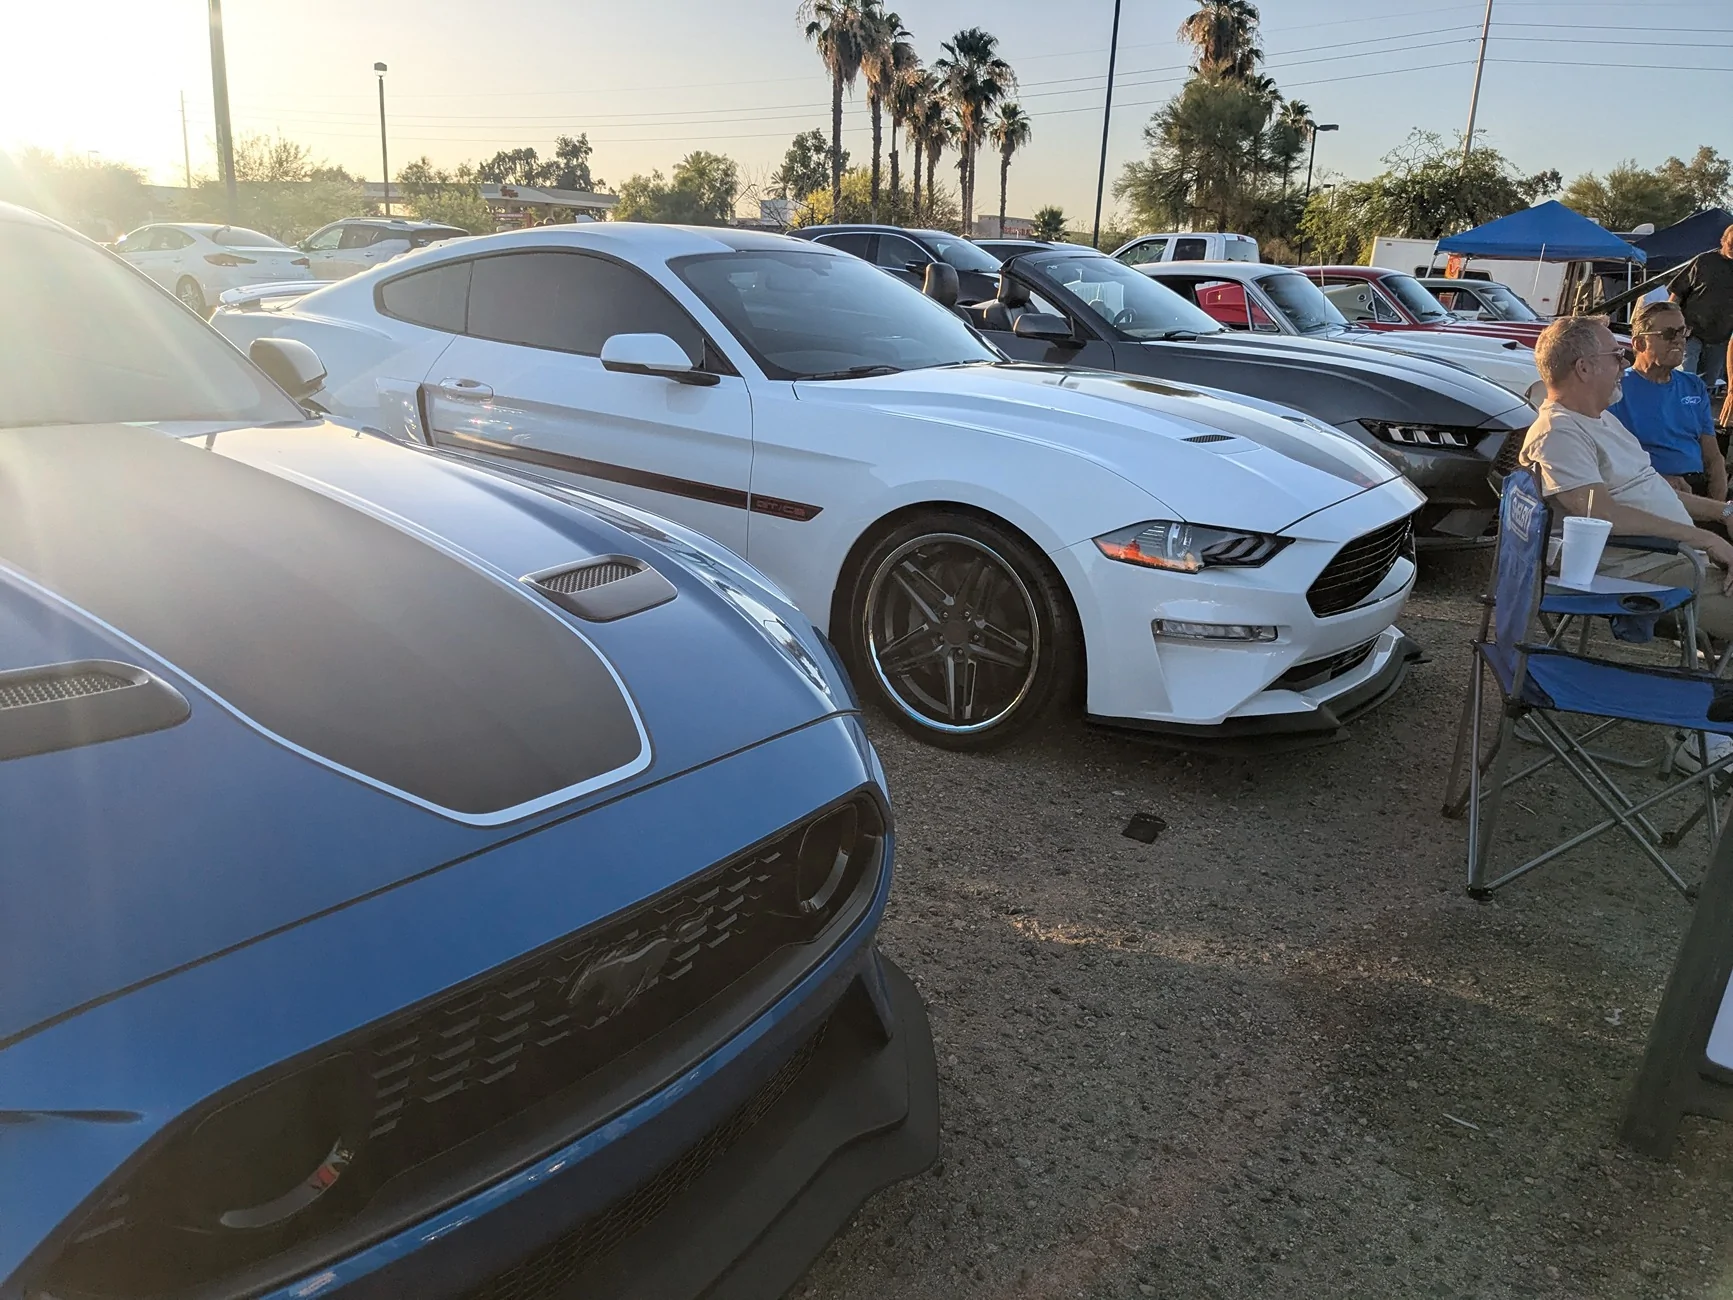
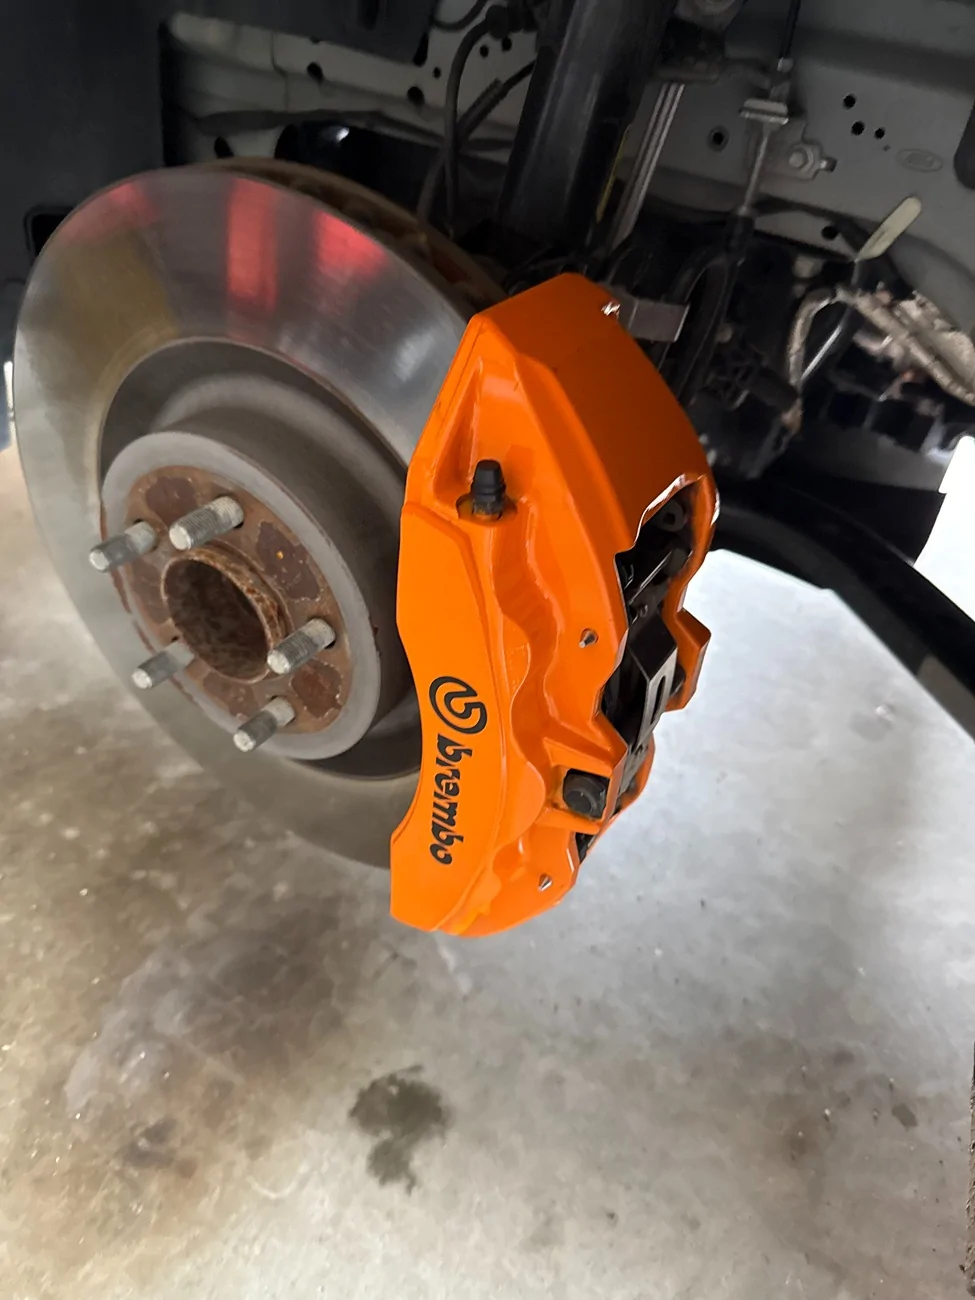
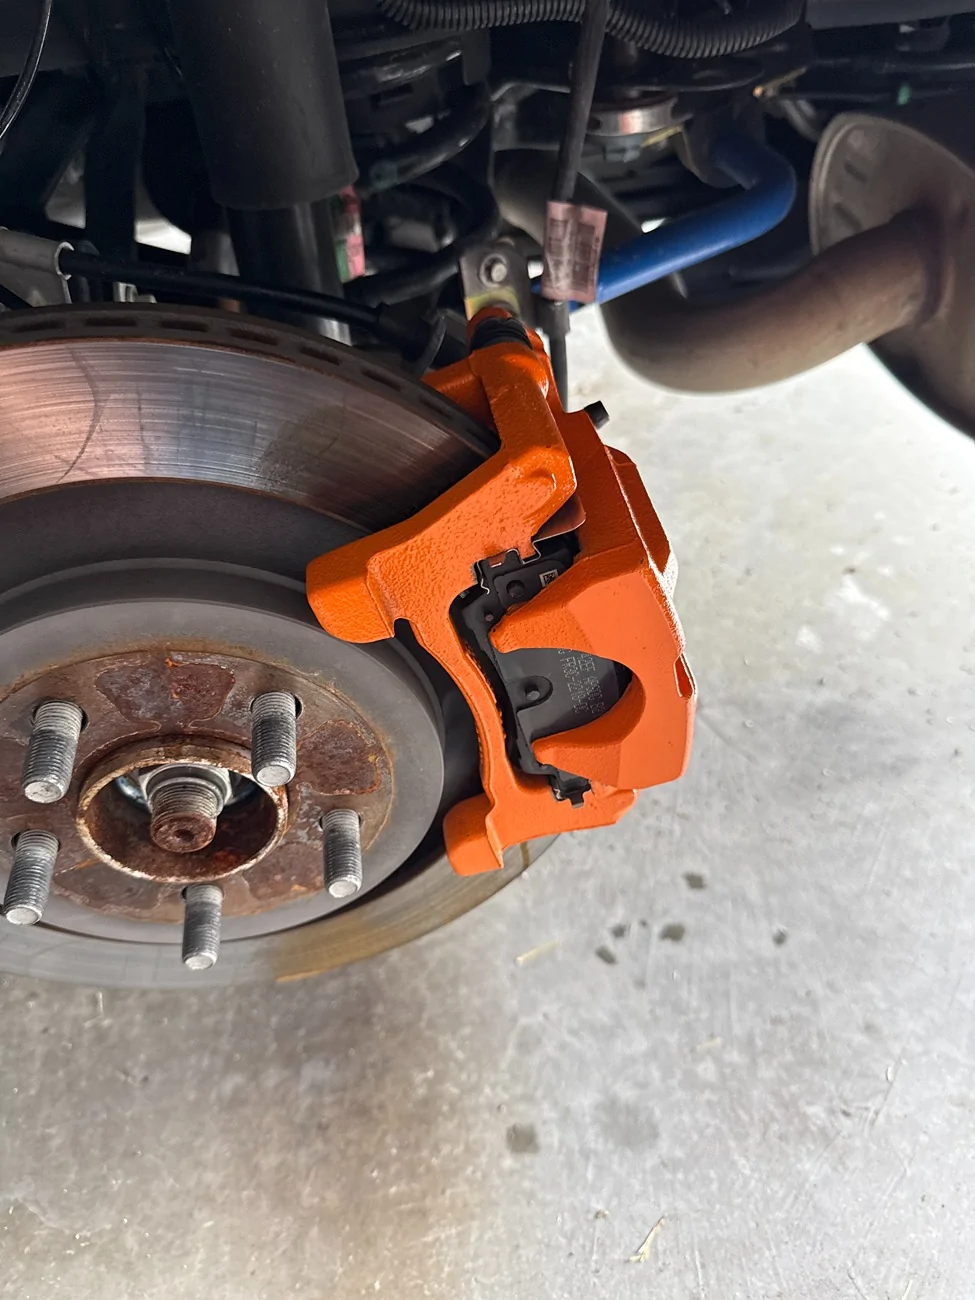
Getting ready for a Mustang rally next week. Wheels off, clean the barrels while they are off, and do a brake fluid flush. Plus a fresh oil change :)

IMG_1507.webp


IMG_1506.webp


IMG_1505.webp


IMG_1508.webp
Sponsored


Gen 6 Mach1

Well-Known Member
Joined
Oct 1, 2025
Threads
3
Messages
464
Reaction score
920
Location
Arizona
First Name
Jer
Vehicle(s)
2021 Mach1
Nice sb , I've got to do the same brake flush on the list , along with full length undercarriage detail in 4 to 6 weeks ,I'll reserve one of the lifts at our shop for 3 to 5 day to do the work . Last year I put the car on stands for a month and did laying on my back . Why I don't know when I could of taken to the shop . Also the Steeda ultra light jack rails came today .
Cars n Coffee this morning and I was to busy in the shop talking and forgot to take a few pictures. By the time I left ( one of the last ) only car to take a picture of was the Mach.

ec4d9527-90a3-4ccb-871e-5d19ac2fa345.webp


17801711319108152371871911332764.webp


17801711531271142477624607708270.webp
 

67 Coupe

Member
Joined
Jan 4, 2025
Threads
1
Messages
10
Reaction score
35
Location
Myrtle Beach
Vehicle(s)
2022 Mach 1
Replaced the M1 Air Filter Assembly with the Shelby GT500 Air Filter Assembly
M1 GT500 Intake Box.webp


I read a few posts about adding a cover to the air filter housing - ranging from a DIY plexiglass cover to a full carbon fiber cover. Also saw a few that integrated the GT500 air filter housing and cover. So, researched/compared the M1 air filter housing and seal ring (which is the same as the GT350) to the GT500 air filter housing and cover - part by part. Note that that the GT500 air filter cover will not fit the M1 air filter housing. As it turns out, you only need the GT500 air filter housing and cover, plus some weather stripping. Total cost for Ford parts = $221.01. Add $19.00 if you need to by the weather stripping.

This is a very simple job.

Step 1 - Order these 2 parts from Levittownfordparts.com

Air Filter Housing - GT500 (KR3Z-9A612-A) - $89.58
https://parts.levittownfordparts.com/oem-parts/ford-air-filter-housing-kr3z9a612a

Air Cleaner Cover - GT500 (KR3Z-9661-A) - $131.43
https://parts.levittownfordparts.com/oem-parts/ford-air-cleaner-cover-kr3z9661a

Order the 1” x 3/8” weather strip seal from Amazon - $18.99 https://www.amazon.com/dp/B088WG2931?ref=ppx_yo2ov_dt_b_fed_asin_title&th=1

Step 2 - Remove M1 engine air intake tube and air filter then remove the air filter housing sealing ring and air filter housing. Remove all the hardware and snorkel from the M1 air filter housing and install on GT500 air filter housing and cover. Then install the GT500 air filter housing.

Common M1 Intake Parts.webp


Note that the foam rubber pad between the air filter housing and fender stays in place.
Foam Pad.webp


Attach the weather strip seal to the GT500 air filter housing as shown.
GT500 box with weather strip.webp


Step 3 - With a dermel tool, cut a MAF sensor notch in the GT500 cover in the same location as the M1 air filter housing sealing ring.
GT500 cover with notch.webp


Attach the 1” x 3/8” weather strip seal to the GT500 cover and the air filter housing.
Cover with weather strip.webp


Step 4 - Reinstall the M1 engine air intake tube and air filter, secure the GT500 cover, connect vacuum hoses and MAF sensor.

MAF cutout.webp


ALL DONE!

While I was at it, I also removed the hood liner and then removed the heat extractor vent covers.
Heat extractor cover.webp


Heat extractor left.webp


Then opened the hole in the liner on the left side and cut a new hole in the liner on the right side. Now the heat extractor vents are fully functional.
Hood liner openings.webp


Before all of this, a few weeks ago, I installed the grill inserts for a direct feed to the air filter housing. Here’s a view looking out from the GT500 air filter housing.
Looking out.webp


A fully enclosed cold air intake system with a direct feed from the front grill and fully functional heat extraction vents. Why? Just an interesting, fun, low cost, project.
 

skinnyb

Well-Known Member
Joined
Jun 25, 2022
Threads
12
Messages
3,555
Reaction score
8,865
Location
Knoxville TN
First Name
Alex
Vehicle(s)
21 Mach 1. FJG, Tremec
Well full on cleaned and dialed in and ready to ride next week. She still cleans up pretty good :)
Even polished out the exhaust tips with P21S soap and hit them with Dr Beasley's Metal Coat.

IMG_1512.webp


IMG_1522.webp


IMG_1510.webp


IMG_1513.webp
 

BlkMach10510

Well-Known Member
Joined
Mar 9, 2023
Threads
40
Messages
1,258
Reaction score
2,292
Location
Texas
Vehicle(s)
2023 Mach 1 10R80
Replaced the M1 Air Filter Assembly with the Shelby GT500 Air Filter Assembly
M1 GT500 Intake Box.webp


I read a few posts about adding a cover to the air filter housing - ranging from a DIY plexiglass cover to a full carbon fiber cover. Also saw a few that integrated the GT500 air filter housing and cover. So, researched/compared the M1 air filter housing and seal ring (which is the same as the GT350) to the GT500 air filter housing and cover - part by part. Note that that the GT500 air filter cover will not fit the M1 air filter housing. As it turns out, you only need the GT500 air filter housing and cover, plus some weather stripping. Total cost for Ford parts = $221.01. Add $19.00 if you need to by the weather stripping.

This is a very simple job.

Step 1 - Order these 2 parts from Levittownfordparts.com

Air Filter Housing - GT500 (KR3Z-9A612-A) - $89.58
https://parts.levittownfordparts.com/oem-parts/ford-air-filter-housing-kr3z9a612a

Air Cleaner Cover - GT500 (KR3Z-9661-A) - $131.43
https://parts.levittownfordparts.com/oem-parts/ford-air-cleaner-cover-kr3z9661a

Order the 1” x 3/8” weather strip seal from Amazon - $18.99 https://www.amazon.com/dp/B088WG2931?ref=ppx_yo2ov_dt_b_fed_asin_title&th=1

Step 2 - Remove M1 engine air intake tube and air filter then remove the air filter housing sealing ring and air filter housing. Remove all the hardware and snorkel from the M1 air filter housing and install on GT500 air filter housing and cover. Then install the GT500 air filter housing.

Common M1 Intake Parts.webp


Note that the foam rubber pad between the air filter housing and fender stays in place.
Foam Pad.webp


Attach the weather strip seal to the GT500 air filter housing as shown.
GT500 box with weather strip.webp


Step 3 - With a dermel tool, cut a MAF sensor notch in the GT500 cover in the same location as the M1 air filter housing sealing ring.
GT500 cover with notch.webp


Attach the 1” x 3/8” weather strip seal to the GT500 cover and the air filter housing.
Cover with weather strip.webp


Step 4 - Reinstall the M1 engine air intake tube and air filter, secure the GT500 cover, connect vacuum hoses and MAF sensor.

MAF cutout.webp


ALL DONE!

While I was at it, I also removed the hood liner and then removed the heat extractor vent covers.
Heat extractor cover.webp


Heat extractor left.webp


Then opened the hole in the liner on the left side and cut a new hole in the liner on the right side. Now the heat extractor vents are fully functional.
Hood liner openings.webp


Before all of this, a few weeks ago, I installed the grill inserts for a direct feed to the air filter housing. Here’s a view looking out from the GT500 air filter housing.
Looking out.webp


A fully enclosed cold air intake system with a direct feed from the front grill and fully functional heat extraction vents. Why? Just an interesting, fun, low cost, project.
Nice job. I think you asked me about it. I would have done the step by step install but i was going in blind and cussing a lot. lol
 

Sponsored

RobZ71LM7

Well-Known Member
Joined
Oct 14, 2021
Threads
16
Messages
728
Reaction score
1,206
Location
Louisville, KY
First Name
Rob
Vehicle(s)
2021 Mach 1, 2019 F-150
Replaced the M1 Air Filter Assembly with the Shelby GT500 Air Filter Assembly
M1 GT500 Intake Box.webp


I read a few posts about adding a cover to the air filter housing - ranging from a DIY plexiglass cover to a full carbon fiber cover. Also saw a few that integrated the GT500 air filter housing and cover. So, researched/compared the M1 air filter housing and seal ring (which is the same as the GT350) to the GT500 air filter housing and cover - part by part. Note that that the GT500 air filter cover will not fit the M1 air filter housing. As it turns out, you only need the GT500 air filter housing and cover, plus some weather stripping. Total cost for Ford parts = $221.01. Add $19.00 if you need to by the weather stripping.

This is a very simple job.

Step 1 - Order these 2 parts from Levittownfordparts.com

Air Filter Housing - GT500 (KR3Z-9A612-A) - $89.58
https://parts.levittownfordparts.com/oem-parts/ford-air-filter-housing-kr3z9a612a

Air Cleaner Cover - GT500 (KR3Z-9661-A) - $131.43
https://parts.levittownfordparts.com/oem-parts/ford-air-cleaner-cover-kr3z9661a

Order the 1” x 3/8” weather strip seal from Amazon - $18.99 https://www.amazon.com/dp/B088WG2931?ref=ppx_yo2ov_dt_b_fed_asin_title&th=1

Step 2 - Remove M1 engine air intake tube and air filter then remove the air filter housing sealing ring and air filter housing. Remove all the hardware and snorkel from the M1 air filter housing and install on GT500 air filter housing and cover. Then install the GT500 air filter housing.

Common M1 Intake Parts.webp


Note that the foam rubber pad between the air filter housing and fender stays in place.
Foam Pad.webp


Attach the weather strip seal to the GT500 air filter housing as shown.
GT500 box with weather strip.webp


Step 3 - With a dermel tool, cut a MAF sensor notch in the GT500 cover in the same location as the M1 air filter housing sealing ring.
GT500 cover with notch.webp


Attach the 1” x 3/8” weather strip seal to the GT500 cover and the air filter housing.
Cover with weather strip.webp


Step 4 - Reinstall the M1 engine air intake tube and air filter, secure the GT500 cover, connect vacuum hoses and MAF sensor.

MAF cutout.webp


ALL DONE!

While I was at it, I also removed the hood liner and then removed the heat extractor vent covers.
Heat extractor cover.webp


Heat extractor left.webp


Then opened the hole in the liner on the left side and cut a new hole in the liner on the right side. Now the heat extractor vents are fully functional.
Hood liner openings.webp


Before all of this, a few weeks ago, I installed the grill inserts for a direct feed to the air filter housing. Here’s a view looking out from the GT500 air filter housing.
Looking out.webp


A fully enclosed cold air intake system with a direct feed from the front grill and fully functional heat extraction vents. Why? Just an interesting, fun, low cost, project.
Appreciate the write up. I’m doing the same with the GT500 intake this summer since I’m going to be cutting the hood for full heater extractors I got from @GTP.
 

RobZ71LM7

Well-Known Member
Joined
Oct 14, 2021
Threads
16
Messages
728
Reaction score
1,206
Location
Louisville, KY
First Name
Rob
Vehicle(s)
2021 Mach 1, 2019 F-150
Test with blue painters tape (yes it’s misaligned). Can’t decide if I like it or hate it, but I should’ve specified matte.
IMG_2364.webp
 

The Spider House

Well-Known Member
Joined
May 10, 2025
Threads
15
Messages
341
Reaction score
639
Location
Lancashire
First Name
Phil
Vehicle(s)
Ford Mustang 5.0 GT
Well full on cleaned and dialed in and ready to ride next week. She still cleans up pretty good :)
Even polished out the exhaust tips with P21S soap and hit them with Dr Beasley's Metal Coat.

IMG_1512.webp


IMG_1522.webp


IMG_1510.webp


IMG_1513.webp
Tail pipes are often overlooked but I am obsessed with them looking clean. Good job 👏🏾
 

GTP

Deutsche Pony
Joined
May 27, 2015
Threads
261
Messages
5,977
Reaction score
3,859
Location
Indy
Website
www.BambergAudio.com
First Name
Philip
Vehicle(s)
2019 GT PP1 A10 Outrageous Orange HPDE mods
Test with blue painters tape (yes it’s misaligned). Can’t decide if I like it or hate it, but I should’ve specified matte.
IMG_2364.webp
Ford Performance belongs on the door sill not the steering wheel.

(Pretty foot courtesy of the wife. She has the prettiest feet ever, and no, I don't have a foot fettish.)

1000009450.webp
 

Mikepol2

Well-Known Member
Joined
Jul 17, 2018
Threads
139
Messages
3,947
Reaction score
6,969
Location
Pittsburgh, PA
First Name
Mike
Vehicle(s)
2021 Mach 1, 2019 Ram 1500
Getting the car ready for Carlisle next weekend and noticed this :curse:

image.webp
 

Sponsored

Gen 6 Mach1

Well-Known Member
Joined
Oct 1, 2025
Threads
3
Messages
464
Reaction score
920
Location
Arizona
First Name
Jer
Vehicle(s)
2021 Mach1
Last night I cruised to our local Cruise in at Mixteca Mexican restaurant, the pictures don't do justice as it's hard to get a picture of the area . Car count was good 125 .

PXL_20260531_014833126.webp


PXL_20260531_014842683.webp


PXL_20260531_014901554.webp


PXL_20260531_014851546.webp
 

Mach 307

Well-Known Member
Joined
Mar 26, 2023
Threads
95
Messages
1,286
Reaction score
2,057
Location
Illinois
First Name
Alec
Vehicle(s)
2022 Mustang Mach 1 Premium HP – TR-3160 | 2008 Toyota Yaris Hatchback
Planning on removing the carbon trap possibly. I’ve thrown the idea around before, but I get anxious about taking apart a car this expensive (even something as simple as the intake). Any tips?
 

BlkMach10510

Well-Known Member
Joined
Mar 9, 2023
Threads
40
Messages
1,258
Reaction score
2,292
Location
Texas
Vehicle(s)
2023 Mach 1 10R80
Planning on removing the carbon trap possibly. I’ve thrown the idea around before, but I get anxious about taking apart a car this expensive (even something as simple as the intake). Any tips?
it is easy but watch youtube videos so you don't break anything and once the trap is out put the insert back in so your computer is not off. My hand was tore up some but I think I did some of it wrong. lol
Sponsored


Top