wingnutt
Well-Known Member
Gonna try to find the info on this car
Sponsored
Gonna try to find the info on this car
Stock stroke as my cams shift the powerband up to 8500. I didn’t want to increase the piston speed any further.@AcceptableNebula nice work on the aluminum repair and casting match! I run the 3.800 callies crank. Which one do you have?
3.800 and 8500+ here!Stock stroke as my cams shift the powerband up to 8500. I didn’t want to increase the piston speed any further.
If Nebula shows this video to his wife, she'll be like, "You can beat that".
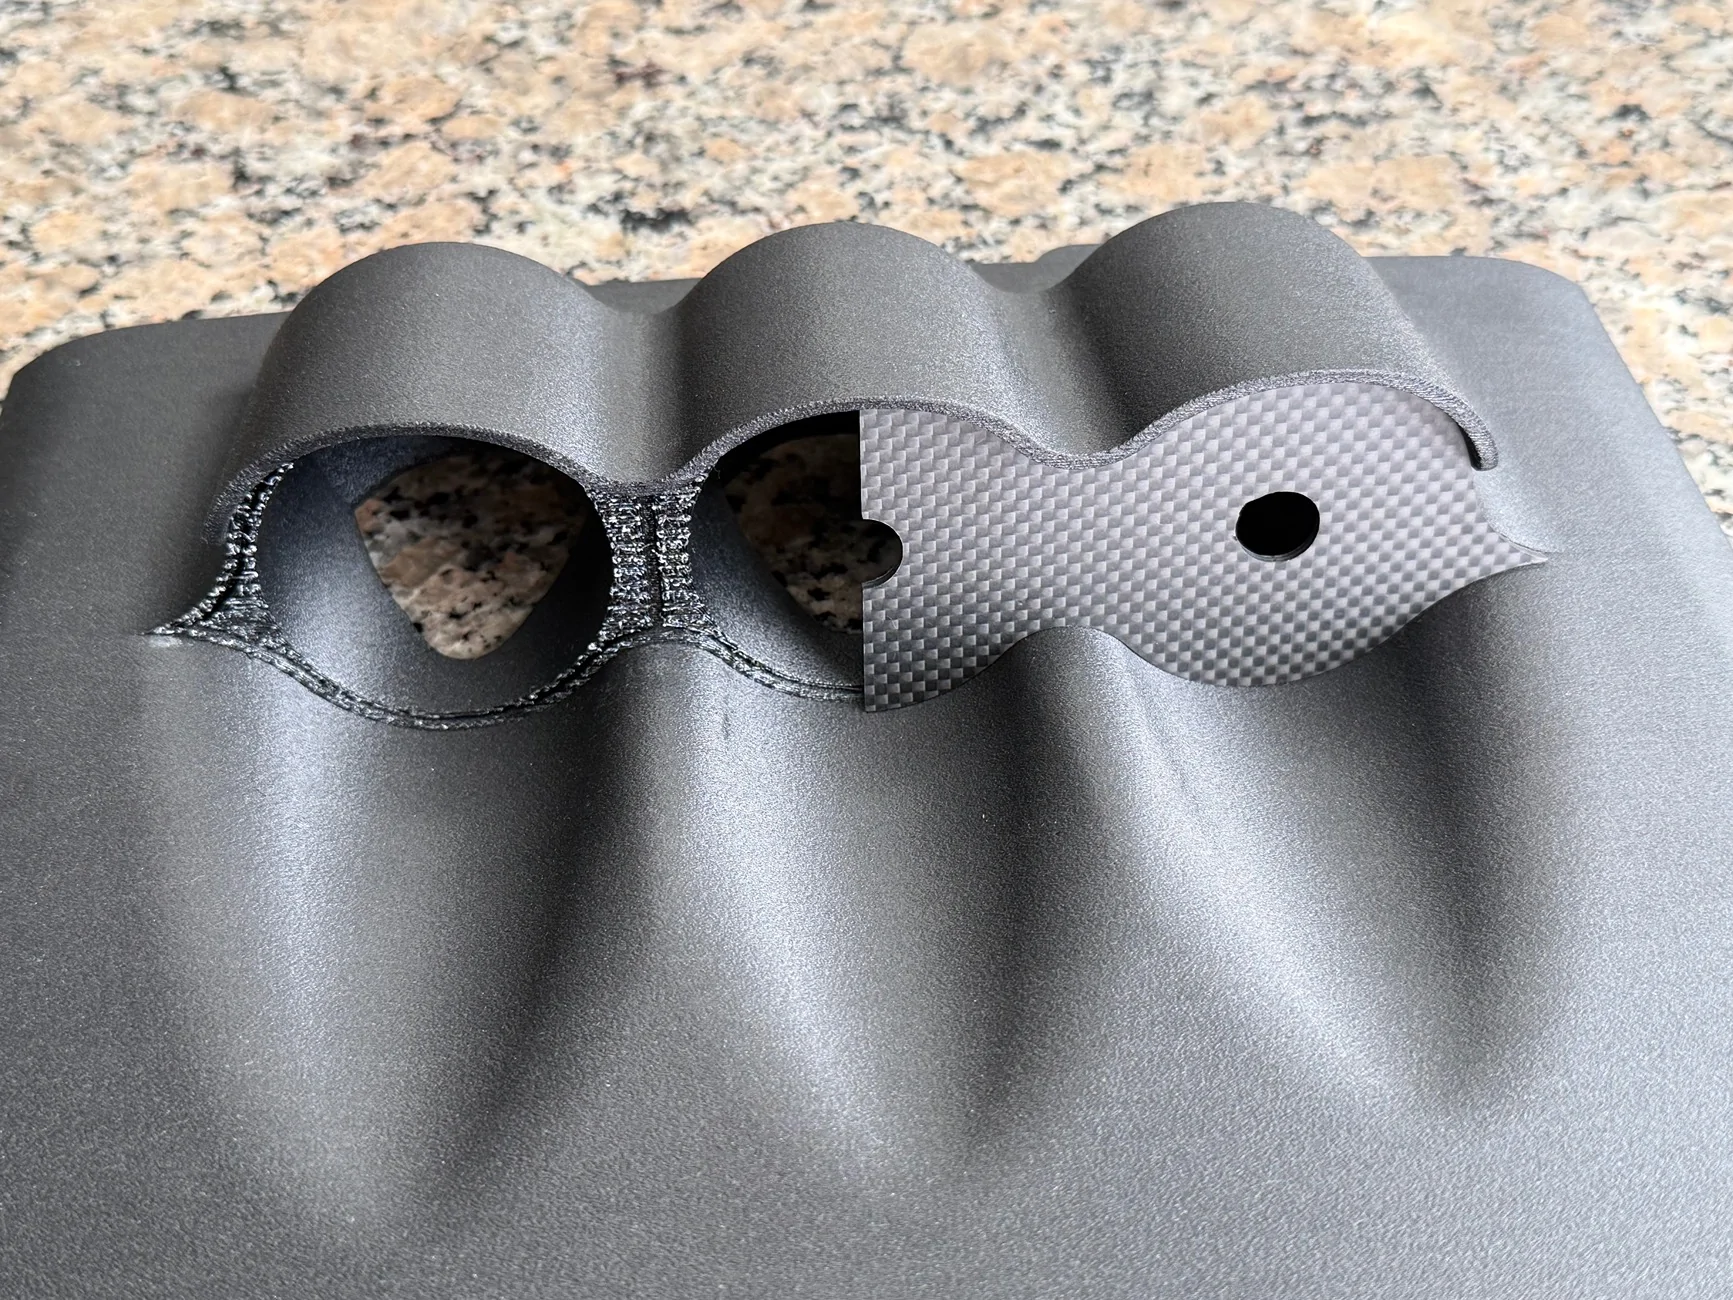
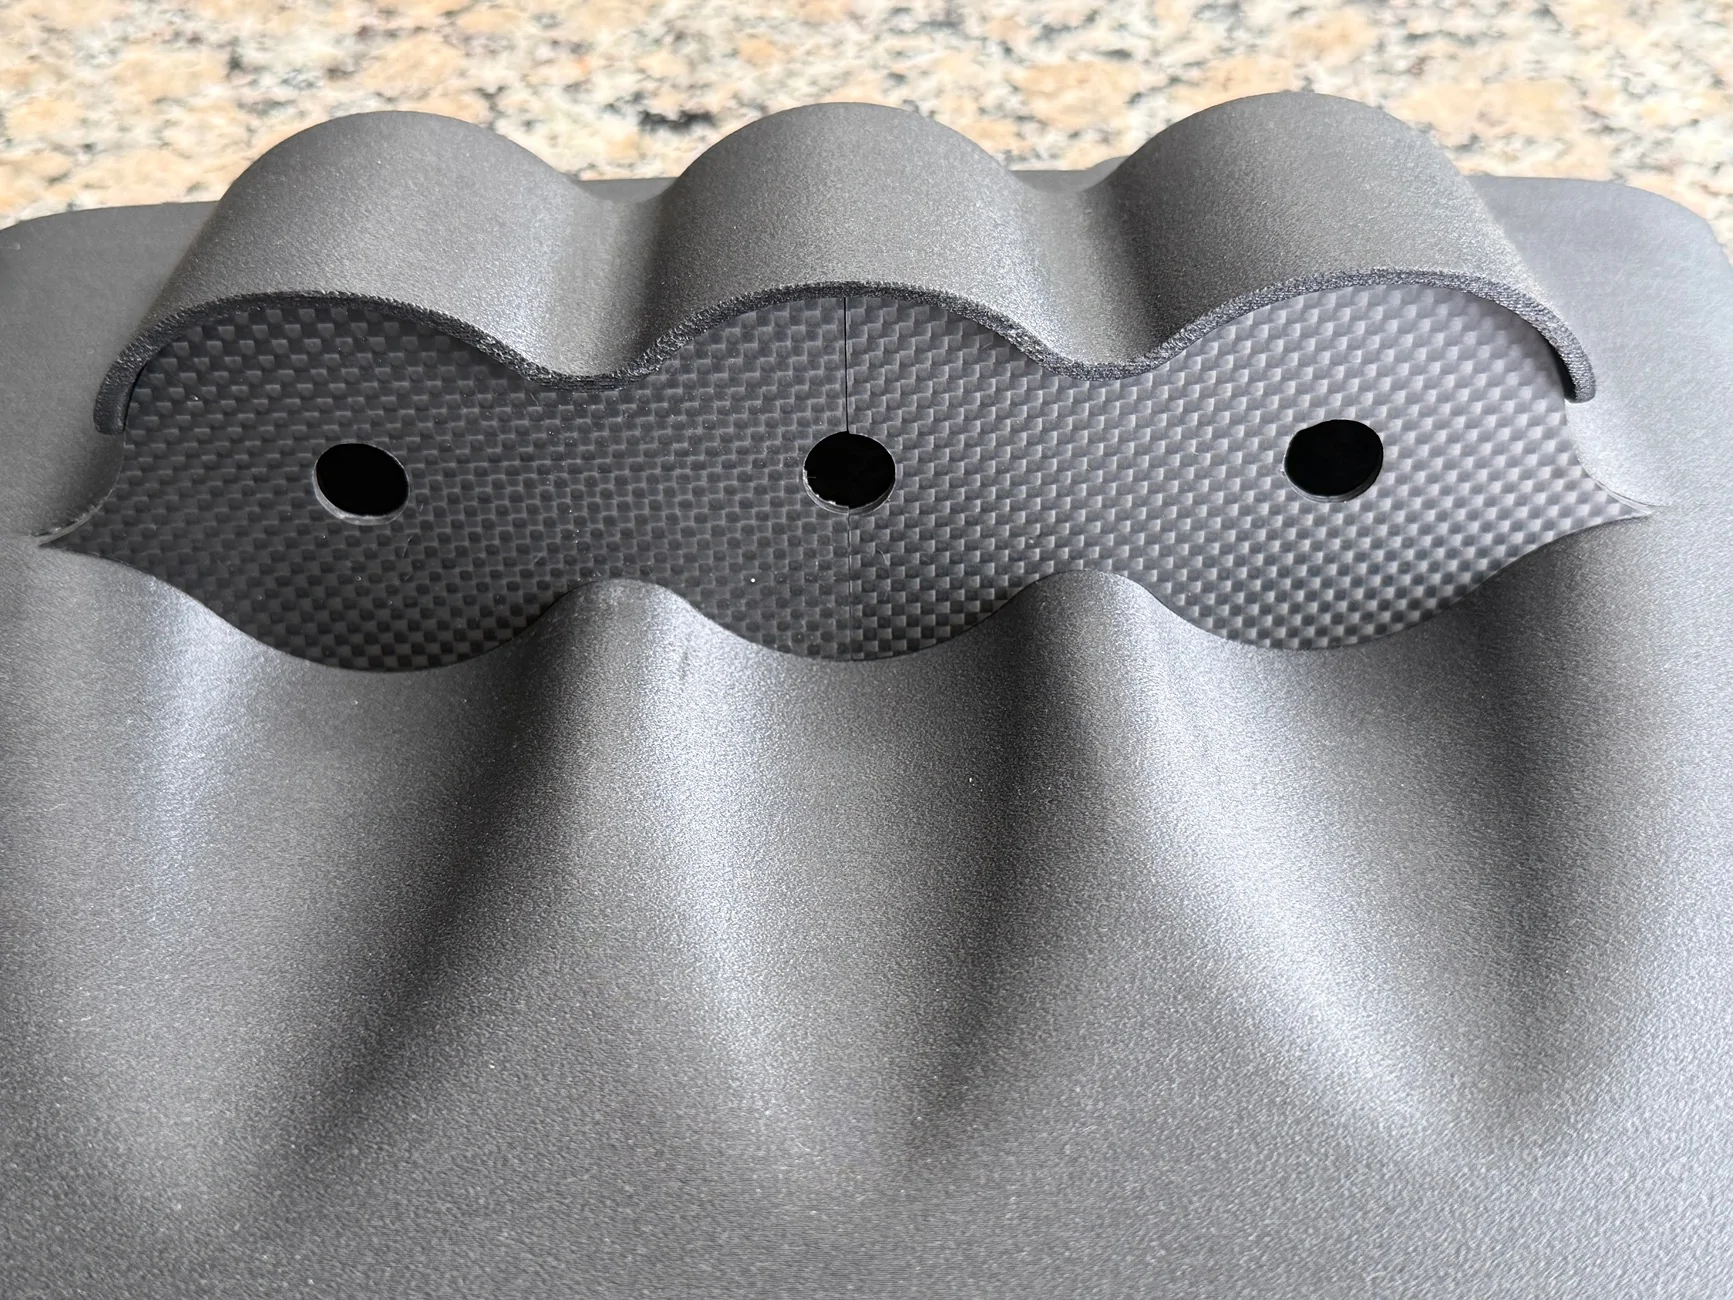
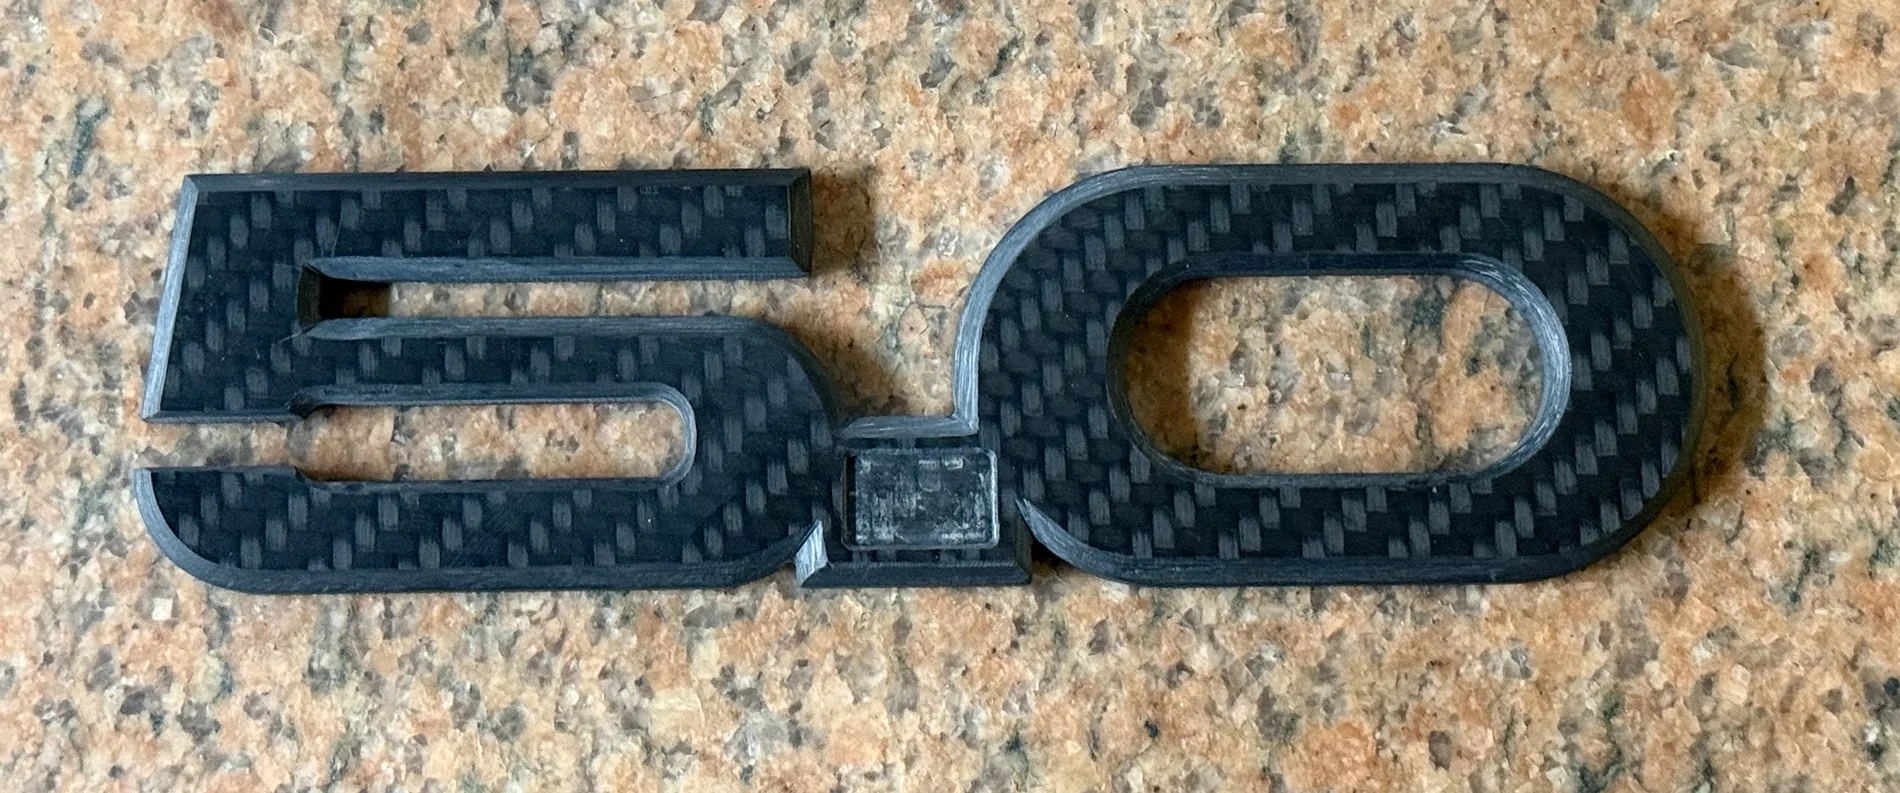
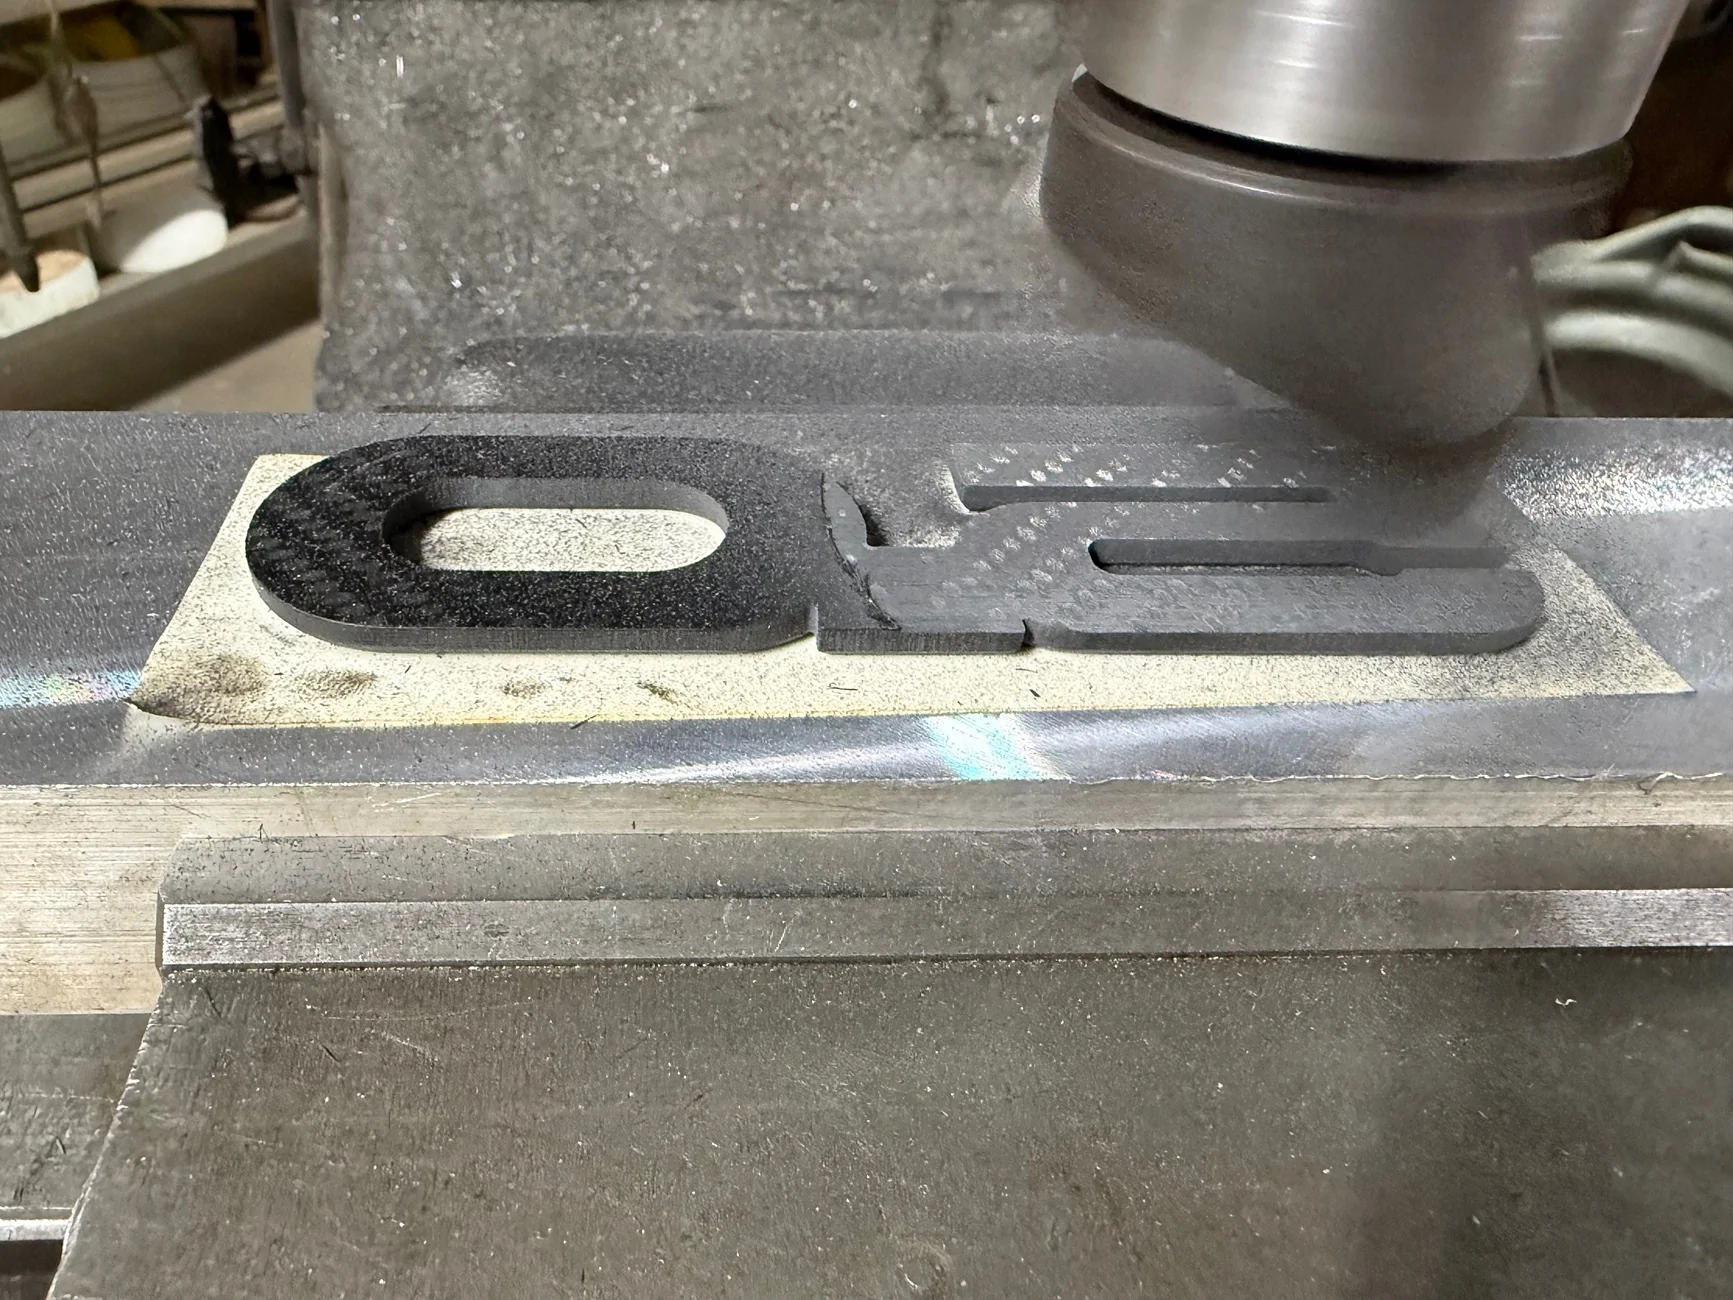

This 100%!5.0 badges are sweet, sign me up!