Sponsored
OP
OP
NGOT8R
Well-Known Member
- Thread starter
- #47
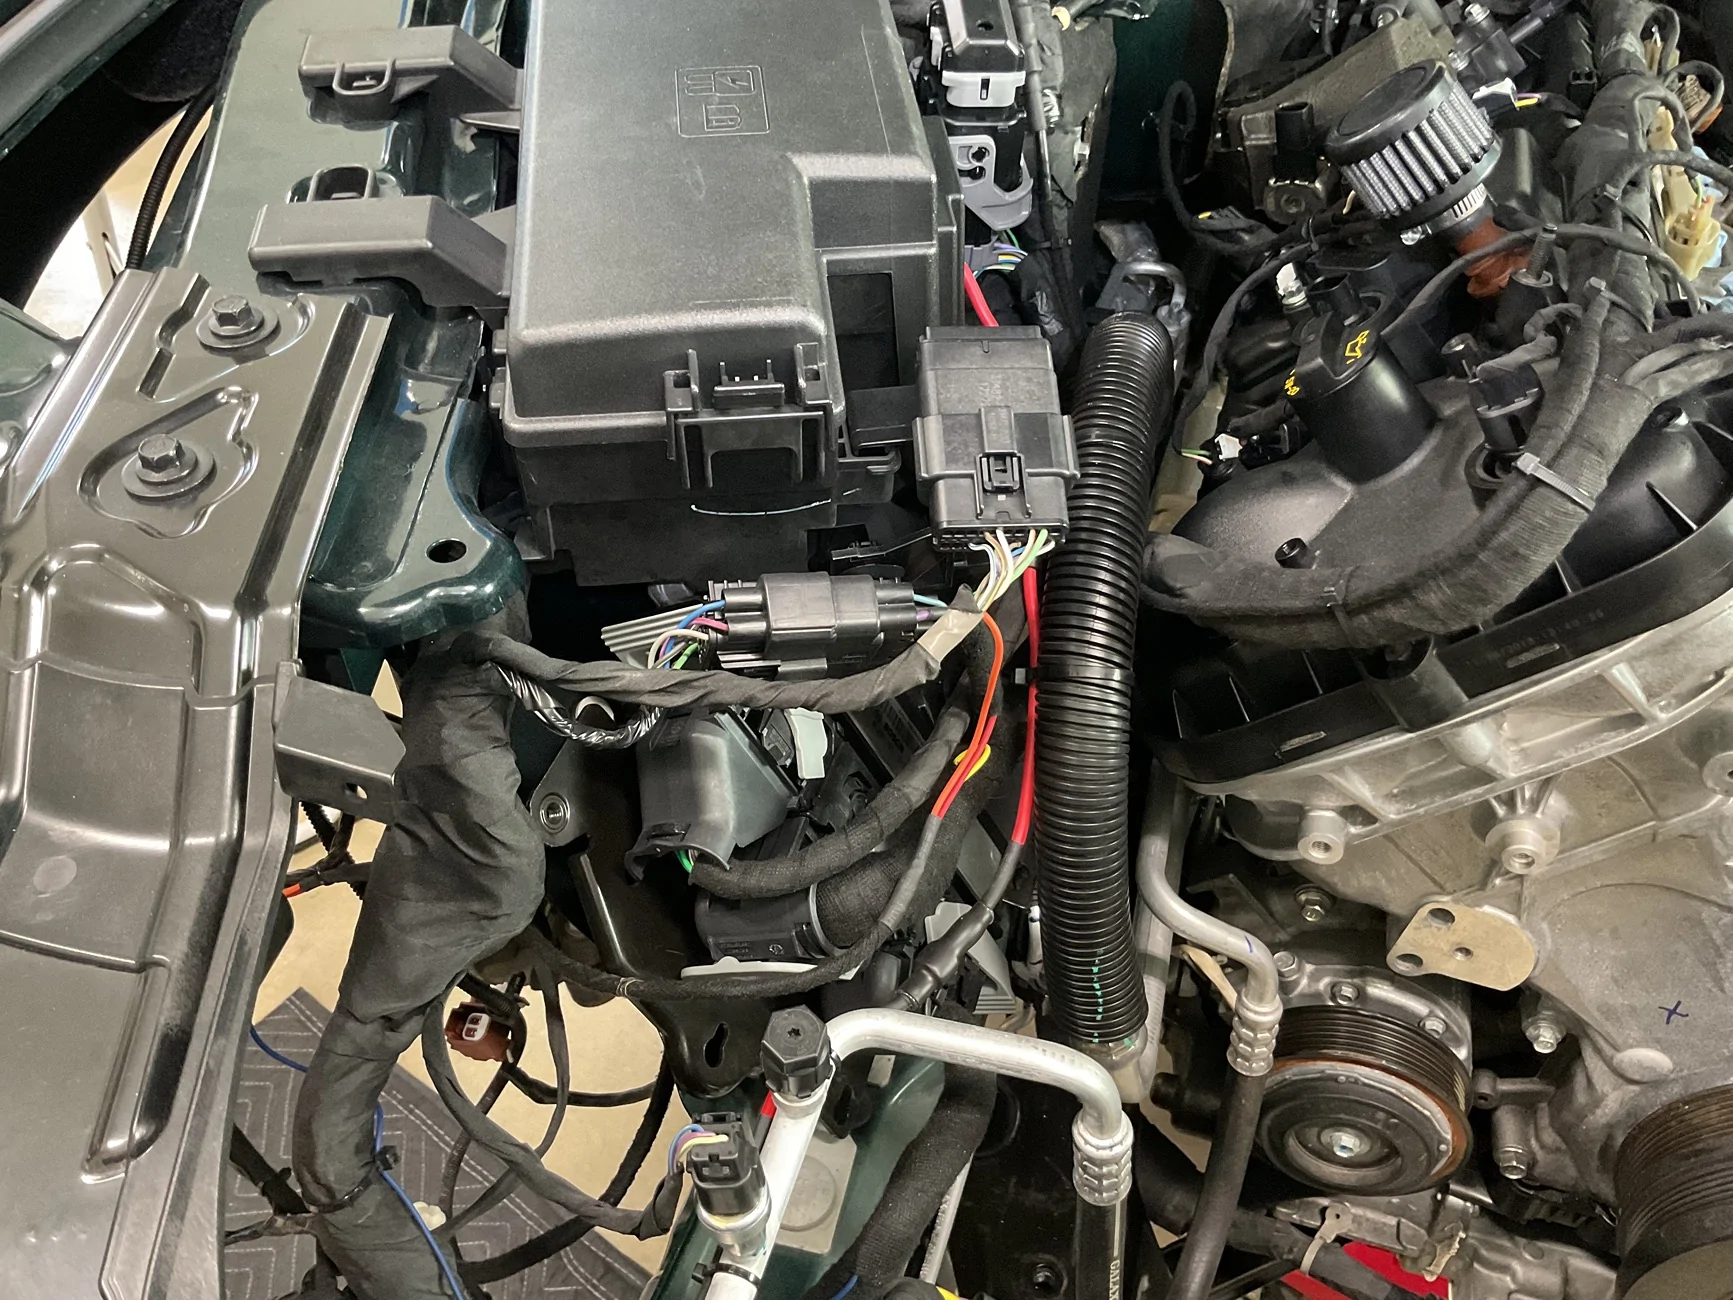
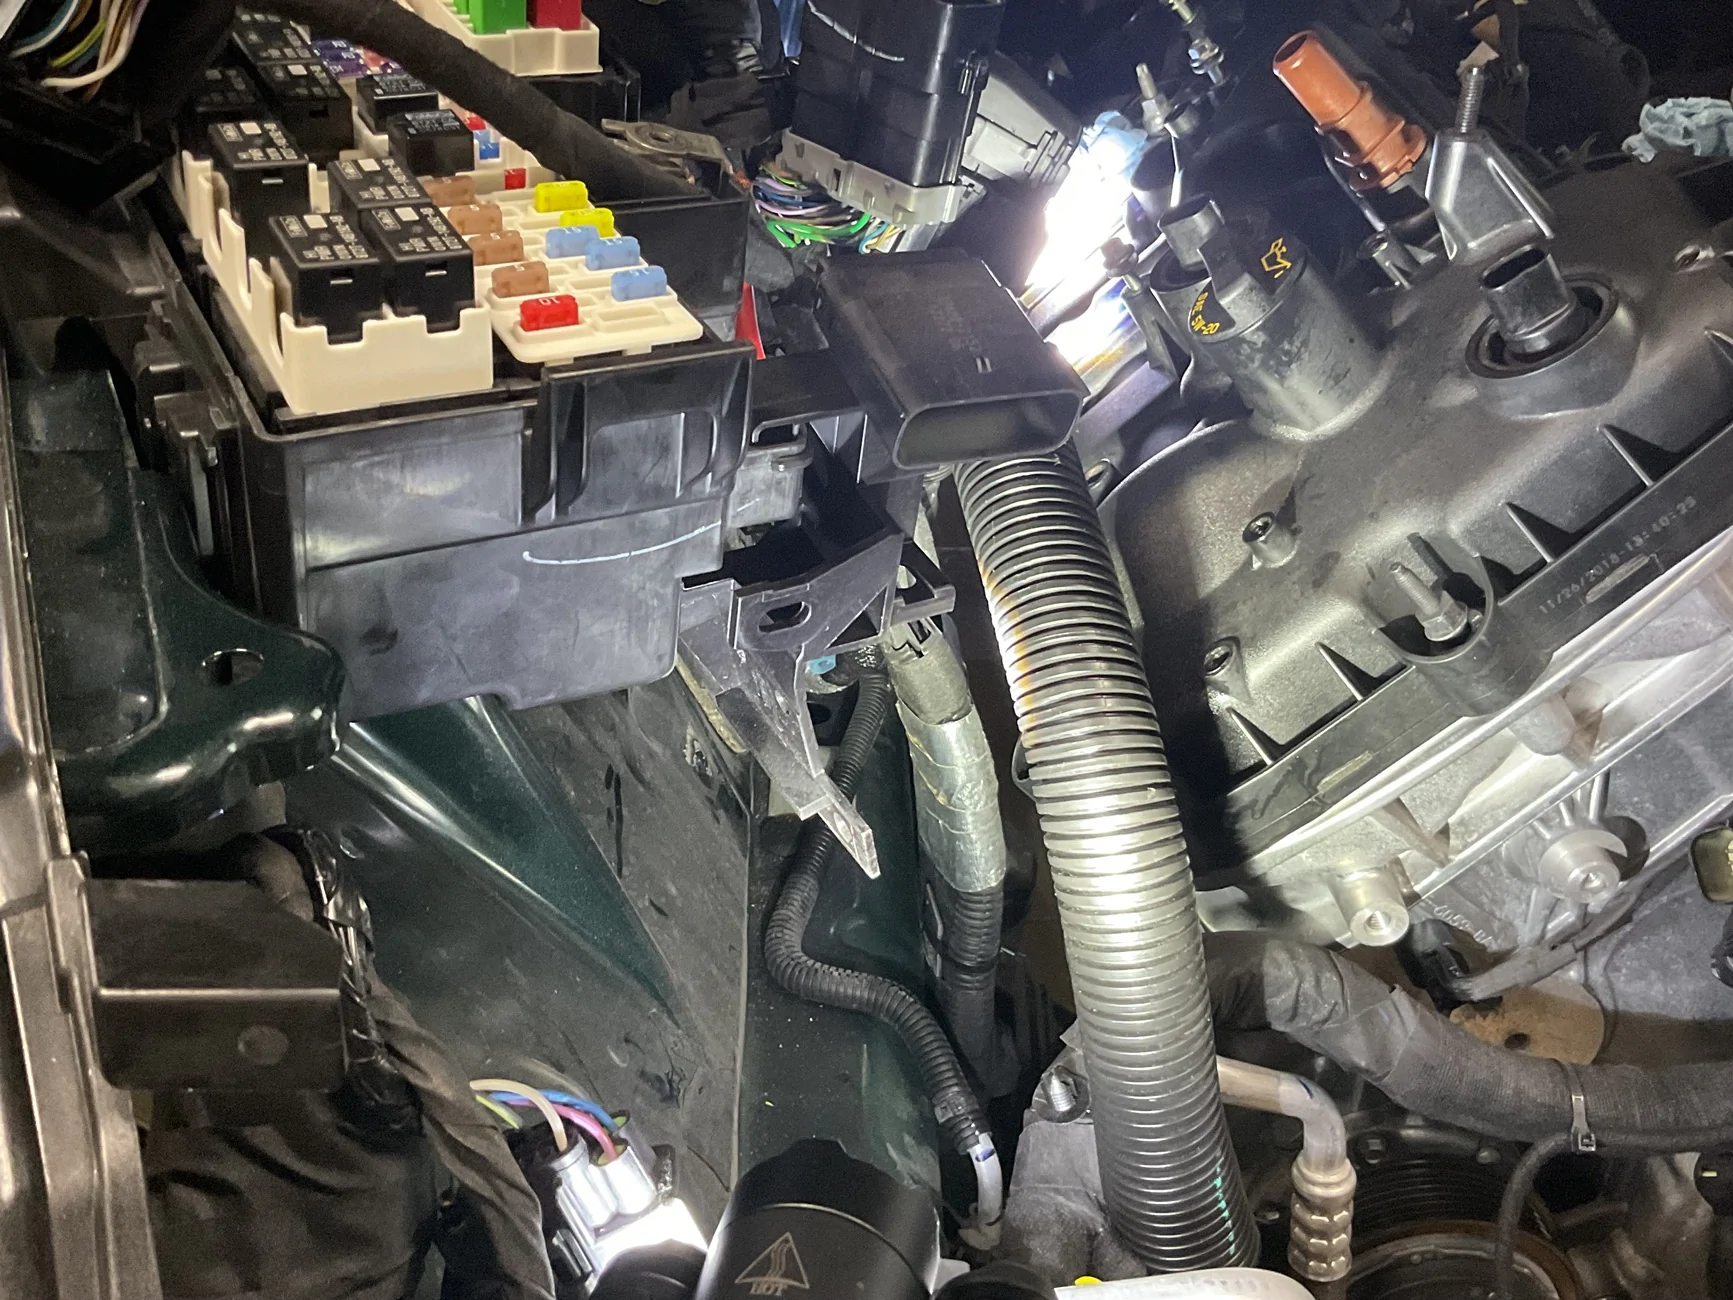
I know it doesn’t look like I’ve accomplished much today, but I was able to remove the PCM, its protective cover and mounting bracket. That really opened up more room for the passenger side turbo header, but it’s still not enough.
In addition, I removed the Di fuel pump and feed line to the passenger rail.
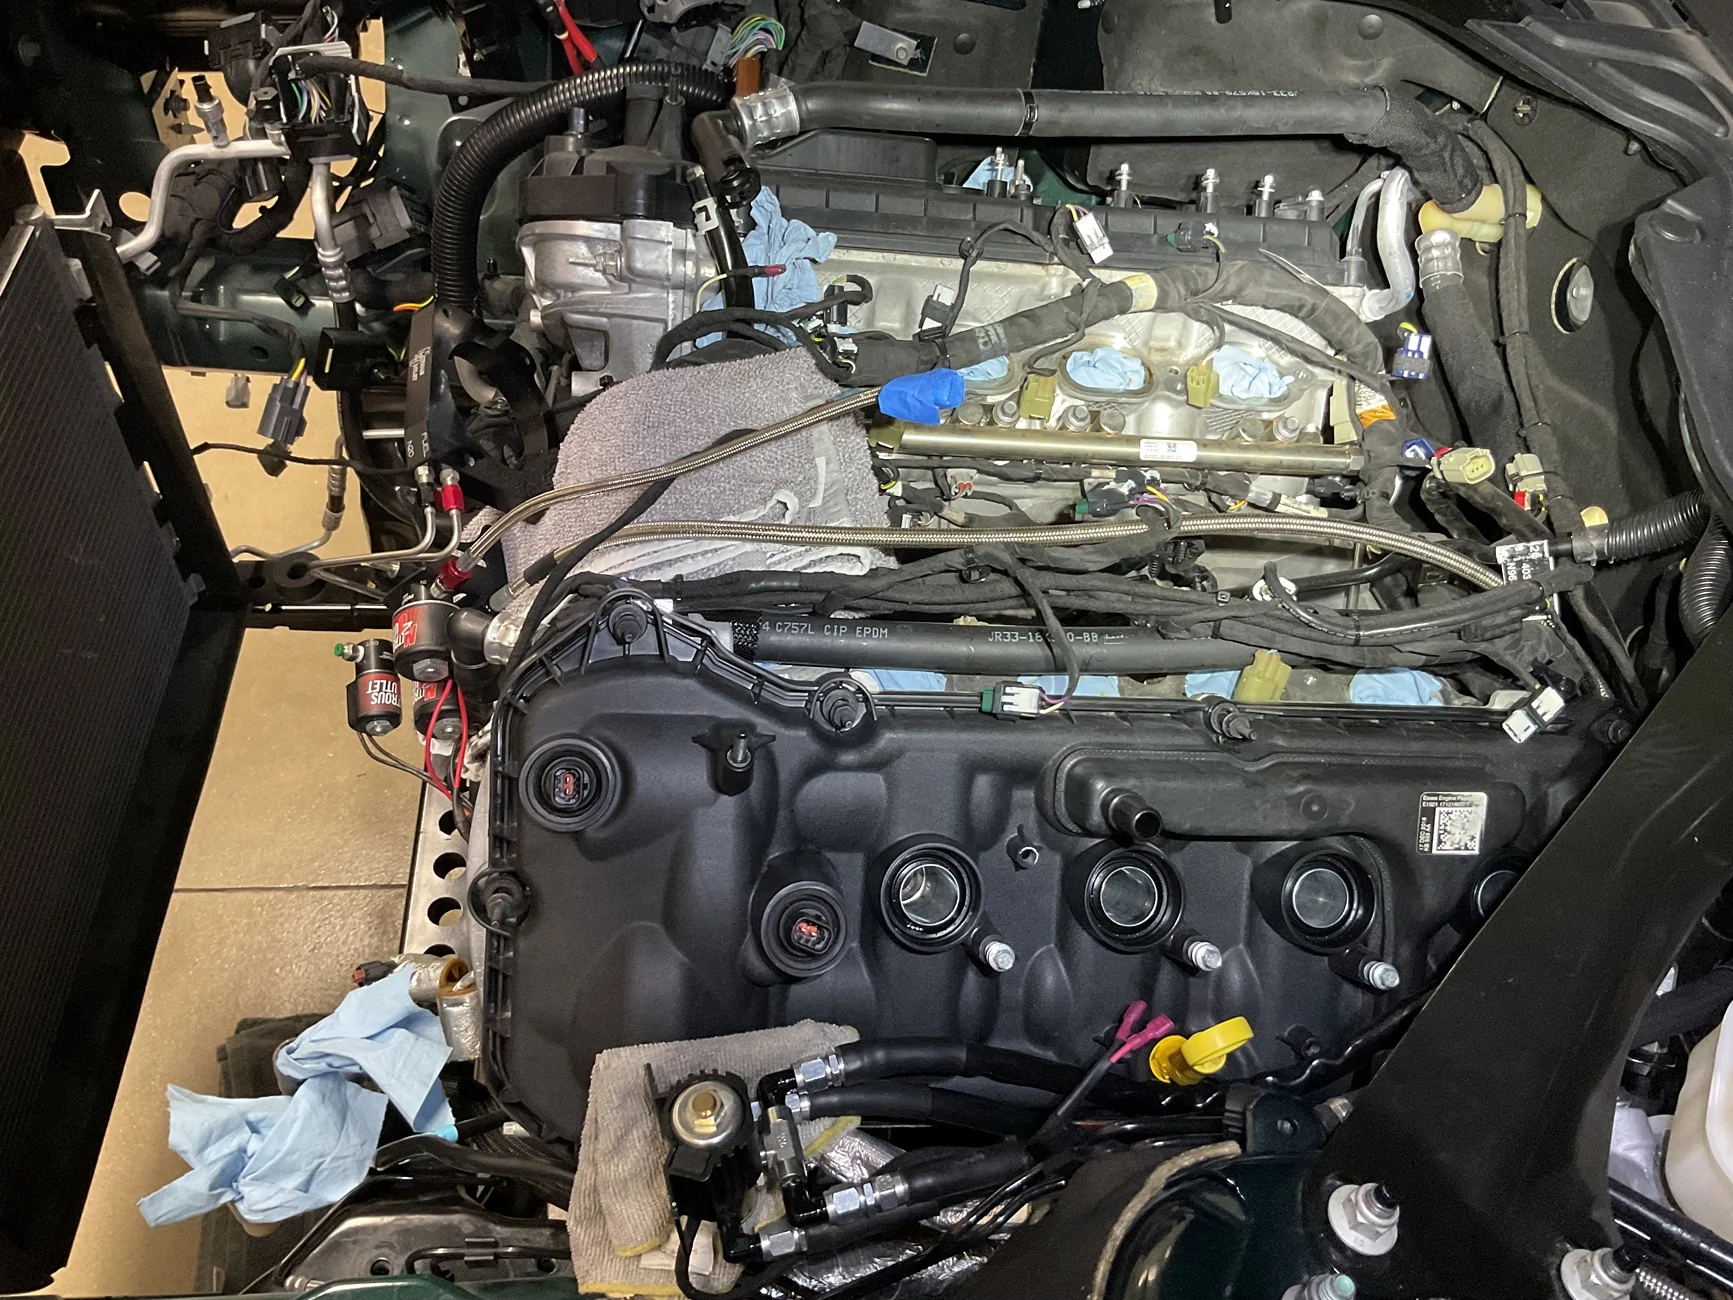
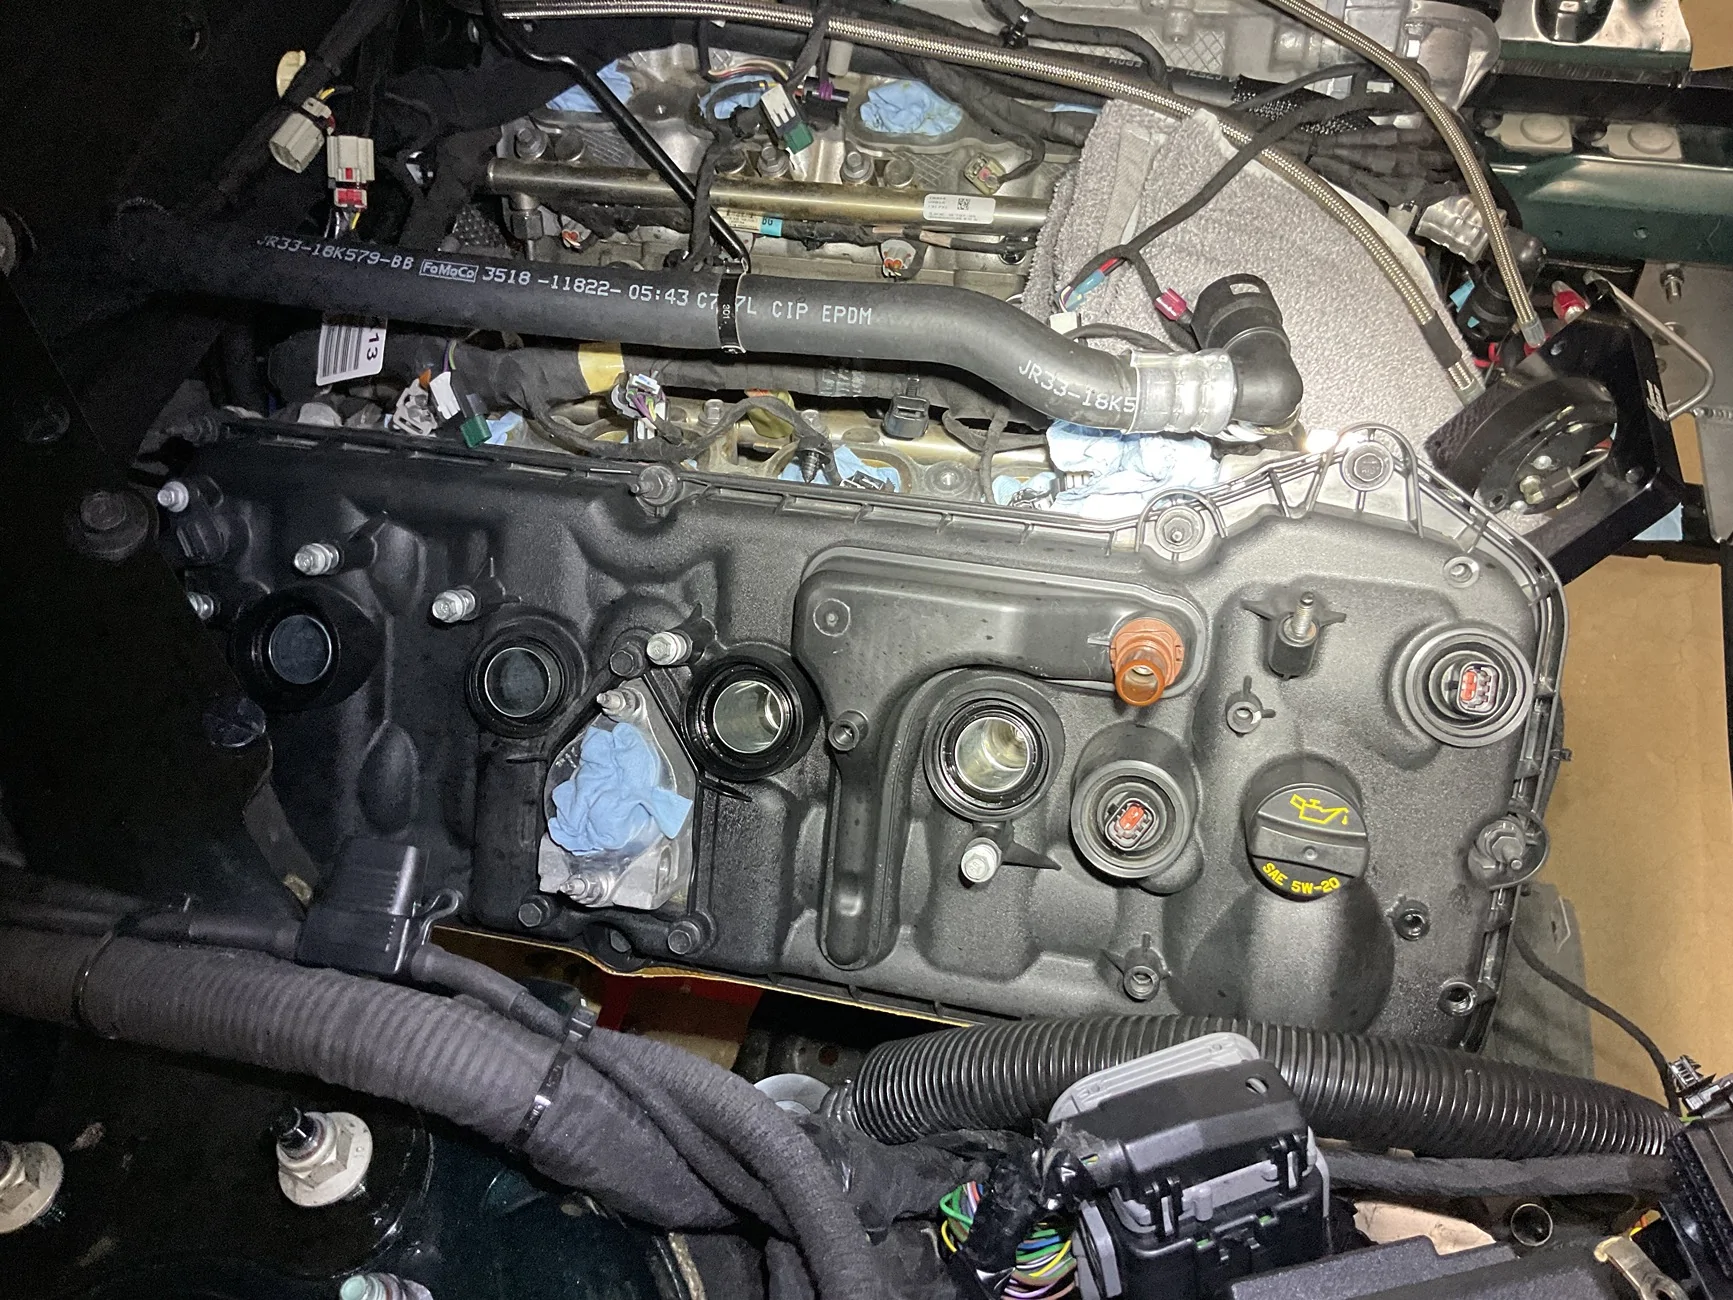
Lastly, I removed all ignition coils and windshield washer reservoir, as well as loosened all spark plugs and all bolts on both valve covers.
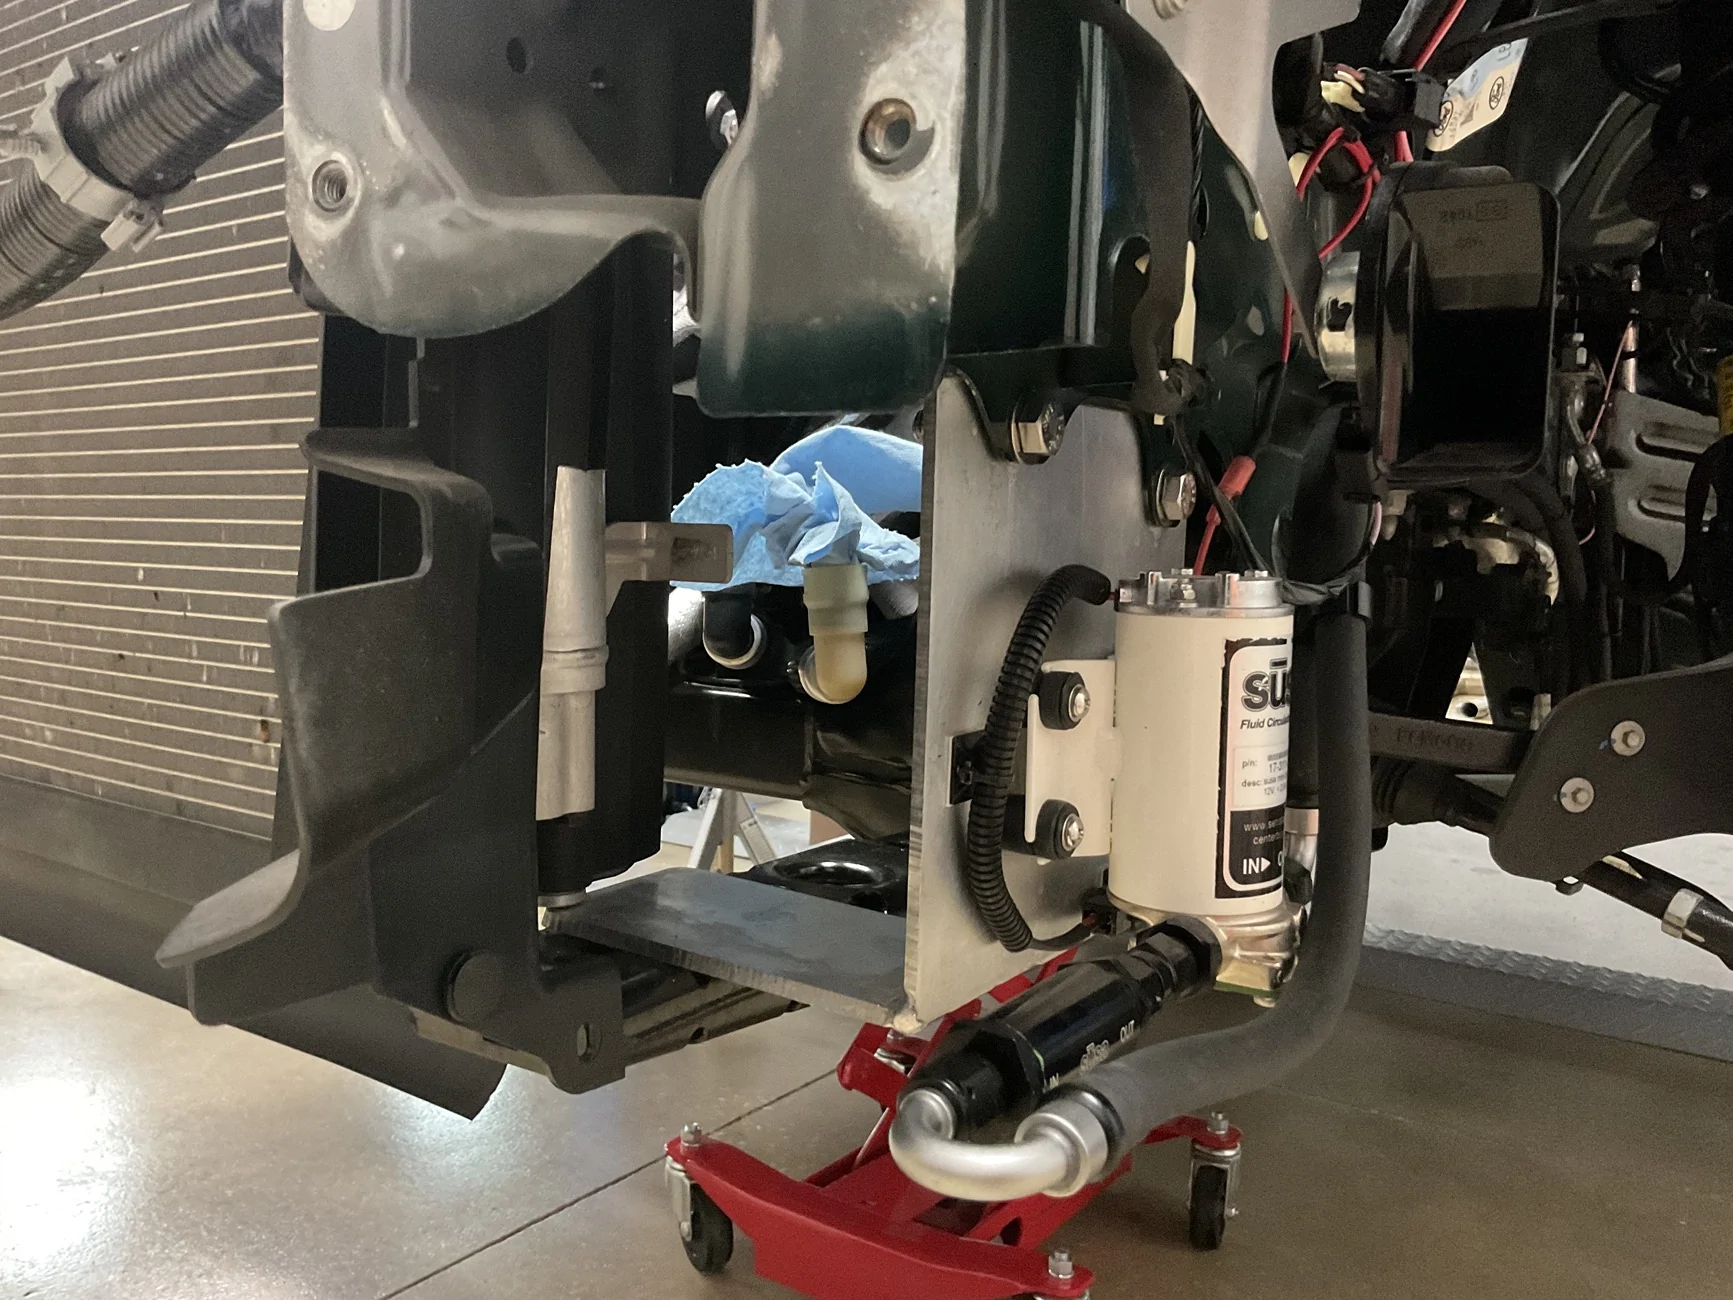
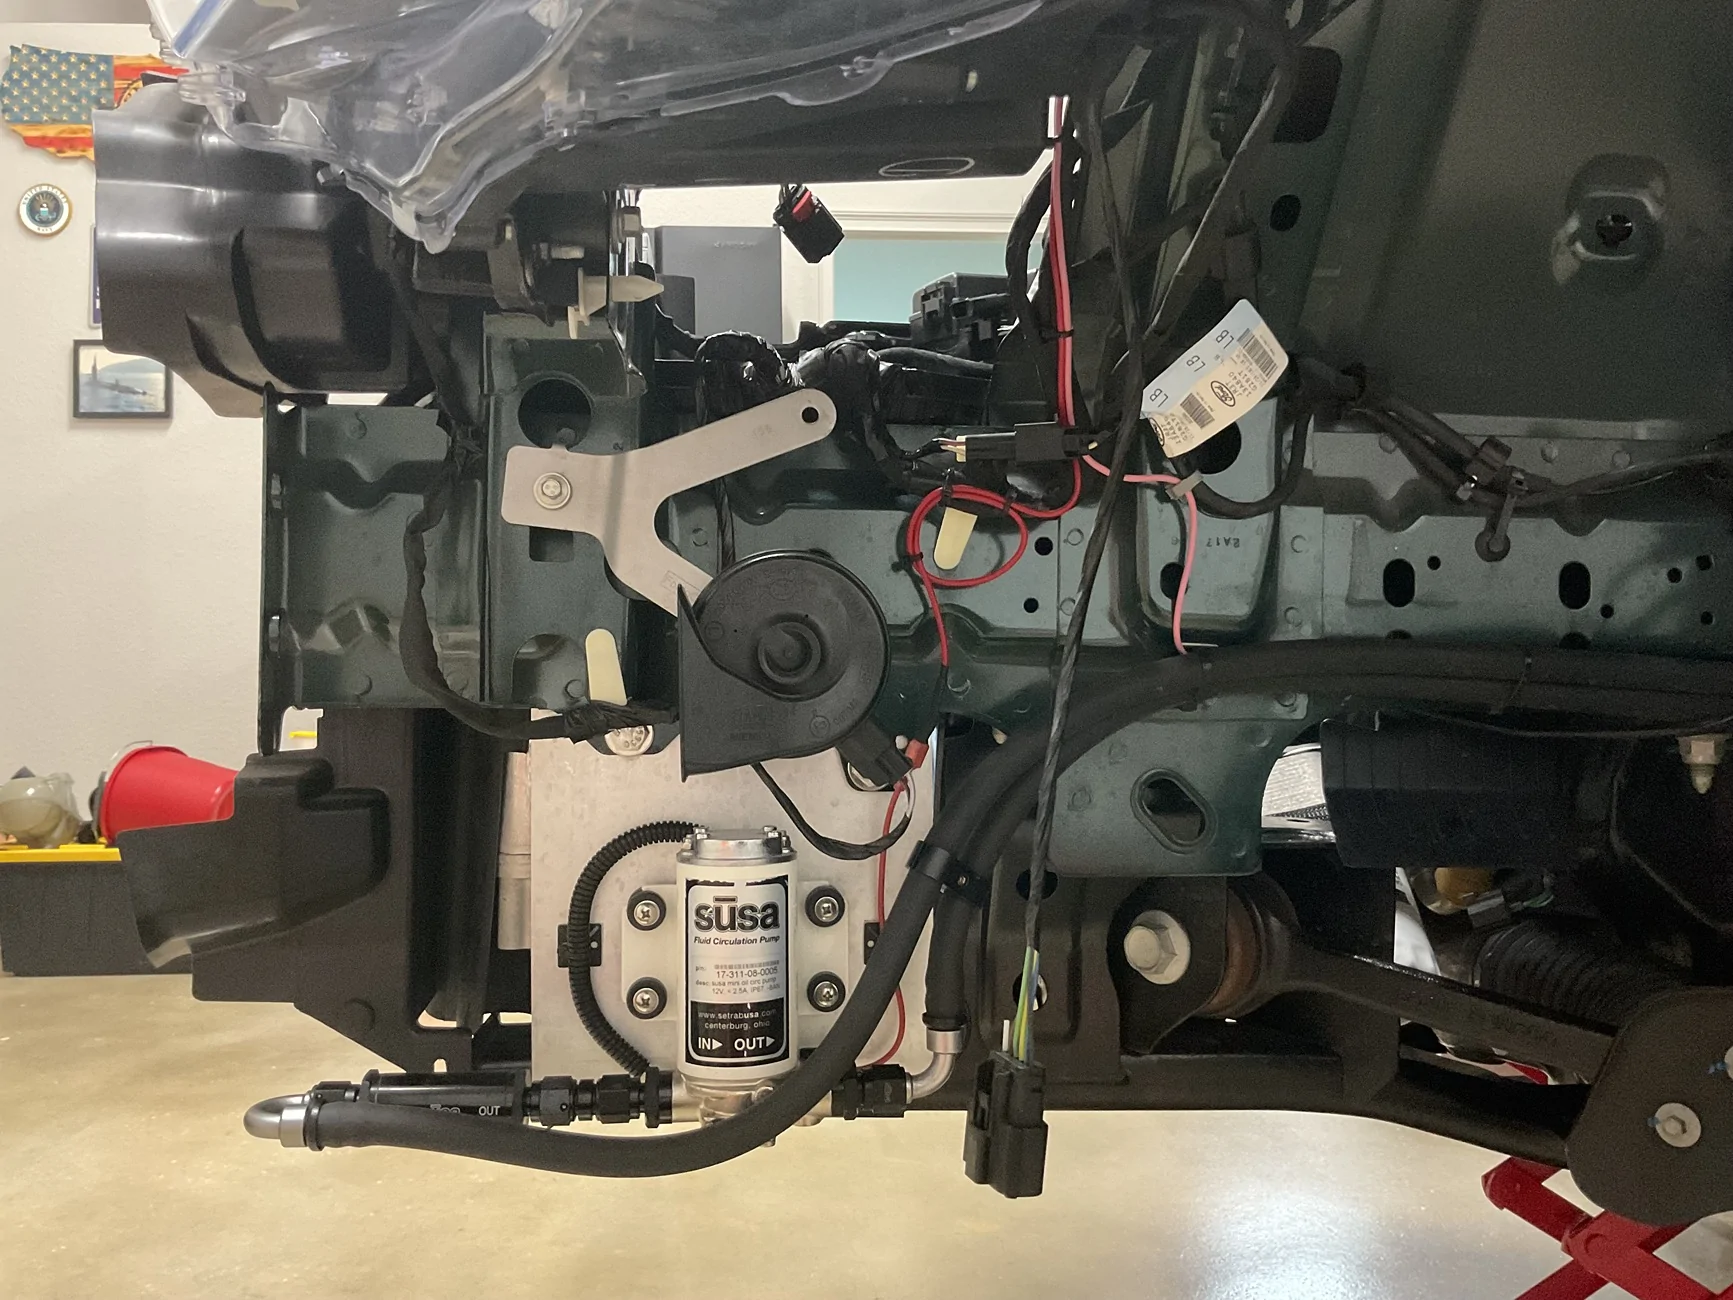
I’m hoping I don’t have to relocate my transmission external fluid pump for the piping off the intercooler. It looks like there may be enough room, but barely.

In addition, I removed the Di fuel pump and feed line to the passenger rail.
Lastly, I removed all ignition coils and windshield washer reservoir, as well as loosened all spark plugs and all bolts on both valve covers.
I’m hoping I don’t have to relocate my transmission external fluid pump for the piping off the intercooler. It looks like there may be enough room, but barely.


Last edited:


Sponsored
OP
OP
NGOT8R
Well-Known Member
- Thread starter
- #51
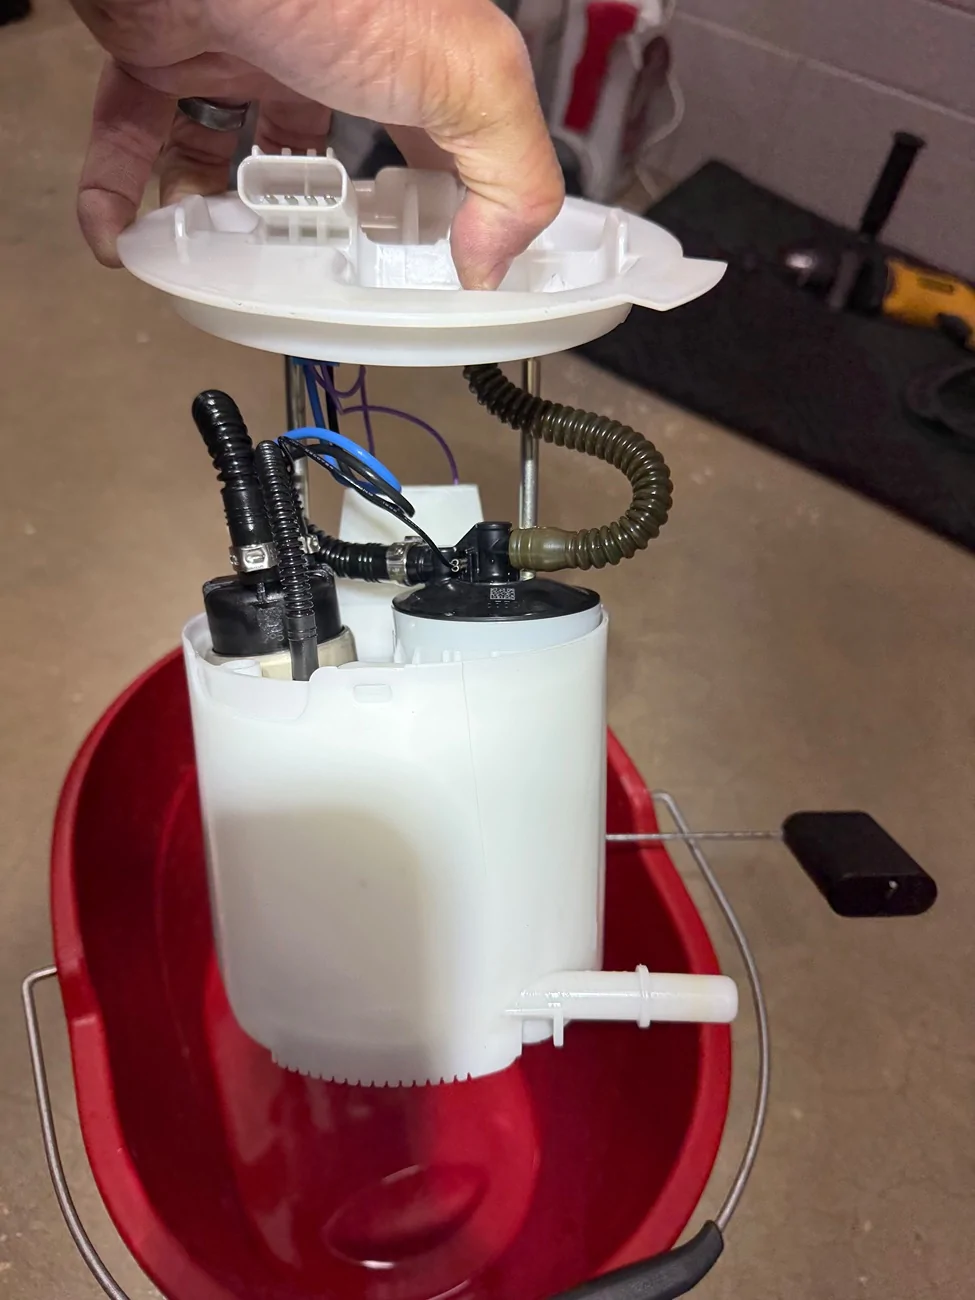
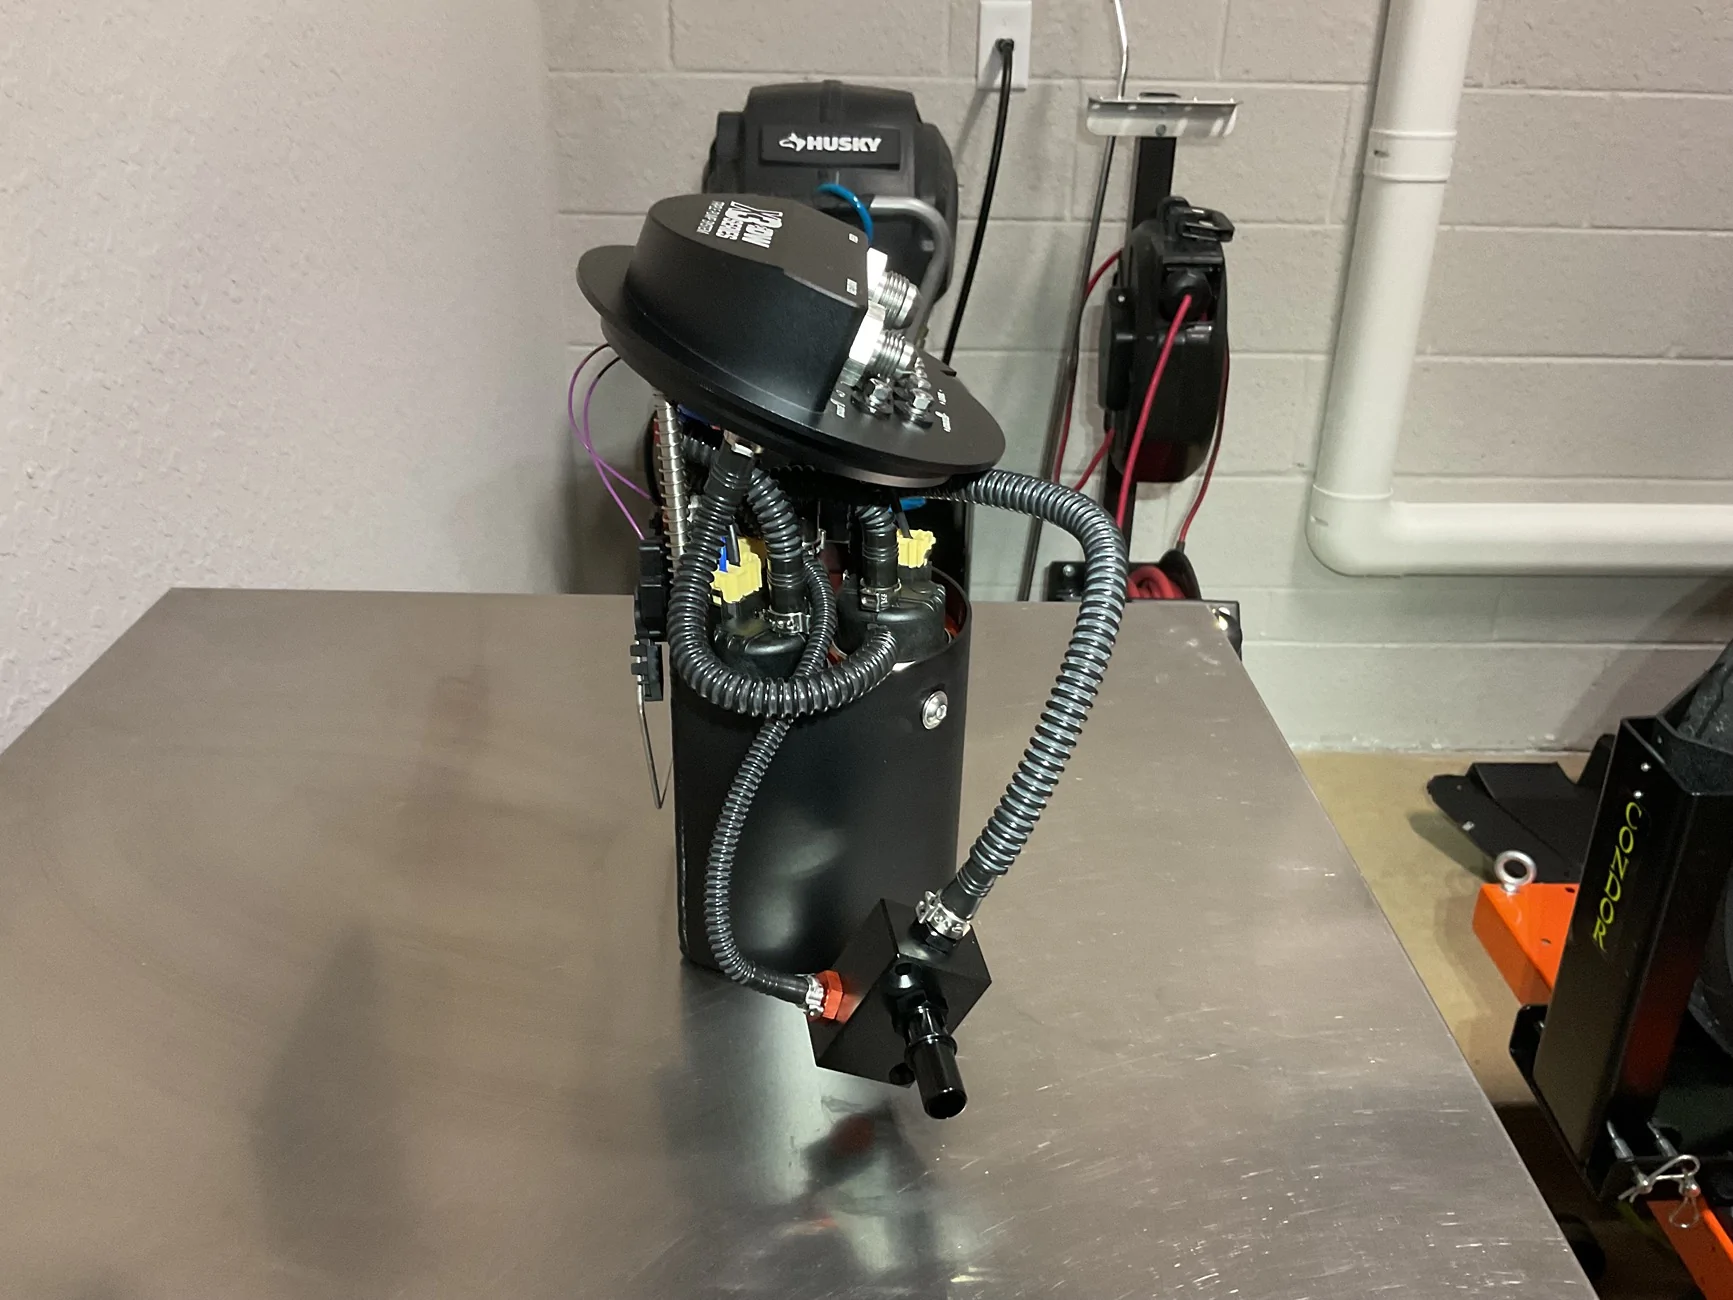
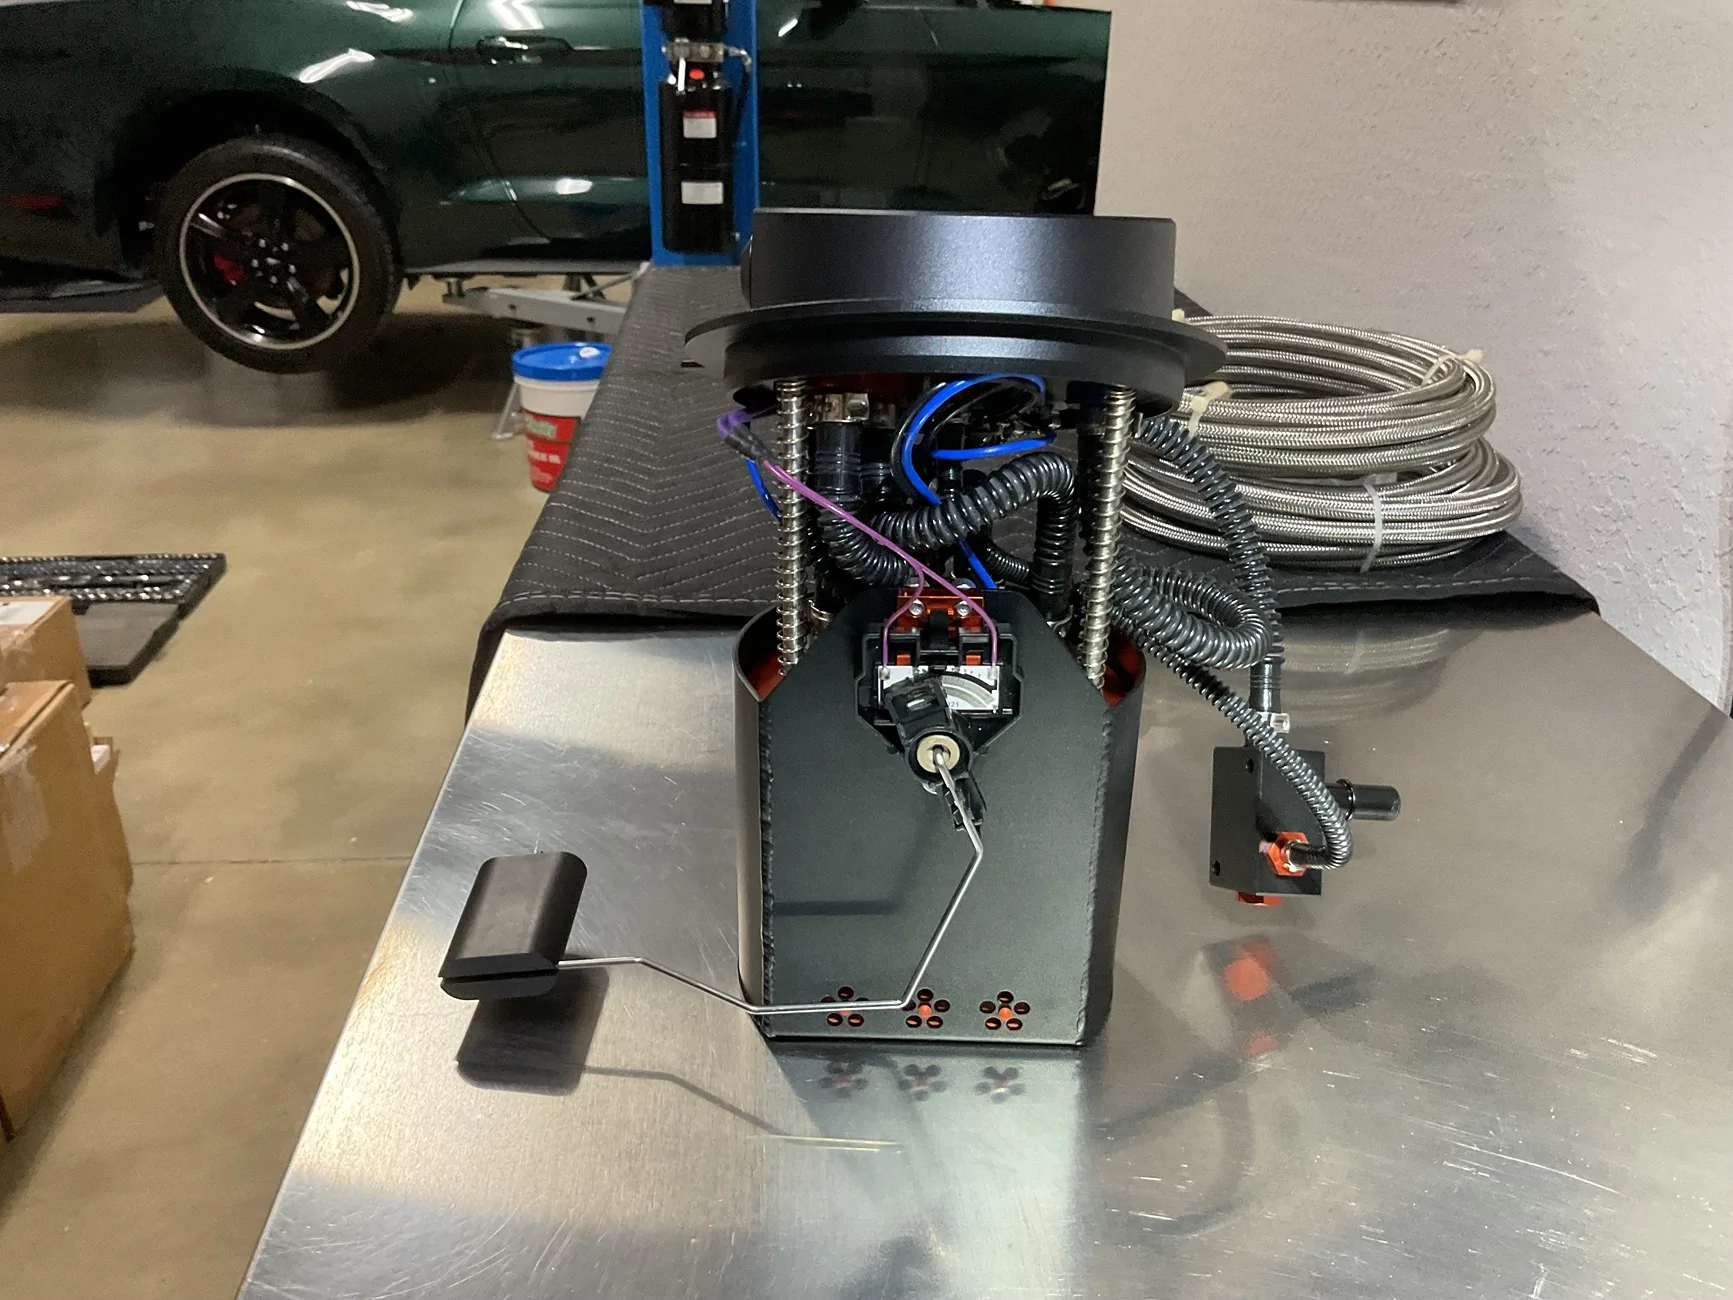
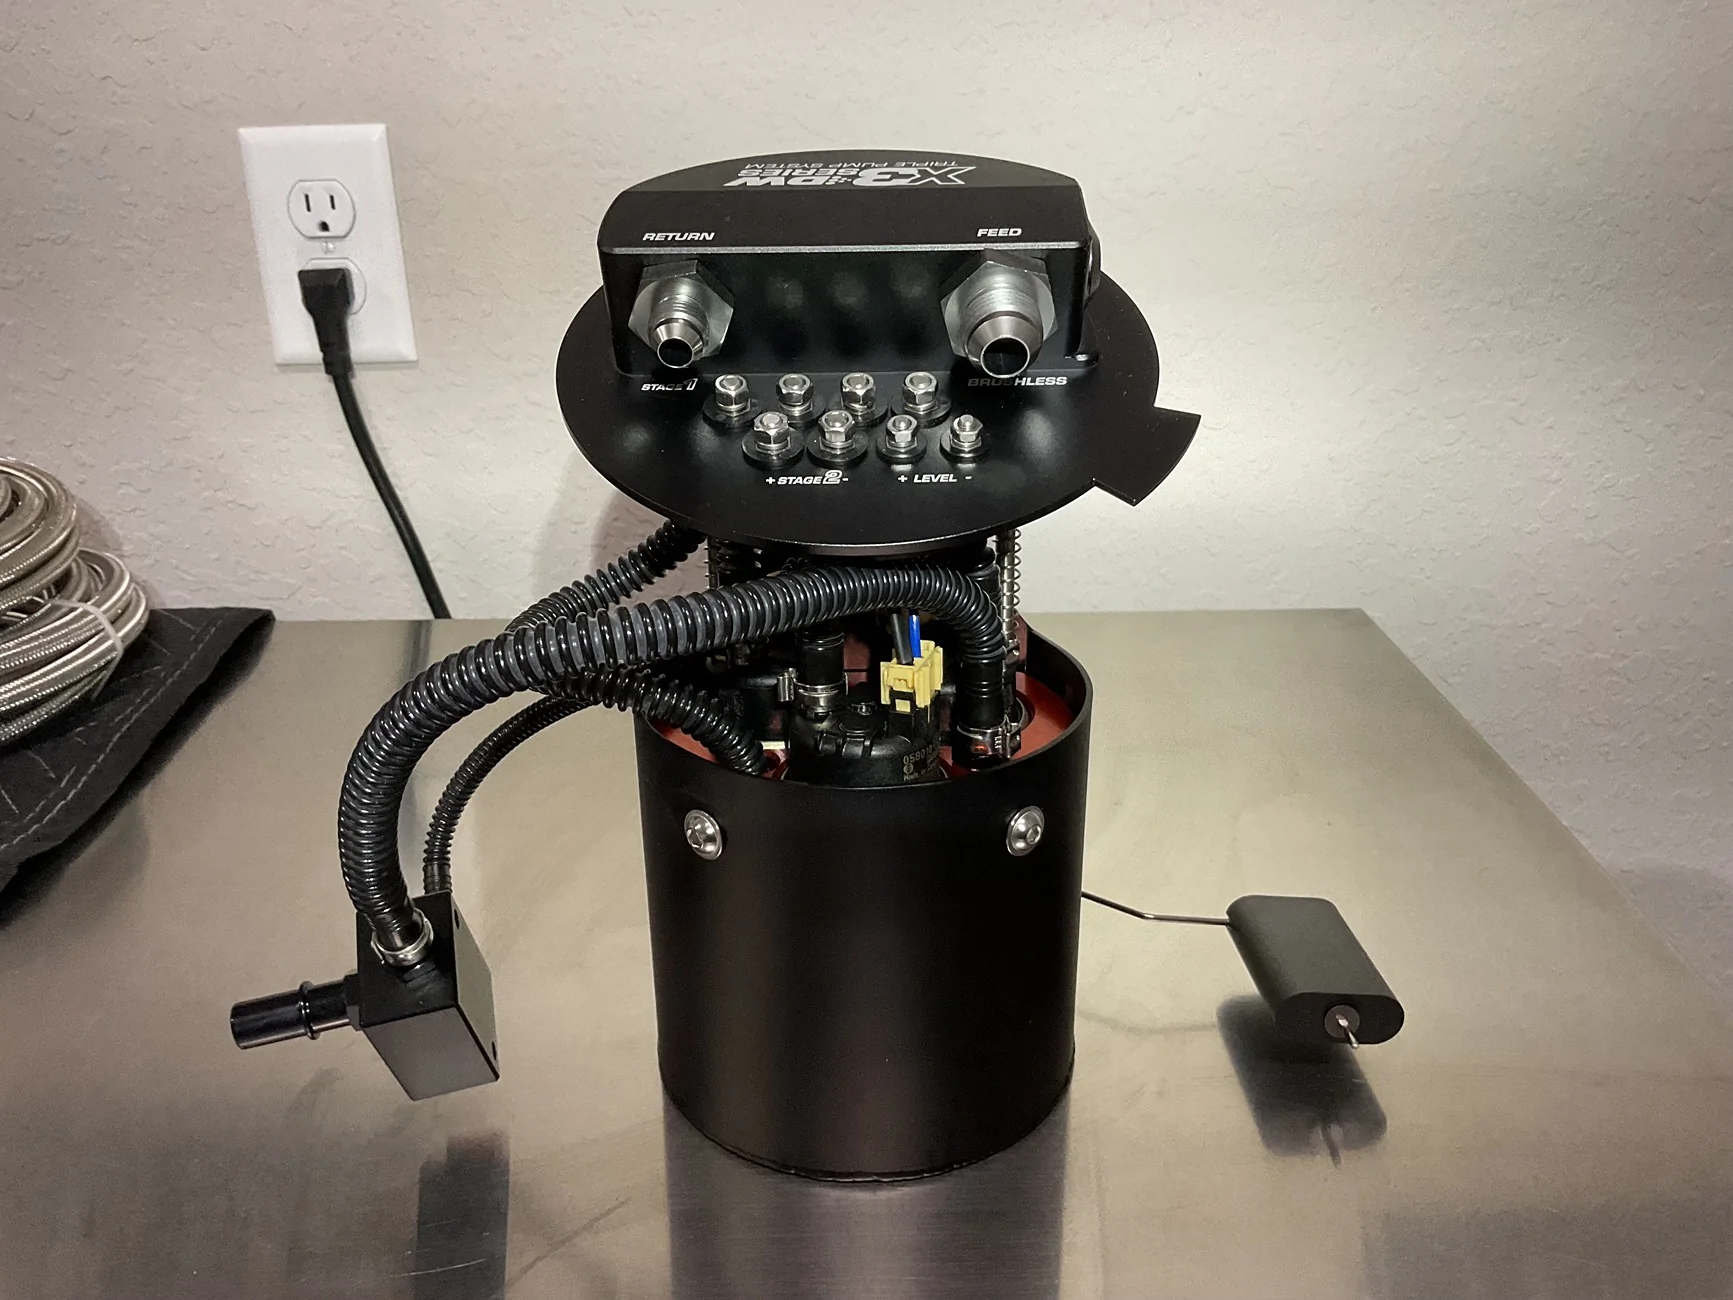
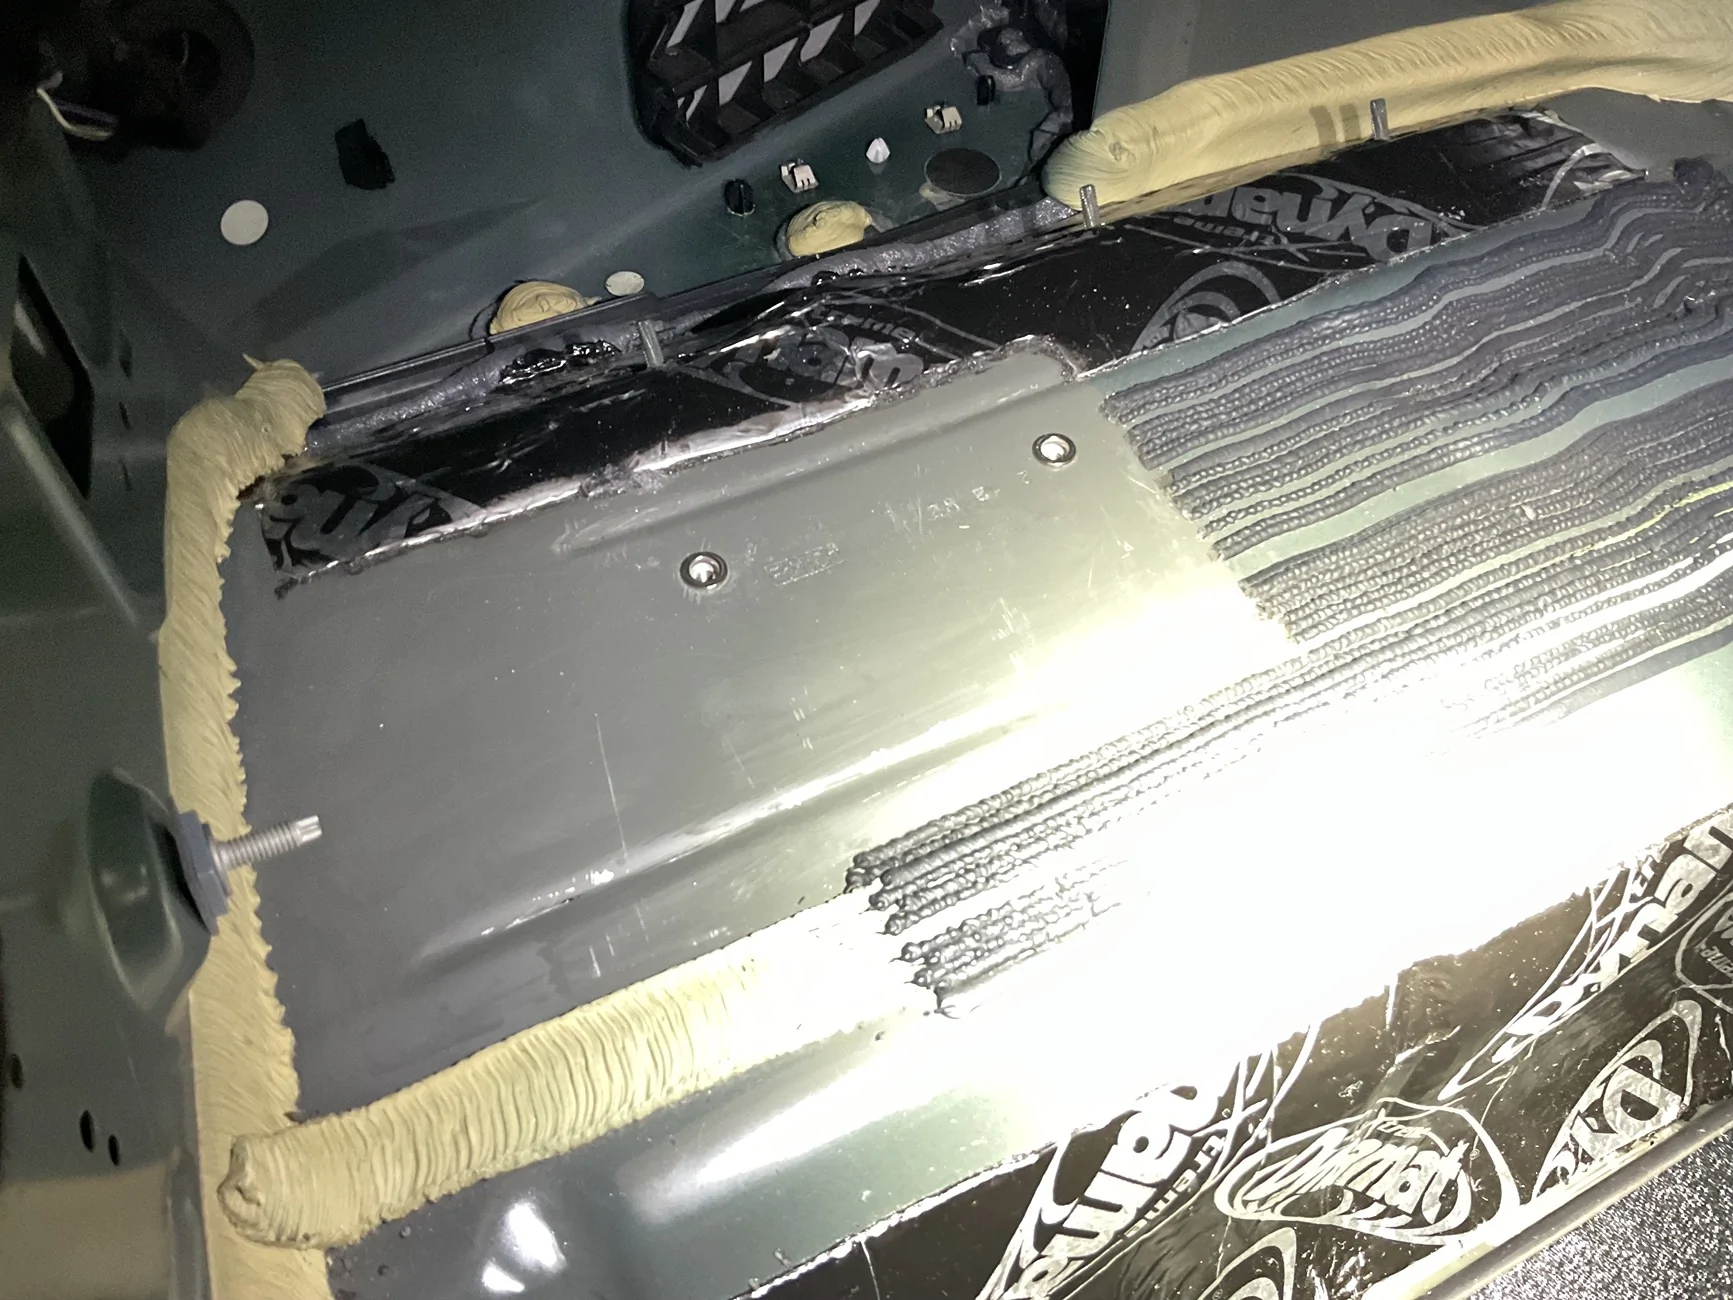
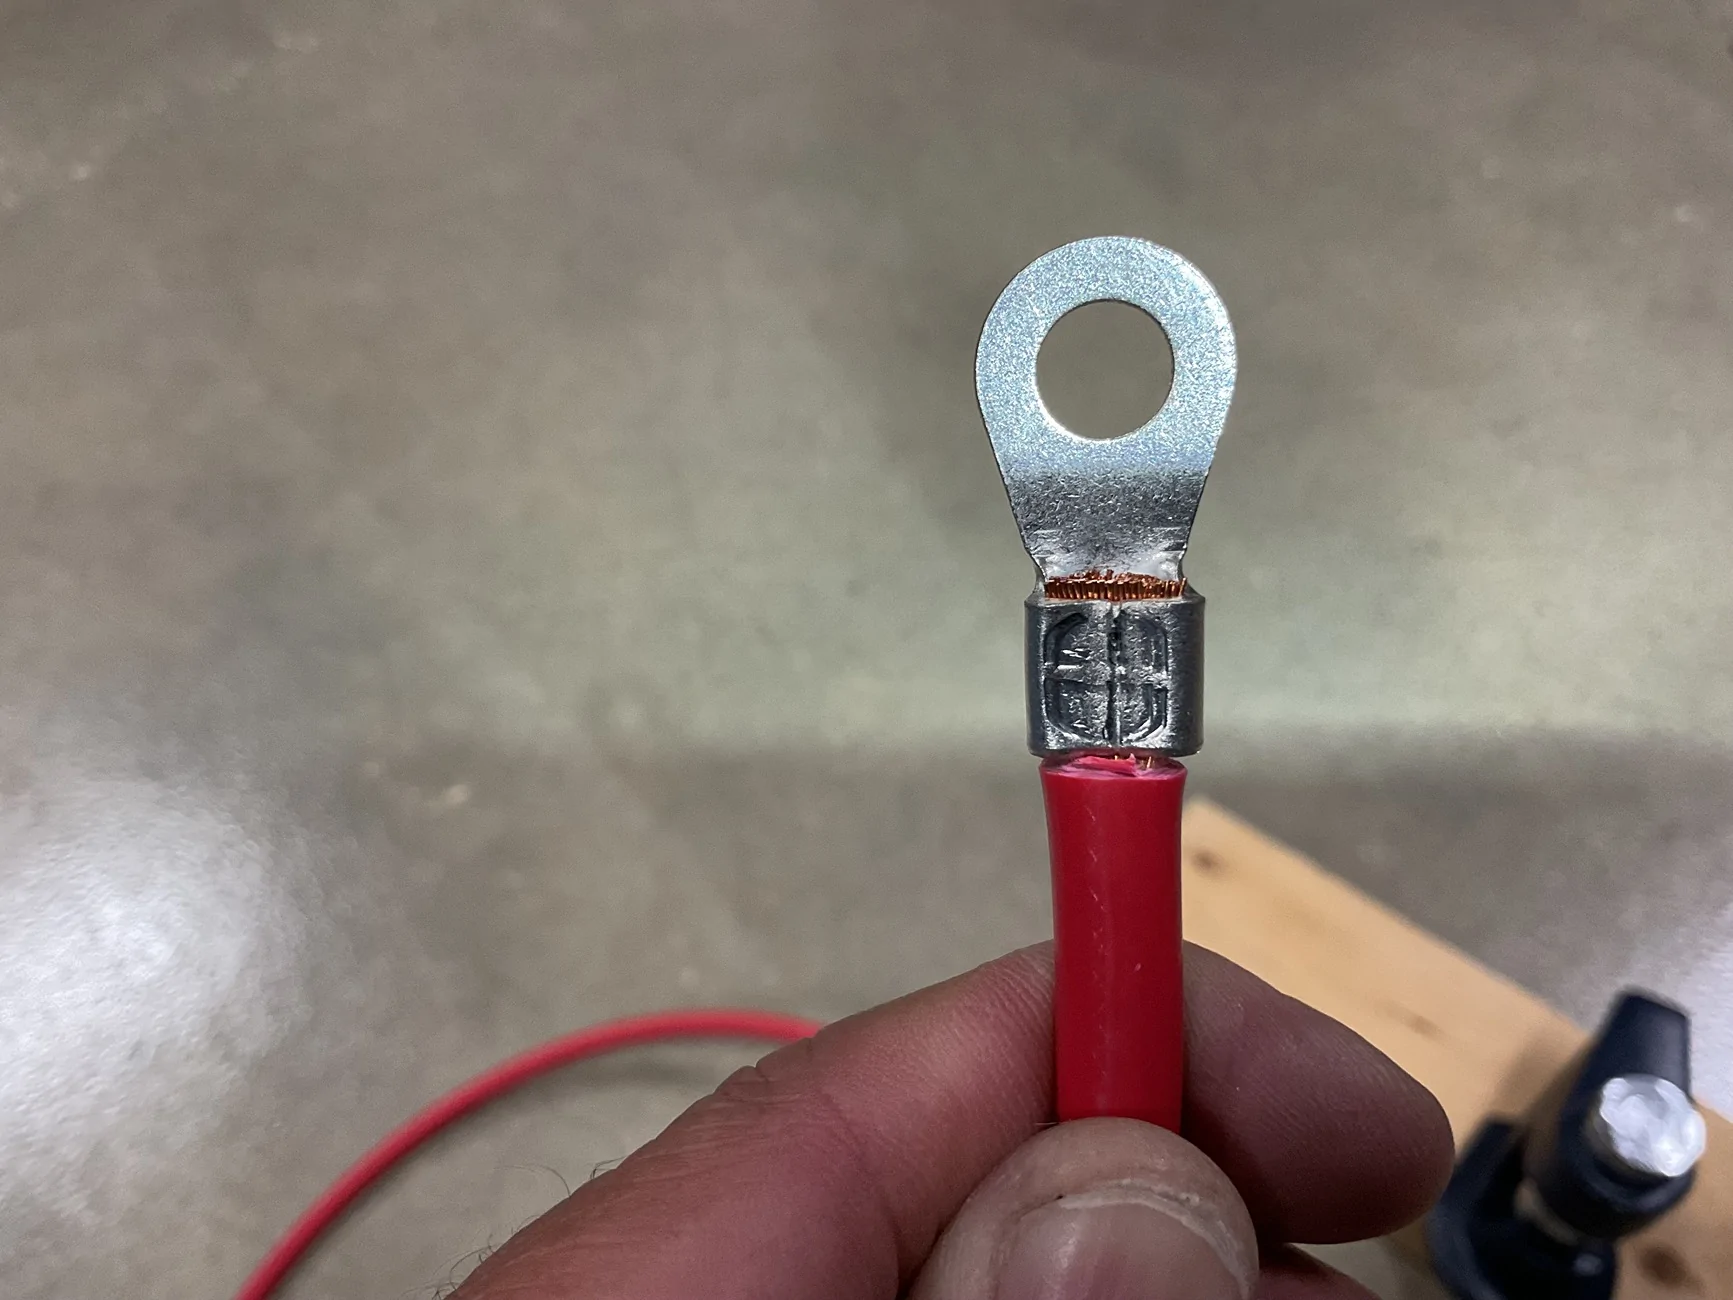
A little more progress today. I assembled the fuel basket and pump assembly. I decided to solder all connections. I must have put the pump assemblies into the basket and removed them about 10 times in order to get the fitment right. One of the pump filter socks kept hanging up on one of the three umbrella valves which was the reason it took quite a while.


diambo4life
Well-Known Member
Nice lil project.
OP
OP
NGOT8R
Well-Known Member
- Thread starter
- #53
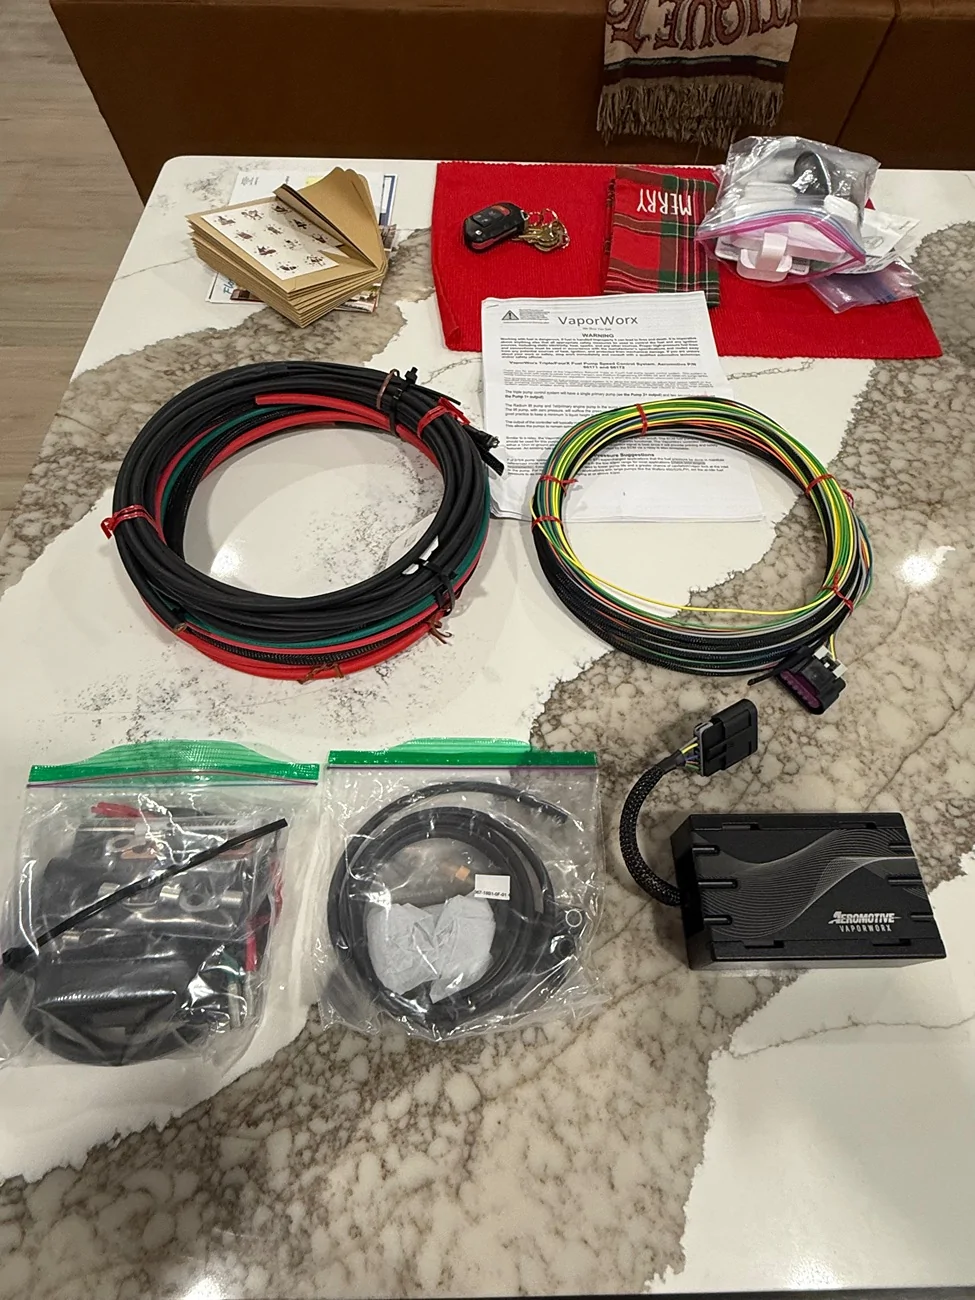
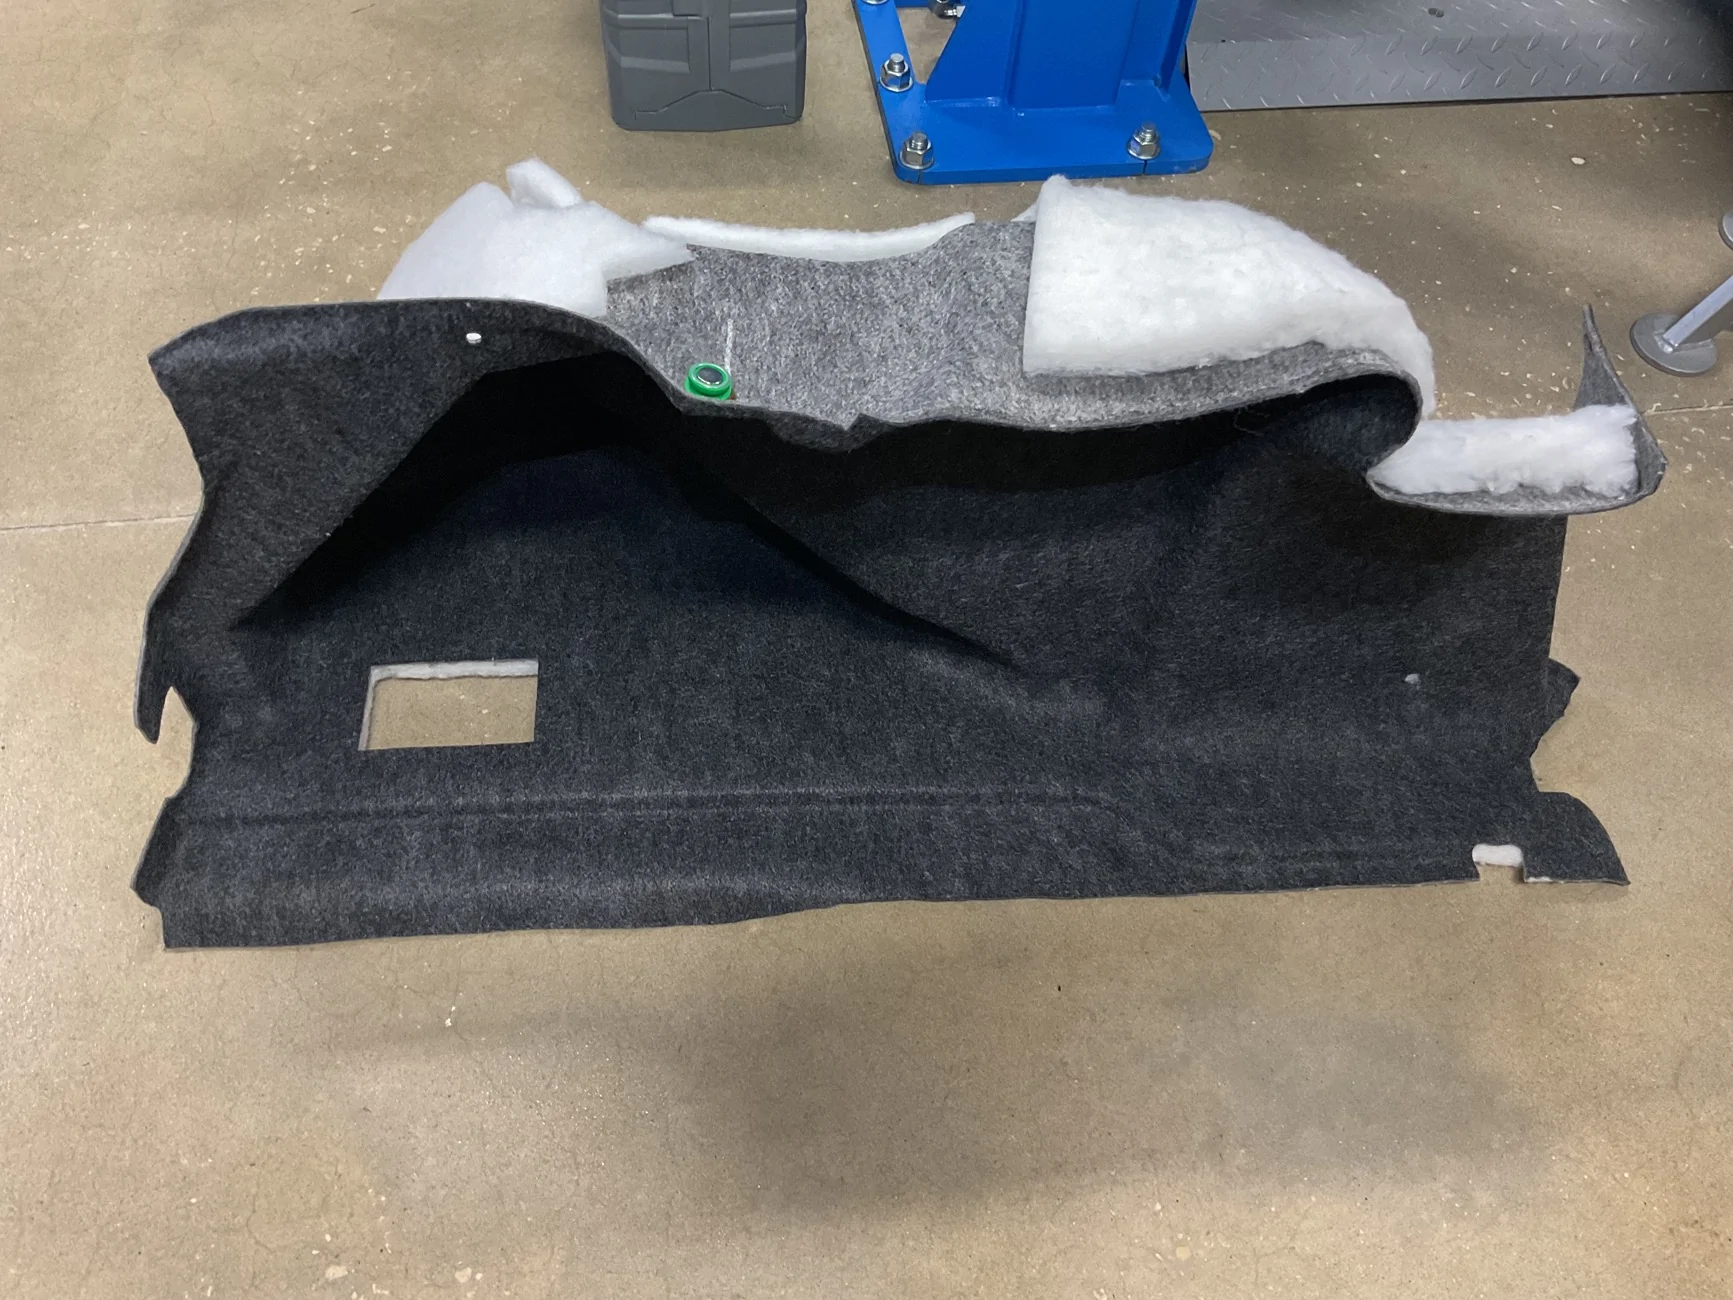
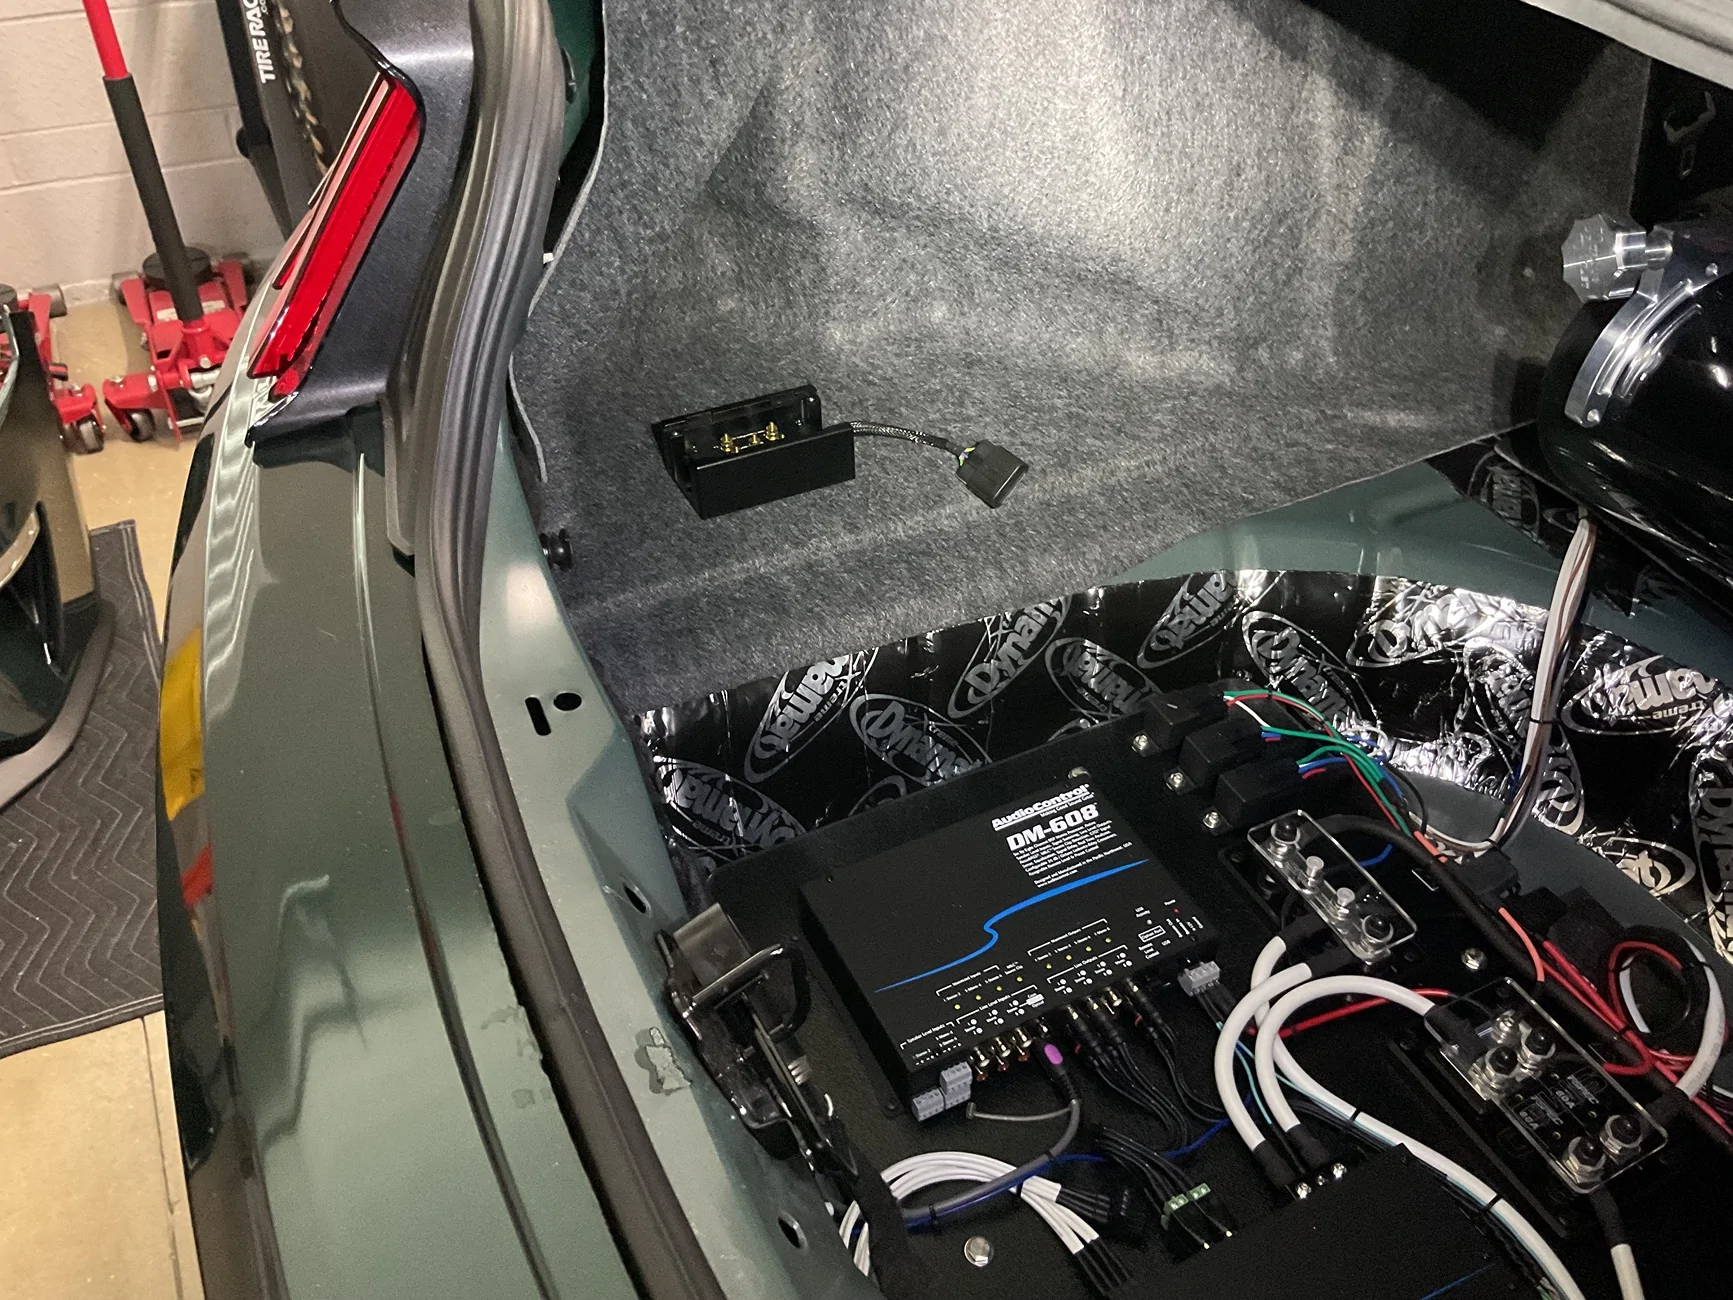
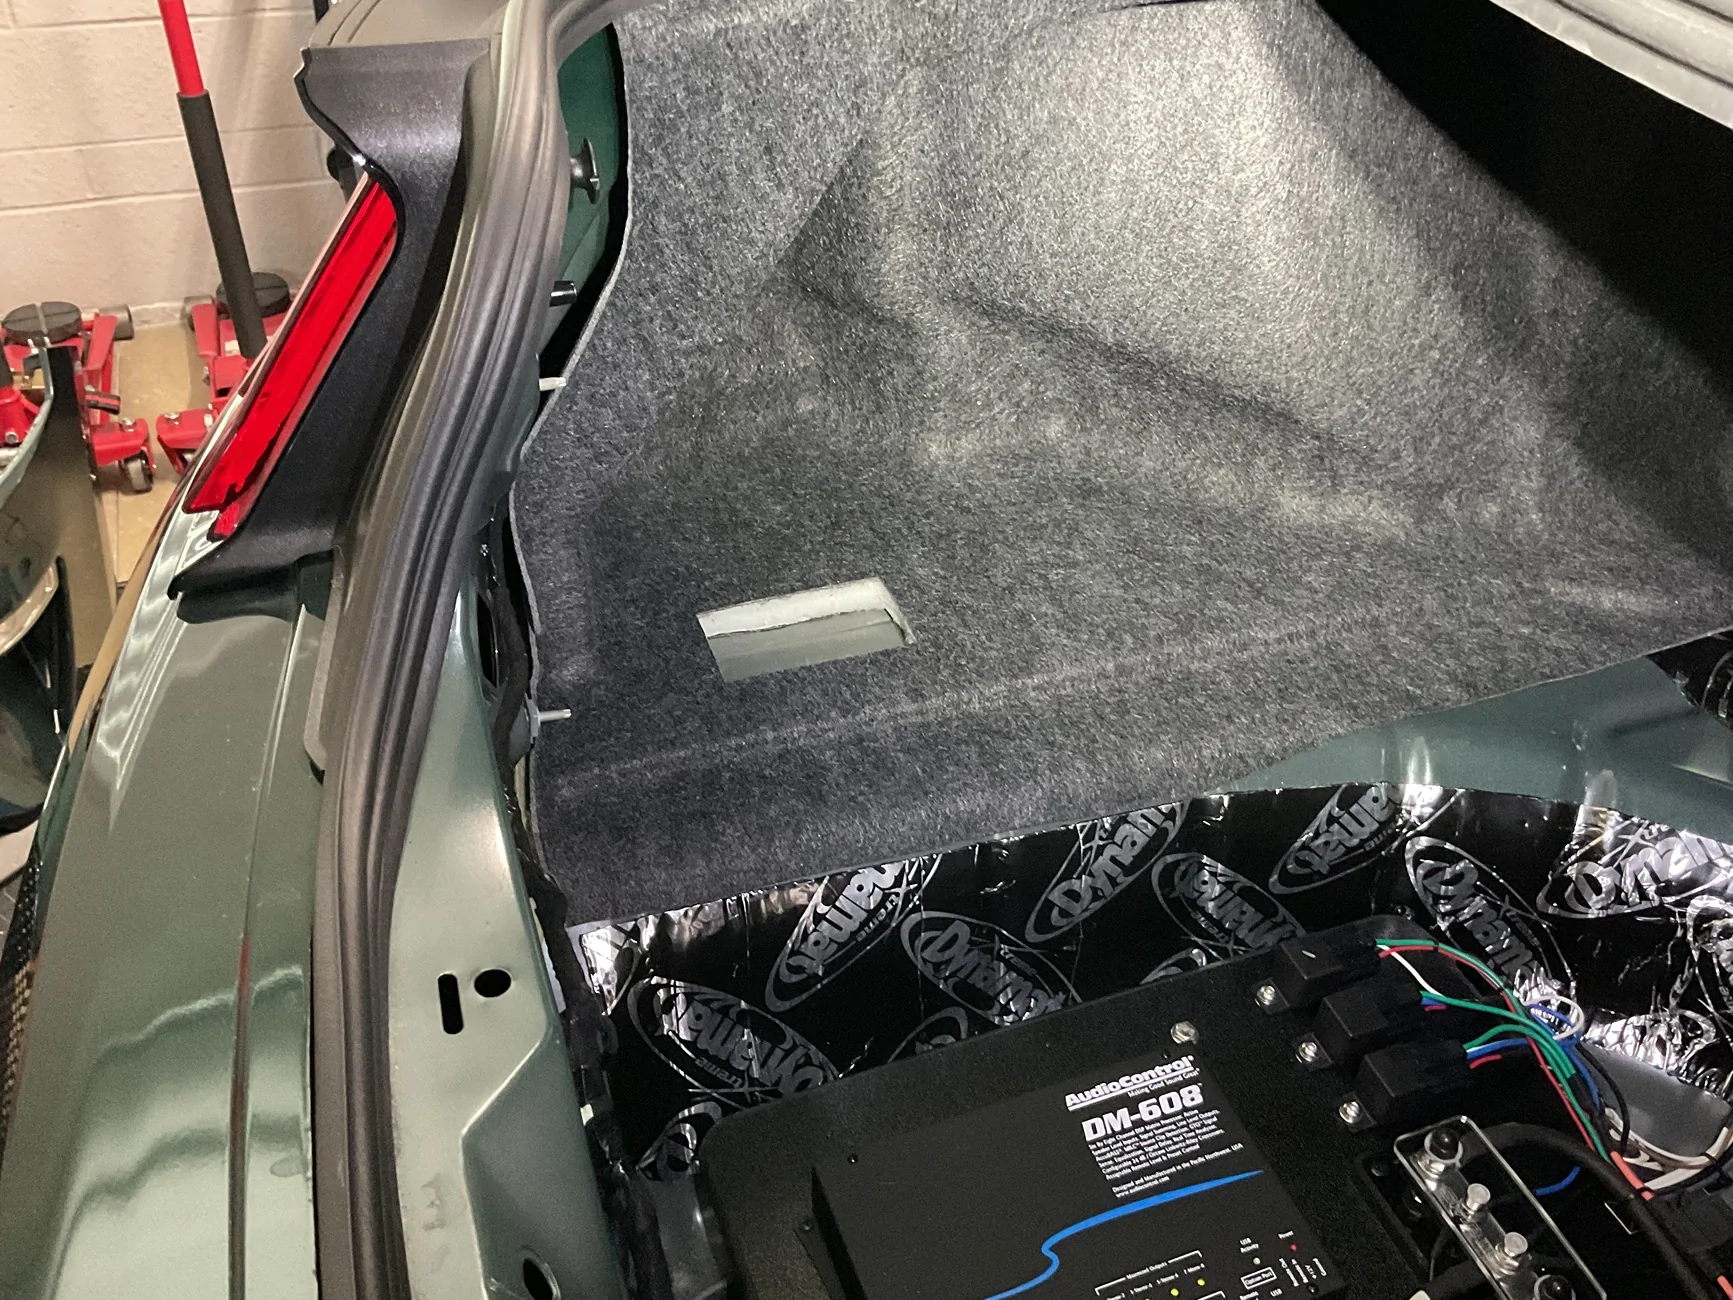
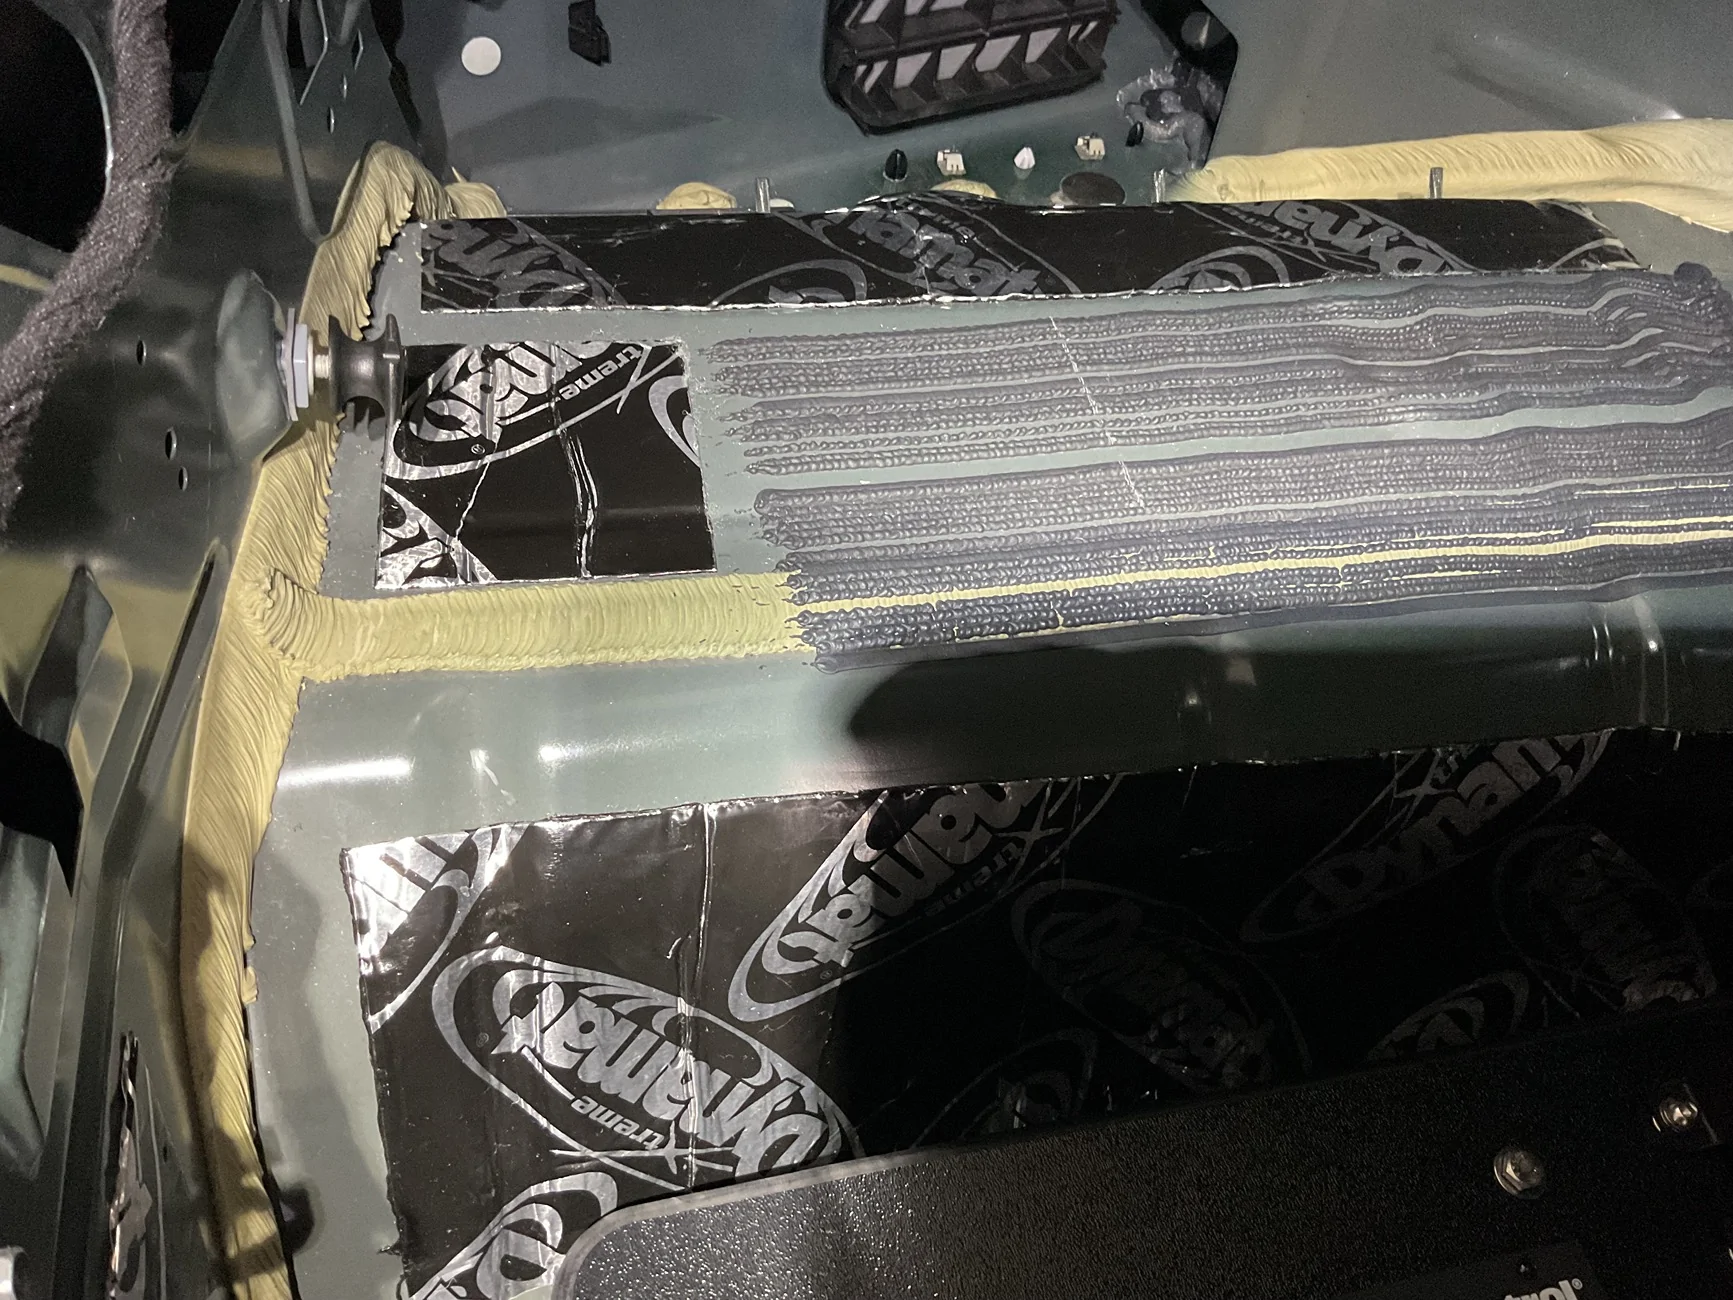
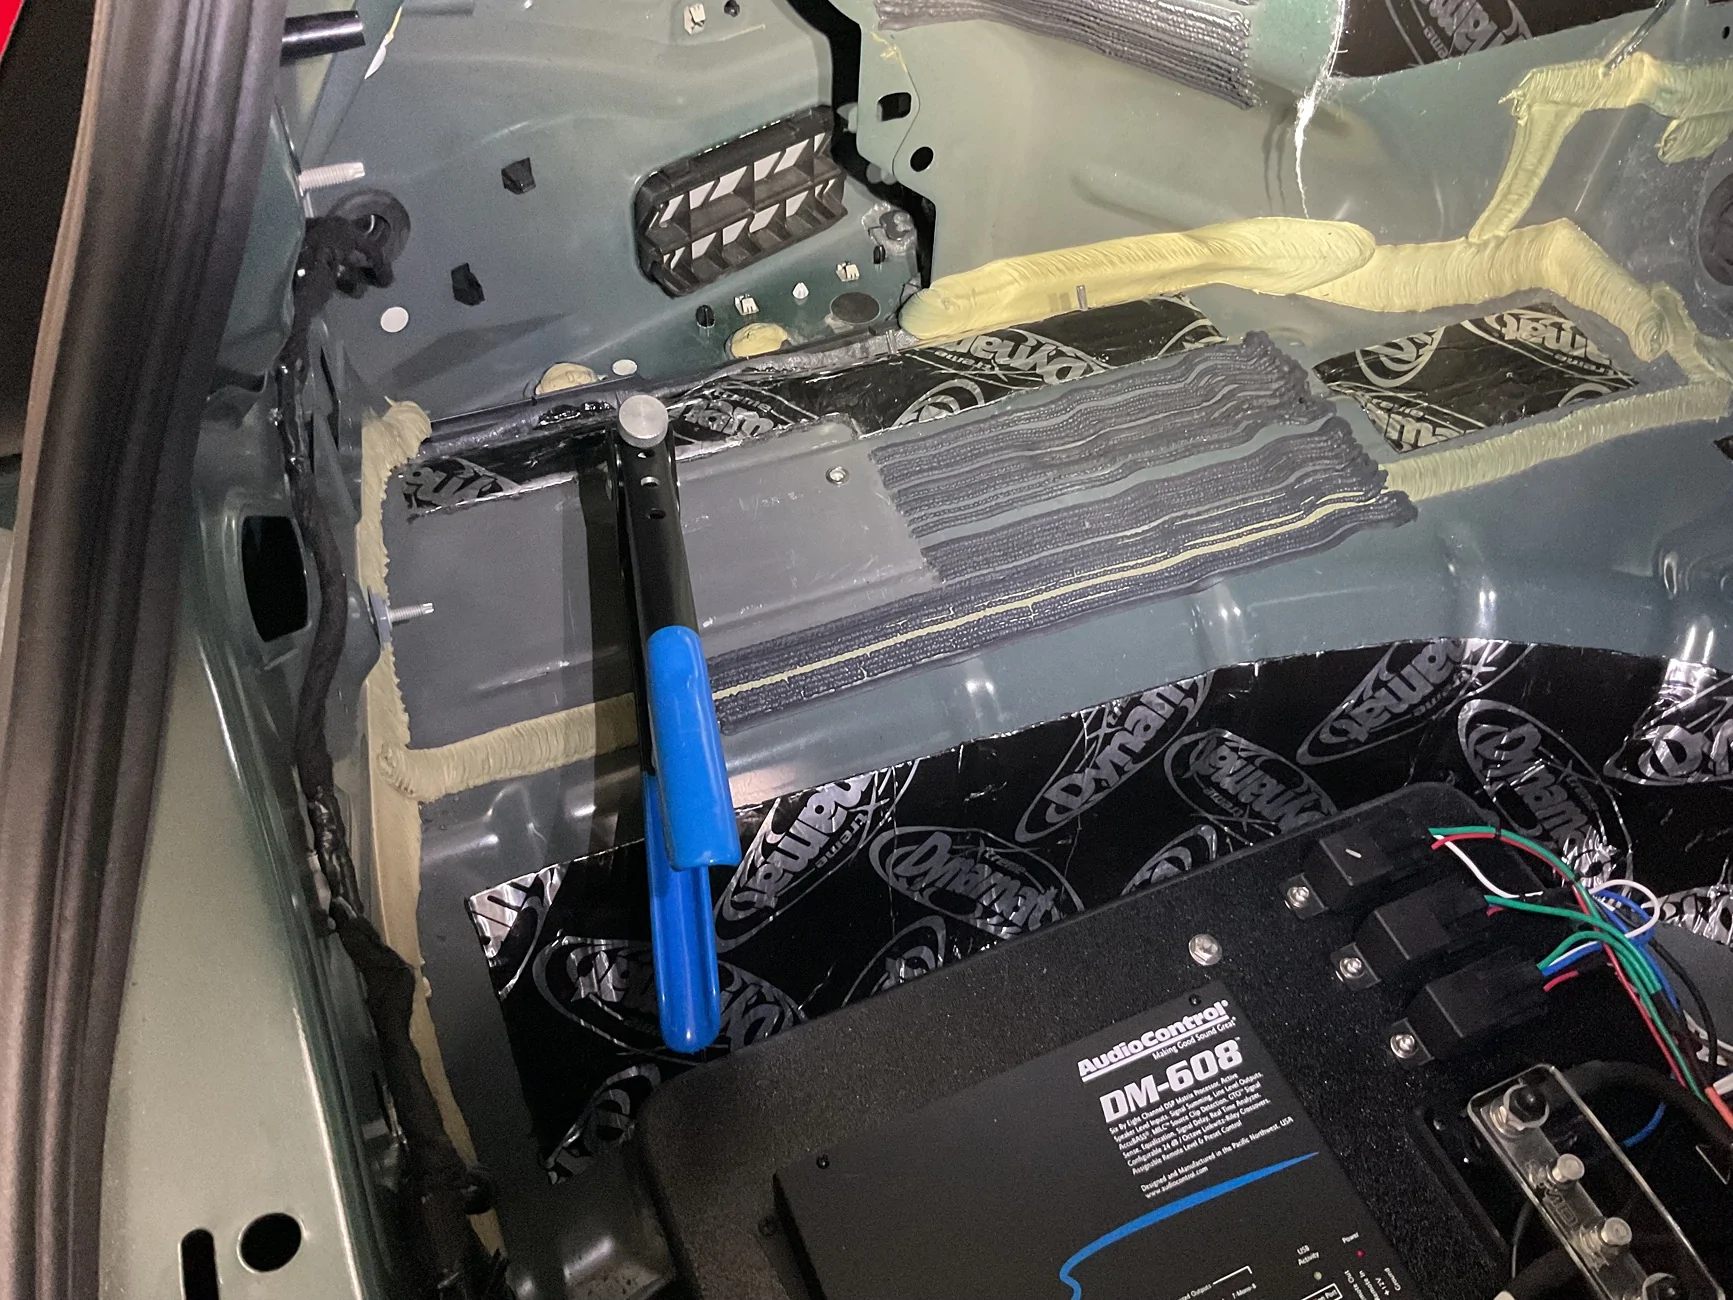
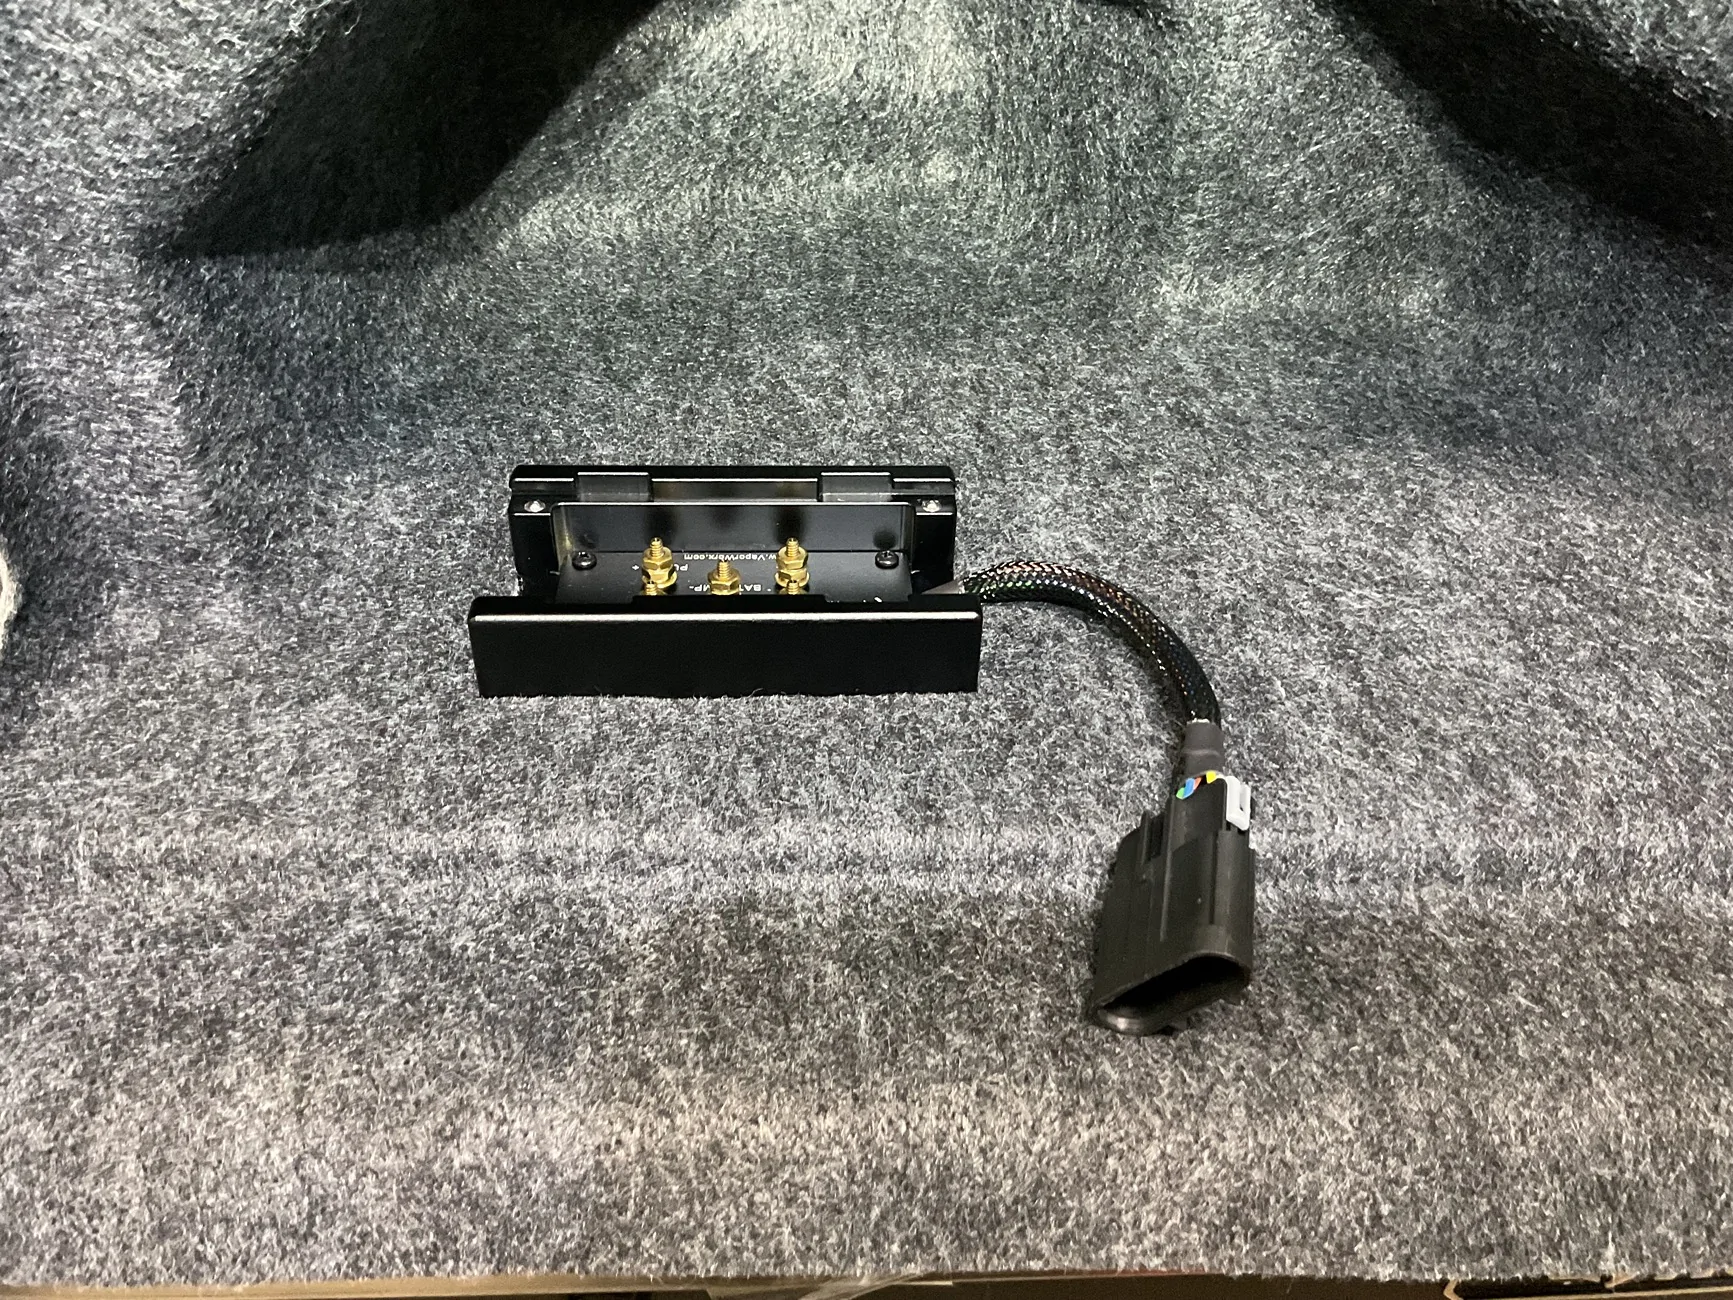
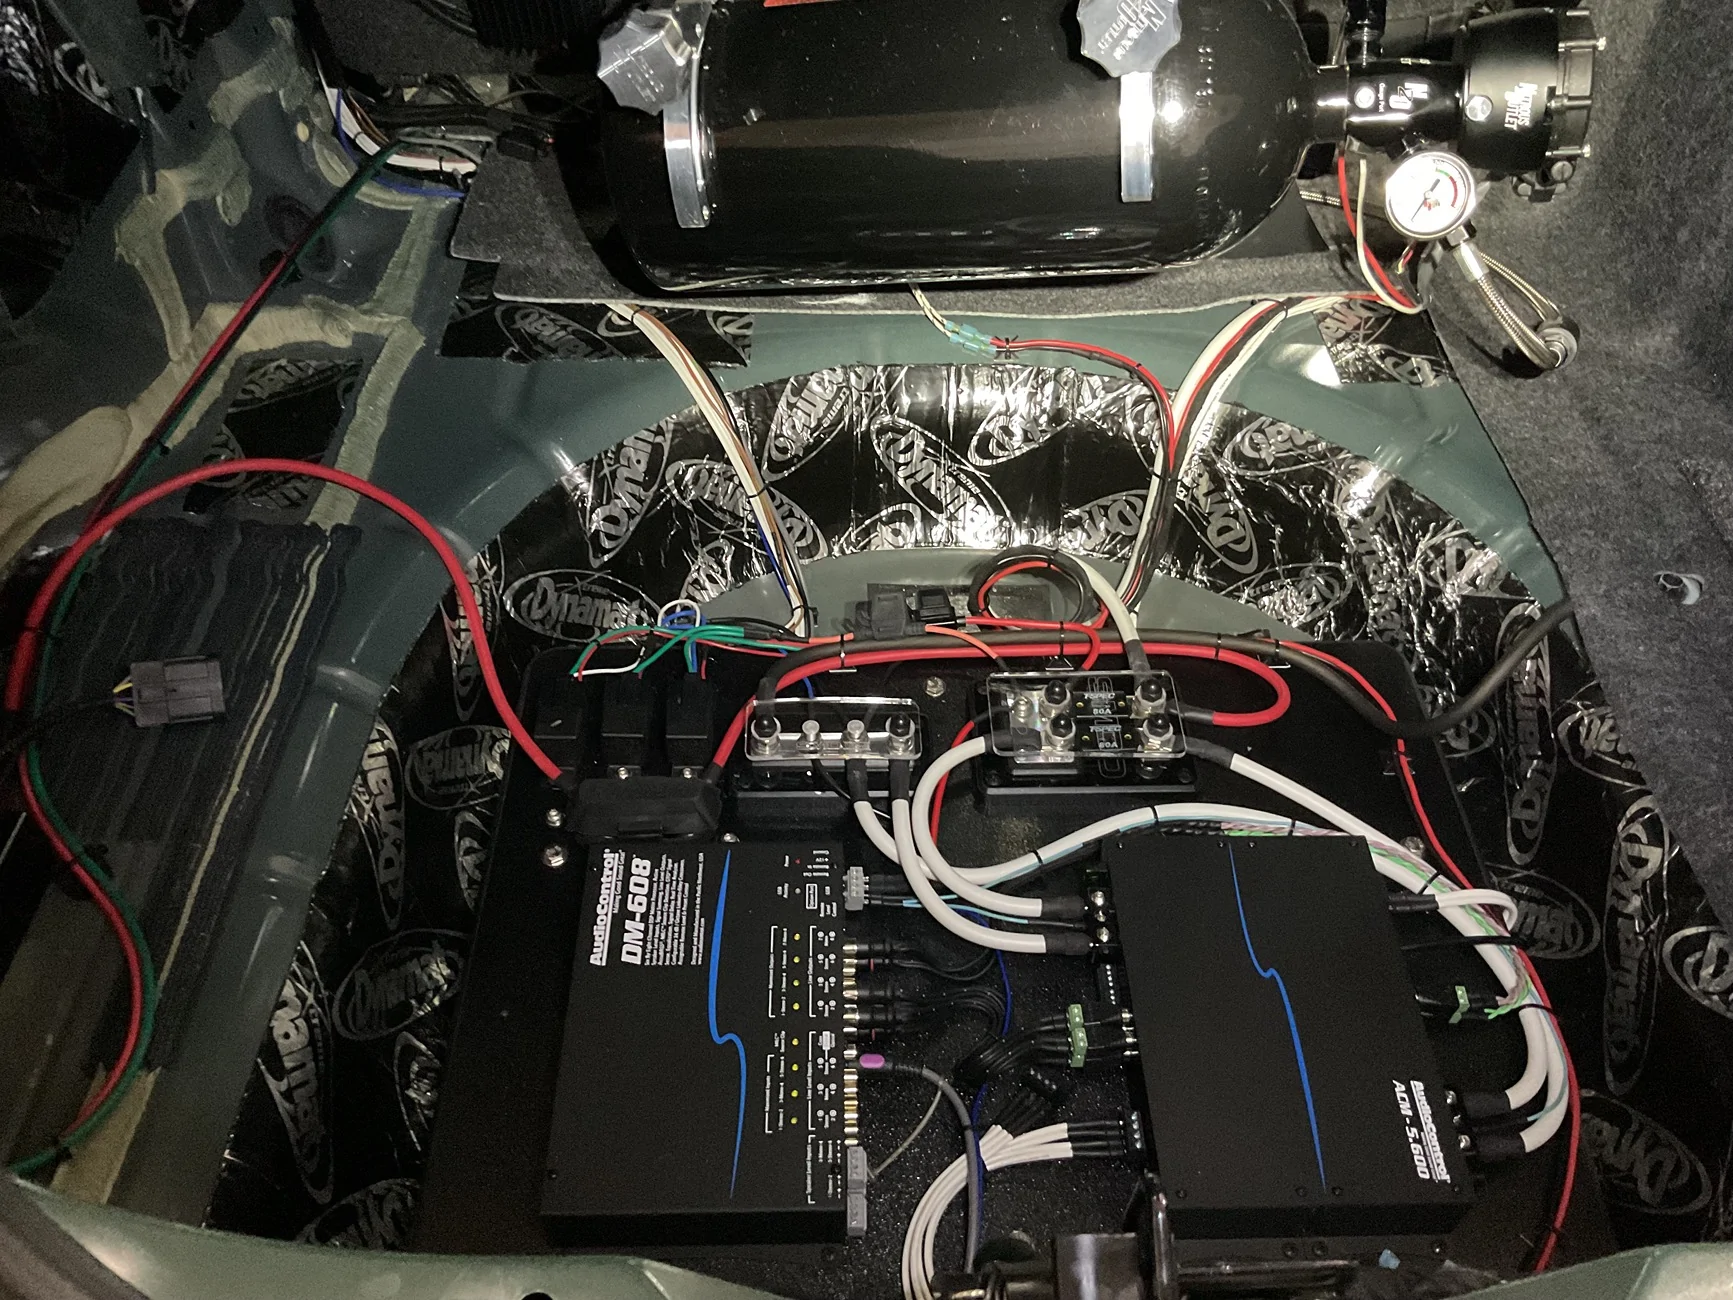
I was able to get the Aeromotive/VaporWorx PWM triple pump controller mounted and some of the wiring done today.
It paid off having the stereo power distribution block in the trunk. I just shared the same lug as the amp power wire coming from the battery.
The power wire that they supplied with the kit would have only allowed me to mount the controller in the engine bay, so this worked out much better.
I still need to run a ground from the battery to the rear of the car, as the instructions specifically say not to use chassis grounds.
Research says the controller can get pretty hot, so I figured mounting it to the left side of the trunk floor would serve as a heatsink and help control any heat that it gives off.


OP
OP
NGOT8R
Well-Known Member
- Thread starter
- #55
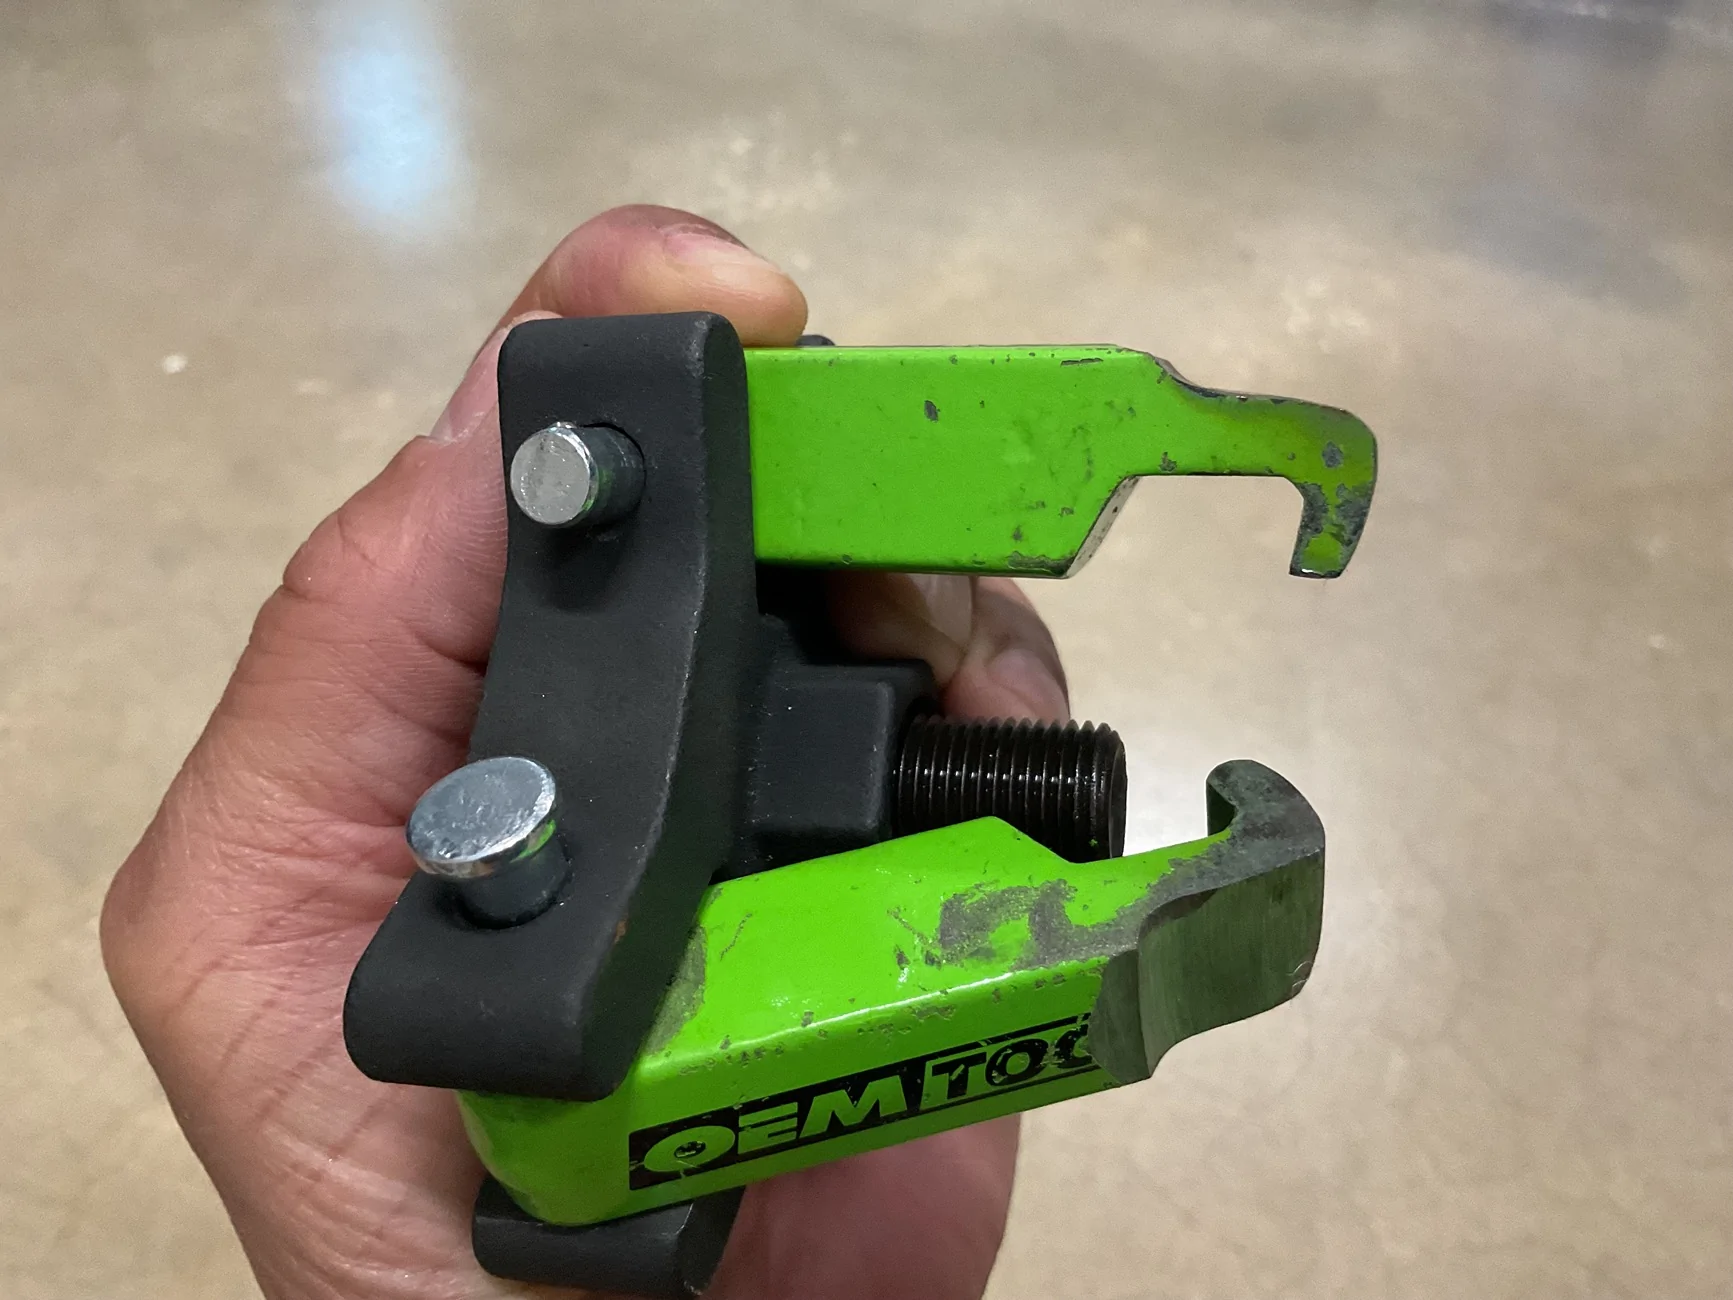
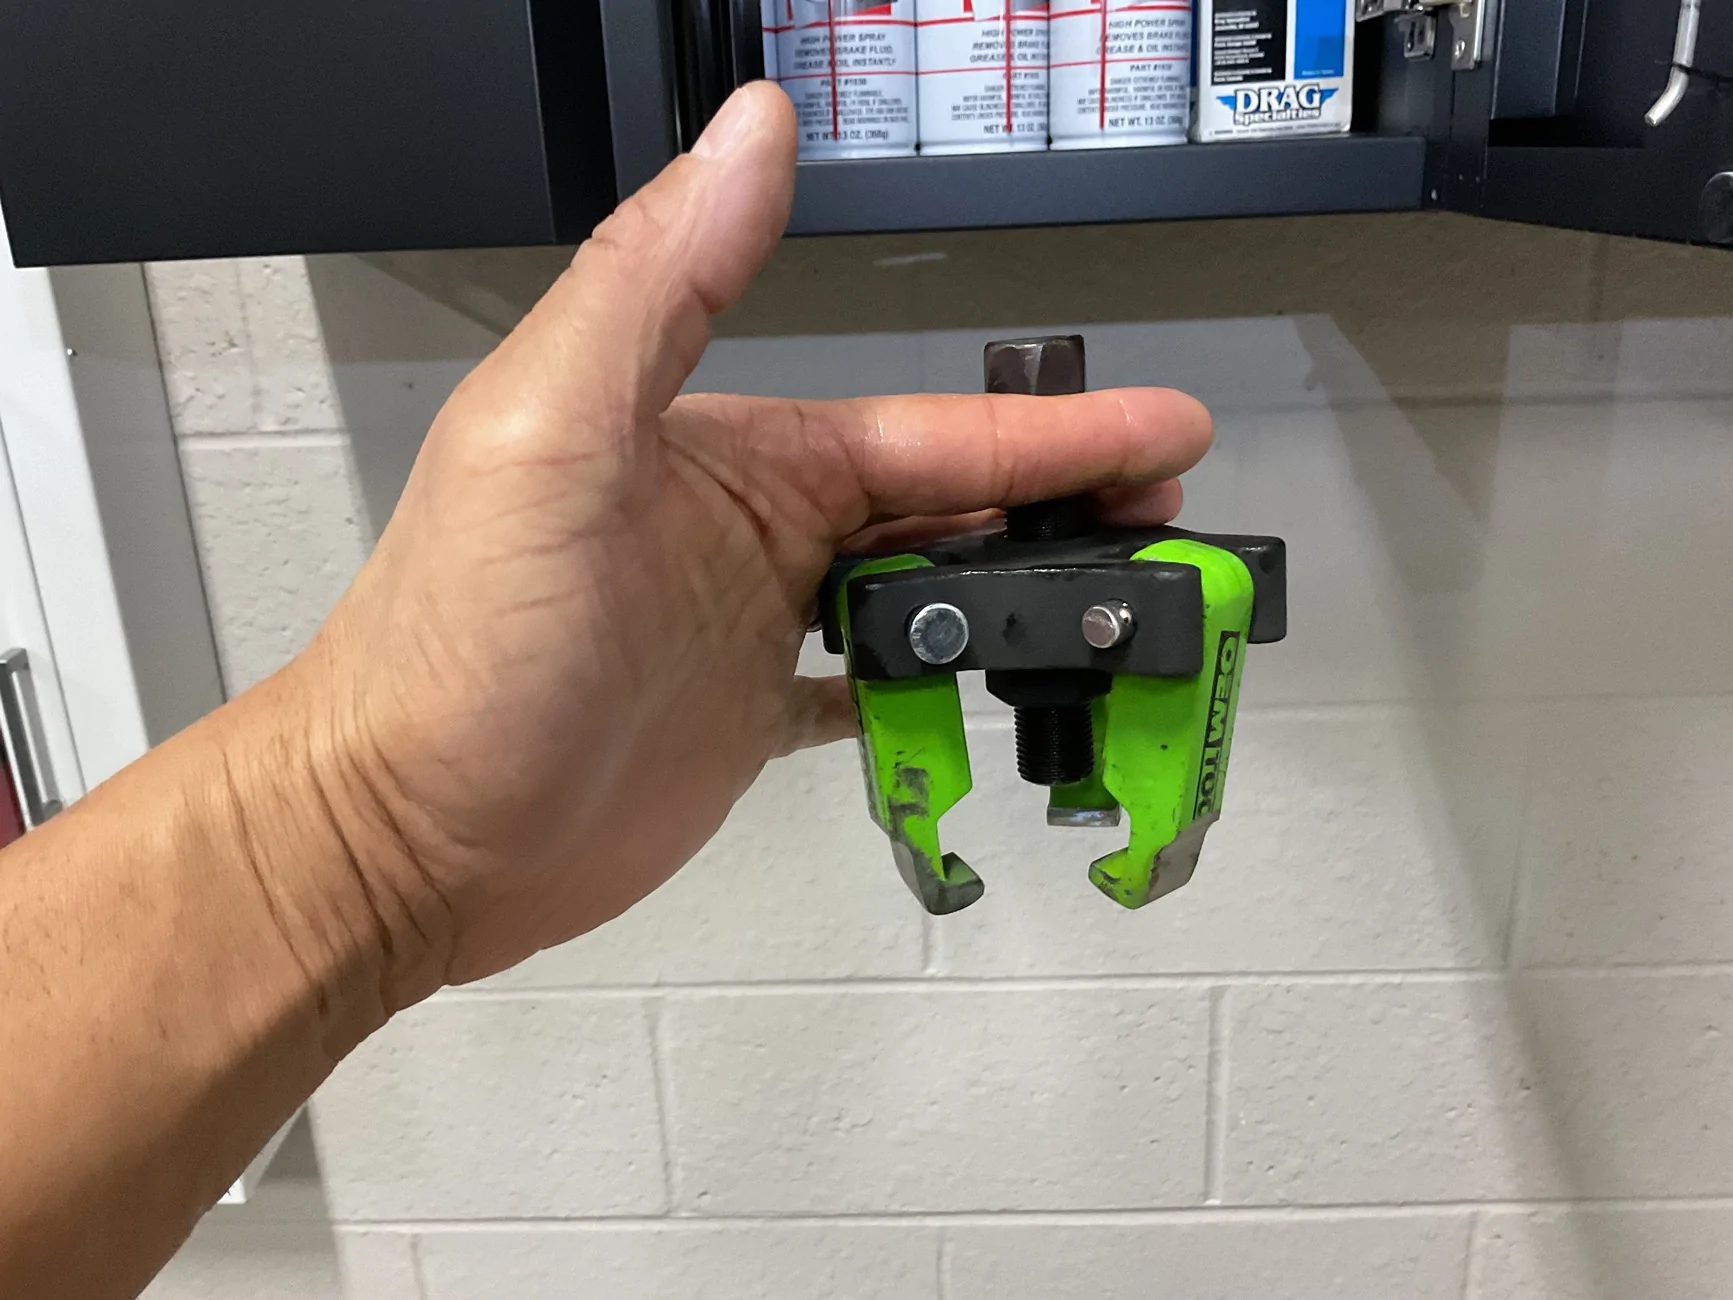
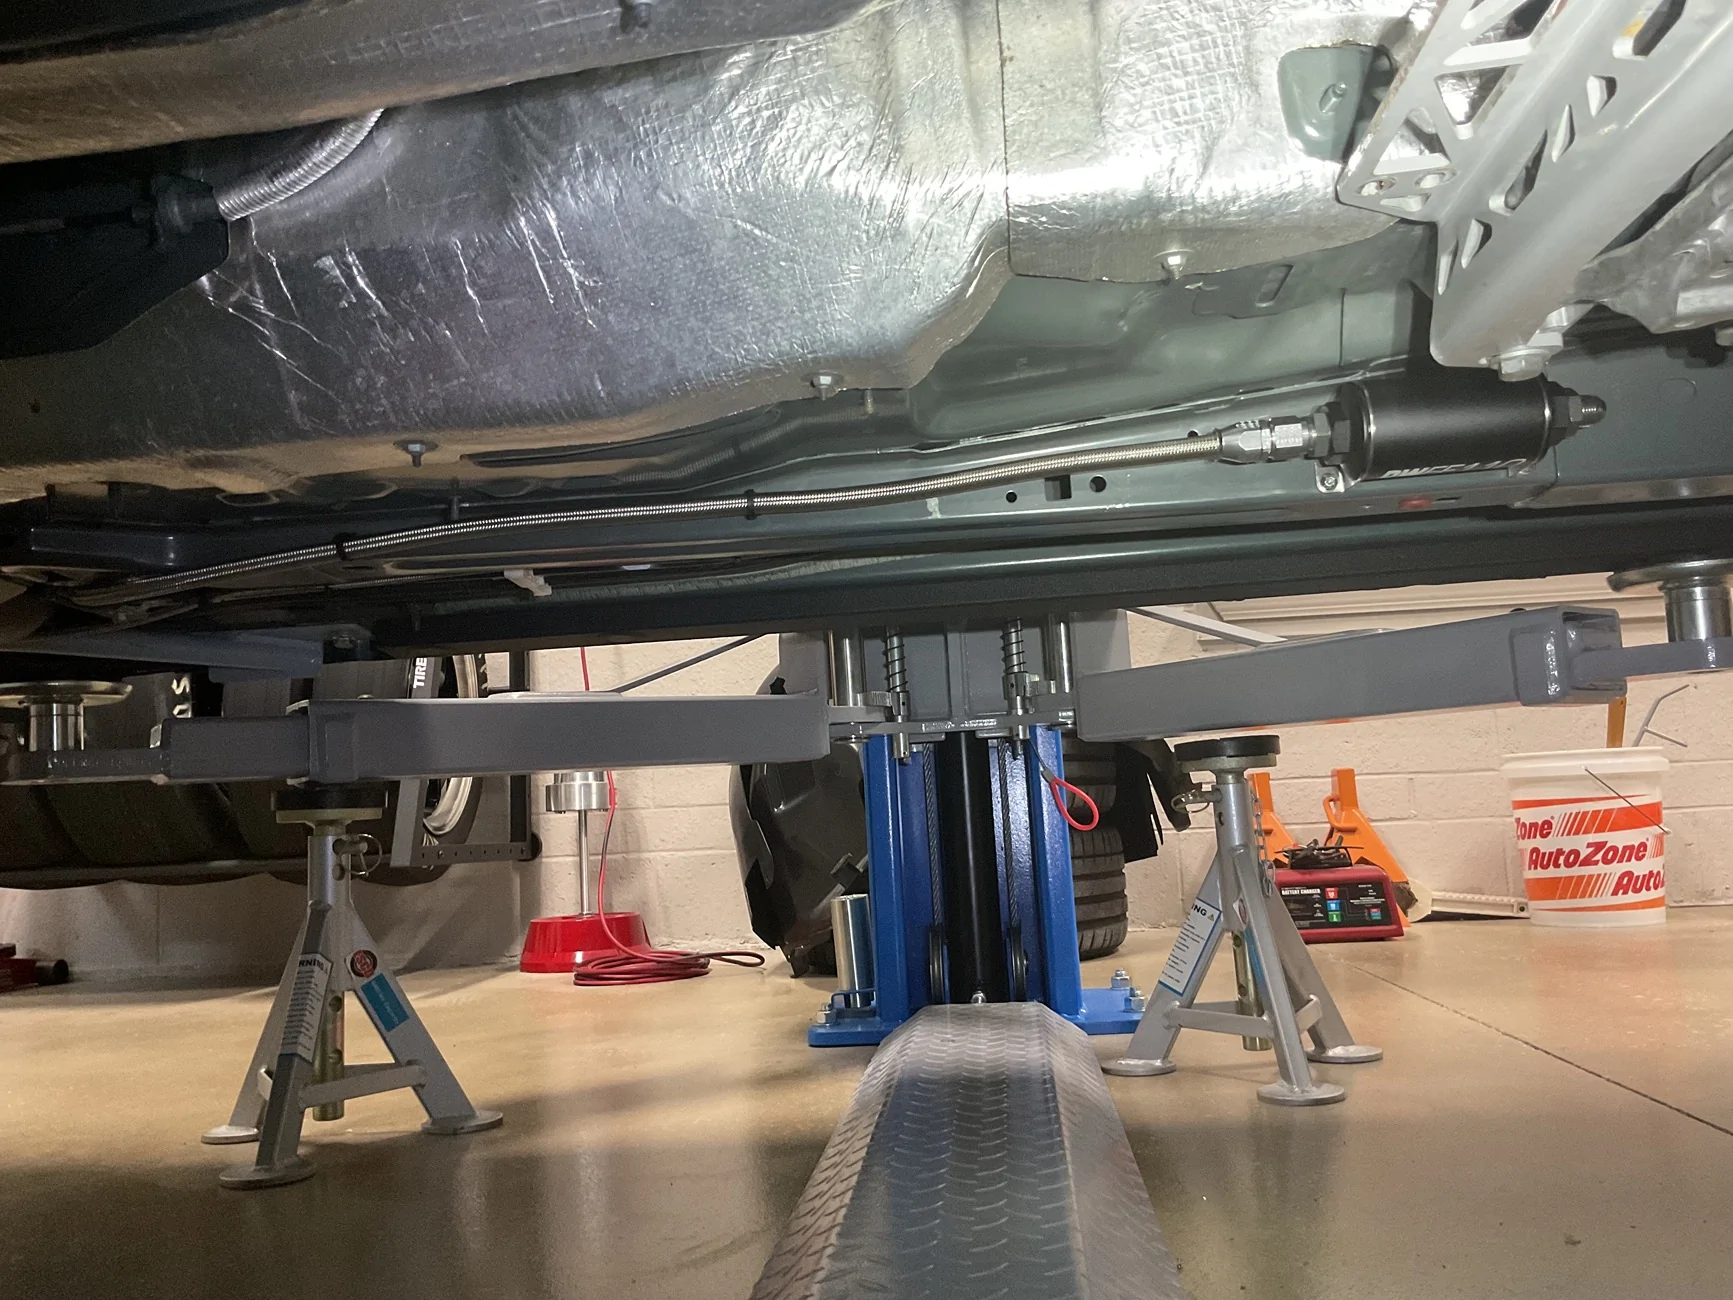
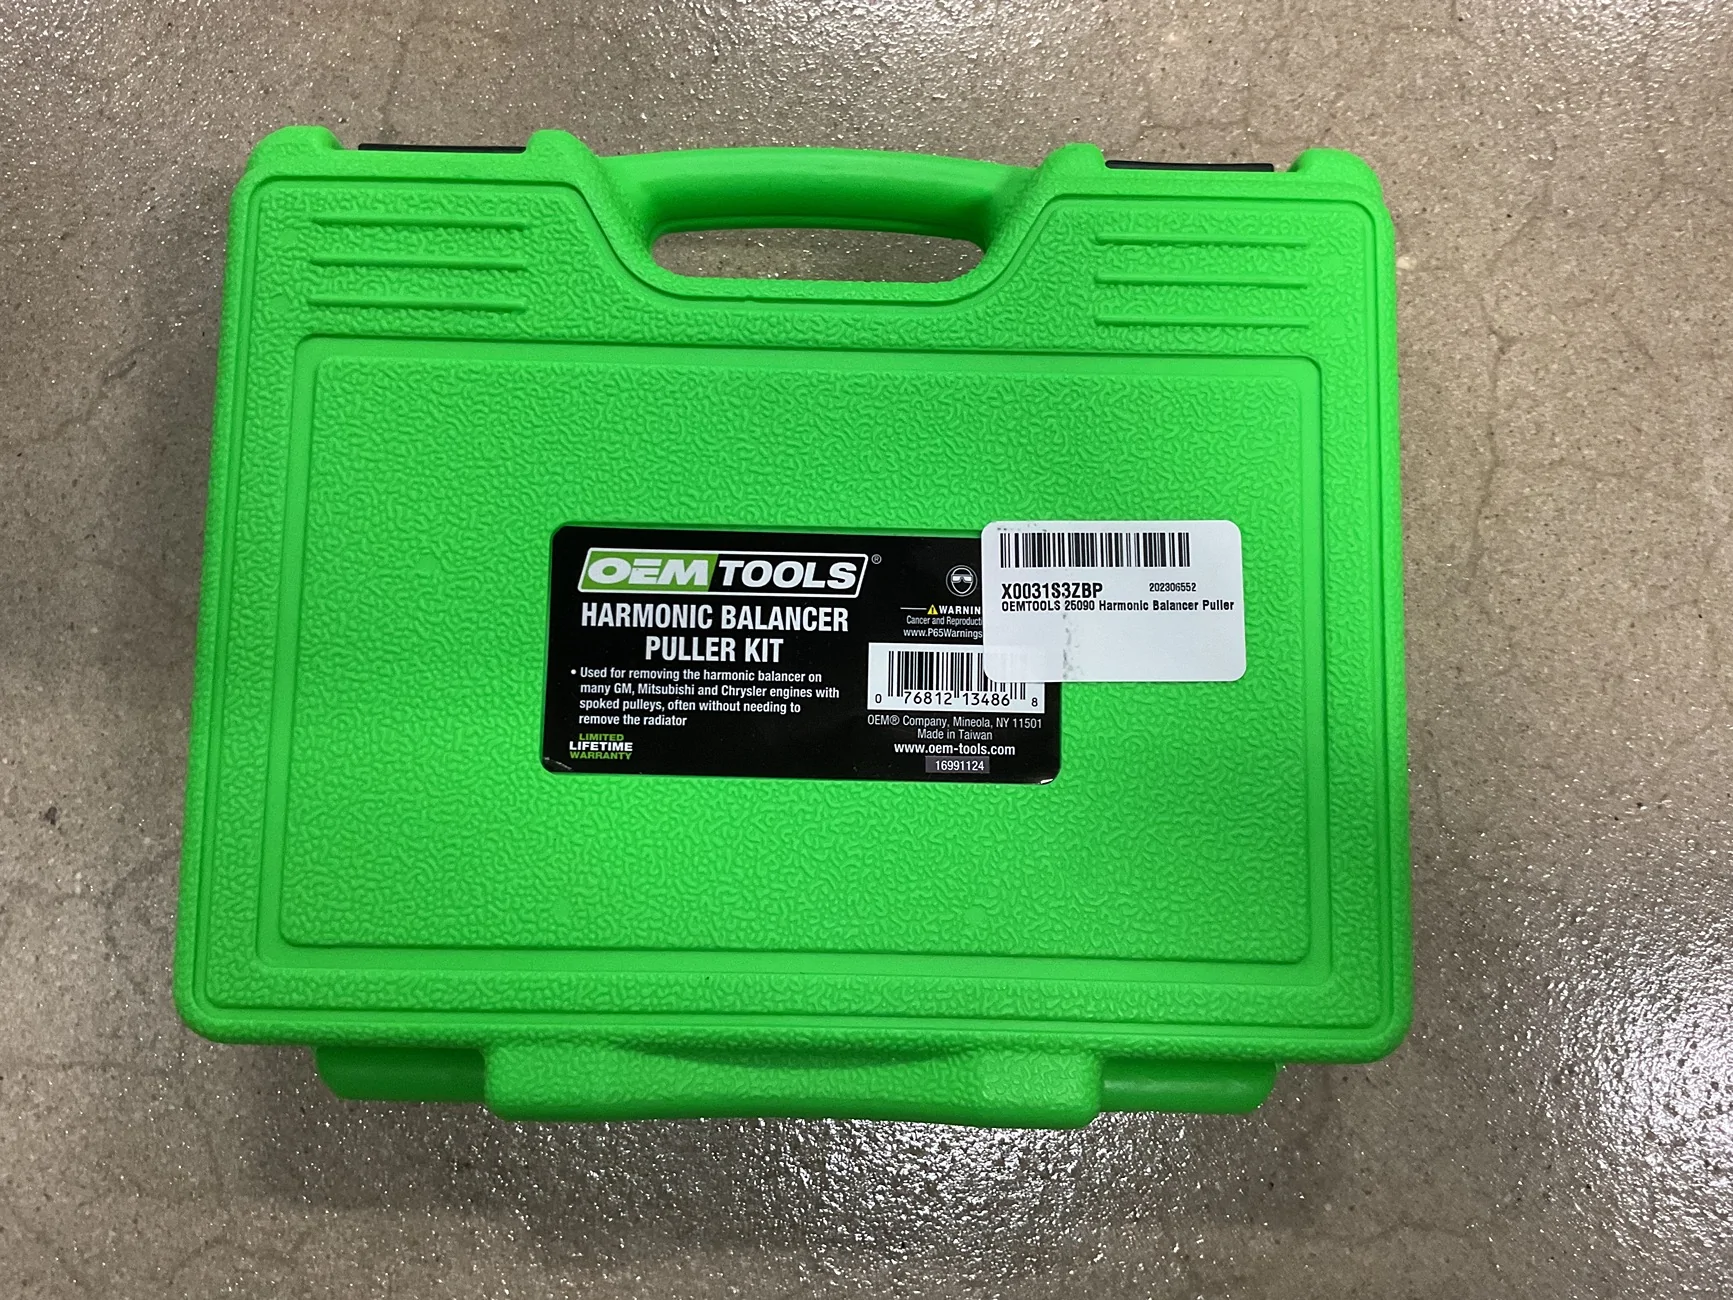
Crank pulley is off! I ordered the tool in the pics on Amazon and it did not fit at all. The fingers were too thick, so I had to use my bench grinder to grind them down. It worked perfectly after that.
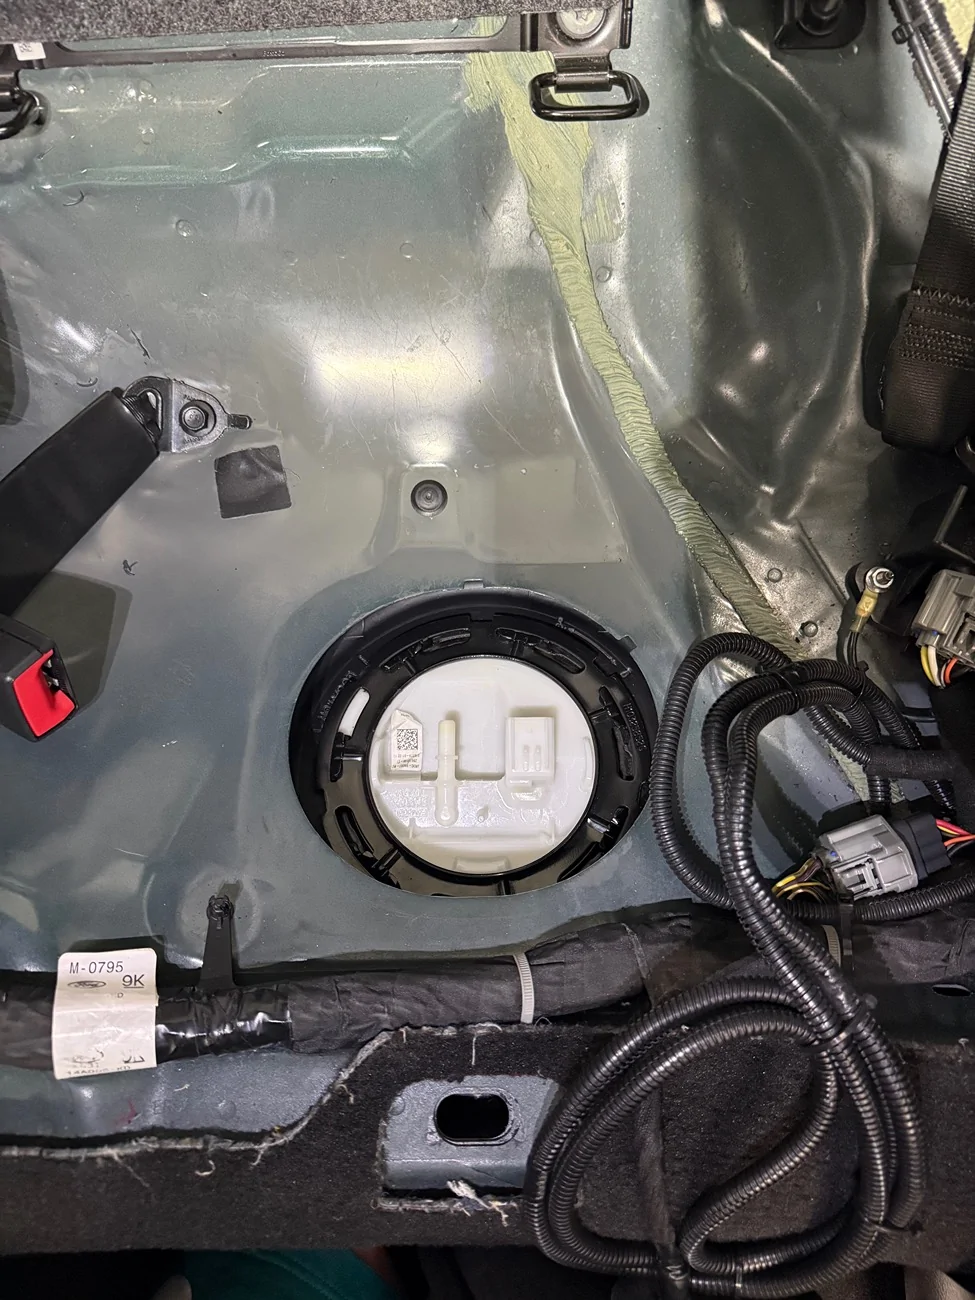
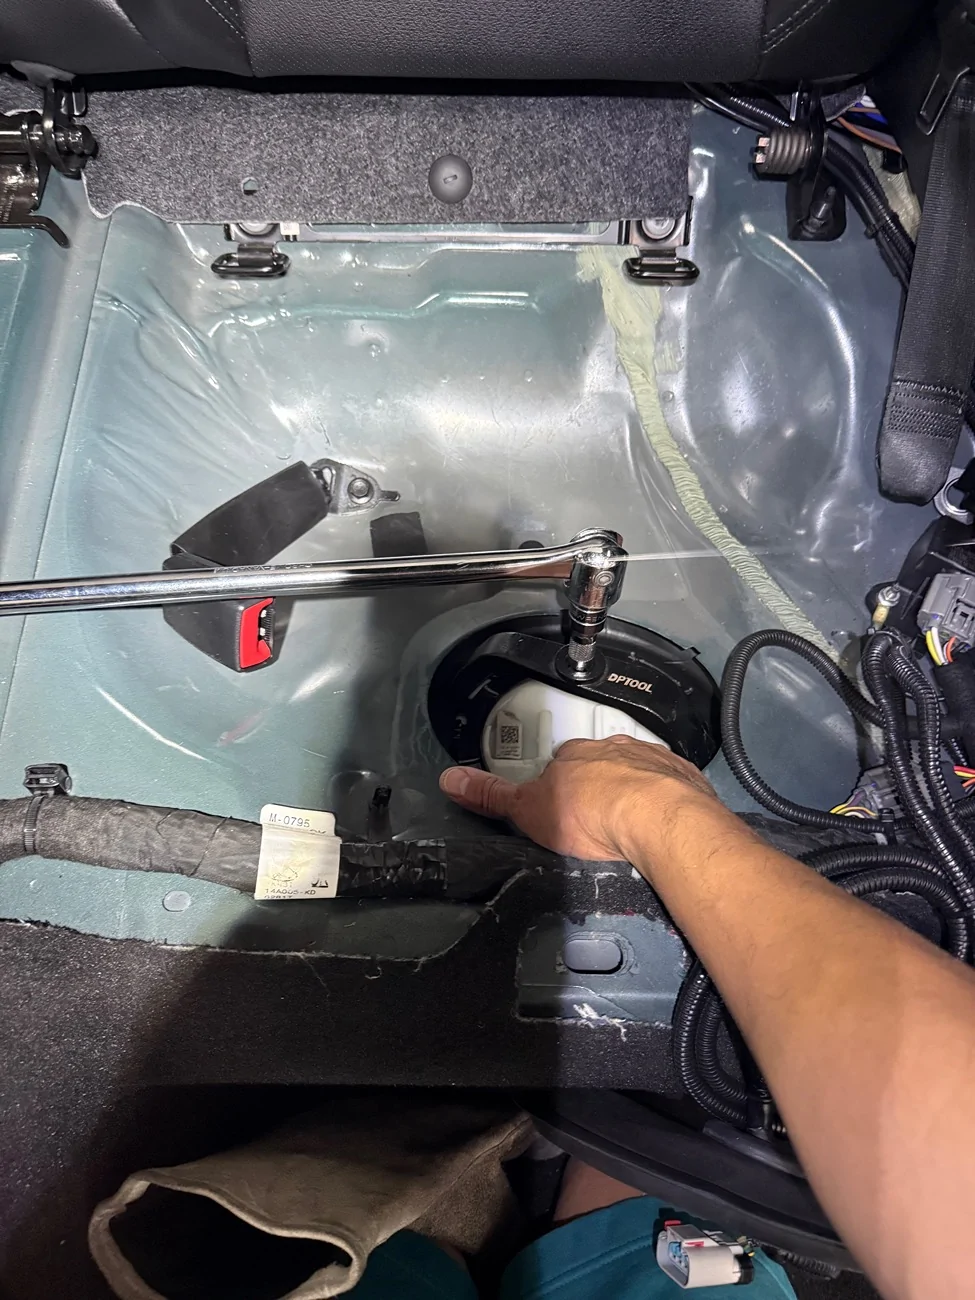
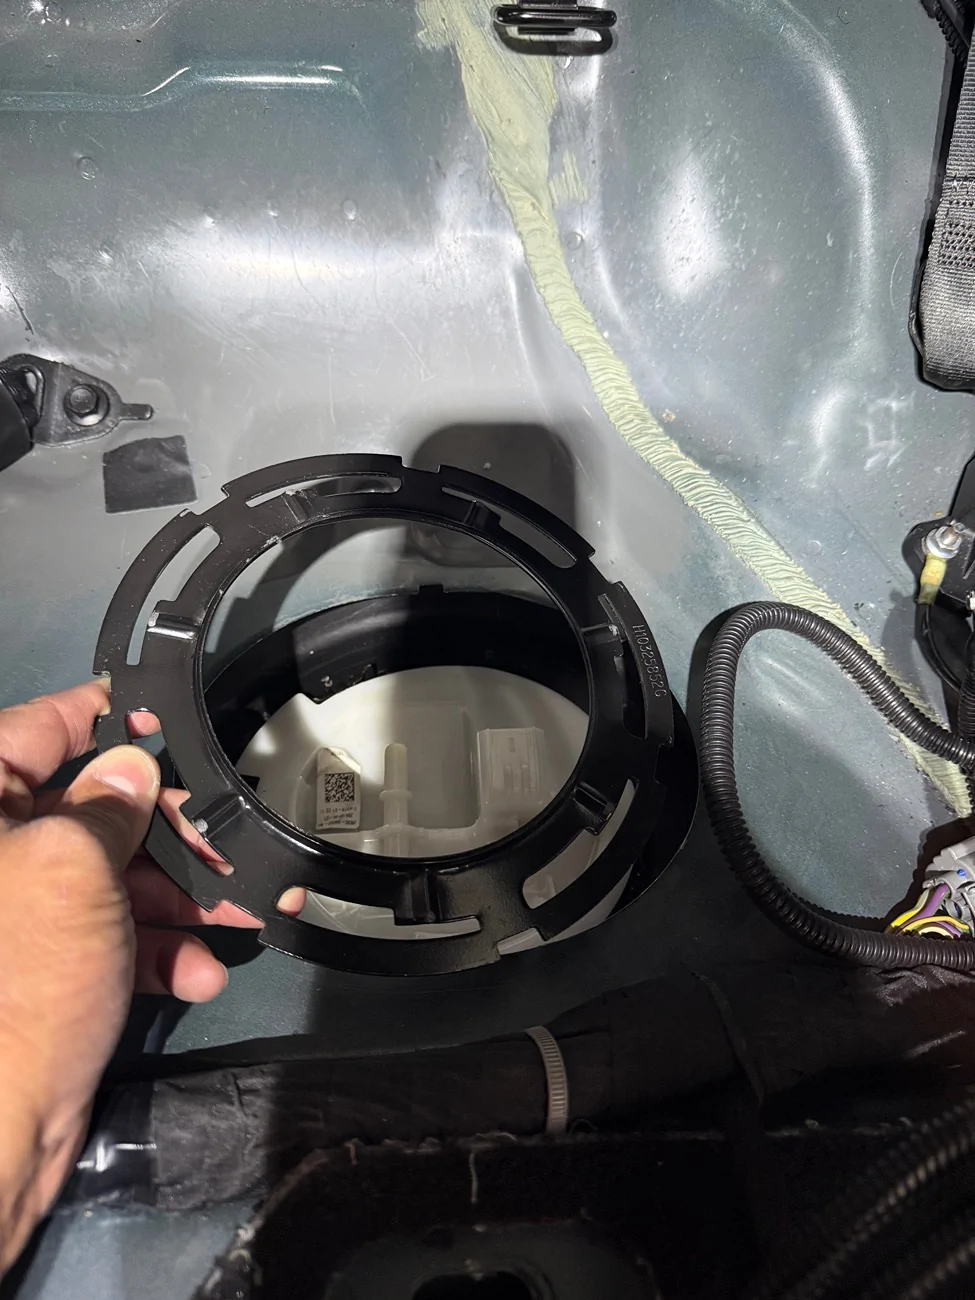
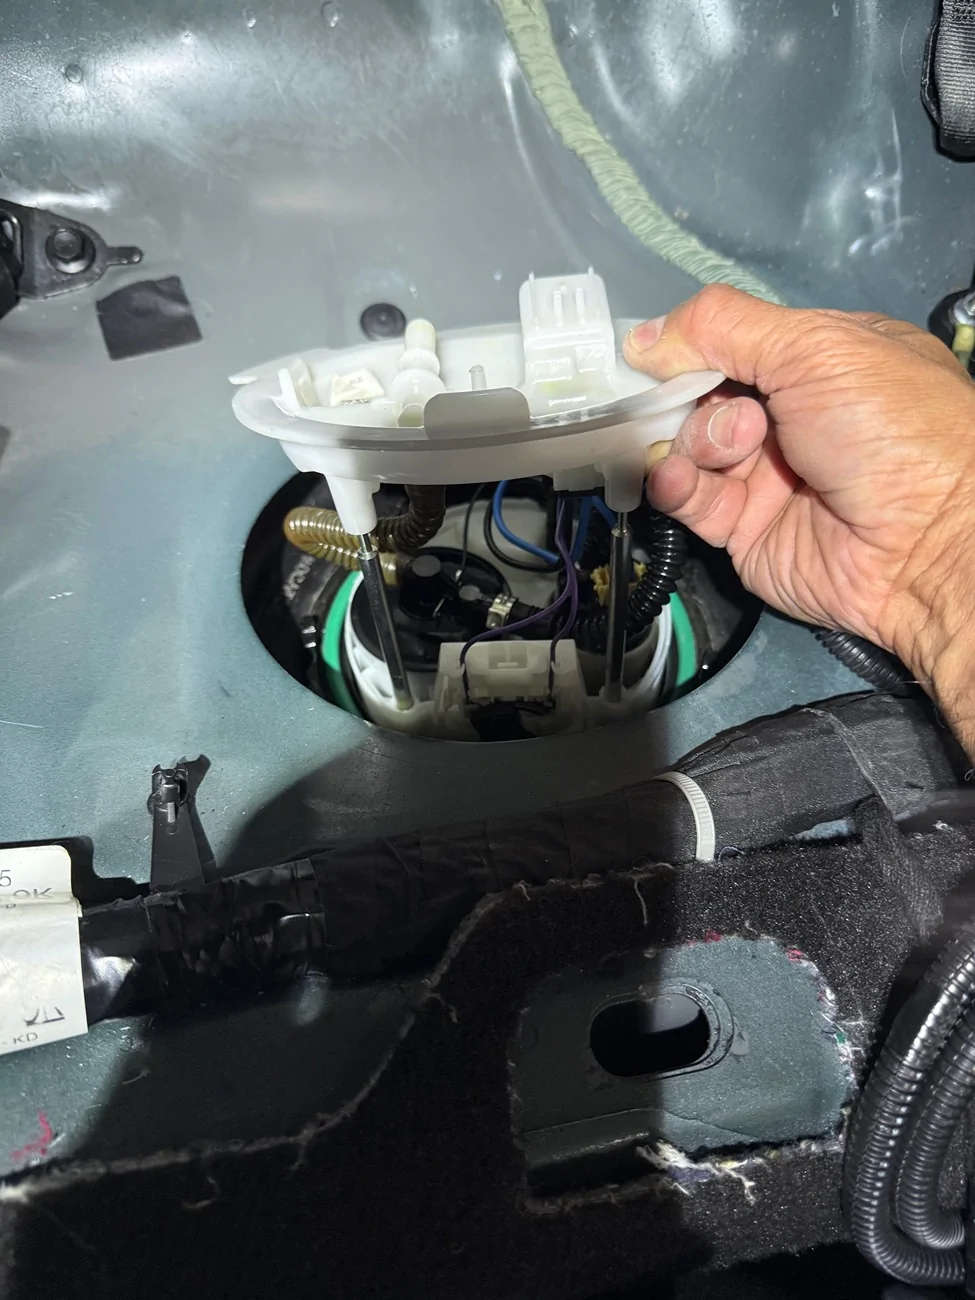
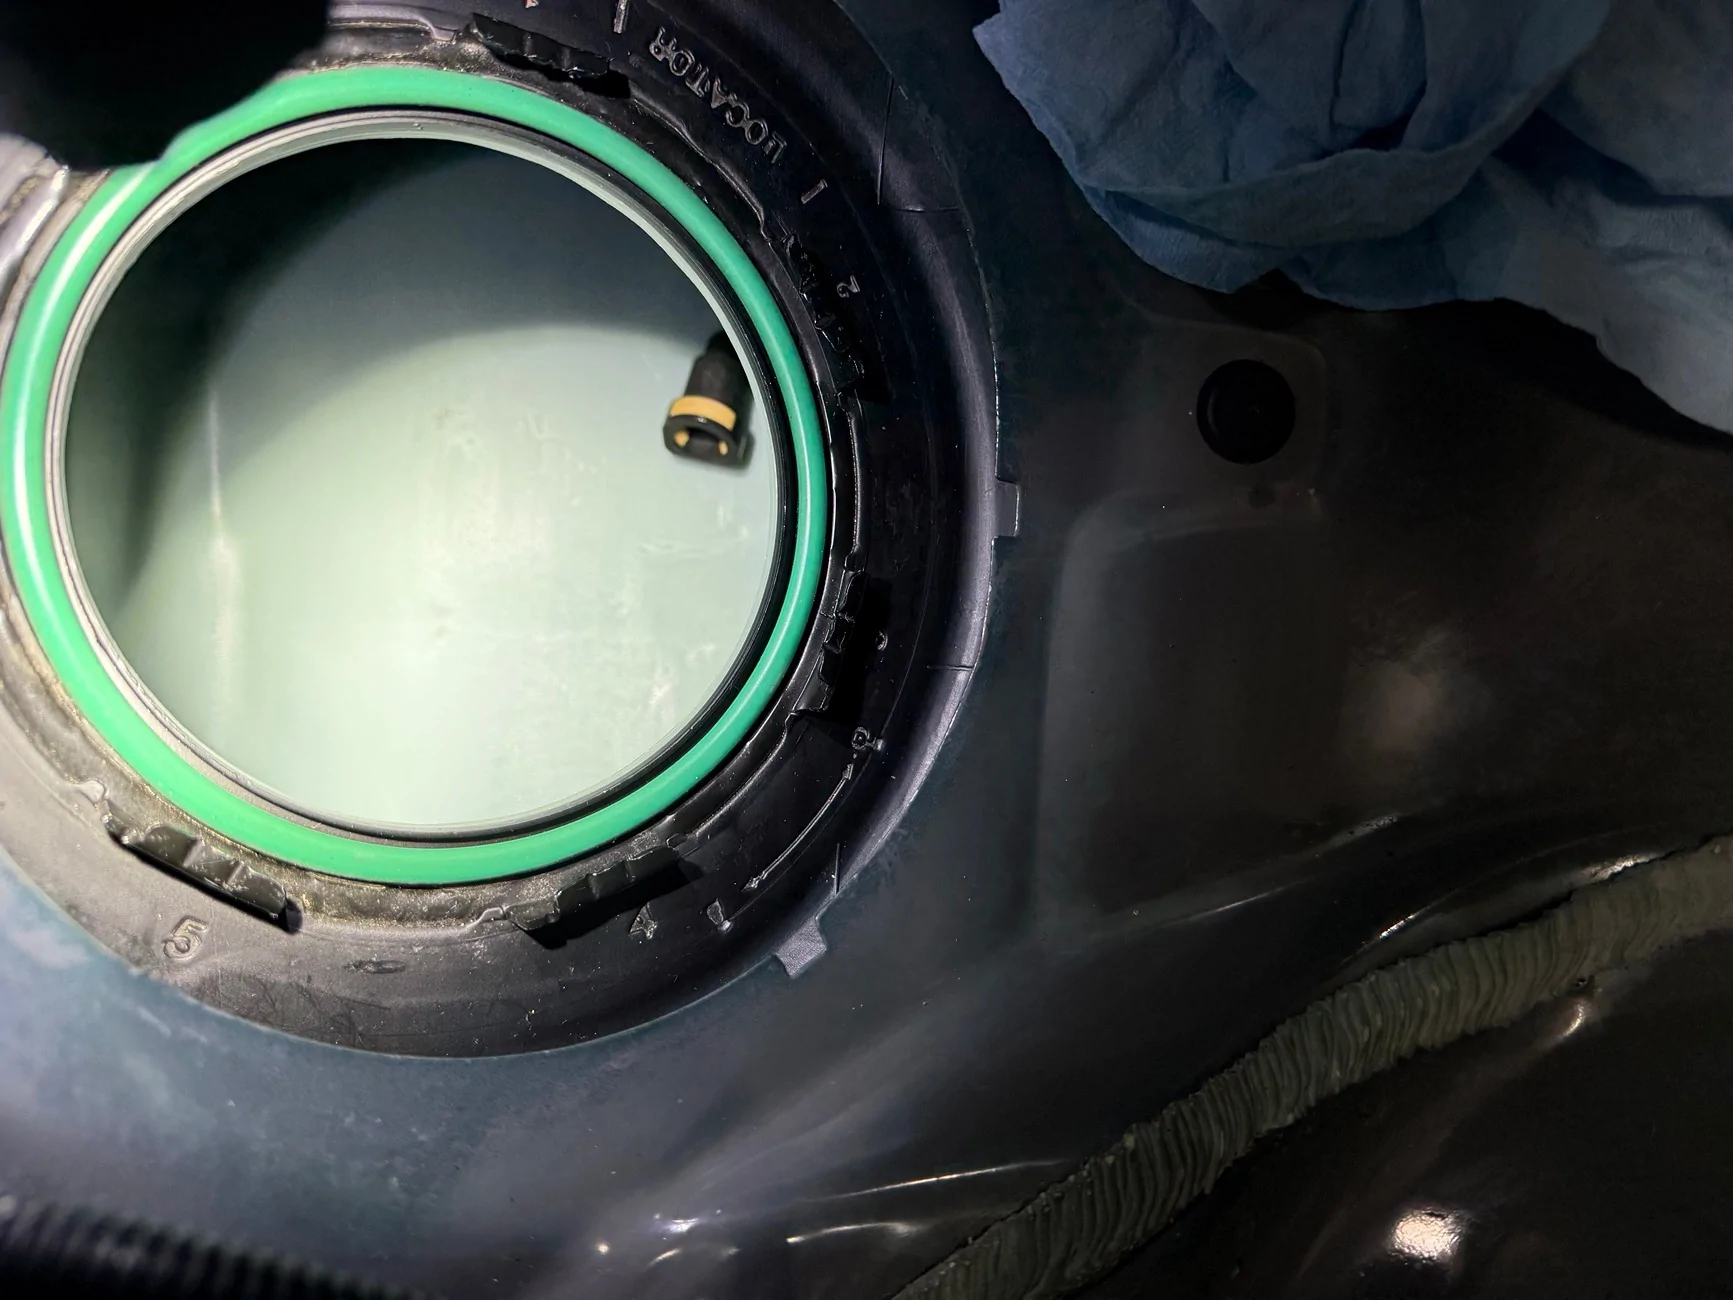
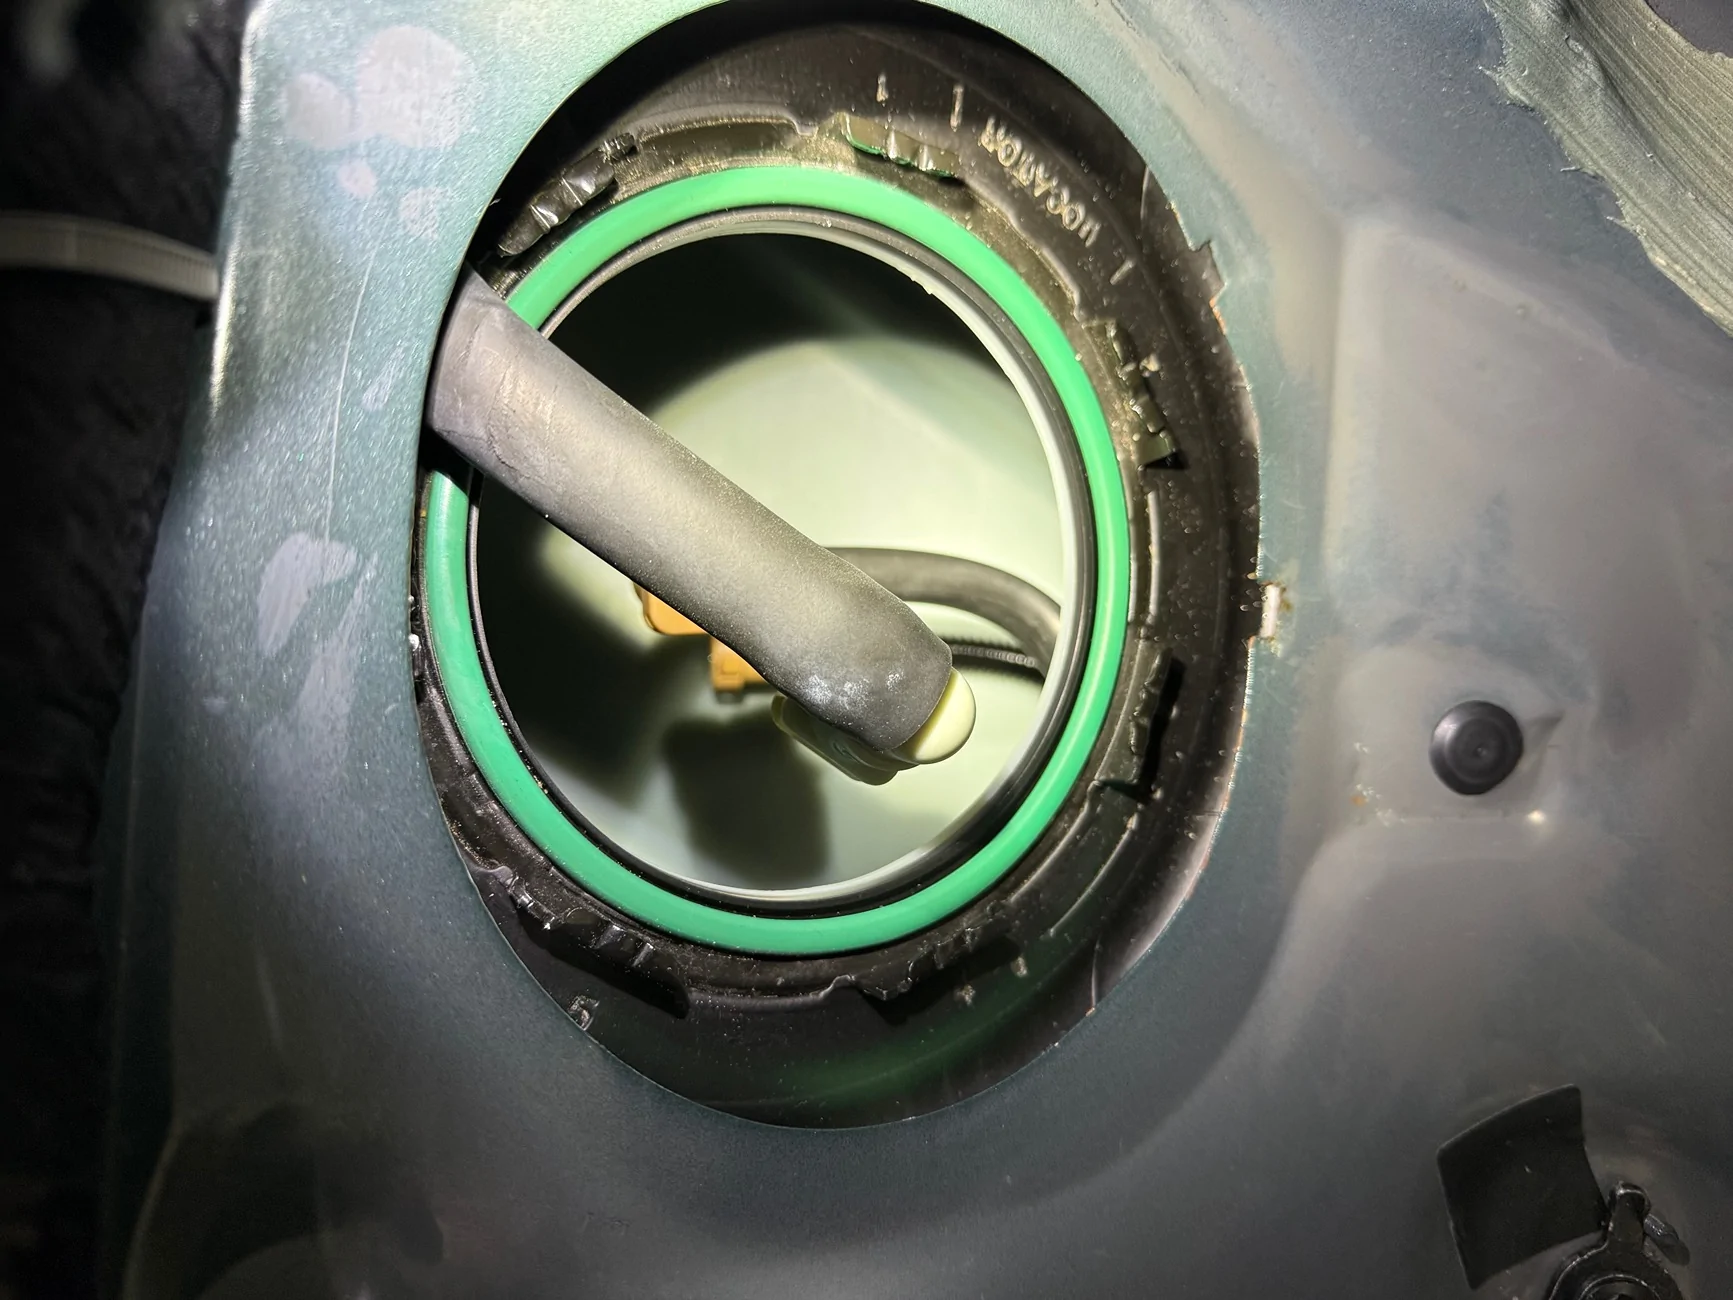
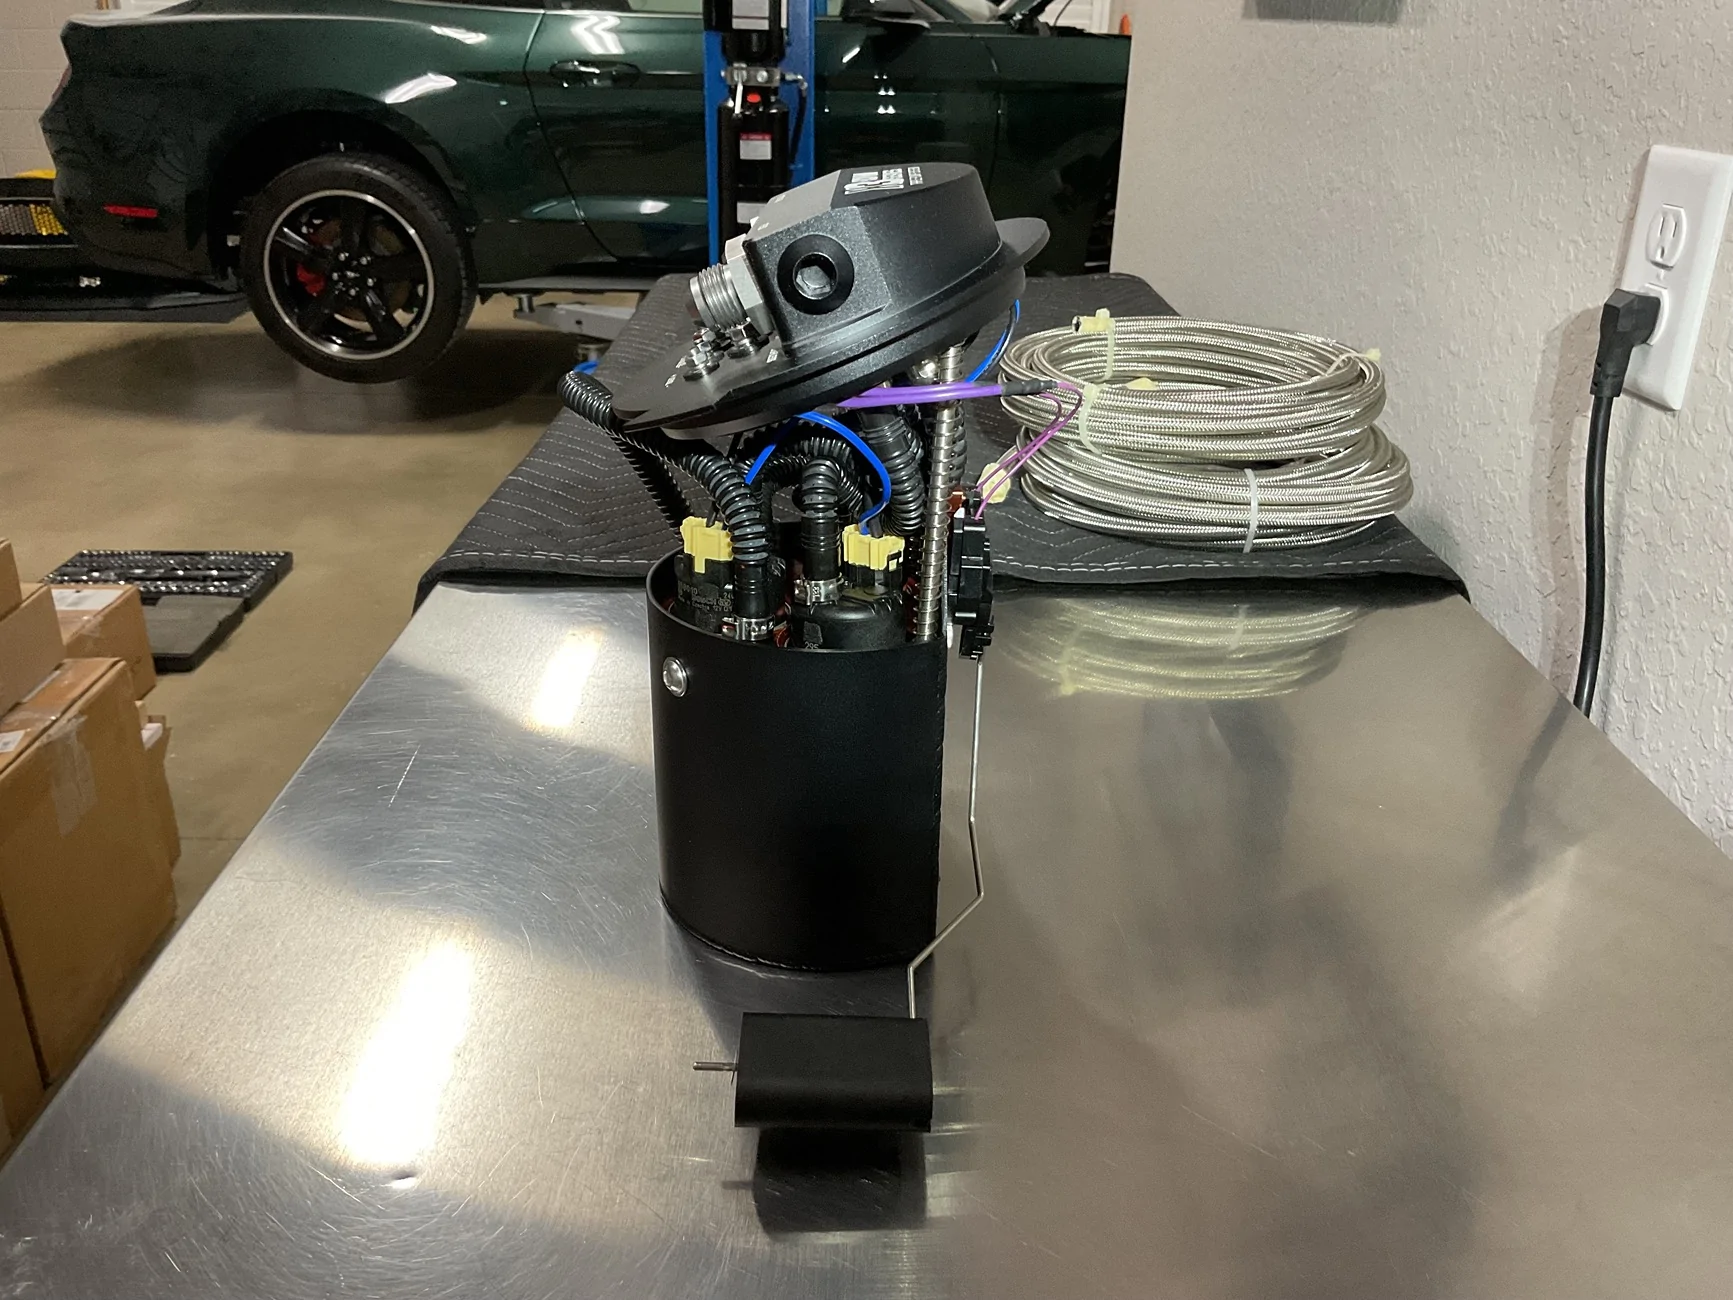
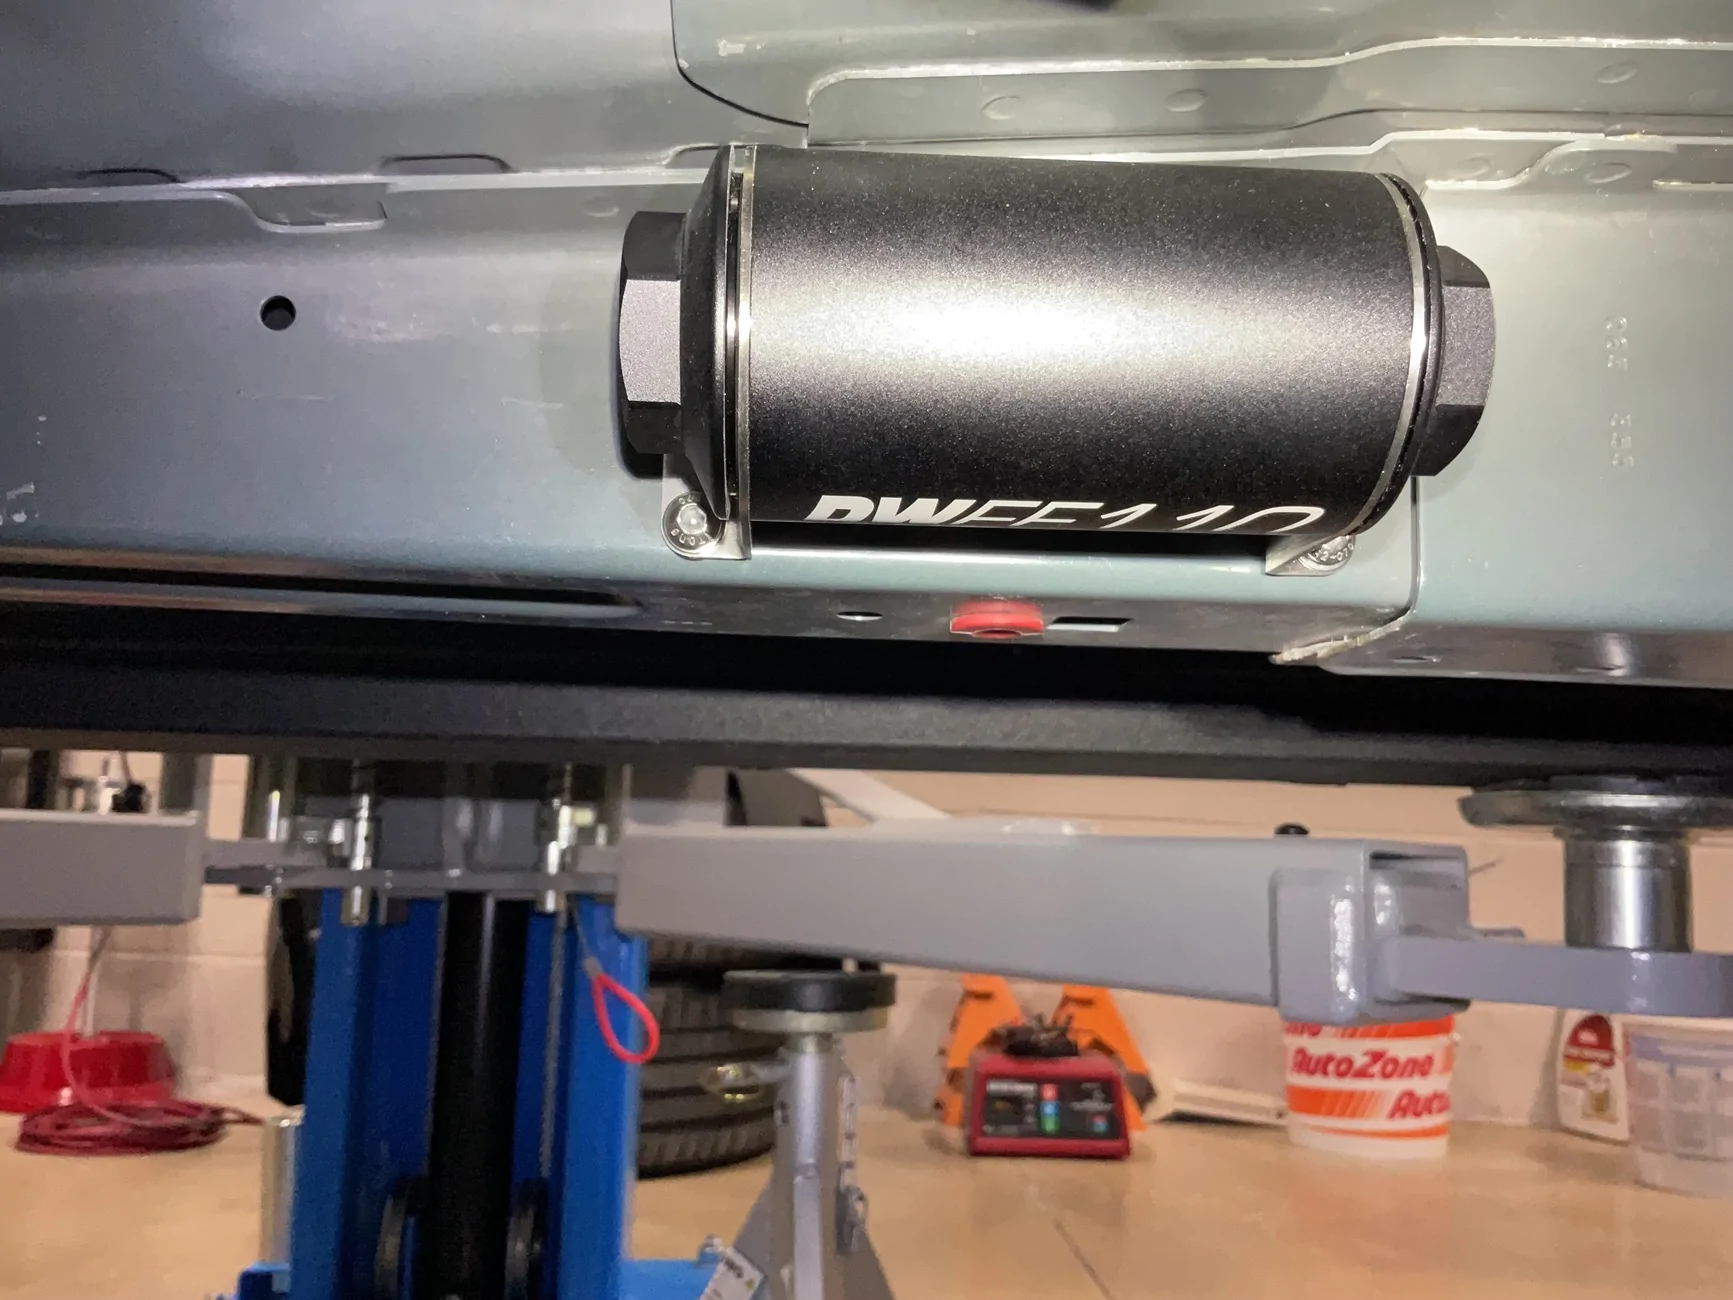
I also installed the fuel pump assembly in the tank and mounted the fuel filter, along with the feed line up to the filter, as well as the return line from the pump hat. I’ll wait to make up the other end once I get the intake mounted. I’m trying to carefully consider the best approach to routing and mounting things, so as to not have any excess wiring and fuel line for a clean look.
I also installed the fuel pump assembly in the tank and mounted the fuel filter, along with the feed line up to the filter, as well as the return line from the pump hat. I’ll wait to make up the other end once I get the intake mounted. I’m trying to carefully consider the best approach to routing and mounting things, so as to not have any excess wiring and fuel line for a clean look.


Last edited:
Sponsored
OP
OP
NGOT8R
Well-Known Member
- Thread starter
- #57
Yup, I took it right out of the box and performed a quick check for fitment and then from there to the grinder it went. Good thing it wasn’t a very expensive tool. I also bought the installation tool from the same company. I hope it doesn’t need any modifications.Damn, thats the one I was thinking of purchasing. Good to know
OP
OP
NGOT8R
Well-Known Member
- Thread starter
- #58
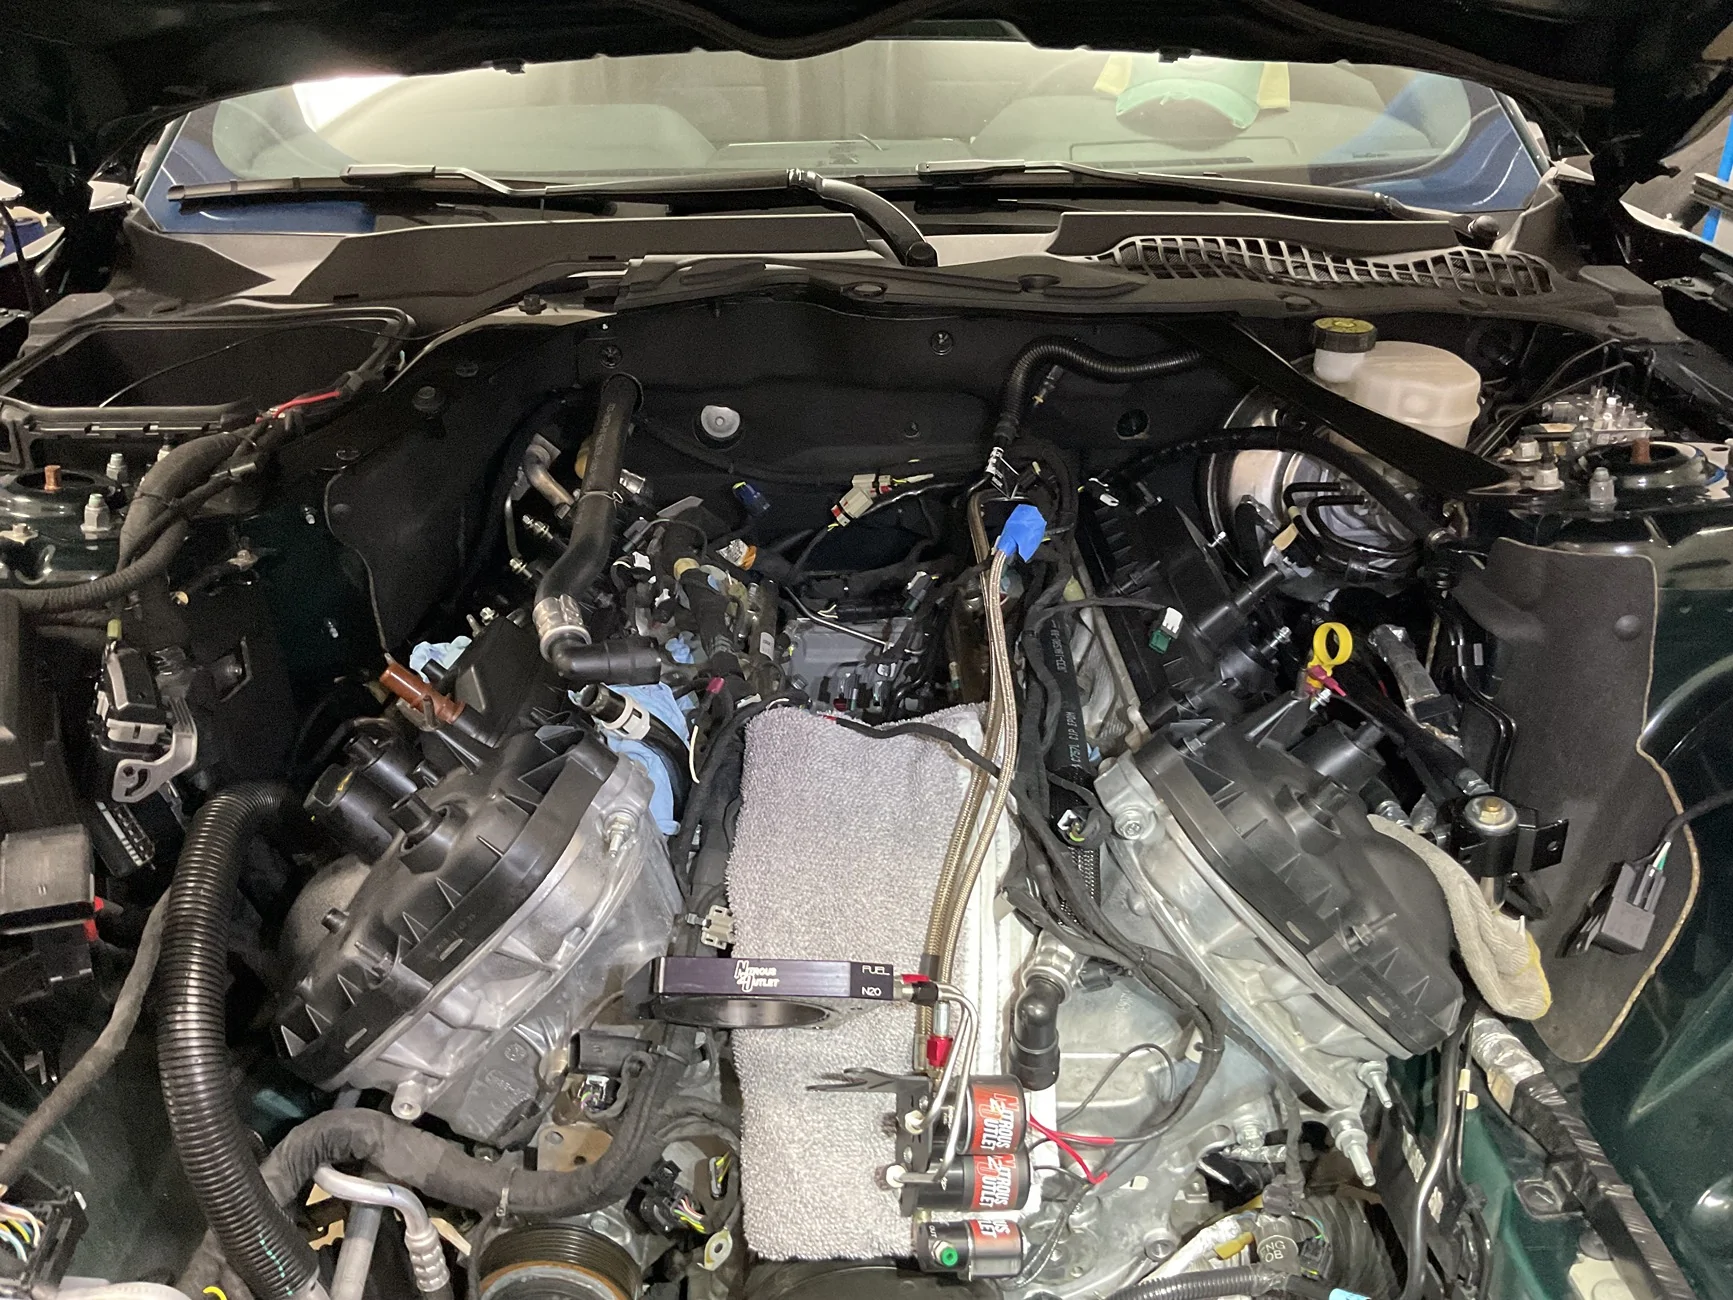
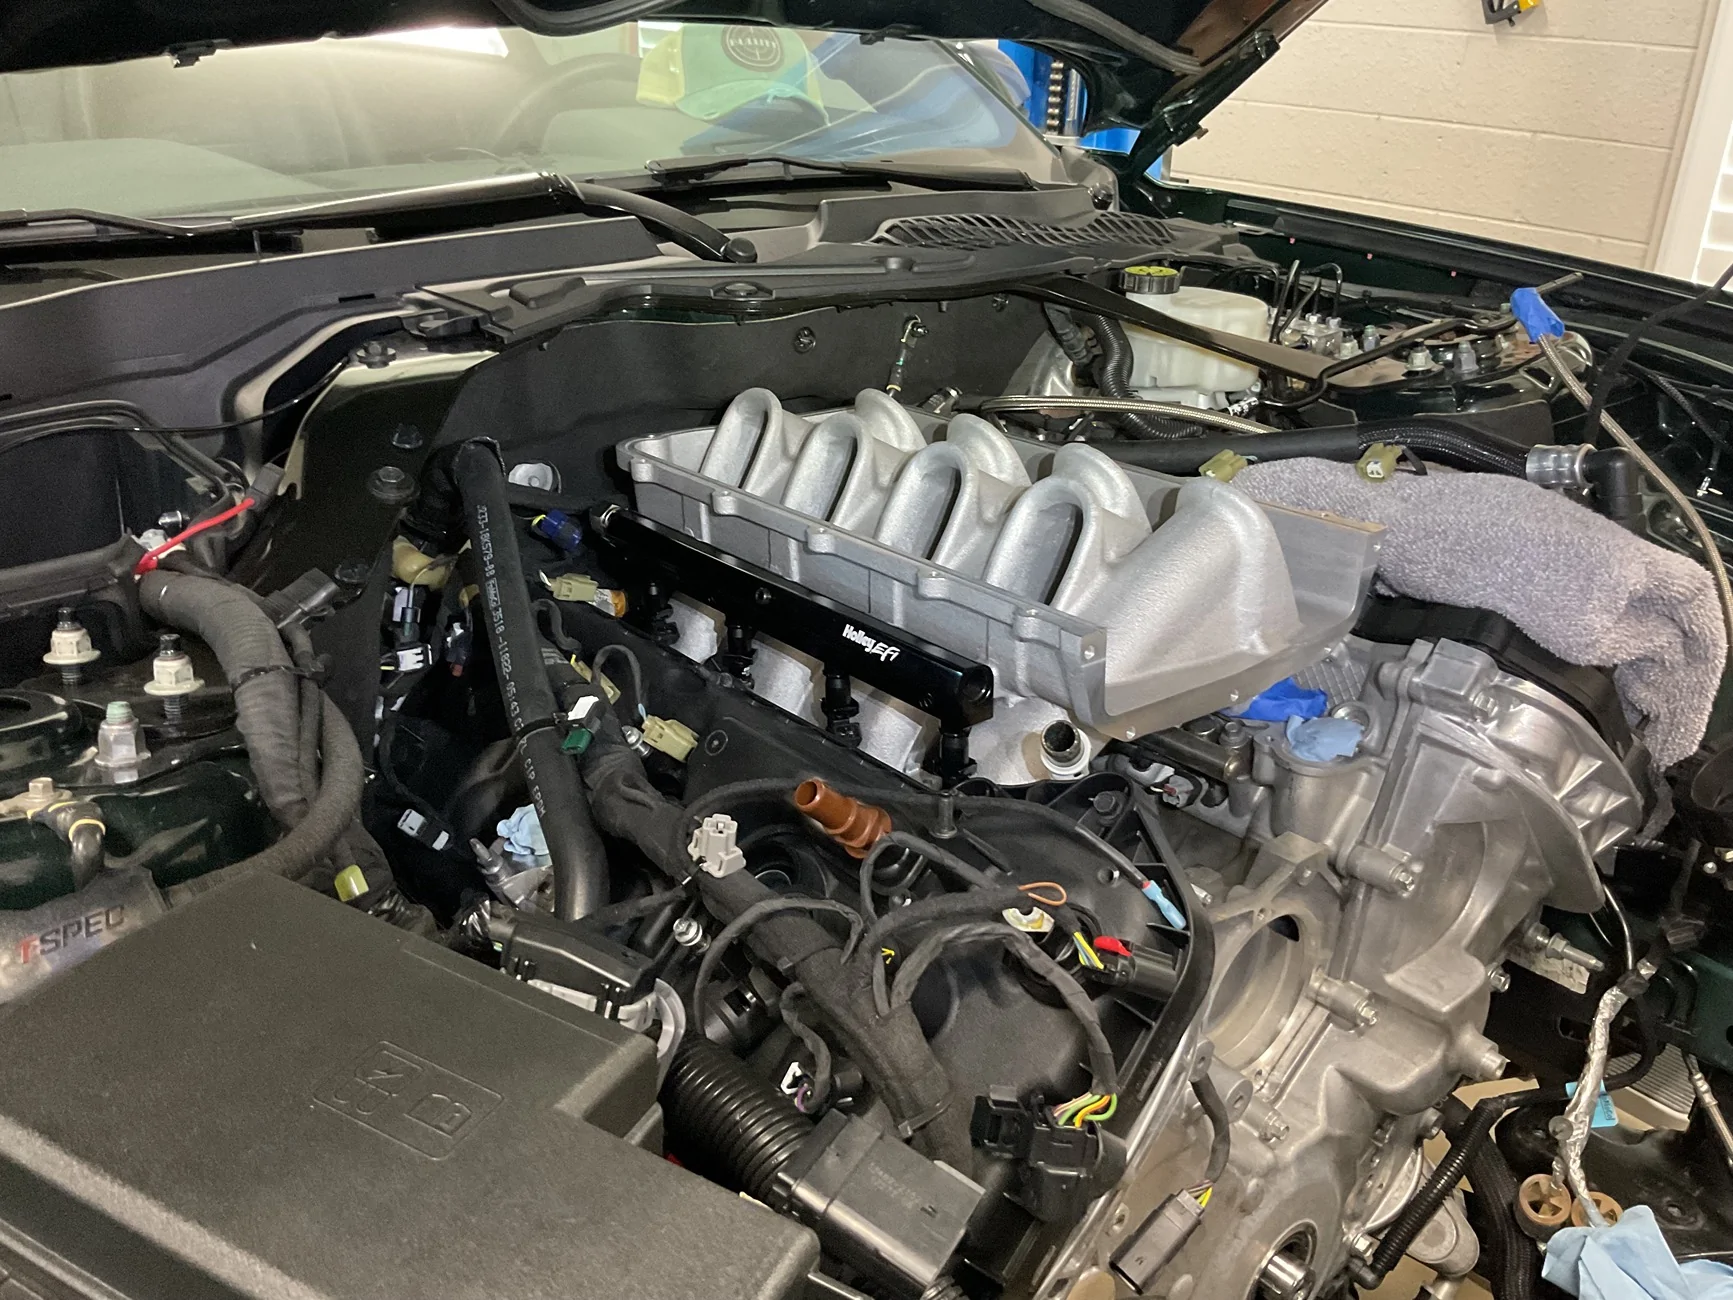
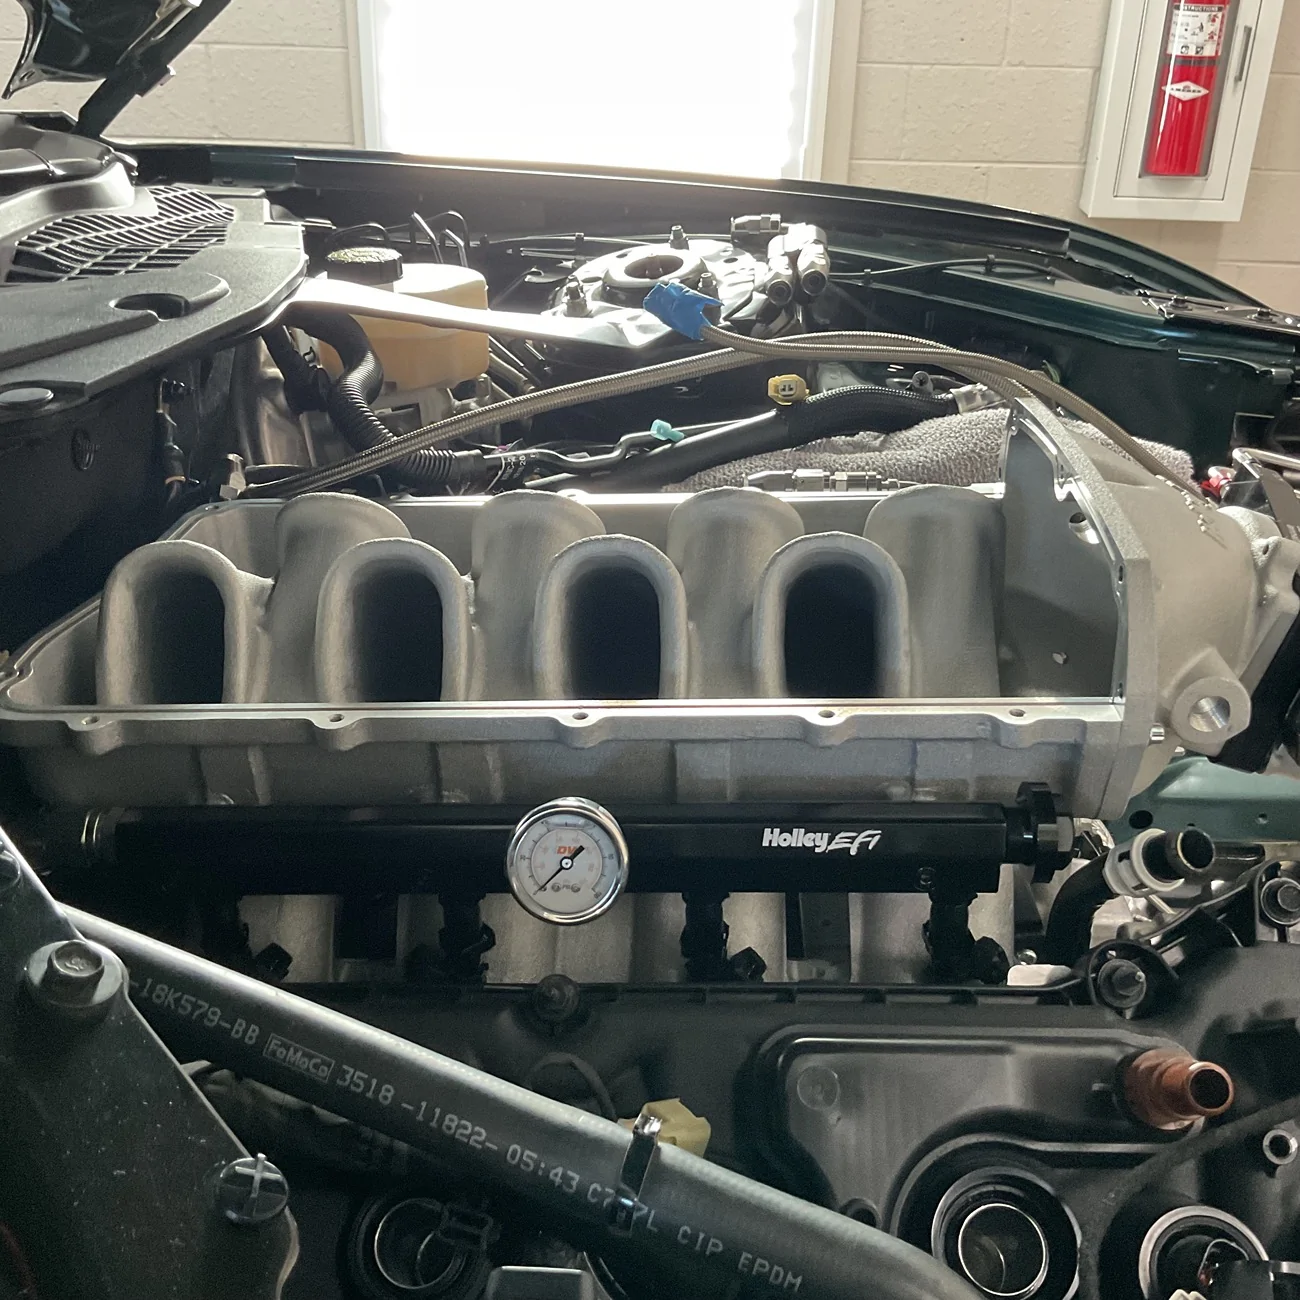
Holley Lo Ram intake base sitting on the engine to see how much clearance I have for mounting the fuel pressure regulator and vacuum manifold underneath on the Mike Thomas Fab bracket. The DW1500cc injectors are also installed in the fuel rails.
I think I may also be able to take advantage of the opportunity to make up the remainder of the fuel lines too.
I think I may also be able to take advantage of the opportunity to make up the remainder of the fuel lines too.


80FoxCoupe
Well-Known Member
I have that same puller and used it many times on oem balancers. Either the balancers or the puller jaws have changed. Ill grind it if need be, no biggie.
OP
OP
NGOT8R
Well-Known Member
- Thread starter
- #60
Today, I mocked up the fuel pressure regulator and Radium triple port fuel distribution block, as well as the nitrous plate system to see how much clearance I either have/don’t have. Surprisingly, the Radium fuel block clears very well with the hood down. I crawled under the car and sandwiched myself between the AC condenser and the timing cover and snapped a pic for conformation.
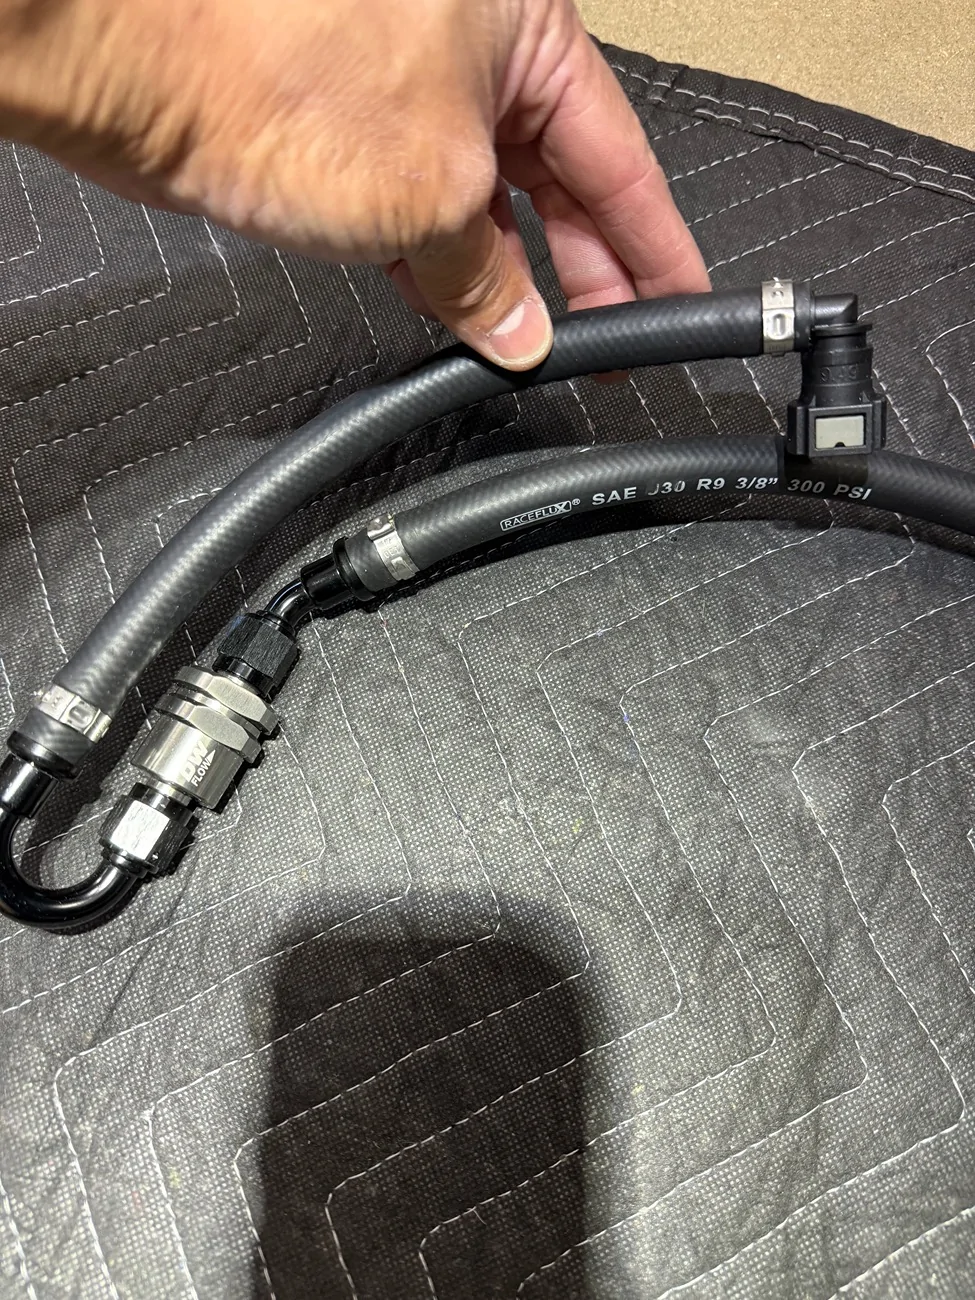
I also used an old extension cord and measured the length of fuel line needed to hit the rear of both rails, as well as the high pressure fuel pump. Oh, and did I mention that I’m not a fan of working with this braided PTFE fuel line? It’s eating up my cutoff wheels like they’re candy.

I also used an old extension cord and measured the length of fuel line needed to hit the rear of both rails, as well as the high pressure fuel pump. Oh, and did I mention that I’m not a fan of working with this braided PTFE fuel line? It’s eating up my cutoff wheels like they’re candy.


Sponsored