Sponsored

What's In DFB's Cabinet?

skinnyb

Well-Known Member
Joined
Jun 25, 2022
Threads
12
Messages
3,682
Reaction score
9,341
Location
Knoxville TN
First Name
Alex
Vehicle(s)
21 Mach 1. FJG, Tremec, ESS G3X
Almost always a guy in his 20's thinking louder equates to better. I'm all for a loud exhaust, but headers, cat deletes, and straight pipes are a nasty combination with no refinement in the actual sound they produce, it's just noise.
Agreed. The Coyote Mustangs and the G37 Infinity and 370Z Nissans around here are horrid... Awful sounding :(
Sponsored


skinnyb

Well-Known Member
Joined
Jun 25, 2022
Threads
12
Messages
3,682
Reaction score
9,341
Location
Knoxville TN
First Name
Alex
Vehicle(s)
21 Mach 1. FJG, Tremec, ESS G3X
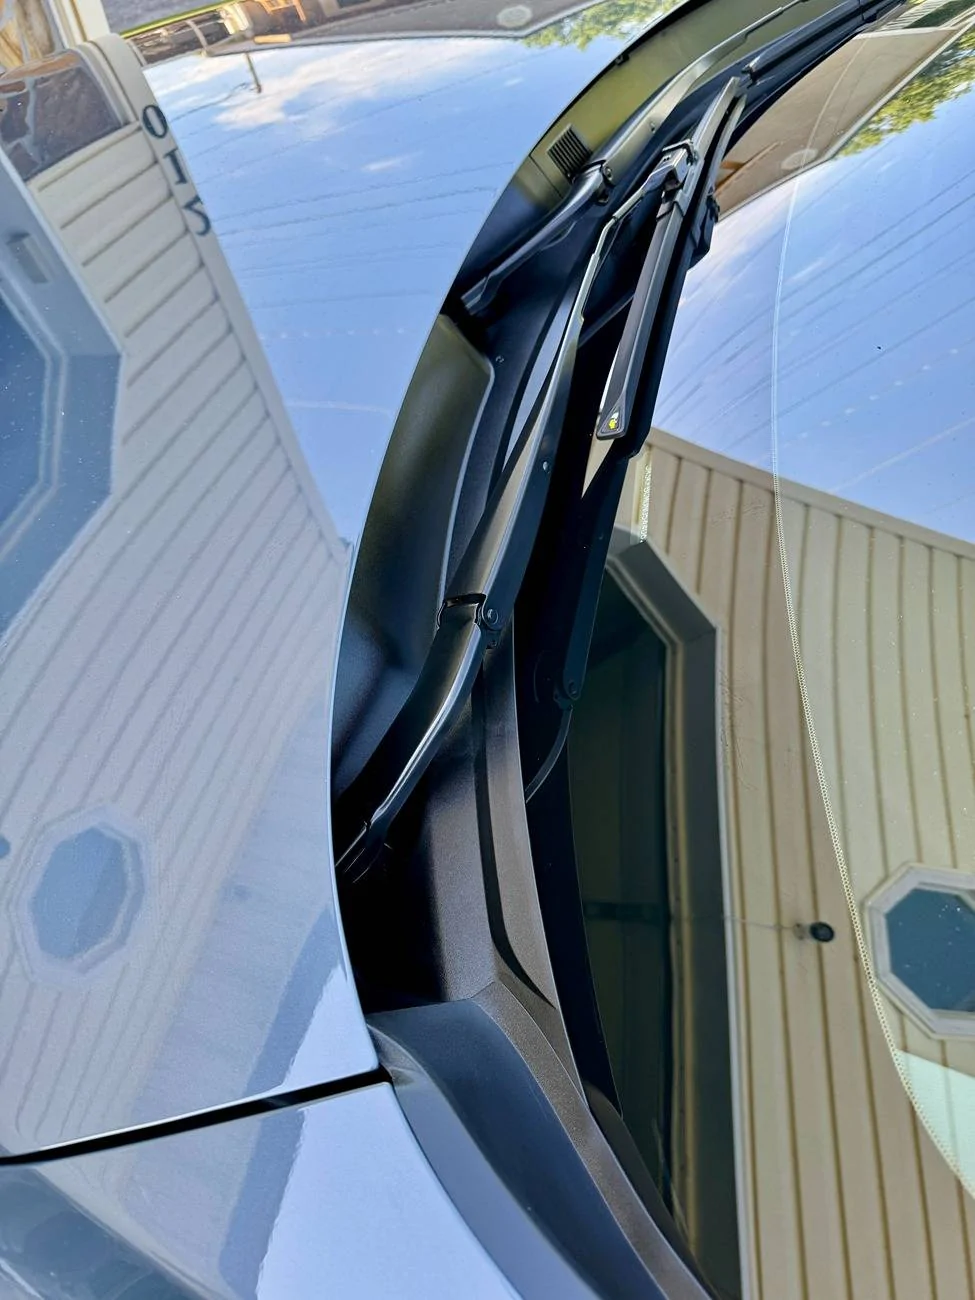
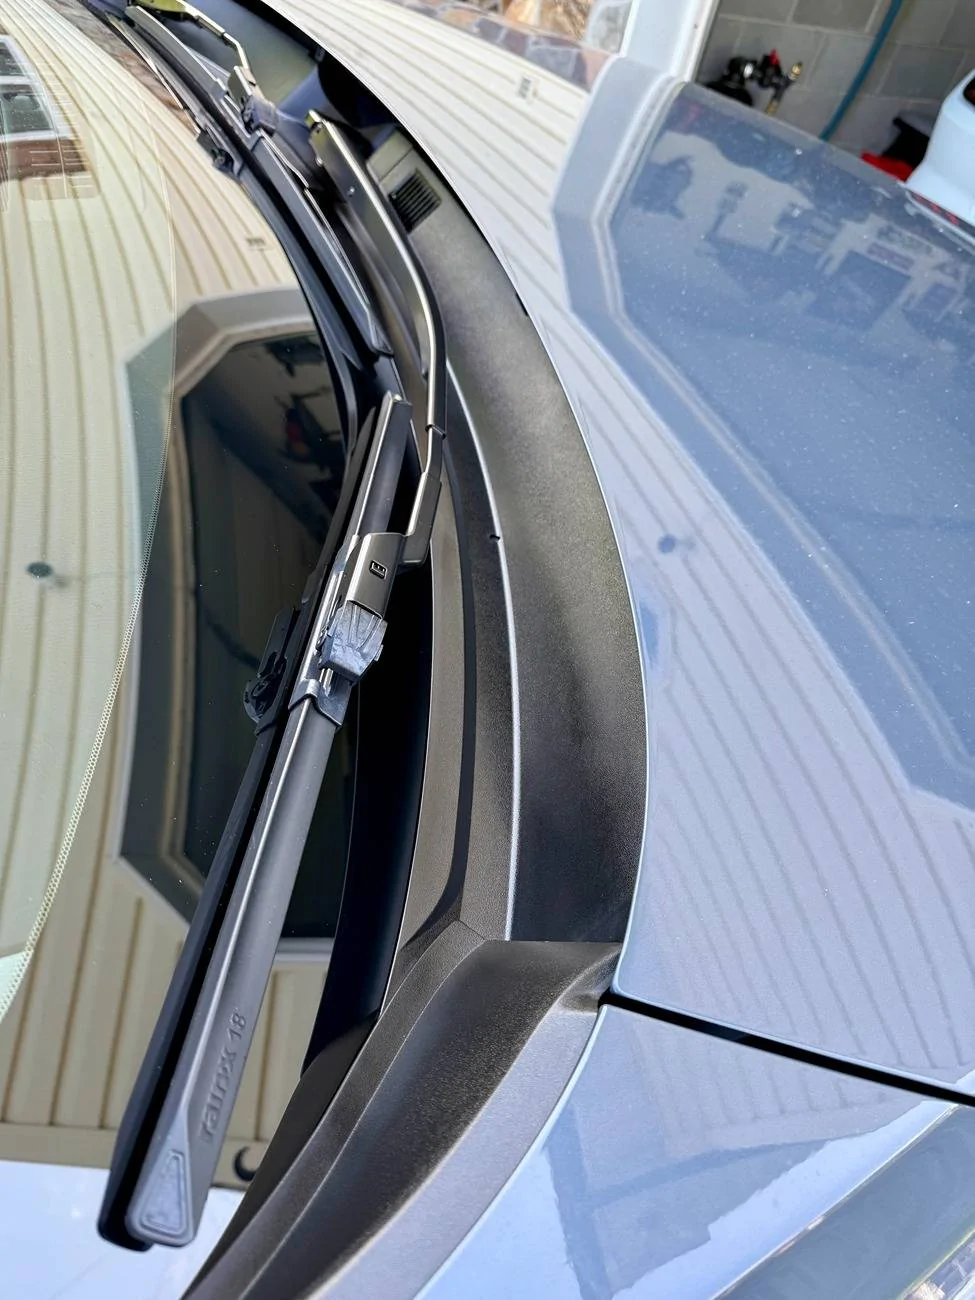
Finally got my ADS Trim coating in yesterday after being delayed for a while. I didn't get any before pics, but I am really impressed at how it makes this windshield cowl look better. Time will tell how well it holds up but with ADS I know their products are top notch so I am confident it will work good for quite a while. If not, its pretty easy to apply..

IMG_3645.webp


IMG_3646.webp
 
OP
OP
DFB5.0

DFB5.0

Well-Known Member
Joined
Mar 15, 2017
Threads
93
Messages
5,468
Reaction score
15,737
Location
Australia
Vehicle(s)
Mustang GT Fastback
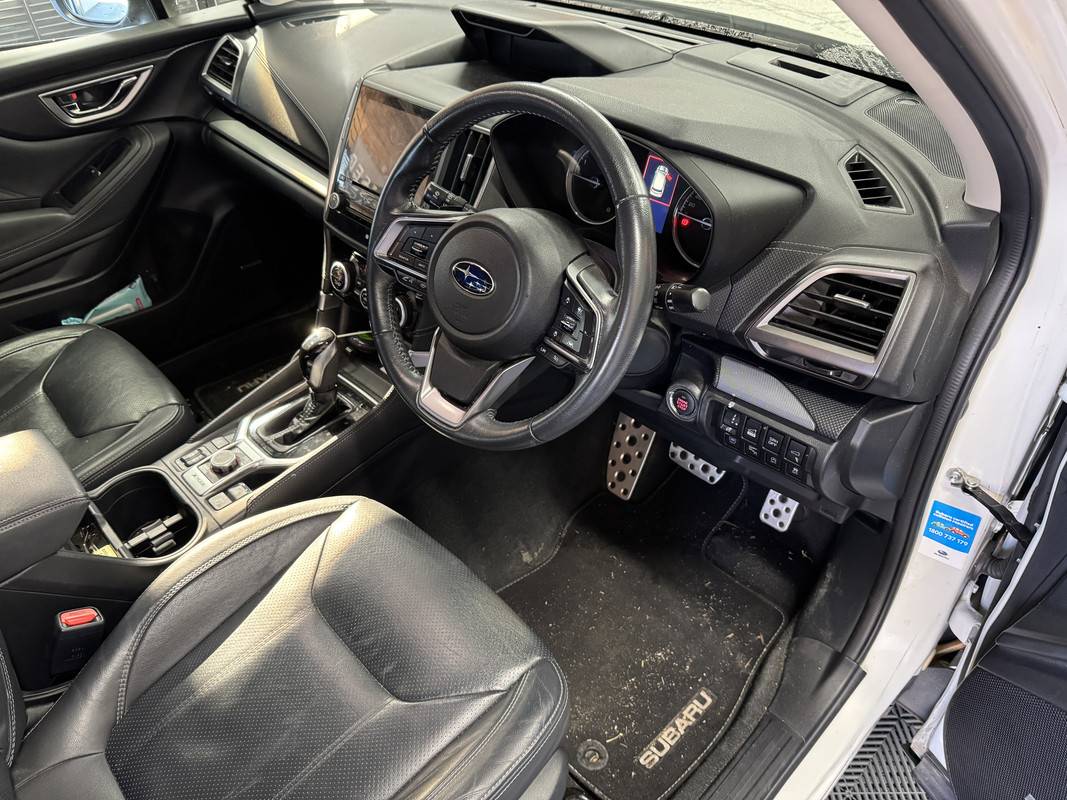
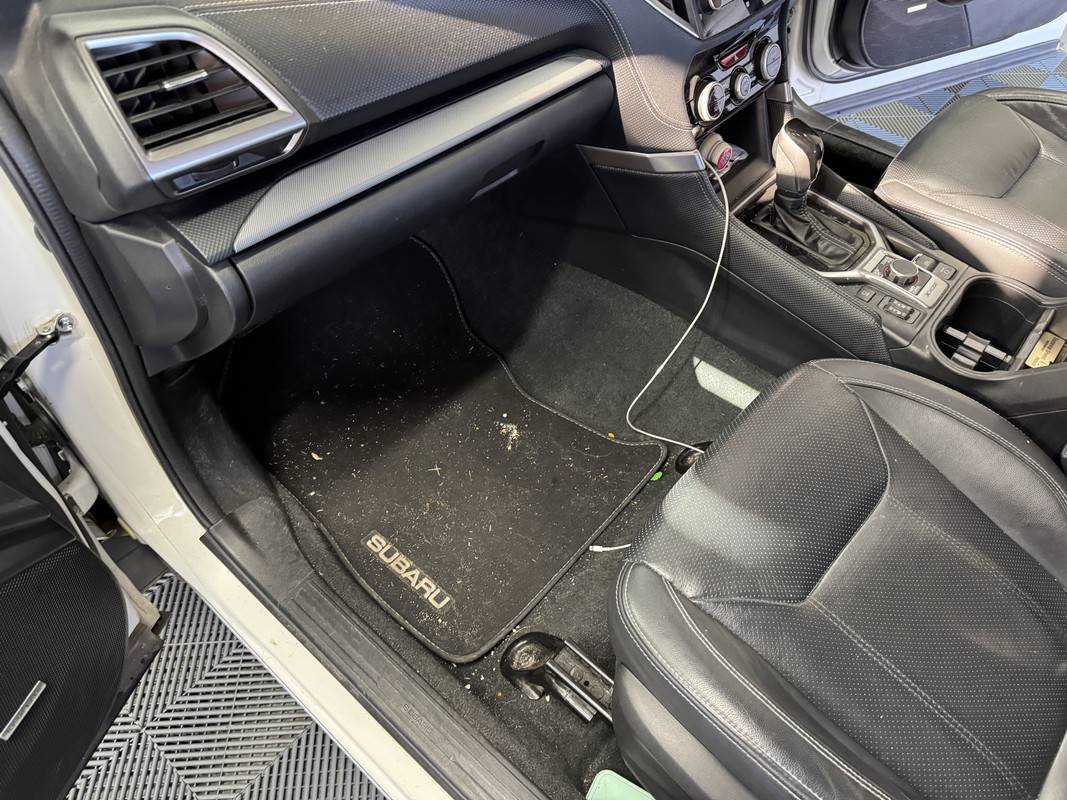
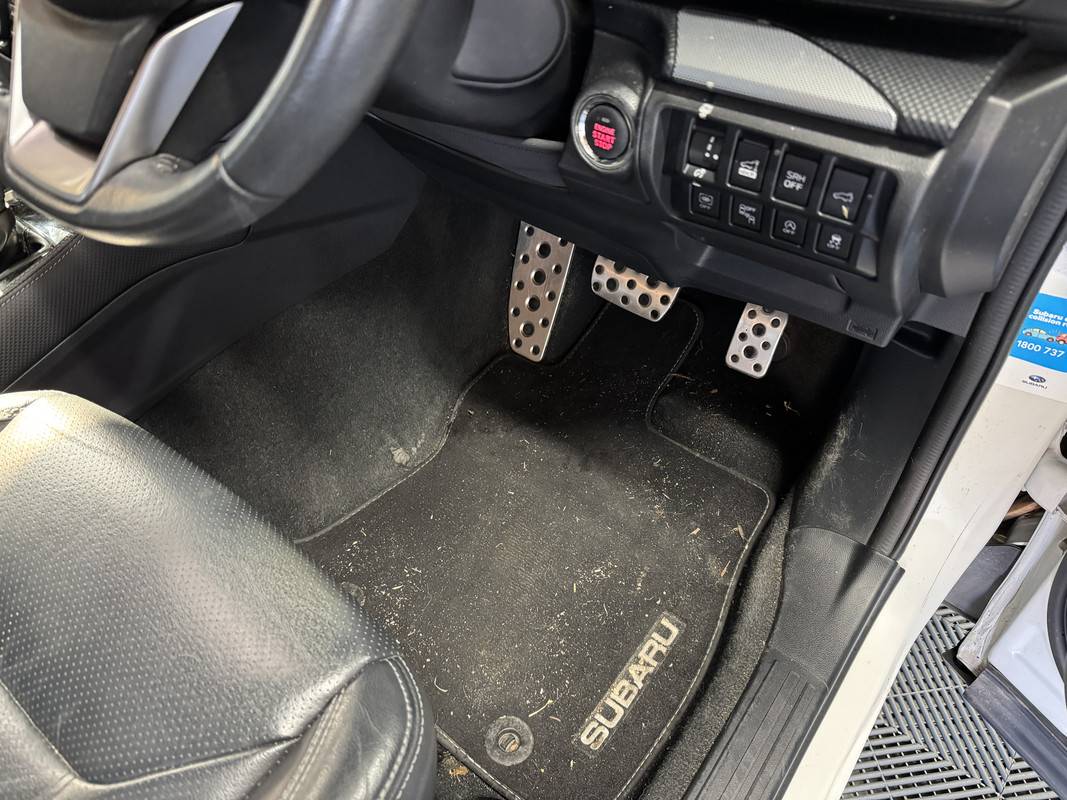
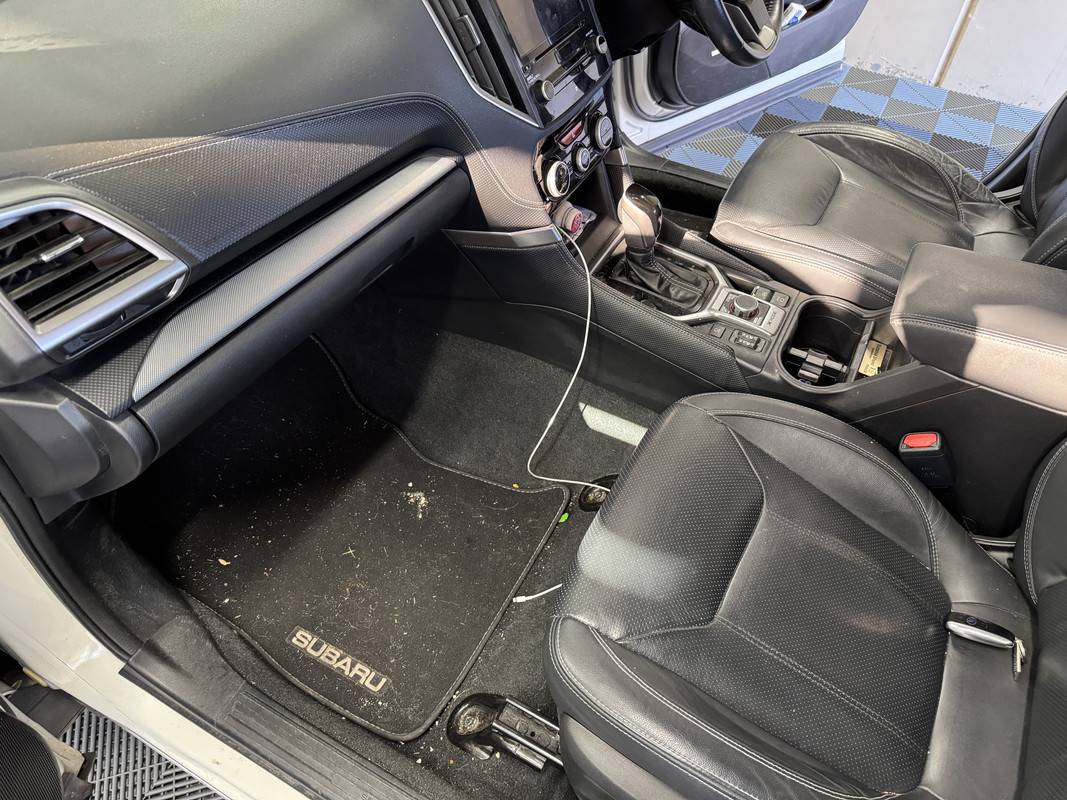
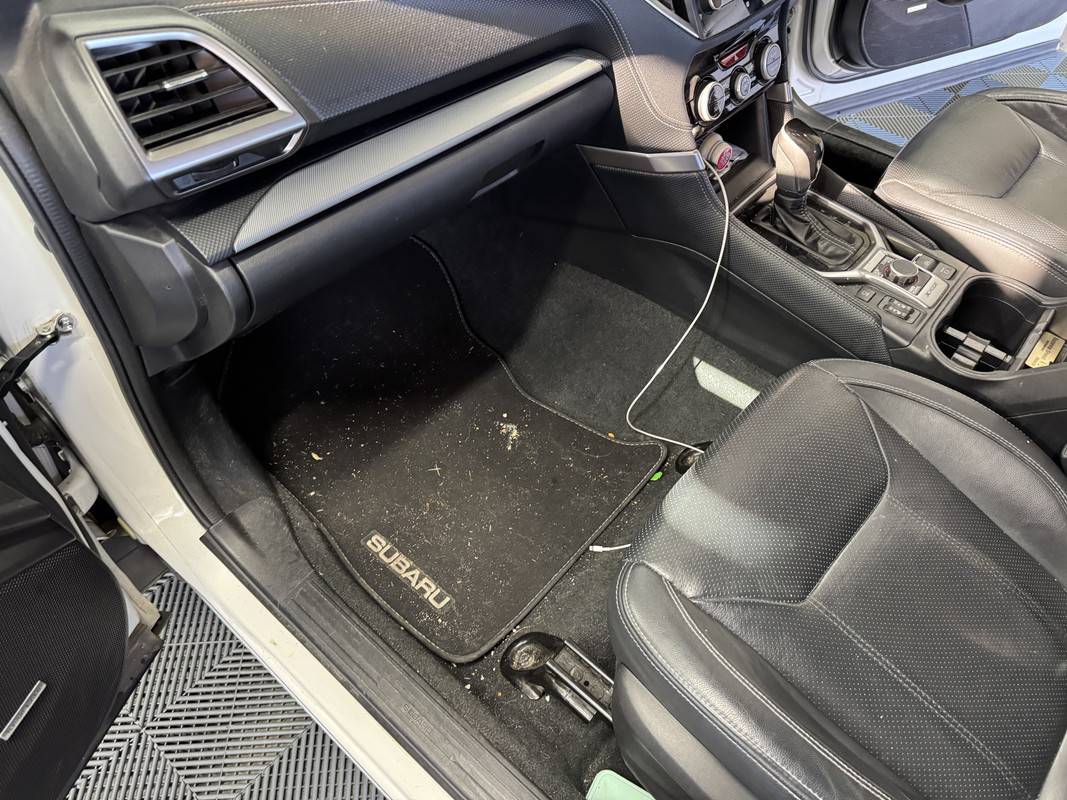
I thought I'd make a start on the Subaru today by knocking out the interior, allowing me to do the exterior closer to the owners return. What I thought would take me an hour ended up being a 3.5-hour marathon. :facepalm:

I'll do a full write up once I've done the exterior, so for now I'll let some images paint the picture..........................

IMG-6314.jpg


IMG-6318.jpg


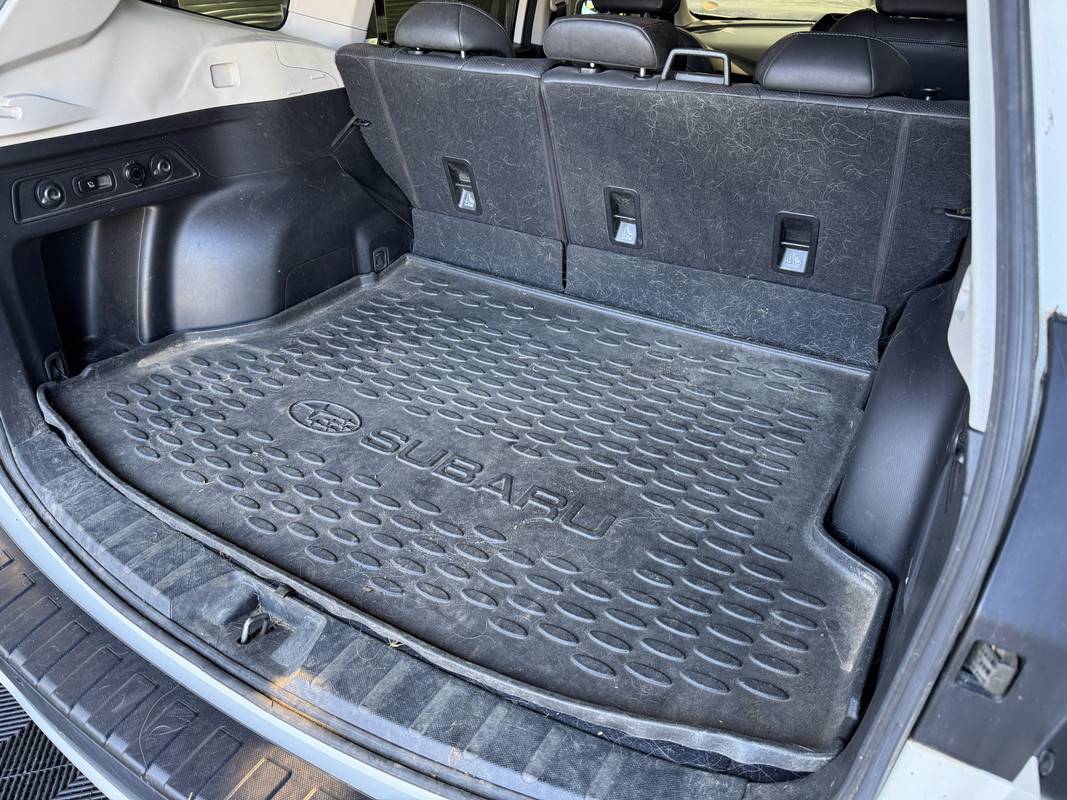
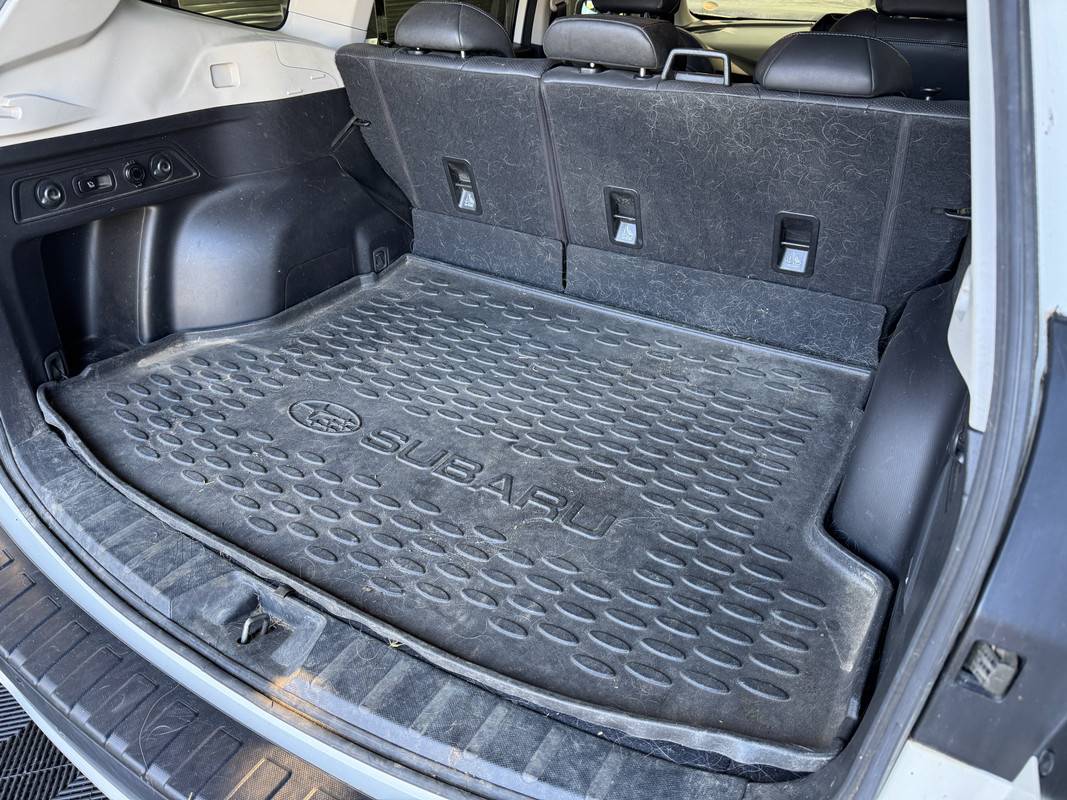
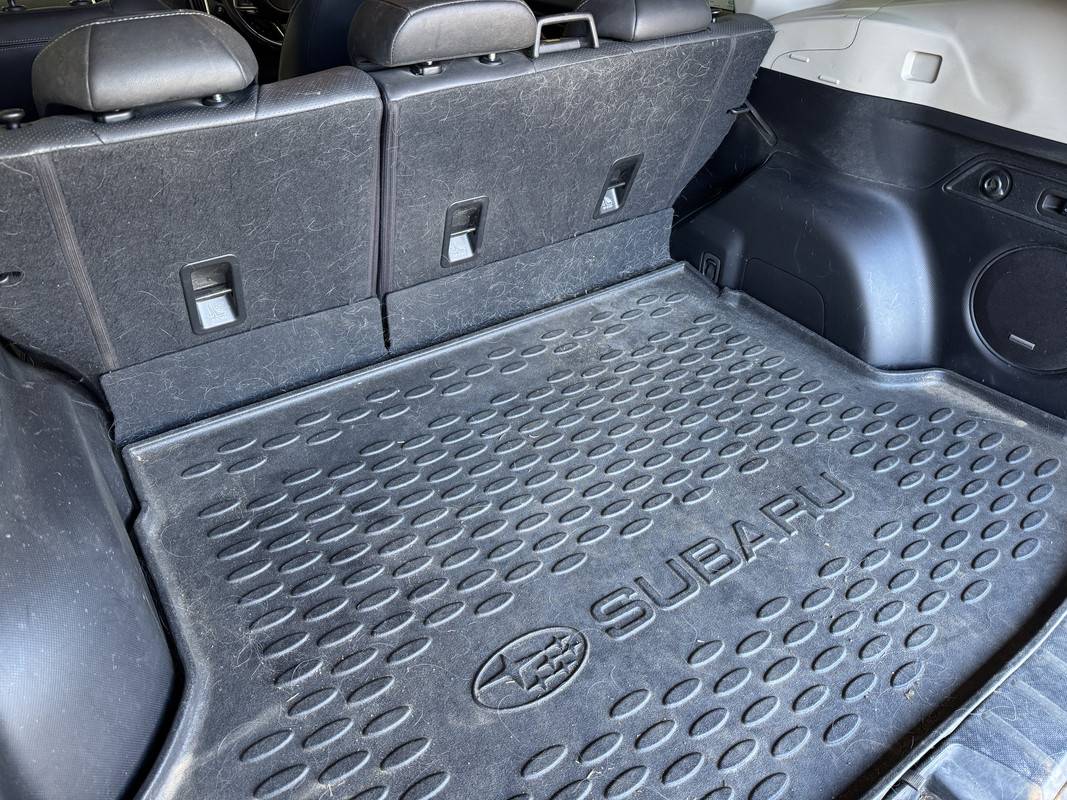
That cargo mat is useless, the "carpet" underneath was covered in dog hair, surely the bane of any detailer's existence. Addressing the dog hair probably took an hour alone, and even after throwing everything I had at it, I'm not 100% happy with the outcome. The term "carpet" is relative, the front door mat that I wipe my muddy boots on is plusher than this stuff. I've found Subaru to make some of the worst carpet in the industry, second only to Hyundai and Kia.

IMG-6316.jpg


As for the rest, pretty much everything needed the scrub ninja treatment, including the leather. The glass needed to be cleaned twice, first with a sledgehammer to plough through the greasy film, the second pass to refine it. I had planned to knock out the door jambs too, but I'd burnt so much time on the vacuuming that I decided to leave that as part of the exterior detail next week.

Also, why do people keep so much useless crap in their cars? 🤔
 
OP
OP
DFB5.0

DFB5.0

Well-Known Member
Joined
Mar 15, 2017
Threads
93
Messages
5,468
Reaction score
15,737
Location
Australia
Vehicle(s)
Mustang GT Fastback
Finally got my ADS Trim coating in yesterday after being delayed for a while. I didn't get any before pics, but I am really impressed at how it makes this windshield cowl look better. Time will tell how well it holds up but with ADS I know their products are top notch so I am confident it will work good for quite a while. If not, its pretty easy to apply..

IMG_3645.jpeg


IMG_3646.jpeg
I'm keen to give that stuff a try, it hasn't landed locally yet.
 
OP
OP
DFB5.0

DFB5.0

Well-Known Member
Joined
Mar 15, 2017
Threads
93
Messages
5,468
Reaction score
15,737
Location
Australia
Vehicle(s)
Mustang GT Fastback
Agreed. The Coyote Mustangs and the G37 Infinity and 370Z Nissans around here are horrid... Awful sounding :(
Not sure if it's just me, but I find most V6 engines with an aftermarket exhaust sound terrible, to the point where I think they are best left alone. Actually, I'd say most 6-cylinder engines are best left as intended, be that and inline 6, V6 or flat-6 layout. But V6's in particular have a strange warbly drone that is extremely unpleasant.

One in particular comes to mind. Over the last couple of years, the Ford Ranger Raptor has become extremely popular, so there are lot on the roads. These use the 394 hp 3.0 EcoBoost V6 and have an active exhaust. I can pick them a mile away as they have a very distinctive drone to them. I used to be able to hear them roar onto the nearby highway at work.


Does a nice burnout though..........................


Don't read that into me not liking 6-cylinder engines, some my all-time favorite engines have 6-cylinders. Think E46 M3, the CSL in particular. The Porsche 4.0 flat-6, the GT4 RS especially. The Jaguar supercharged V6 sounded good too, which I suspect was due to it being a 90-degree engine and not the buzzy sounding 60-degree. Oh, and the VW VR6 sounds amazing too.


The tinny exhaust is a bit off putting, but the intake bark is addictive.


Sponsored

skinnyb

Well-Known Member
Joined
Jun 25, 2022
Threads
12
Messages
3,682
Reaction score
9,341
Location
Knoxville TN
First Name
Alex
Vehicle(s)
21 Mach 1. FJG, Tremec, ESS G3X
That VR6 :) I had a MKV R32 for a couple years and a Passat GT with the 3.6 VR6. That is in my opinion the best sounding 6 cylinder on the planet...


1116191141_Original.jpeg


1223181.webp
 

skinnyb

Well-Known Member
Joined
Jun 25, 2022
Threads
12
Messages
3,682
Reaction score
9,341
Location
Knoxville TN
First Name
Alex
Vehicle(s)
21 Mach 1. FJG, Tremec, ESS G3X
I'm keen to give that stuff a try, it hasn't landed locally yet.
So far so good. I just applied it but I like it so far. Gonna let it be for a few weeks and do the rest of the trim before winter sets in, its not near as bad ironically enough, and I coated all the trim 2 years ago with DLux so I guess that's why? :)
 
OP
OP
DFB5.0

DFB5.0

Well-Known Member
Joined
Mar 15, 2017
Threads
93
Messages
5,468
Reaction score
15,737
Location
Australia
Vehicle(s)
Mustang GT Fastback
More chainsaw detailing today!

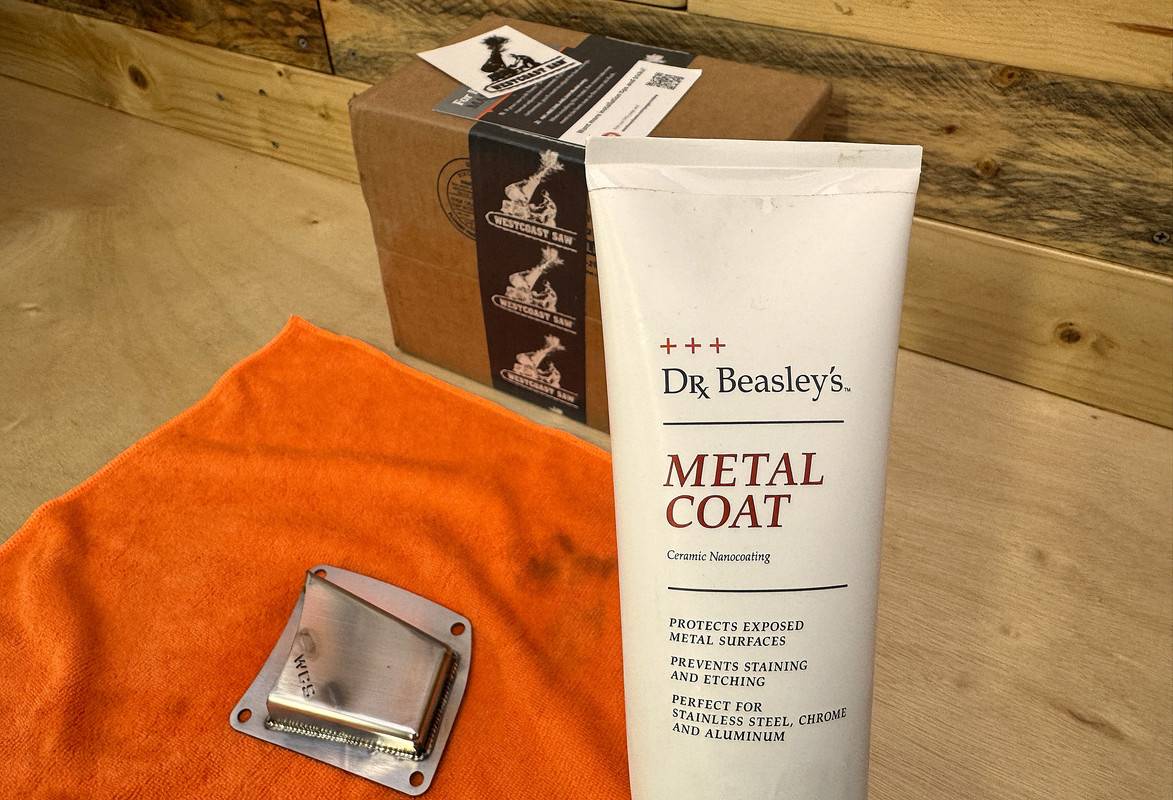
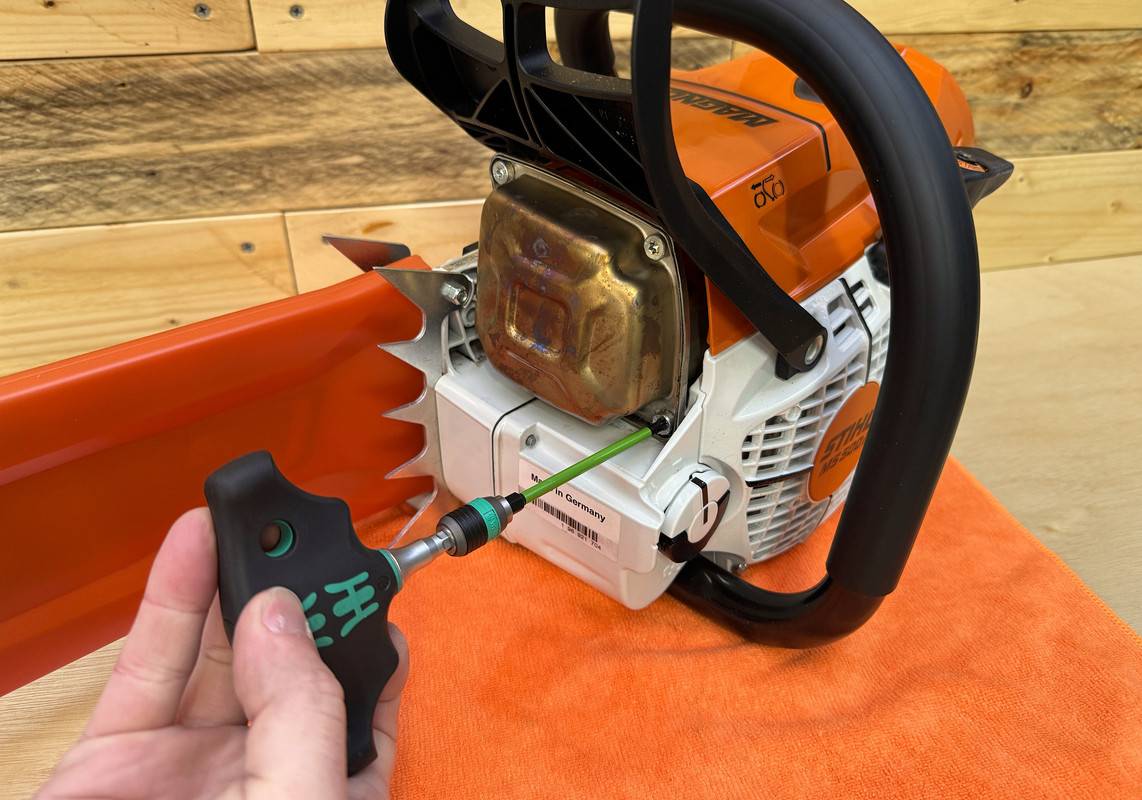
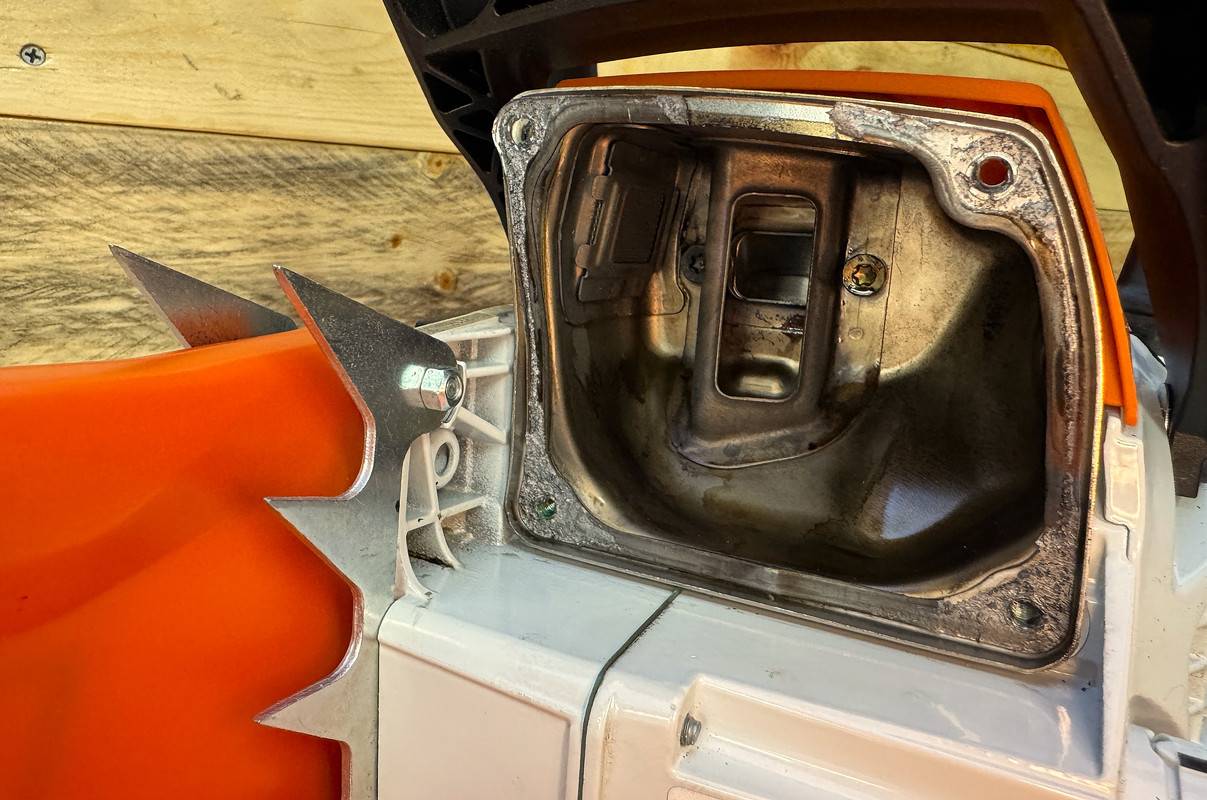
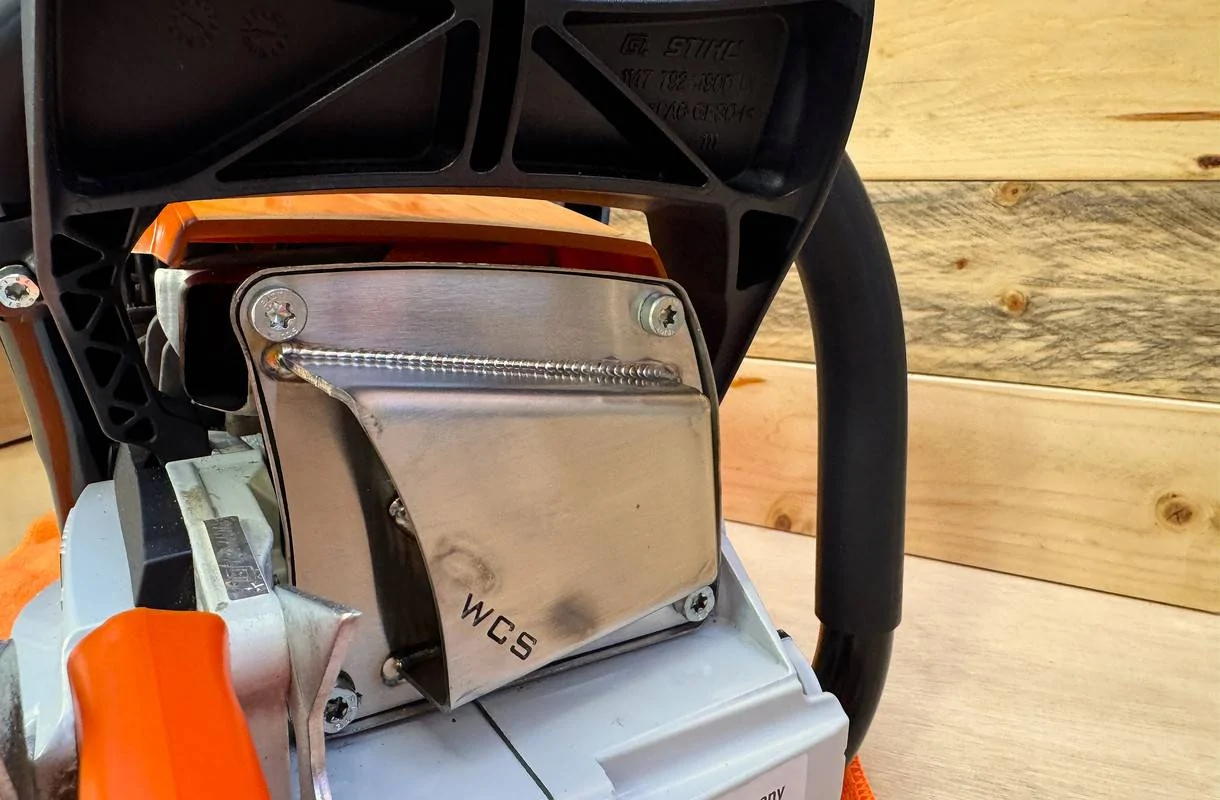
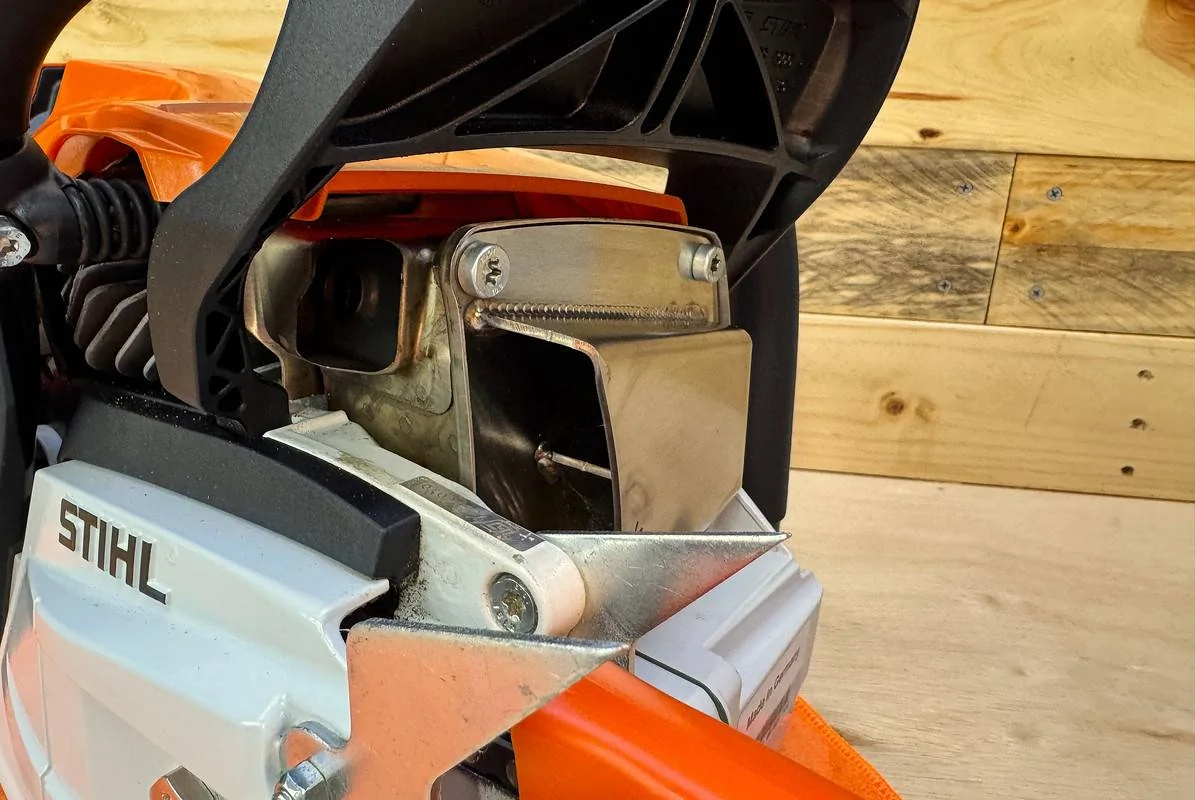
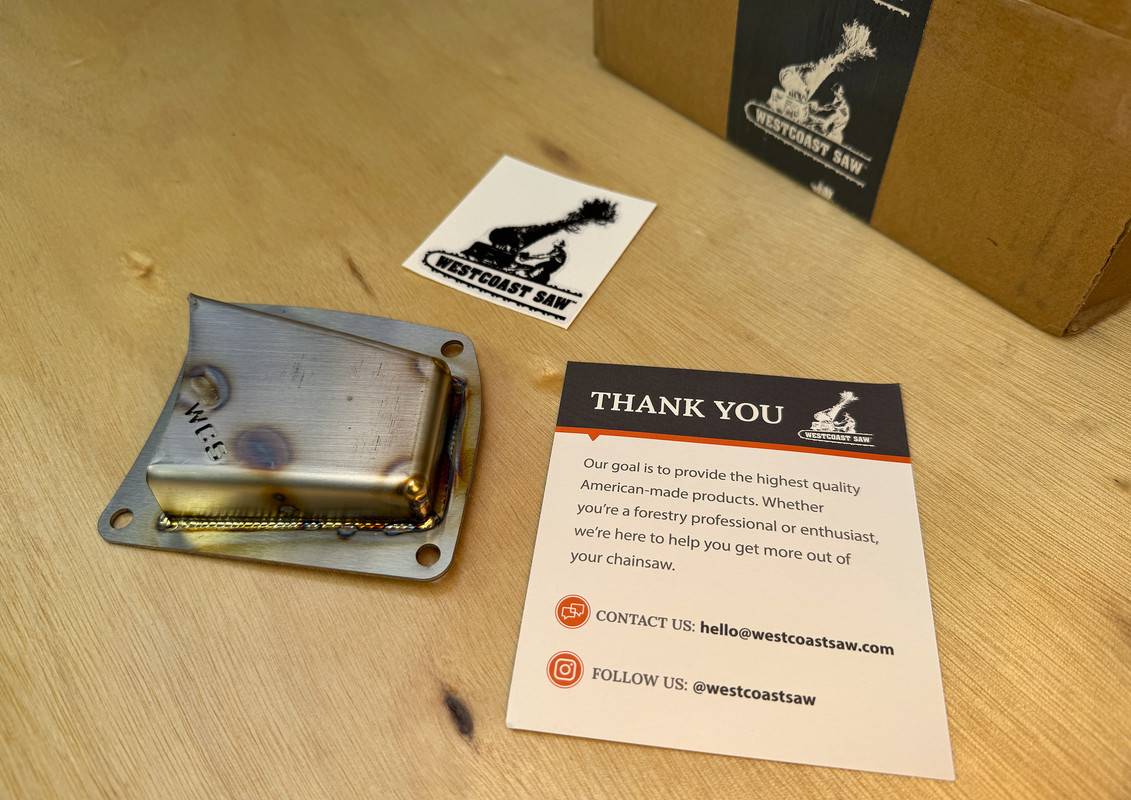
Before adding a West Coast Saw Bark Box to my new MS 500i, I thought I may as well give it a little attention before installation. The Bark Box replaces the standard front muffler plate with a 304 stainless steel item. Hand made in the USA and featuring TIG welded construction, these improve gas flow, in turn increasing power and reducing heat retention. Oh, and they make it sound epic. Basically a straight pipe for chainsaws.

Shop Barkbox Saw Muffler Cover Online - Westcoast Saw

IMG-6372.jpg


Before installing the Bark Box, I went over it with Autosol metal polish on a TRC Rip-n-Rag. From there, a wipe down with IPA and a few layers of Dr. Beasley's Metal Coat, which is a high temperature nano coating for chrome, stainless steel and alumiunum. I've been using this on exhaust tips for years, so I thought it would be a home here too.

Metal Coat | Dr. Beasley's

IMG-6391.jpg


IMG-6396.jpg


IMG-6398.jpg


IMG-6405.webp


IMG-6408.webp


After the install, I wiped with WD40 to remove fingerprint oils, which would otherwise burn into the finish permanently. You would do the same after installing an exhaust system on your car.

What's better than an angry sounding chainsaw? An even angrier sounding chainsaw!


50ALM

Well-Known Member
Joined
May 6, 2022
Threads
6
Messages
167
Reaction score
296
Location
Brisbane, Australia
First Name
Adam
Vehicle(s)
MY16 Toyota RAV4 Cruiser, MY24.50 S650 GT
My Ego CS1805 (45cm bar) is only used infrequently (cutting branches into pieces for the wood fireplace), but I'm going to have to learn how to sharpen my own chains. :crazy:

Be buggered if I keep taking them to the local mower shop.
I think jobs like this are where mower shops make a killing.

Any suggestions on good tutorial videos to learn from, and which sharpening jig and file to get?
 
OP
OP
DFB5.0

DFB5.0

Well-Known Member
Joined
Mar 15, 2017
Threads
93
Messages
5,468
Reaction score
15,737
Location
Australia
Vehicle(s)
Mustang GT Fastback
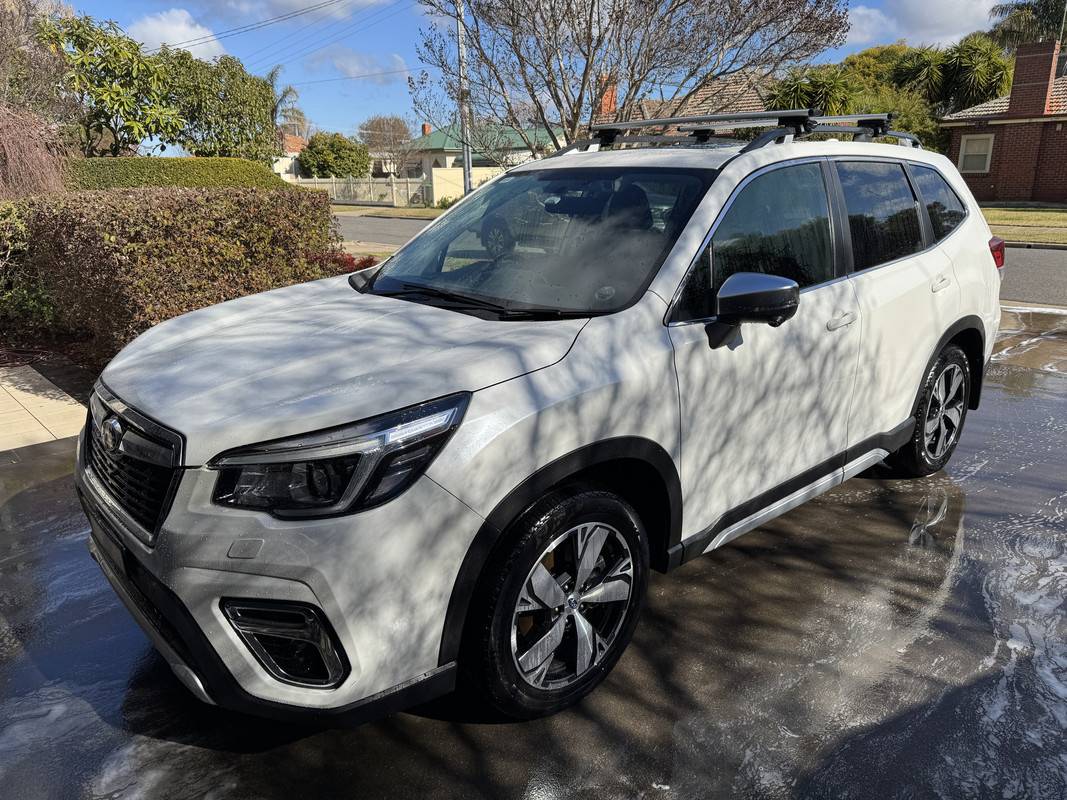
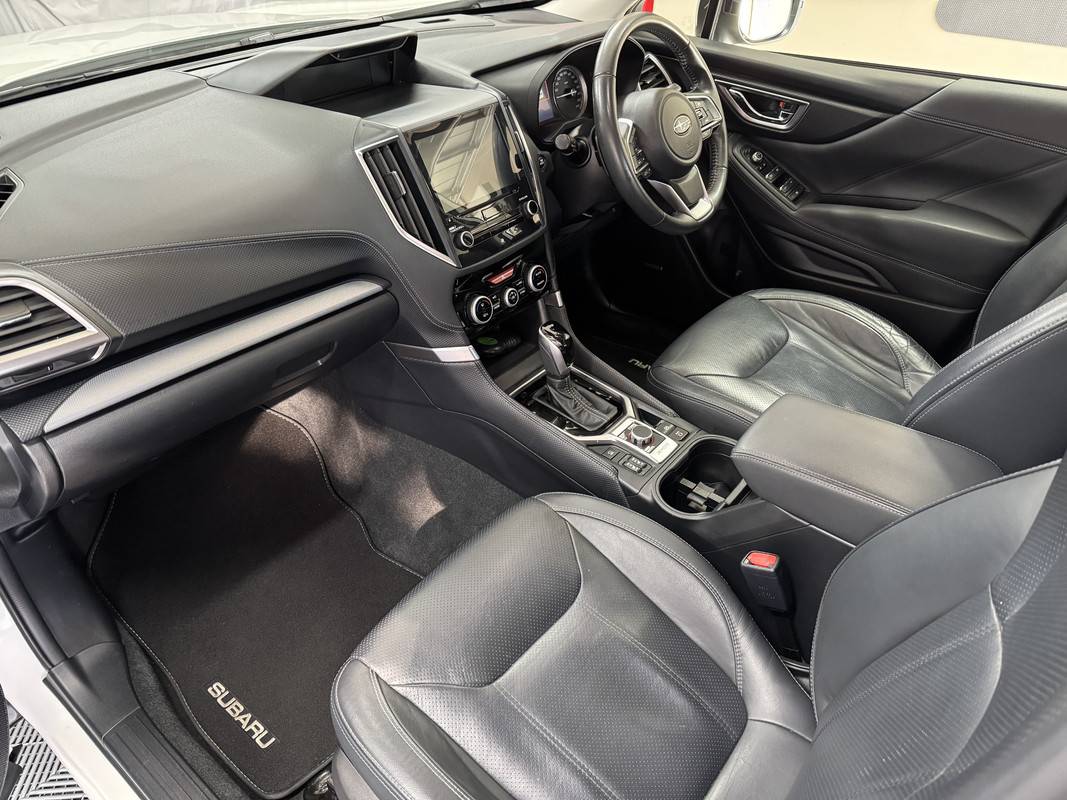
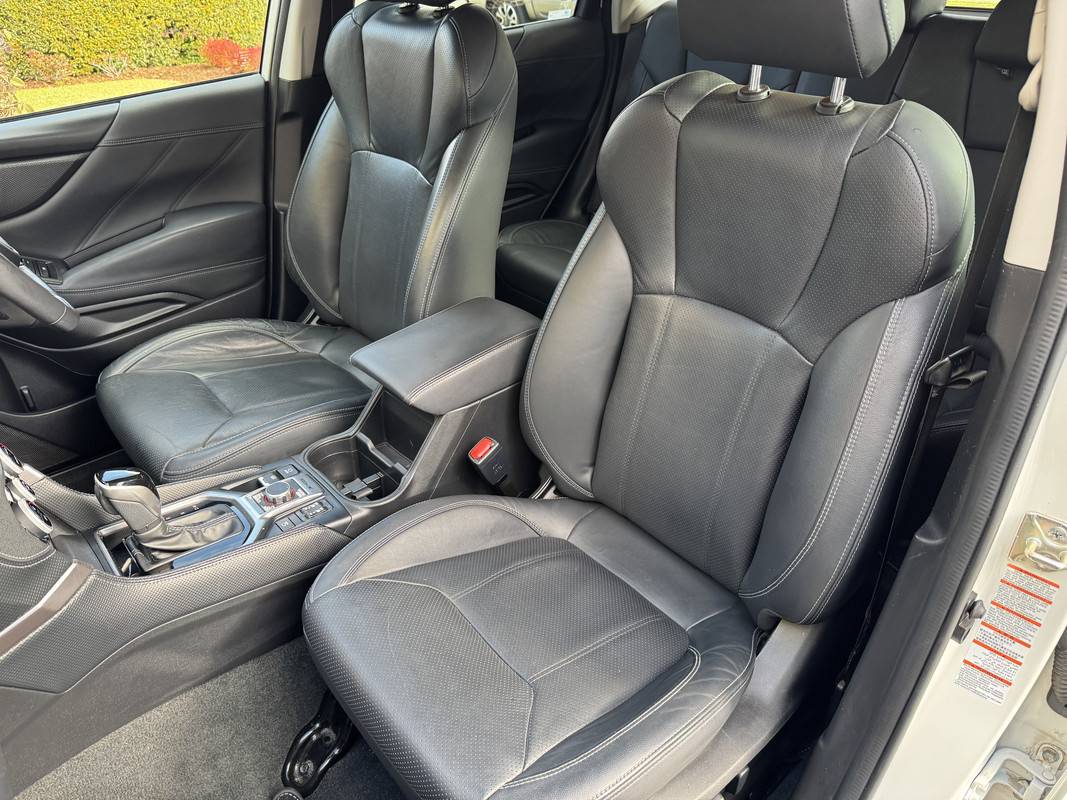
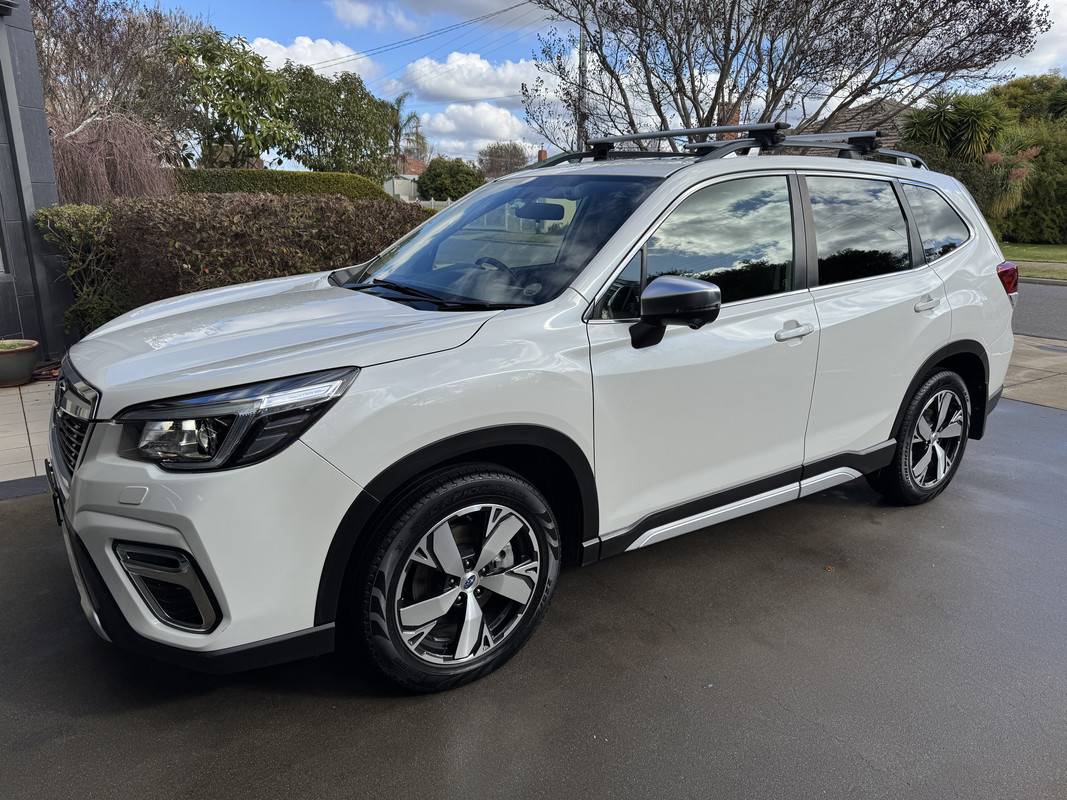
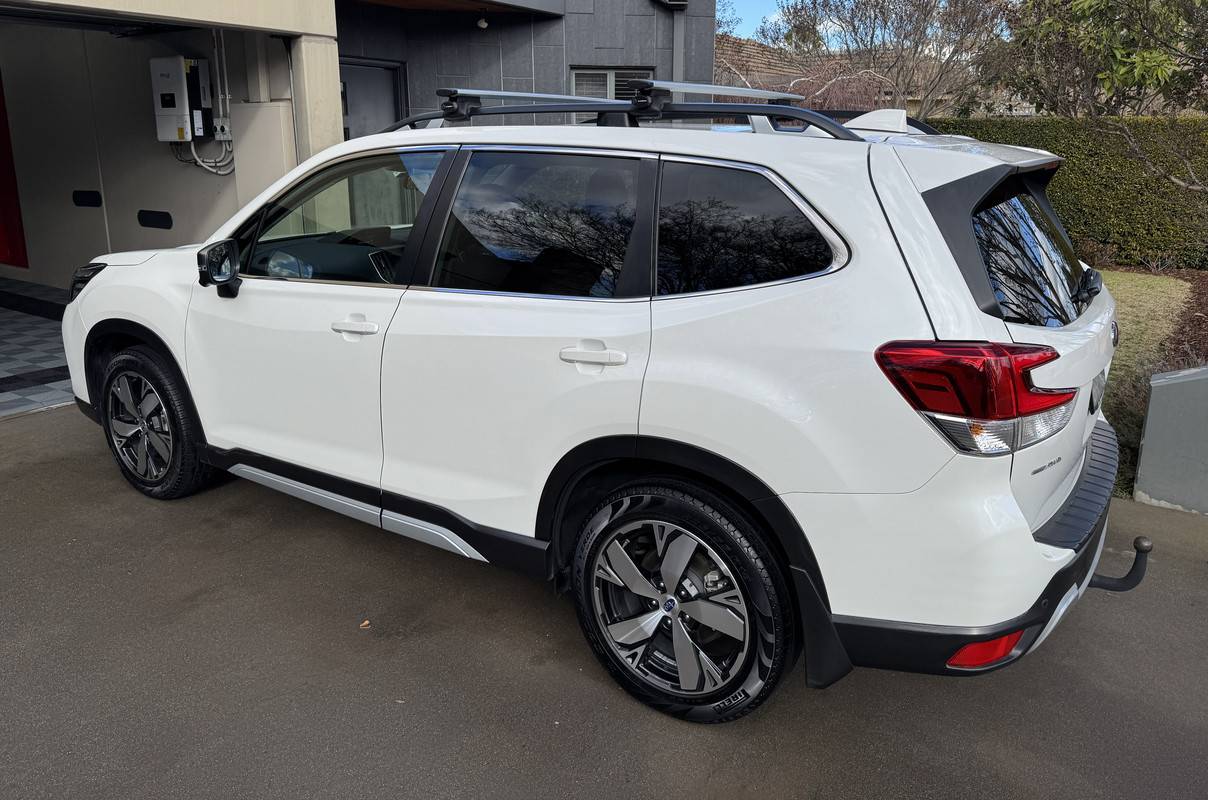
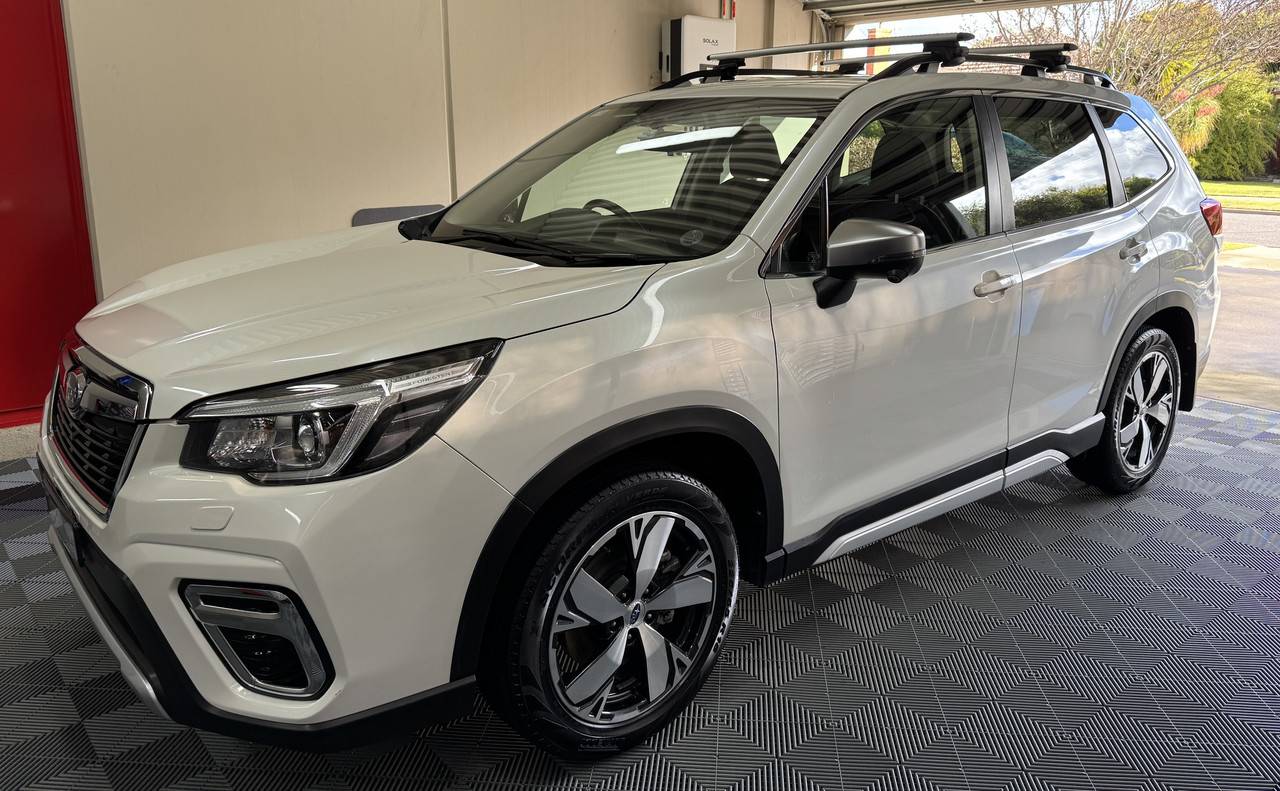
Subaru Forrester Refresh

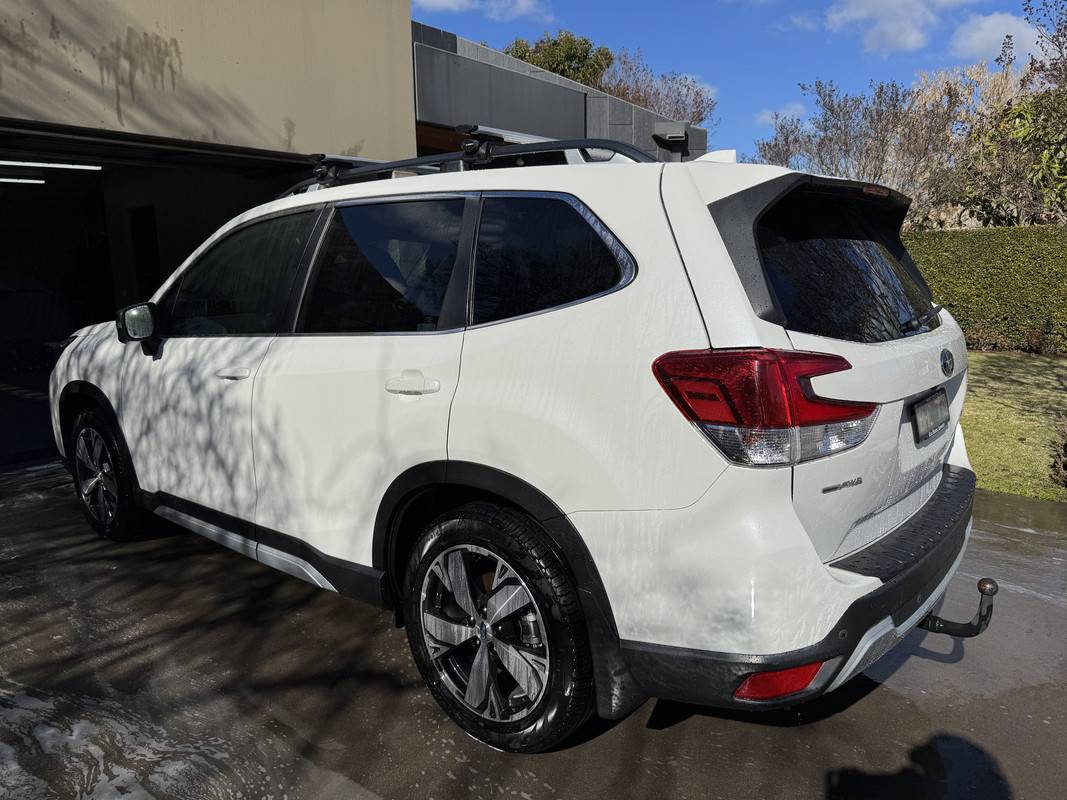
This vehicle is owned by one of my gardening clients. I’ve detailed this car many times, but it's been quite a while since I’ve touched it. I’m currently house sitting for them, so I thought I’d treat the Subaru to a refresh. With 108,000 km on the clock, there is some wear and tear starting to appear, but it mostly just needed a dam good clean, especially the interior.

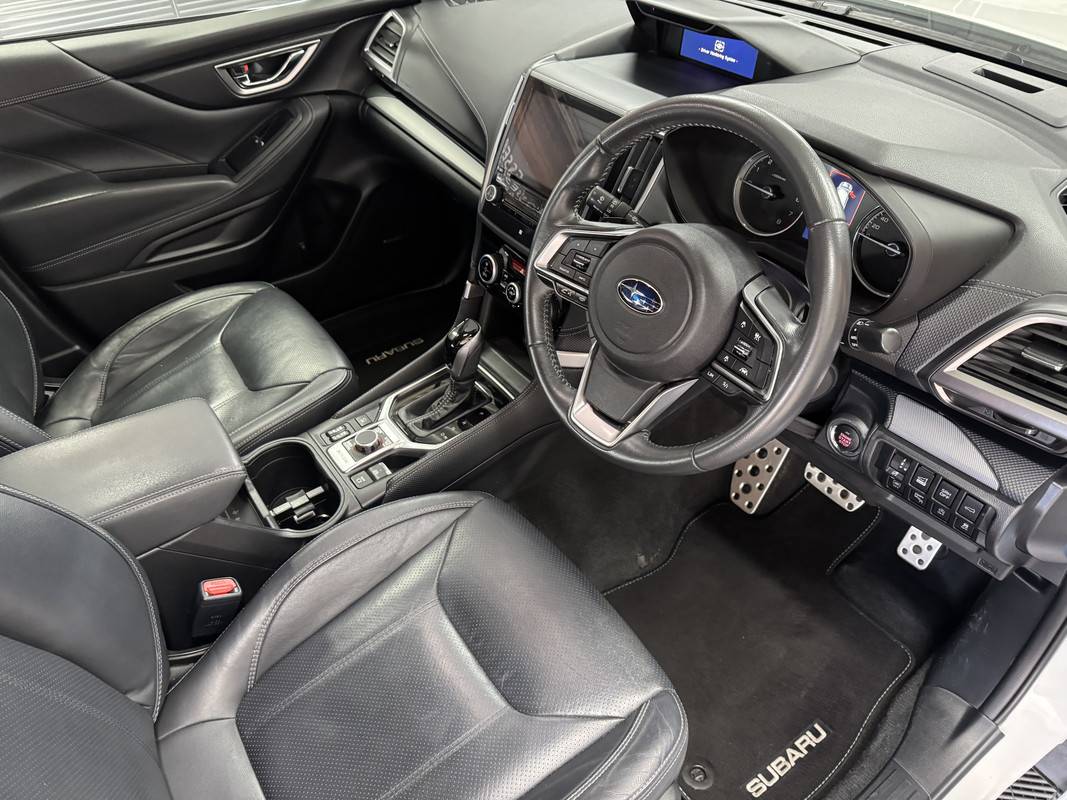
I ended up splitting this detail into two parts, the interior was first last week, and the exterior this week. And I’m glad I did because the interior required far more time than I had expected…………………………………………..

Interior Detail –

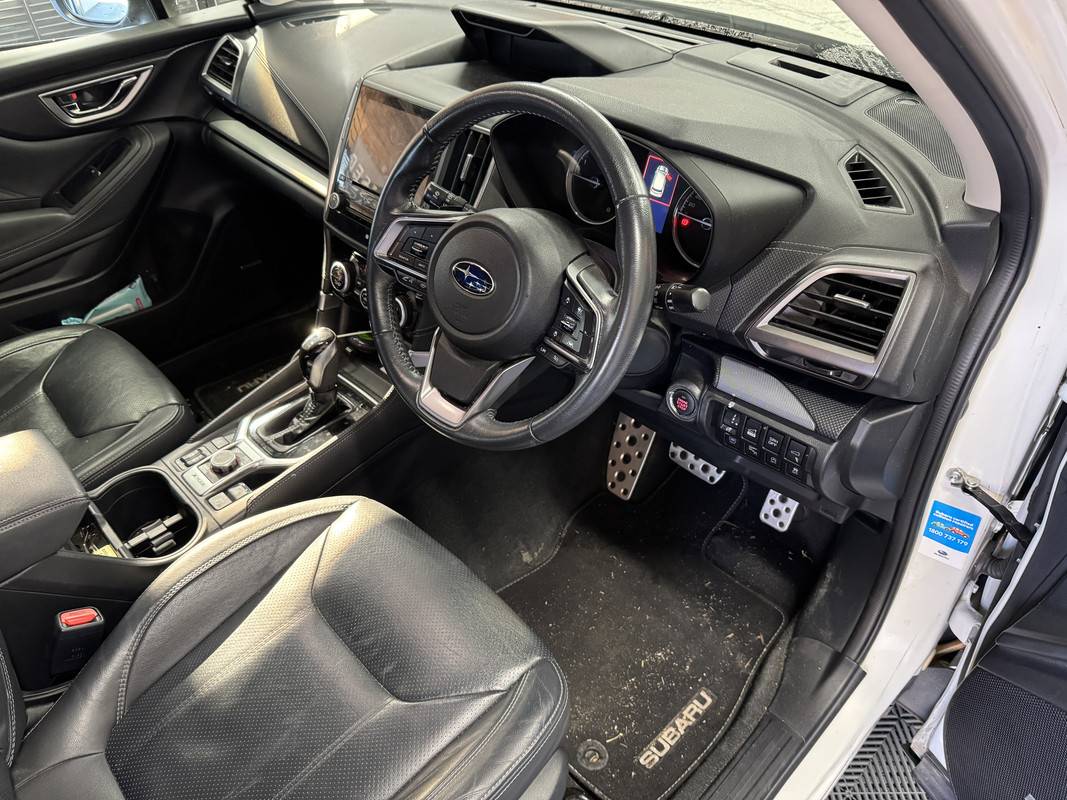
I hate doing interiors like this! And with two golden retrievers frequently riding in the back, I knew I was up for a fight!

IMG-6314.jpg


IMG-6315.jpg


IMG-6319.jpg


IMG-6318.jpg


Vacuuming – I’m one of those people who likes to tackle the hardest task first, be that in detailing or for anything I do. On this Subaru, the carpet in the boot was clearly that task. I spent at least an hour attempting to remove the dog hair from the boot carpet and seat backs, I even removed the lift-up floor panel so that I could vac underneath. With cheap carpet throughout, this fought me all the way, and even then, I wasn’t happy with the result. I threw everything at it, including a Lily Brush, Fur-Eel vacuum attachment, the Tornador, even P&S Paint Gloss as a vacuum static aid. Eventually, I knew I had reached the limit of what I could achieve and decided to move on.

IMG_6316.jpg


IMG-6317.jpg


For the rest of the interior, I teamed the vacuum with the Tornador and Paint Gloss to address the carpets, seats, door trims and centre console. When using the Tornador, you always make more mess before it gets better. However, this tool is so handy to have, allowing you to dislodge debris from the carpet, console, door trims, air vents, and between the seats, in turn allowing easier removal via the vacuum.

The floor mats were given an initial blast with the Tornador, then misted with Pol Star and scrubbed with a carpet brush. From there, I used the Tornador and the vacuum turbo attachment in tandem to remove the Pol Star and remaining debris. To finish, I then misted with KCx Fresh Up before being put in the sun to dry. I also sprayed the carpets with Fresh Up, which is not just an interior scent, rather an odour neutralizer. And with being home to two dogs, and the little surprise I found later, there was some neutralizing to be done!

Cleaning – Following the vacuuming, I directed attention to the initial cleaning. First, the rubber cargo mat was pressure rinsed, then scrubbed with McKee’s and a tyre brush. It was then generously misted with P&S Swift and allowed to dry and self-level in the sun.

Apart from the dashboard, all interior plastics were cleaned using P&S Xpress and the Carpro InnerScrub Mitt, which is basically scrub ninja in glove format. The InnerScrub helps lather up Xpress, which is then followed with a towel to mop up the residue. The dashboard and console only needed a spray and wipe with Xpress. I even needed the Xpress for sections of the glass.

IMG-6321.jpg


The Little Surprise - Removing the rubber cup holder insert, I discovered a thick, sticky residue that was hidden underneath. Then the stench hit me................rotten milk from a spilled coffee. Yuk! To address this, I took the rubber insert over to the sink and cleaned it with Gtechniq Tri-Clean, which in addition to being a general interior cleaner, it contains anti-microbial agents. I then flooded the cup holder with Tri-Clean and sacrificed two TRC Rip-n-Rags.

At this point, I could still smell the milk on the rubber insert, so I sprayed with P&S Finisher, left it to soak for 5-minutes, then rinsed again in the sink. That sorted the smell. Finisher is the third step in their carpet cleaning trio, but it worked here as well.

Finisher completes the system by adding a final attack on odor causing molecules and organic stains. Finisher breaks down odor causing chemicals, eliminates any residual organic stains and slightly sterilizes the surface. Finisher assists in reducing water stains, mold and mildew odors as well as finalized stain removal. Finisher breaks down into oxygen and water, leaving no chemical residue left that requires further removal.
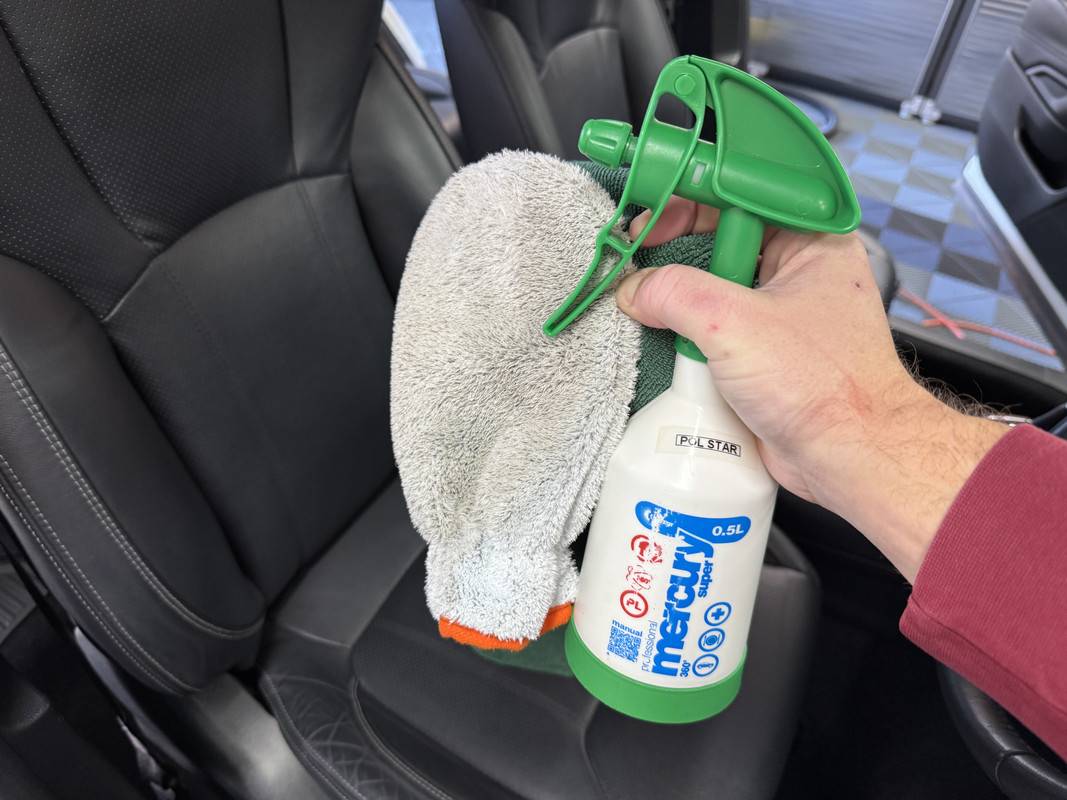
Leather – For the seats, console lid and steering wheel, I again used the InnerScrub, but teamed it with KCx Pol Star mixed at 6:1. A relatively strong ratio, at 6:1 it safely and effectively removes that shiny finish caused by a build-up of grime with NO need for a second pass. Again, a towel was used to remove the residue.

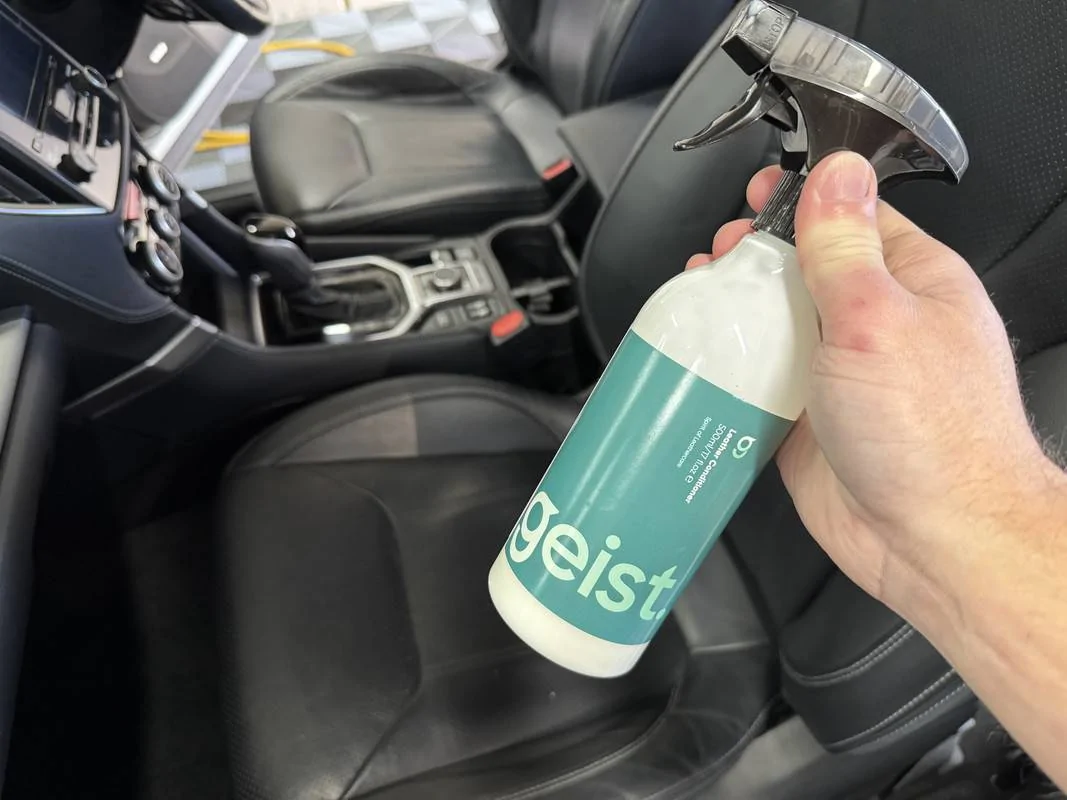
For protection and enhancement, I followed with Geist Leather Conditioner, applied using a microfiber brick and levelled with another interior towel. I’m liking this product more and more, in this case providing a subtle enhancement without being looking tacky.

IMG-6330.jpg


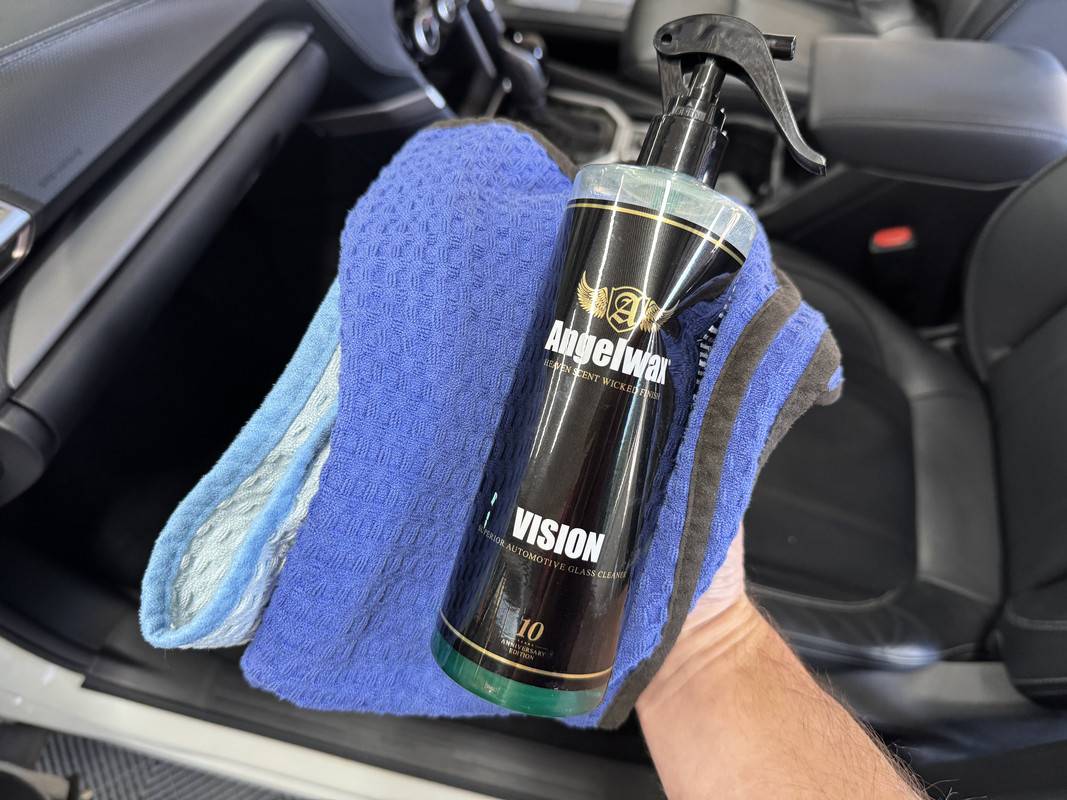
Glass – Both the windscreen and cargo area glass were nasty. Whenever presented with this sort of thing, it's too much to expect a single once over to deliver an acceptable result. In fact, it gets worse as you move from window to window as the towels become more and more loaded with funk. For the initial mow down, I went with the lethal smelling Angelwax Vision and two waffle weave towels. Even with all of the doors wide open, this stuff gets up your nose in an unpleasant way, a byproduct of the ammonia content. And yet, it's supposed to be tint safe.

Following that initial cleaning, I went back in with two FRESH towels and Invisible Glass.

IMG-6324.jpg


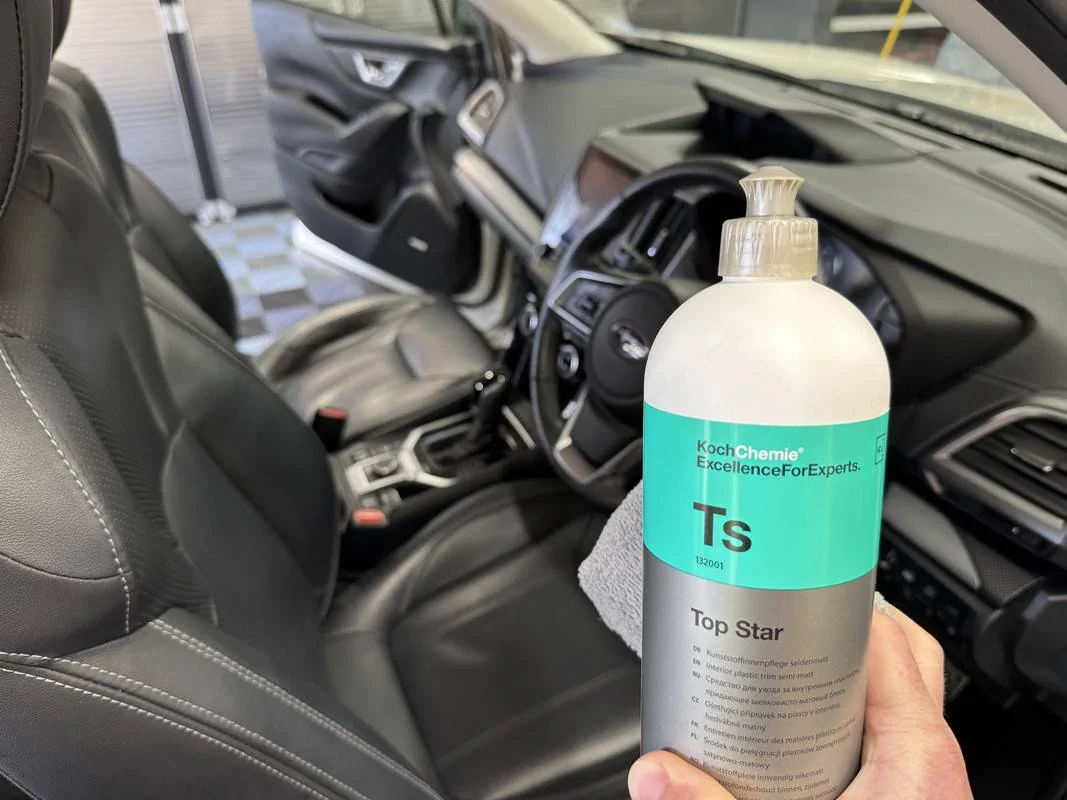
Dressing – I very rarely apply a dedicated interior dressing, mainly because I find its not needed on my garage queens, and partly because interior detailers have just the right amount of “enhancement” and UV inhibitors. However, this car sits outside 24/7, so it probably needs that extra UV protection. The interior plastics were looking a little dry too.

I went to grab an old favourite, 303 Protectant, but couldn’t find it in the cabinet. Remembering I let someone “borrow” it, I instead reached for KCx Top Star. Both products are similar in look and feel, producing a nicely balanced finish that’s not overloaded with gloss, but with enough sheen to see where you’ve been. Unlike 303, Top Star has a subtle, pleasant scent. This went on all plastic surfaces, as well as the vinyl door trim sections.

IMG-6327.jpg


Exterior Detail -

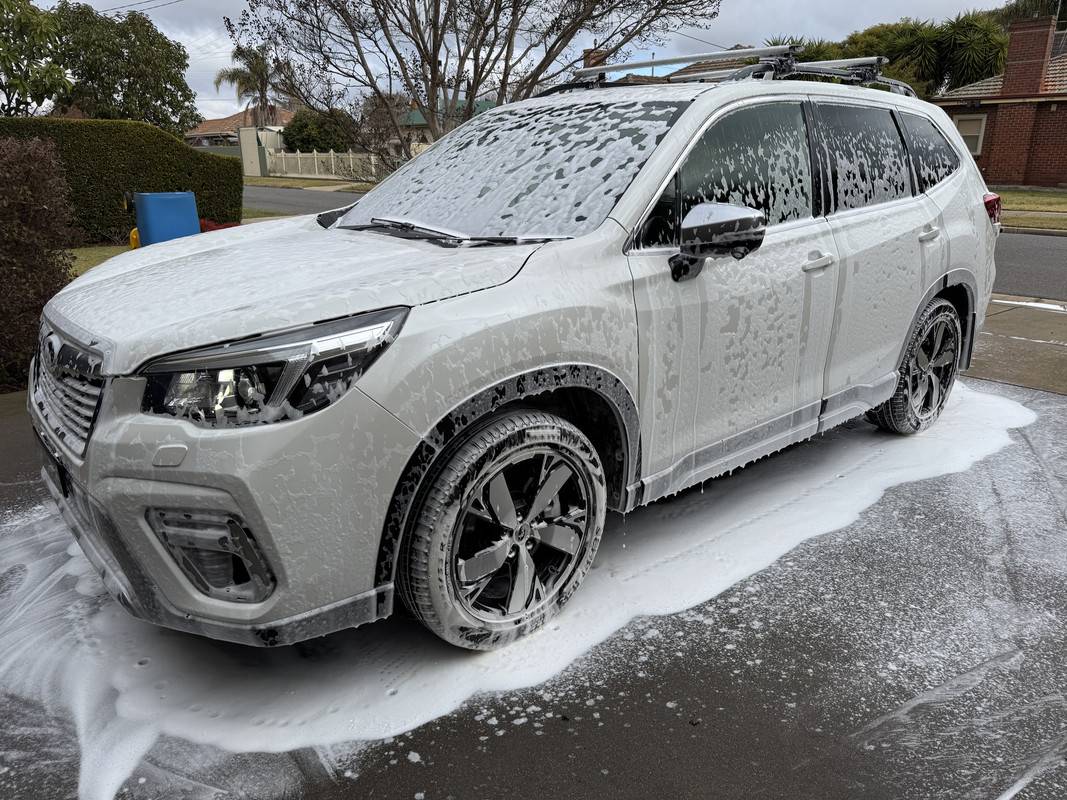
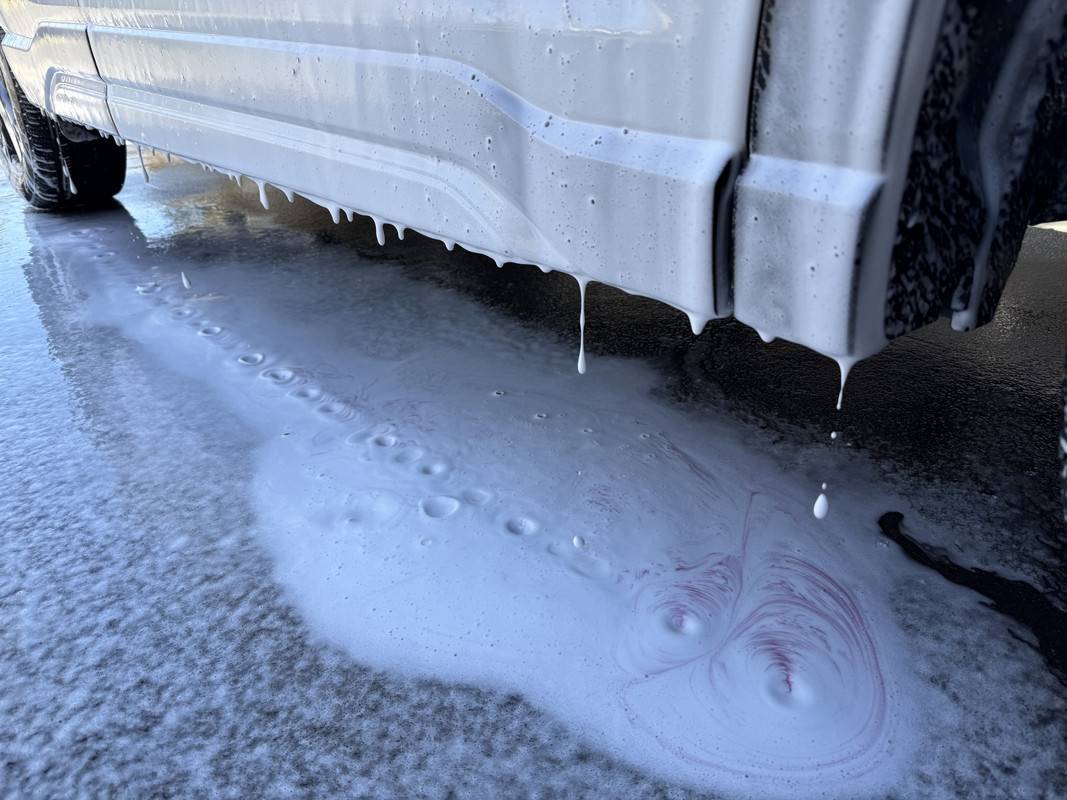
Last week, I actually started on the exterior before tackling the interior. This involved a rather quick foam and rinse using Bilt Hamber Touch-less, basically mowing down the bulk of the road film and bugs. So, the following is the more involved exterior cleaning session that followed.

IMG_6305.jpg


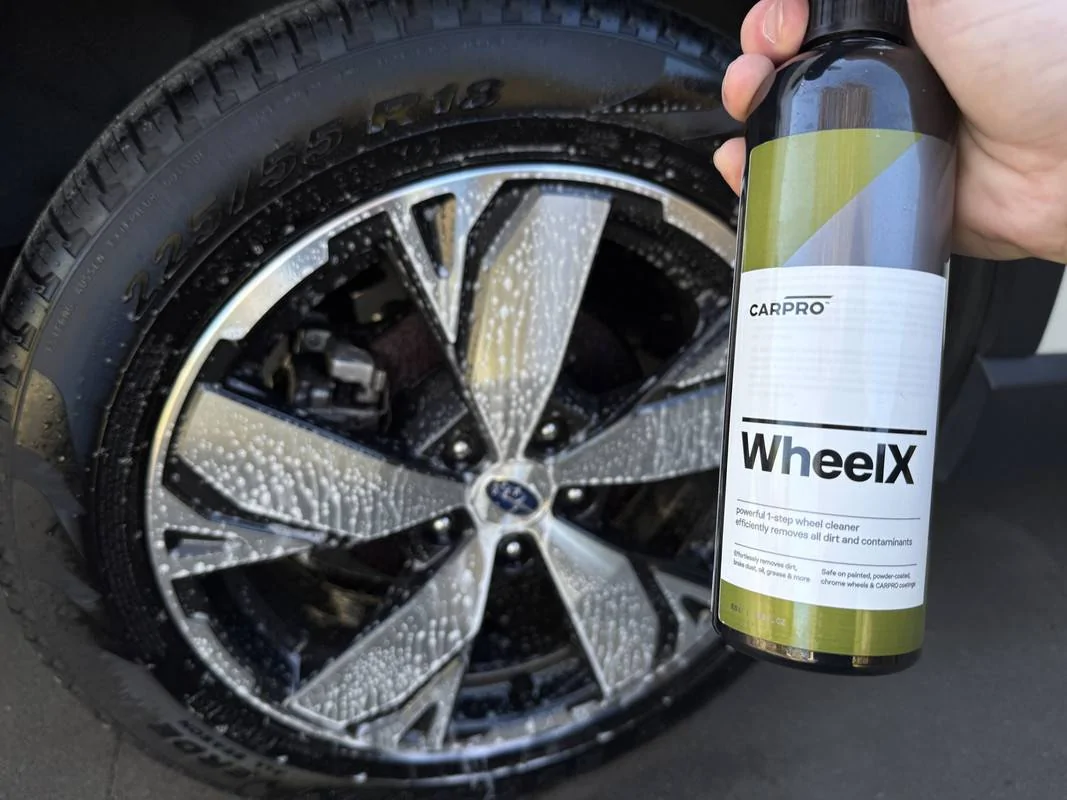
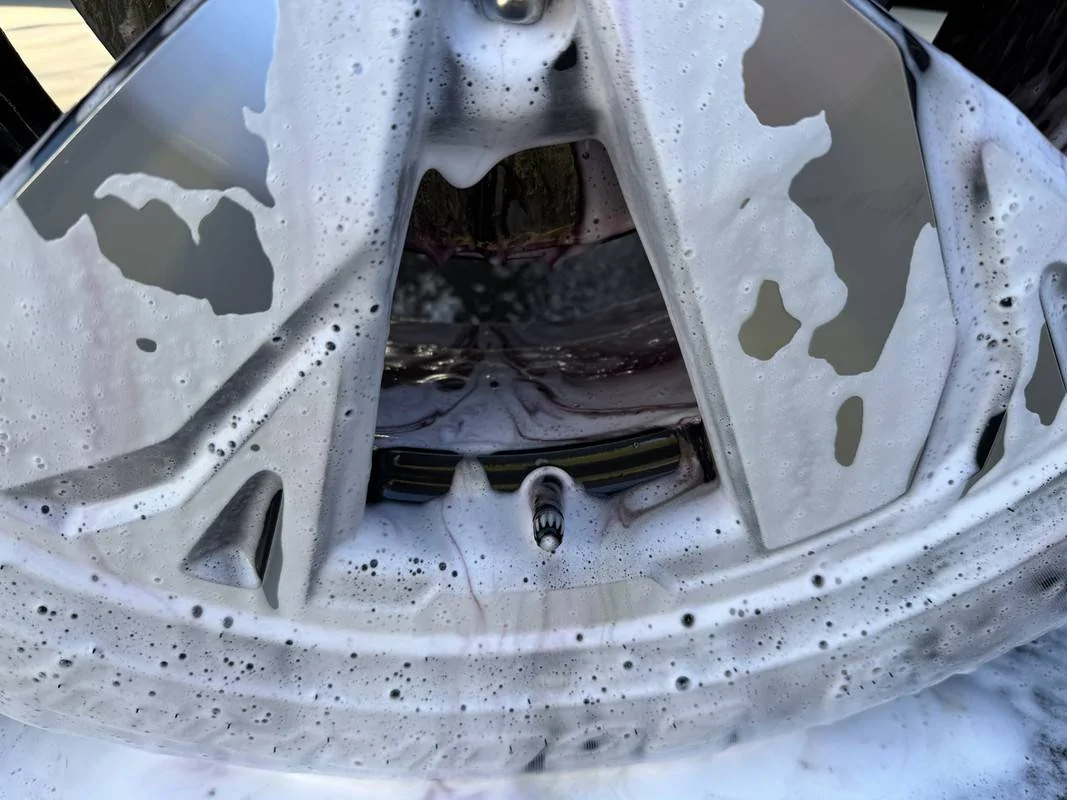
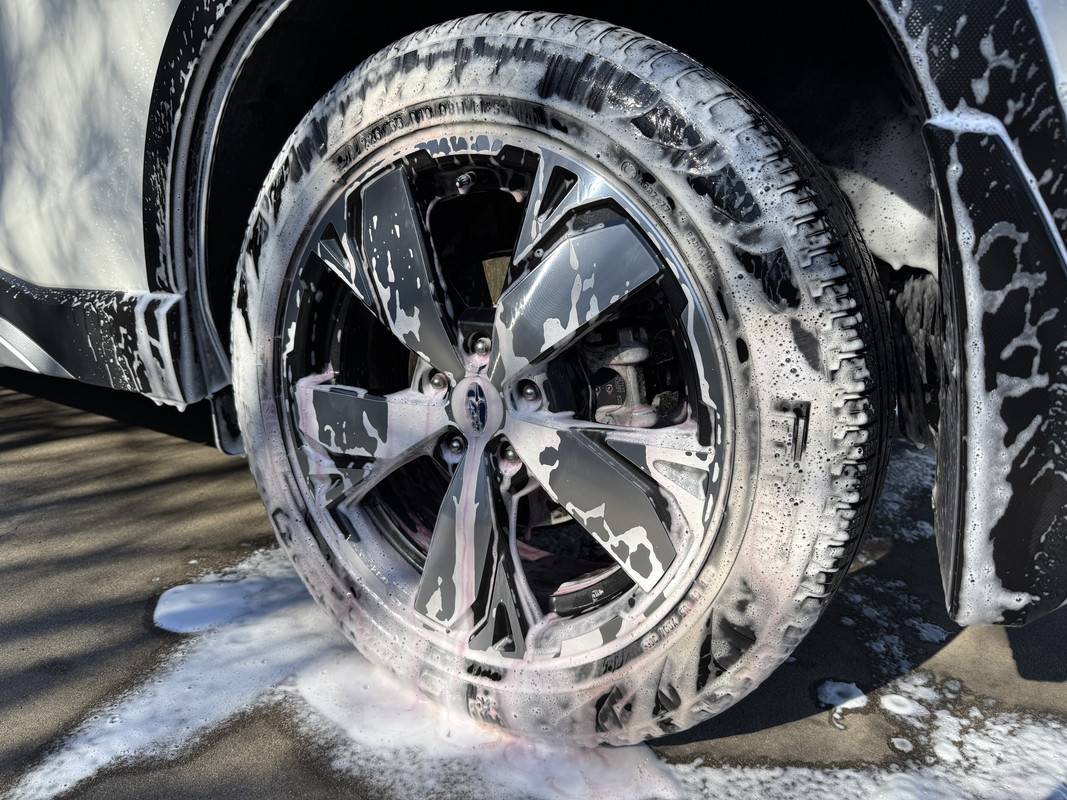
Wheels & Tyres – The Touch-less from last week did a sterling job on these wheels, so basically, today I’m finishing them off. As always, I like to pre-soak wheels with an iron-remover, Carpro WheelX the weapon of choice today. OMG, this stuff is totally revolting. I’m pretty used to iron removers now, but this is THE worst I have encountered. Now, apparently after the first batch, Carpro changed something within the formula to address the stench, but not this bottle! Regardless, I won’t be buying it again.

IMG-6420.jpg


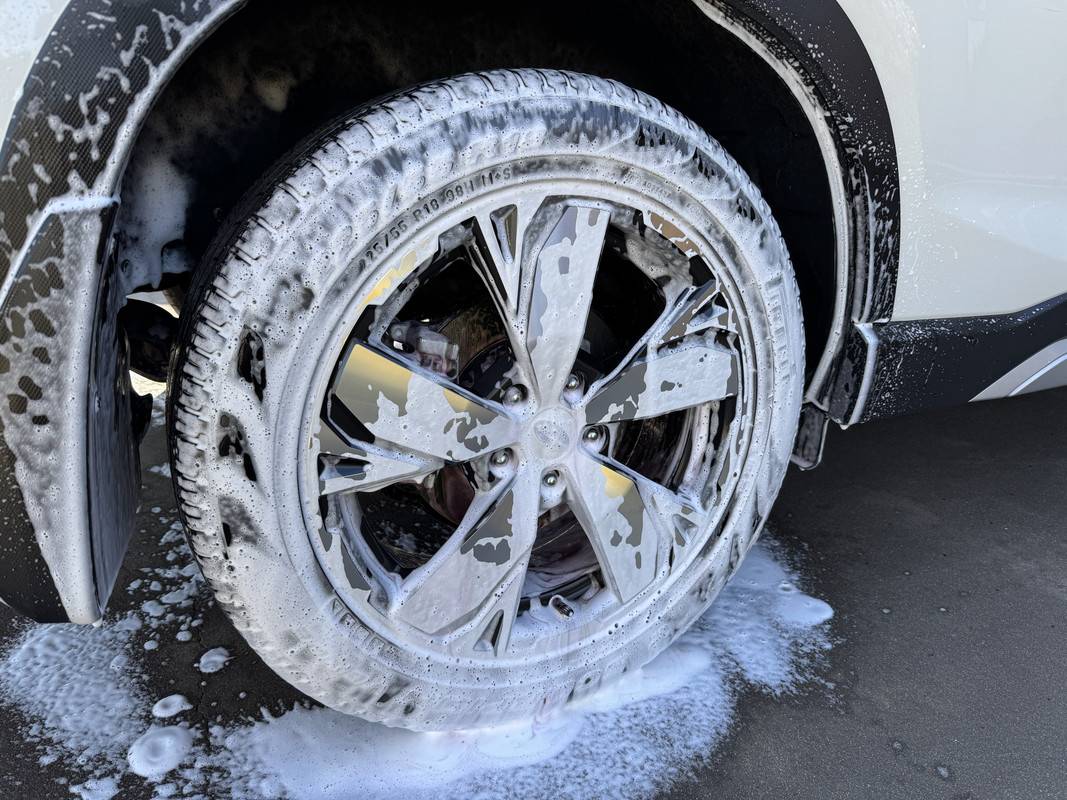
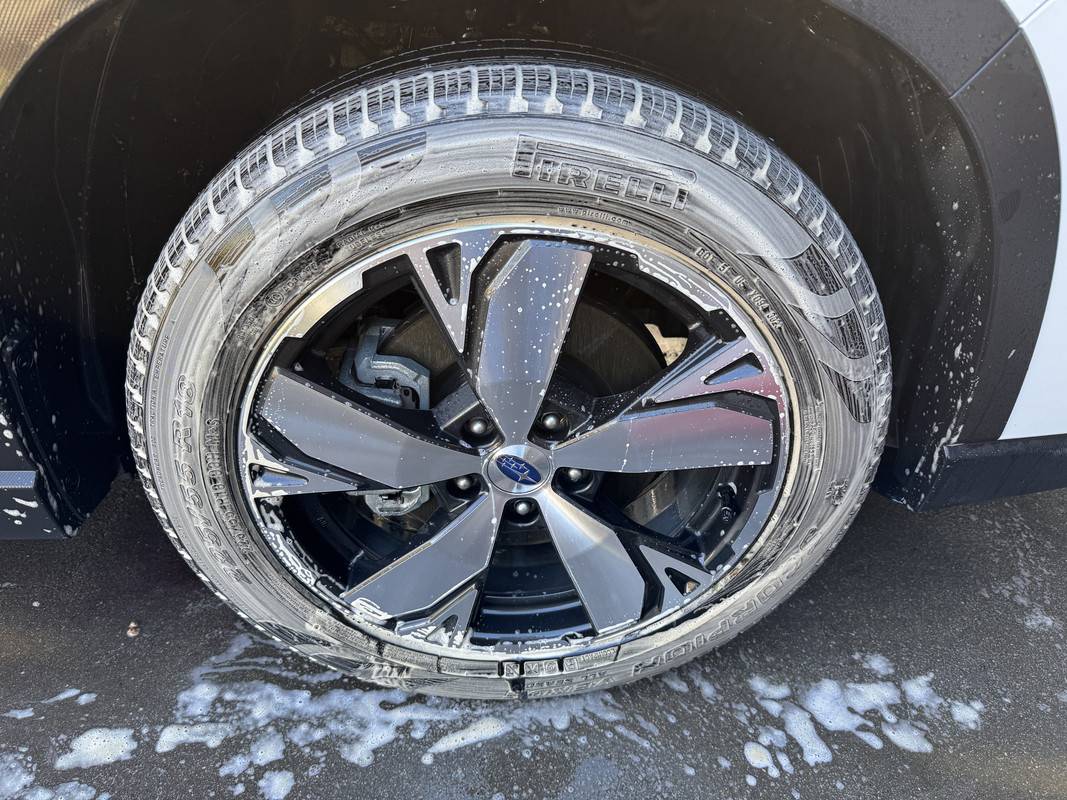
From here, I then foam with Touch-less over the top and leave the wheels to continue soaking. After that, I then rinse to deliver a nearly clean wheel. Next, the tyres are scrubbed with Wise Guy, then foamed with Brake Buster for the contact wash of the wheel and wheel arch. After another rinse, I then apply Hydr02. While addressing the wheels, I like to scrub the black plastic cladding as I move around the vehicle, likewise the exhaust tip.

IMG-6423.jpg


IMG-6424.jpg


IMG-6427.jpg


IMG-6431.jpg


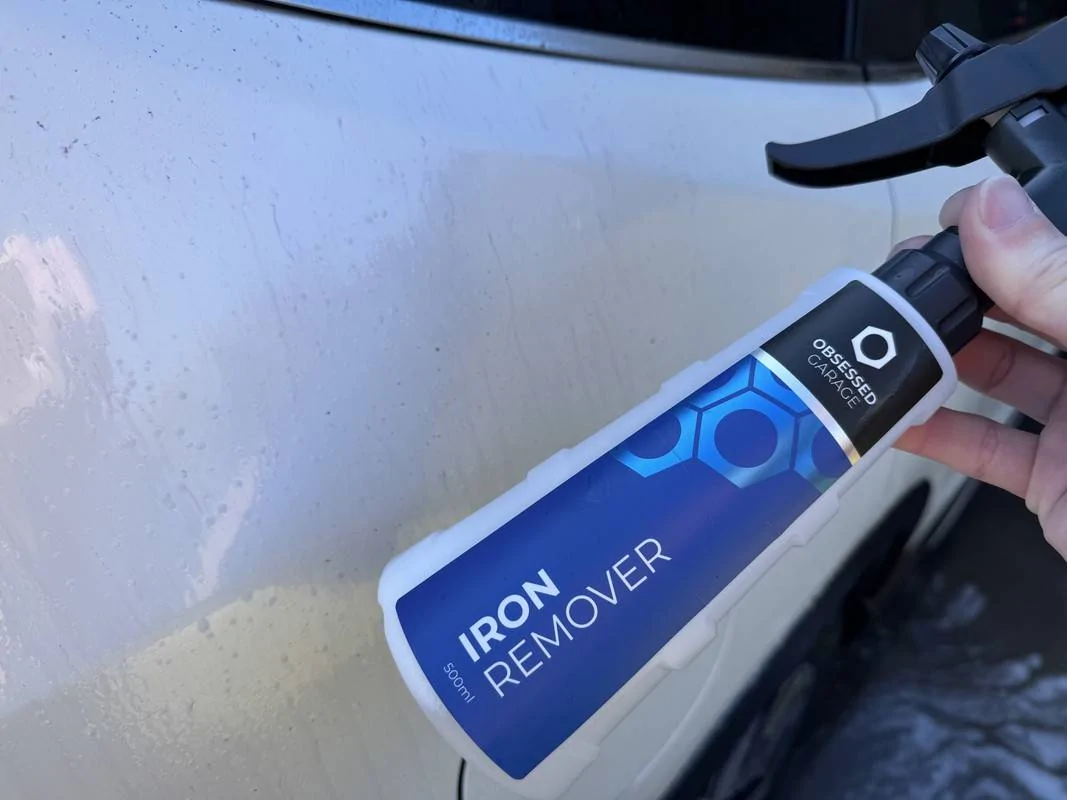
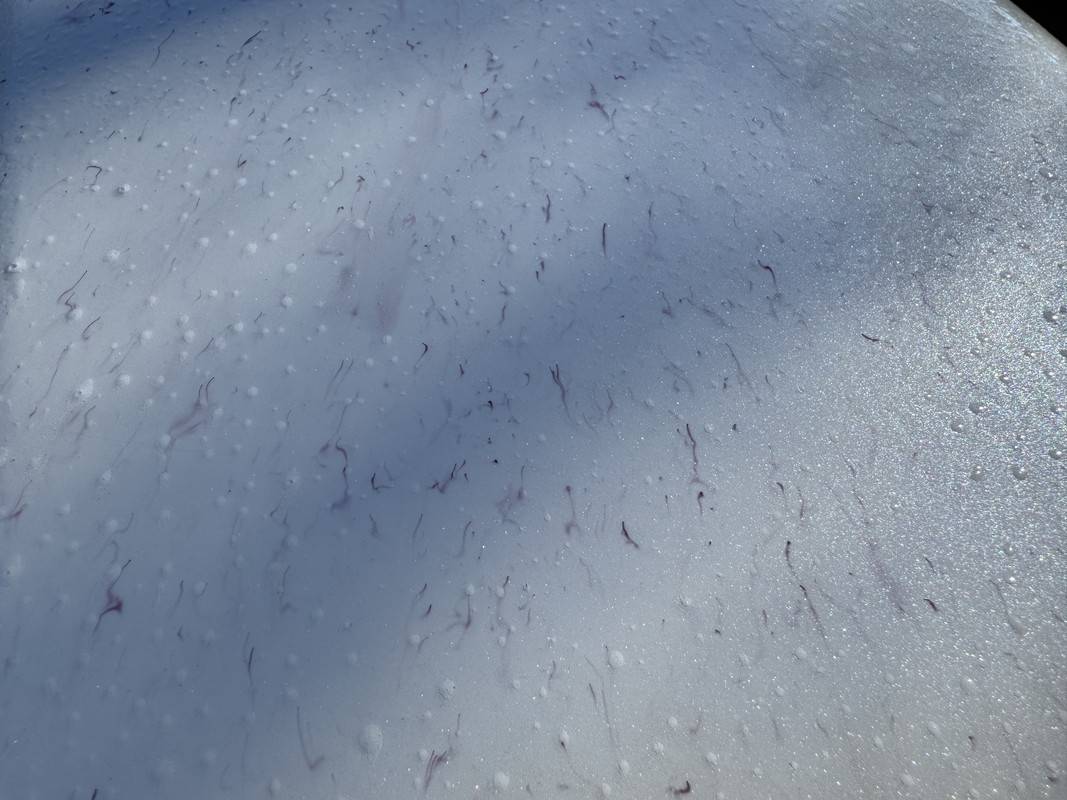
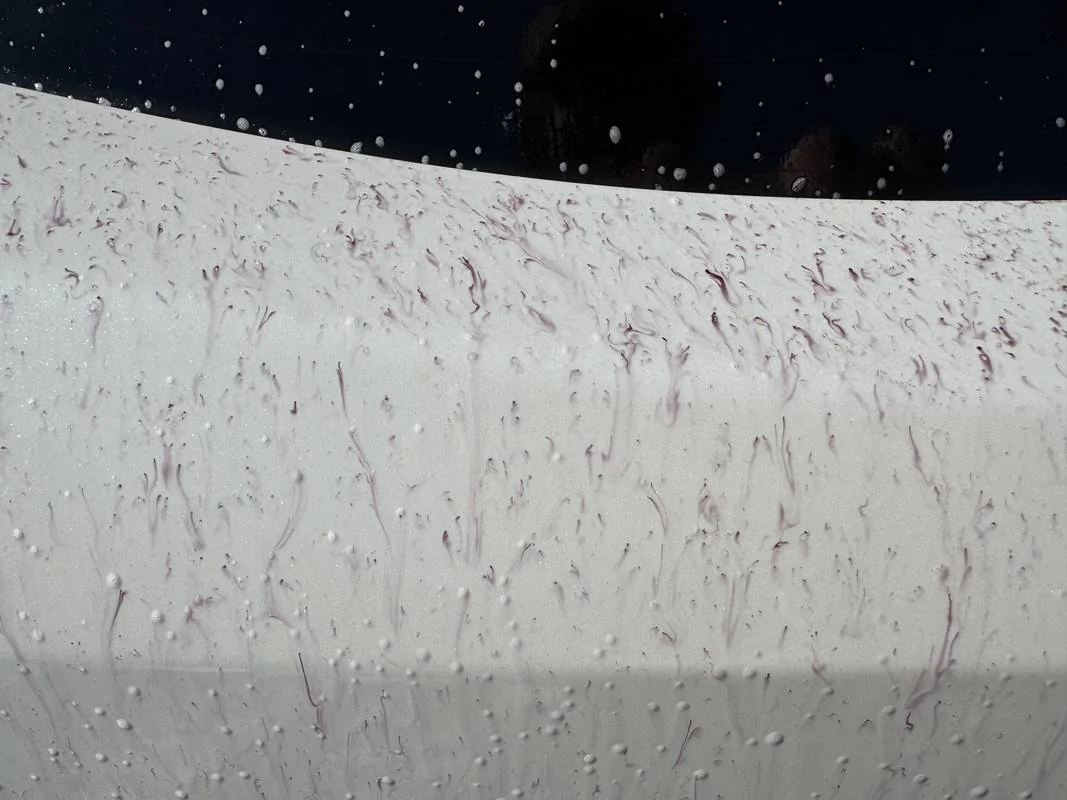
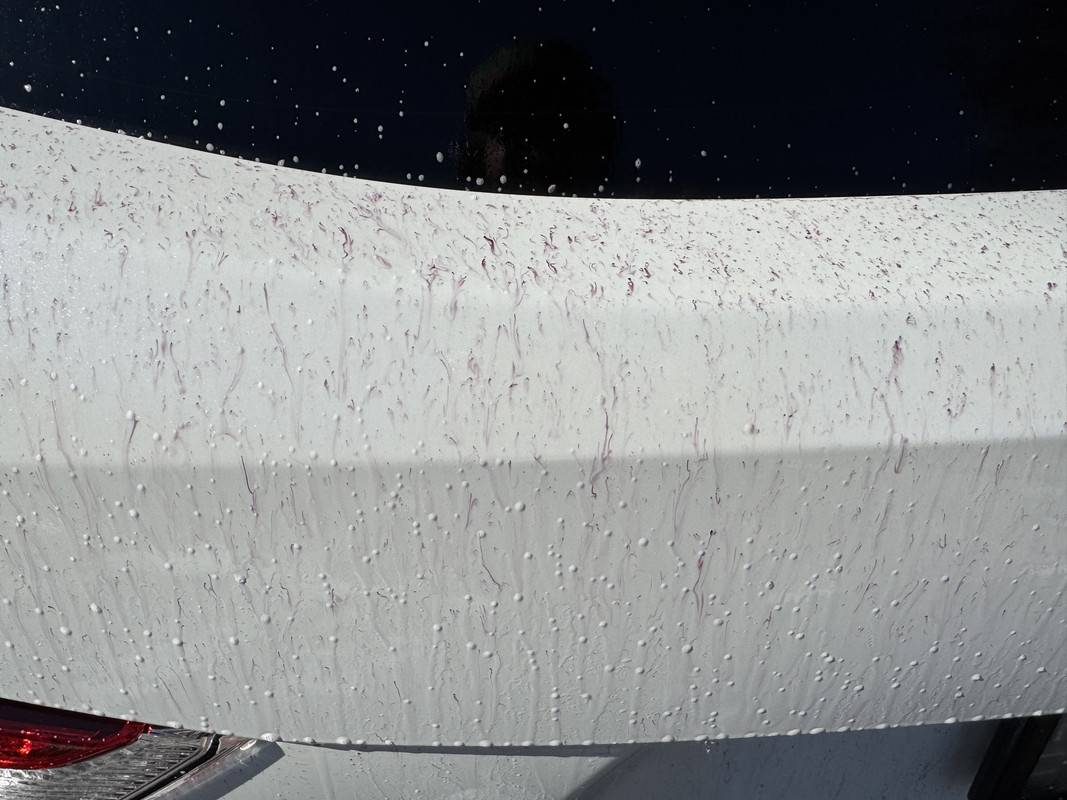
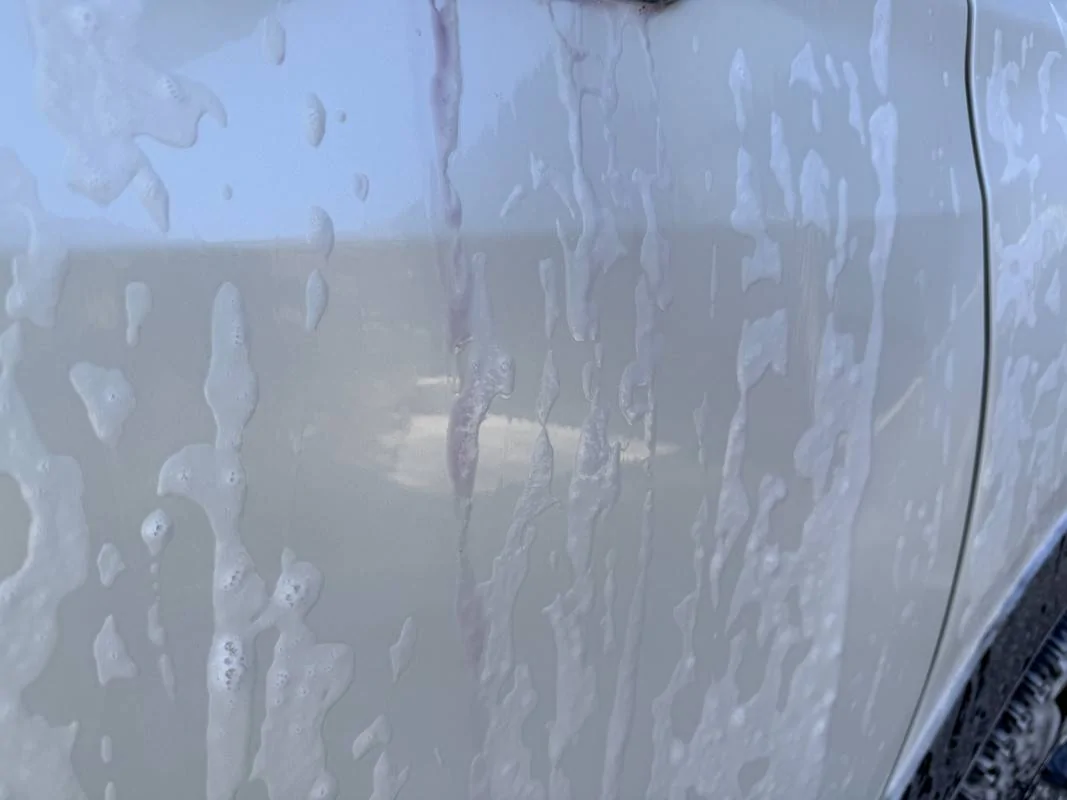
Decontamination – Now technically, I’m just washing the car. But I also knew it would be heavily contaminated. So, extra time spent removing some of that without going overboard seemed like the right thing to do. To start, I applied Gyeon Iron to the whole vehicle from dry. And yep, pretty much instantly, the purple started to bleed through.

IMG-6444.jpg


IMG-6440.jpg


IMG-6441.jpg


IMG-6442.jpg


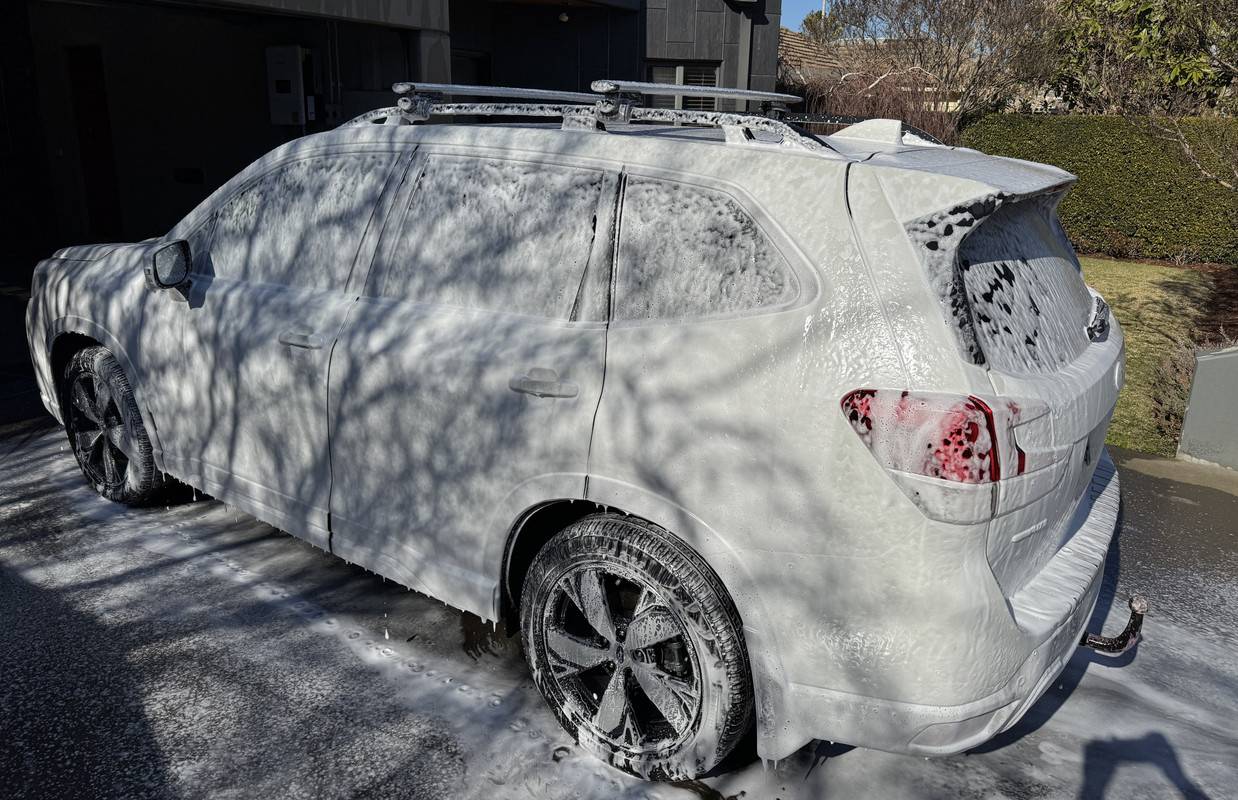
Next, I foamed the whole car with Touch-less and allowed to continue soaking.

IMG-6448.jpg


IMG-6455.jpg


IMG-6458.jpg


After a very thorough rinse, I moved onto the next step.

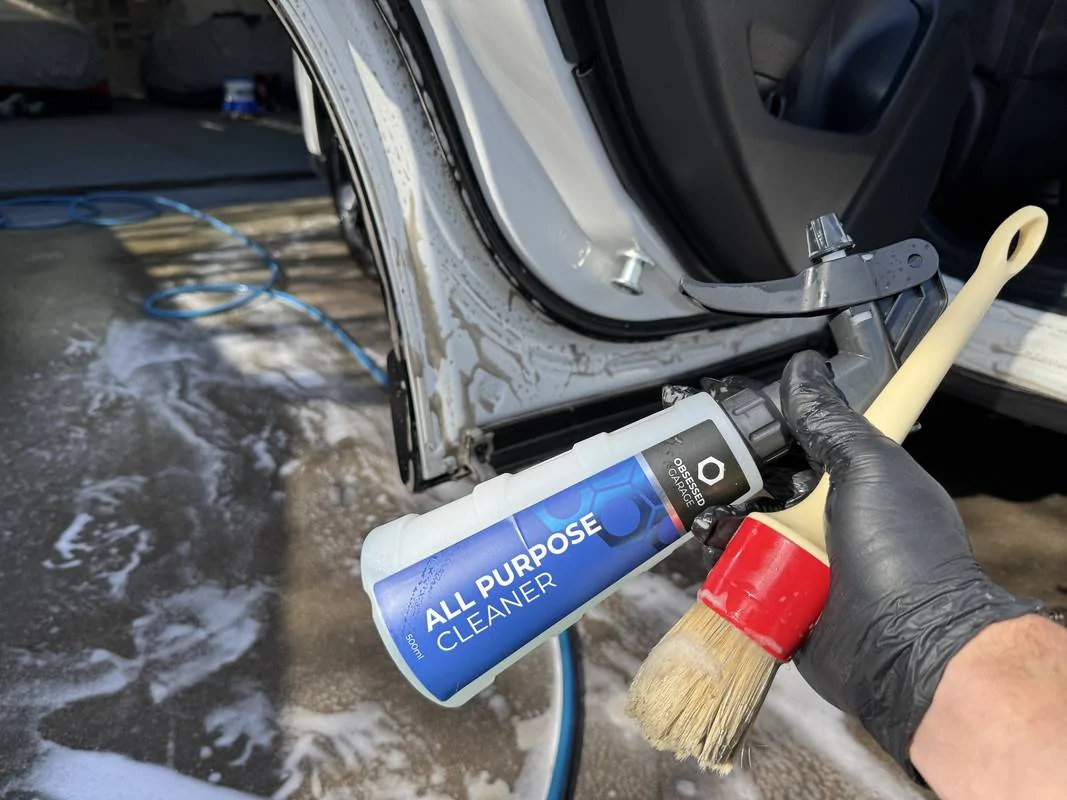
Door Jambs – I hate neglected door jambs! They are tedious and messy to address. Normally, a careful quick blast with the pressure washer and a wipe down post wash is all you need to do. But these were feral! KCx Green Star and a brush was needed, followed by flushing with water. After the rest of the vehicle was washed and dried, I went back with some waterless wash and a towel to finish them off.

IMG-6462.jpg


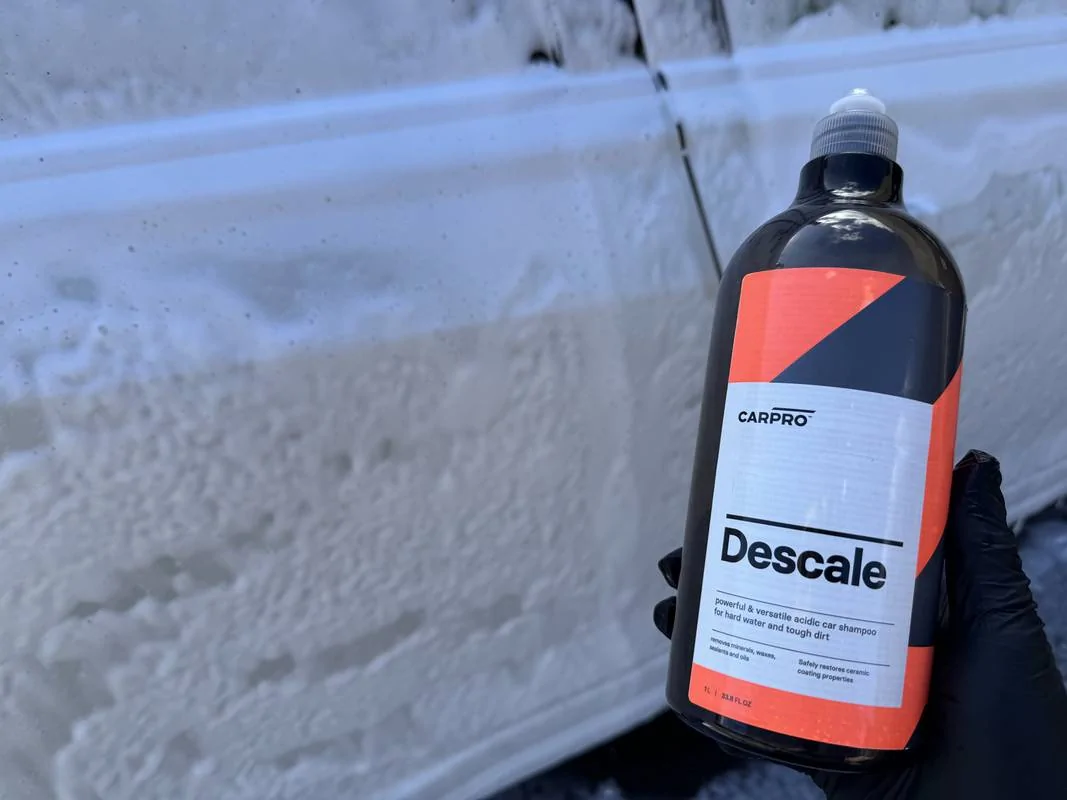
Contact Wash – For this step, I used Carpro Descale. I like to use this as follow up to my iron remover and alkaline pre-soak process because not only does it target mineral deposits, but it also CLEANS very well. As always, the car is foamed with the soap and a little added to the bucket, then washed with the foam on the vehicle.

IMG-6464.jpg


Sqeeeeeeaky clean!

IMG-6468.jpg


IMG-6470.jpg


Protection – After washing and while the car was still wet, I decided to make use of some Capro Hydr02 Foam that I already had mixed up. This was foamed, allowed to dwell, then rinsed. This provided a base layer of protection, gloss and slickness, which in turn helps with hydrophobic properties, which then helps with air drying.

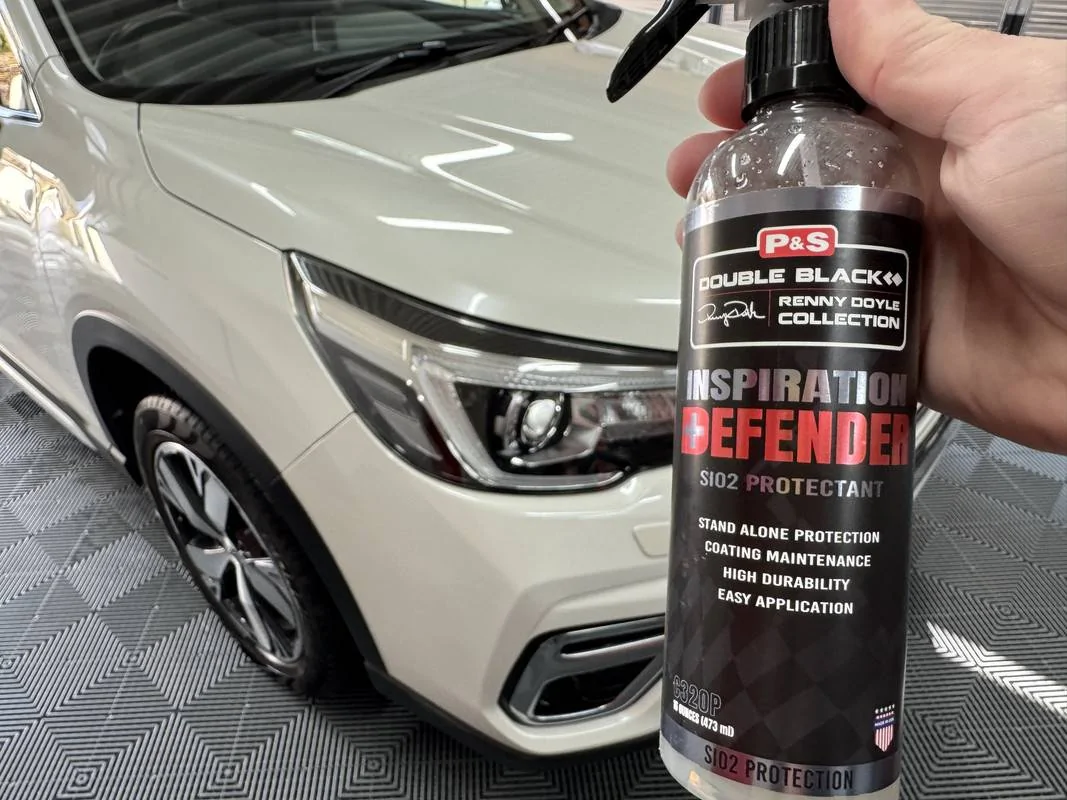
Following that, a heavy application of P&S Defender, one of the longer lasting spray sealants on the market. Not a favourite of mine, but its simple to use and decently slick.

IMG-6475.jpg


Glass – The exterior glass needed to be given a quick hand polish with P&S Clarity Crème to remove some mild oxidation and etching that wasn’t removed during the cleaning process. Following this, I wiped down with Eraser, then the excellent Stoner’s Ceramic Glass Cleaner to add some hydrophobic properties to the surface.

Black Trim – Realistically, the black plastic cladding would look amazing with a Solution Finish treatment, but would the customer notice? Probably not. So, I went over it with a Carpro Reload, which quickly freshens the trim without turning into a streaky mess the next time it rains.

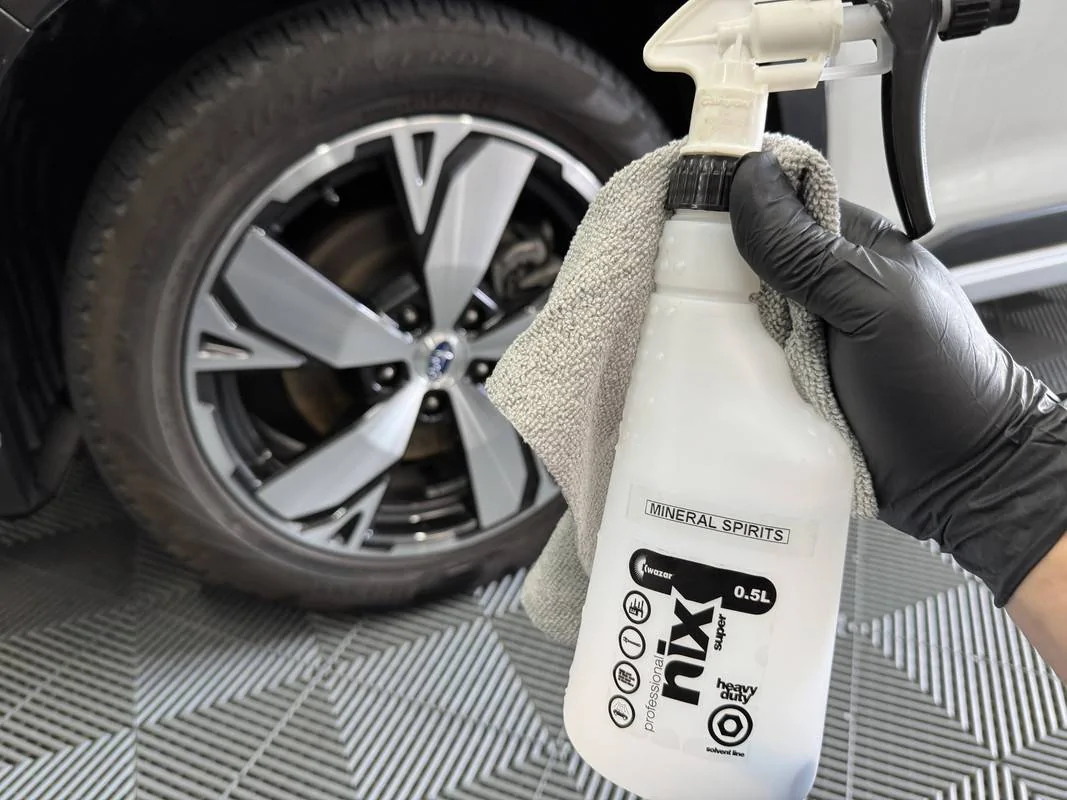
Tyre Dressing – Prior to dressing the tyres, I went over them with Mineral Spirits. I ended up following with a layer of Carpro Perl at 1:1.

IMG-6478.jpg


Finishing Touches -

Returning to the interior, I gave it a quick wipe over with P&S Swift, a final vacuum and a misting of interior scent (Angelwax Bliss). Returning to the exterior, I removed and cleaned the licence plate protectors, wiped the tyres down to level off the Perl, then a final wipe down of the paint with Bead Maker to make it POP.

IMG-6491.jpg


IMG-6489.jpg


IMG-6499.jpg


IMG-6505.jpg


IMG-6507.jpg


IMG-6485.jpg


I spent over 7 hours on this vehicle, working non-stop over two sessions. Will I make money out of this detail? No, not even close. Chemicals are expensive, especially the iron removers. I don’t charge by the hour for detailing like I do for garden maintenance. Also, all the little extra’s that I do soak up time and product. However, the owners have looked after me for decades now, be that in terms of business, but also from an advisory perspective. So, when they arrive home tomorrow, there will be a little surprise sitting in the driveway.
 

Sponsored
OP
OP
DFB5.0

DFB5.0

Well-Known Member
Joined
Mar 15, 2017
Threads
93
Messages
5,468
Reaction score
15,737
Location
Australia
Vehicle(s)
Mustang GT Fastback
My Ego CS1805 (45cm bar) is only used infrequently (cutting branches into pieces for the wood fireplace), but I'm going to have to learn how to sharpen my own chains. :crazy:

Any suggestions on good tutorial videos to learn from, and which sharpening jig and file to get?
One of my gardening clients has a Stihl MSA 200 C-B battery powered chainsaw. He bought it to take on their camping trips, which meant not having to carry 2-stroke fuel or risk sparks in dry country. These run Picco Micro chains, which he take in to be sharpened. That changed when he figured it was quicker, easier and not much more expensive to just buy a new chain. Super wasteful, but I can see his way of thinking. At $50 a pop for the 45cm EGO chain, I probably wouldn't recommend that method.

When it comes to sharpening chains, nothing will beat a brand-new chain or one that has been touched up on a specialty sharpening grinder. For occasional homeowner usage such as pruning, limbing or storm clean ups, hand filing is perfectly fine. The only time you would want something sharper would be dealing with large Aussie hardwood, but frankly, you won't be getting very far with a battery powered saw doing that sort of thing.

Thing is, it's not just a matter of picking up a round file and going for it. You need to buy the correct file to suit the chain specs.

EGO 45cm chain -

Chain Pitch: 9.5mm
Chain Gauge: 1.3mm

Those specs will be stamped into the bar, so just make sure to verify that before purchasing new chains and files.

Going off those specs, you would need a 5/32" 3/8LP file. You can buy these in a variety of formats, including the basic types from Oregon -
Oregon 5/32-Inch Chain Saw Filing Guide 37534 : Amazon.com.au: Garden
Oregon 5/32-Inch Chain Saw Sharpening Kit 38276 : Amazon.com.au: Home Improvement

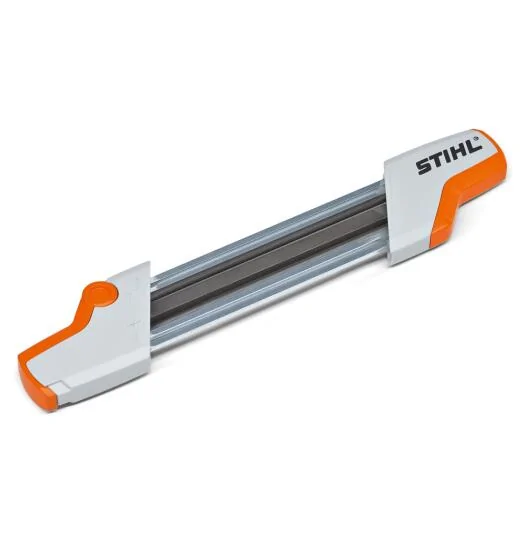
However, I would recommend the Stihl 2-in-1 File as these help you get the correct angle, while sharpening the teeth AND set the depth gauge in a single step. A little more expensive, but they are more user friendly for the occasional user. Because I have 4 chainsaws running different chain specs, I've ended up buying three of these file to suit.

You would need the 3/8LP 4mm 5/32 -
2-in-1 File Holder | STIHL Australia
STIHL File Systems - 2-in-1 File | B.W. Machinery

2in1file.webp


You would use a bench vice to hold the bar securely in place. Otherwise, you can filing vices that are hammered into a log.

Filing Vice - L 700 | STIHL Australia


The EGO chains are made by Oregon, so if you do end up replacing them at some stage, you can sometimes get them cheaper buying Oregon instead of EGO. Just double check your drive link count first.

Oregon 91PX AdvanceCut Saw Chain Loop (3/8" Low Profile Pitch | Ultimate Chainsaw Pr
 

skinnyb

Well-Known Member
Joined
Jun 25, 2022
Threads
12
Messages
3,682
Reaction score
9,341
Location
Knoxville TN
First Name
Alex
Vehicle(s)
21 Mach 1. FJG, Tremec, ESS G3X
Wheels & Tyres – The Touch-less from last week did a sterling job on these wheels, so basically, today I’m finishing them off. As always, I like to pre-soak wheels with an iron-remover, Carpro WheelX the weapon of choice today. OMG, this stuff is totally revolting. I’m pretty used to iron removers now, but this is THE worst I have encountered. Now, apparently after the first batch, Carpro changed something within the formula to address the stench, but not this bottle! Regardless, I won’t be buying it again.

IMG-6420.jpg
Agreed on that one, WheelX is HORRID, it stinks SOOOO bad, BUT it is a HUGE sledgehammer for bad wheels. Being acidic, it just works. I said I wasn't gonna buy again, but I did and have used it a couple times since. I much prefer ADS wheel and/or Brake buster for the day to day but when you need a heavy hitter, WheelX is the best I have ever used...
 
OP
OP
DFB5.0

DFB5.0

Well-Known Member
Joined
Mar 15, 2017
Threads
93
Messages
5,468
Reaction score
15,737
Location
Australia
Vehicle(s)
Mustang GT Fastback
The following was posted on the Carpro US Facebook page -

"Anyone else’s wheel X absolutely stink of weed smell? Like ridiculously strong, stinking the van out and can smell it in the air after use."
Corey from Carpro USA / Sky's The Limit then chimed in with the following -

Yes, the first batches from CARPRO smelled this way due to the lemon scent they added combined with the chemicals.

New batches they are shipping since 6-8 weeks ago (January 2025) now have banana instead of lemon which solves the weed smell issue.

If the smell is important then best to check with your CARPRO dealer to see if they are still on the first batches or have received the banana scent batch yet.
 

skinnyb

Well-Known Member
Joined
Jun 25, 2022
Threads
12
Messages
3,682
Reaction score
9,341
Location
Knoxville TN
First Name
Alex
Vehicle(s)
21 Mach 1. FJG, Tremec, ESS G3X
The following was posted on the Carpro US Facebook page -


Corey from Carpro USA / Sky's The Limit then chimed in with the following -
Oh good Banana combined with Skunk Ass... :) LOL... I must say the ADS iron remover is fairly pleasant. Coconut...


Top