- Thread starter
- #1
While I had my front bumper off for the Steeda fascia install I figured it was a perfect time to crack open the headlights and paint that chrome. While I was doing that, I also installed the Diode Dynamics DRL led boards.
Let me first start off by saying that this mod is a pain in the ass. It sucks! No getting around it. That being said it looks bad ass, so you'll have to weight the pros and cons for yourself.
I've done some headlights on other cars and these were by far the most difficult. The permaseal glue used on our lights is bullshit. It does not heat like the glue manufactures used to use. It took multiple heat cycles in the oven. But after some choice words and a little patience it finally came open. Here is a step by step of what I did.
First, I recommend you watch this video. It was actually the most helpful. I followed the same steps.
Baking

I heated my lights at 250 degrees for 15 minutes. I took them out and ran a flat scraper around the seal to start breaking the glue away from the housing. After a minute or so it was time to go back into the over for another 10 minutes. You then just repeat the steps until you get all the way around the light. You can then get the scraper or a small screw driver in between the lens and housing. Once you get all the way around you can pull the lens off. I was so focused on this that I did not take any photos, and if I shot a video, it would have been so littered with profanities that it wouldn't have been usable.
Finally Open
Here is what the housing looks like once you finally get the lens off. The area to be painted is held to the lens with four small philips screws.
Paint Prep
I taped off everything that wasn’t chrome. I thoroughly cleaning all the surfaces, then went to town with some black plastic spray paint.
Painted
Final Product.
Installing the DD DRLs
Diode Dynamics video is pretty good. I Watched it a few times. Here’s a link.
DRL Boards
This is a photo of the stock vs. diode led panels. I followed Diodes instructions and used a dremel and 5 minute epoxy.
Diode Panels installed.
Painted Panels installed back in the housing,
From this point you just seal them back up. I removed as much of the permaseal as I could I then took a head gun and heated the the remaining permaseal and used a bunch of black silicone. Again, here is another video that I used. I followed the same steps.
Reinstall
Put your bumper back on and wire them up.

Wiring
Follow diodes directions. They’re super easy to follow.
I hope this helps. I hadn't planned on doing this, otherwise I would have taken more photos. I had trouble finding this info in one location so I figured it would help to at least have all the links in one post.
Let me first start off by saying that this mod is a pain in the ass. It sucks! No getting around it. That being said it looks bad ass, so you'll have to weight the pros and cons for yourself.
I've done some headlights on other cars and these were by far the most difficult. The permaseal glue used on our lights is bullshit. It does not heat like the glue manufactures used to use. It took multiple heat cycles in the oven. But after some choice words and a little patience it finally came open. Here is a step by step of what I did.
First, I recommend you watch this video. It was actually the most helpful. I followed the same steps.
Baking
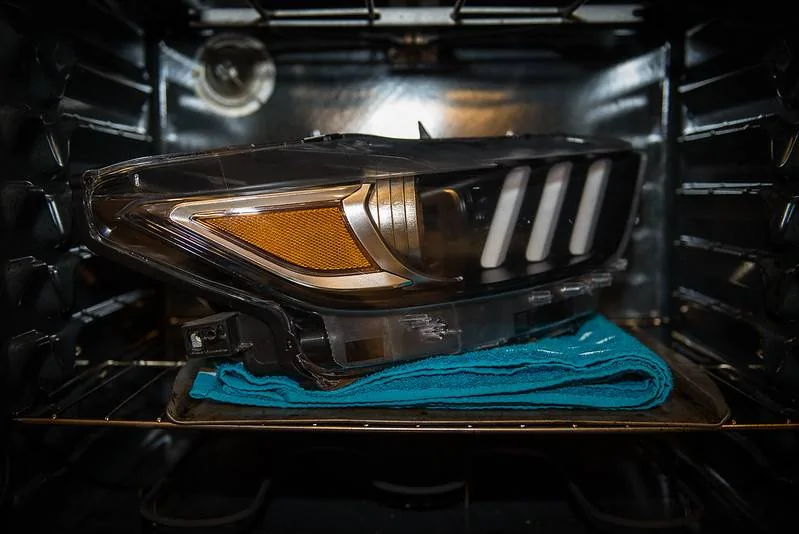
I heated my lights at 250 degrees for 15 minutes. I took them out and ran a flat scraper around the seal to start breaking the glue away from the housing. After a minute or so it was time to go back into the over for another 10 minutes. You then just repeat the steps until you get all the way around the light. You can then get the scraper or a small screw driver in between the lens and housing. Once you get all the way around you can pull the lens off. I was so focused on this that I did not take any photos, and if I shot a video, it would have been so littered with profanities that it wouldn't have been usable.
Finally Open

Here is what the housing looks like once you finally get the lens off. The area to be painted is held to the lens with four small philips screws.
Paint Prep
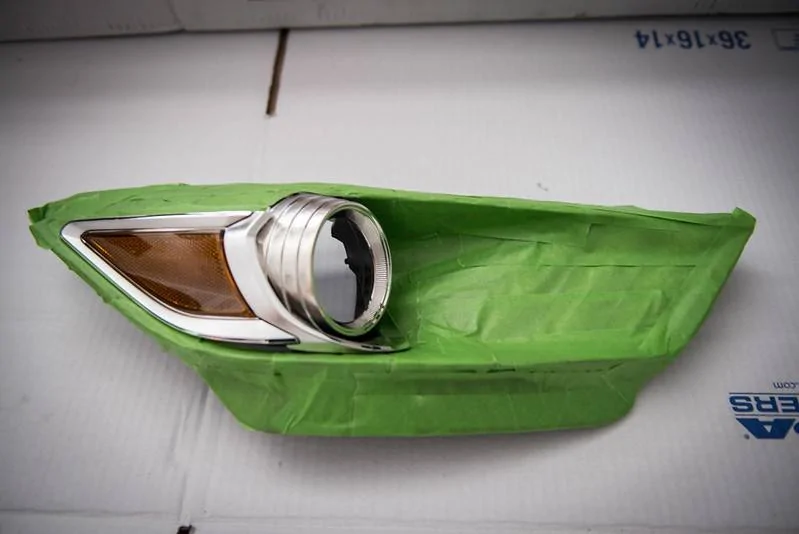
I taped off everything that wasn’t chrome. I thoroughly cleaning all the surfaces, then went to town with some black plastic spray paint.
Painted
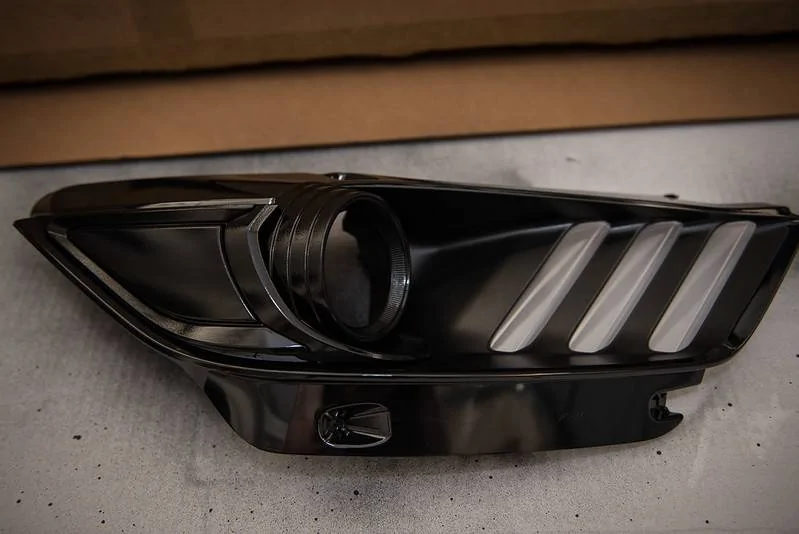
Final Product.
Installing the DD DRLs
Diode Dynamics video is pretty good. I Watched it a few times. Here’s a link.
DRL Boards

This is a photo of the stock vs. diode led panels. I followed Diodes instructions and used a dremel and 5 minute epoxy.

Diode Panels installed.
Painted Panels installed back in the housing,

From this point you just seal them back up. I removed as much of the permaseal as I could I then took a head gun and heated the the remaining permaseal and used a bunch of black silicone. Again, here is another video that I used. I followed the same steps.
Reinstall
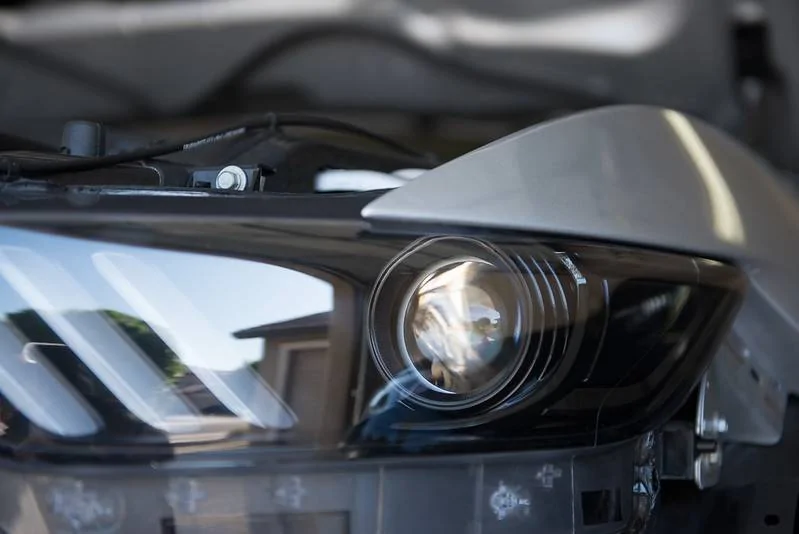
Put your bumper back on and wire them up.


Wiring
Follow diodes directions. They’re super easy to follow.
I hope this helps. I hadn't planned on doing this, otherwise I would have taken more photos. I had trouble finding this info in one location so I figured it would help to at least have all the links in one post.
Sponsored
Last edited:
