JohnVallo
1 5 4 8 3 7 2 6
- Joined
- Feb 9, 2015
- Threads
- 49
- Messages
- 382
- Reaction score
- 632
- Location
- Venice, FL
- Website
- racersreunion.com
- First Name
- John
- Vehicle(s)
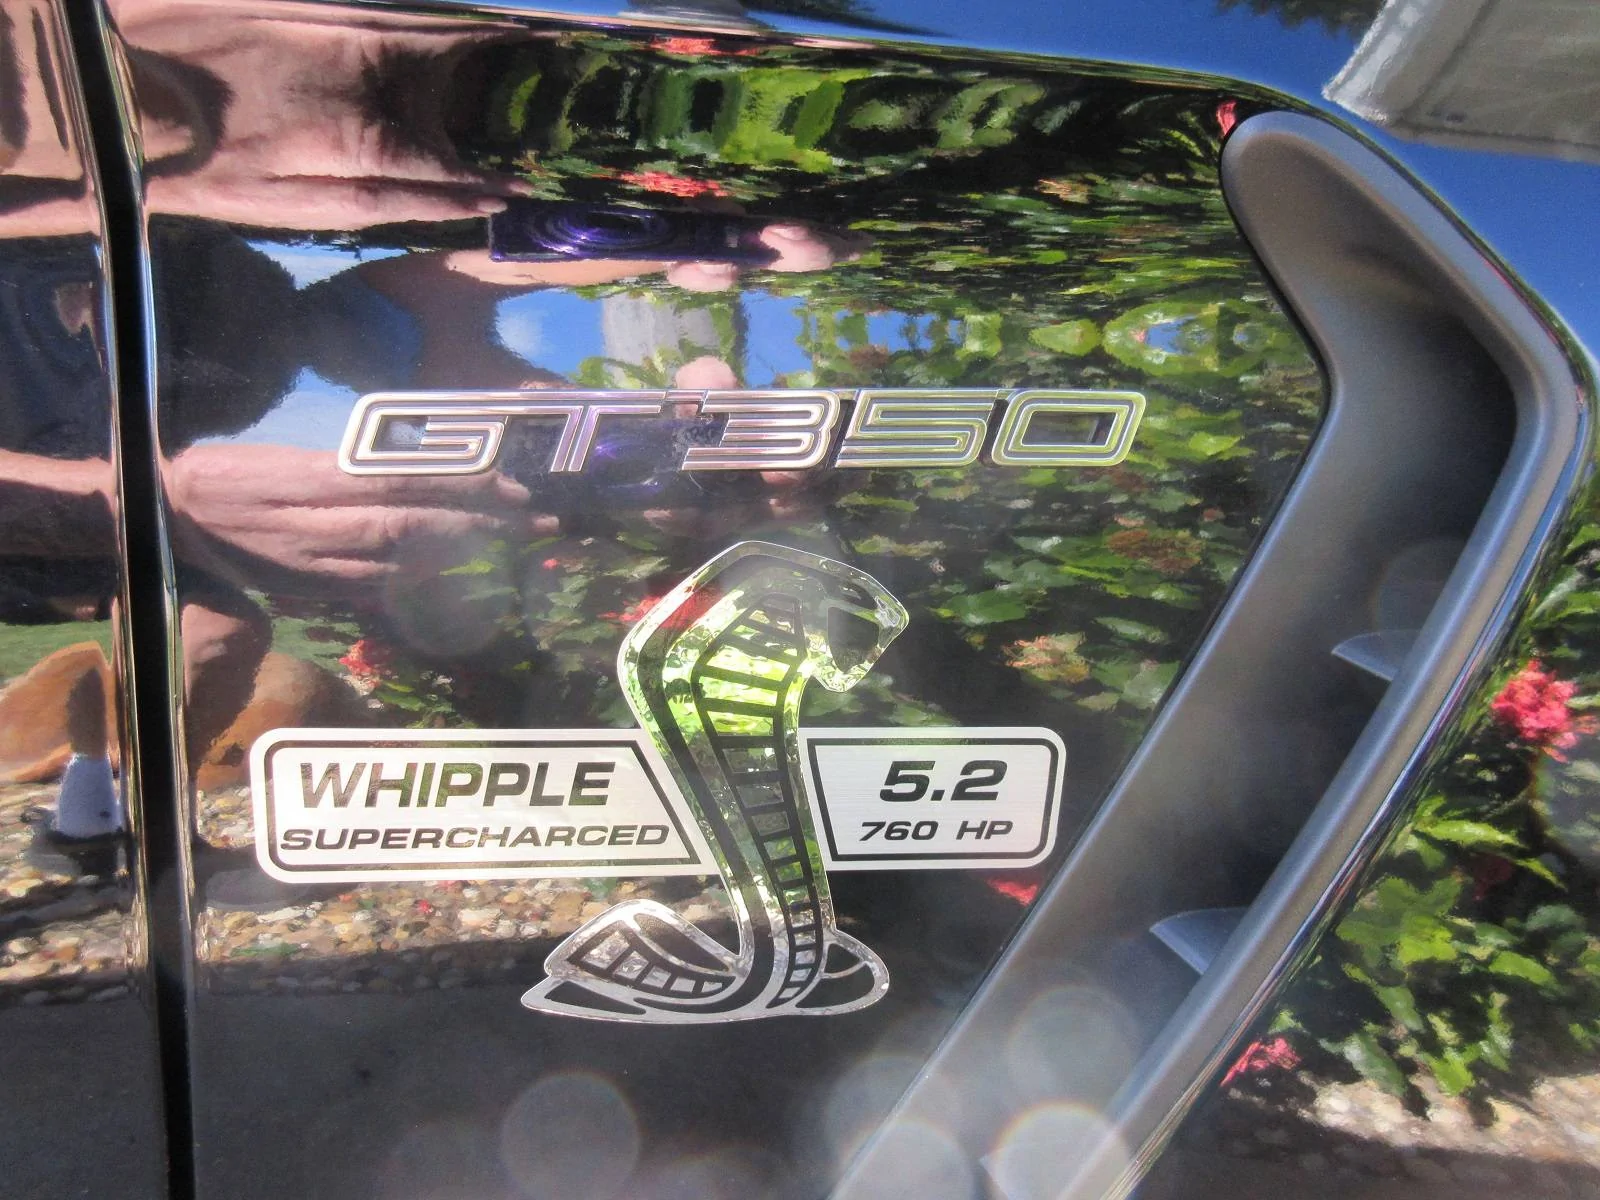
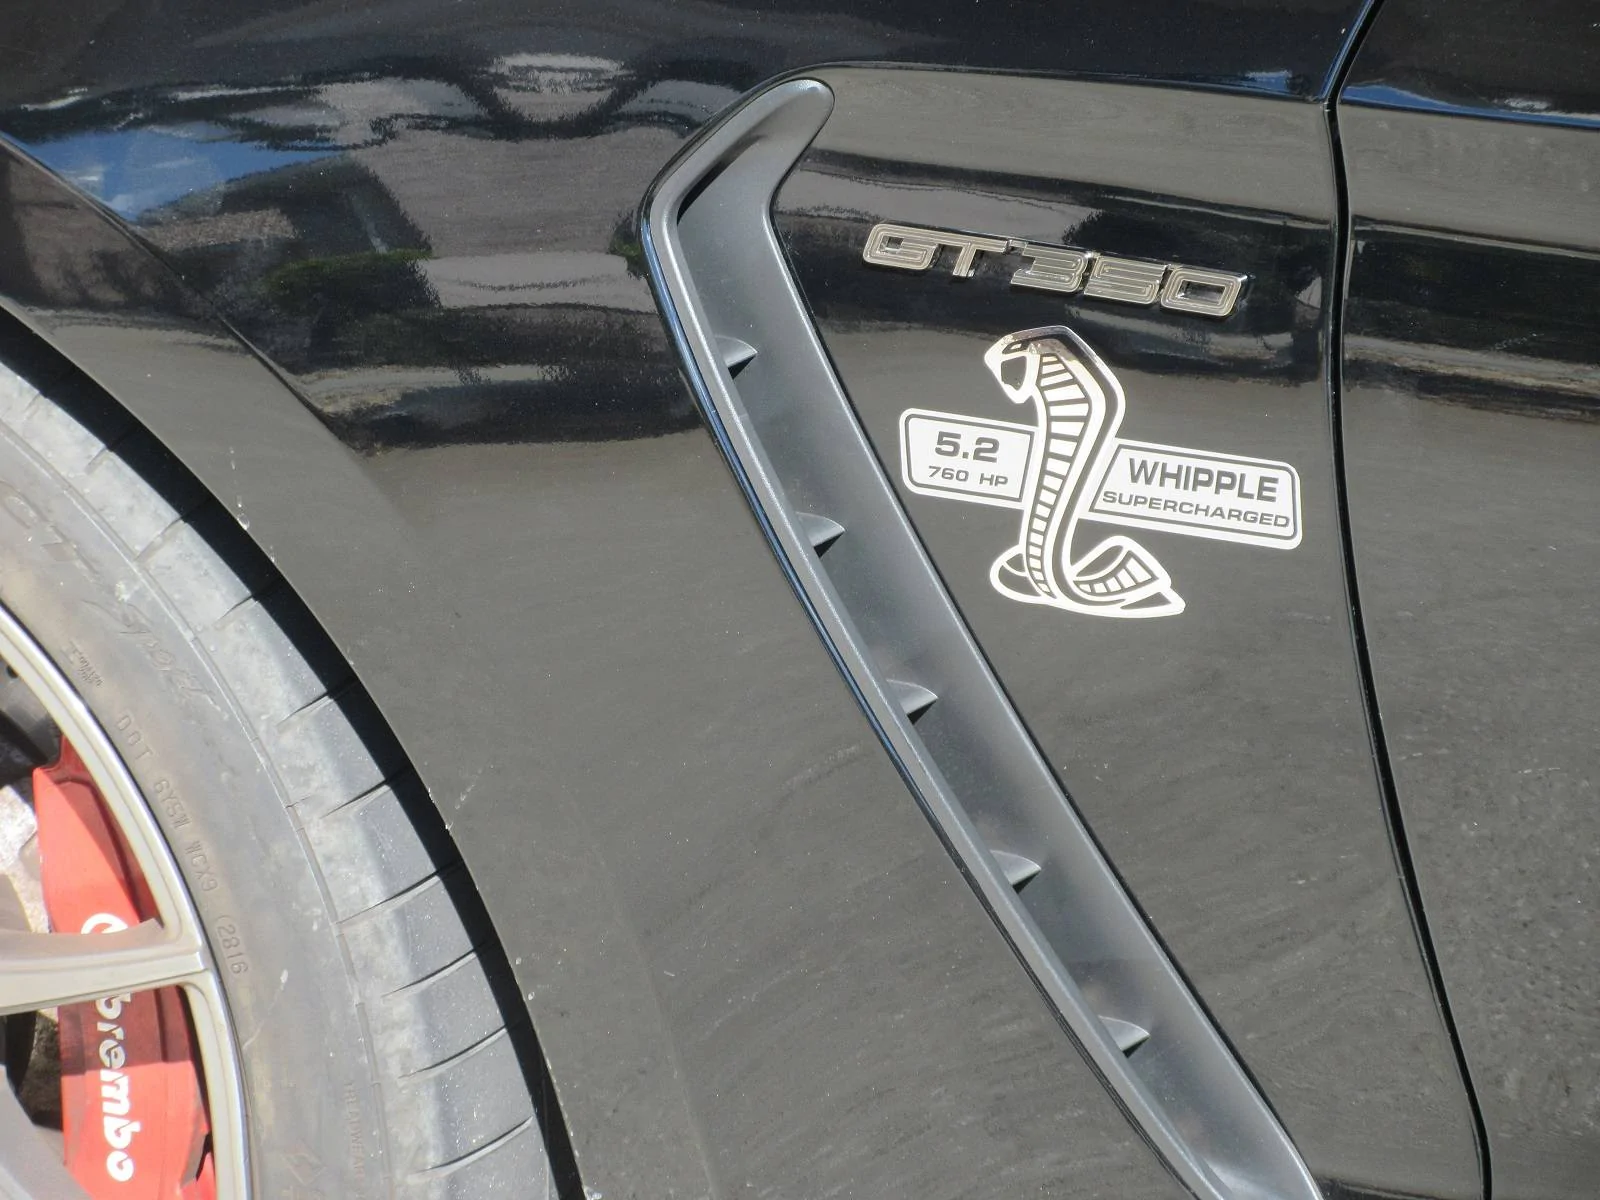
- '16 GT350, Shadow Black, Whipple Supercharged
- Thread starter
- #1
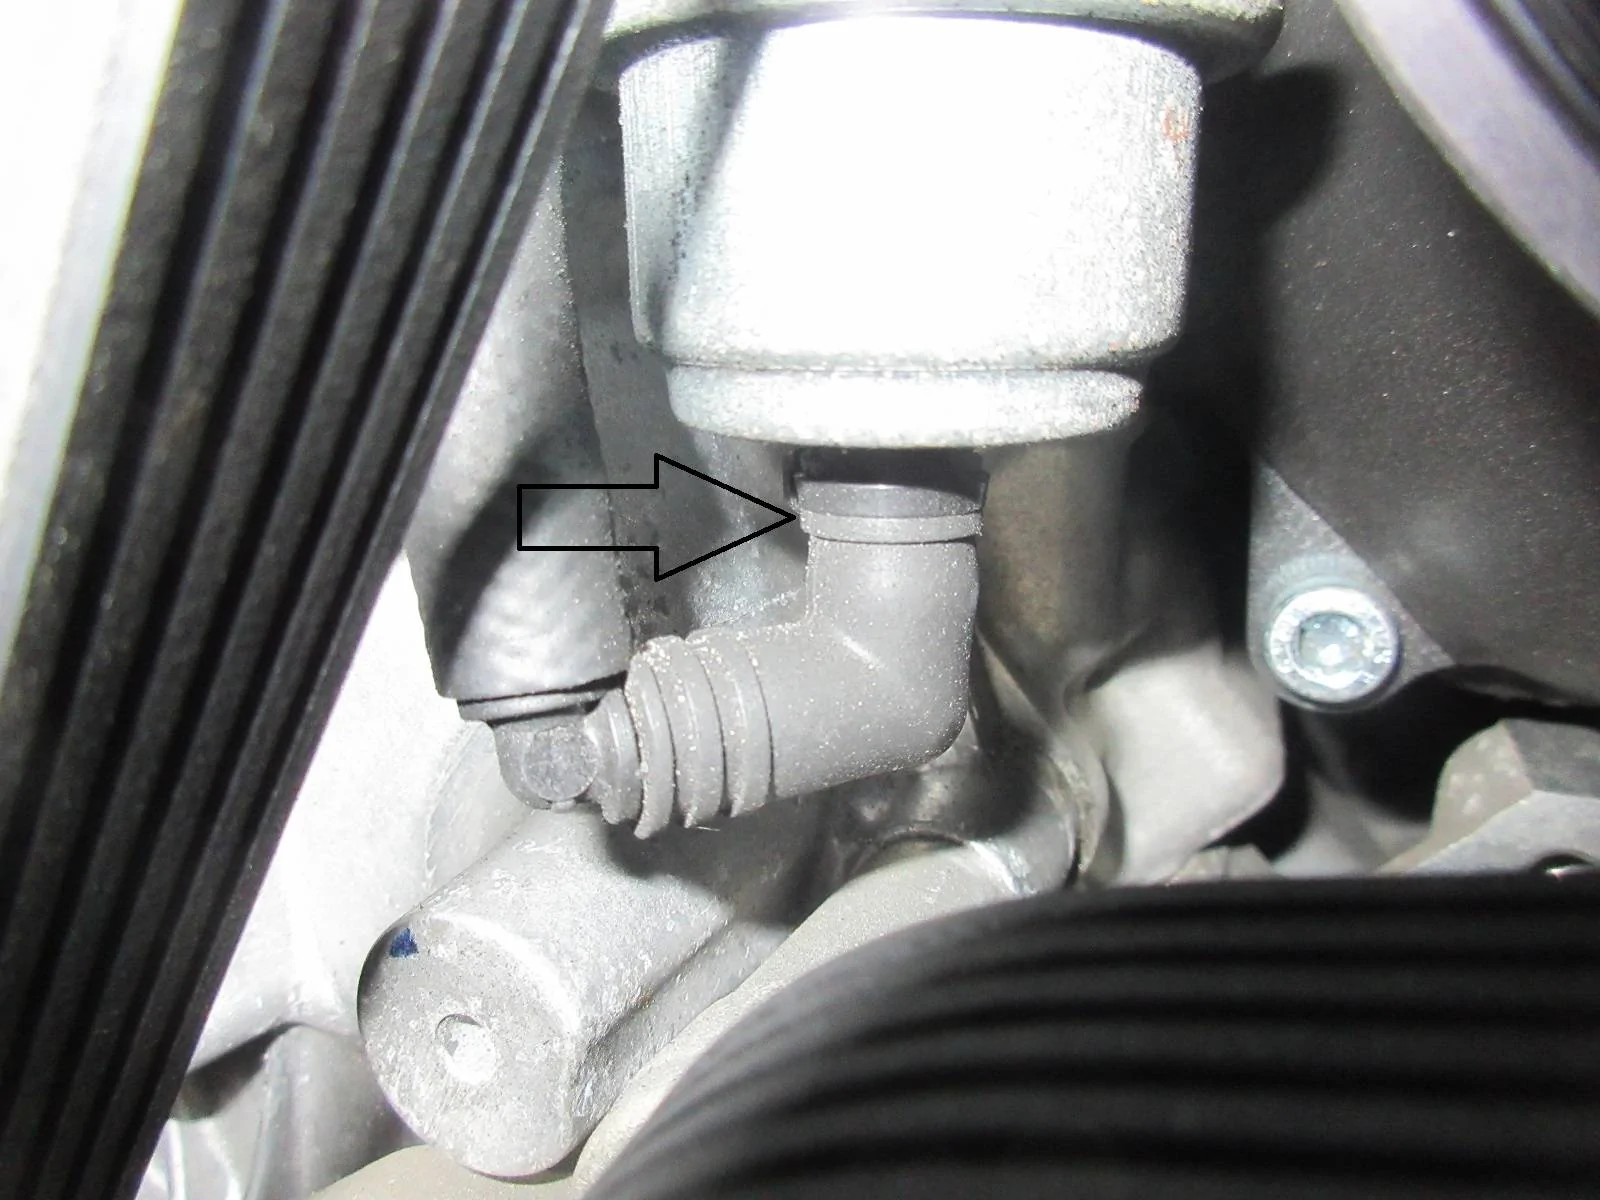
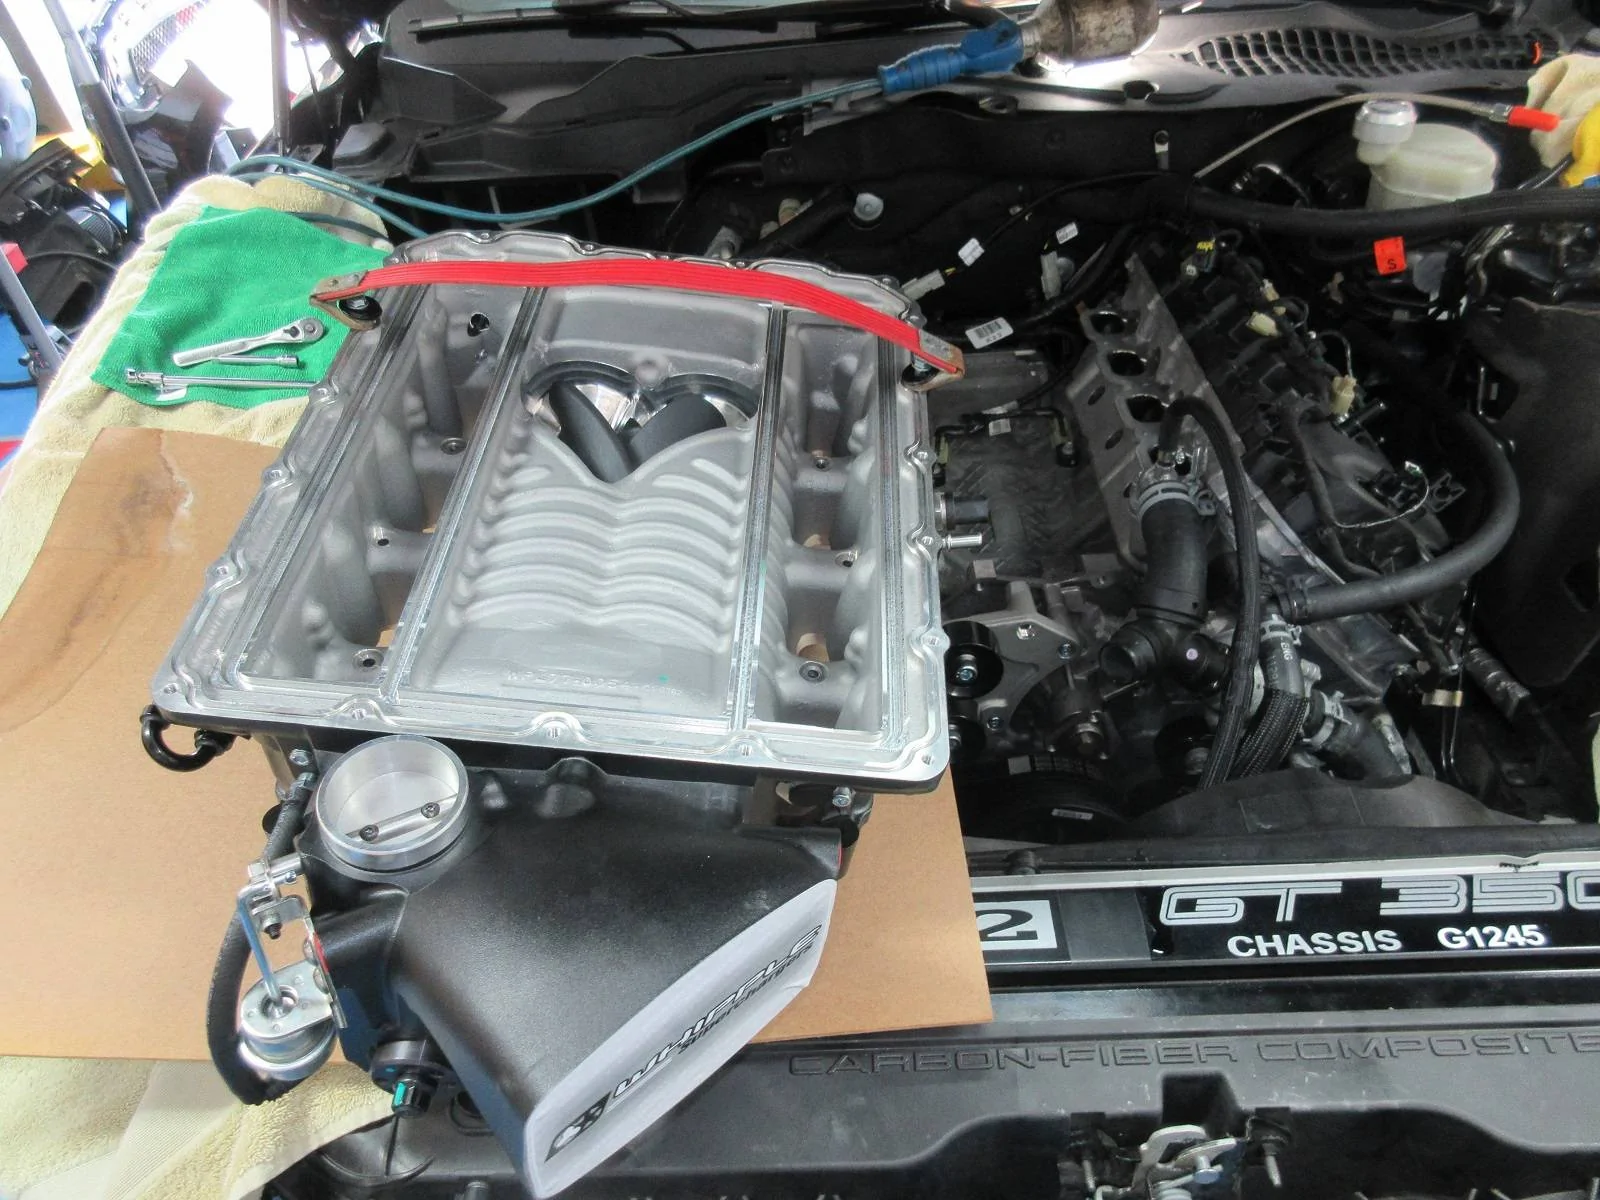
The Whipple Intake (even without the Lid) is quite heavy. If you find yourself alone (without help) when it comes time to set it down on your engine you might try this.
I bought (2) M6 x 60mm phillips-head screws at home-depot. Ground down the heads, and made a couple of alignment pins for the front two threaded holes for the intake. After the intake is set into place over the pins, they are easily removed.

I also used a battery-carrier strap I had and configured a 'Handle' for the rear of the heavy Whipple Intake.
There isn't much room to hold the very back of the intake, when setting it in place, unless you want to smash your fingers.
I set the intake close to the engine on a piece of 1/8" backing board. Heavy Cardboard would also work, I'm sure. Standing with one foot on sway bar, and the other knee on cam cover, I easily placed the intake into position.

Sponsored
Last edited: