High Velocity
Well-Known Member
- Joined
- Sep 6, 2023
- Threads
- 32
- Messages
- 381
- Reaction score
- 576
- Location
- Richmond, VA
- Vehicle(s)
- 2021 Ford Mustang GT
- Thread starter
- #1
Alright everybody, My rear seat delete kit came in today. So it was time to do the prep work before the install. I started by taking out the old seat, did some vacuuming and wiped everything down with some rinse less wash.
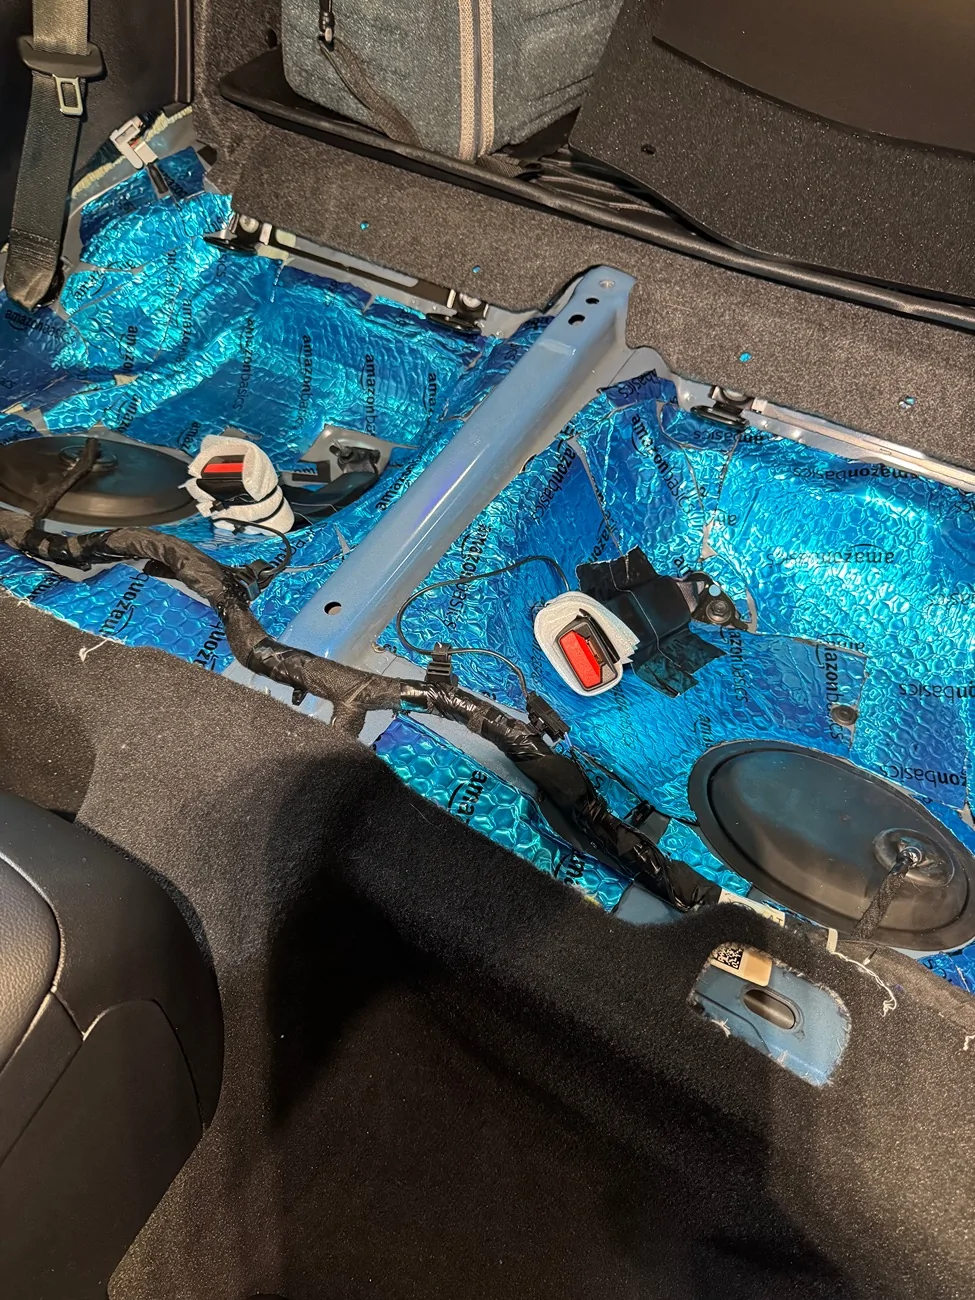
After that I decided to lay down some sound deadener. I went with Amazon basics for this. It was only about 15 bucks and figured it would be better than nothing in there.
Now for the sound deadener I weighed it before I installed it. The whole pack was about 6.5 pounds but I did not use all of it. The rear seat delete is supposed to shave 30 pounds off the car and I probably added about 4 pounds back in the sound deadener. But it is definitely worth it.
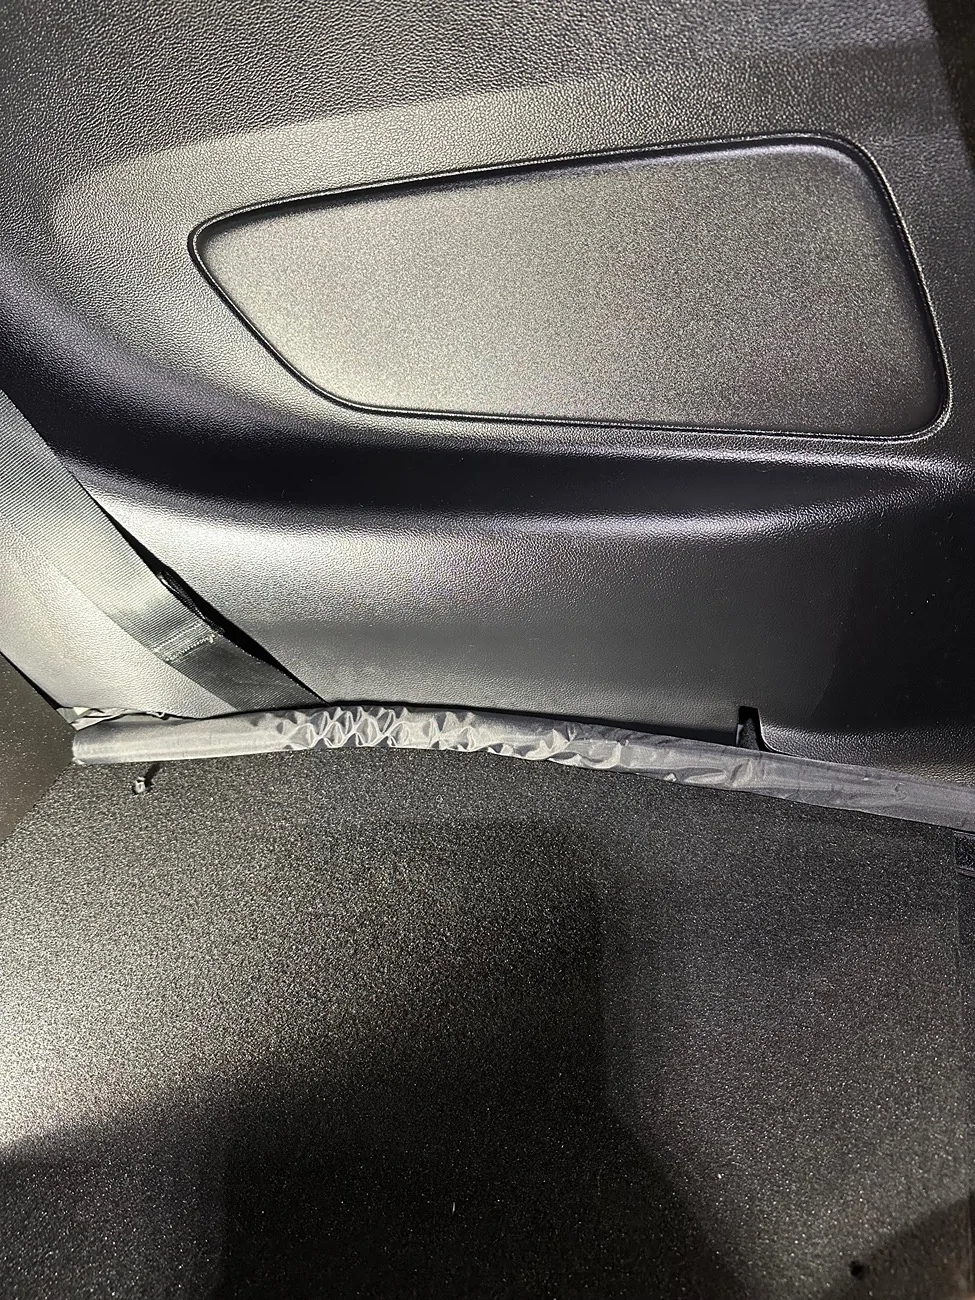
After I laid down the sound deadener I decided to wrap the seat belt buckles in a layer of foam. I wrapped the foam around the buckle and zip tied it. Then taped it down to the floor with some 3m heavy duty tape. This way it will not make any noise under the seat delete.
The reason I did this instead of removing it, is because there were wires running to the buckle and if I had removed the buckle and unplugged that harness I was worried I would get a light on the dash.

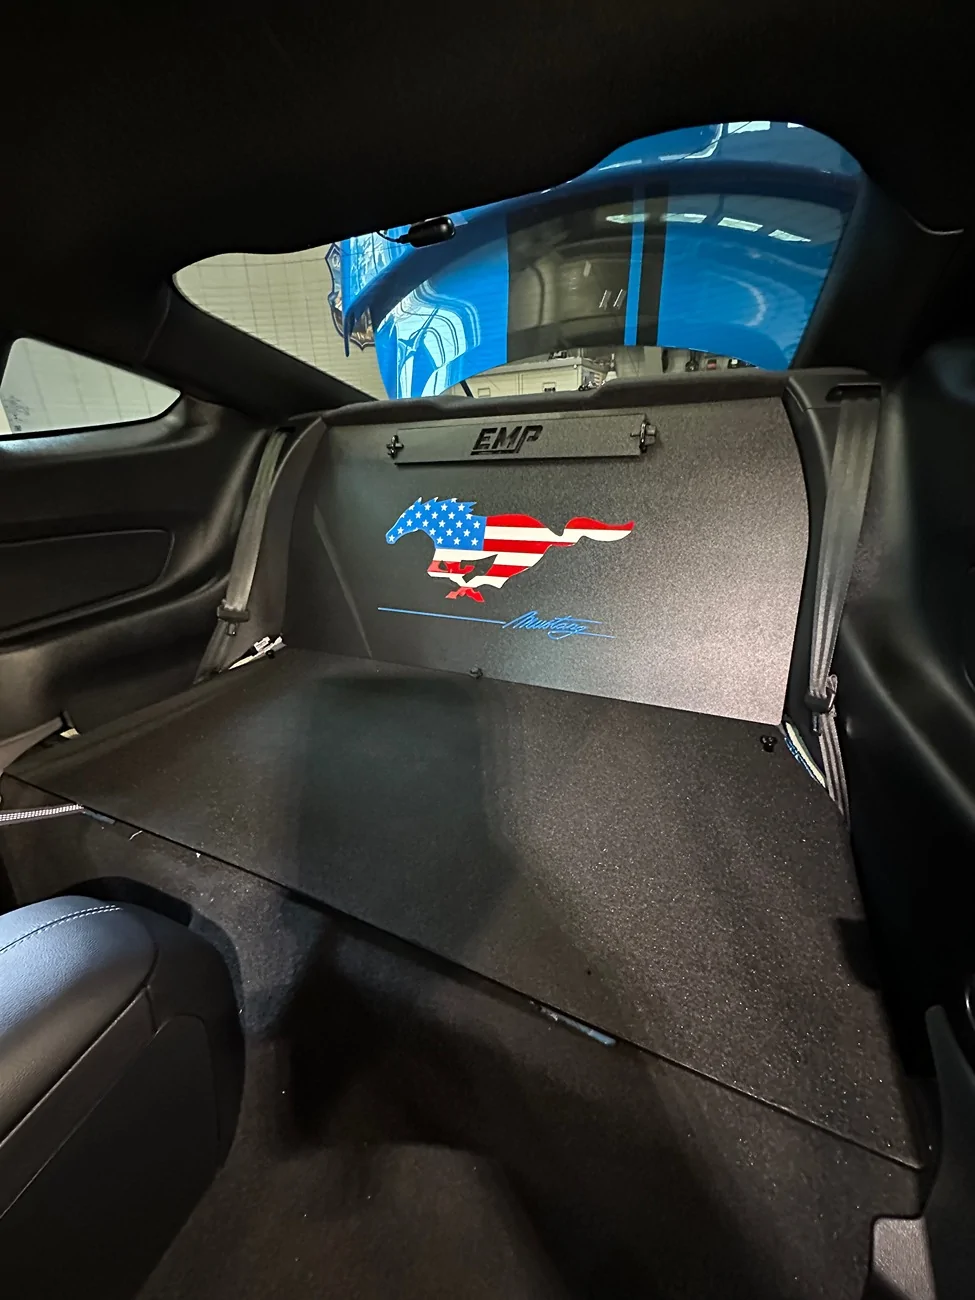
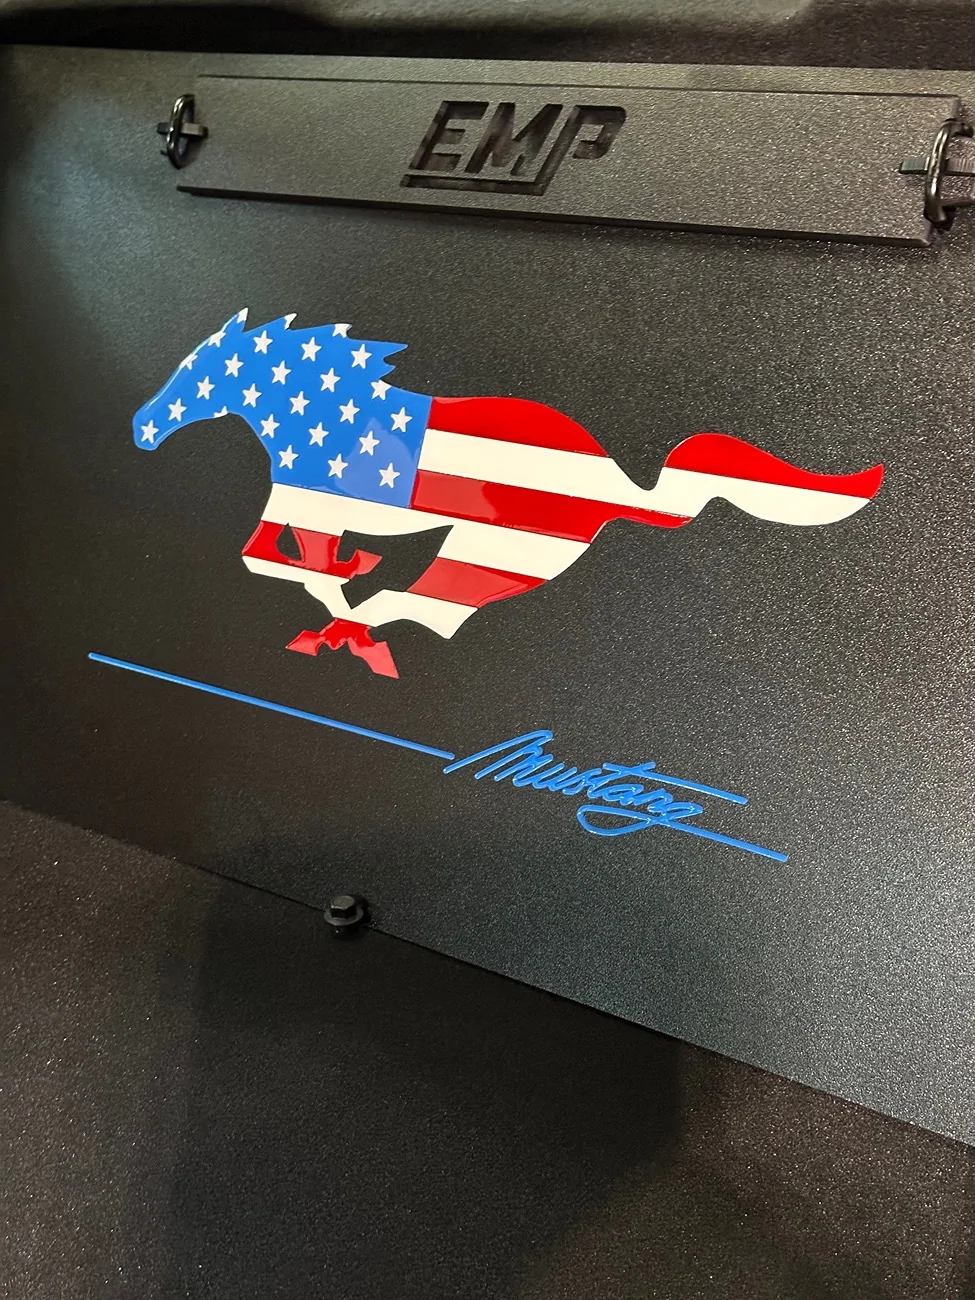
So after all the prep work was done I moved on to installing the rear seat delete. I paid extra for it to be engraved and painted. But I also paid extra to have the bottom piece where you would sit carpeted.
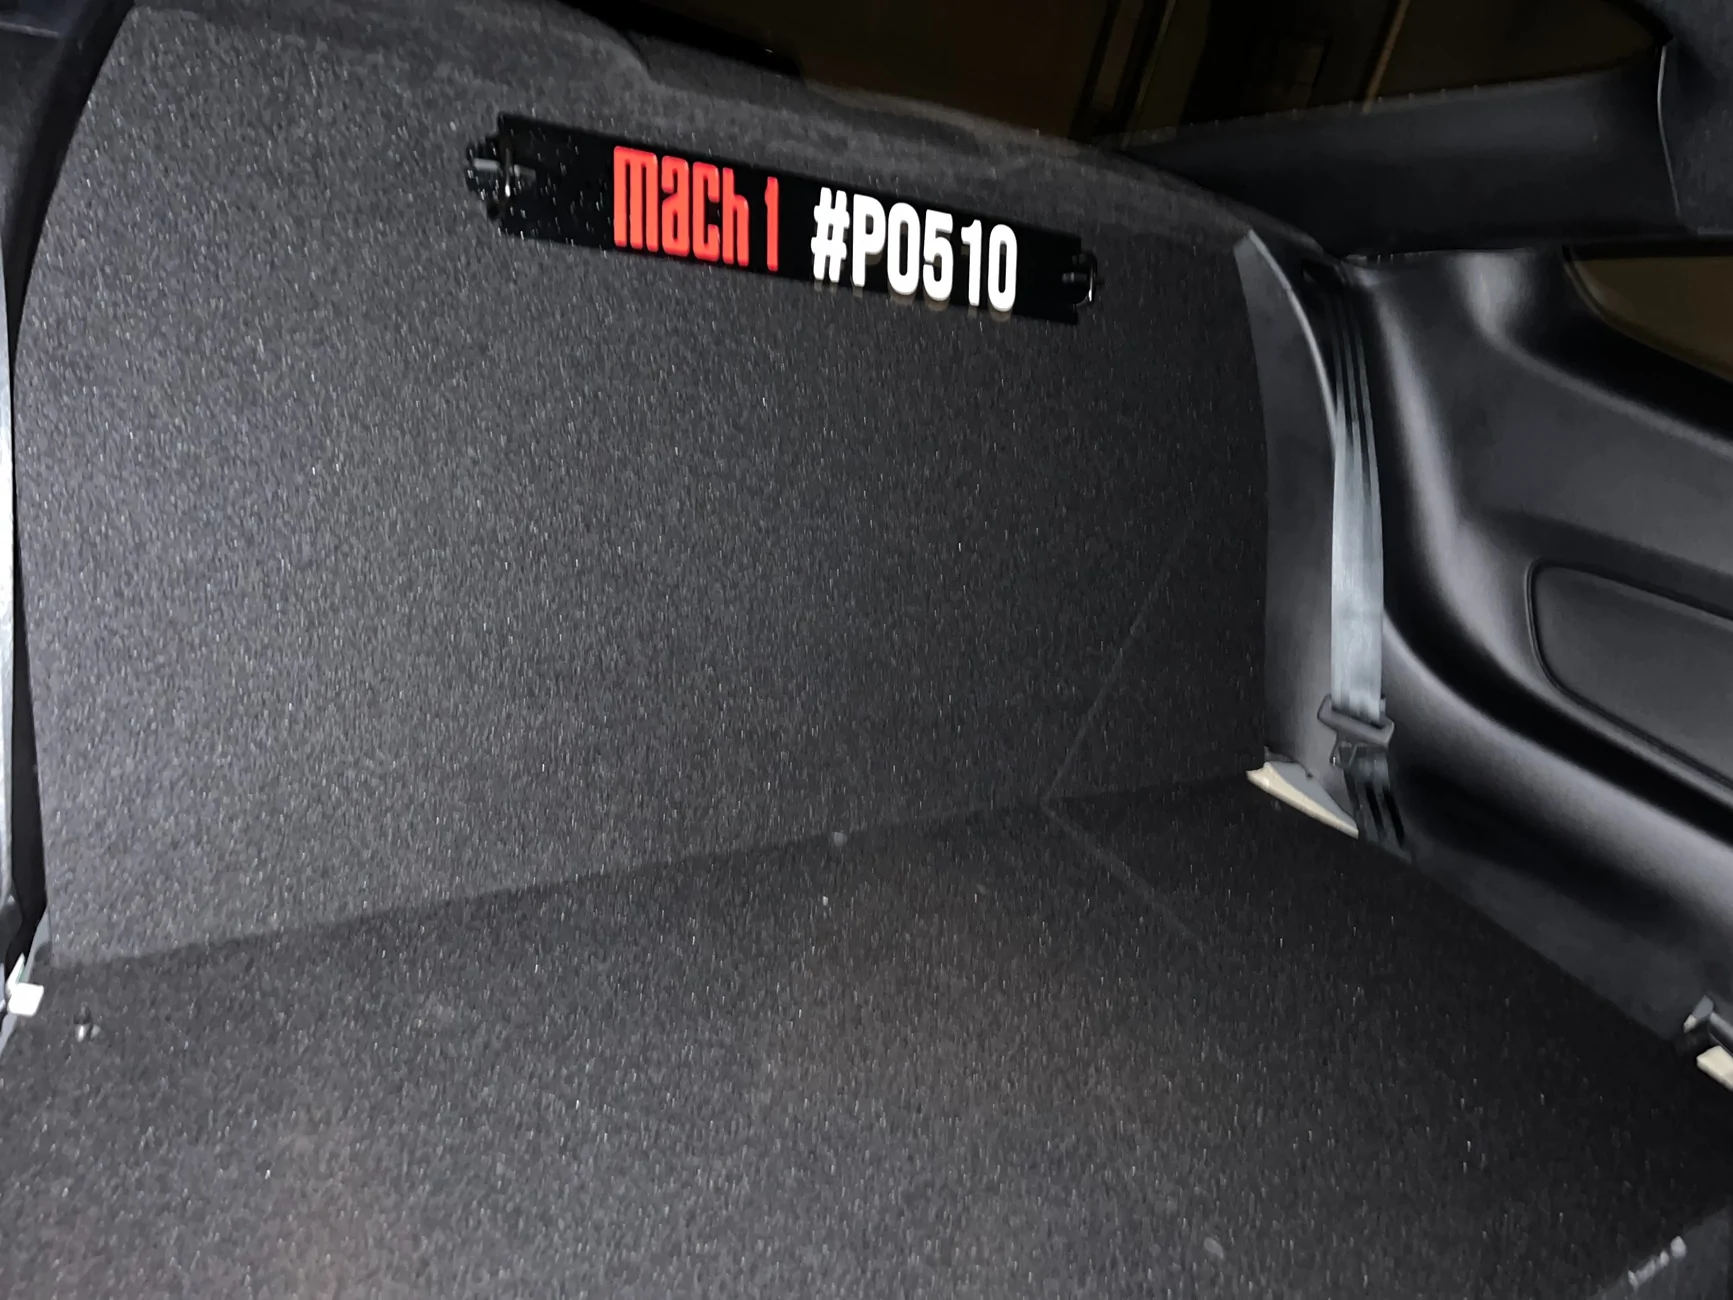
I also paid to have the back of the panel with the logo on it carpeted. That way when you open the trunk, the whole trunk has carpet. Now I completely installed the back piece with the logo on it but have not fully installed the seat piece.
The reason for that is because you can see just how bad the gaps are on the bottom piece. So I am leaving this part loose until I come up with an idea to fill these holes. But you can still see what it looks like for the most part.
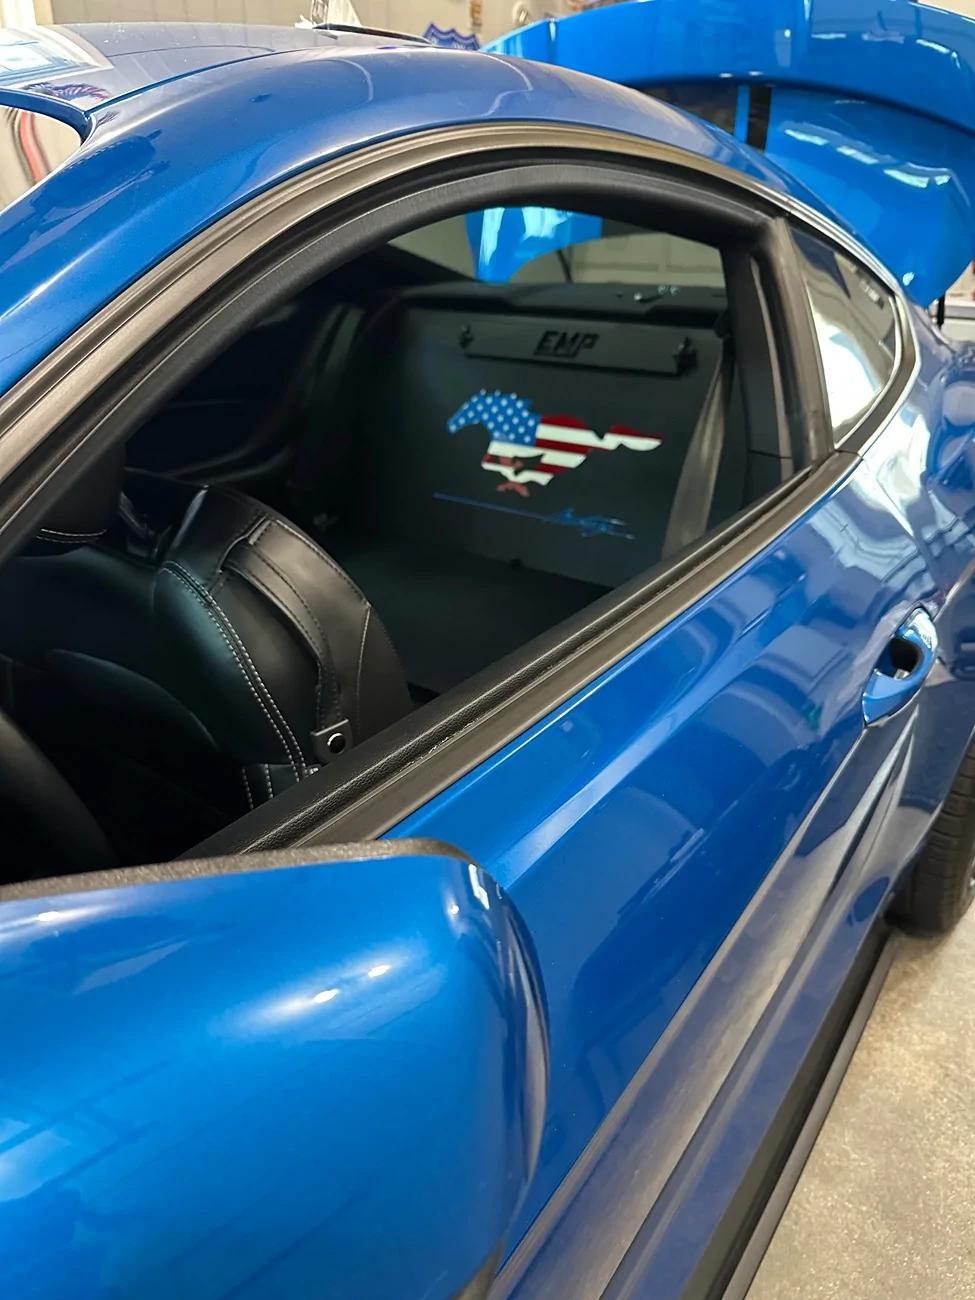
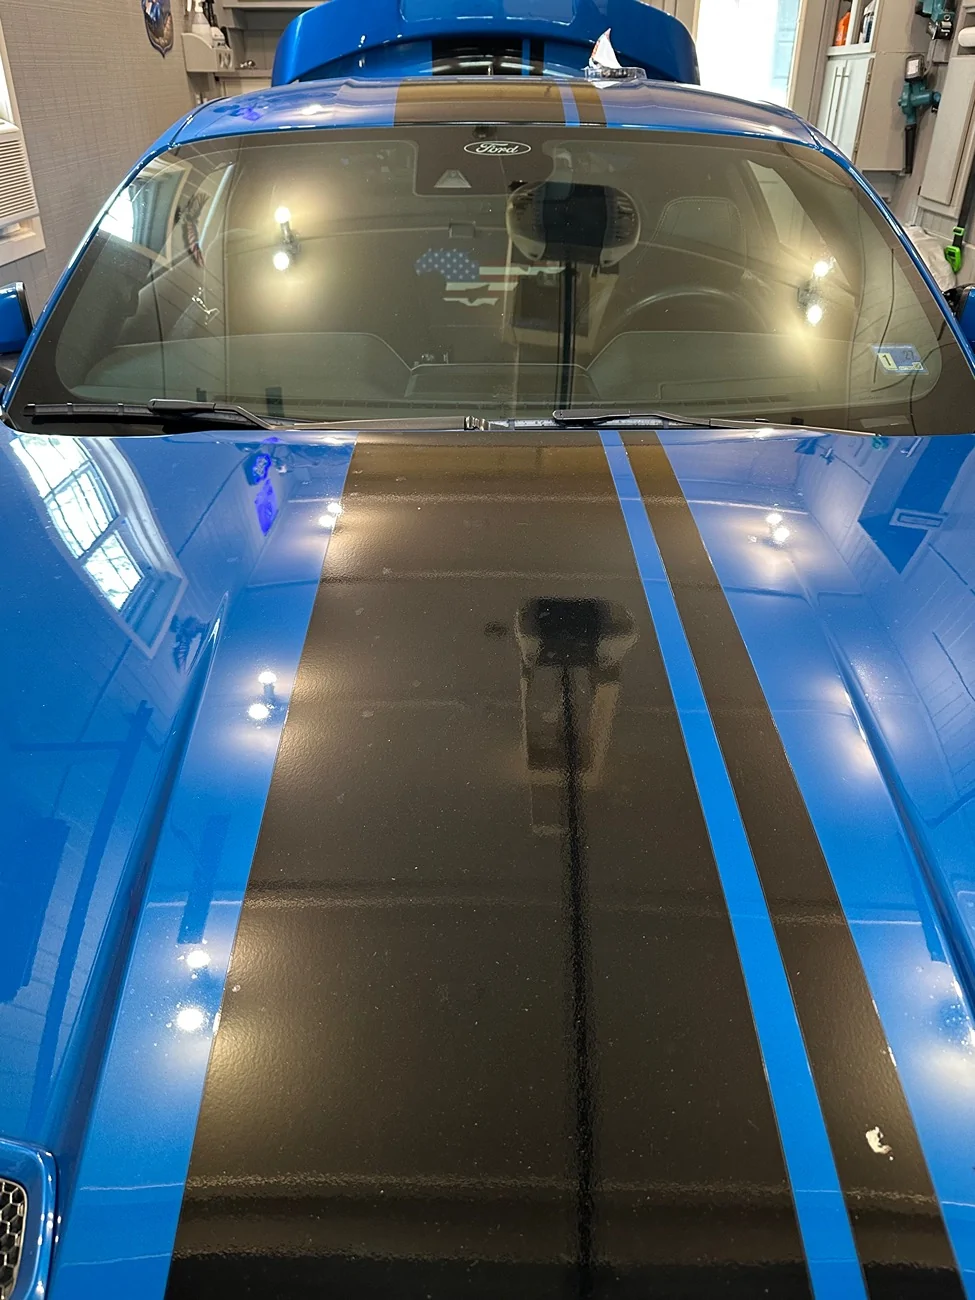
It looks amazing. You can even see it from outside the car at the driver and passenger windows and when standing at the front of the car looking through the windshield.
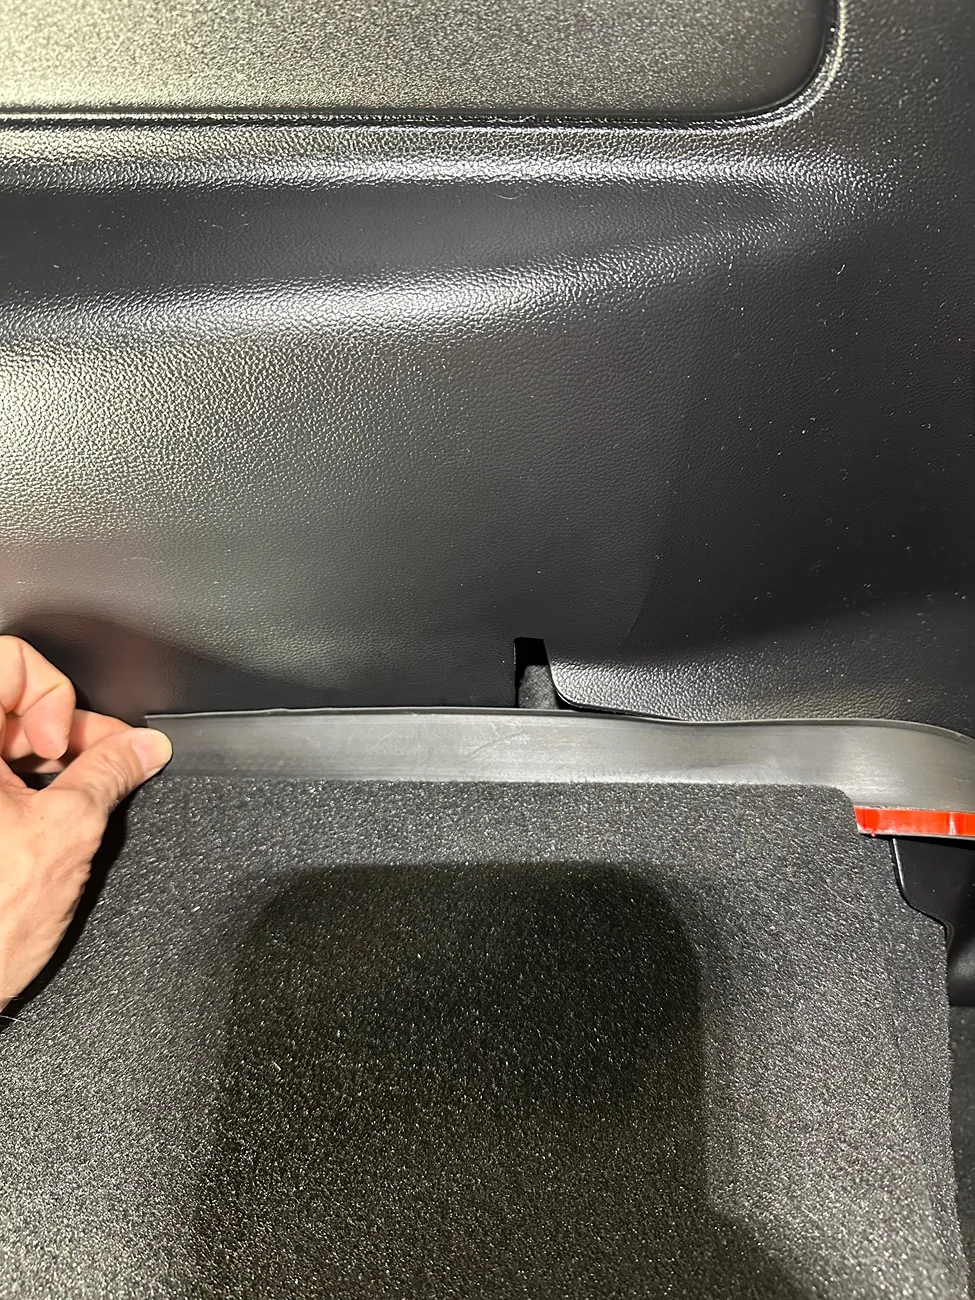
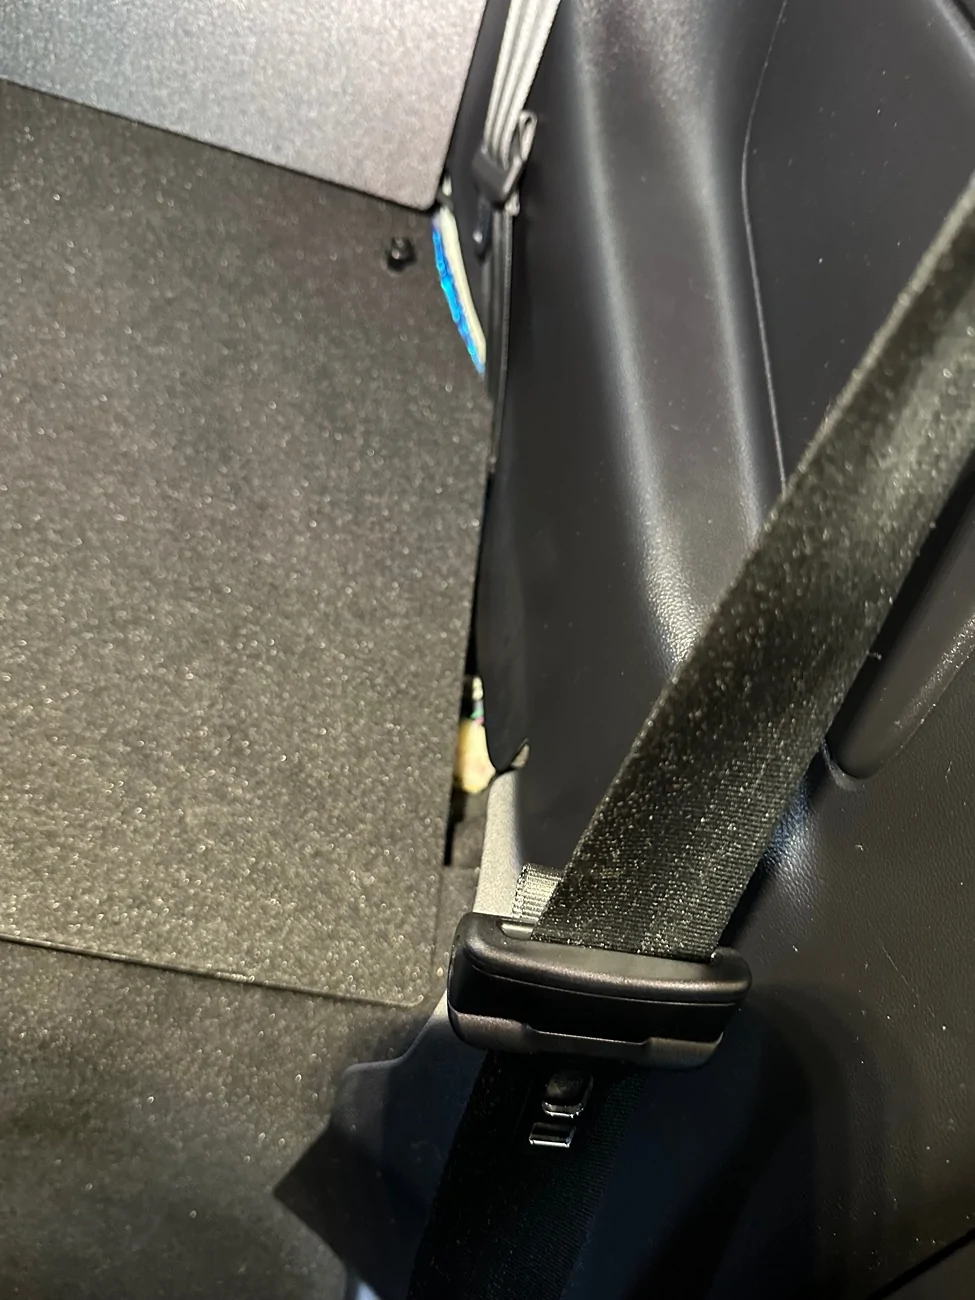
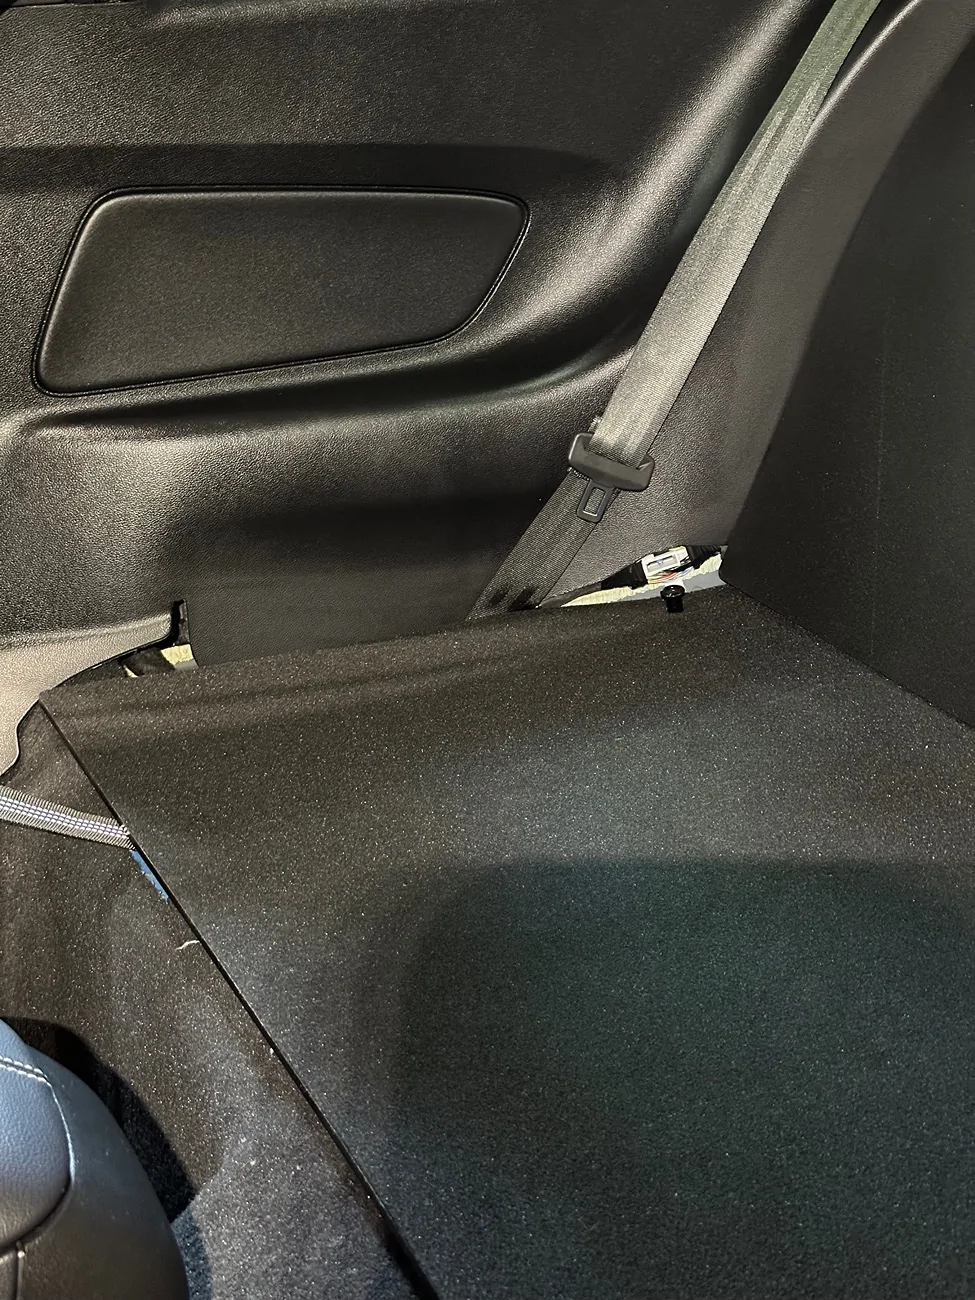
Now here are the gaps I am talking about.
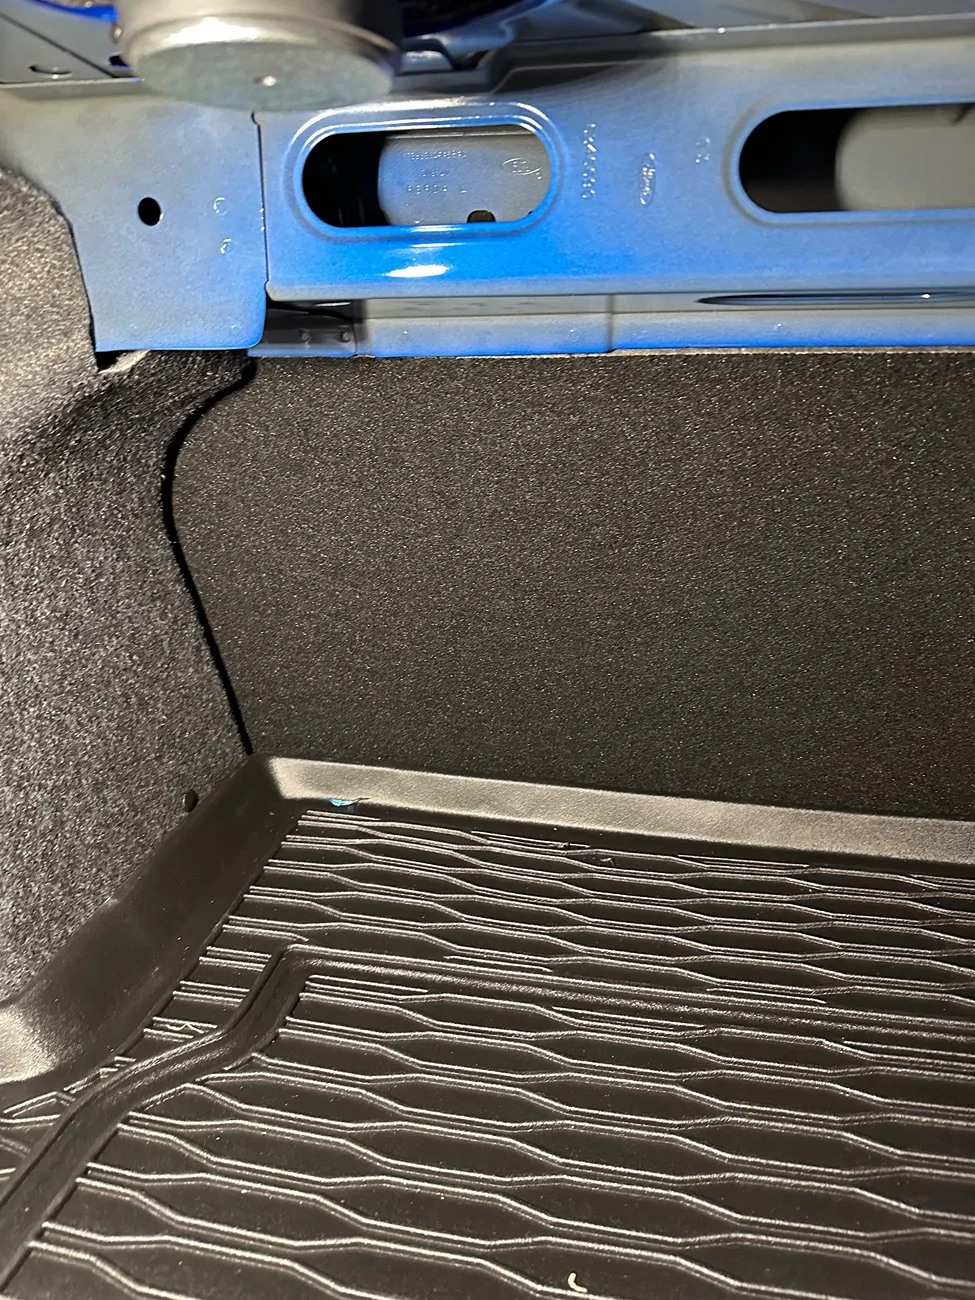
And the view front the trunk
After that I decided to lay down some sound deadener. I went with Amazon basics for this. It was only about 15 bucks and figured it would be better than nothing in there.
Now for the sound deadener I weighed it before I installed it. The whole pack was about 6.5 pounds but I did not use all of it. The rear seat delete is supposed to shave 30 pounds off the car and I probably added about 4 pounds back in the sound deadener. But it is definitely worth it.
After I laid down the sound deadener I decided to wrap the seat belt buckles in a layer of foam. I wrapped the foam around the buckle and zip tied it. Then taped it down to the floor with some 3m heavy duty tape. This way it will not make any noise under the seat delete.
The reason I did this instead of removing it, is because there were wires running to the buckle and if I had removed the buckle and unplugged that harness I was worried I would get a light on the dash.
So after all the prep work was done I moved on to installing the rear seat delete. I paid extra for it to be engraved and painted. But I also paid extra to have the bottom piece where you would sit carpeted.
I also paid to have the back of the panel with the logo on it carpeted. That way when you open the trunk, the whole trunk has carpet. Now I completely installed the back piece with the logo on it but have not fully installed the seat piece.
The reason for that is because you can see just how bad the gaps are on the bottom piece. So I am leaving this part loose until I come up with an idea to fill these holes. But you can still see what it looks like for the most part.
It looks amazing. You can even see it from outside the car at the driver and passenger windows and when standing at the front of the car looking through the windshield.
Now here are the gaps I am talking about.
And the view front the trunk
Sponsored