23GreenGremlin
Well-Known Member
- Joined
- Mar 22, 2023
- Threads
- 14
- Messages
- 219
- Reaction score
- 515
- Location
- Mechanicsburg, PA
- First Name
- Steve
- Vehicle(s)
- 2023 Mustang Mach 1, P0389, Eruption Green, "Gremlin"
- Thread starter
- #1
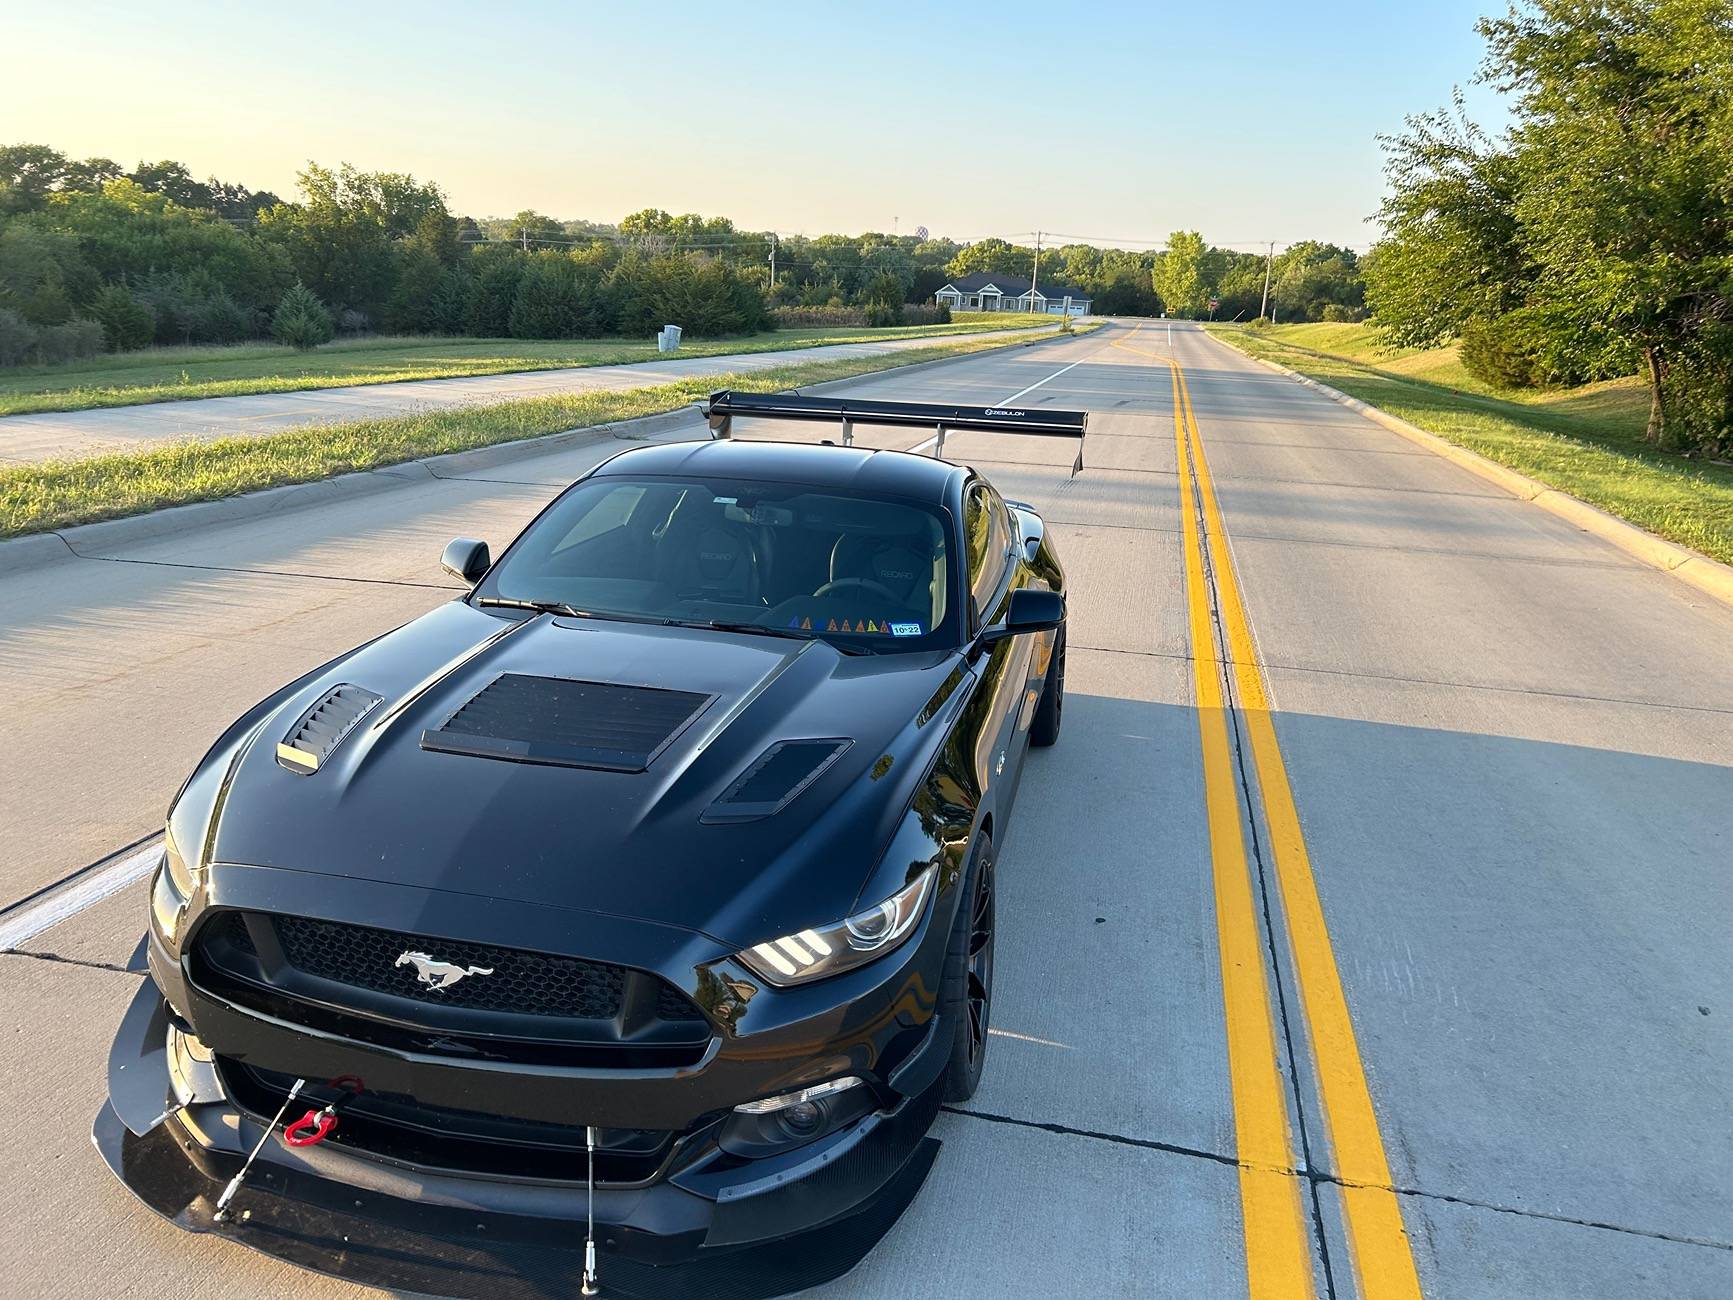
Just installed my Steeda front parking camera on Sunday Steeda 50-1015-100 Mustang Front Parking Camera Kit (15-23). It mounts to the center of the front bumper with tape or screws and interfaces with the SYNC 2, 3, and 3.4 system. Provides a clear front guide to help prevent bashing curbs and destroying your front spoiler. It is pricy but less than the cost of one new spoiler.
Not hard to install, except for the contortionist position necessary to route the wiring under the dash. I found both the Steeda install video Protect Your Front Splitter With The Steeda Front Parking Camera Kit (youtube.com), and the video sent in by another customer Steeda Front Camera Install 2015 to 2017 Mustang with Sync 2 (youtube.com), to be very helpful. Key steps are to watch the videos a couple of times, prepare the camera harness on the bench, lower your windows, jack up the front of the car, disconnect the battery neg terminal, drop the front underbelly pan, remove the air filter box, and remove the dash trim and SYNC screen. Took me about 3 hours going slowly.
When prepping the harness, the Steeda video skips over two key bits. There is a short jumper harness that needs to be removed and put back in the box because it is not required. The second is that there is a connector on the end of the black and red wire that has to be cut off and the resulting leads soldered to the main harness where you find the corresponding black and red wire (see photos).
Tips I would add are to properly solder the connection to the camera harness instead of using crimp connectors as shown in the Steeda video. Tape up the harness so it doesn’t get caught on everything behind the dash. Route the wiring from the back of the SYNC through the console, across the driver side foot well, then out through the firewall to the camera. Steeda shows it going the other way and requires you to shove the whole harness up from the back of the console to the back of the SYNC. Much easier to just feed the single camera lead down instead. You will end up with a good handful of excess wire that I ended up wrapping and securing with a zip tie just below the air box. This is where you will need to disconnect the wiring if you ever have to remove the front bumper. I marked my wire with a big red tape flag so it would be obvious in the future. To get the camera to come on you have to hold the OK button on your steering wheel. Depending on what you have showing on your dash be careful that you don't accidentally reset your trip. I keep my display to extra gauges so no issue. Finally, I did figure out that I needed to disable my rear camera delay setting. That tended to cause the rear camera to hang up at times for longer than expected.
From the video, when I pull up to the shelves on my workbench, the forward edge of the red is about 18” from the shelves. The next cross line on the red indicates about 12” from the shelves. If you have an HP or PP2 extended front spoiler, then the cross line would be closer to 6” from an object.


Sponsored
Last edited: