Sagacity
M6G SoCal Cruisers
- Joined
- Feb 13, 2015
- Threads
- 43
- Messages
- 309
- Reaction score
- 195
- Location
- San Diego
- Website
- www.youtube.com
- First Name
- Matt
- Vehicle(s)
- 2015 Mustang LE, Kona Blue #146, Manual
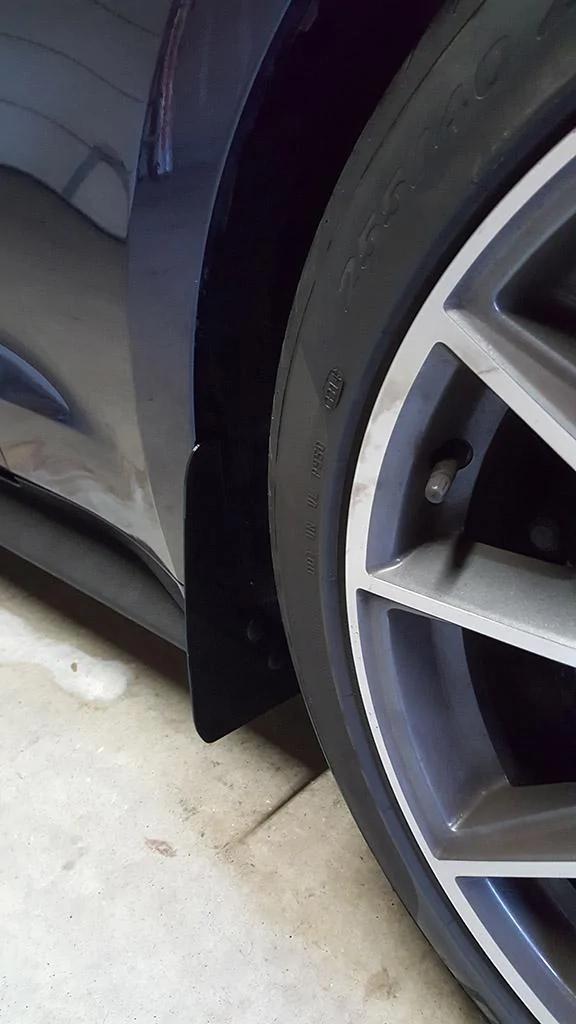
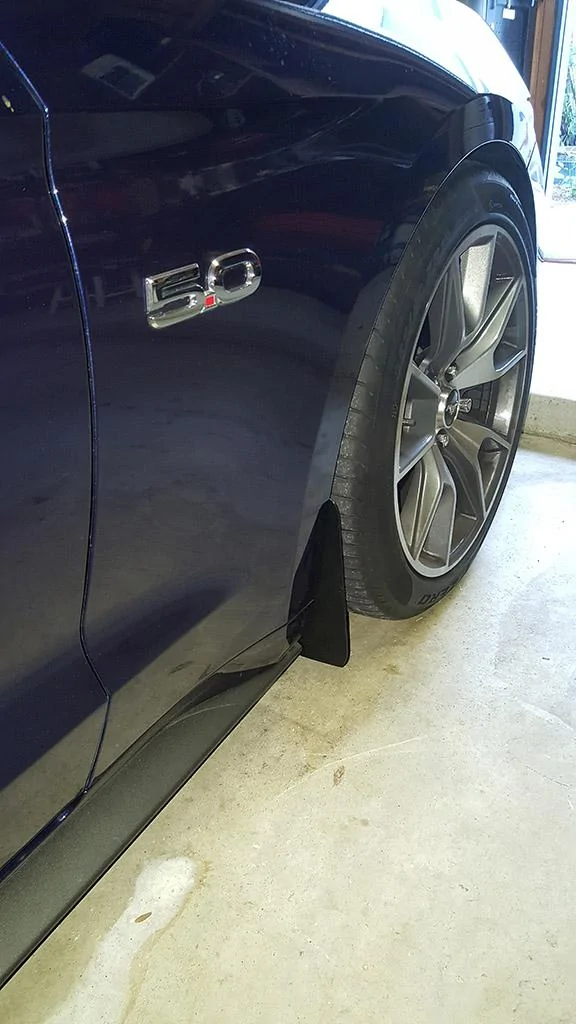
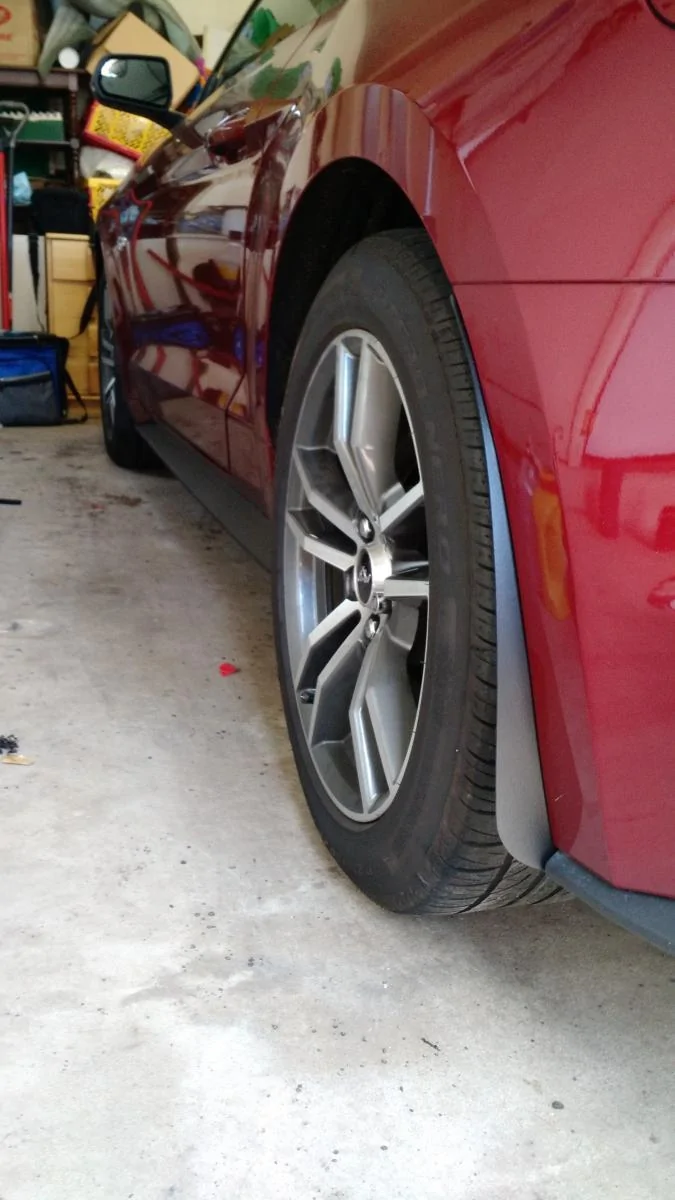
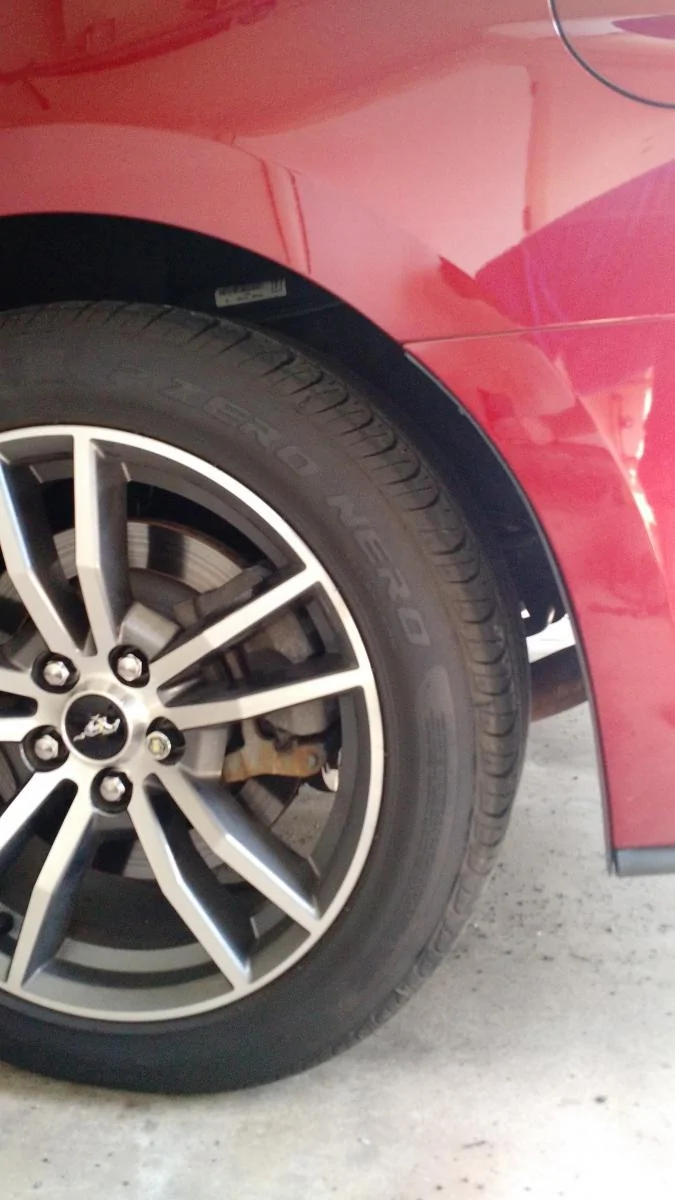
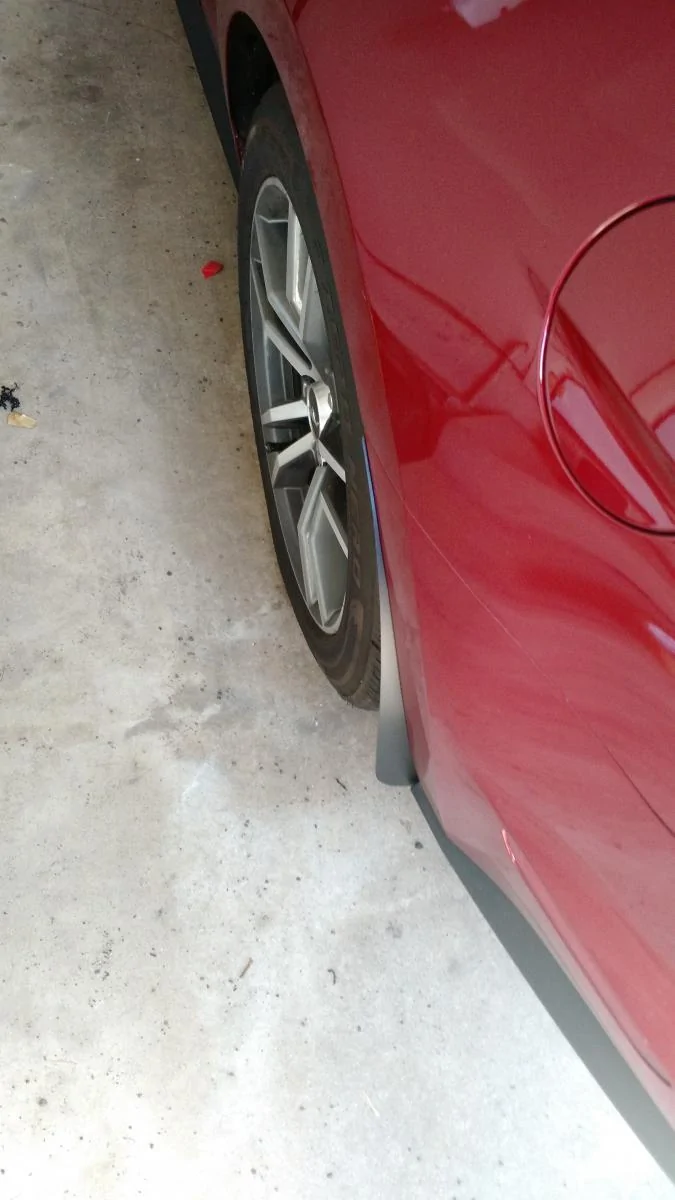
Custom Mud Flaps
I've been meaning to post some pics on here. When I get home today I'll post some pics of mud flaps I created on my 3d Printer. I'm still finalizing the design on the rears but so far I have the fronts done and they mount with the two factory push pins at the bottom and a clip I also made that snaps into place on the flap where I designed a notch. I found some replacement push pins that are a little longer than stock and work great.
I've been playing around with some different ideas and have a couple that are black with the 50 years design in white and a blue one with white logo.
My goal is to eventually sell some on ebay or whatever in different colors to contrast or match the car color. (Black, white, blue, red, yellow, etc.) using ABS plastic.
Sponsored
")