I'm really hoping that after the initial fitment I only have to report the 'findings' and it doesn't get as far as 'modifications' ...
Just to throw another spanner in the works (another variable), I also have to remove and remount the radar box as I am swapping bumper bars (roll down the quoted post for the radar bit) :
The next piece of the long term front end project is done
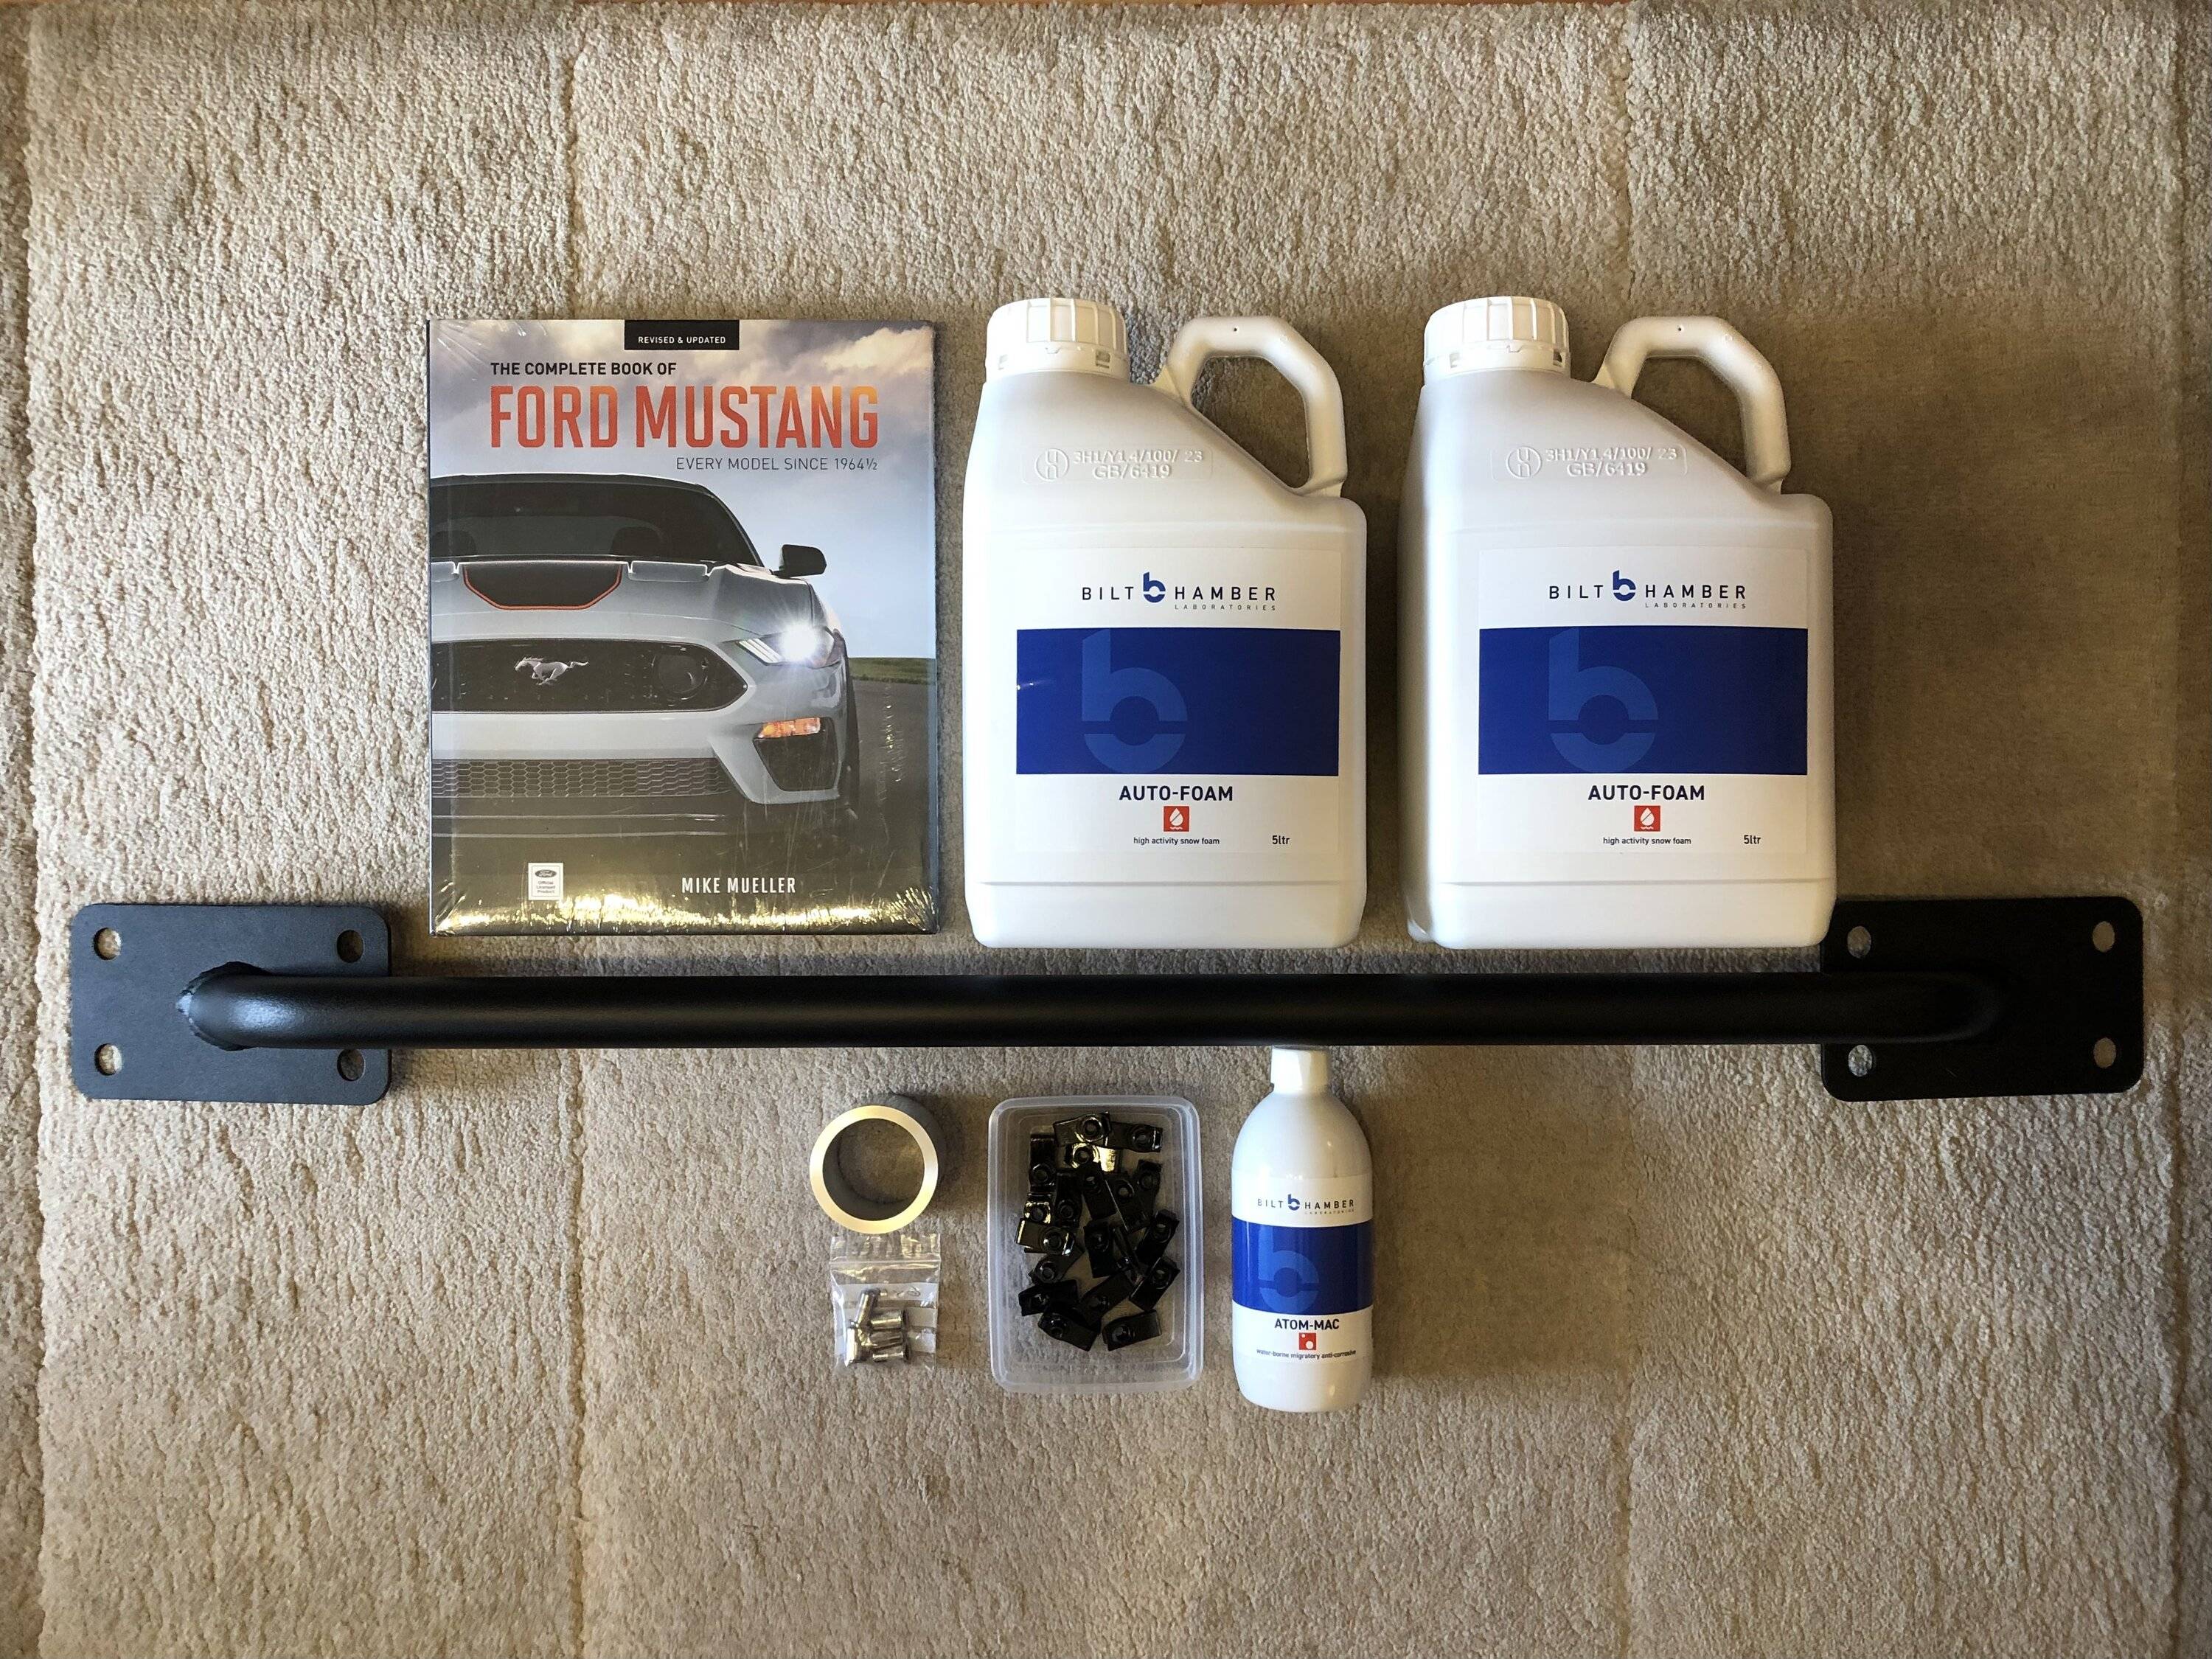
As supplied by Santa (with my other car related Christmas presents) :
I wanted this piece as in order of priority :
My front crash bar is corroding which is A) visible through the grill on the 2018 facelift and B) is highlighted by the light paint colour.
Remove a bit of color / add a bit of blackness behind the grill.
Save a little weight.
The textured powder coat on this item was actually pretty good (way better than the grey on the IRS braces and the black on the front 2 point brace), but it was being stripped anyway as I didn't want to simply cable tie the front wiring loom onto it.
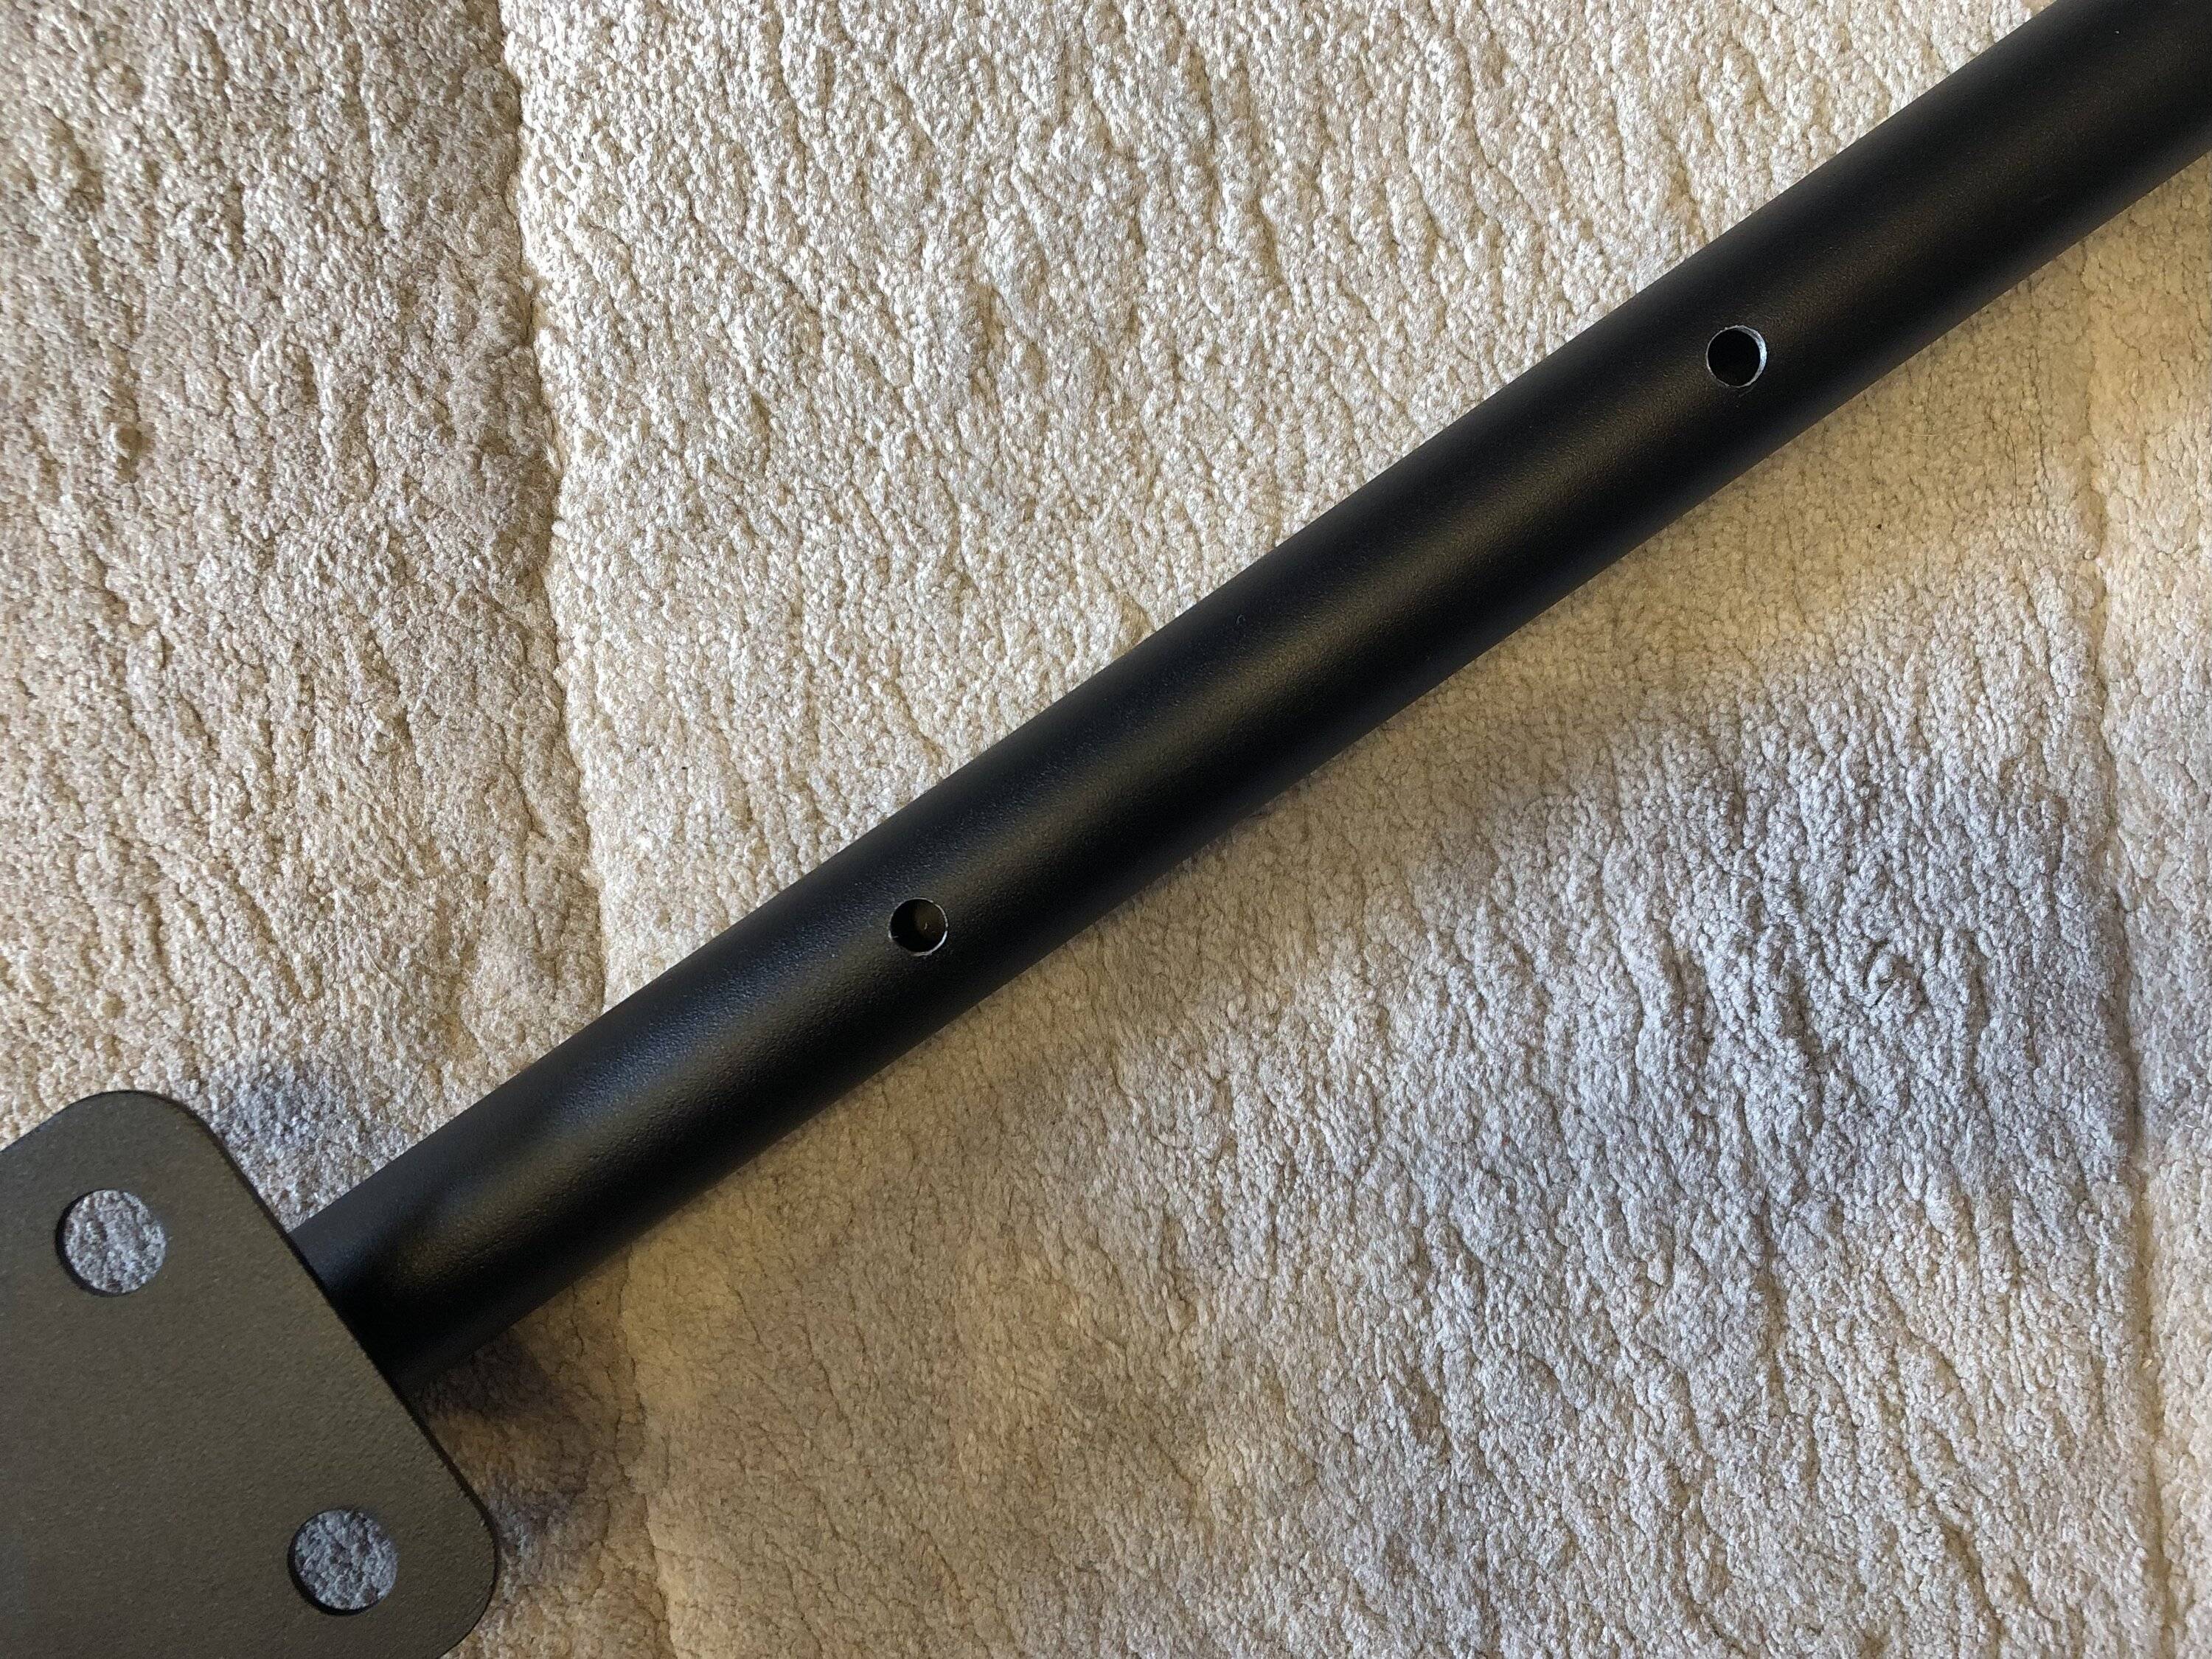
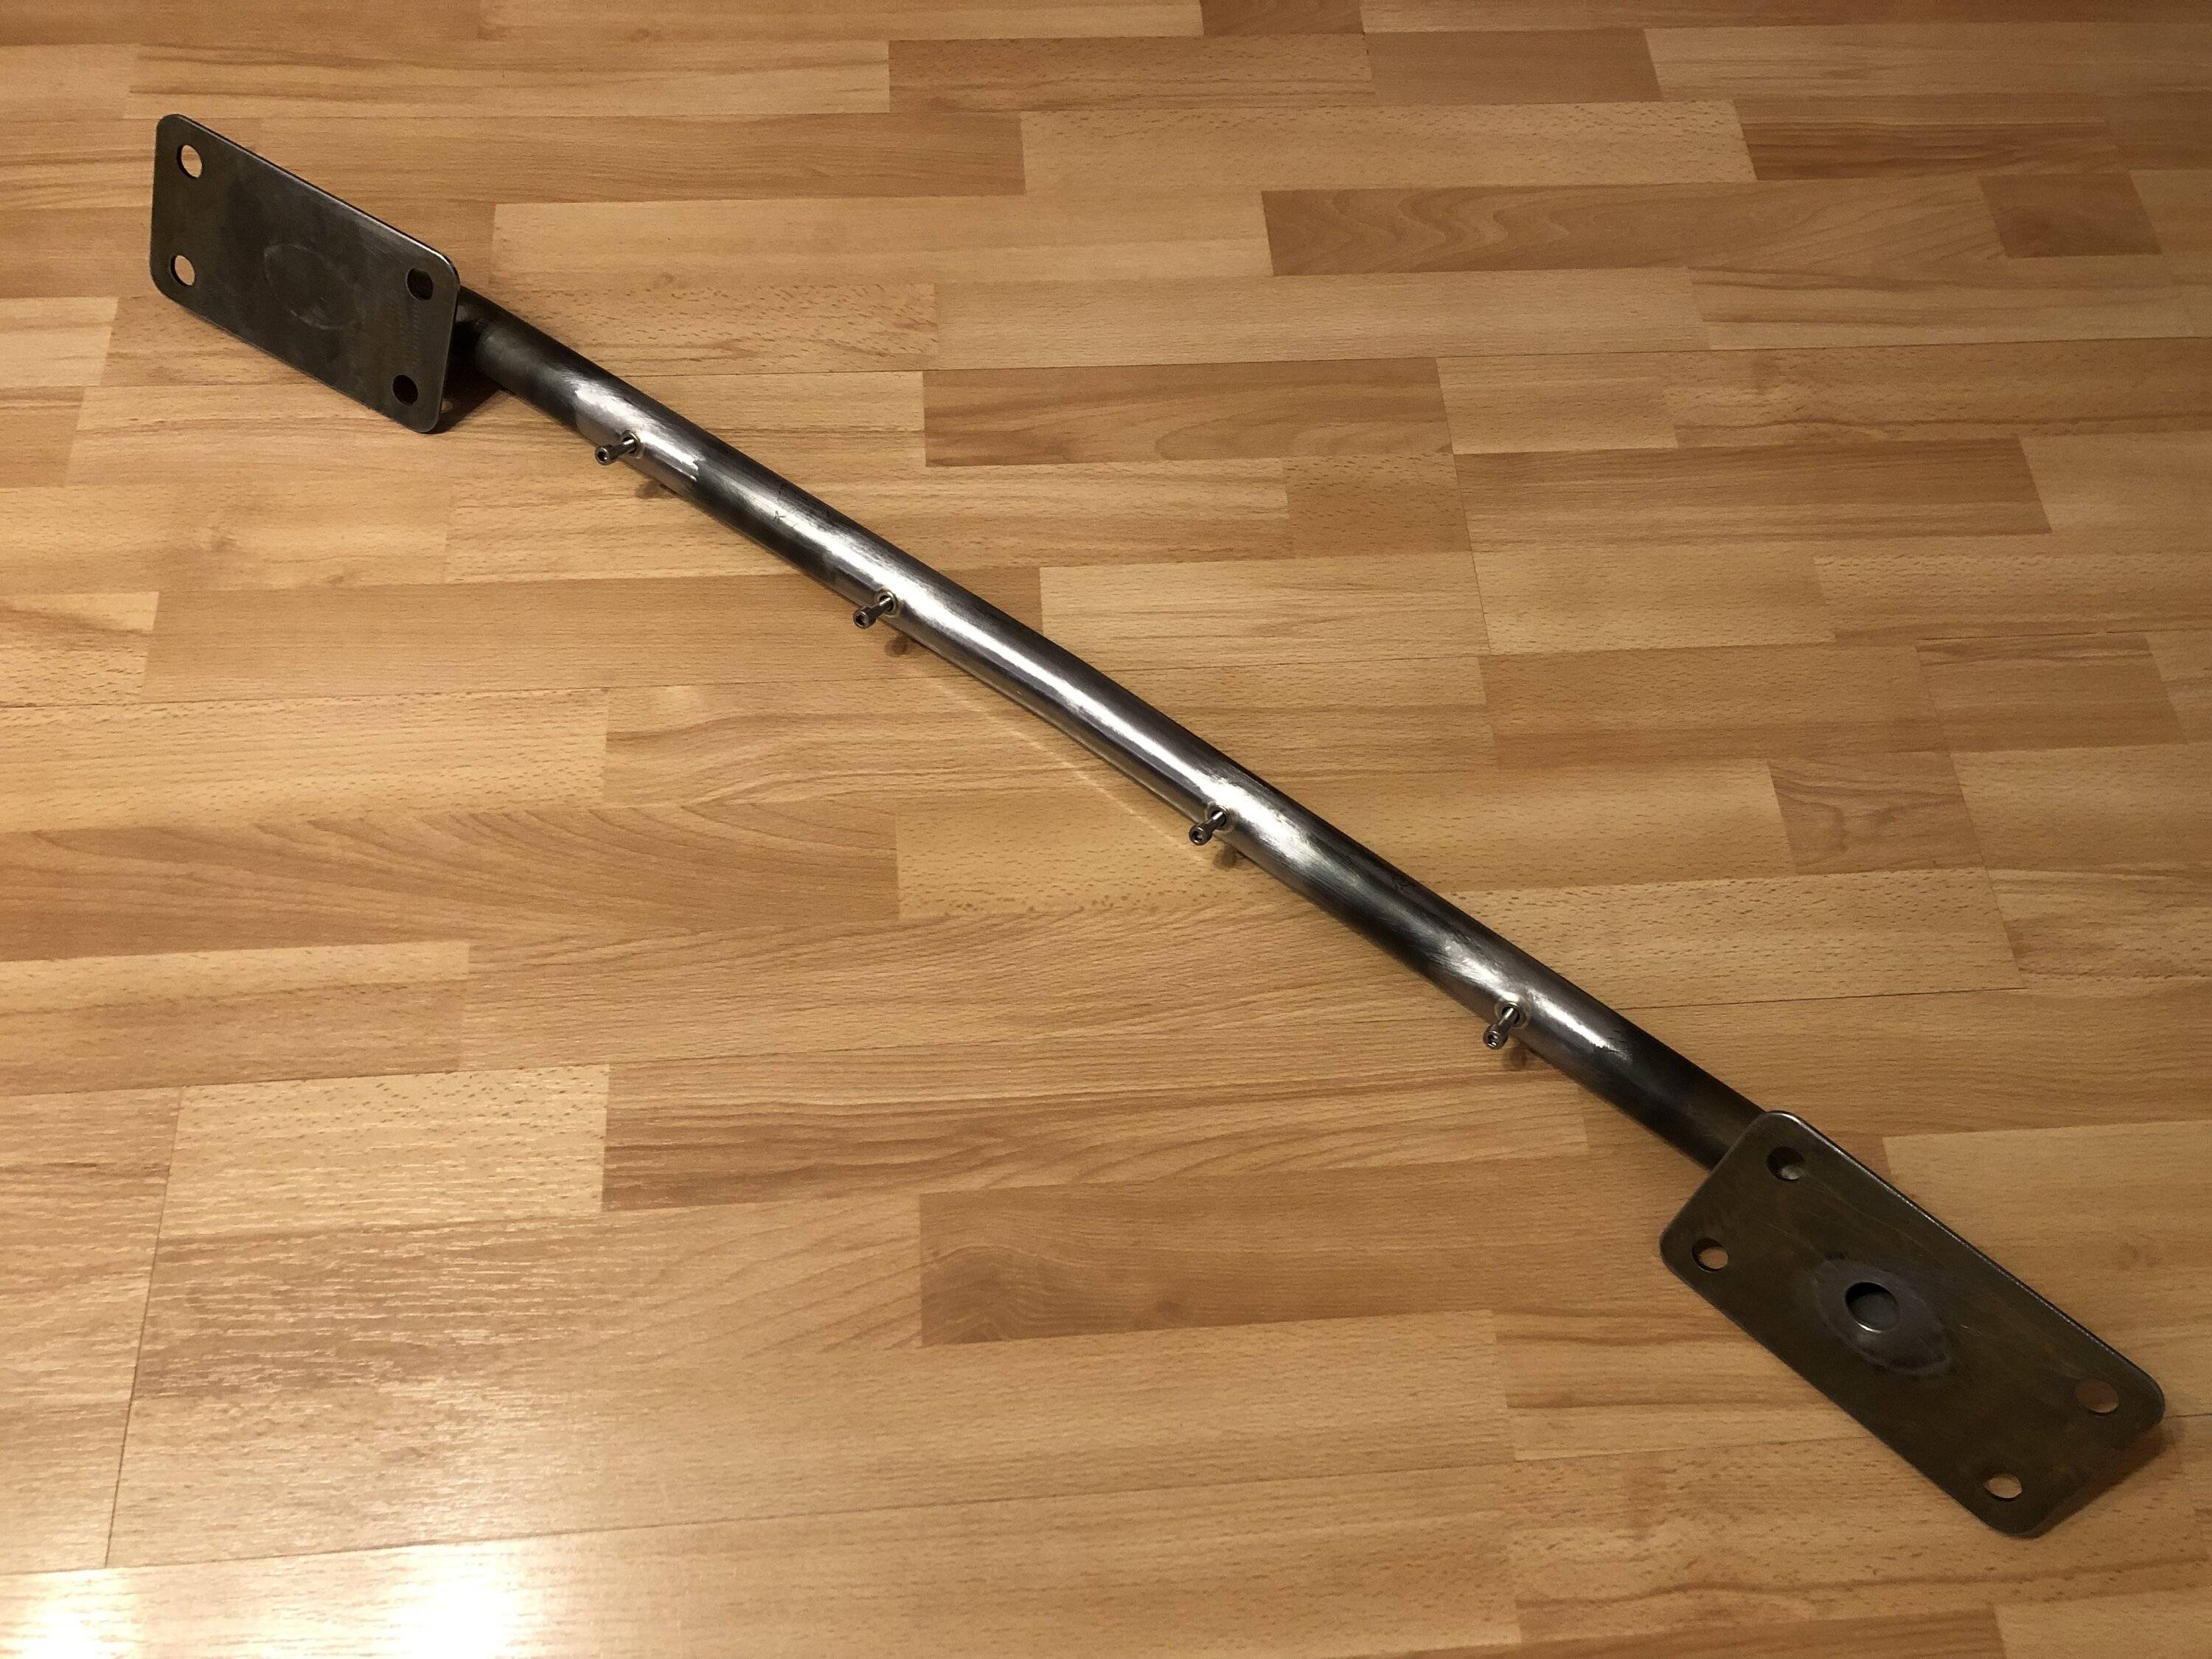
The front loom secures to the standard crash bar with four clips, so I used that spacing and drilled some holes (assisted by my eldest daughter) :
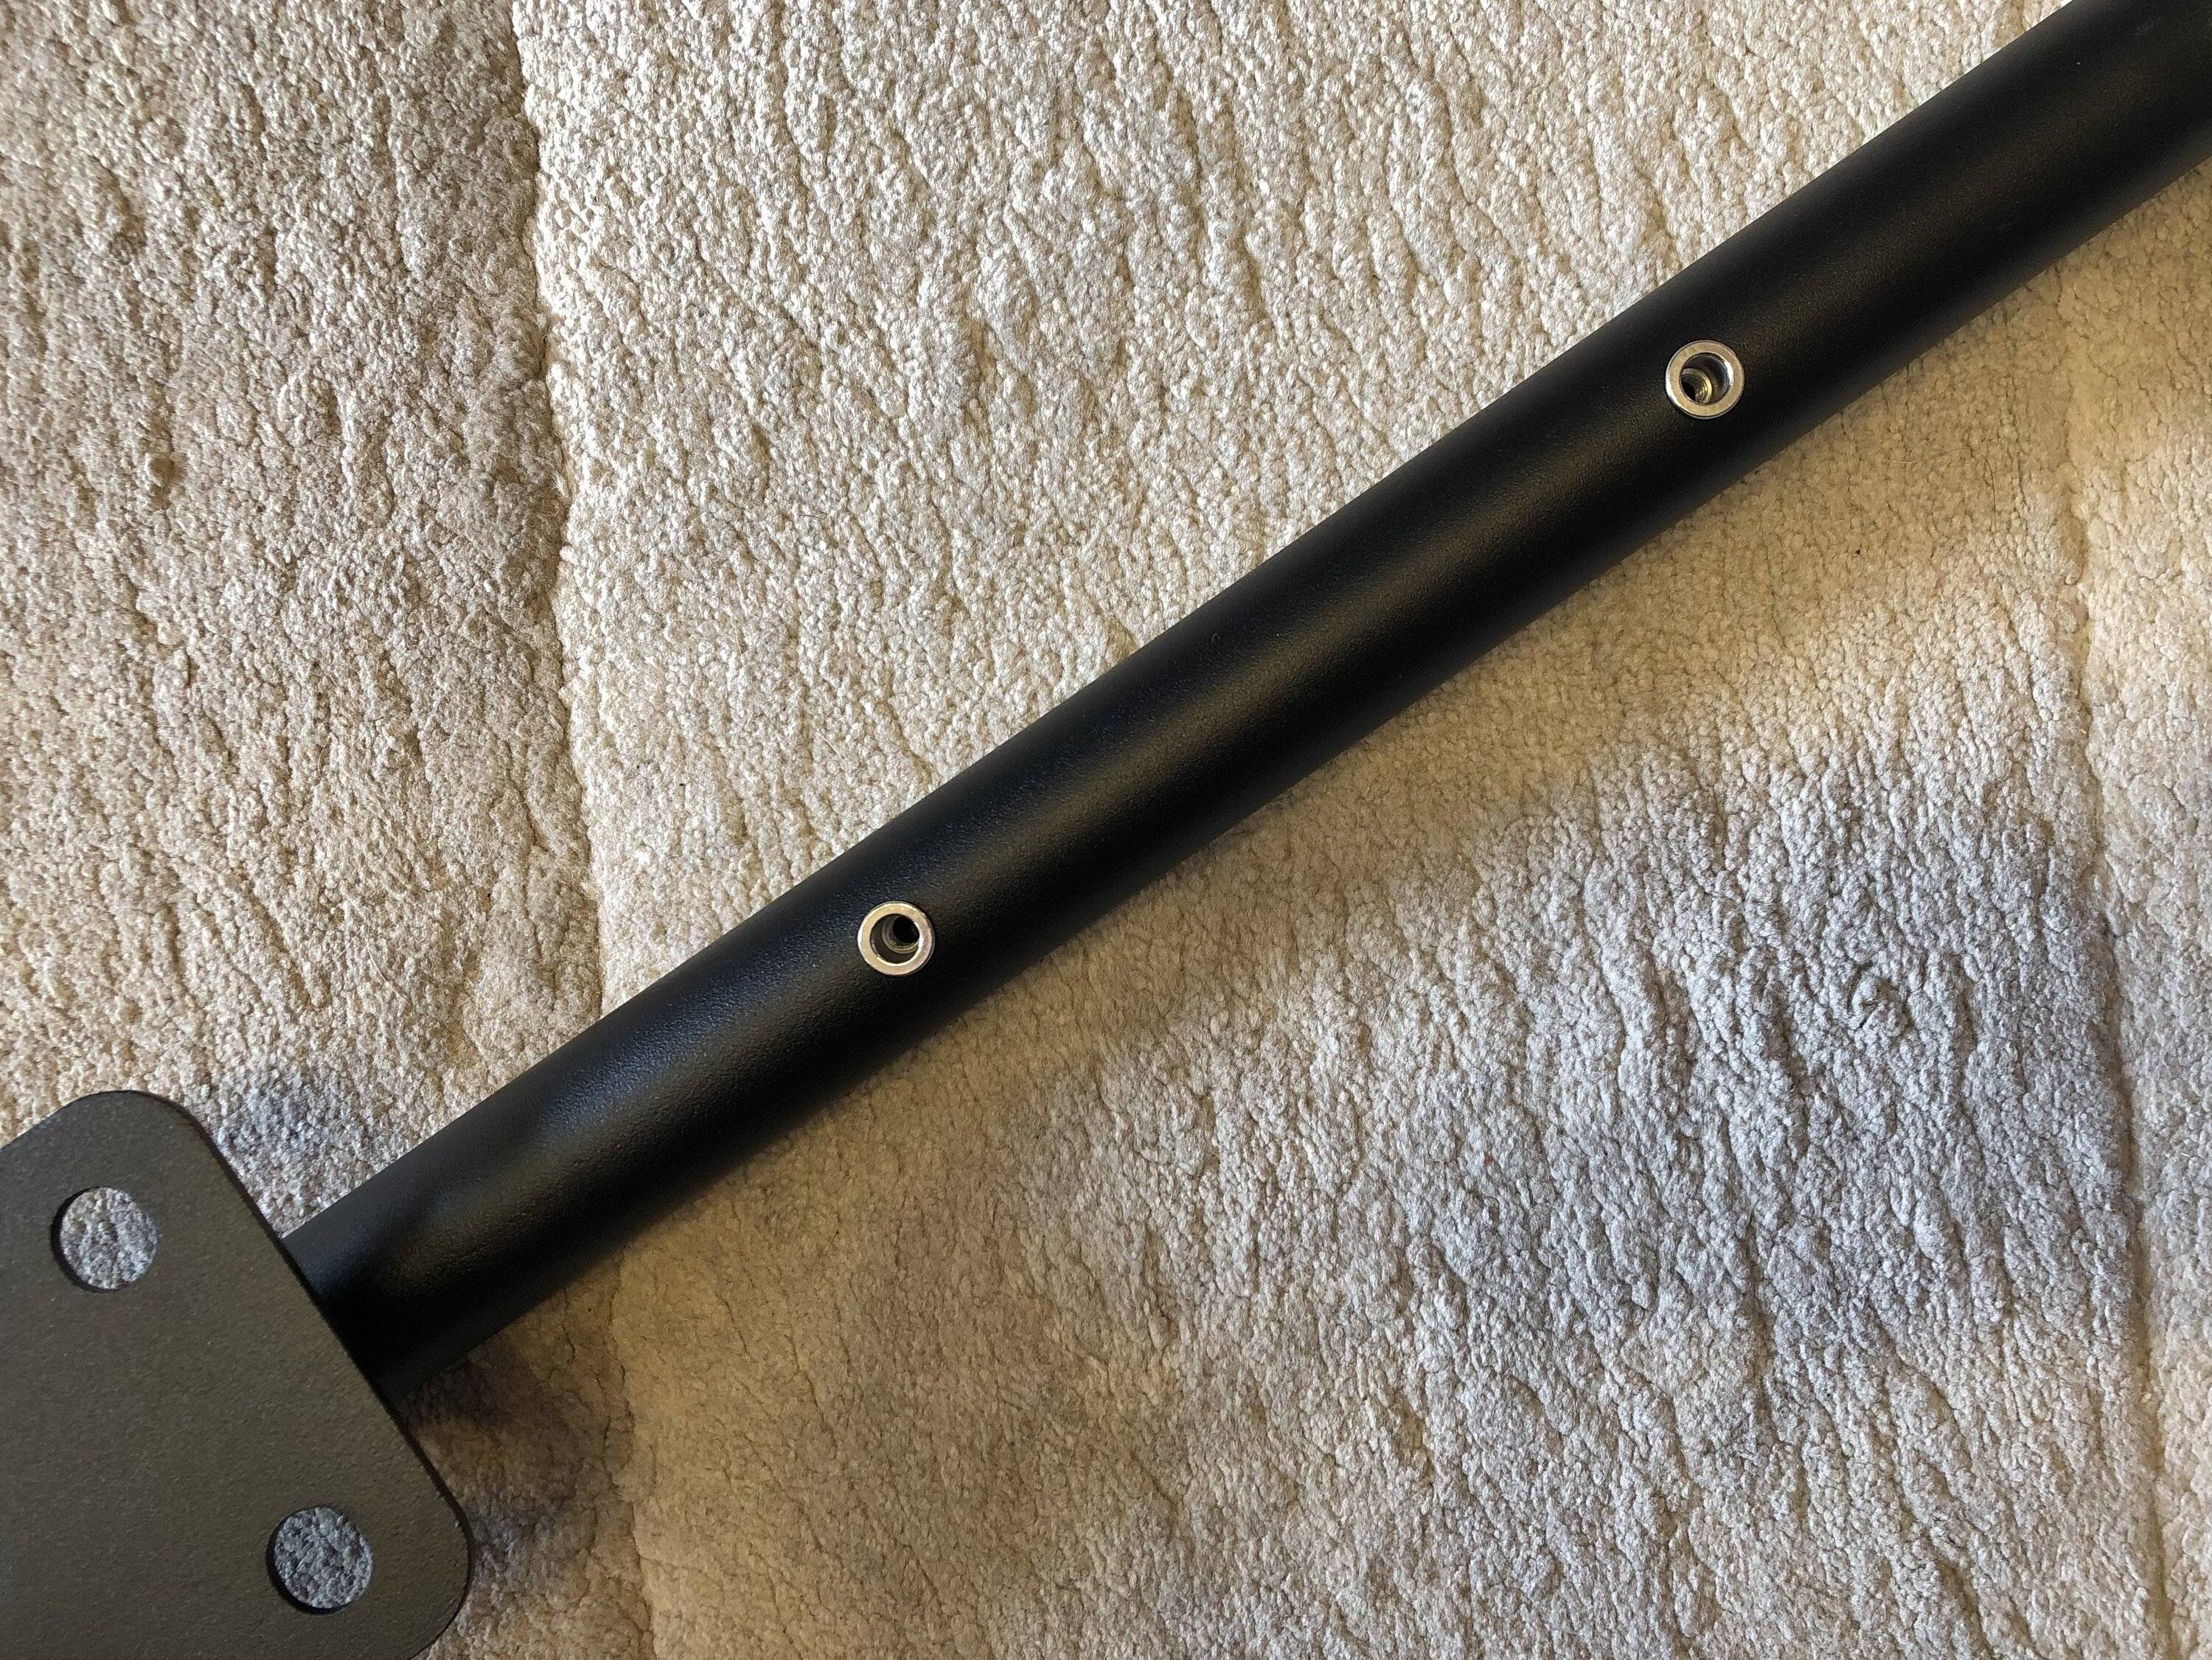
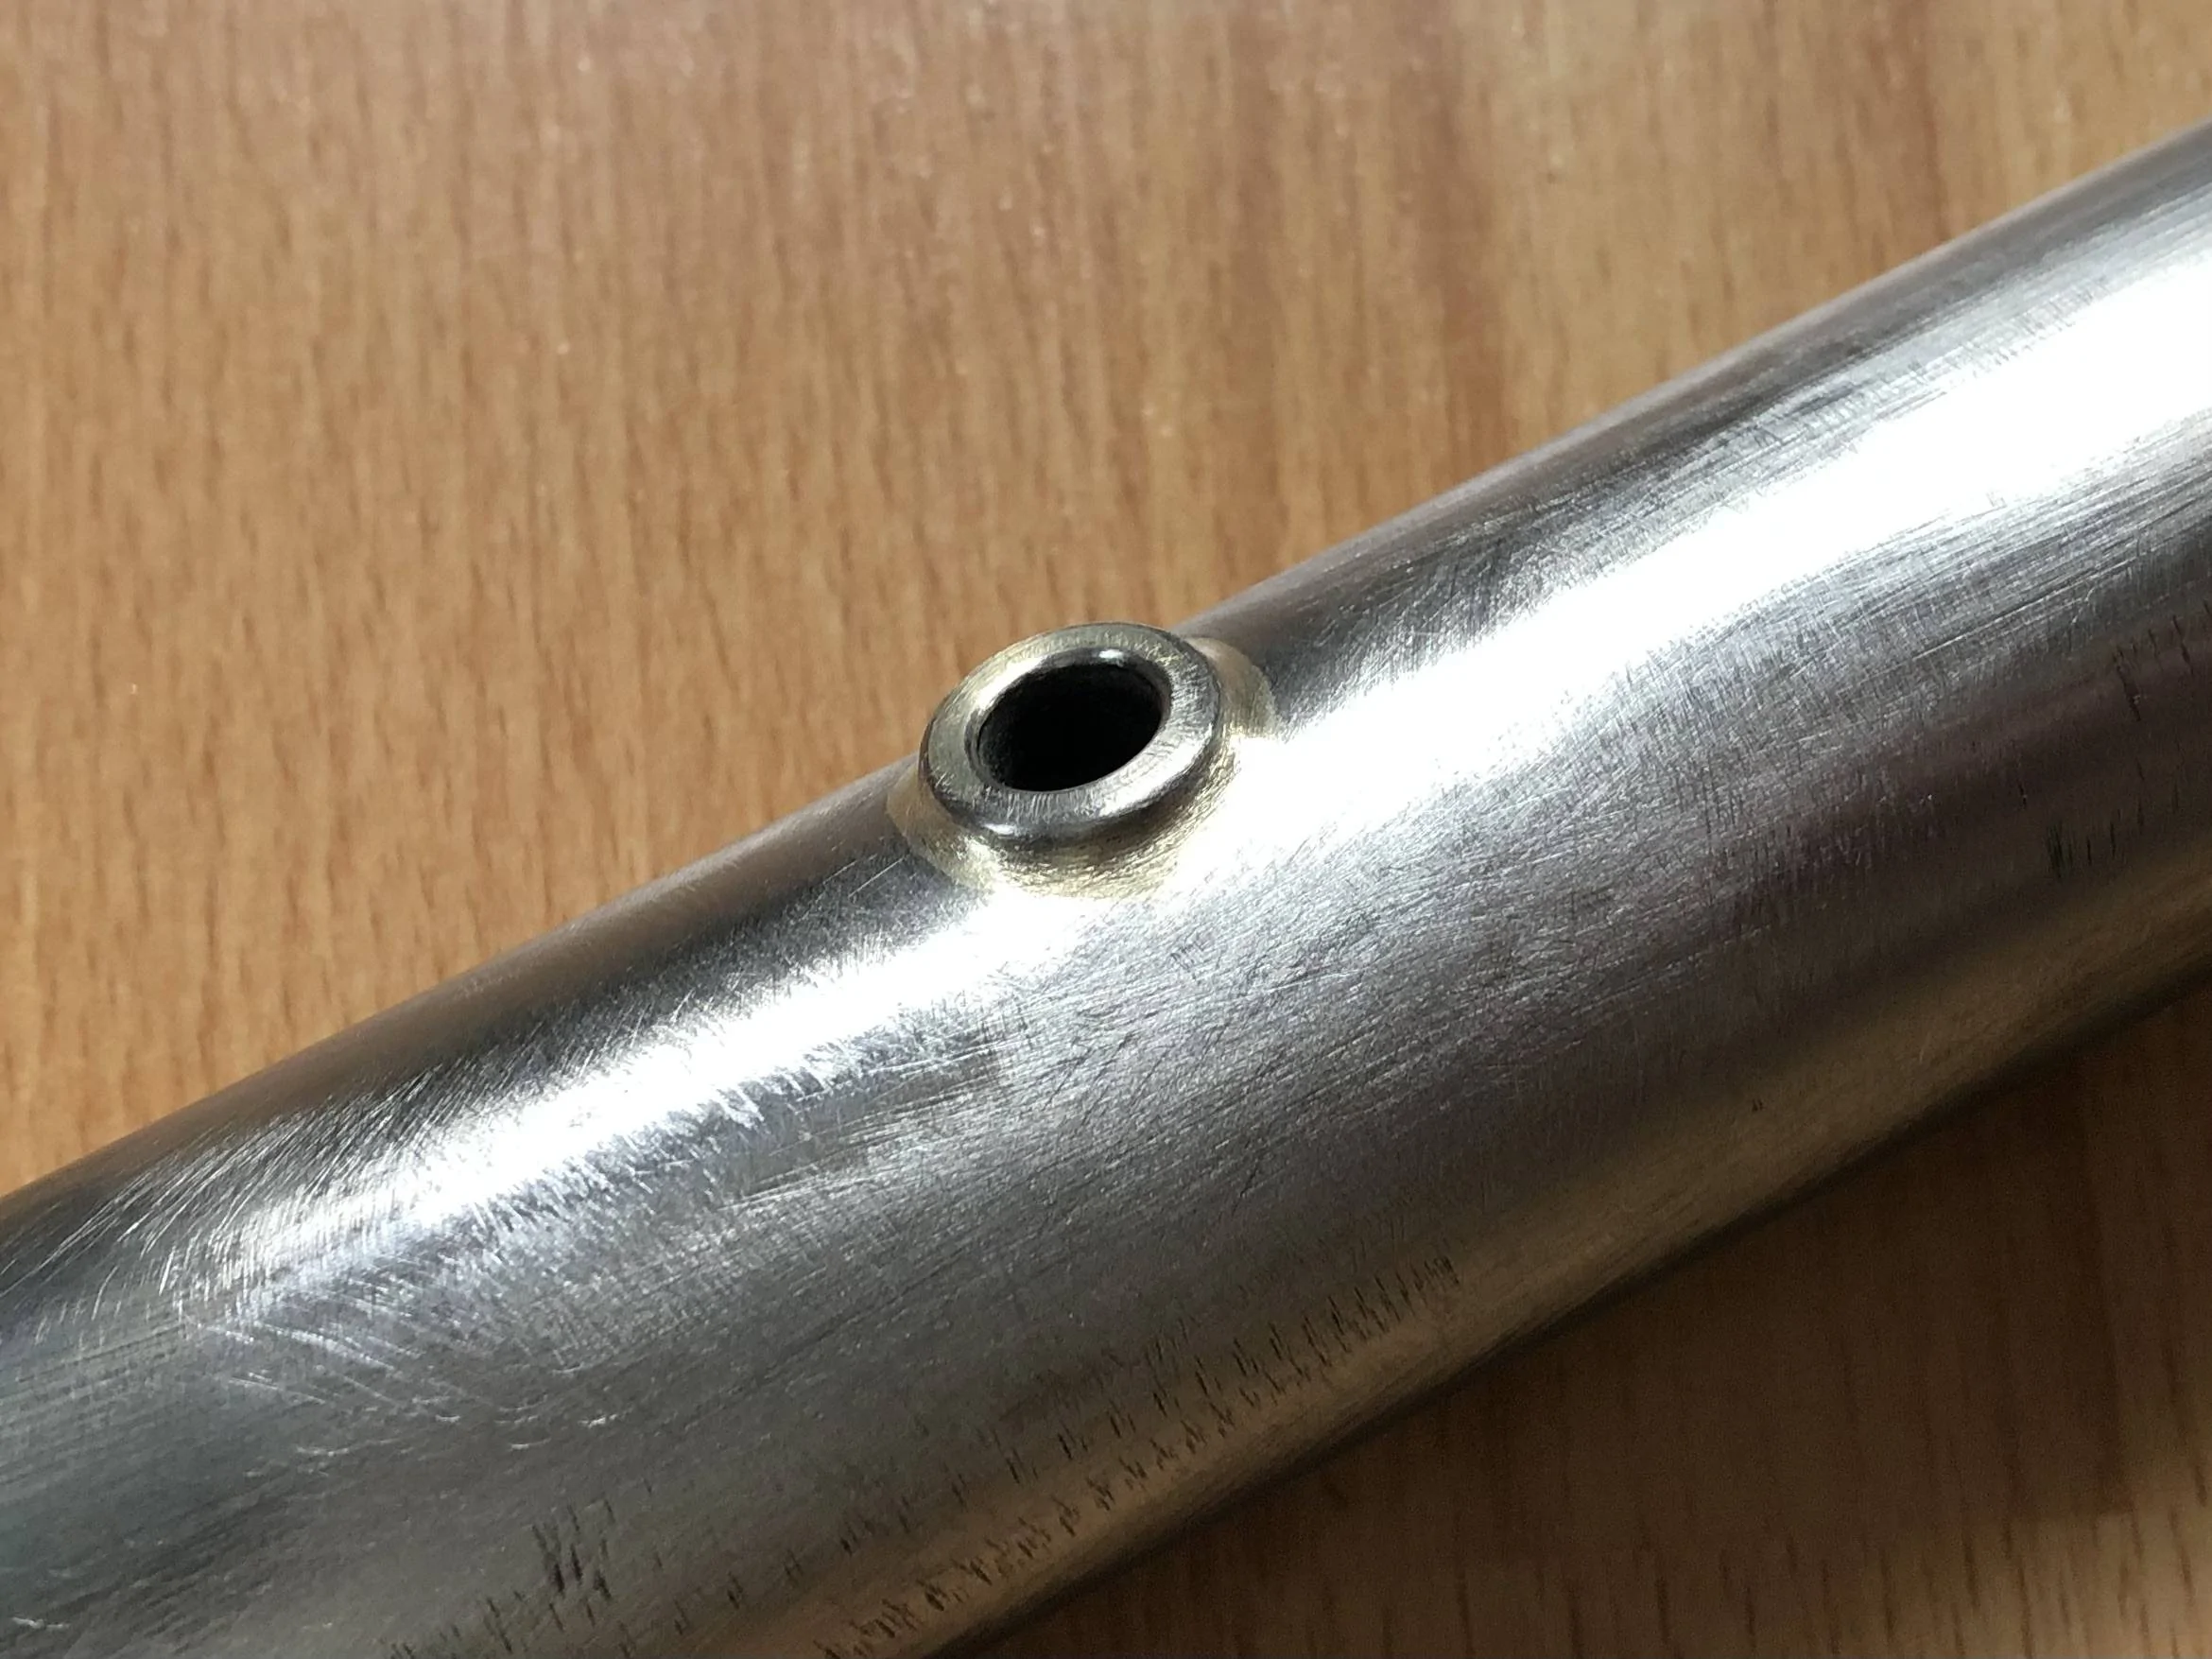
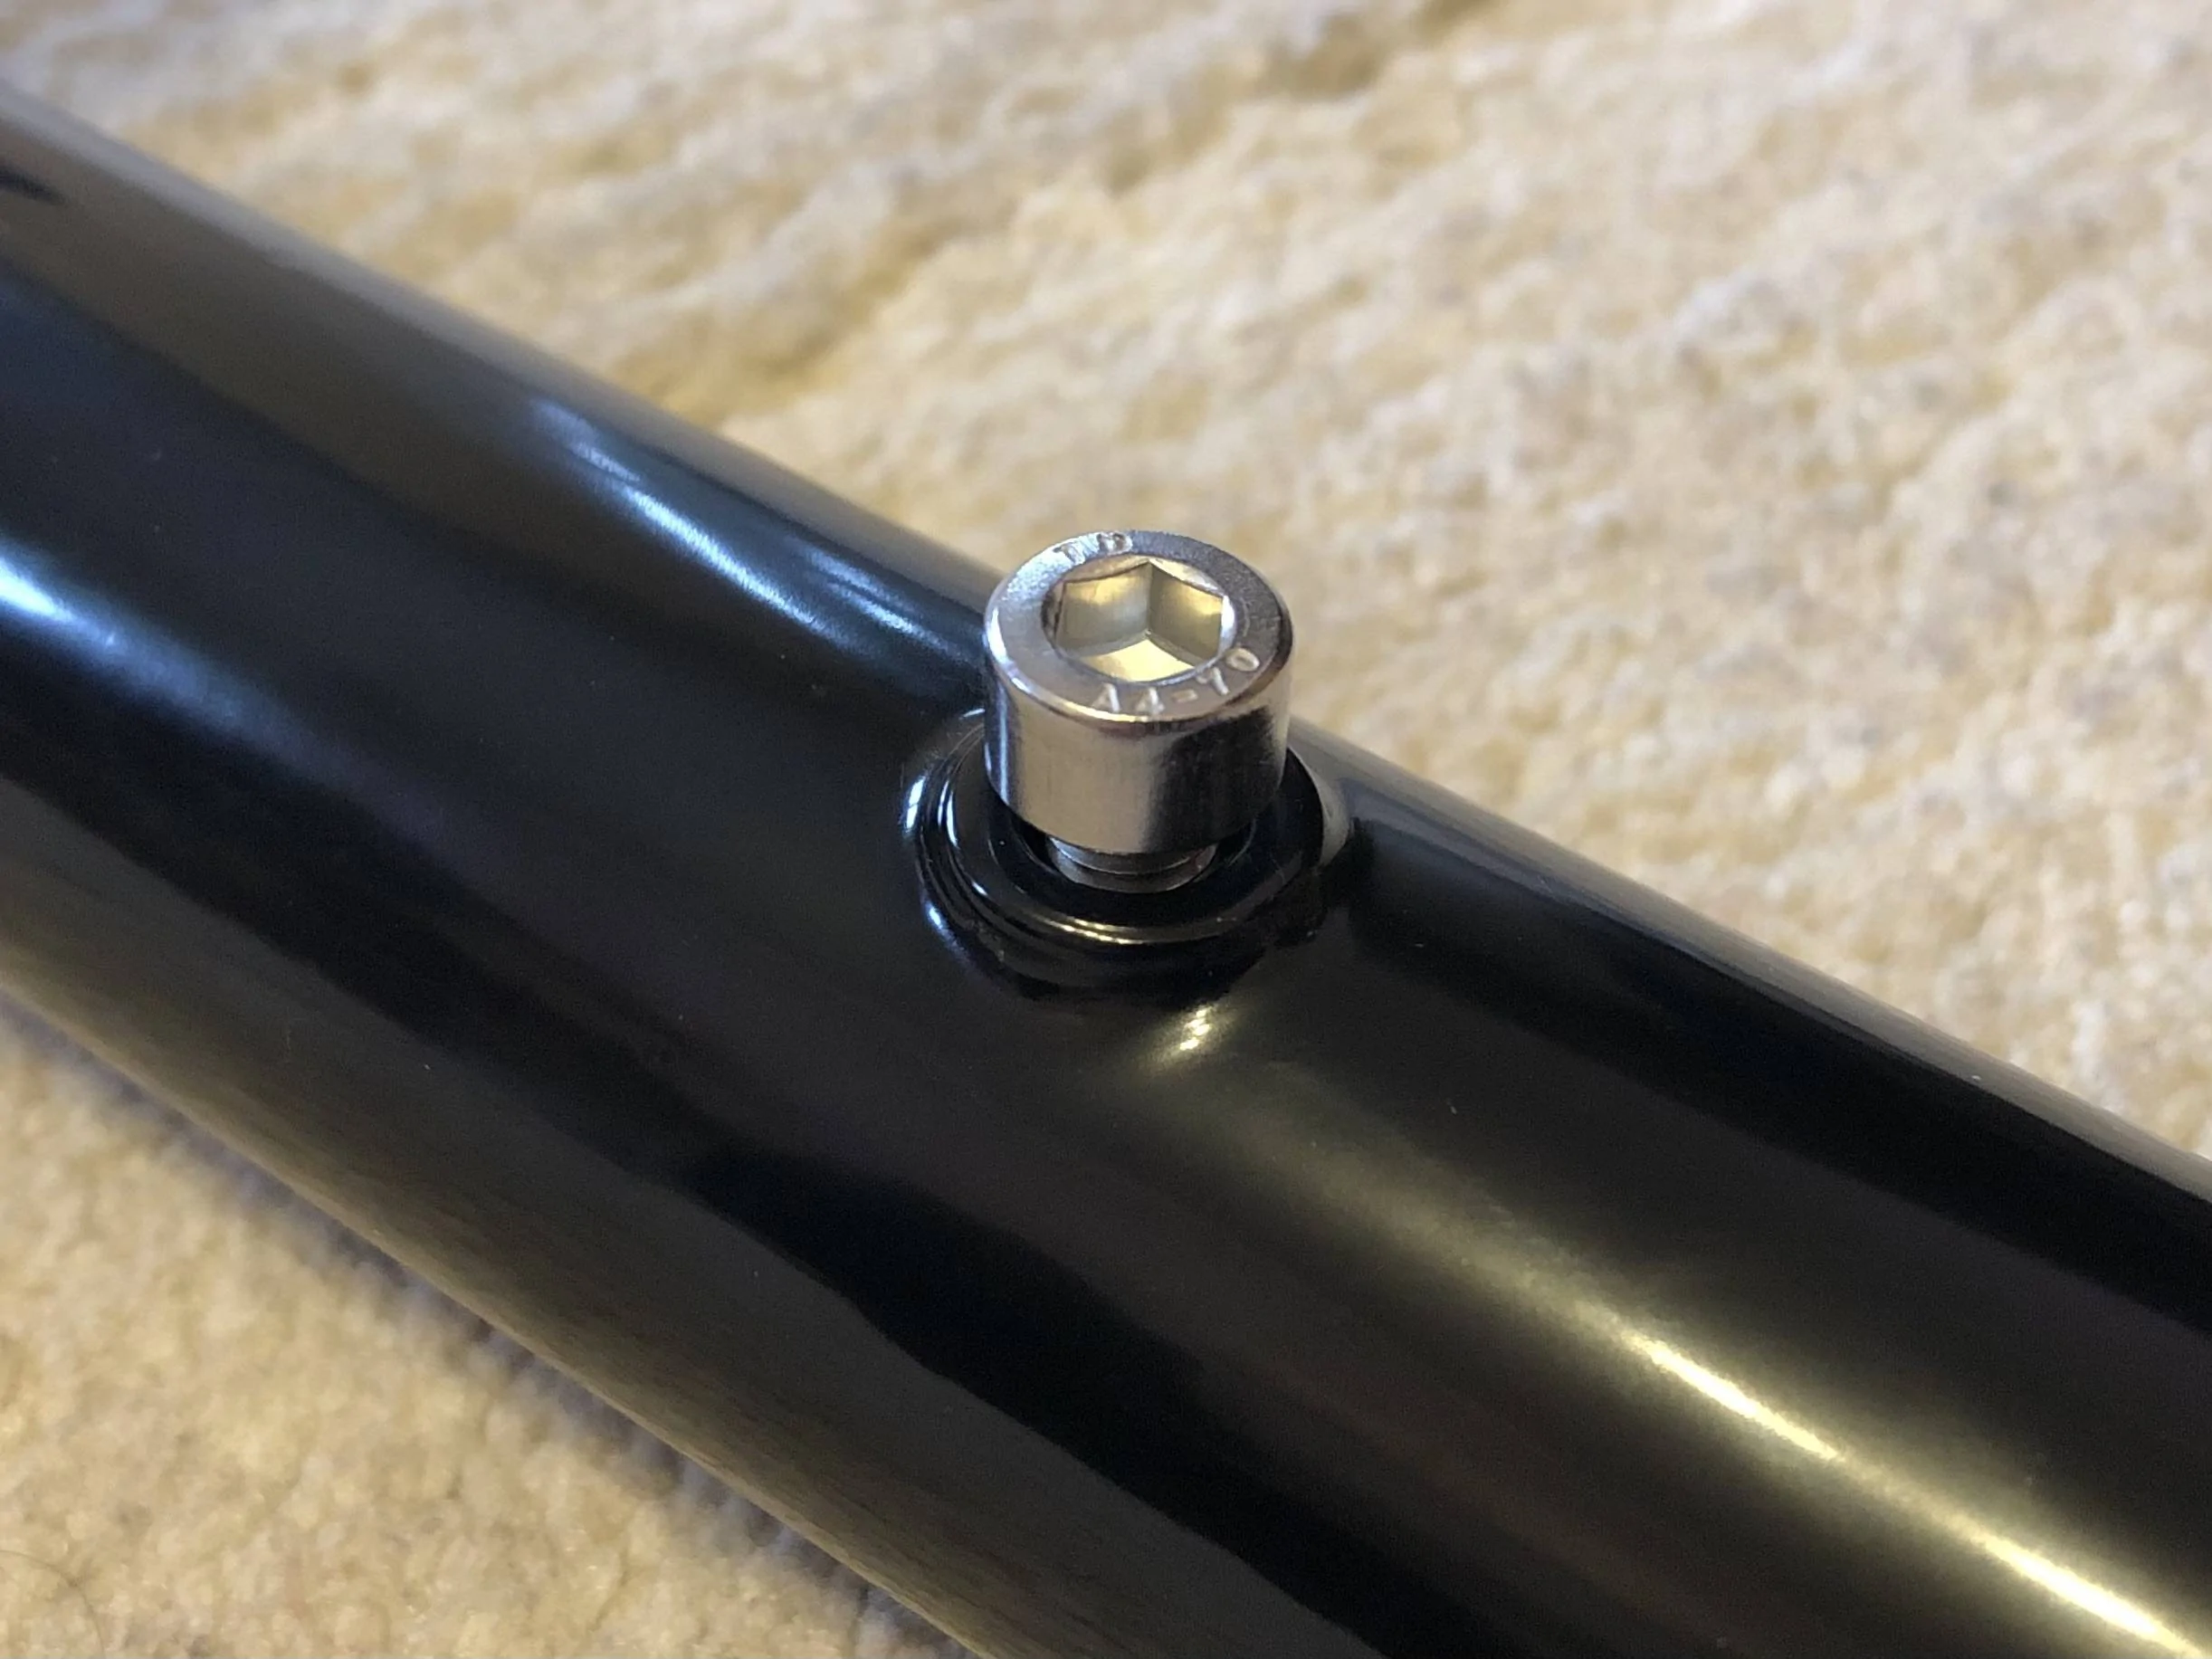
The holes will have stainless threaded inserts added :
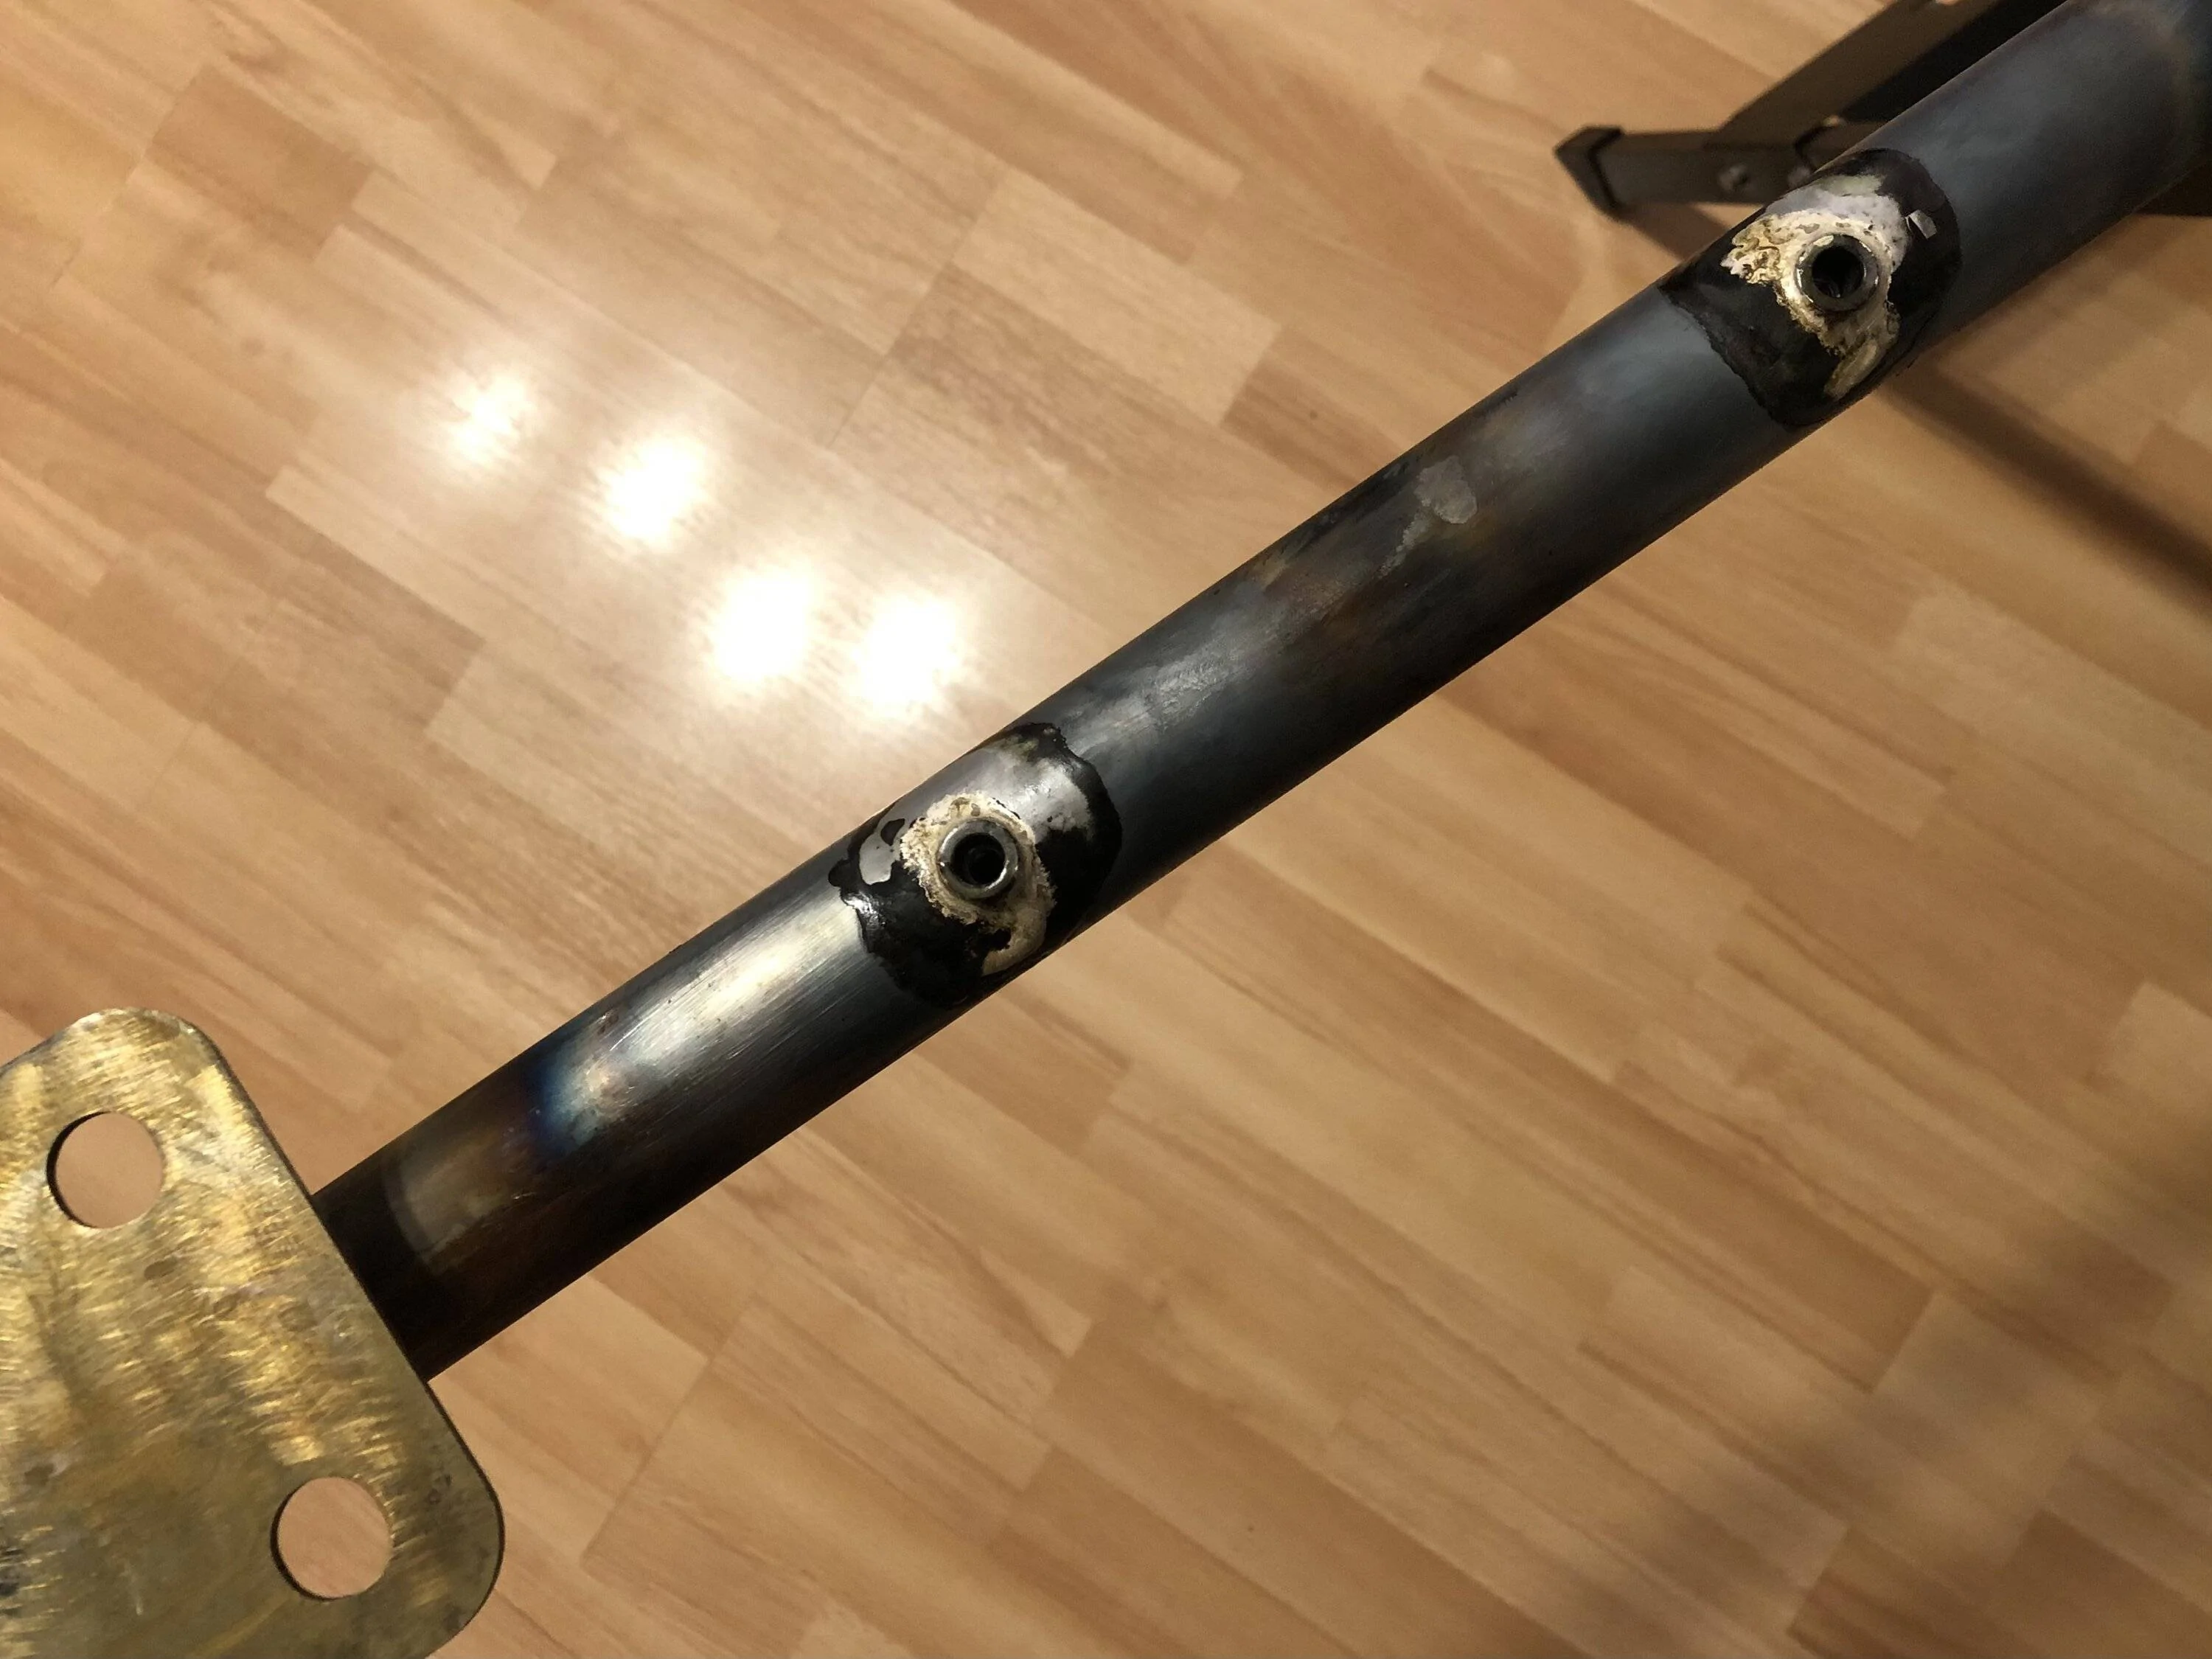
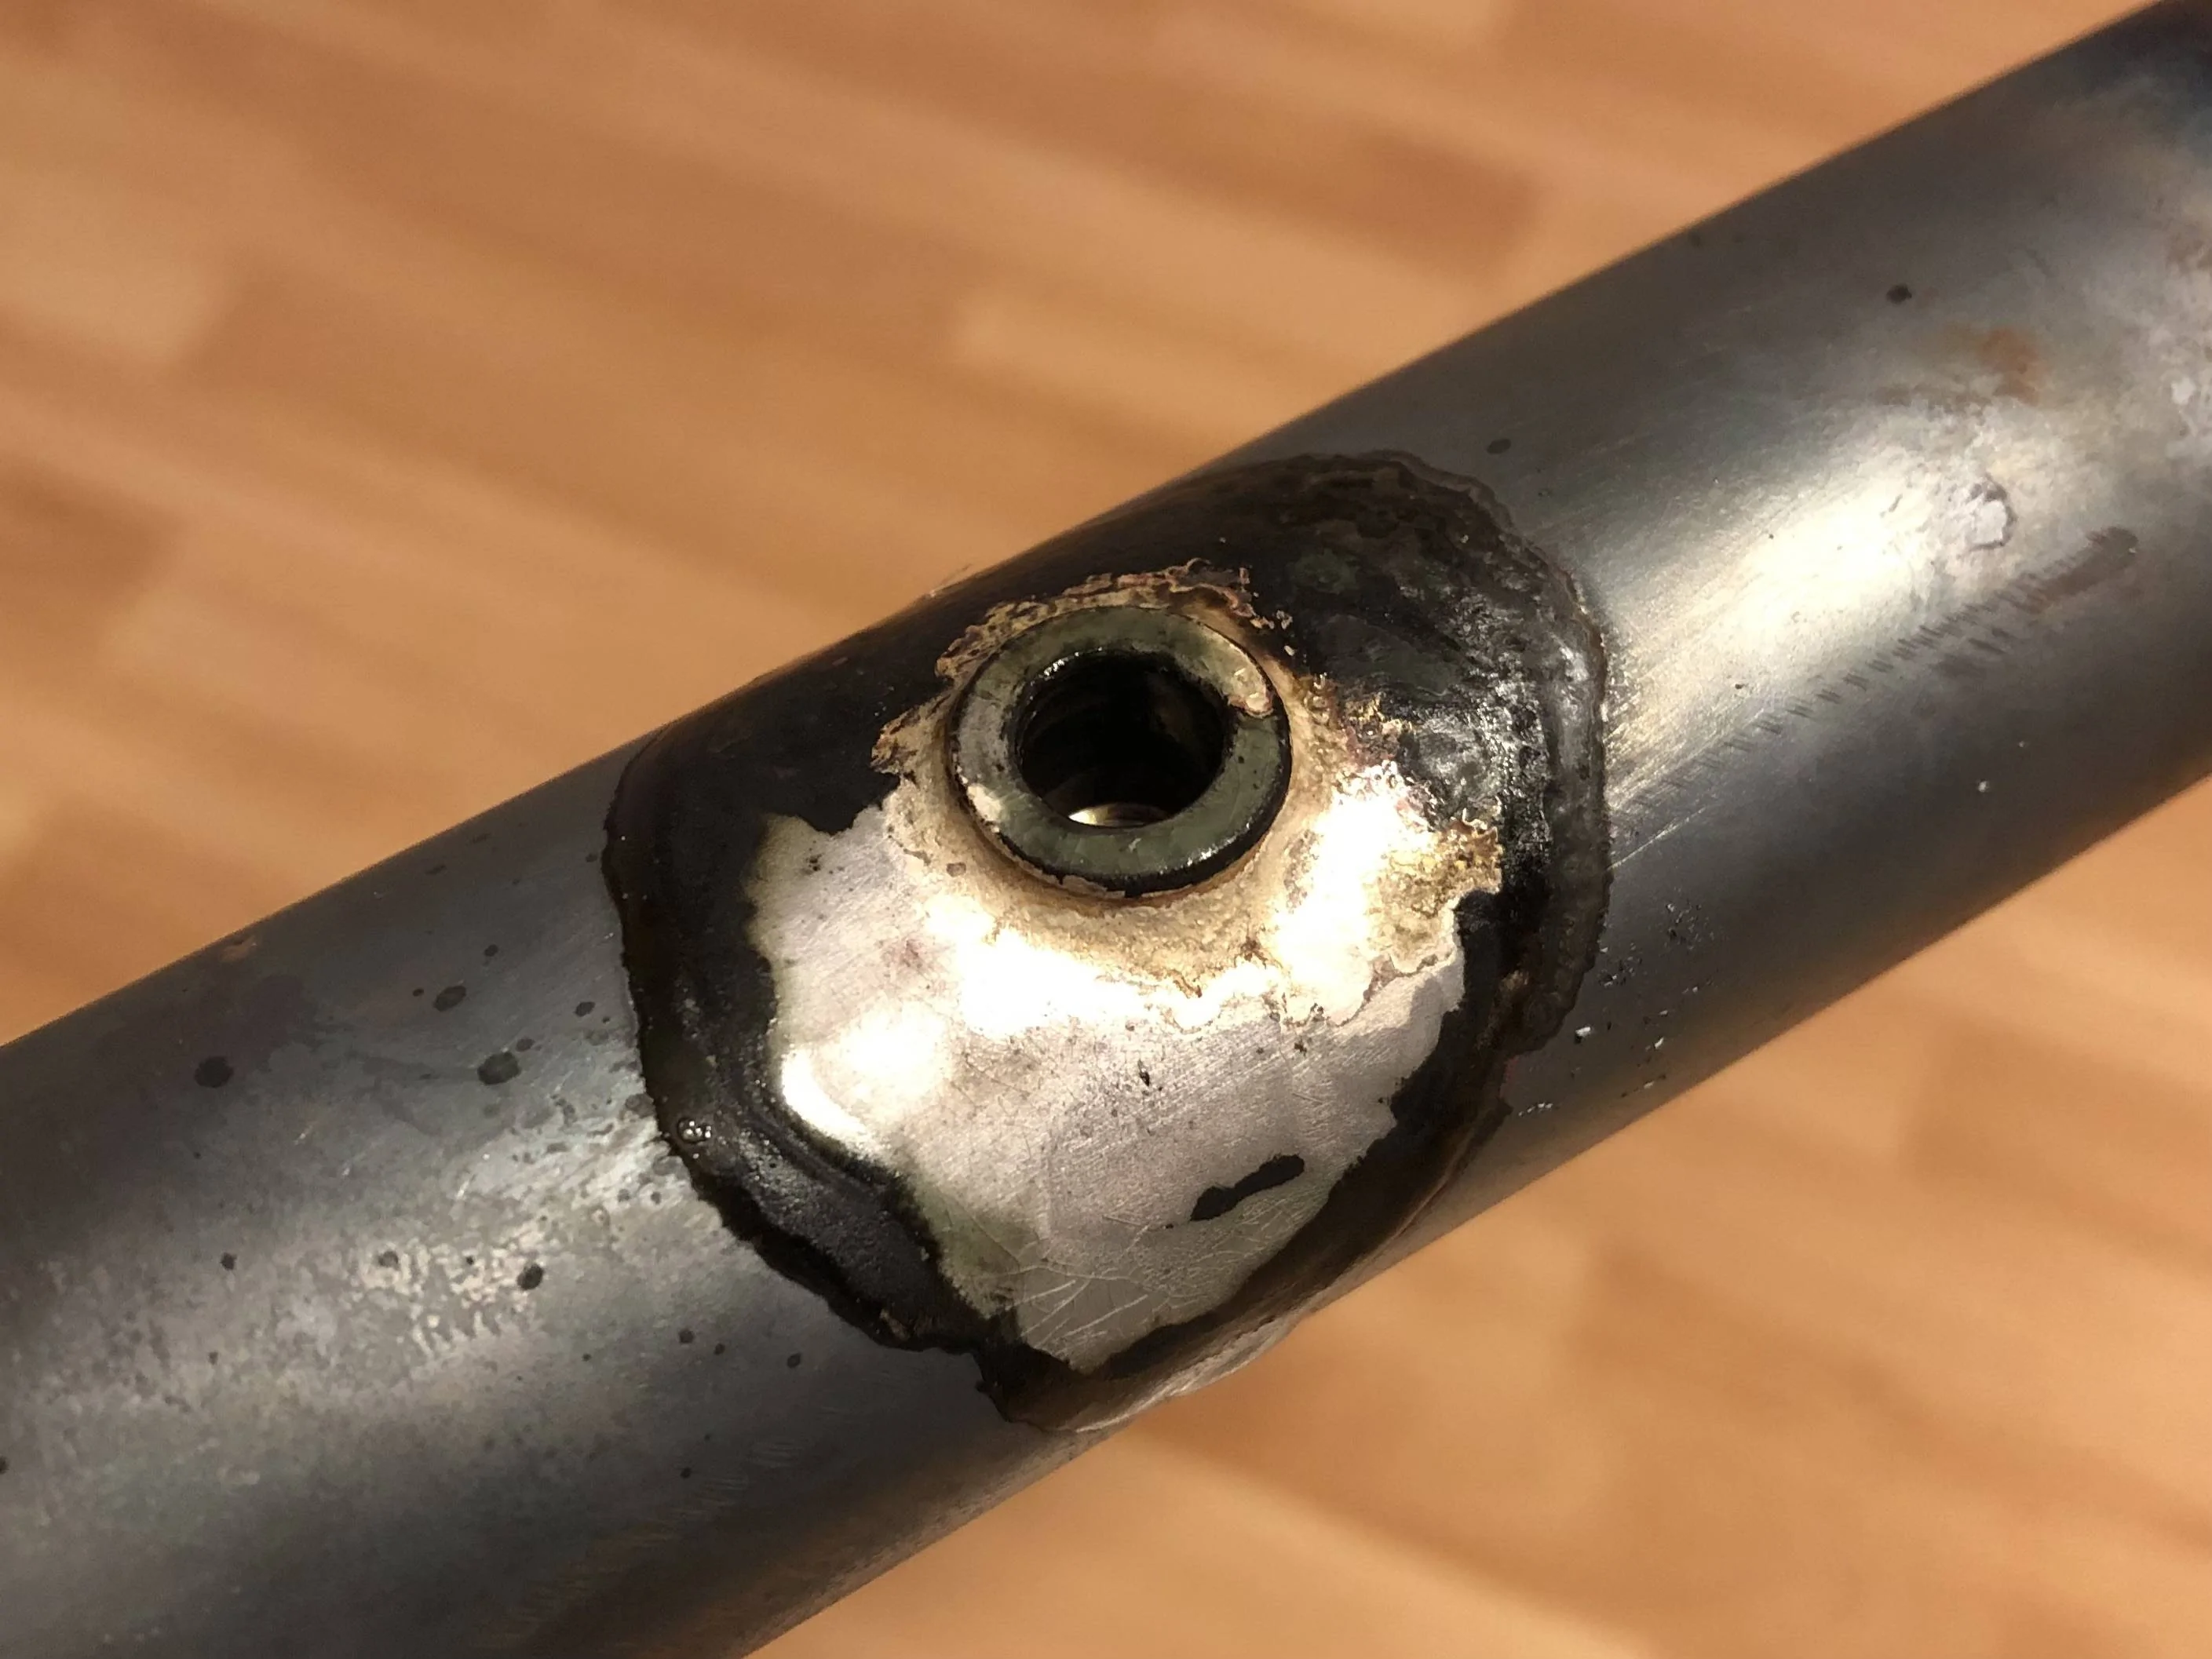
It then went off for fresh powder, but I interrupted the process after the acid bath so we (with my daughter assisting) could do some brazing :
After dressing up the braze :
Smoothing all the sharp edges (to help the new powder flow and avoid thin edges) :
We also drilled a 20mm hole in the back to get debris out of it, so it can be hung from the hole for processing, and so I can easily shoot some cavity wax in there before fitting :
I'm not sure yet if I should let the hole vent (it's protected once fitted) or if I should plug it after adding the wax ?
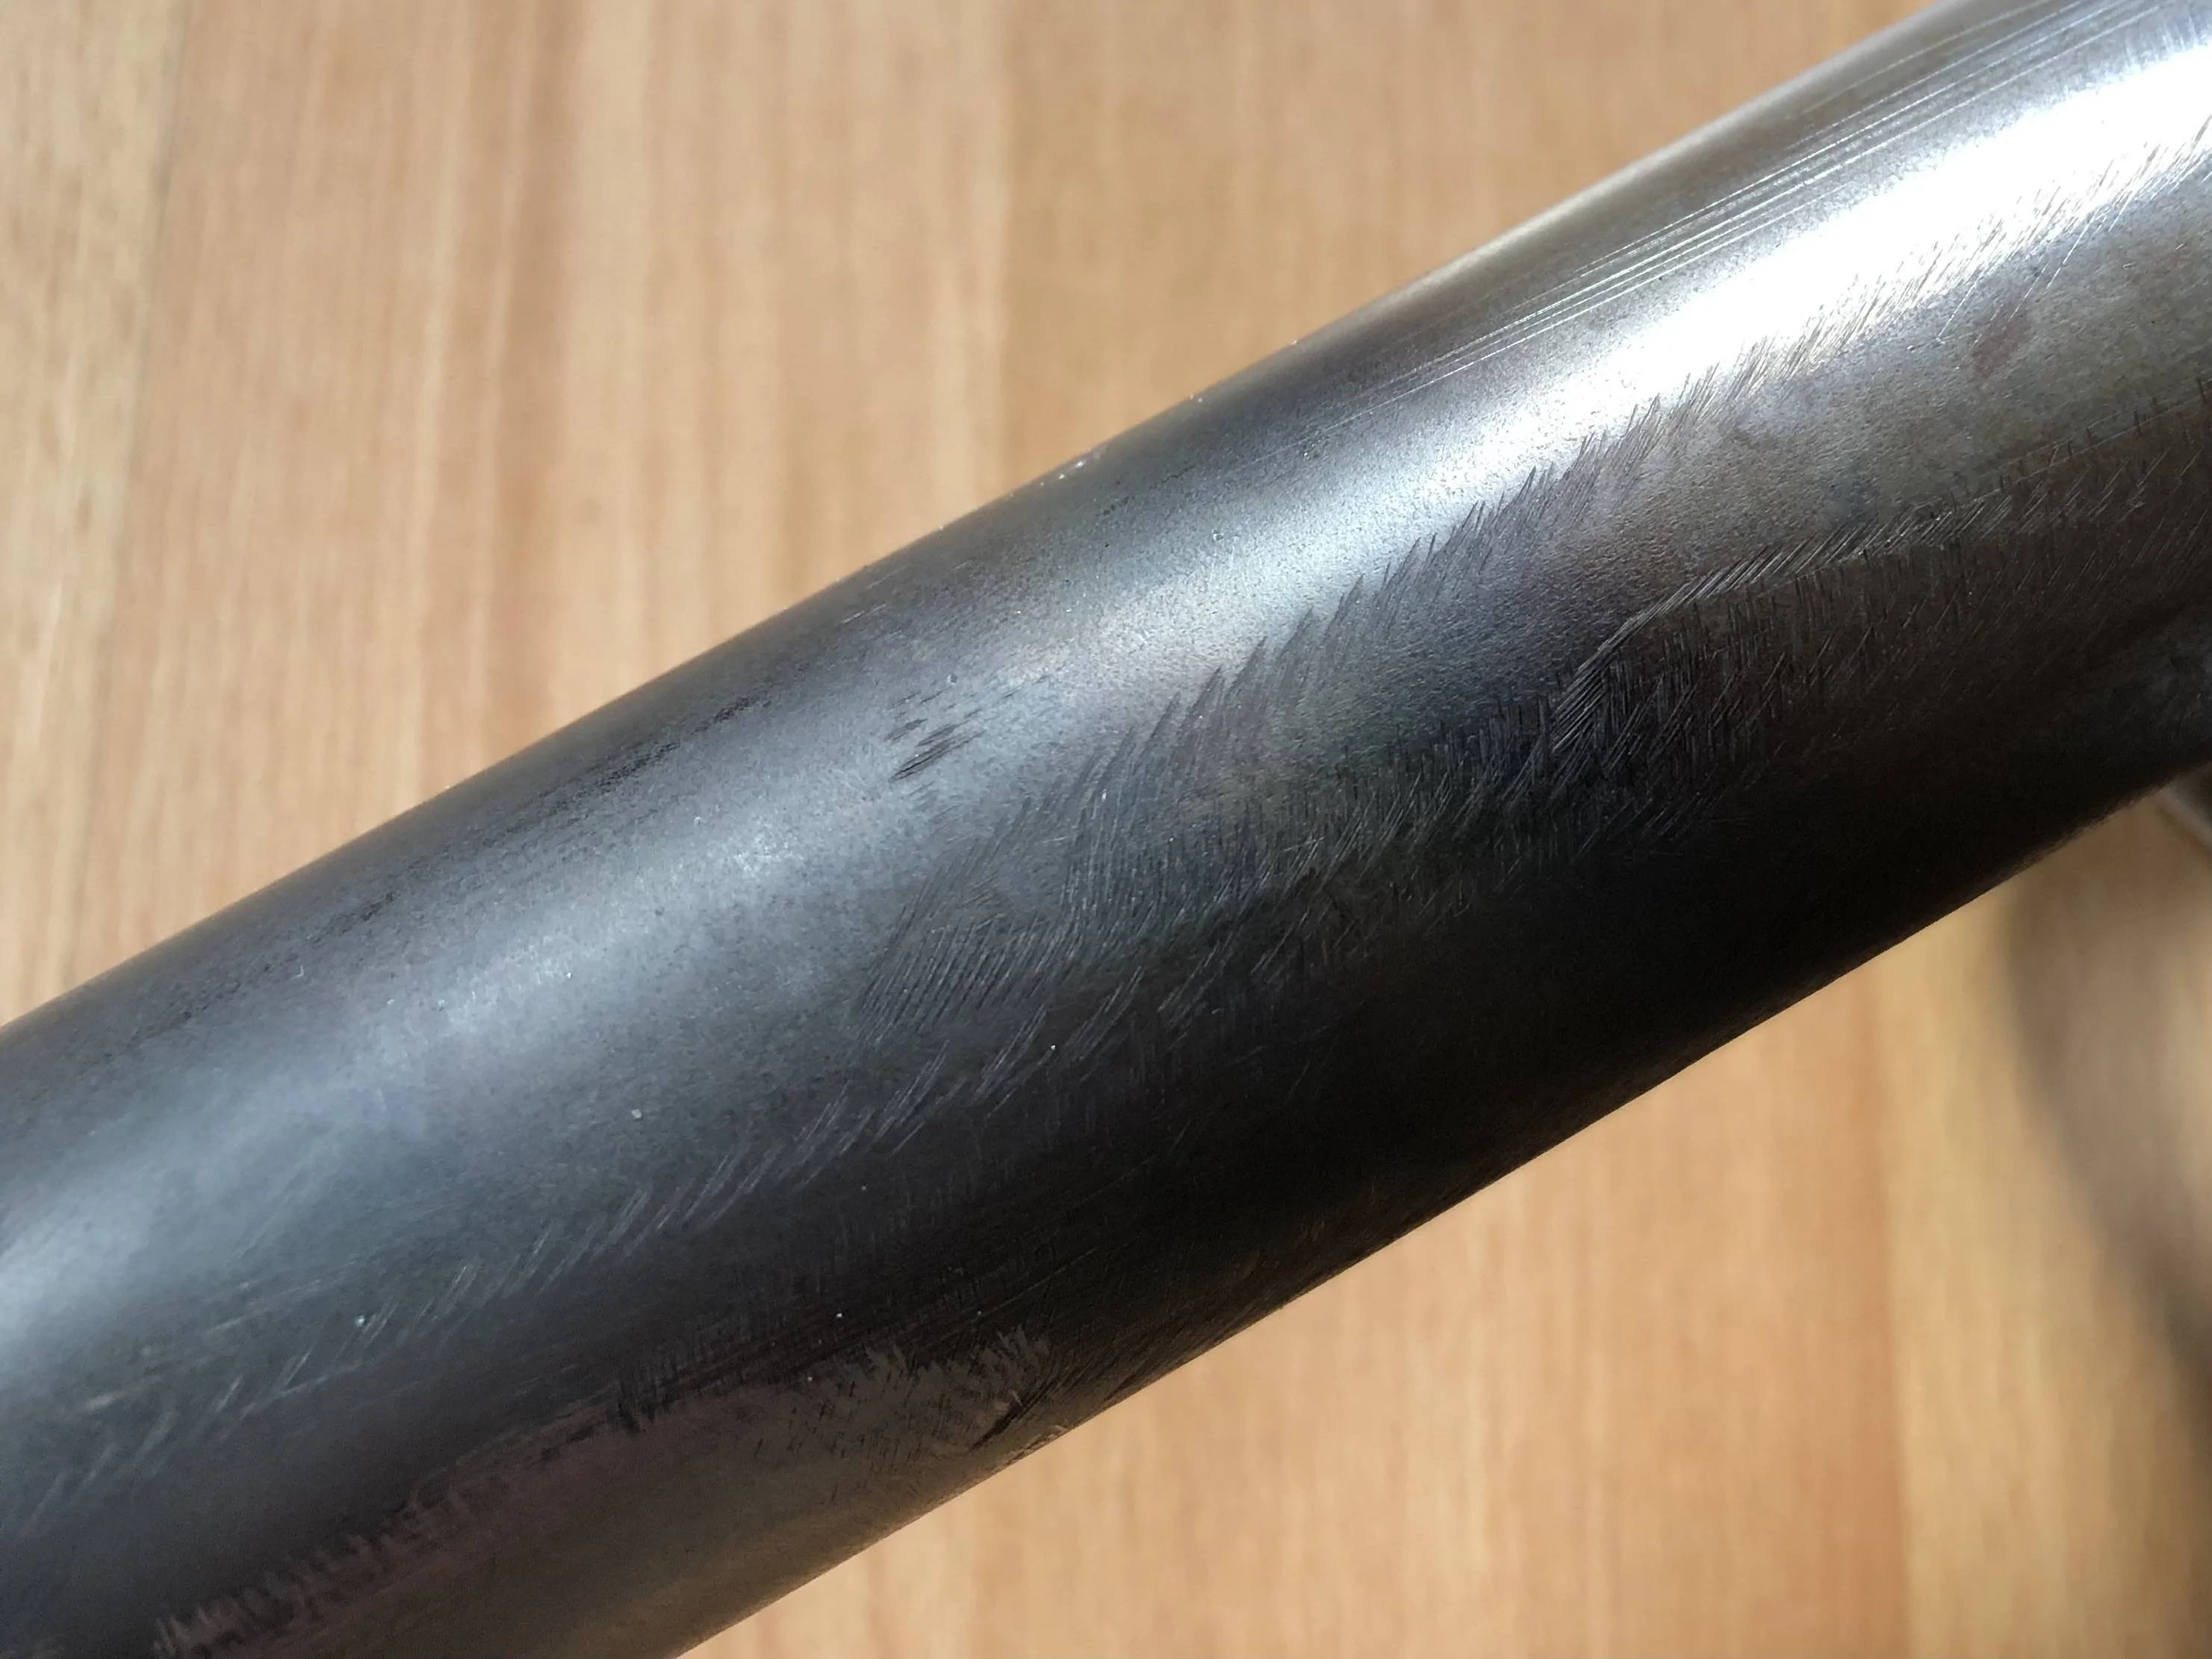
Ref my comment above about this being the best powder coat I have had on any of my Steeda's parts - well it's still a little lacking a little with regards to surface prep ...
There is just the occasional track mark from where the grinder / sander has been run up and down it :
Ready for aqua blasting and coating :
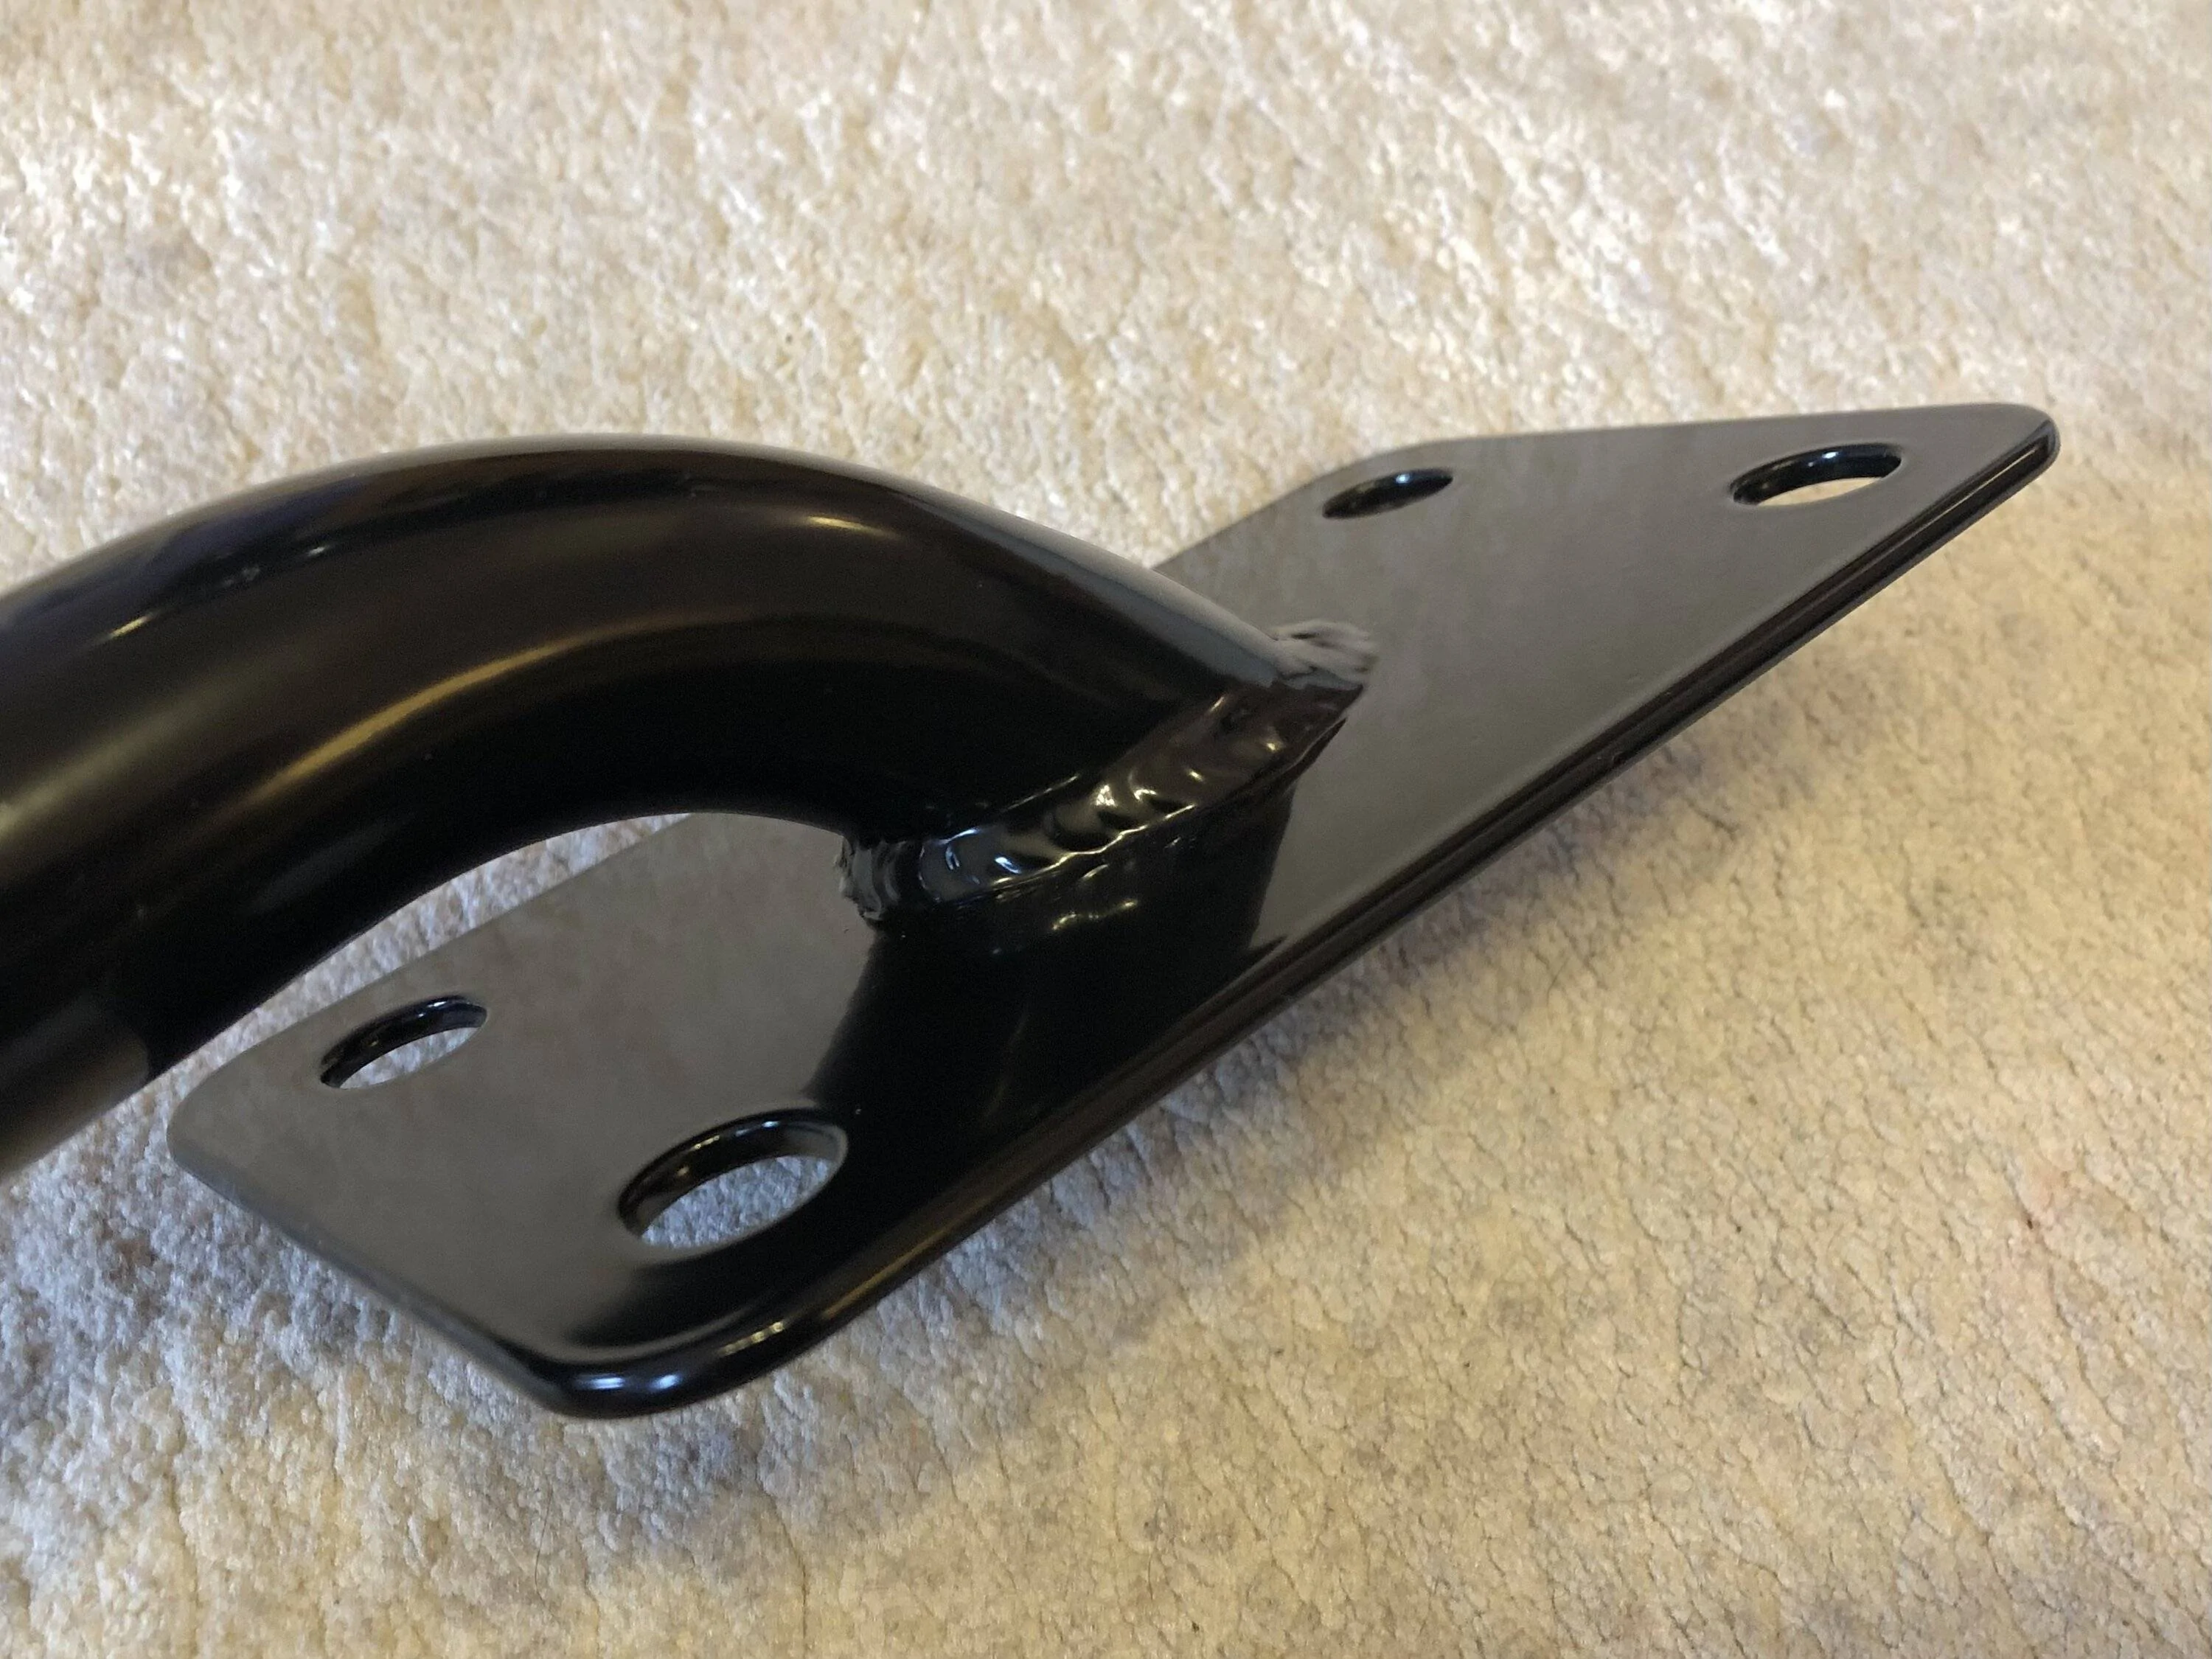
Back from the powdercoaters :
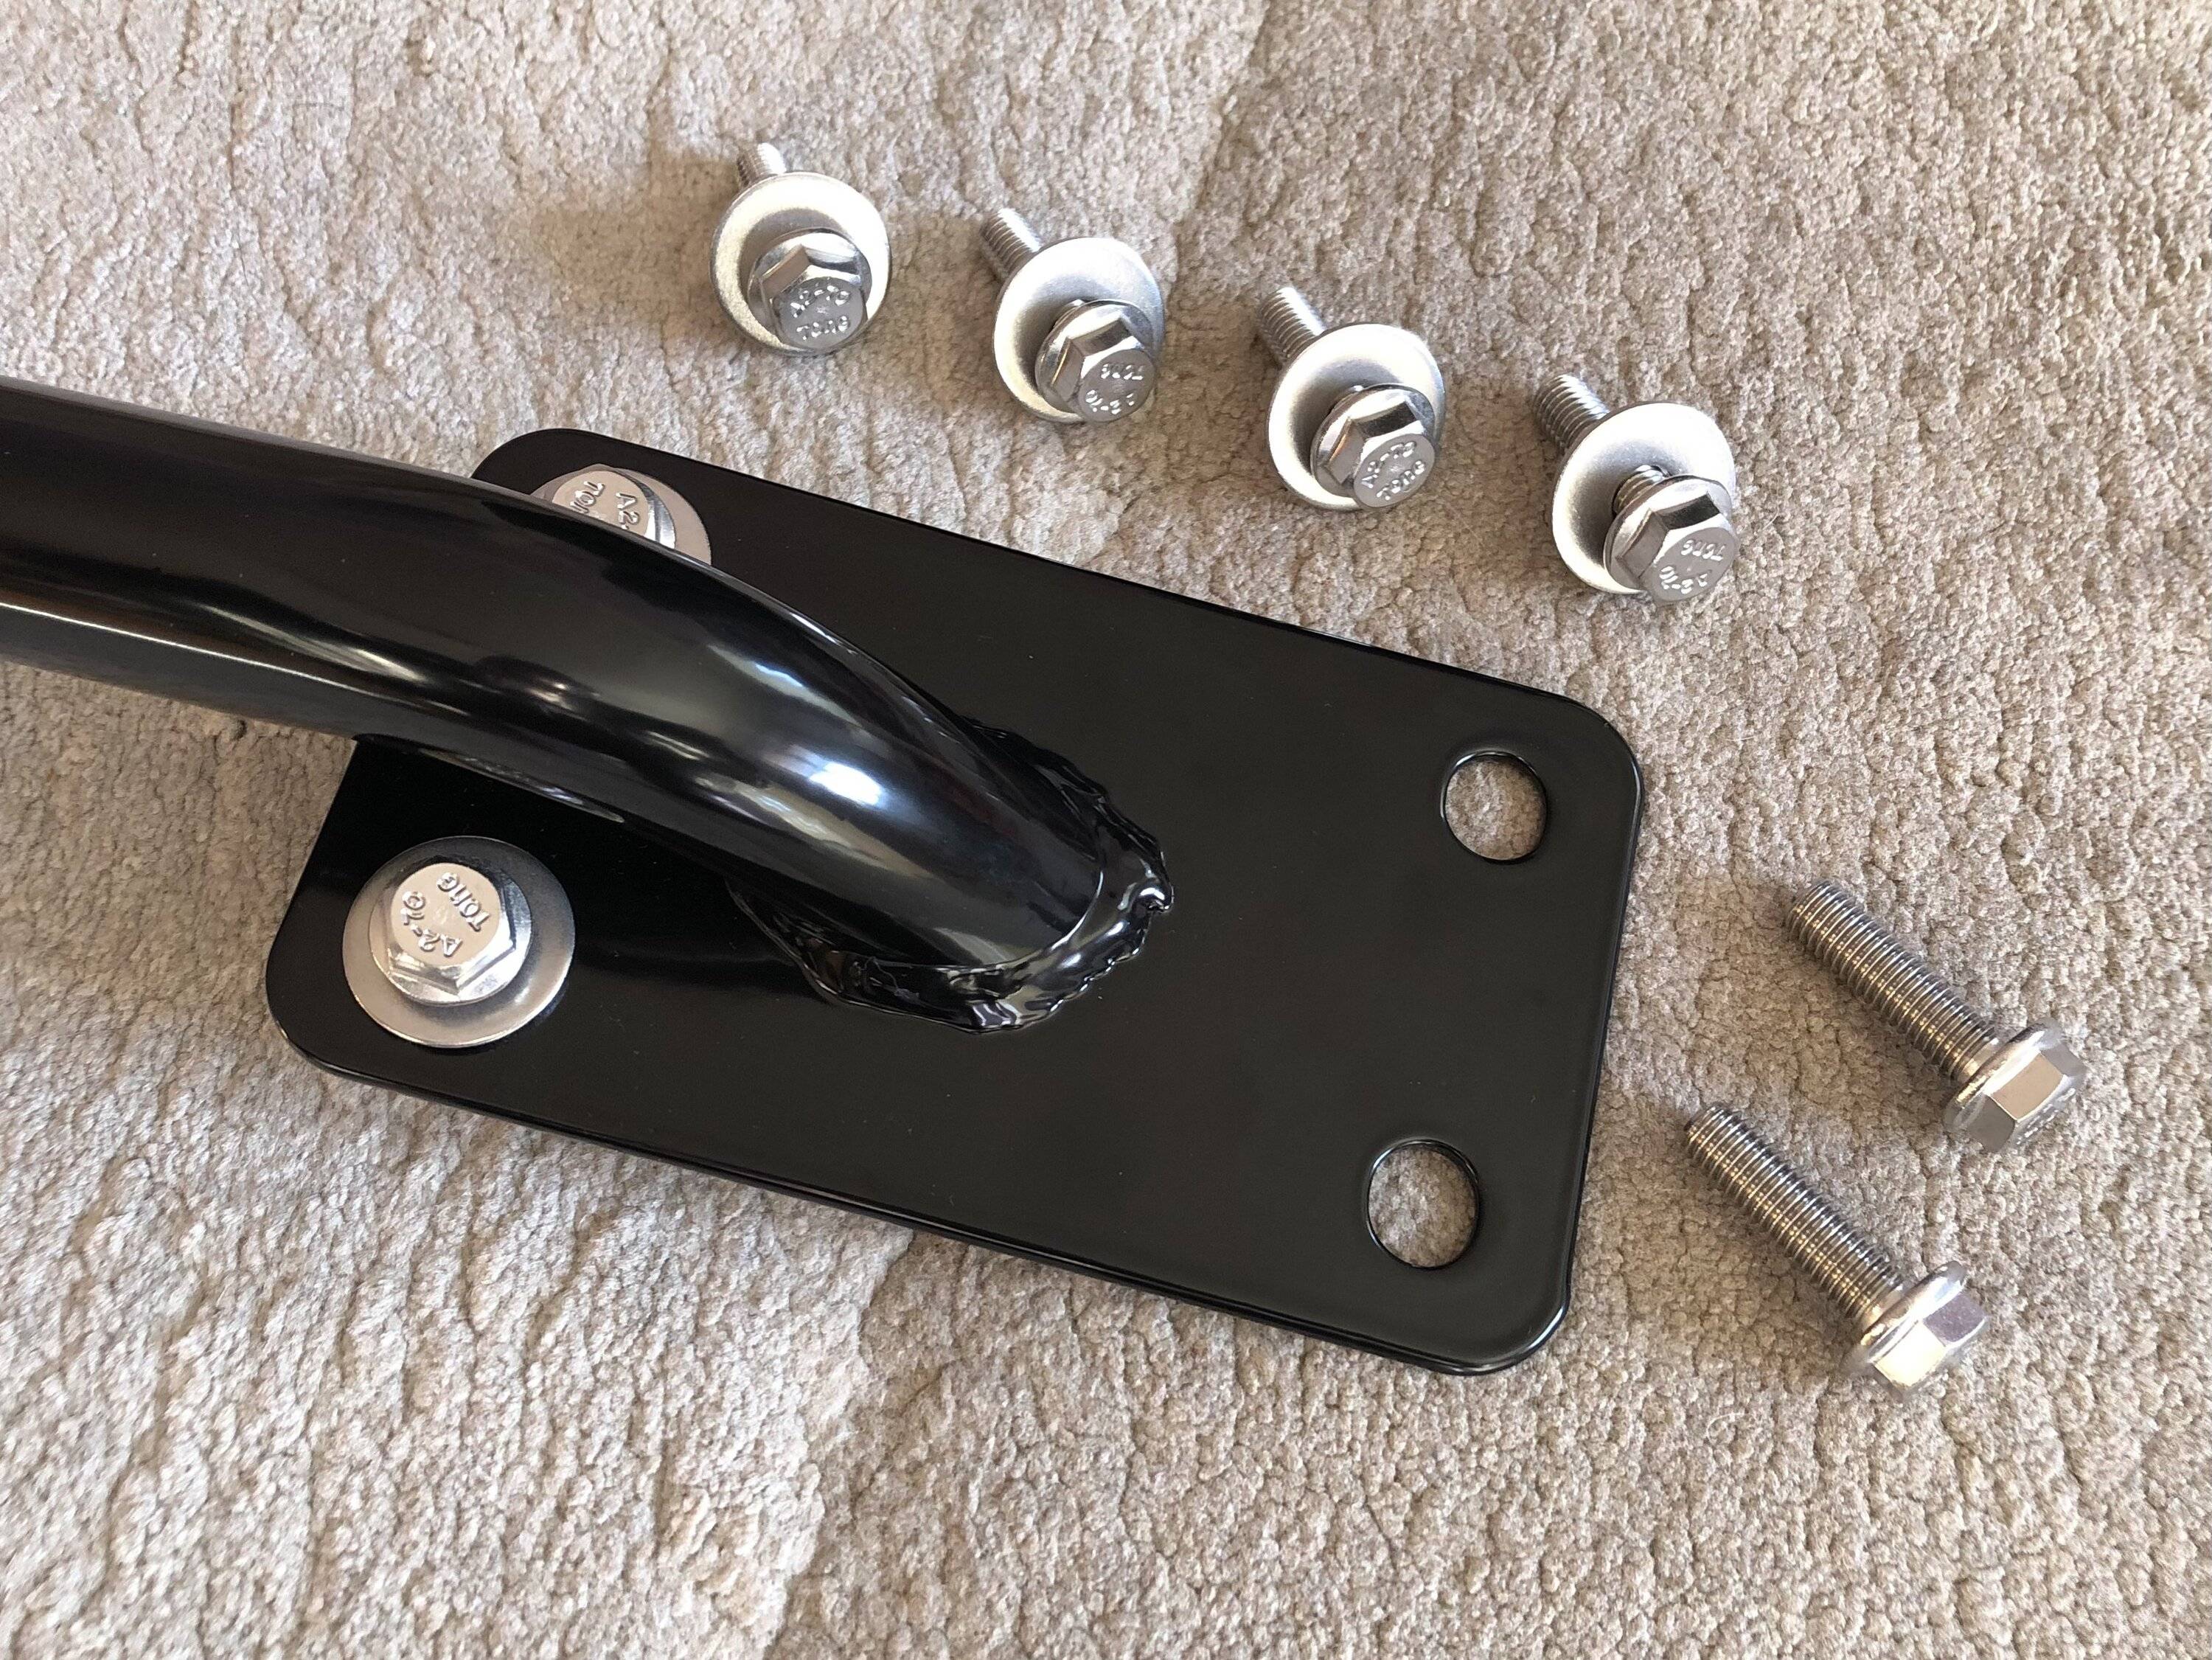
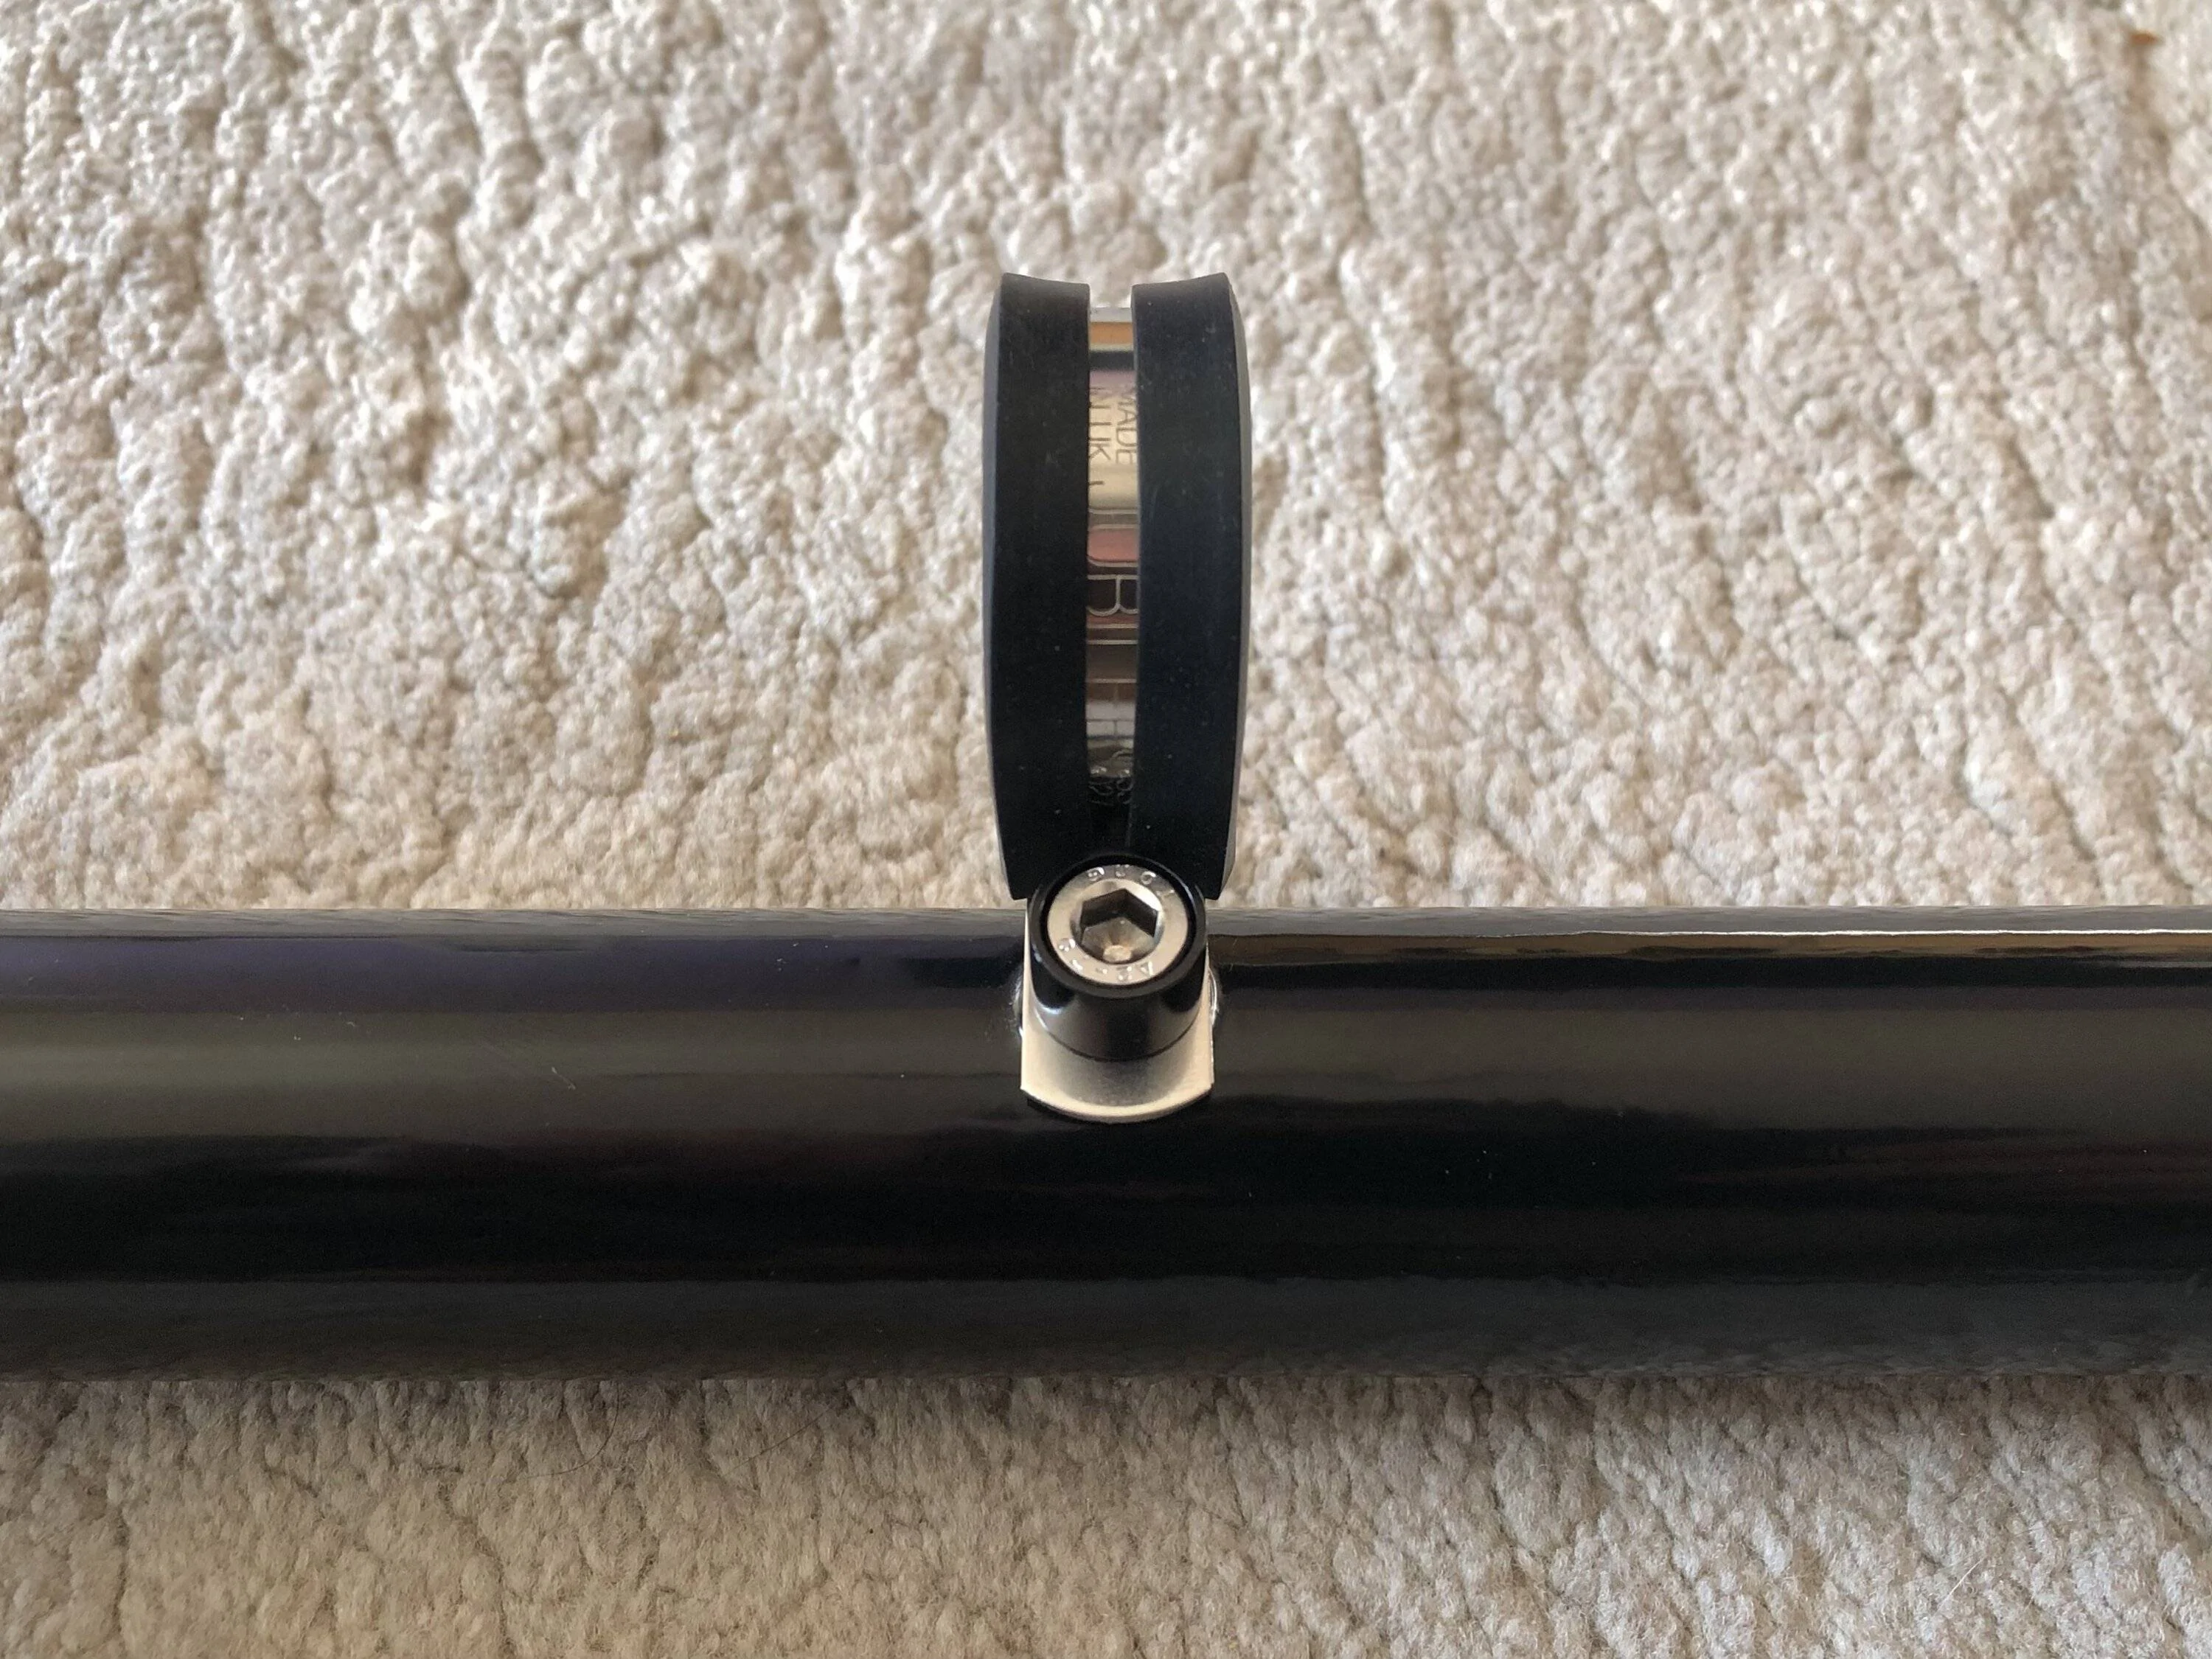
As it will be fitted, with stainless hardware (left over from the rear diff cover) - loom dimension / P clip size courtesy of @Biggsy :
I actually owe a real big thank you, and a favour (or two) to @Biggsy from across the pond
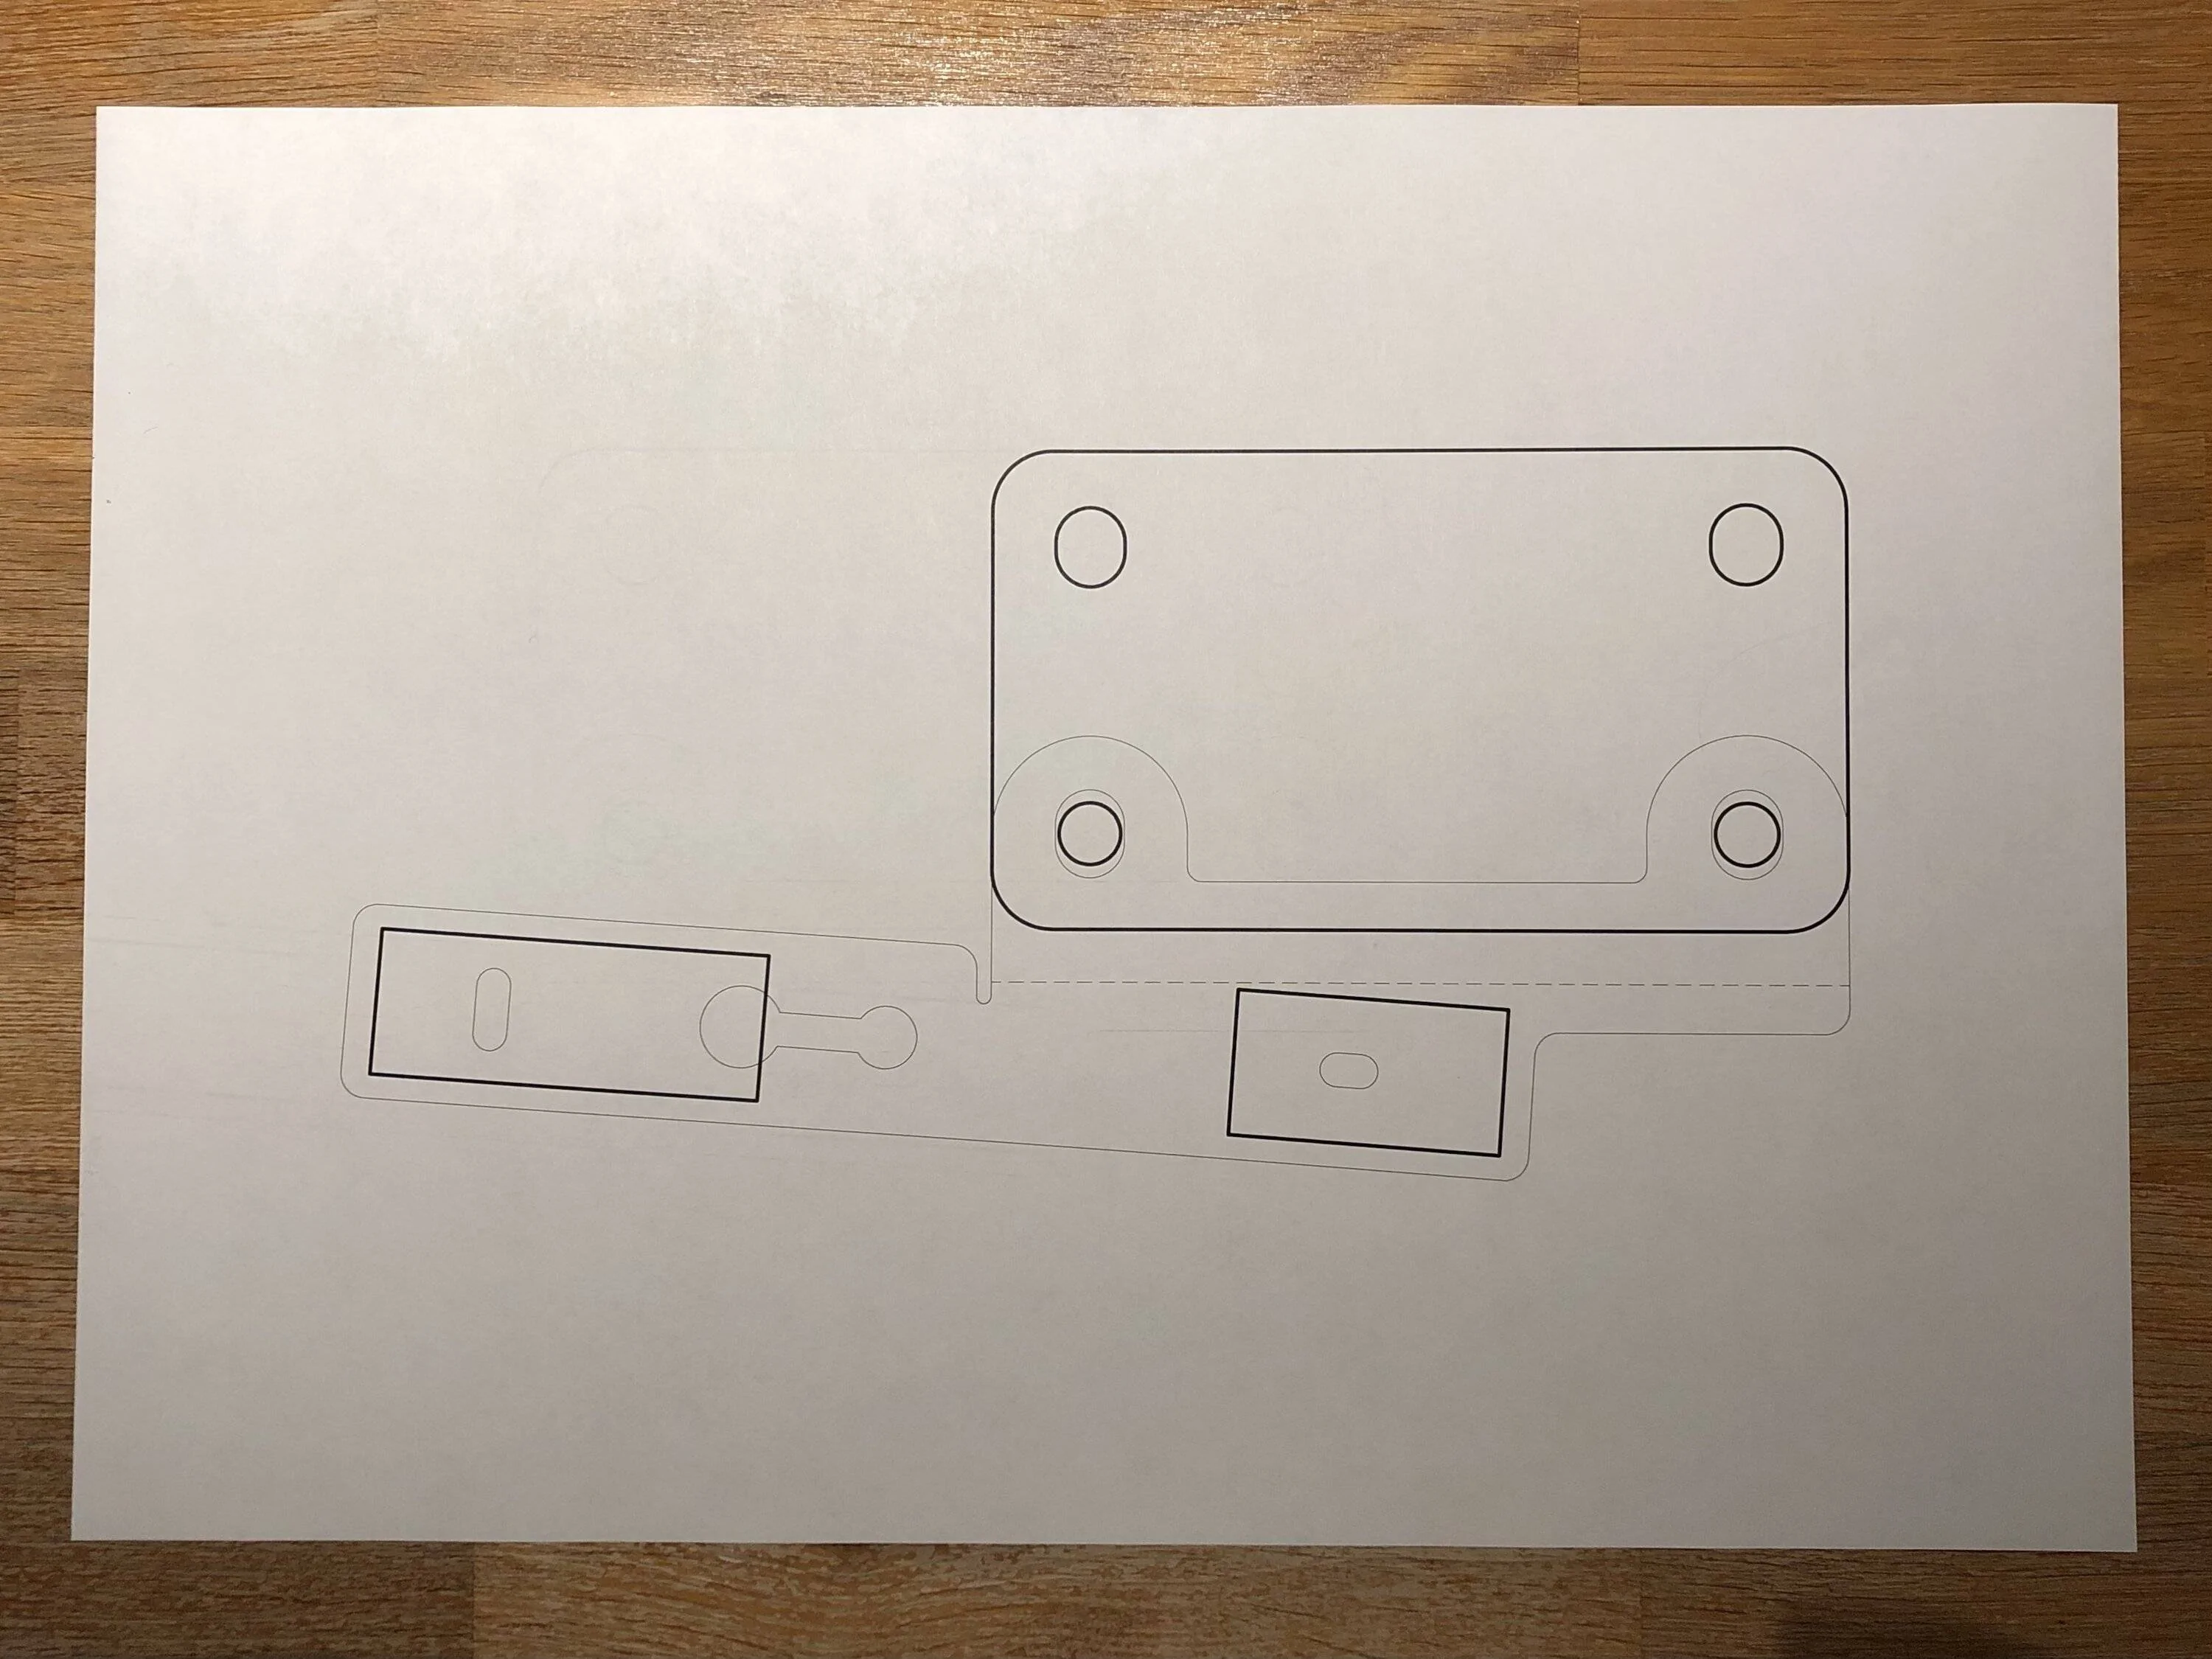
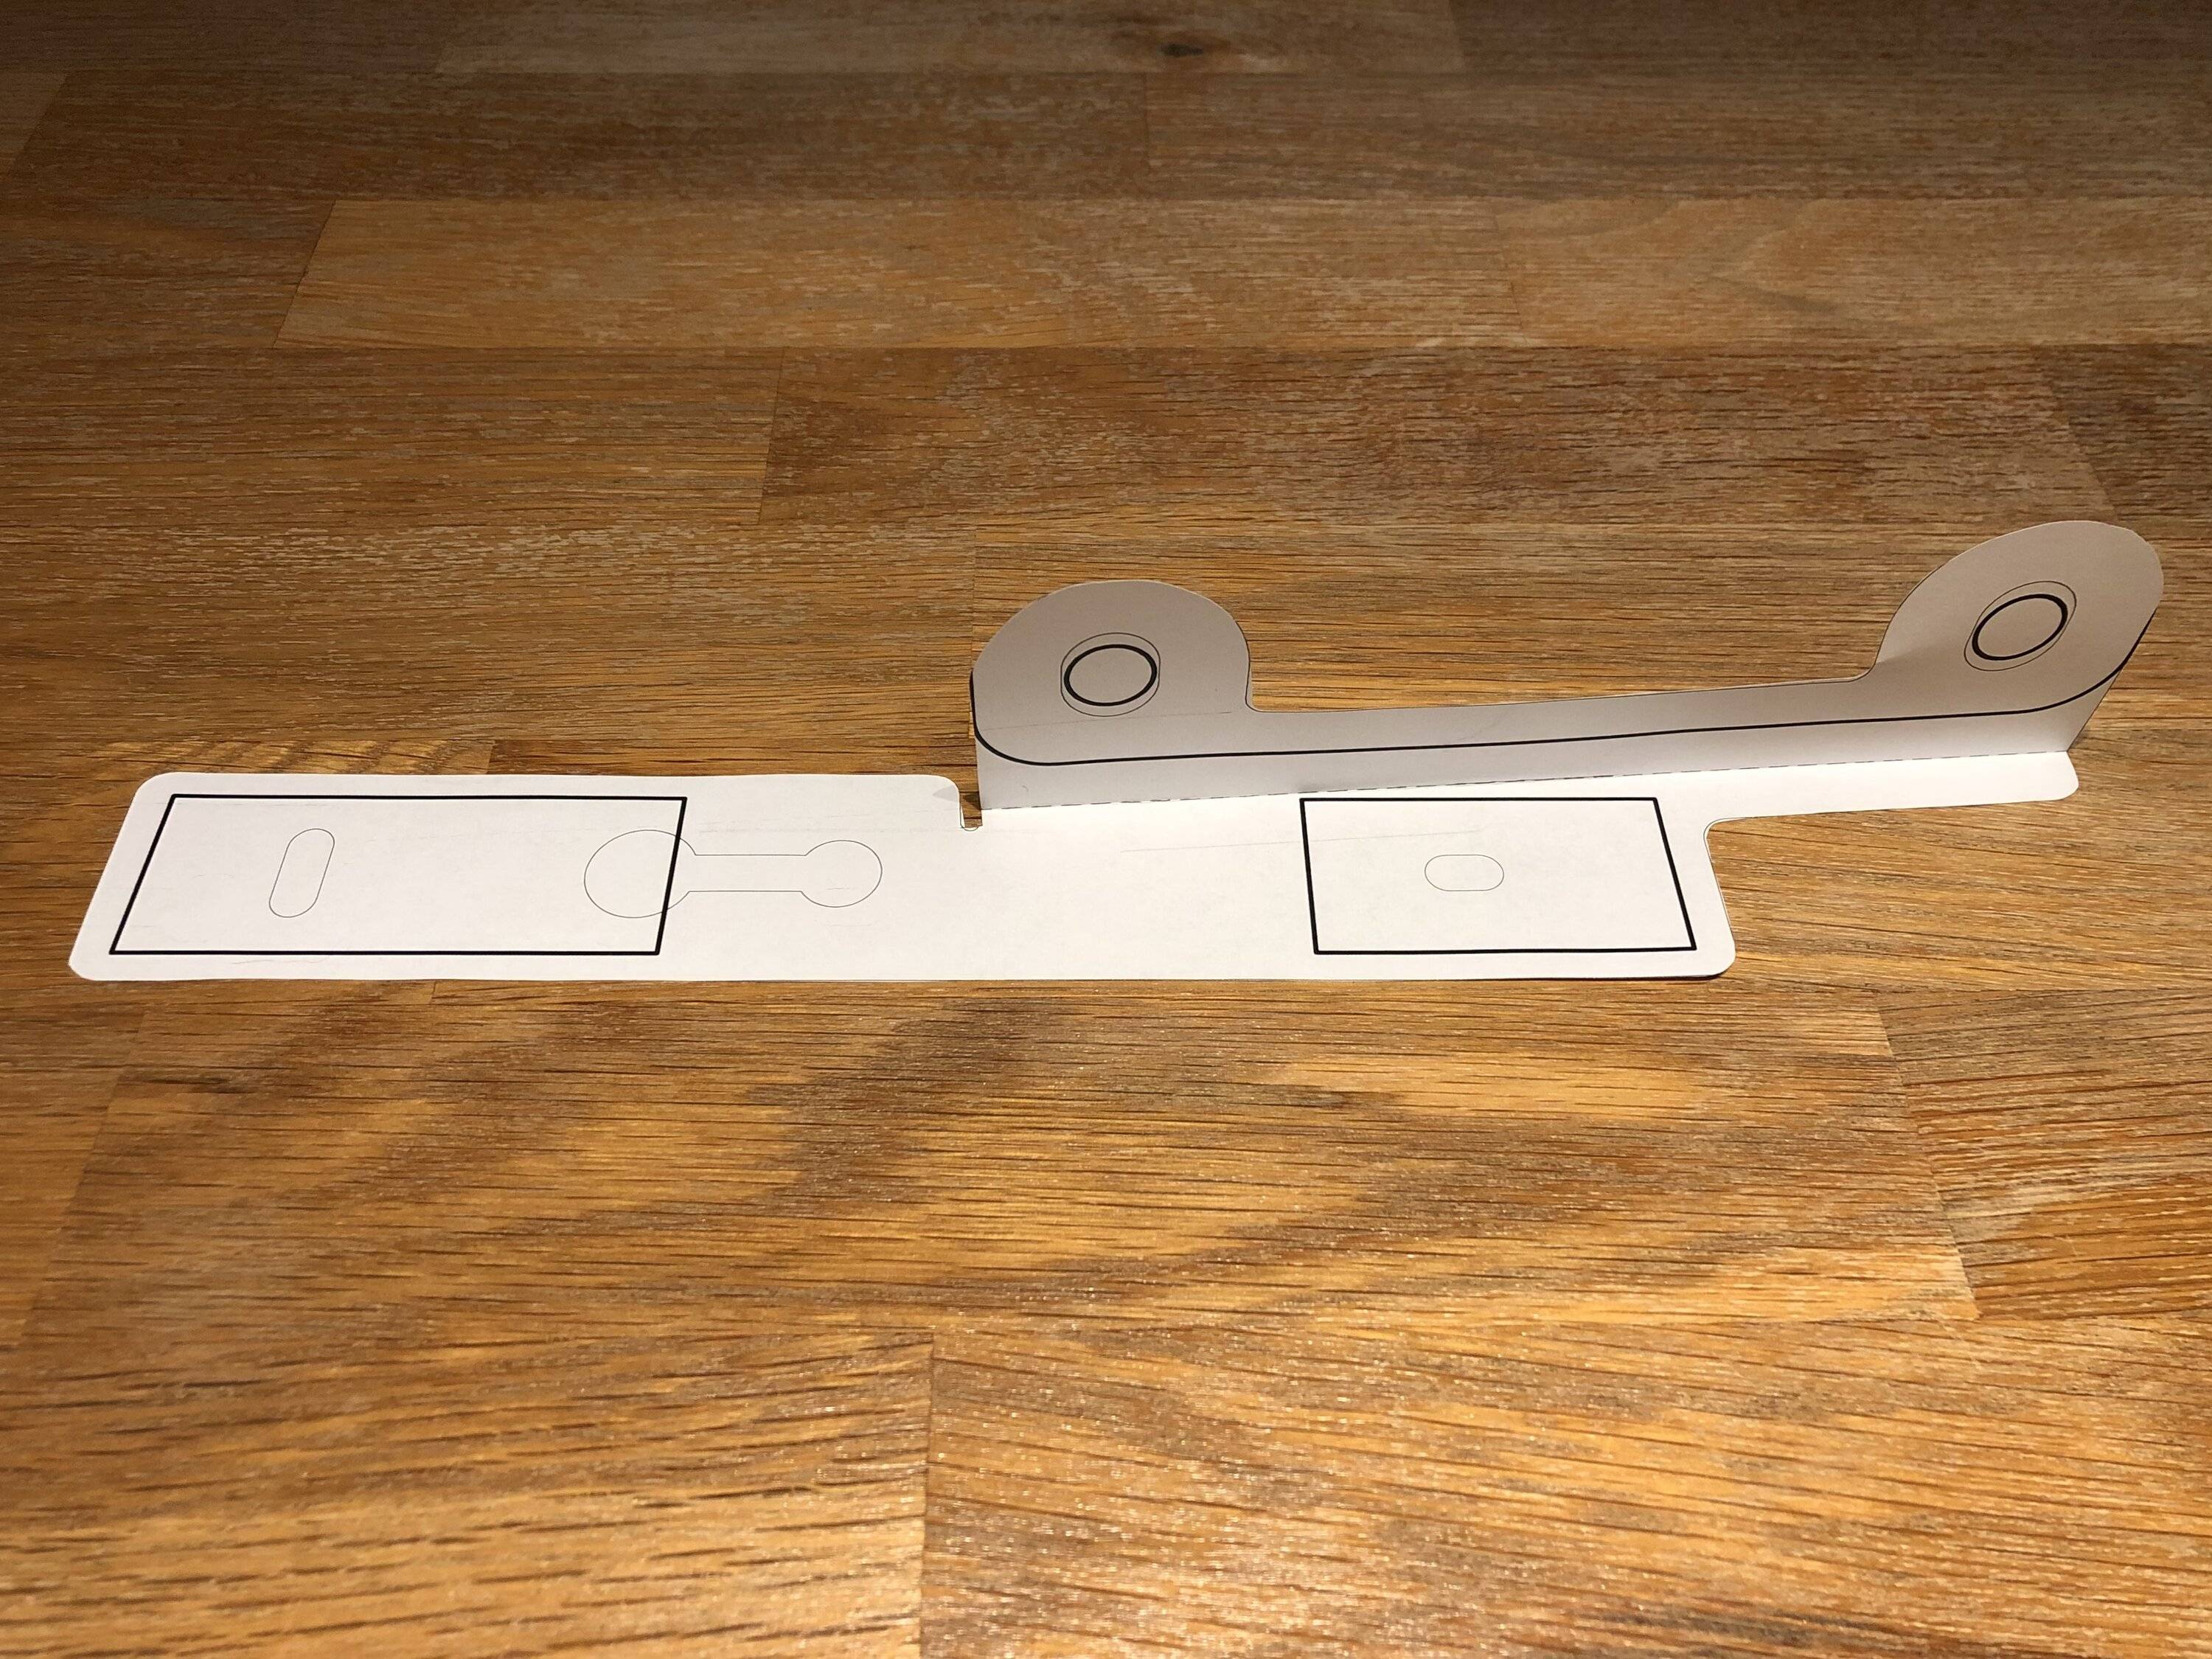
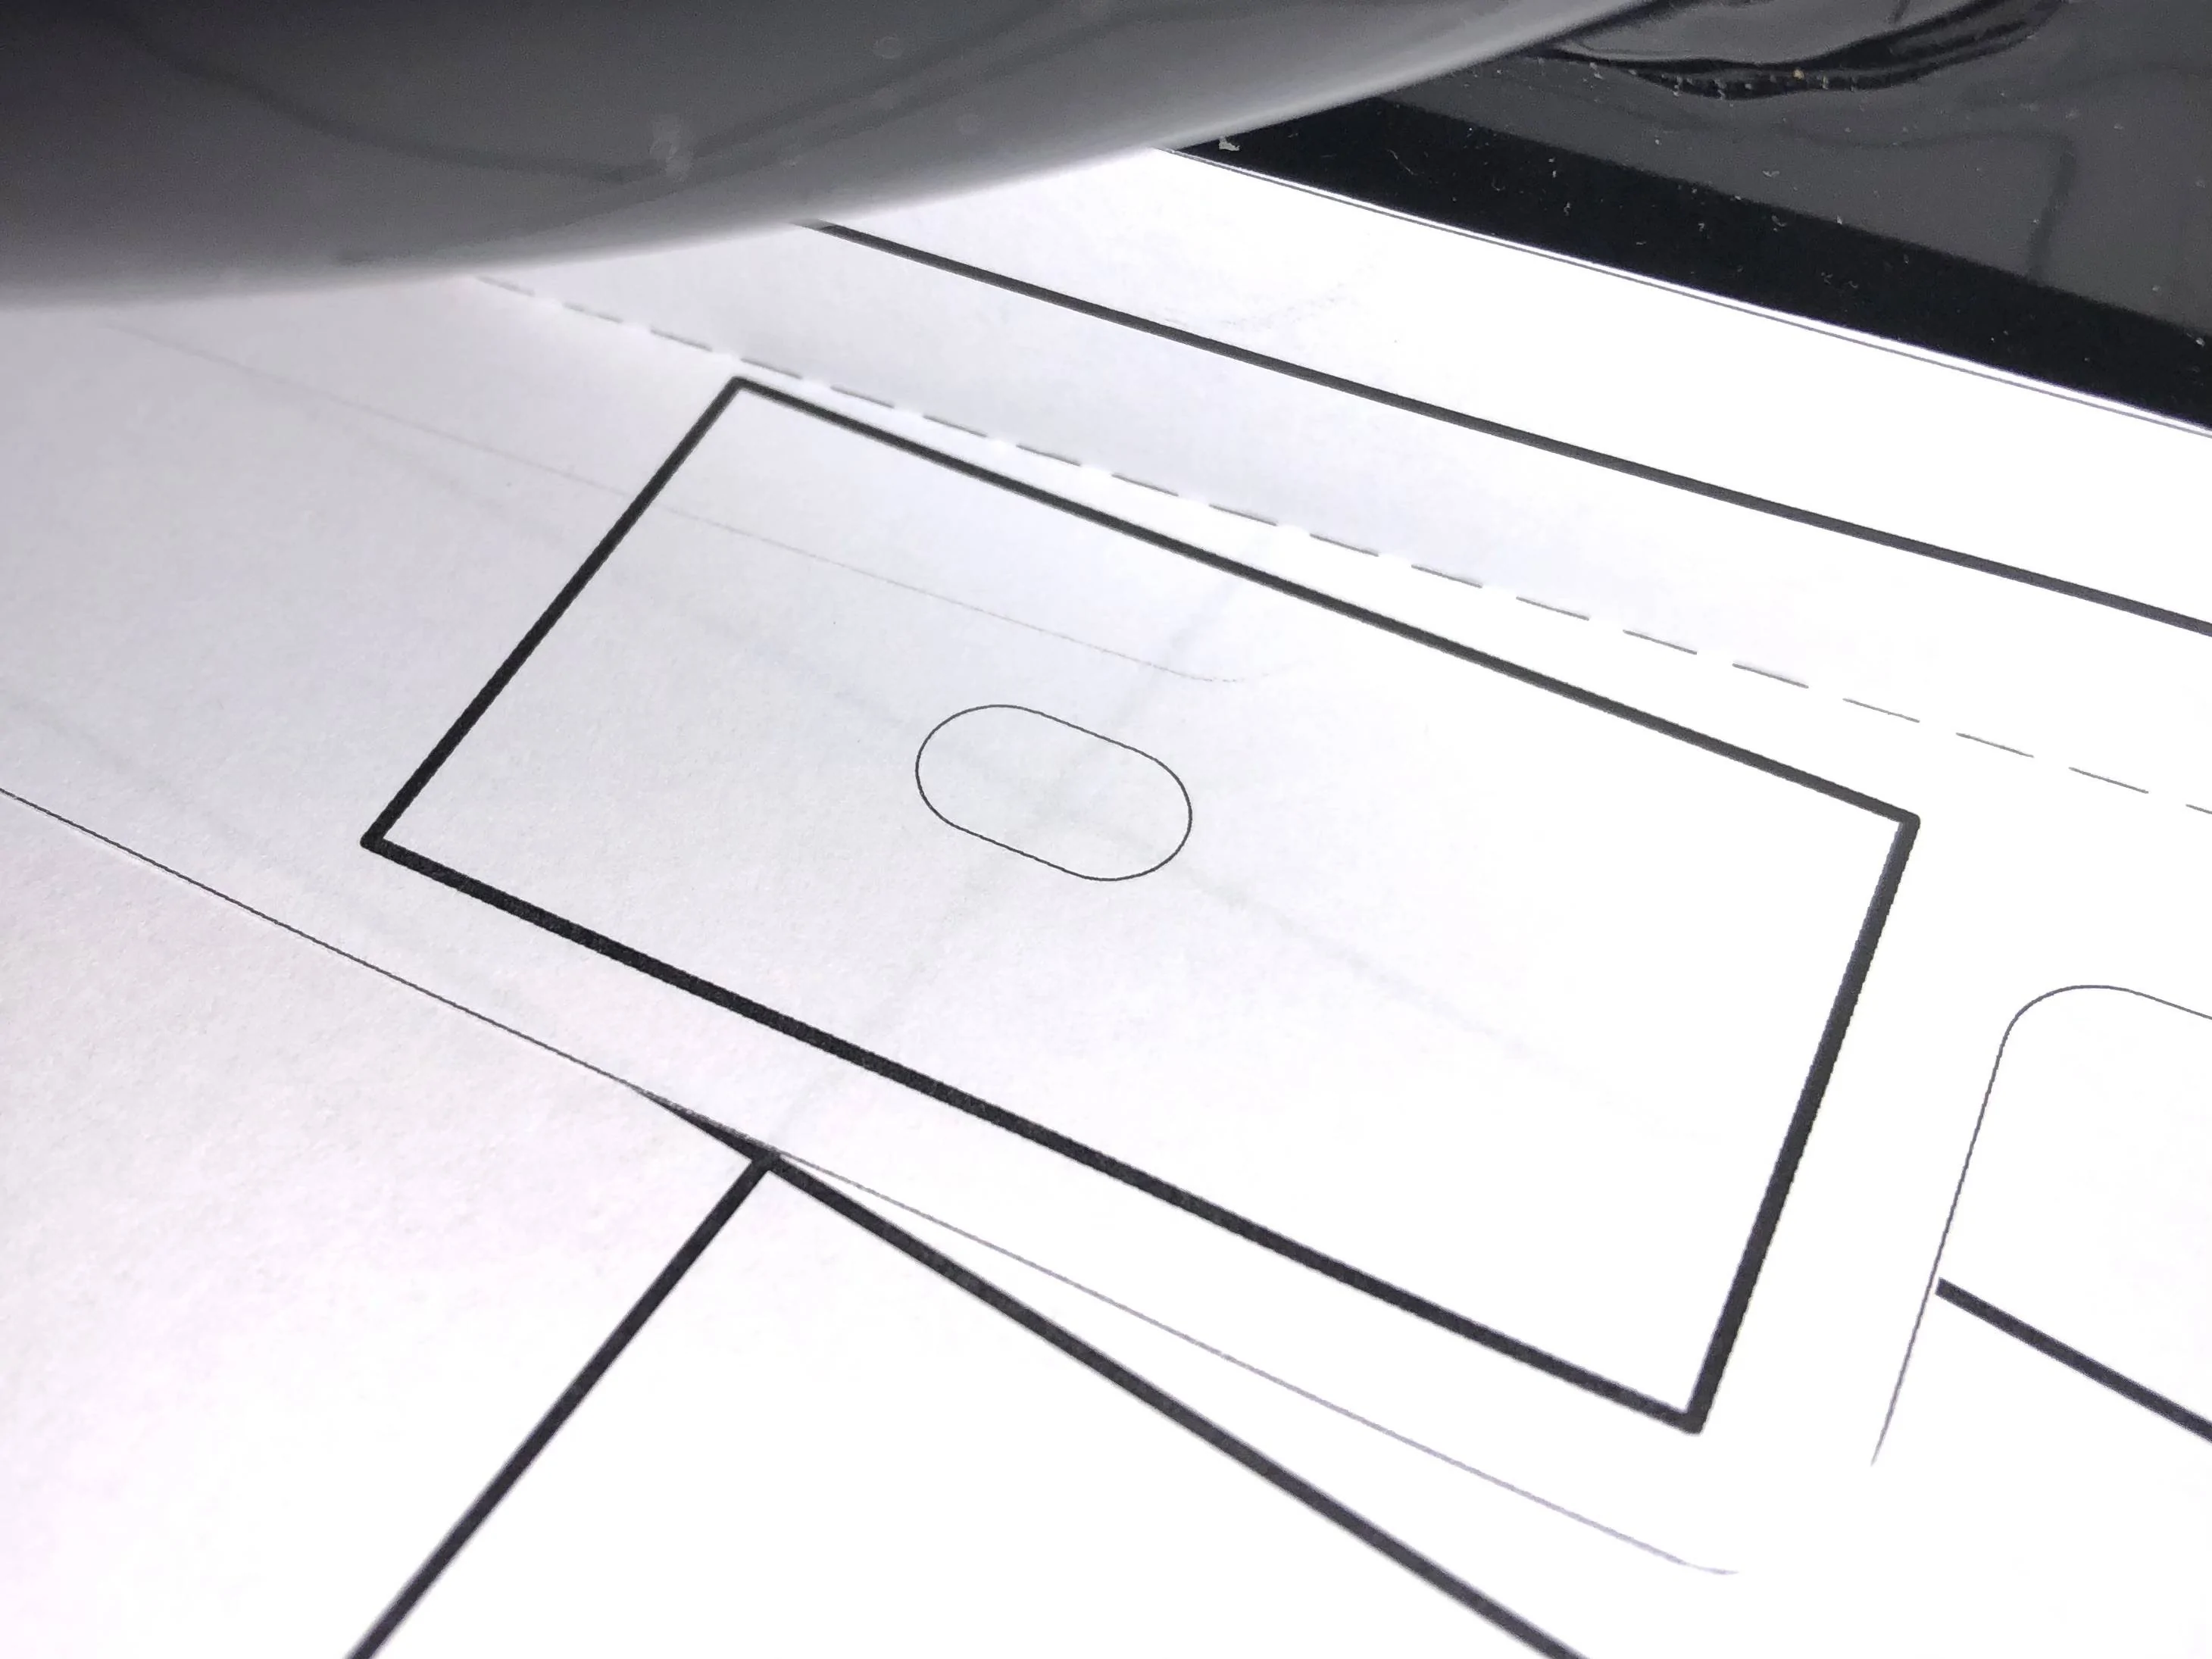
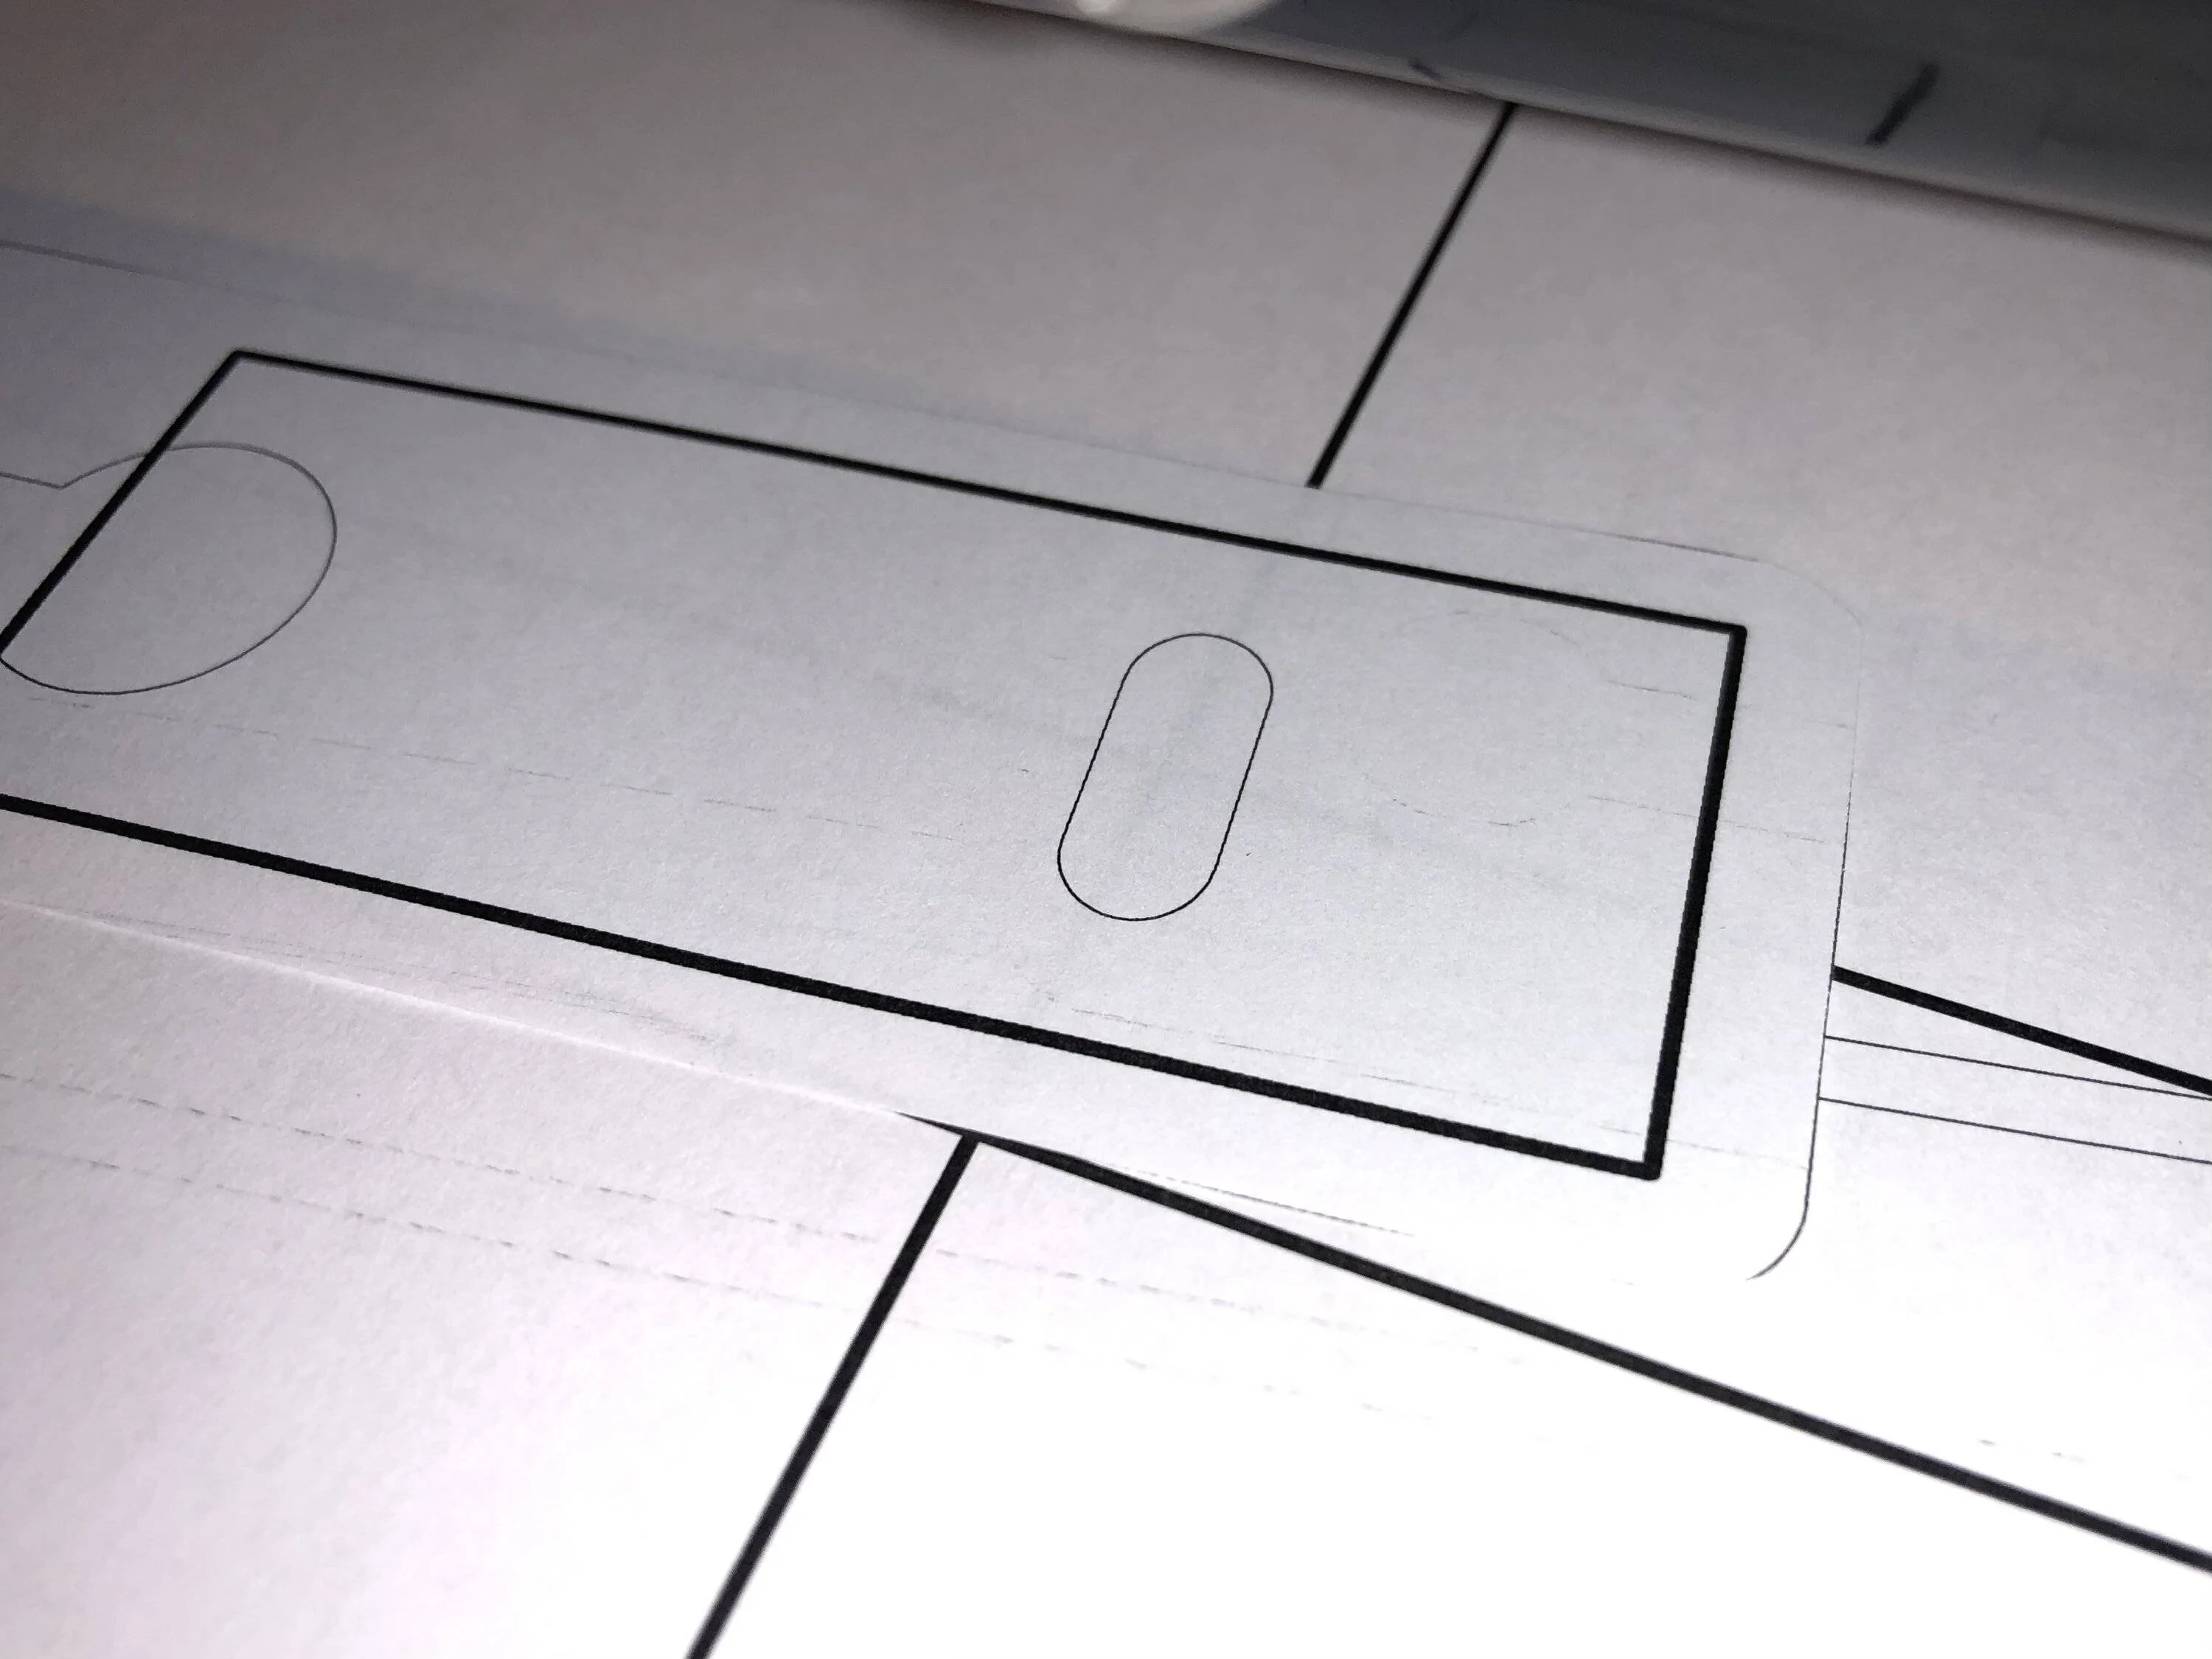
After I provided some high quality (not … ) hand sketches, Warren provided some missing dimensions that I requested, then using them and the Steeda crash bar, I came up with this paper design :
Folded template :
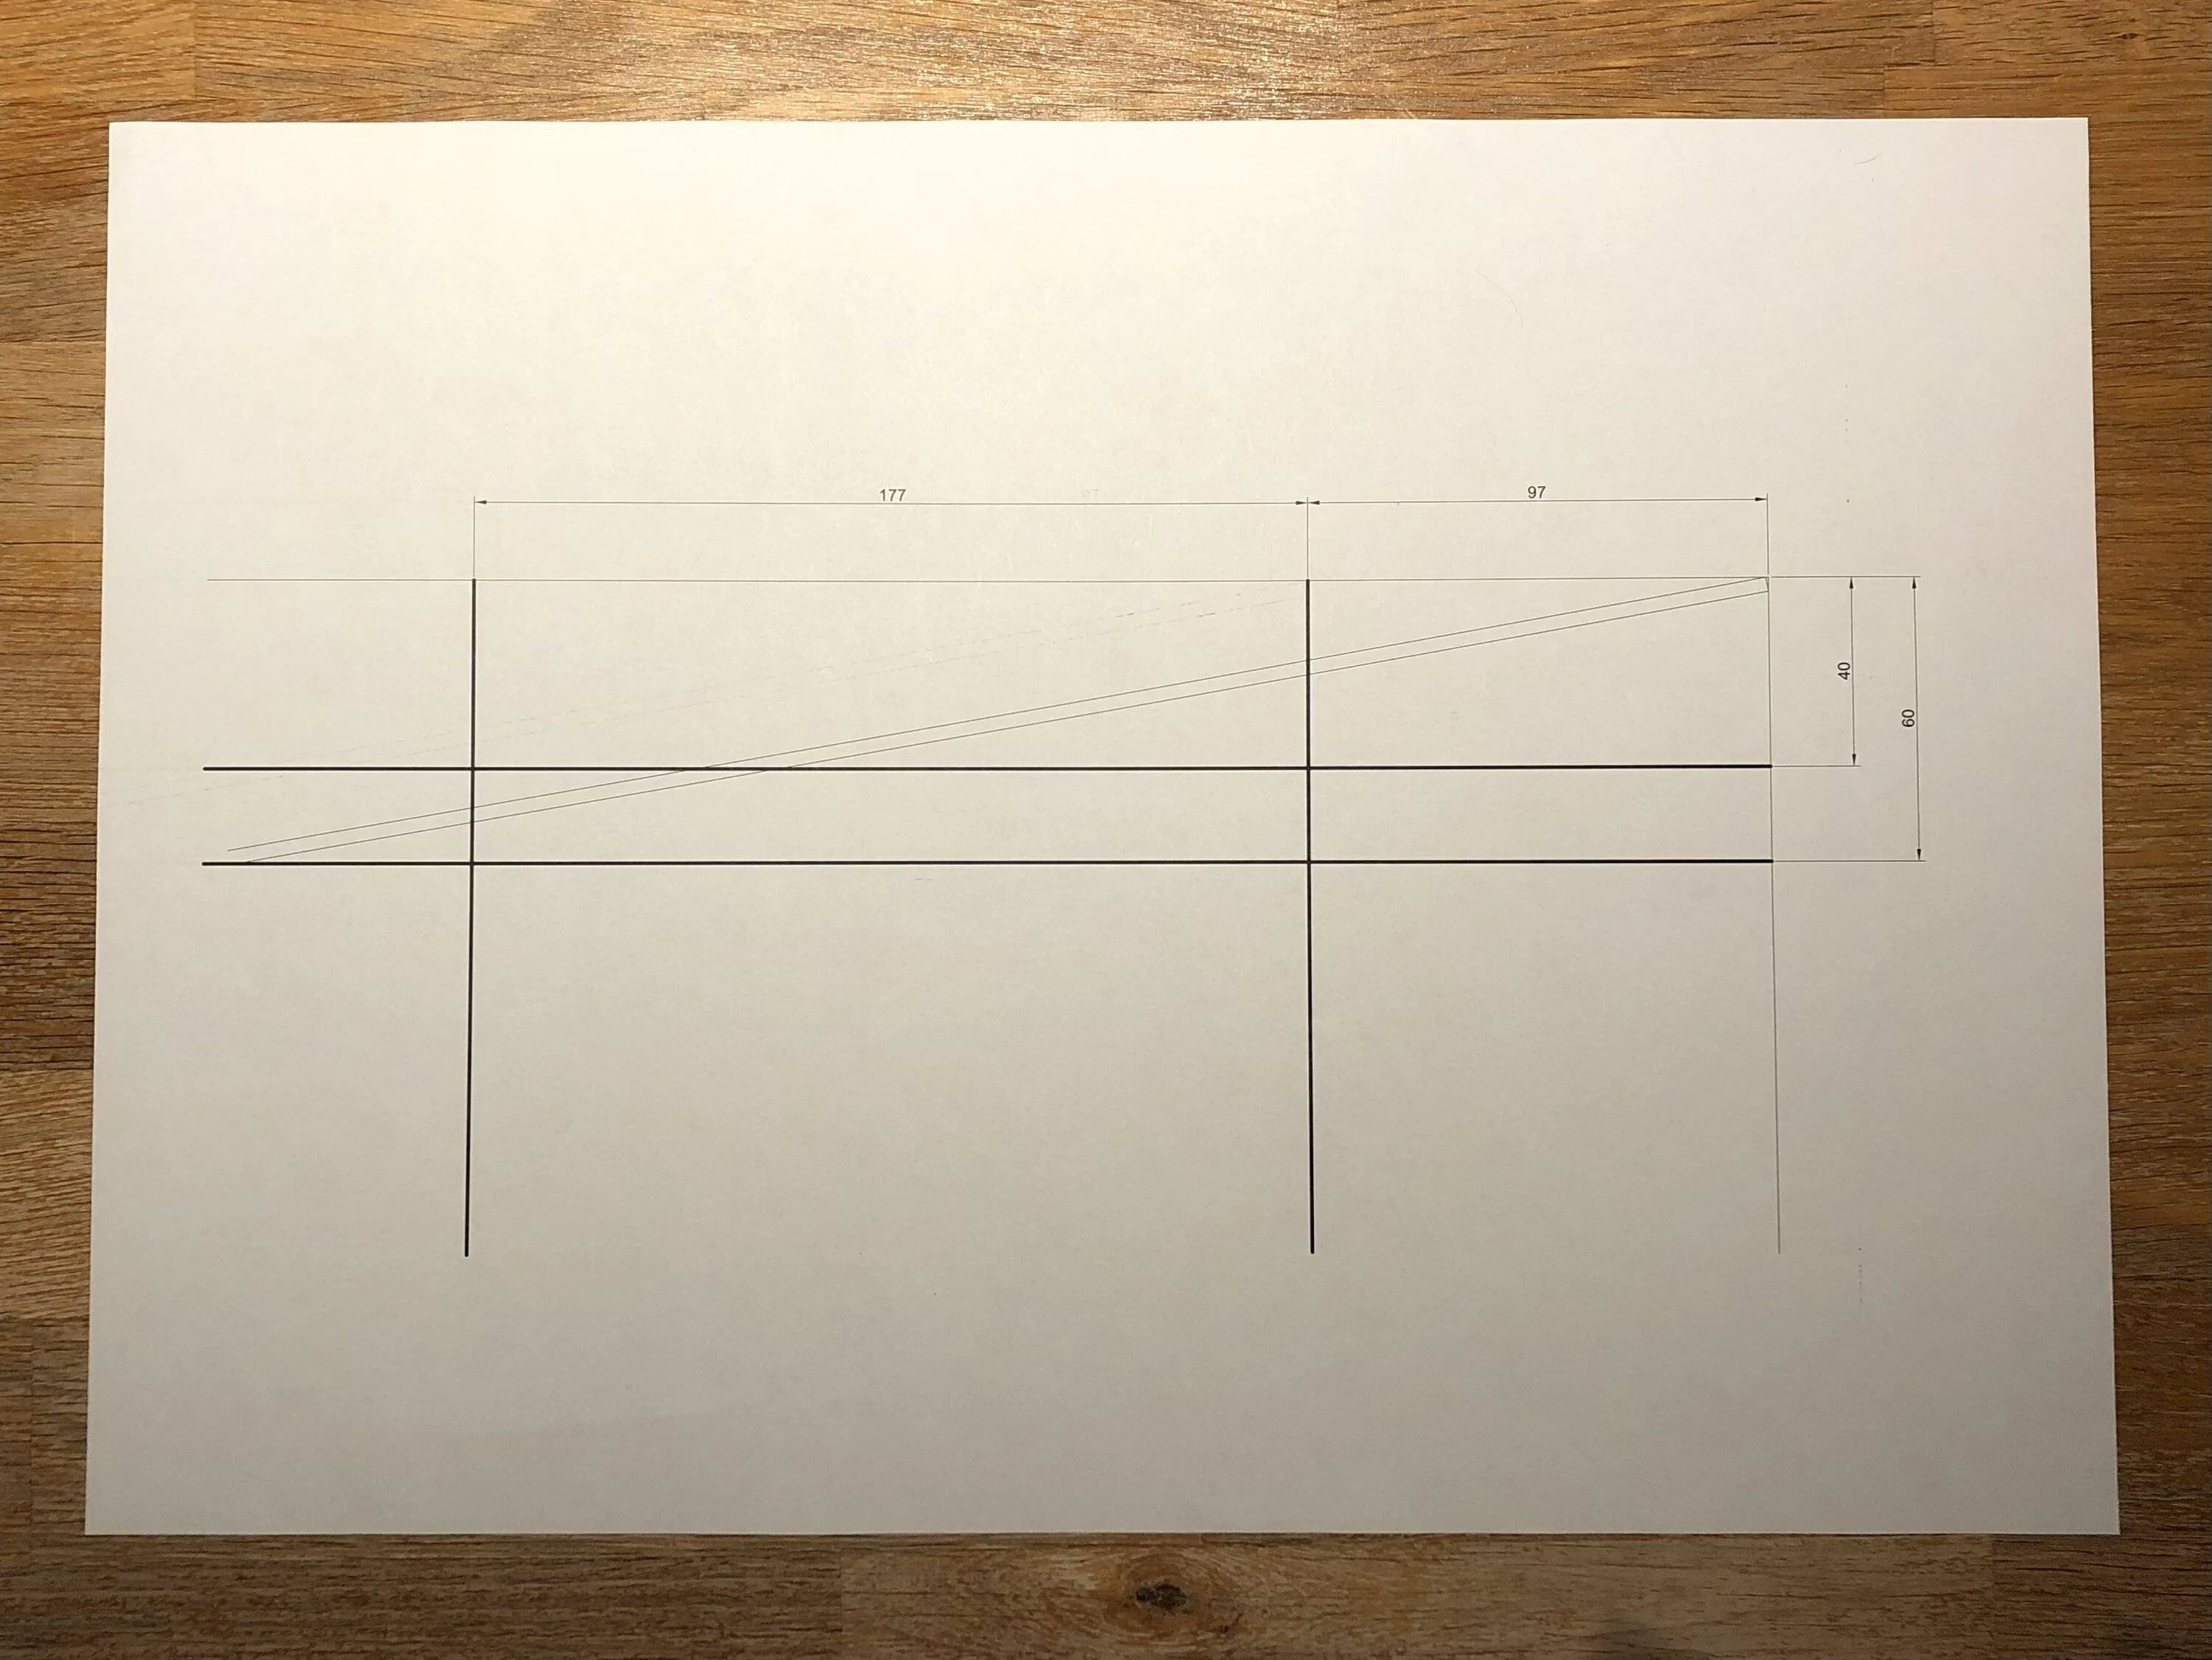
Plan view of the target bolt locations :
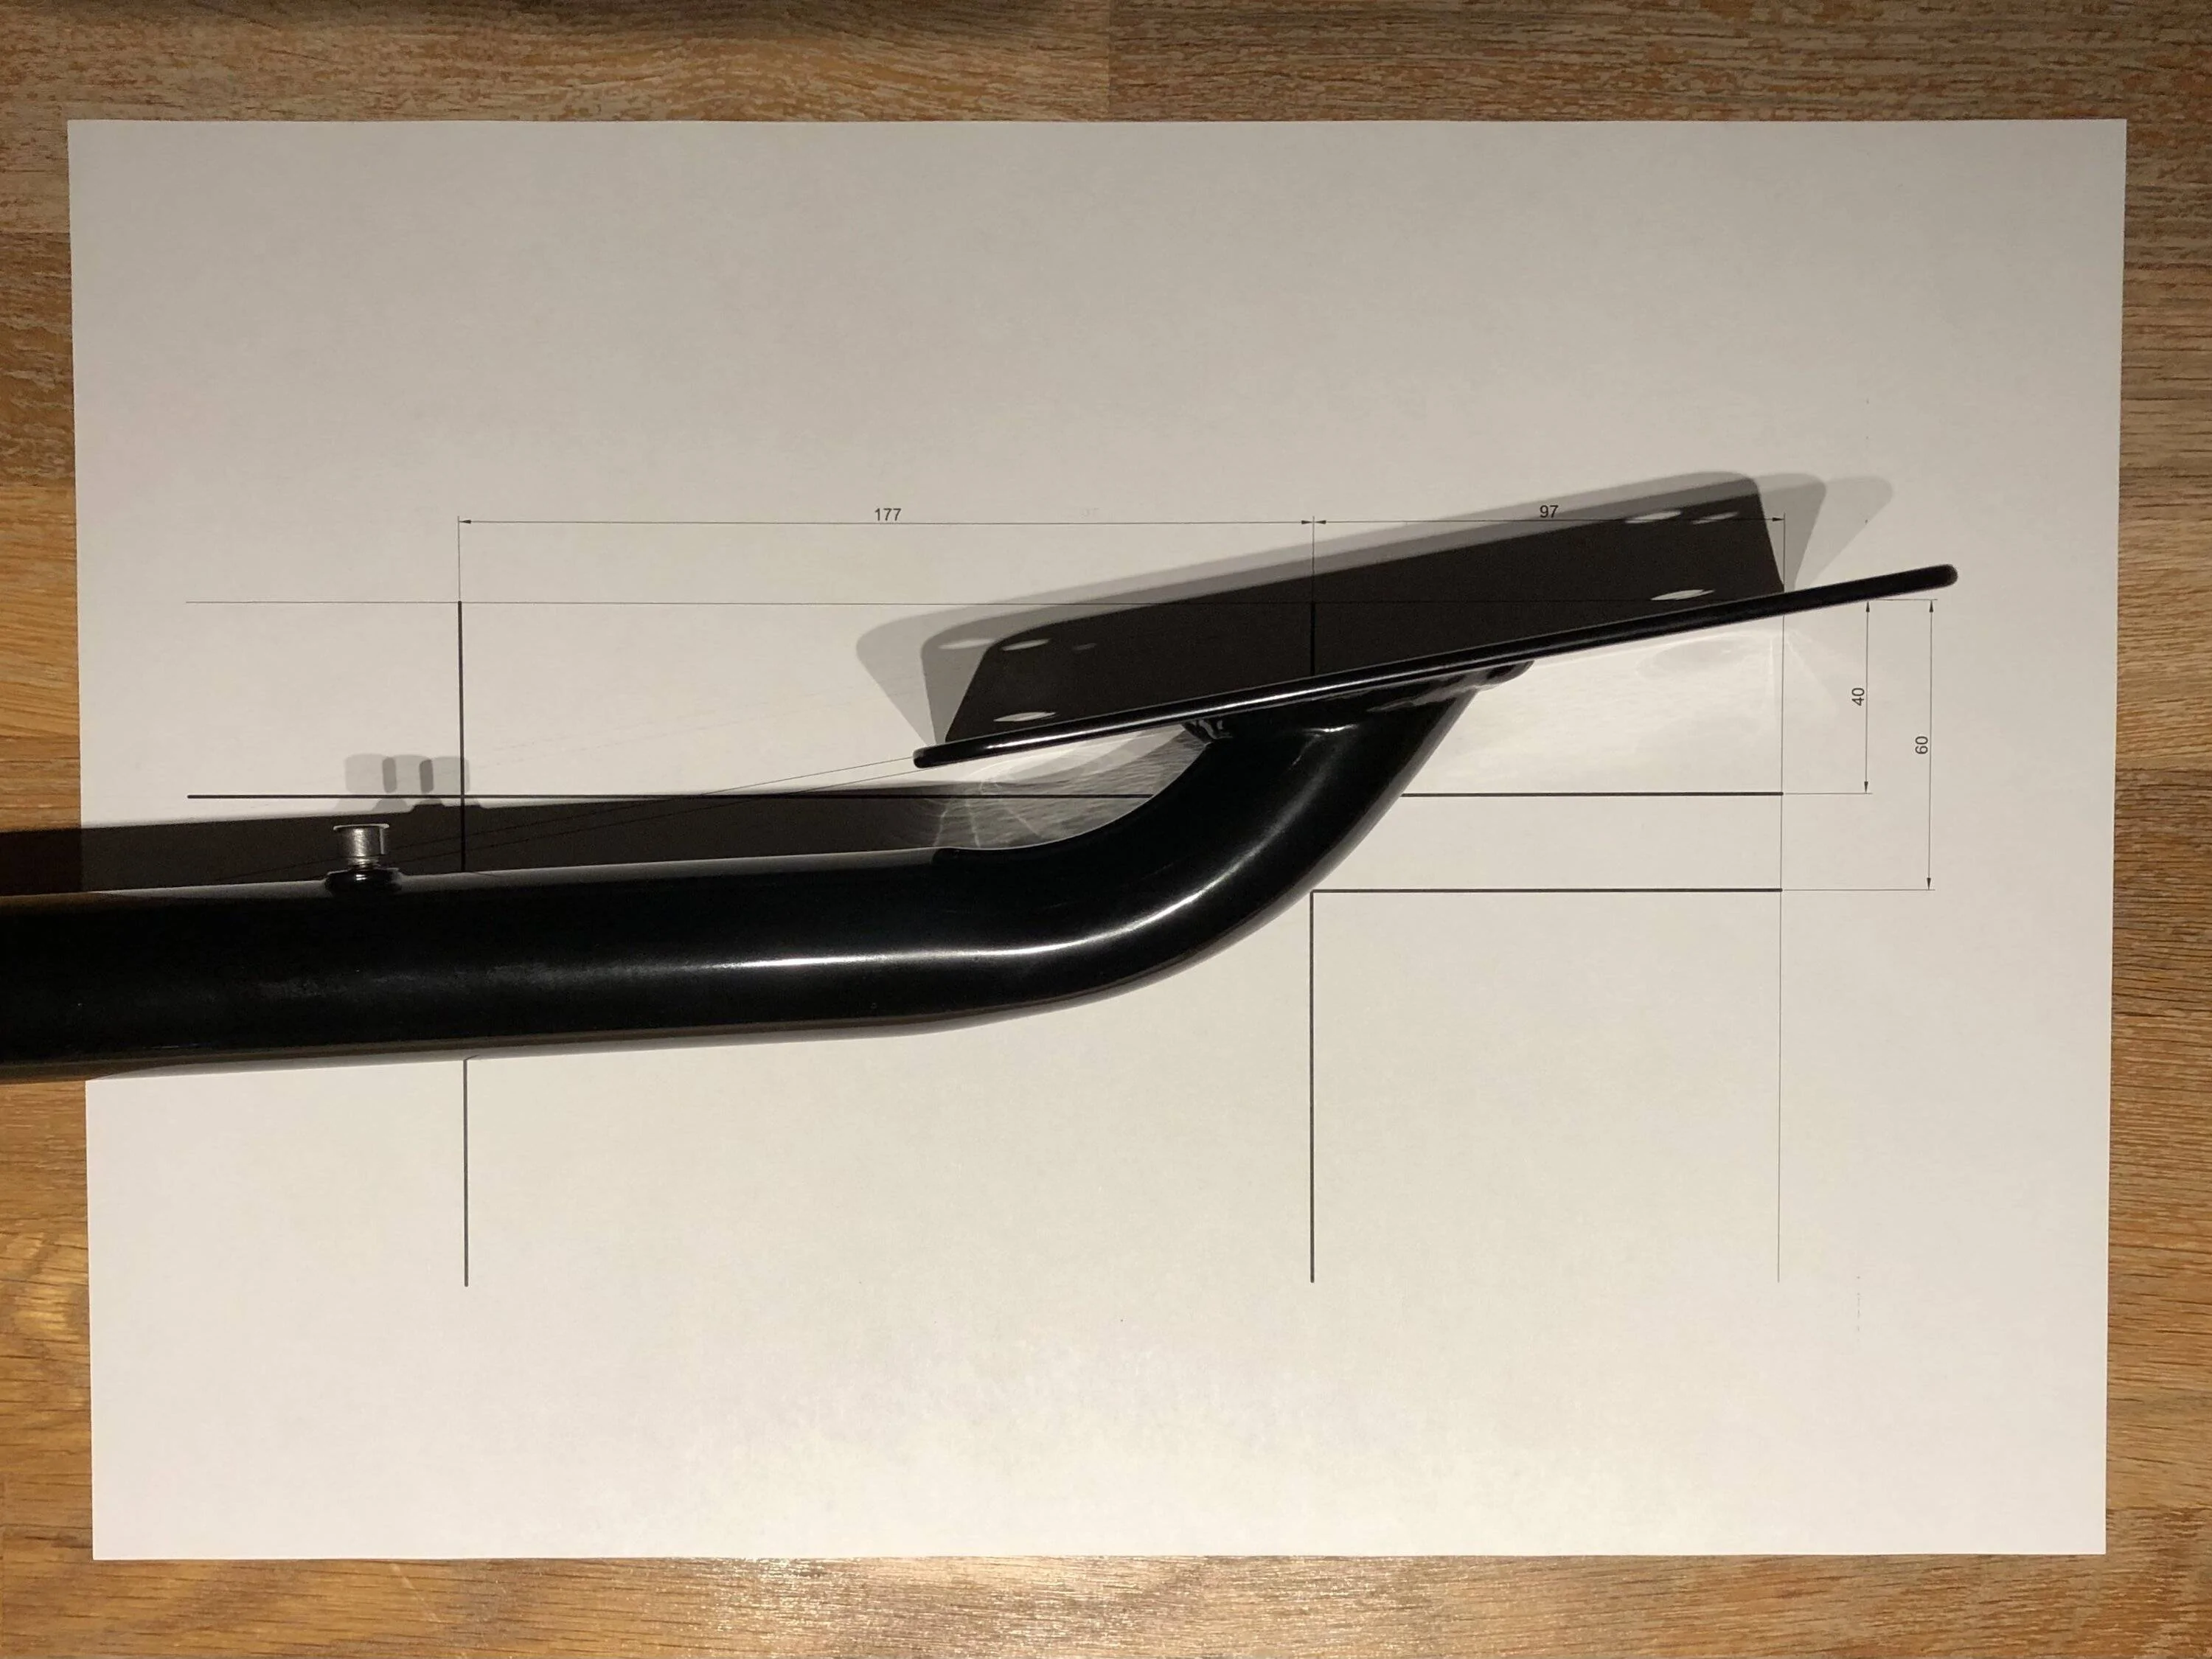
Brace in position (ignore the perspective and strange shadows) :
Then with the paper template in position, the outermost / rearmost mounting target sits right in the middle of the adjustment slot :
As does the innermost / forward most target :
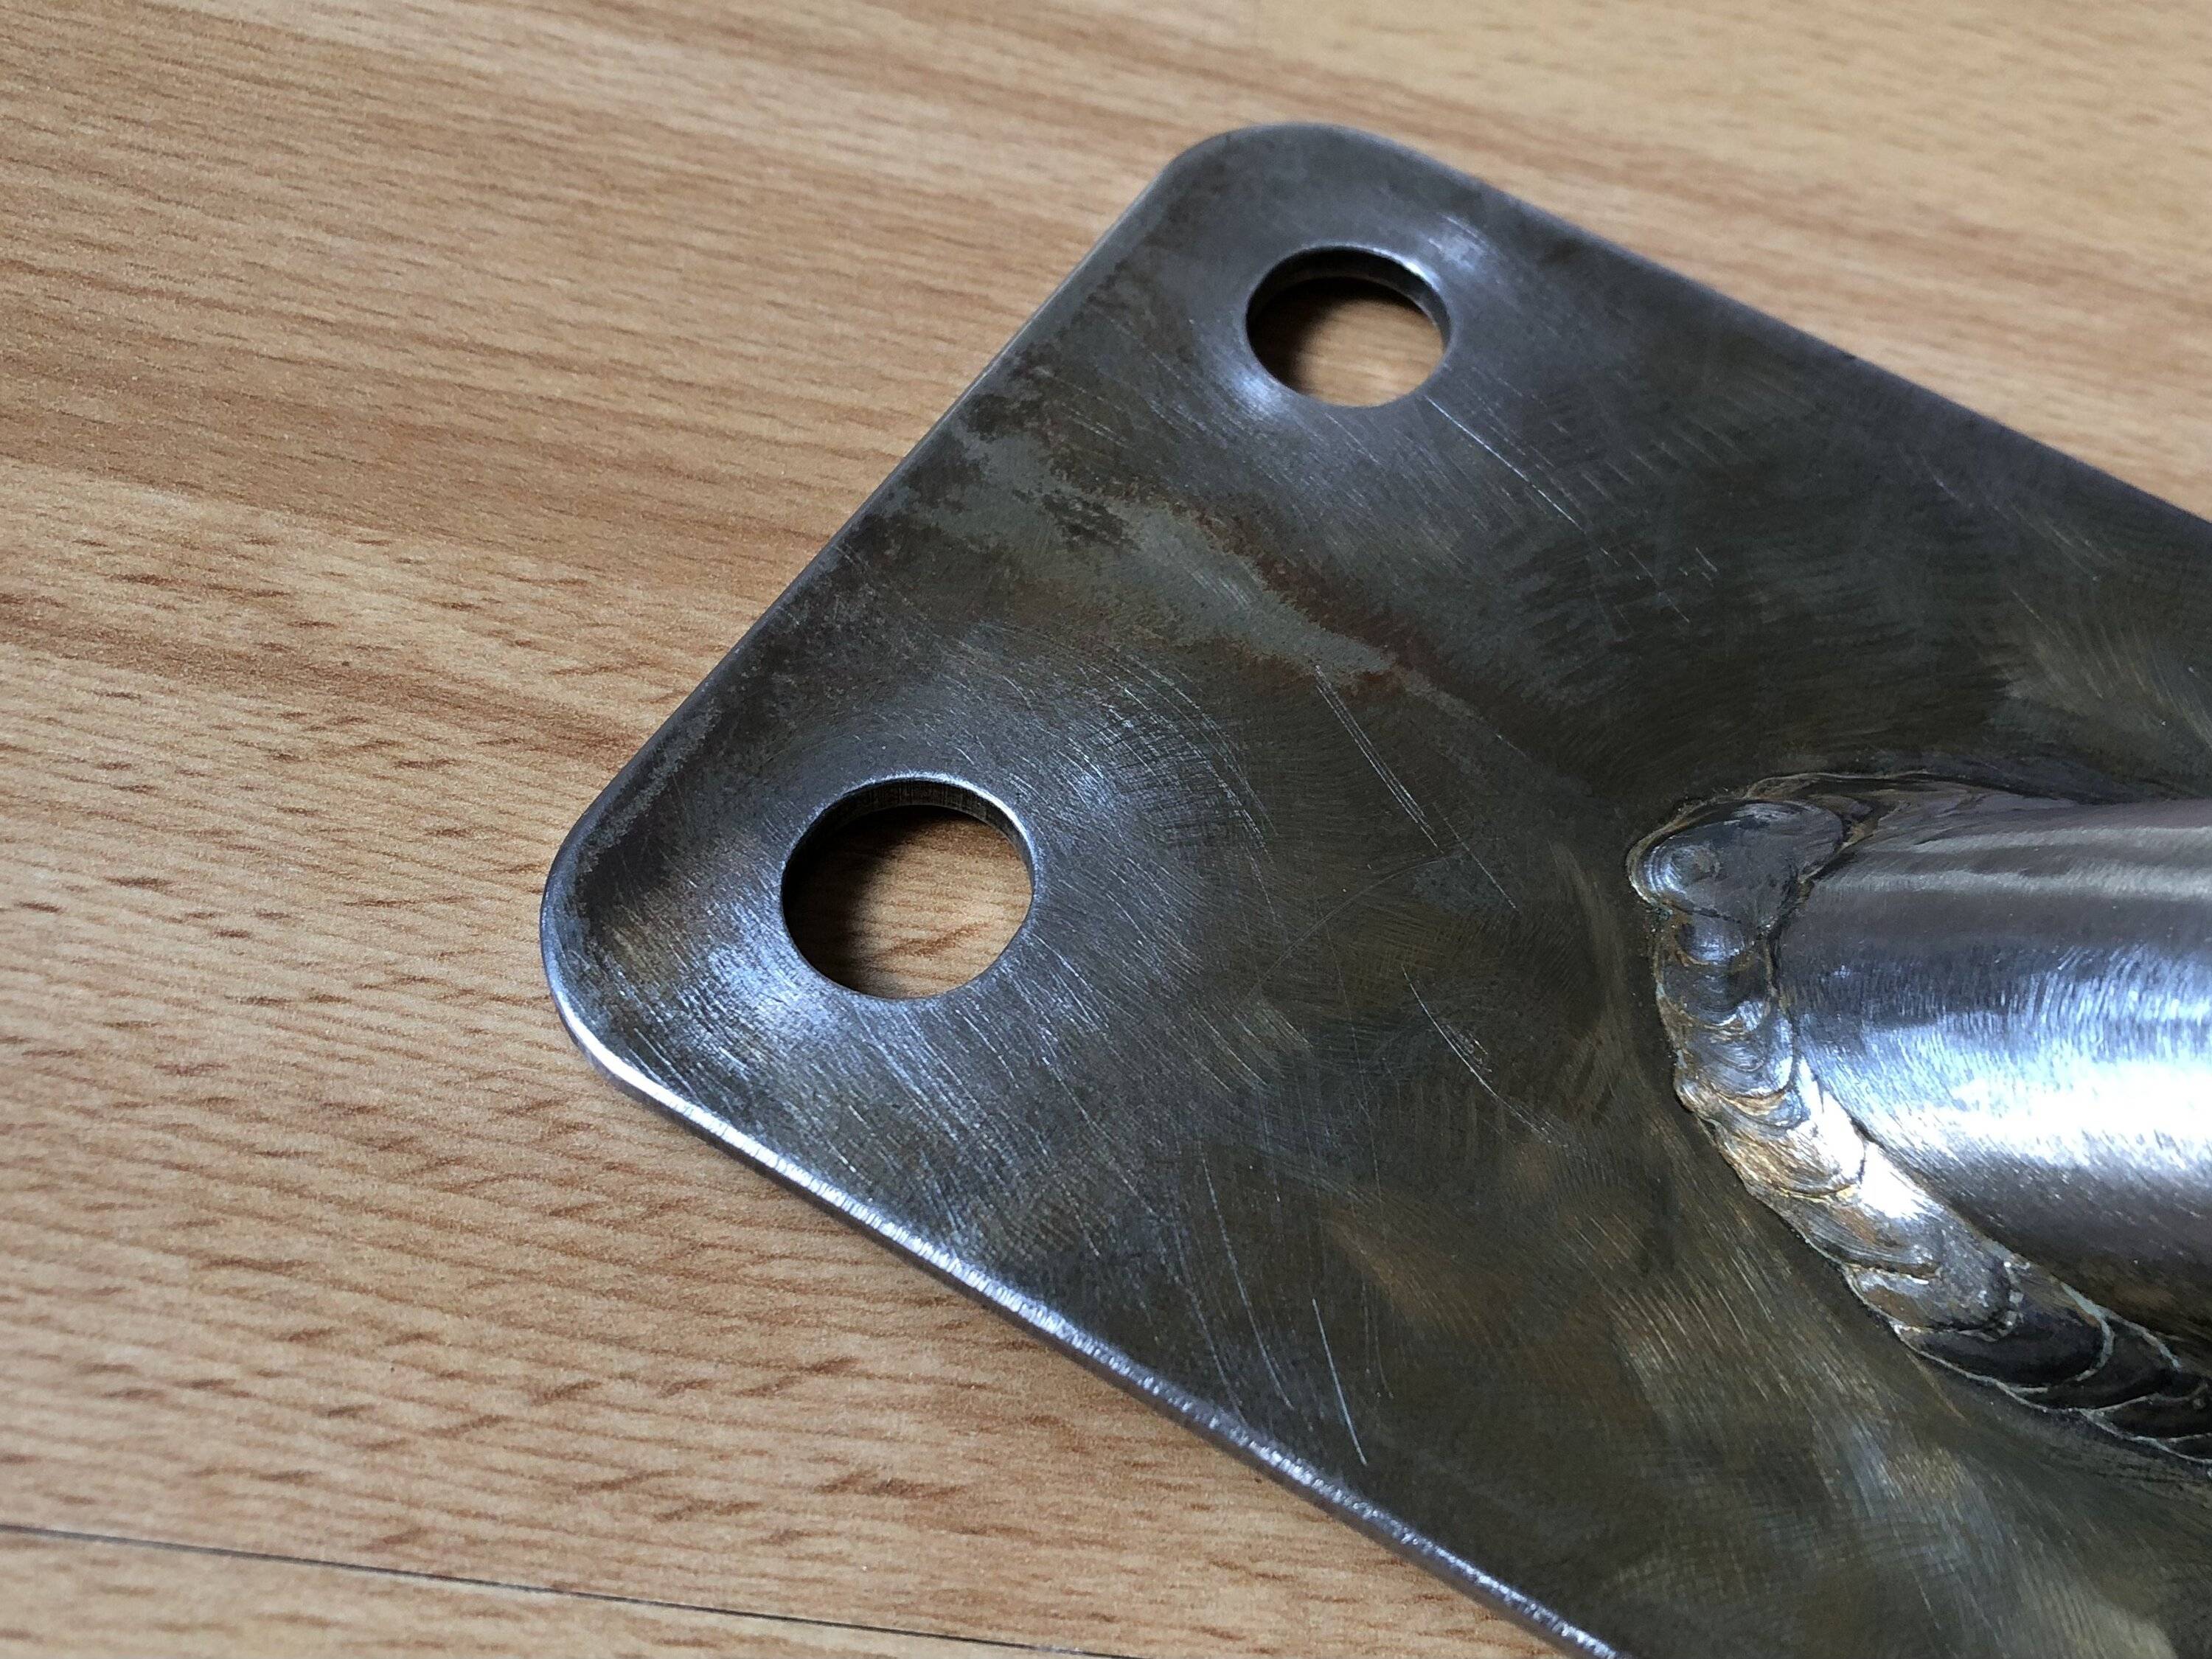
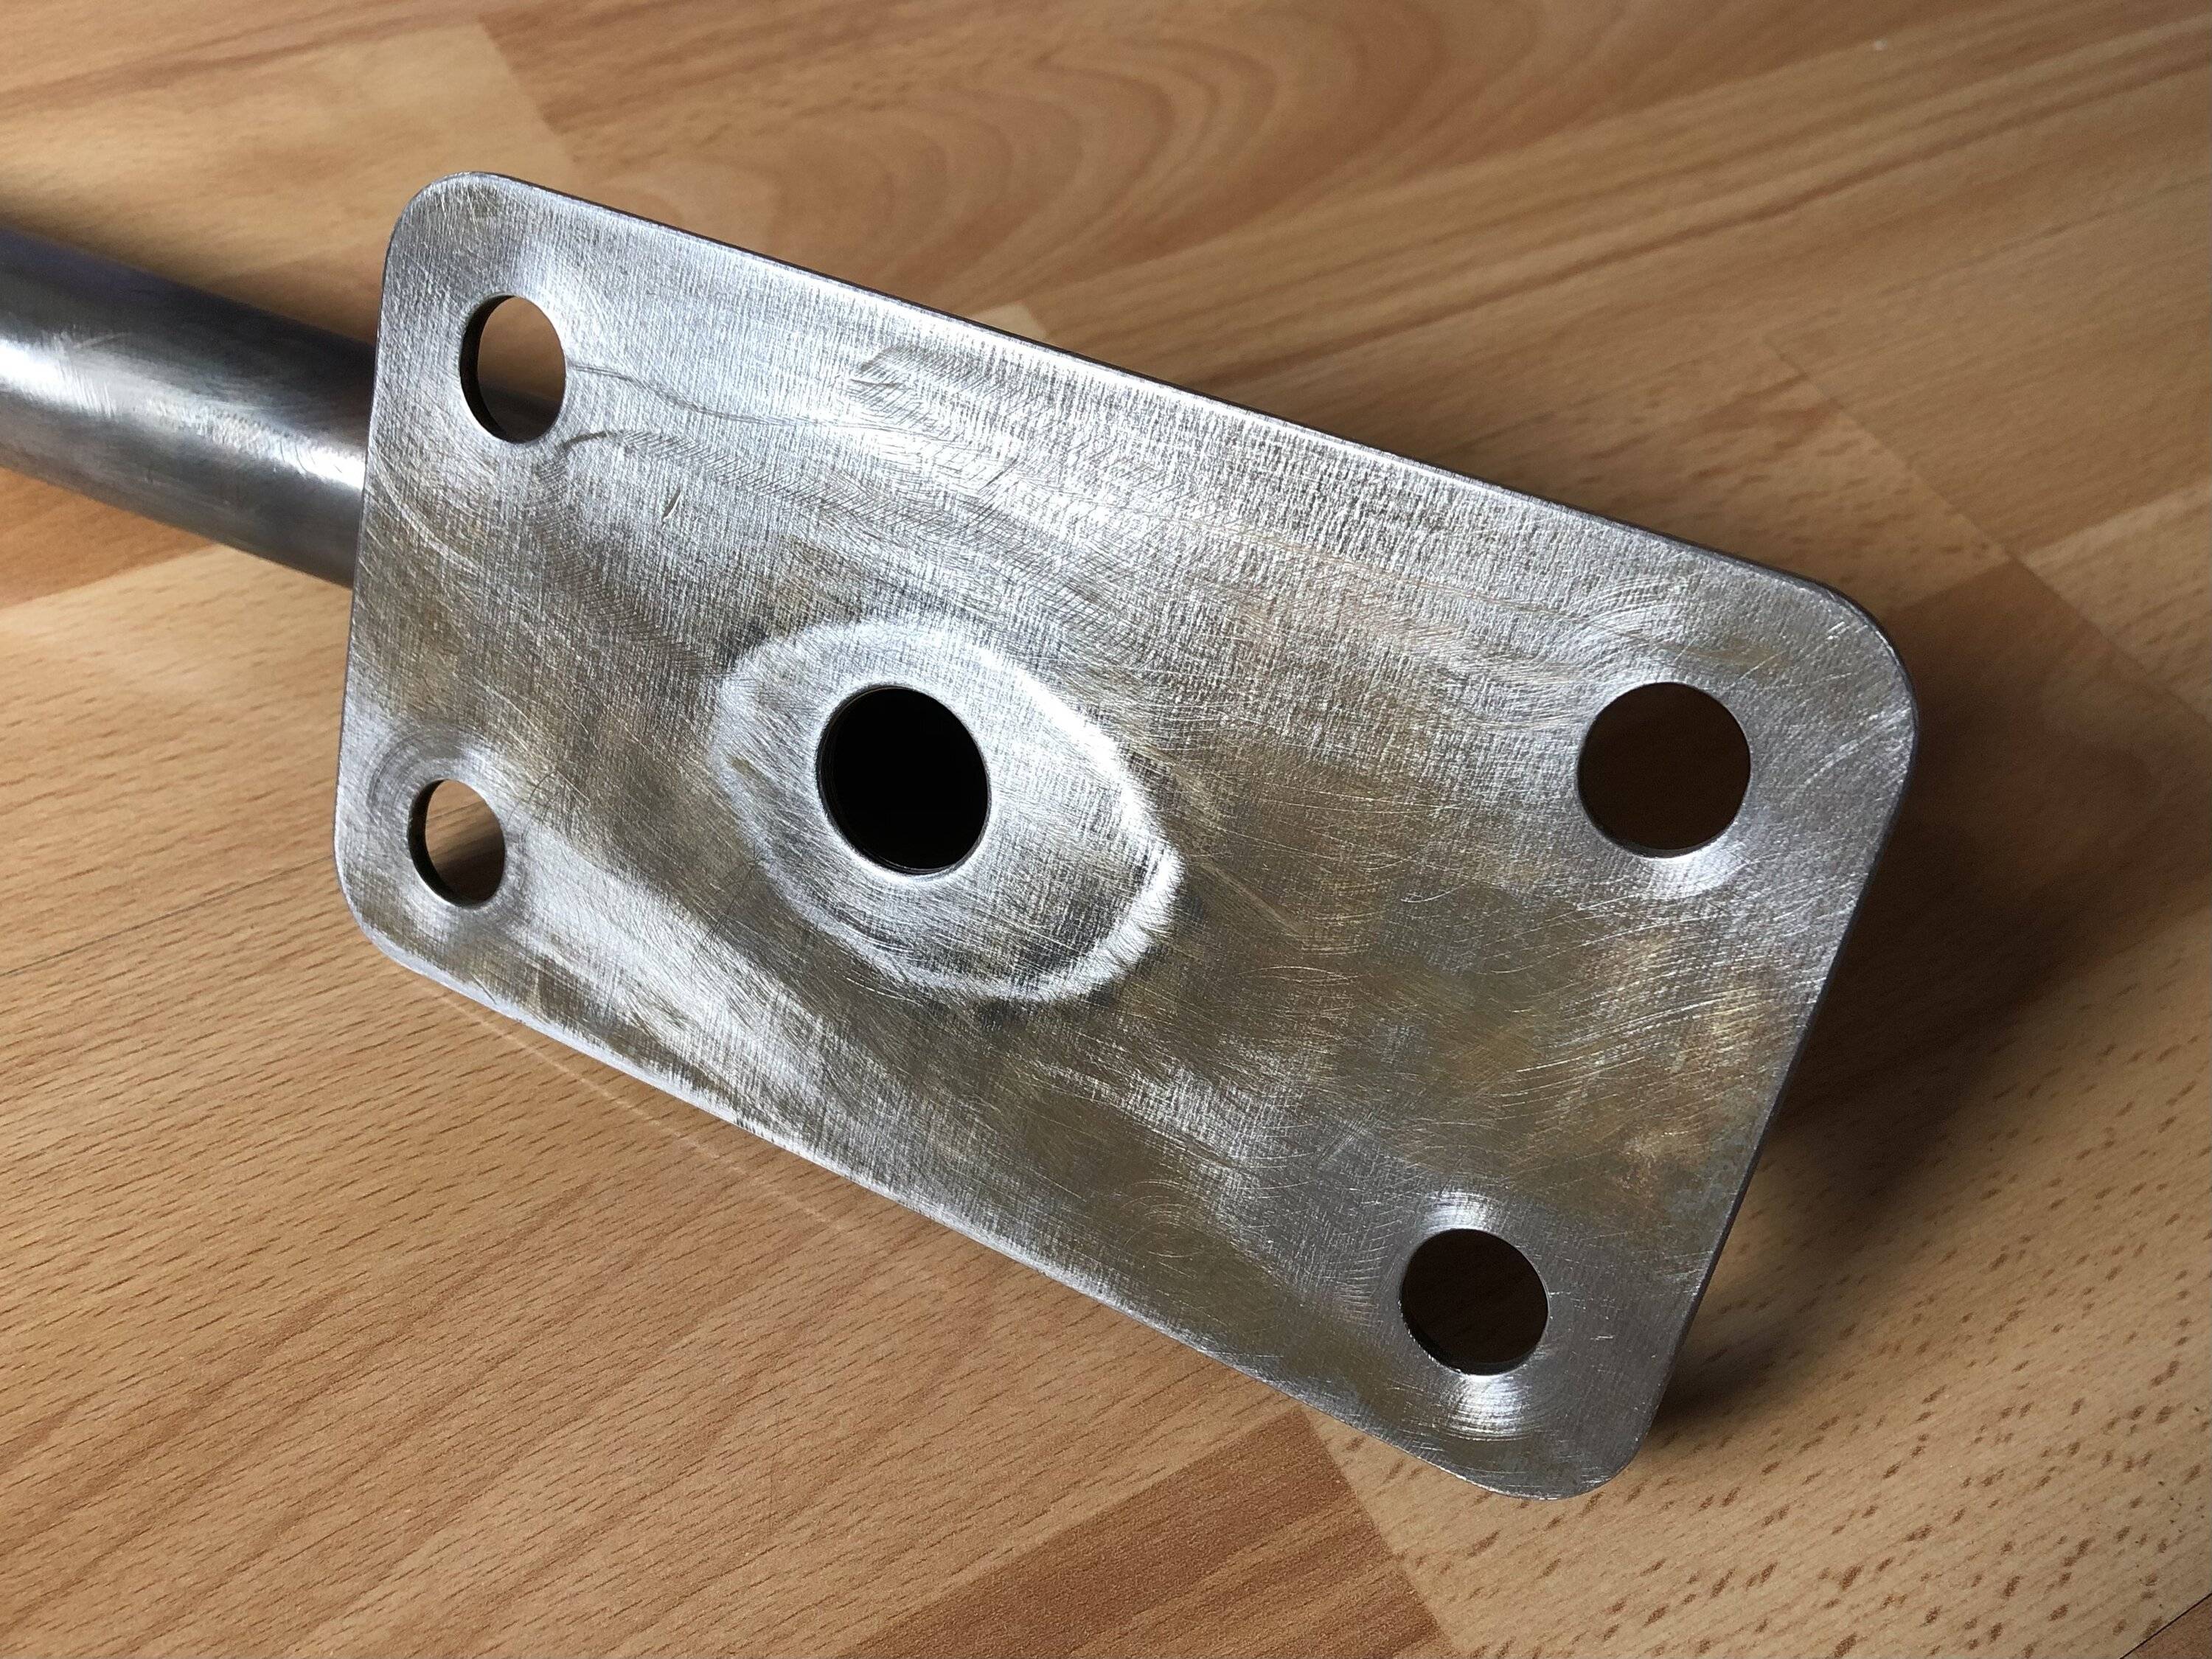
I’ve slotted the mount holes so I can allow for a little tolerance with :
Bolt hole centres of the radar box mount.
Vertical alignment / rotation (relative to the floor) of the new bracket.
Rotation (relative to the axles)
Rotation relative to the horizon is adjusted by the standard radar box mount.
So I’m hoping I can consider this side of the crash bar mount finished, and I can now move onto the towing eye mount.
The towing eye mount (if I bother with it at all … ?) should be an easier / quicker design - if I can find someone with a euro / M1 with a bumper cover off the car ...




 ) hand sketches, Warren provided some missing dimensions that I requested, then using them and the Steeda crash bar, I came up with this paper design :