Sponsored

Braum seats

wireeater

Well-Known Member
Joined
Jun 27, 2016
Threads
41
Messages
2,929
Reaction score
2,157
Location
Virginia
Website
wheelwell.com
First Name
Rich
Vehicle(s)
Shadow Black 2025 Mustang DH HP
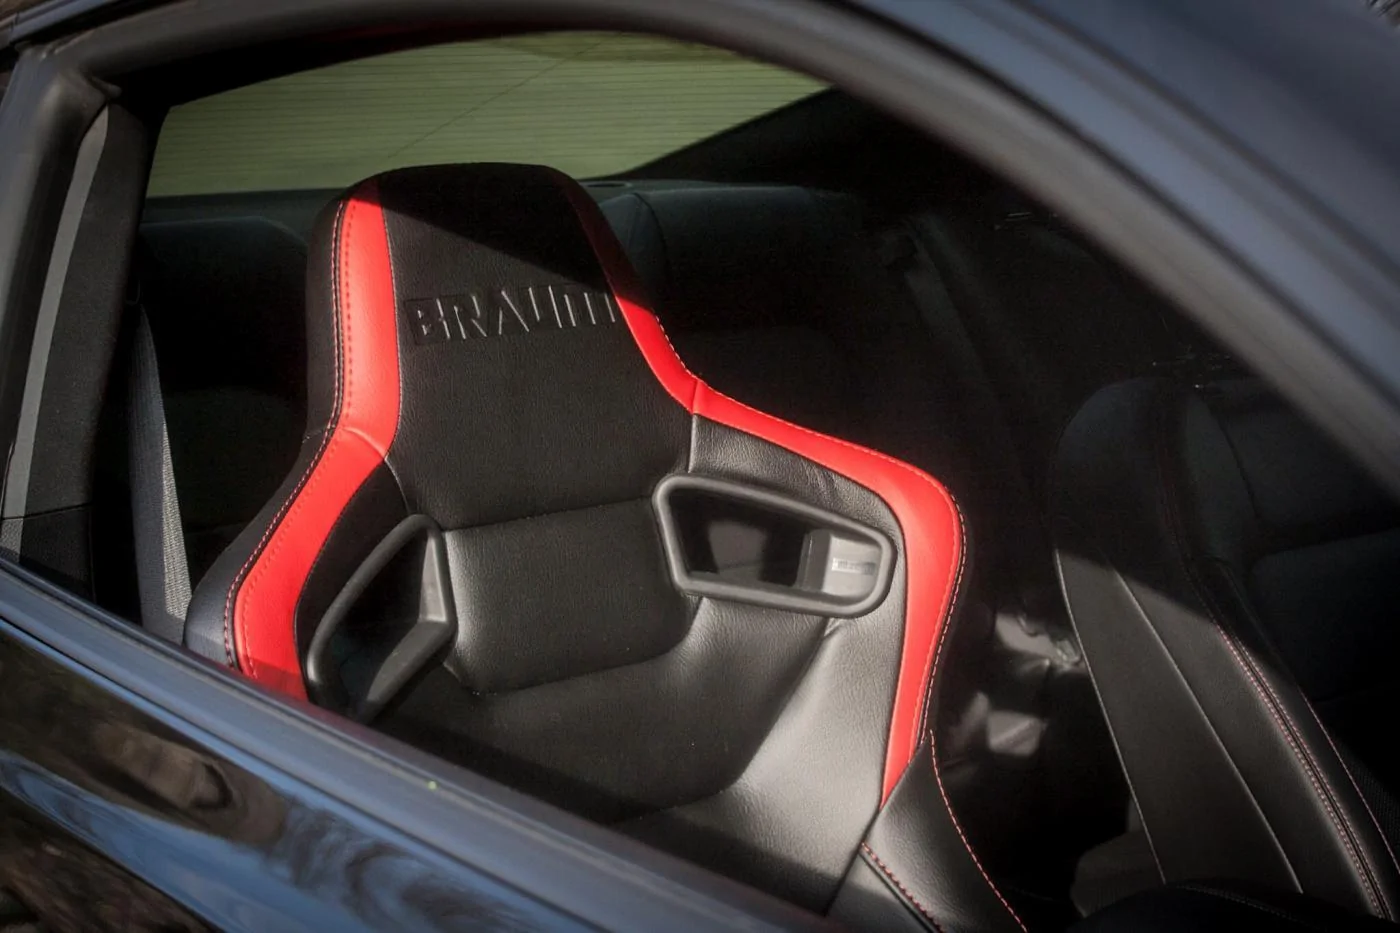
I heard from only one person, so not reliable information that he owned a few pair of Braum seats and said they would wear out pretty quickly. Anyone have any previous experience with them? I really love the look of their seats.
Sponsored


Unadilla248

Well-Known Member
Joined
Oct 6, 2016
Threads
2
Messages
68
Reaction score
12
Location
Pennsylvannia
First Name
7x
Vehicle(s)
2016 Mustang GT
Im gonna purchase aftermarket seats very soon since my OEM PP seats are way to soft and foam has degraded after only 6k miles, There is a thread on premature seat wear and dont even care to try for dealer replacement and have it just happen again.
 

JakeB

Active Member
Joined
Sep 12, 2016
Threads
2
Messages
42
Reaction score
23
Location
Tampa, FL
First Name
Jake
Vehicle(s)
2016 Mustang GT 6AT (Shadow Black)
Im gonna purchase aftermarket seats very soon since my OEM PP seats are way to soft and foam has degraded after only 6k miles, There is a thread on premature seat wear and dont even care to try for dealer replacement and have it just happen again.
I would let the dealer replace them under warranty just for the hell of having a fresh set, even if you take them out.

Is it the PP Recaro's or the Premium seats?
 

lwnslw

Well-Known Member
Joined
Apr 19, 2016
Threads
13
Messages
447
Reaction score
94
Location
S Fl
First Name
Joe
Vehicle(s)
2016 Mustang GT
Finished getting the seats in this morning. The seats themselves are great. They look good in the car. But the install and fitment are expectedly aftermarket. So anyone wanting OEM fitment and feel aren't going to like these. They are comfortable though.


Elaborate on the "install and fitment are expectedly aftermarket"

I have be thinking about buying a set. Looking for true BOLT IN seats and rails...dont want to have to fab anything..
 

SoCalTim

Member
Joined
Sep 14, 2015
Threads
187
Messages
3,147
Reaction score
1,632
Location
CA
First Name
Tim
Vehicle(s)
Sold : 15 GT
Elaborate on the "install and fitment are expectedly aftermarket"

I have be thinking about buying a set. Looking for true BOLT IN seats and rails...dont want to have to fab anything..

I would also like to hear more on the install and fitment...
 

Sponsored

JakeB

Active Member
Joined
Sep 12, 2016
Threads
2
Messages
42
Reaction score
23
Location
Tampa, FL
First Name
Jake
Vehicle(s)
2016 Mustang GT 6AT (Shadow Black)
Elaborate on the "install and fitment are expectedly aftermarket"

I have be thinking about buying a set. Looking for true BOLT IN seats and rails...dont want to have to fab anything..
It's a universal seat, so it doesn't sit perfectly in the space you have, seat buckle locations aren't perfect, I needed to find a fix to keep the seat belts off my neck. And there's no formal covers for the carpet cutouts for the bolts, so you can just see metal around where it mounts.

The seats look good, and they're fine to sit in, but the feel and fitment are a big part of what makes them noticeably aftermarket, you can tell they didn't come with the car.

Loosely running through install process. It's not exactly bolt in. Involves some cutting, some soldering, and drilling.

Unbolt 4 bolts on the oems, unplug the main wiring harness from the bottom and remove.
Had to remove the wire harnesses from the oems, pull a lot of push clips and fight with some wire connectors in a few complicated locations.
Remove the Seat belt buckles. Those are straight forward.
Remove the frame rail position sensor, it's used to detect seat position from the dash to determine airbag deployment speed. That's just a clip and screw.
Cut the connector with the red insert from the driver seat so I could use it to solder a 2ohm resistor in the keep the dash airbag light from showing up.
Destructively removed the spring panel from the passenger seat to get the passenger occupancy bladder out.
Fought with the spring panel on the passenger Braum seat to put the occupancy bladder under it.
Install sliders to the seats.
Drilled hole for seat buckle mount alignment tab because the planted mounting brackets didn't have one for it. Ended up relocating my seat buckle mount to sort of the bottom of the bracket, buckle cable is long enough to run it up along the side.
Installed mounting brackets with planted 1/4" risers onto the seats and slider rails.
Hot glued the frame rail position sensors into the closest spot I could find that didn't interfere with the slider.
Crudely zip tied wiring harnesses back under the seats.
And bolt them back into the car.

Now, there's no actual instructions for this, and I'm a noob, it took me collectively 13 hours of figuring out what the hell to do with a lot of this. I had no idea what most of the wiring was and what needed to move over and how. And I have an airbag light on either from breaking the solder on my driver plug while ziptieing the whole thing, or there's on for the passenger seat i don't know about. But I will update in the thread if it's anything other than a broken solder.
 

JakeB

Active Member
Joined
Sep 12, 2016
Threads
2
Messages
42
Reaction score
23
Location
Tampa, FL
First Name
Jake
Vehicle(s)
2016 Mustang GT 6AT (Shadow Black)
If anyone decides to reuse the bolt from the belt buckle mount, you'll need to get a nut to fit it for the new brackets. The threads they go in are apart of the OEM mounts.

To clarify for anyone who hasn't looked far enough yet, you need to spend about $300 on mounting brackets and hardware along with the seats, and $50 per 1/4" riser set for each seat if you want to raise them.

I would not suggest supplementing giant bolt spacers for risers, Im not an expert, but I can assume you would want a proper cut to fit piece that disperses weight across the entire mount.
 
Last edited:

Unadilla248

Well-Known Member
Joined
Oct 6, 2016
Threads
2
Messages
68
Reaction score
12
Location
Pennsylvannia
First Name
7x
Vehicle(s)
2016 Mustang GT
I would let the dealer replace them under warranty just for the hell of having a fresh set, even if you take them out.

Is it the PP Recaro's or the Premium seats?
Ive considered doing that but don't wanna deal with them saying its normal.

They are the Premium seats and both driver and passenger seats have 2 decent cheek dimples in them and not just after driving car I mean if it sits for few days and I run my hand over seats Im like WTF...
 

JakeB

Active Member
Joined
Sep 12, 2016
Threads
2
Messages
42
Reaction score
23
Location
Tampa, FL
First Name
Jake
Vehicle(s)
2016 Mustang GT 6AT (Shadow Black)
Ive considered doing that but don't wanna deal with them saying its normal.

They are the Premium seats and both driver and passenger seats have 2 decent cheek dimples in them and not just after driving car I mean if it sits for few days and I run my hand over seats Im like WTF...
Probably better off if you won't do anything with them anyways. You can take the rough route removing the passenger occupancy bladder.

Also reminds me, I got dents in the bolster of one of my seats that took a while to come out. They put both seats in the same box with the sliders, I think the boxes for the sliders jammed against the bolster during shipping.

I'm not sure they'll do it but anyone ordering, I would request that they ship the sliders separately to avoid that.
 

Unadilla248

Well-Known Member
Joined
Oct 6, 2016
Threads
2
Messages
68
Reaction score
12
Location
Pennsylvannia
First Name
7x
Vehicle(s)
2016 Mustang GT
It's a universal seat, so it doesn't sit perfectly in the space you have, seat buckle locations aren't perfect, I needed to find a fix to keep the seat belts off my neck. And there's no formal covers for the carpet cutouts for the bolts, so you can just see metal around where it mounts.

The seats look good, and they're fine to sit in, but the feel and fitment are a big part of what makes them noticeably aftermarket, you can tell they didn't come with the car.

Loosely running through install process. It's not exactly bolt in. Involves some cutting, some soldering, and drilling.

Unbolt 4 bolts on the oems, unplug the main wiring harness from the bottom and remove.
Had to remove the wire harnesses from the oems, pull a lot of push clips and fight with some wire connectors in a few complicated locations.
Remove the Seat belt buckles. Those are straight forward.
Remove the frame rail position sensor, it's used to detect seat position from the dash to determine airbag deployment speed. That's just a clip and screw.
Cut the connector with the red insert from the driver seat so I could use it to solder a 2ohm resistor in the keep the dash airbag light from showing up.
Destructively removed the spring panel from the passenger seat to get the passenger occupancy bladder out.
Fought with the spring panel on the passenger Braum seat to put the occupancy bladder under it.
Install sliders to the seats.
Drilled hole for seat buckle mount alignment tab because the planted mounting brackets didn't have one for it. Ended up relocating my seat buckle mount to sort of the bottom of the bracket, buckle cable is long enough to run it up along the side.
Installed mounting brackets with planted 1/4" risers onto the seats and slider rails.
Hot glued the frame rail position sensors into the closest spot I could find that didn't interfere with the slider.
Crudely zip tied wiring harnesses back under the seats.
And bolt them back into the car.

Now, there's no actual instructions for this, and I'm a noob, it took me collectively 13 hours of figuring out what the hell to do with a lot of this. I had no idea what most of the wiring was and what needed to move over and how. And I have an airbag light on either from breaking the solder on my driver plug while ziptieing the whole thing, or there's on for the passenger seat i don't know about. But I will update in the thread if it's anything other than a broken solder.
That's the amount of work I expected and sounds like you did a great job, Since I personally like to tinker and fabricate stuff these are the seats I will probably buy, Are the seats pretty firm cause that's what Im looking for.
 

Sponsored

JakeB

Active Member
Joined
Sep 12, 2016
Threads
2
Messages
42
Reaction score
23
Location
Tampa, FL
First Name
Jake
Vehicle(s)
2016 Mustang GT 6AT (Shadow Black)
That's the amount of work I expected and sounds like you did a great job, Since I personally like to tinker and fabricate stuff these are the seats I will probably buy, Are the seats pretty firm cause that's what Im looking for.
Yeah, they're firm.
 

MyLilPony

Naw It's Stock
Joined
Apr 15, 2015
Threads
47
Messages
1,613
Reaction score
657
Location
Prosper, TX
First Name
Kris
Vehicle(s)
2015 Black GT, 18 JLUR, 15 JK
I'll have pics and an install video posted in a separate thread. To do it right takes a little bit of time. Swapping harness, soldering resistors in etc...
IMG_3998.webp
 

JakeB

Active Member
Joined
Sep 12, 2016
Threads
2
Messages
42
Reaction score
23
Location
Tampa, FL
First Name
Jake
Vehicle(s)
2016 Mustang GT 6AT (Shadow Black)
I'll have pics and an install video posted in a separate thread. To do it right takes a little bit of time. Swapping harness, soldering resistors in etc...
Red accents look great. Would appreciate the video, you may have done something better for the position sensors and passenger occupancy bladder.
 

MyLilPony

Naw It's Stock
Joined
Apr 15, 2015
Threads
47
Messages
1,613
Reaction score
657
Location
Prosper, TX
First Name
Kris
Vehicle(s)
2015 Black GT, 18 JLUR, 15 JK
Red accents look great. Would appreciate the video, you may have done something better for the position sensors and passenger occupancy bladder.
Zip tied the shit outa that mess lol. I have heated and cooled seats so I had 2x the wires to wrap up too.
 

JakeB

Active Member
Joined
Sep 12, 2016
Threads
2
Messages
42
Reaction score
23
Location
Tampa, FL
First Name
Jake
Vehicle(s)
2016 Mustang GT 6AT (Shadow Black)
I did find the passenger airbag connector I was missing. Shoved it down into the seat when I was "creatively" removing the passenger occupancy sensor bladder, and didn't realize I did that. Just got the resistor soldered on and plugged it in today.

No airbag light or warning using 2ohm 1/2 watt Resistors.
Sponsored


Top