phunk
Well-Known Member
- Joined
- Dec 26, 2014
- Threads
- 23
- Messages
- 1,186
- Reaction score
- 304
- Location
- United States
- Vehicle(s)
- '15 GT-PP
- Thread starter
- #16
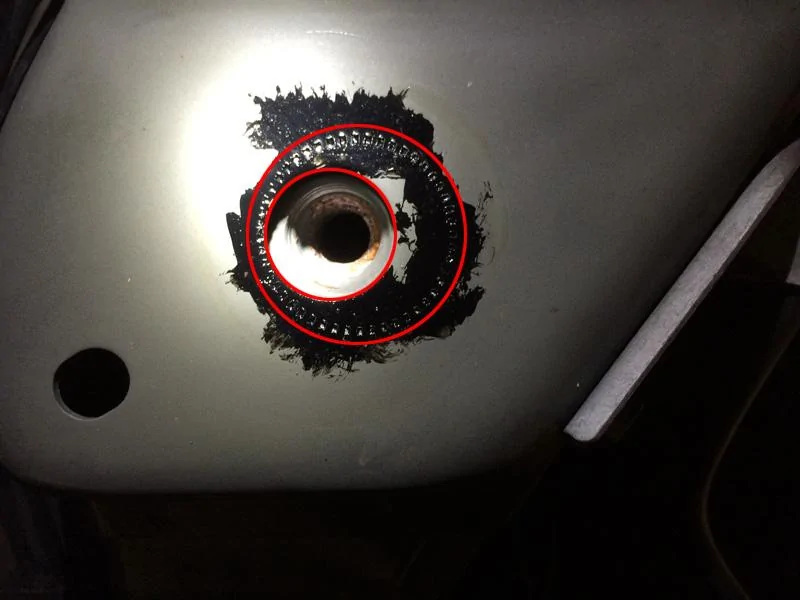
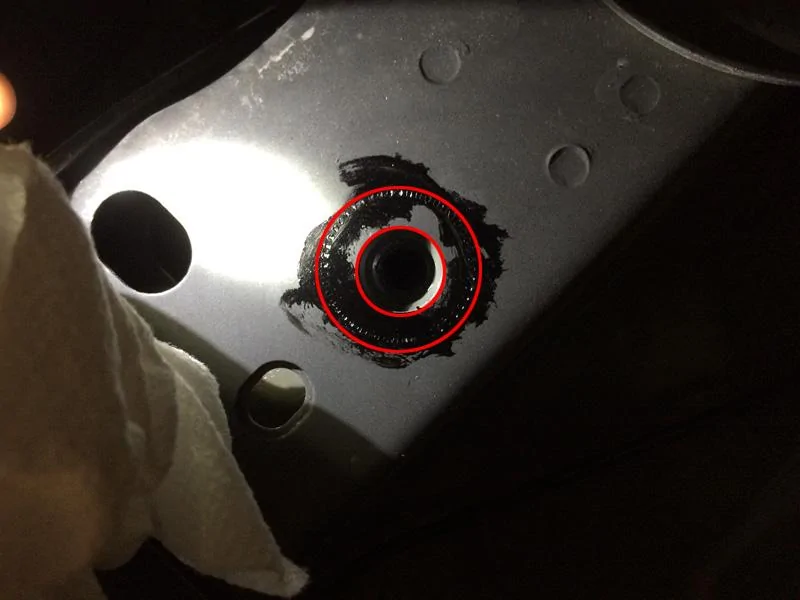
edit, I was able to repair my threads in the chassis... but I will not be able to use the delrin bushings.
I need to order a set of the urethane bushings. My cradle or chassis just is not true enough to get the bolts in. The holes dont line up well enough, so I need bushings with more give.
I need to order a set of the urethane bushings. My cradle or chassis just is not true enough to get the bolts in. The holes dont line up well enough, so I need bushings with more give.
Sponsored
Last edited: