Sponsored

Anchor Room VS Xpel PPF, my experience

Lords4d

Active Member
Joined
Mar 25, 2022
Threads
2
Messages
37
Reaction score
49
Location
Maine
Vehicle(s)
2022 Mach 1, 2018 F-150 3.5 EB
Just wanted to post this up so maybe you guys can save some time and wasted effort. Not intended to bash Anchor Room, just sharing my specific experience.

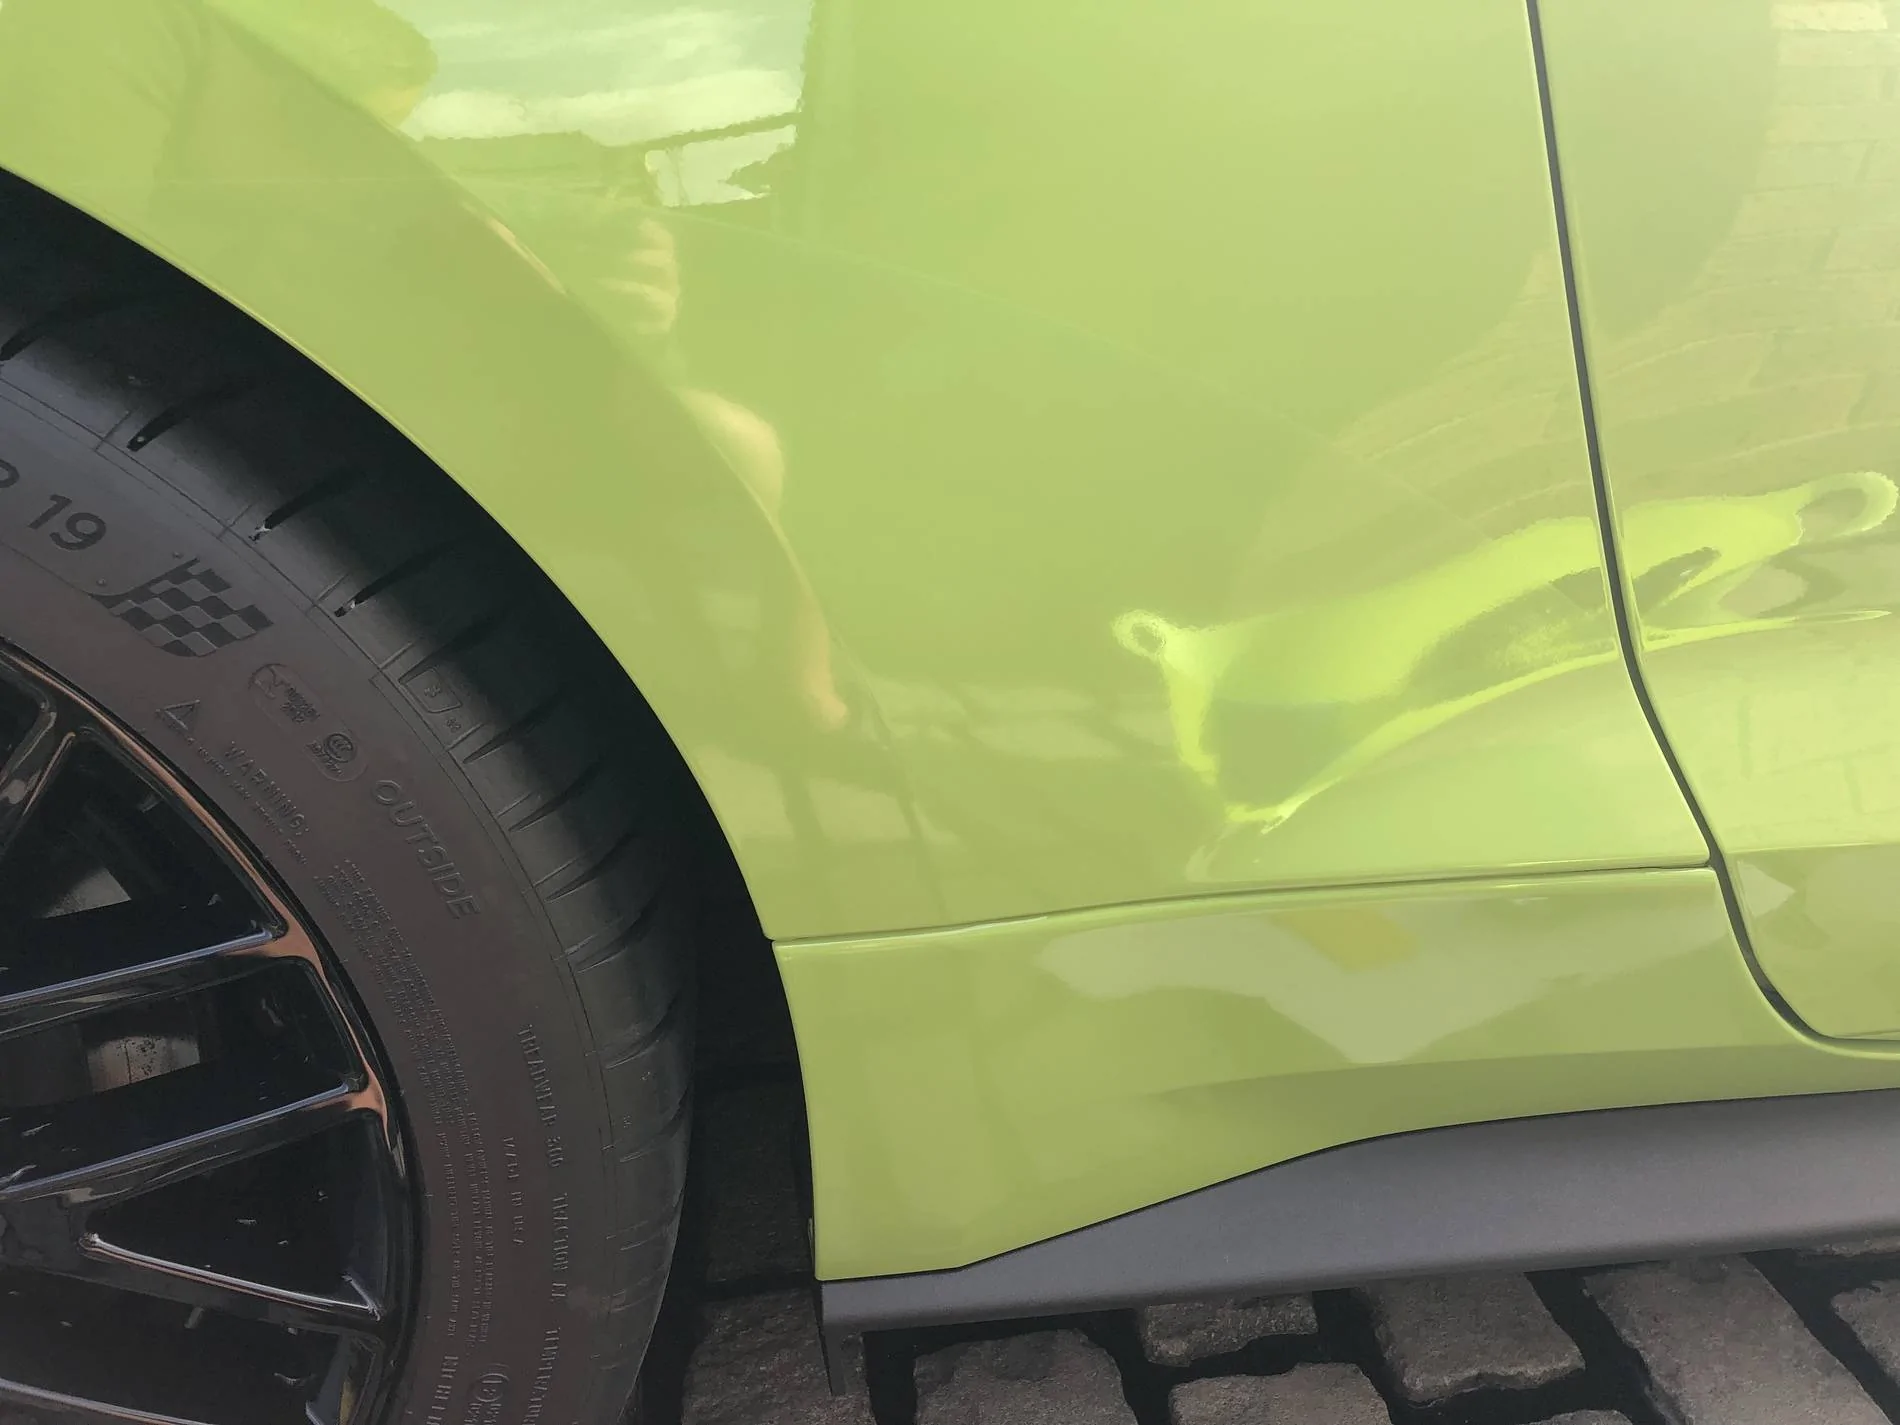
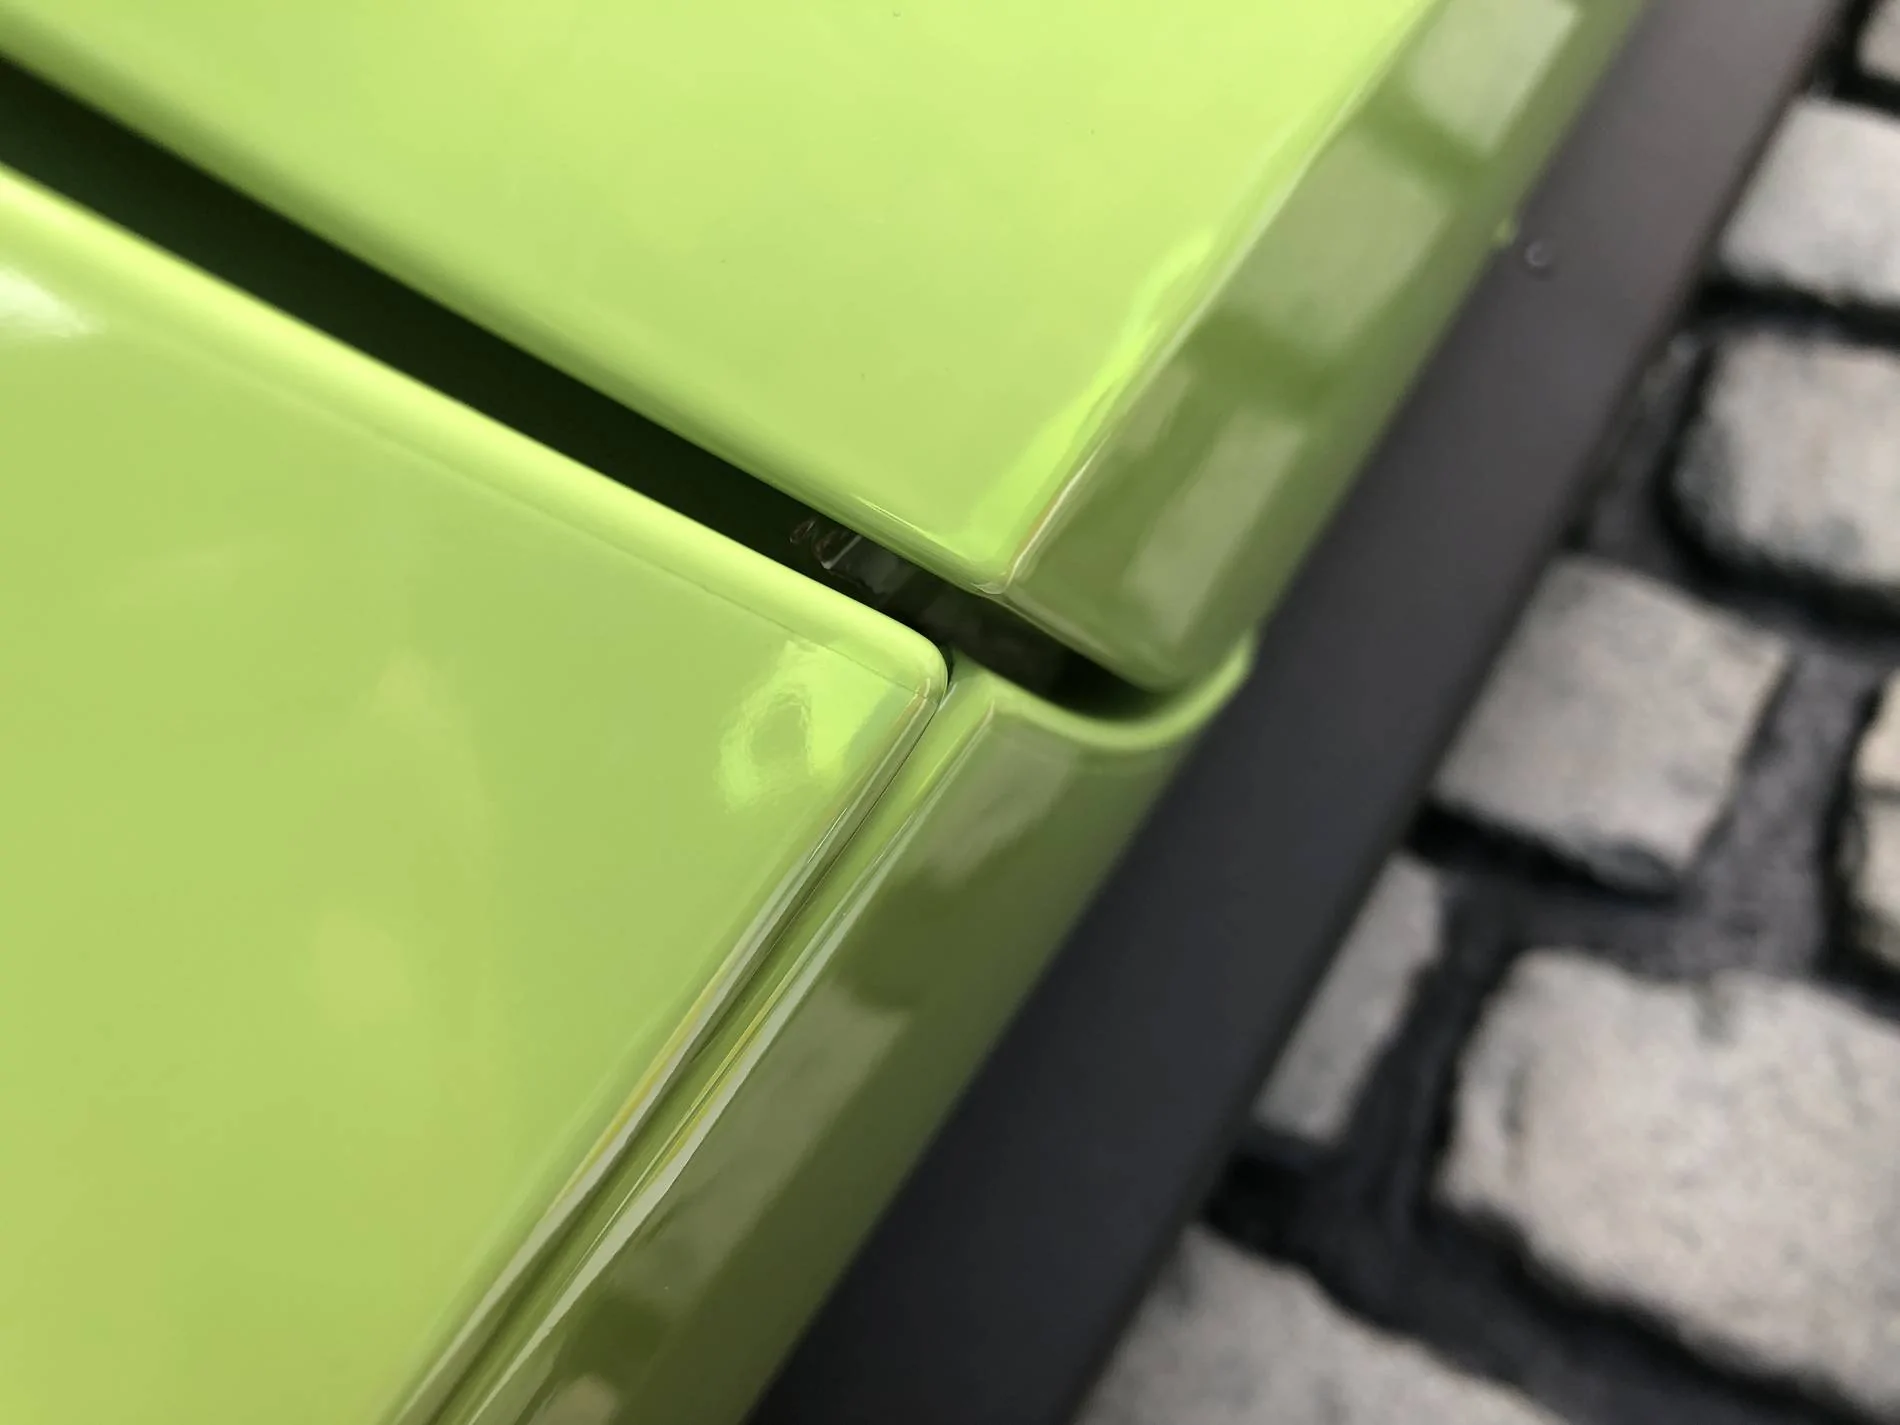
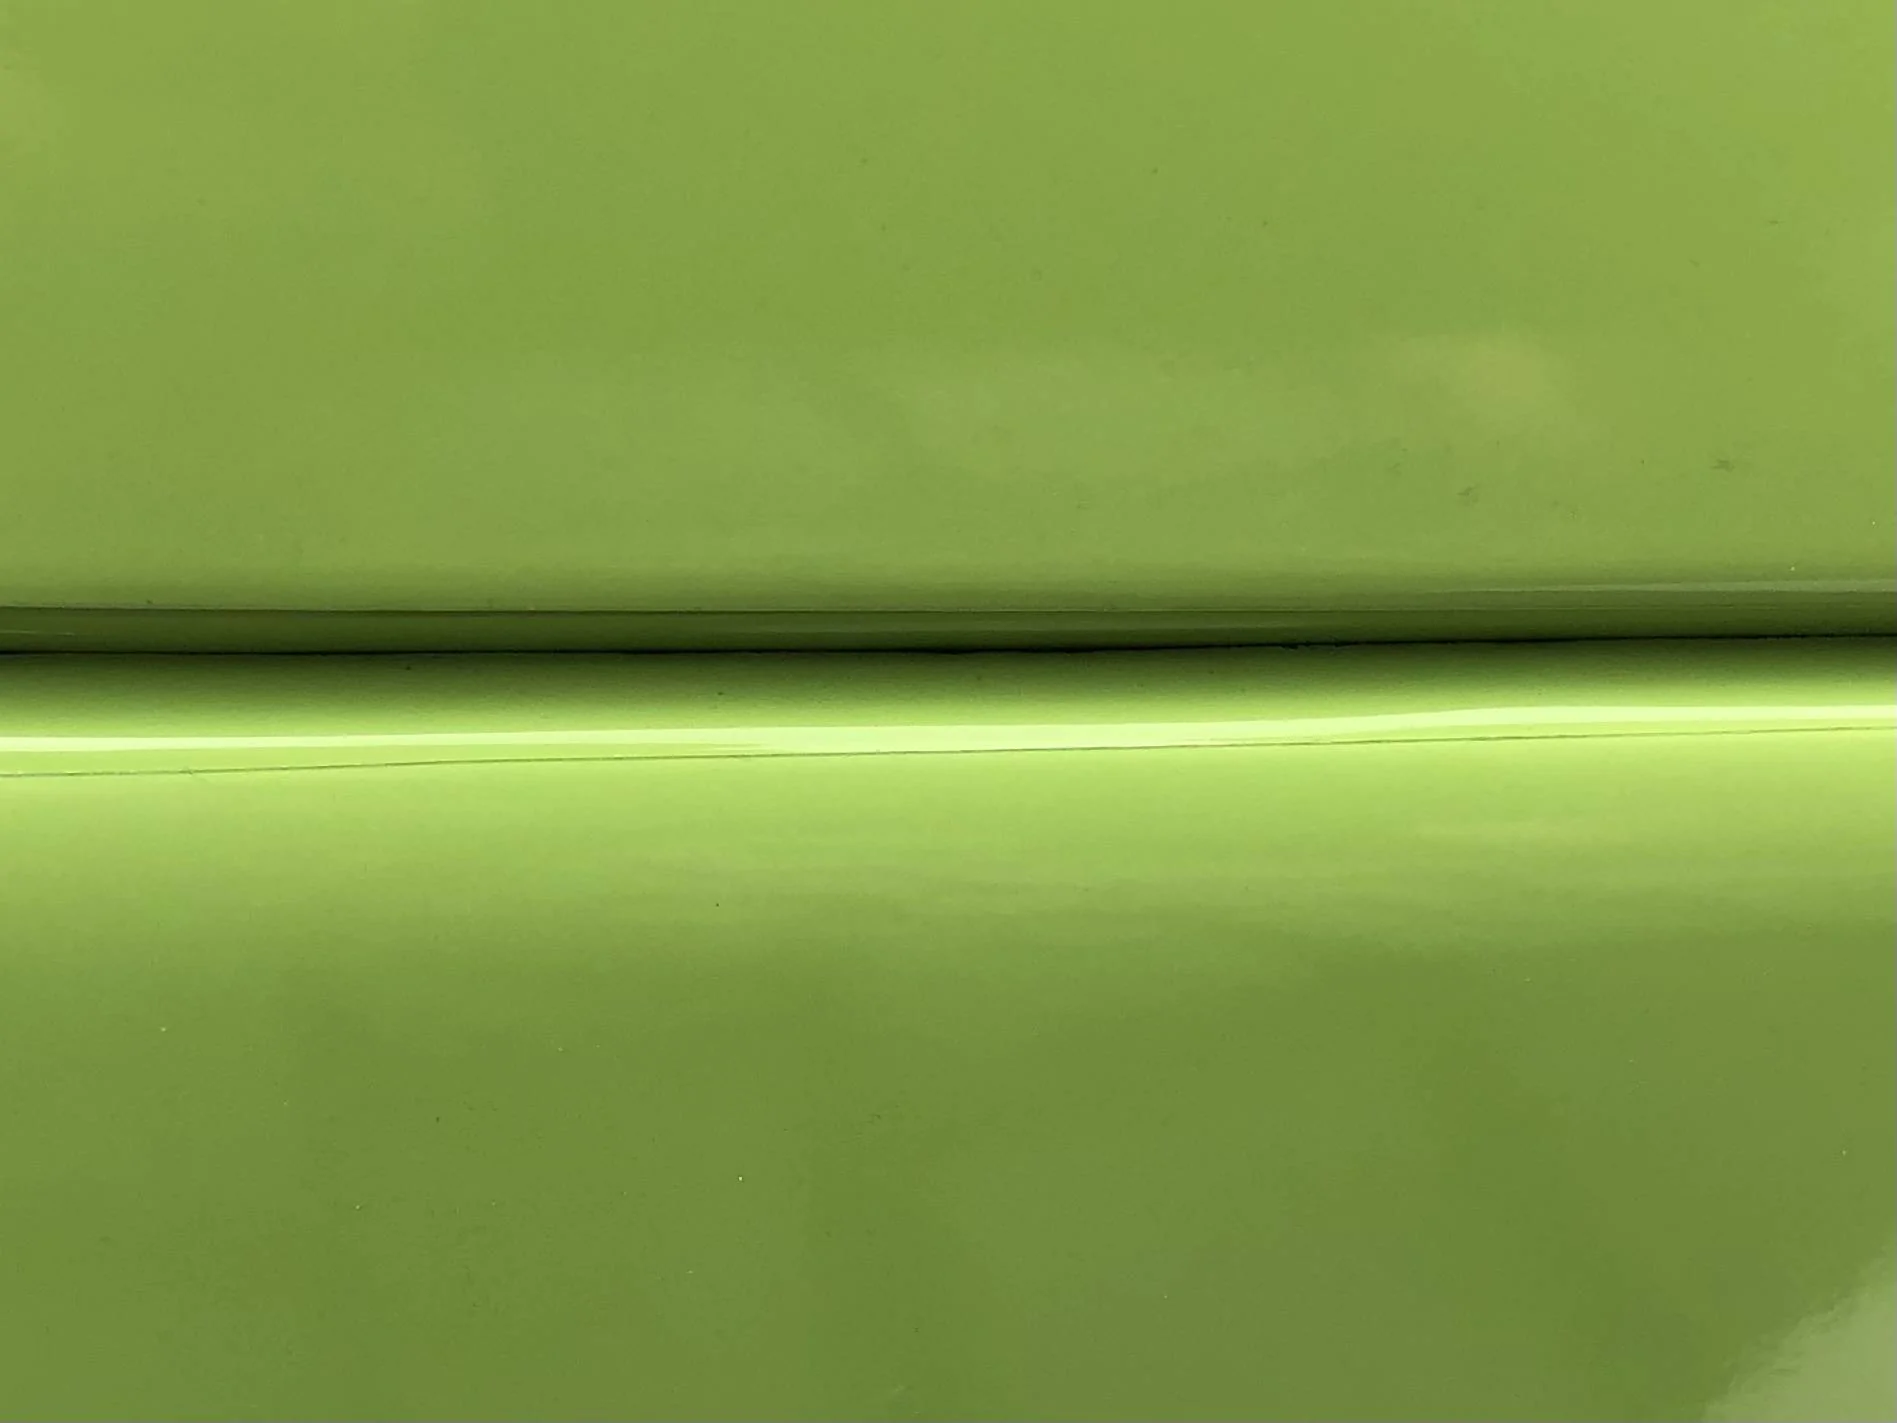
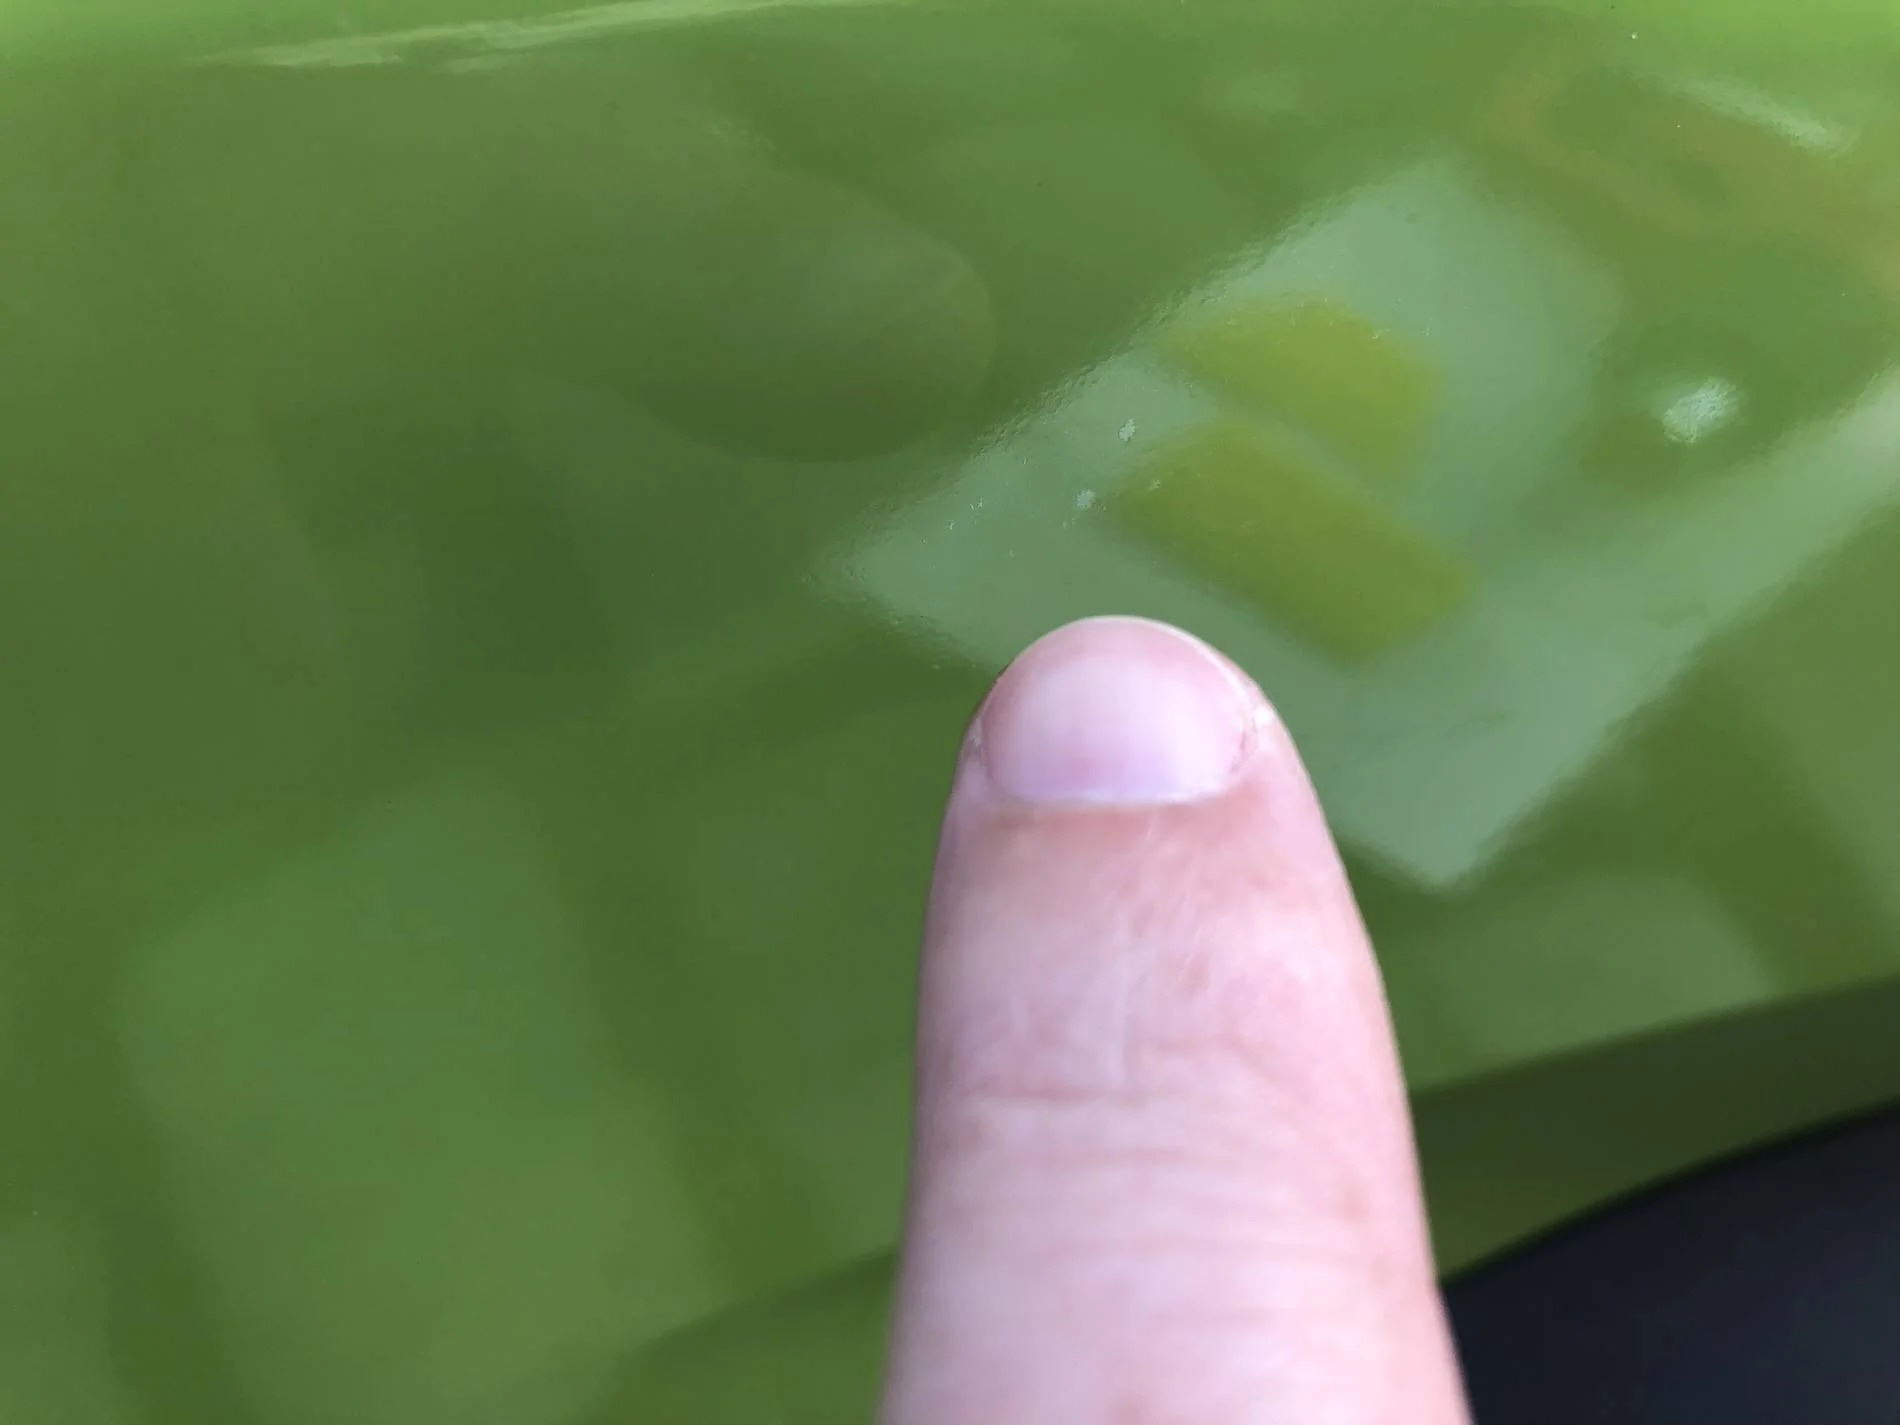
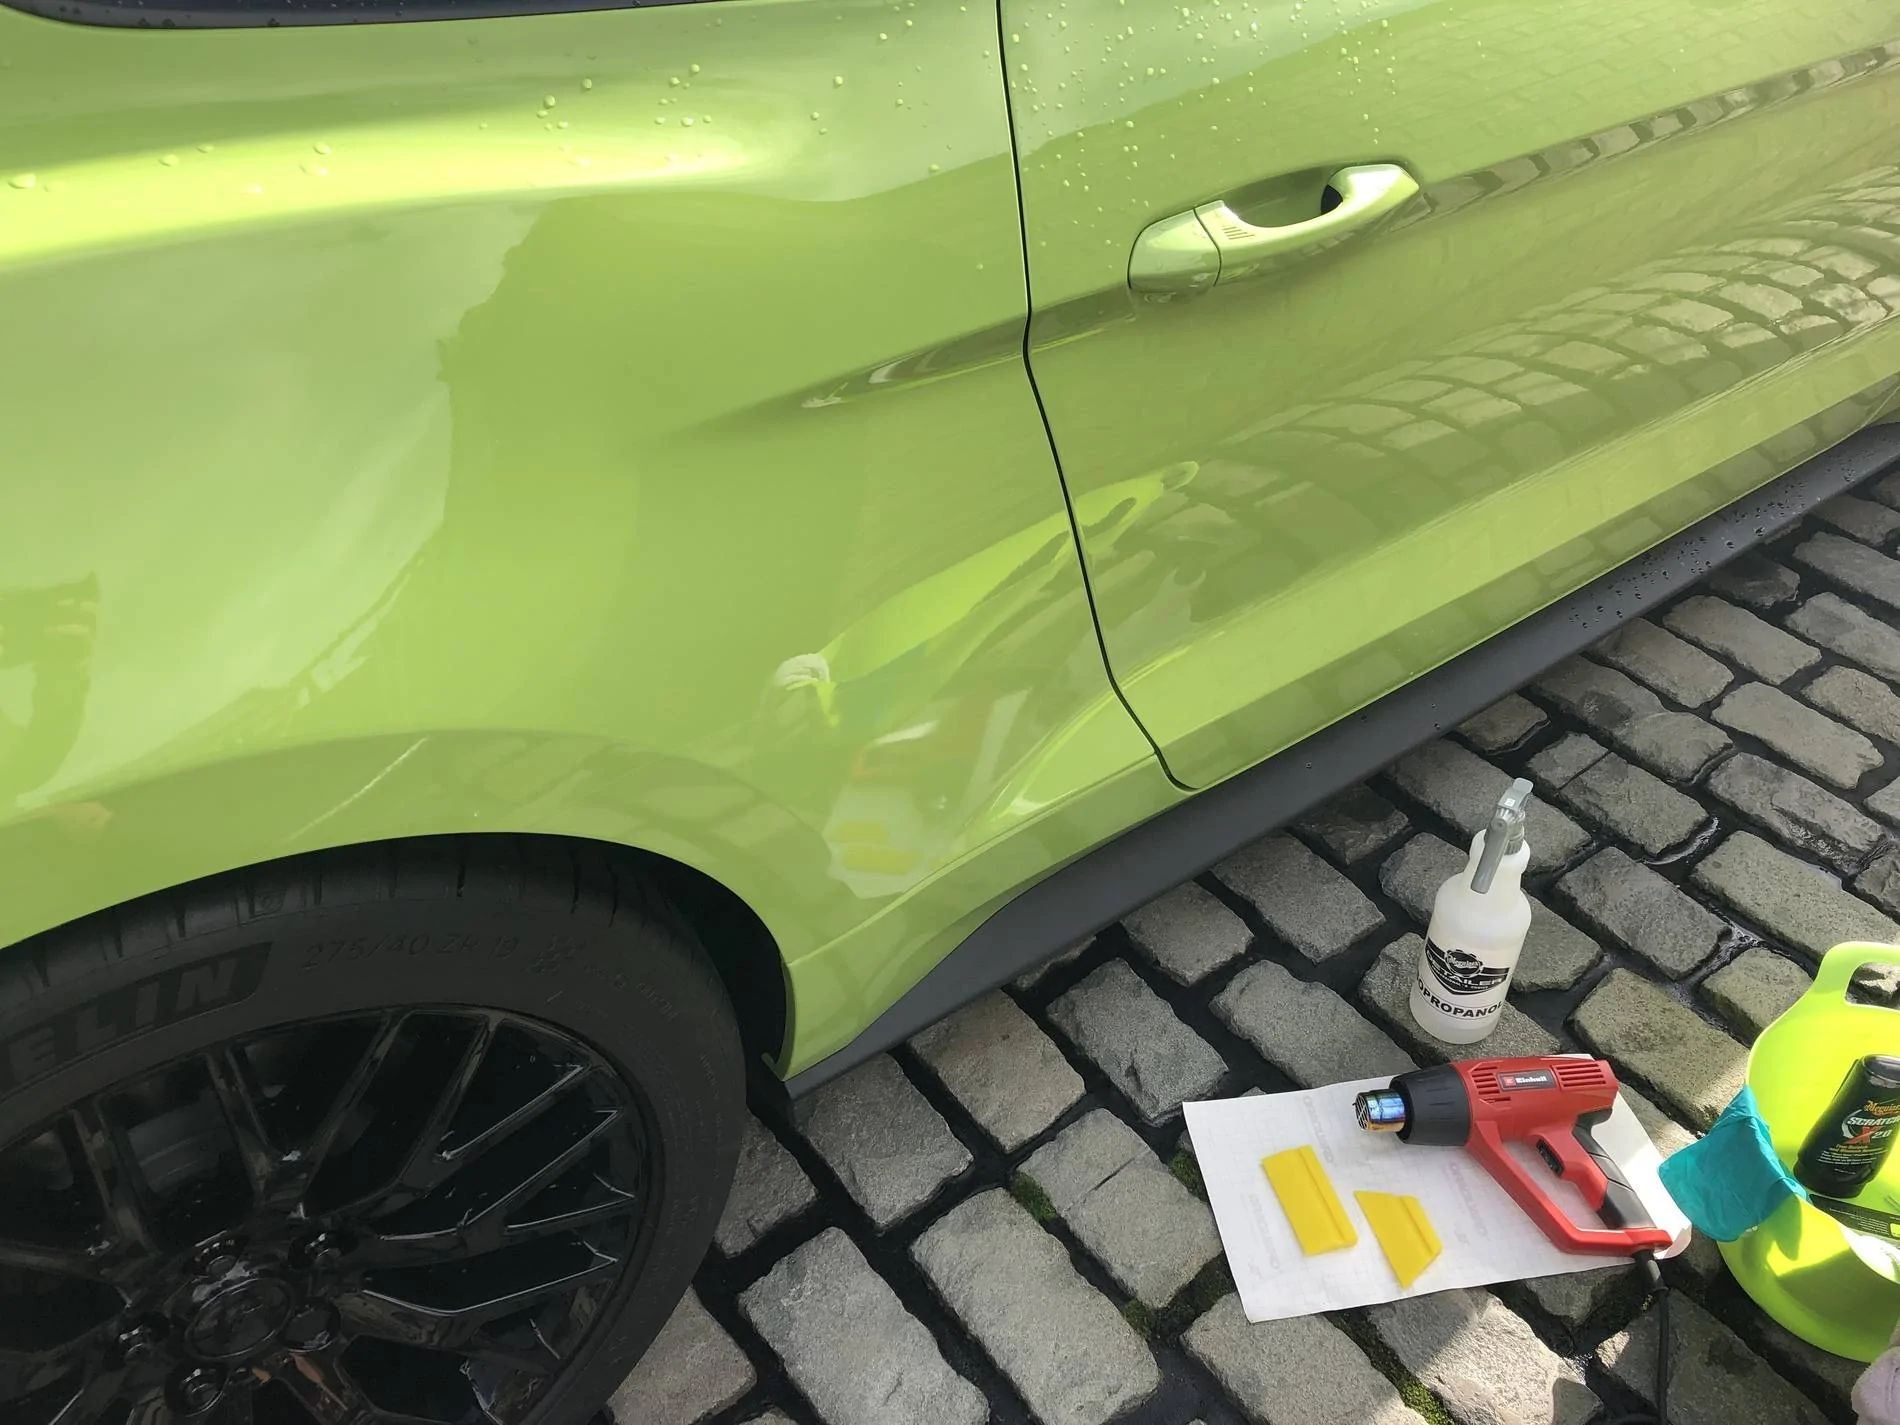
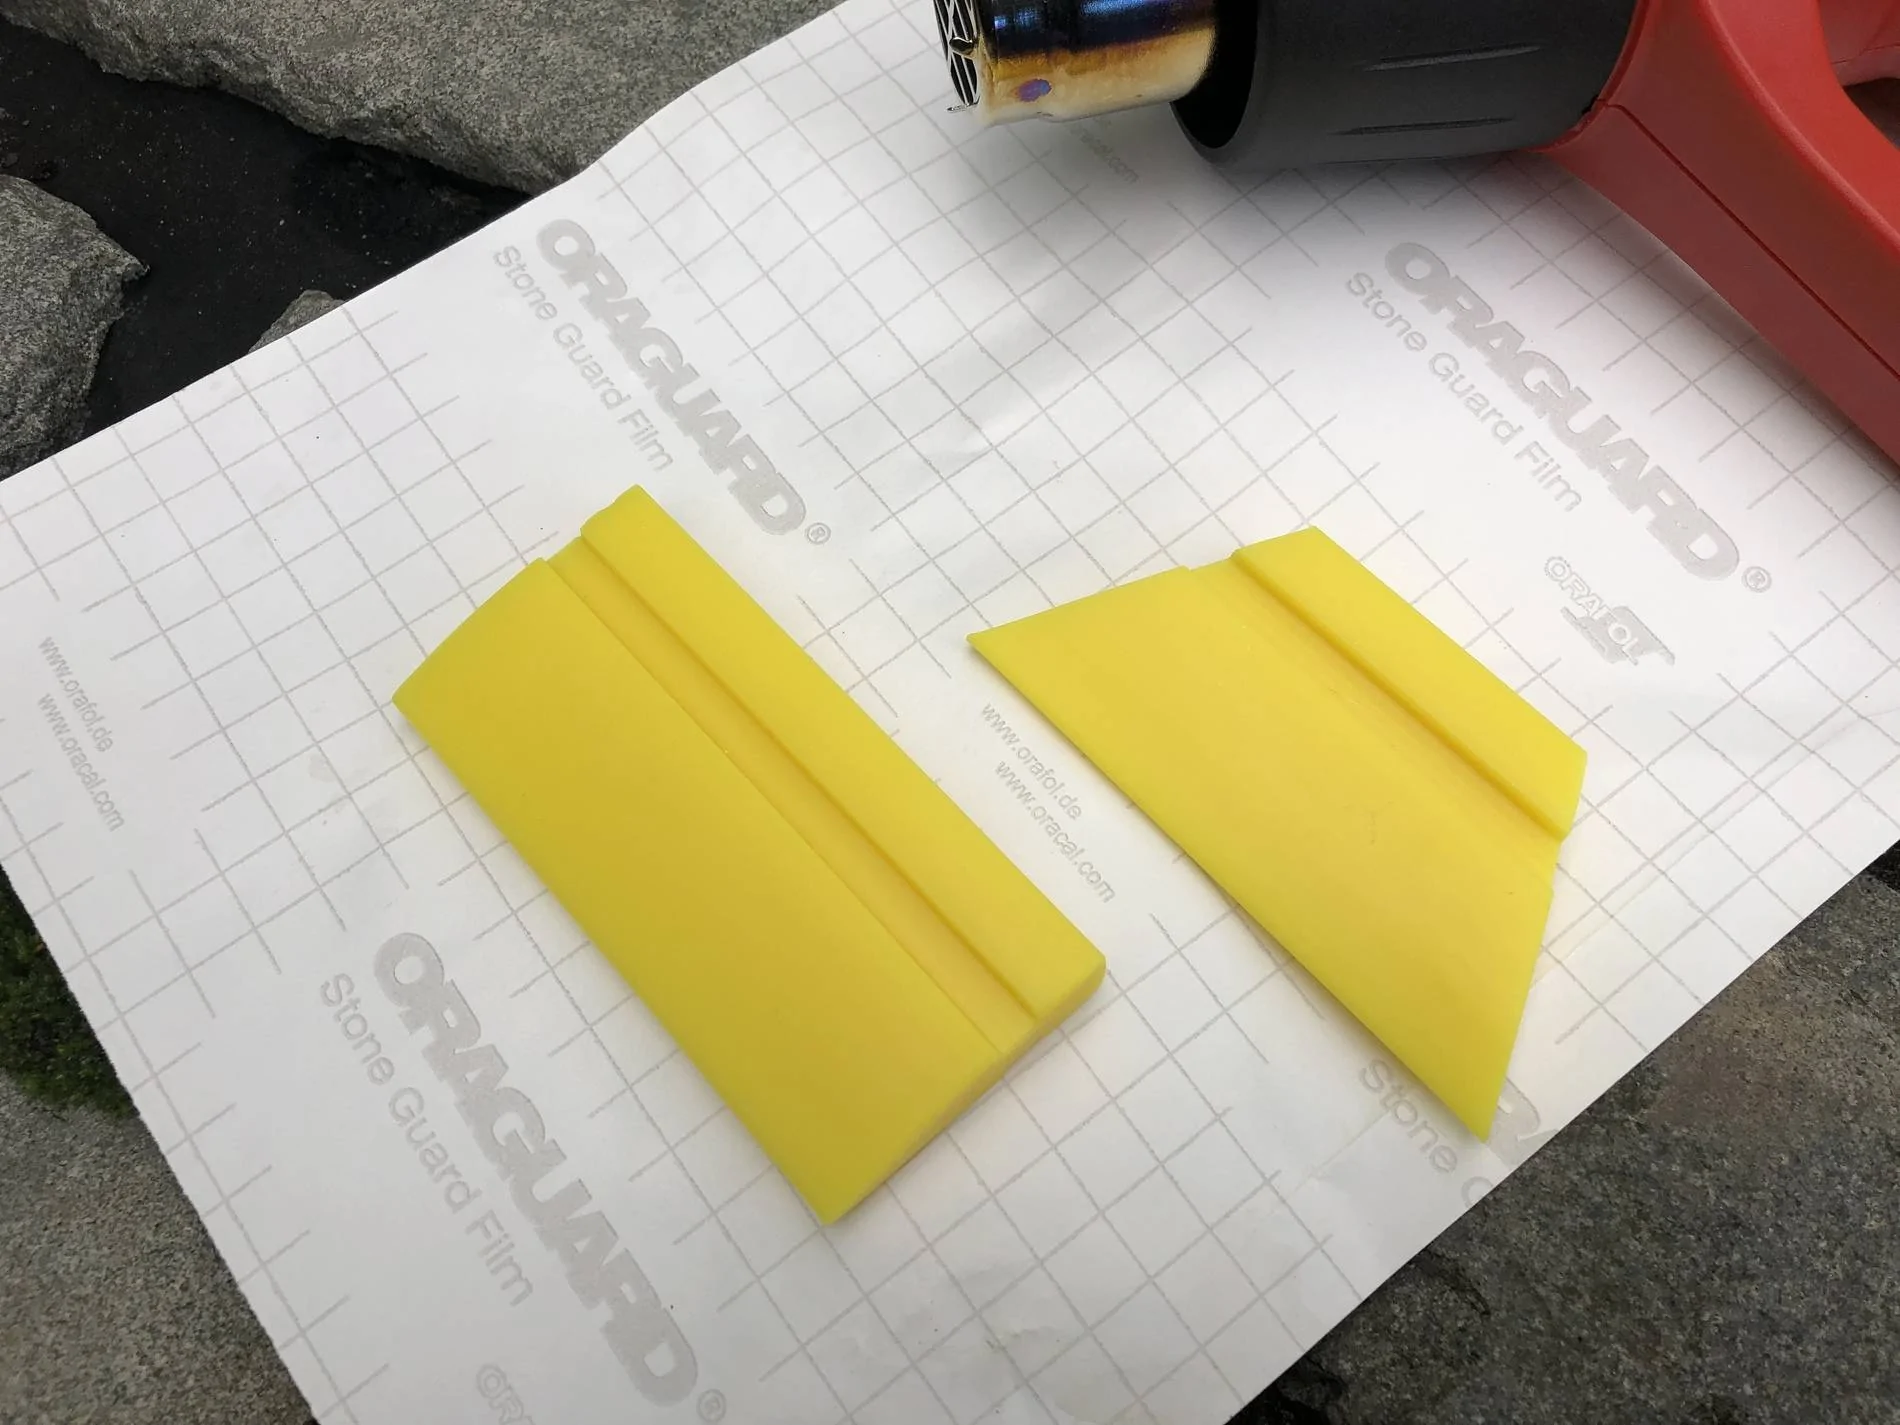
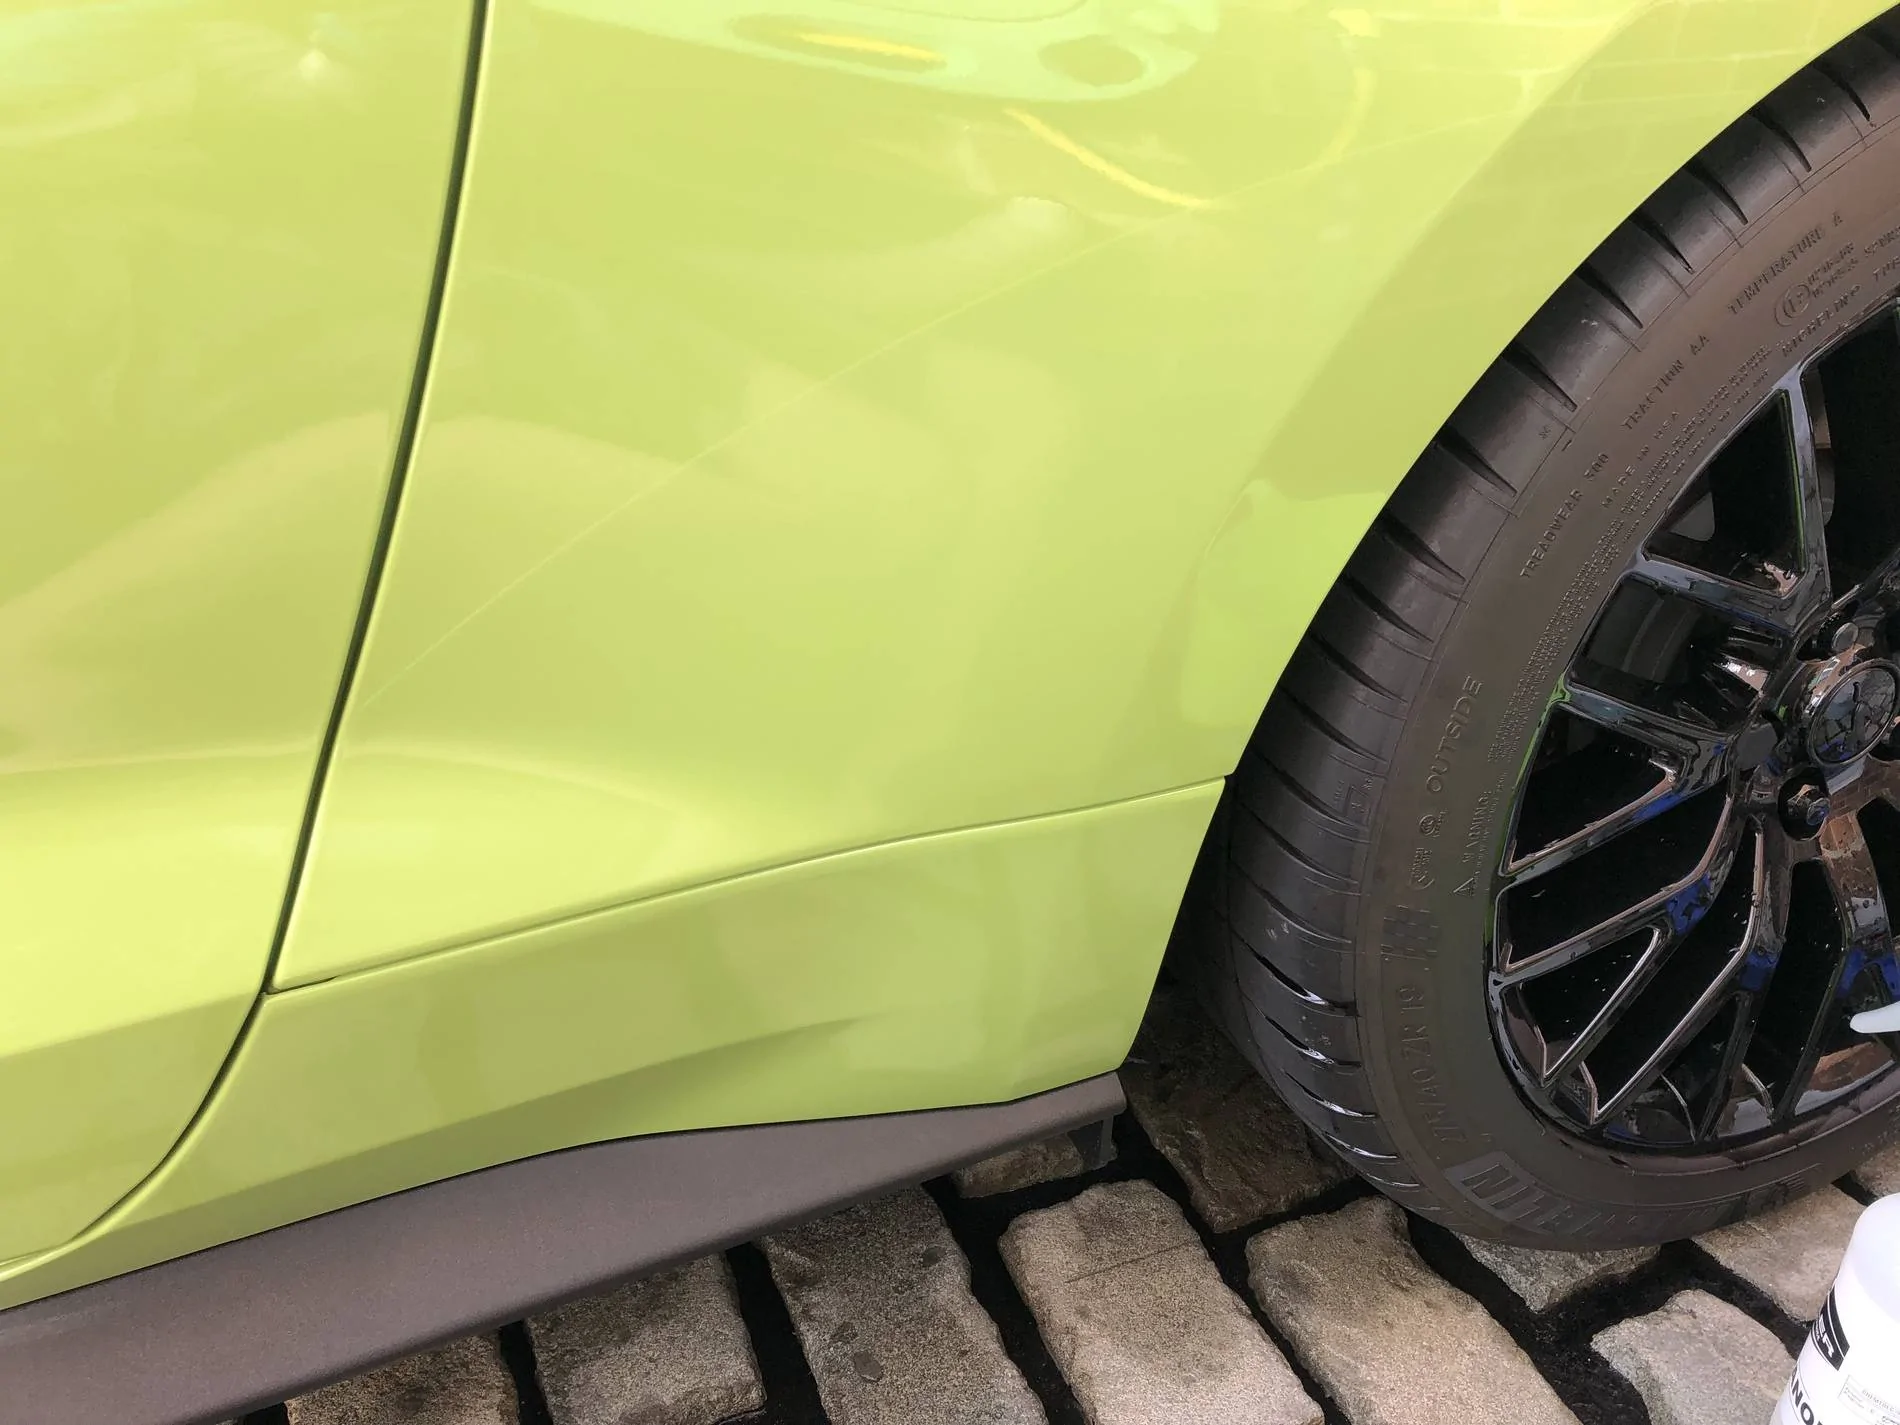
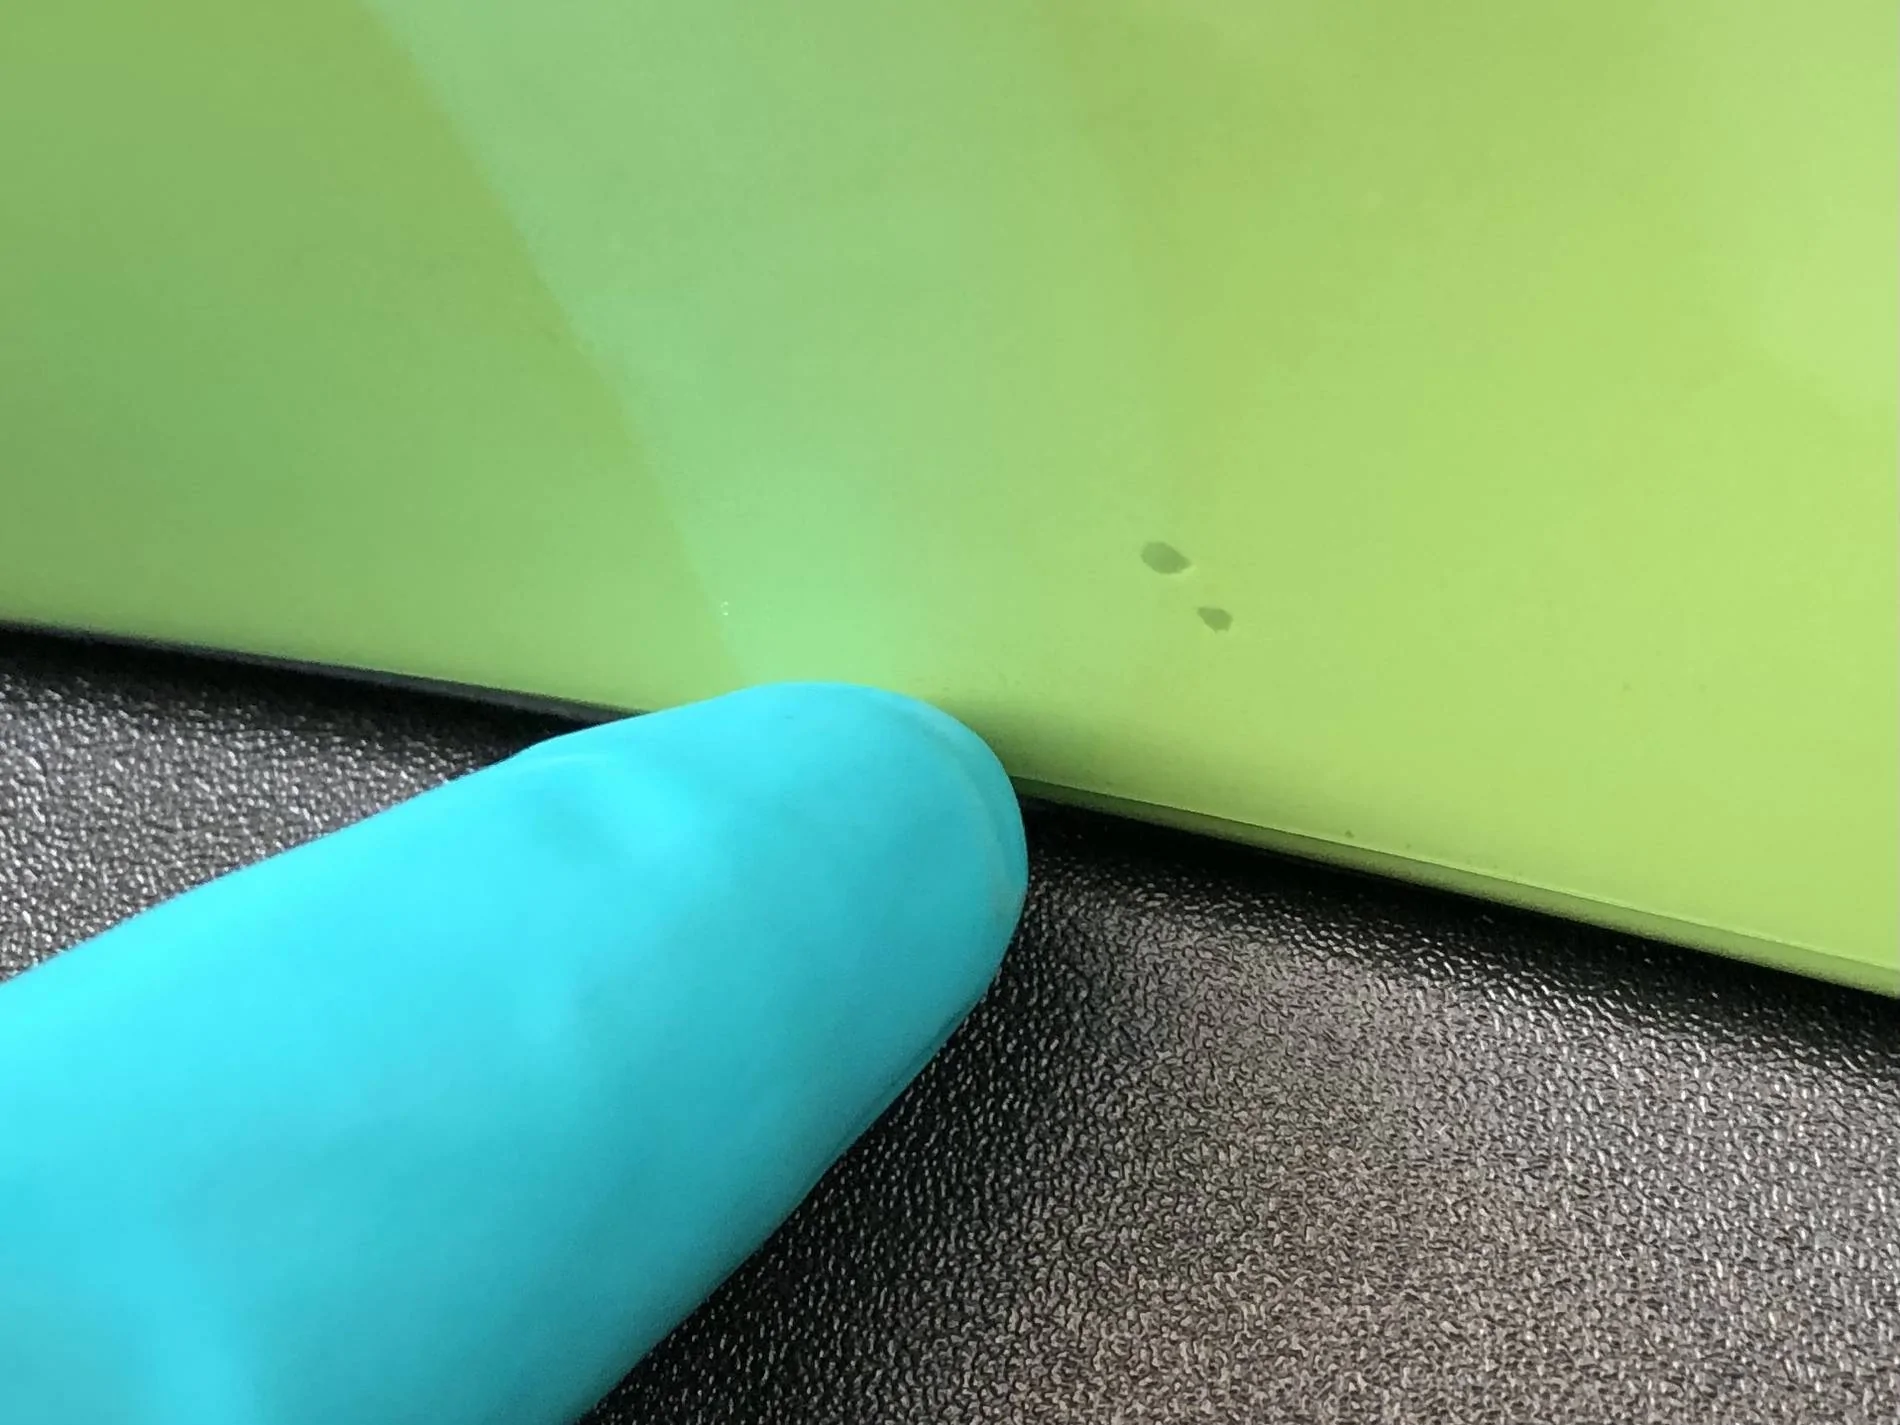
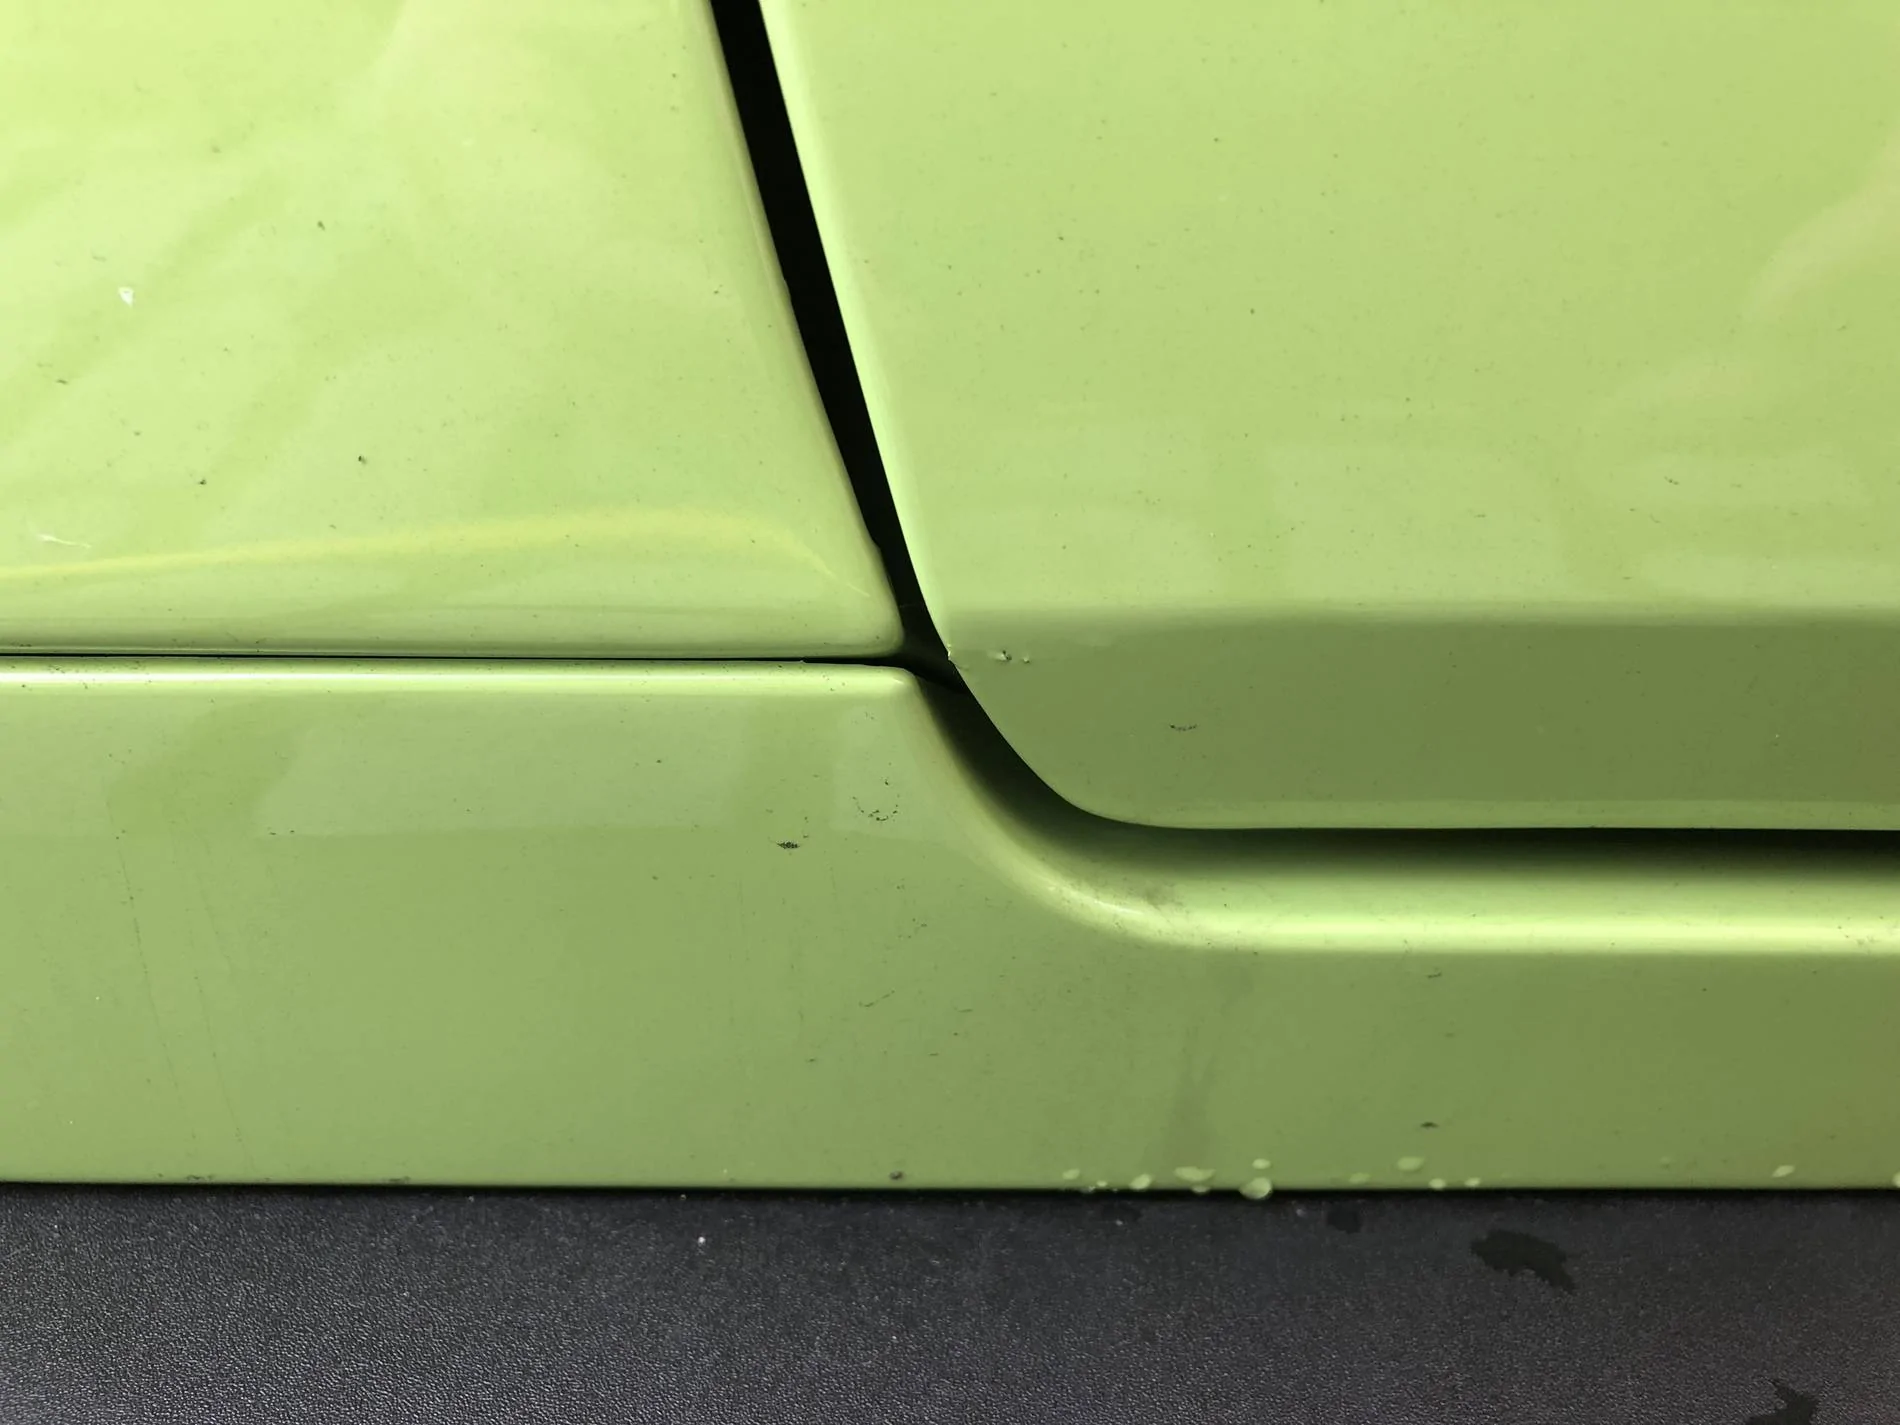
I purchased a set of pre-cut PPF sheets from Anchor Room to lay down right behind the doors, in front of the rear tires where the rocks wreak the most havoc. Not happy with the end result on my brand new Mach, material looked cloudy and stuck out like a sore thumb. Also, after 2 days, I noticed the material was "bubbling" and seemed to be lifting off the paint. Yes, I followed the directions and it went down nice and smooth at first, using all their own tools and solution. Ripped off the first set, no bueno. Bought a second set from Anchor Room, just to see if it was a fluke. Nope. Same issues, still cloudy, didn't properly adhere to the car. Off it came. Smartened up and bought Xpel pre-cut. The Xpel is leaps and bounds a superior product, period. Used their installation gel with the pink squeegee and was amazed at how much easier it was to lay down. Also, it is much less noticeable (clearer) on the car and doesn't look like an amateur hack-job. Learn from my mistakes, spend a little extra and buy the Xpel, you in fact do get what you pay for.

The kit I bought is the "Rear Wheel Impact Area Extended Coverage Kit", SKU# P0523FE-U. If you draw an (imaginary) horizontal line from the top of your rear tire to the door, it will cover the entire area below that line down to the rocker/quarter panel seam. This got a little long-winded, but I hope it helps someone out. -Ken
Sponsored


WD Pro

Well-Known Member
Joined
Jan 18, 2018
Threads
121
Messages
5,713
Reaction score
11,023
Location
United Kingdom
Vehicle(s)
Lime GT
Vehicle Showcase
1
To add a second opinion, my experience with Anchor Room PPF was good - especially for the cost and the fact I was a first timer :

I have a habit of putting off jobs that scare me a little or I have zero experience of, but after kicking something up and it hitting the rear quarter (buffed out) and taking a chip out of the rear wheel spoke (currently filling it with paint ready for polishing it back), I decided it was time to finally pull my finger out and start on the PPF.

Upper and lower rear fenders done with the Anchor Room kit - from the top left of this photo to the bottom right :

65-F93-E7-C-3117-4-F16-93-D4-F36832-DD7654.jpg


I washed, clayed, washed, wet all the work area down and then started.

I got the edges at the front lined up well (all the close up photos have been taken at angles to try to highlight the edges) :

67727-FC5-B00-D-44-A5-A67-E-745307227-FA9.jpg


The rear edges didn’t line up quite as well, bottom piece could have been a few mm longer and with a bit more curve :

19-C64-B80-230-C-4-EAC-8-FFE-6-C24-B50092-F8.jpg


Arch lined up well :

E9-F86-F81-944-E-40-BE-BEB2-3880-AB9-BC6-C6.jpg


I found tucking the bottom edge between the plastic sill a little tricky, but a credit card worked really well :

05-C1-FA99-F54-D-4-CA2-95-F3-B4-B0-CF6-B8-C96.jpg


Really close up view of the fender seam and PPF edges :

A381121-B-5344-4203-8-D5-D-3-DD184-BA00-FB.jpg


Overall I was really happy with the kit and installation. I have six of these dots in two different areas :

2-FBDBAA4-9-DB2-4-C2-E-AAF6-5107-A96-AD1-BB.jpg


But I can press them and they temporarily go. I’m hoping that the sun will dry them out and eliminate them.

Tools and work area :

AFD1-B63-E-7102-4-F6-F-B26-F-E2350517918-F.jpg


I didn’t need anything more, but I couldn’t have done it well with anything less. Heat gun and silicone squeezes were absolutely essential.

In reality and from most angles the kit would be invisible to most people. The most noticeable edge is the top one, just under the reflection of the microfibre on the bucket top :

1-B8-B1316-0206-4-CC2-A531-8-CDF9-AE9-BCC9.jpg


The reflections in the PPF aren’t as sharp as in the paint, but for where the PPF is, it’s really not an issue :like:

This is the type of PPF used :

3-FB235-D7-AC1-A-4-FC7-9-E4-E-31-BC087-E2-A49.jpg


I’m defo not as quick as what Jason is on his video’s though, it took me about 1.5 hours to do that one side including getting the kit out, washing, claying and packing away etc.

I should be a little quicker on the other side but A) the breeze started to get up and b) family time beckoned so that’s a job for another day :like:

I’ve also got PPF for behind the rear wheels but I don’t think I will fit that - seems pointless with the splash guards ?

I’m on the fence about the stuff I have for the bottom of the doors.

The trunk edge piece will get added if I start to use the trunk for anything more than my laptop … lol

Having said that, I’ve just paid off some ramp time with beer that came from a trip to Asda (Walmart) :

742-C48-A0-BECE-449-A-8-D01-695240-B92649.jpg


I genuinely didn’t see the connection with my friends taste of beer and my car until I uploaded that photo yesterday … :giggle:

WD :like:
Got the left side upper and lower rear fender PPF applied, the trickiest piece :

AA7-F73-AC-C43-C-4524-9-EF5-0649747-E3342.jpg


Finished :

32713011-D69-D-4215-96-B7-B9-FAC10-E970-E.jpg


There are a few small bubbles :

E382-F350-C730-42-CC-A225-1-EDEC964402-A.jpg


These being the worst :

87-BE3-BC6-E54-C-4-A04-BA5-E-90-F74153-FECA.jpg


But as the small bubbles in the pieces I fitted last week are completely gone, I’m hopeful these will go too :like:

I also got the right side drivers door done, this was the easiest piece I’ve fitted to date :

2929328-C-A2-AC-4-BDC-84-B0-7-A96803-E2-C9-F.jpg


Right side now finished :

6-AF798-D8-6299-4-C0-F-A954-A57482541-F6-D.jpg


I ran out of slip solution at that point so the other door will have to wait for another day.

I will have some PPF trimming to do on the other side, to make it fit correctly around the factory supplied paint flaw on the door bottom … :crazy:

Here’s how the PPF fits the front of the door :

FD811898-1-C60-40-B6-A7-A7-A8-D7-DABE1-AFC.jpg


And here’s the paint flaw on the other door that I will need to provide clearance for :

4-BF33-F94-6124-417-E-82-D1-2035-EFB45-E9-E.jpg

WD :like:
Just to finish the topic of PPF, the odd little bubbles that were under the film after installation have now completely vanished :like:

WD :like:
WD :like:


Top