Sponsored

Active Exhaust nightmares

smolpp1

Member
Joined
Jan 10, 2021
Threads
7
Messages
17
Reaction score
3
Location
South Carolina
Vehicle(s)
2018 Ford Mustang GT pp1
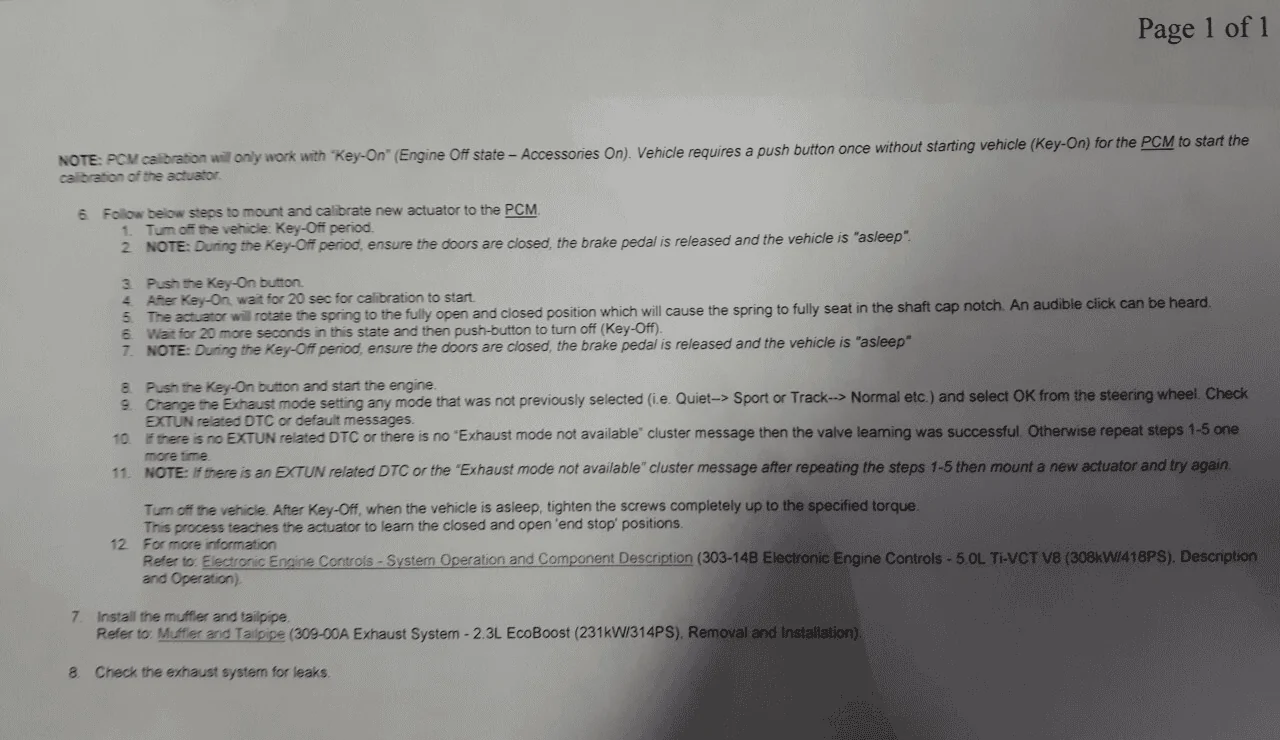
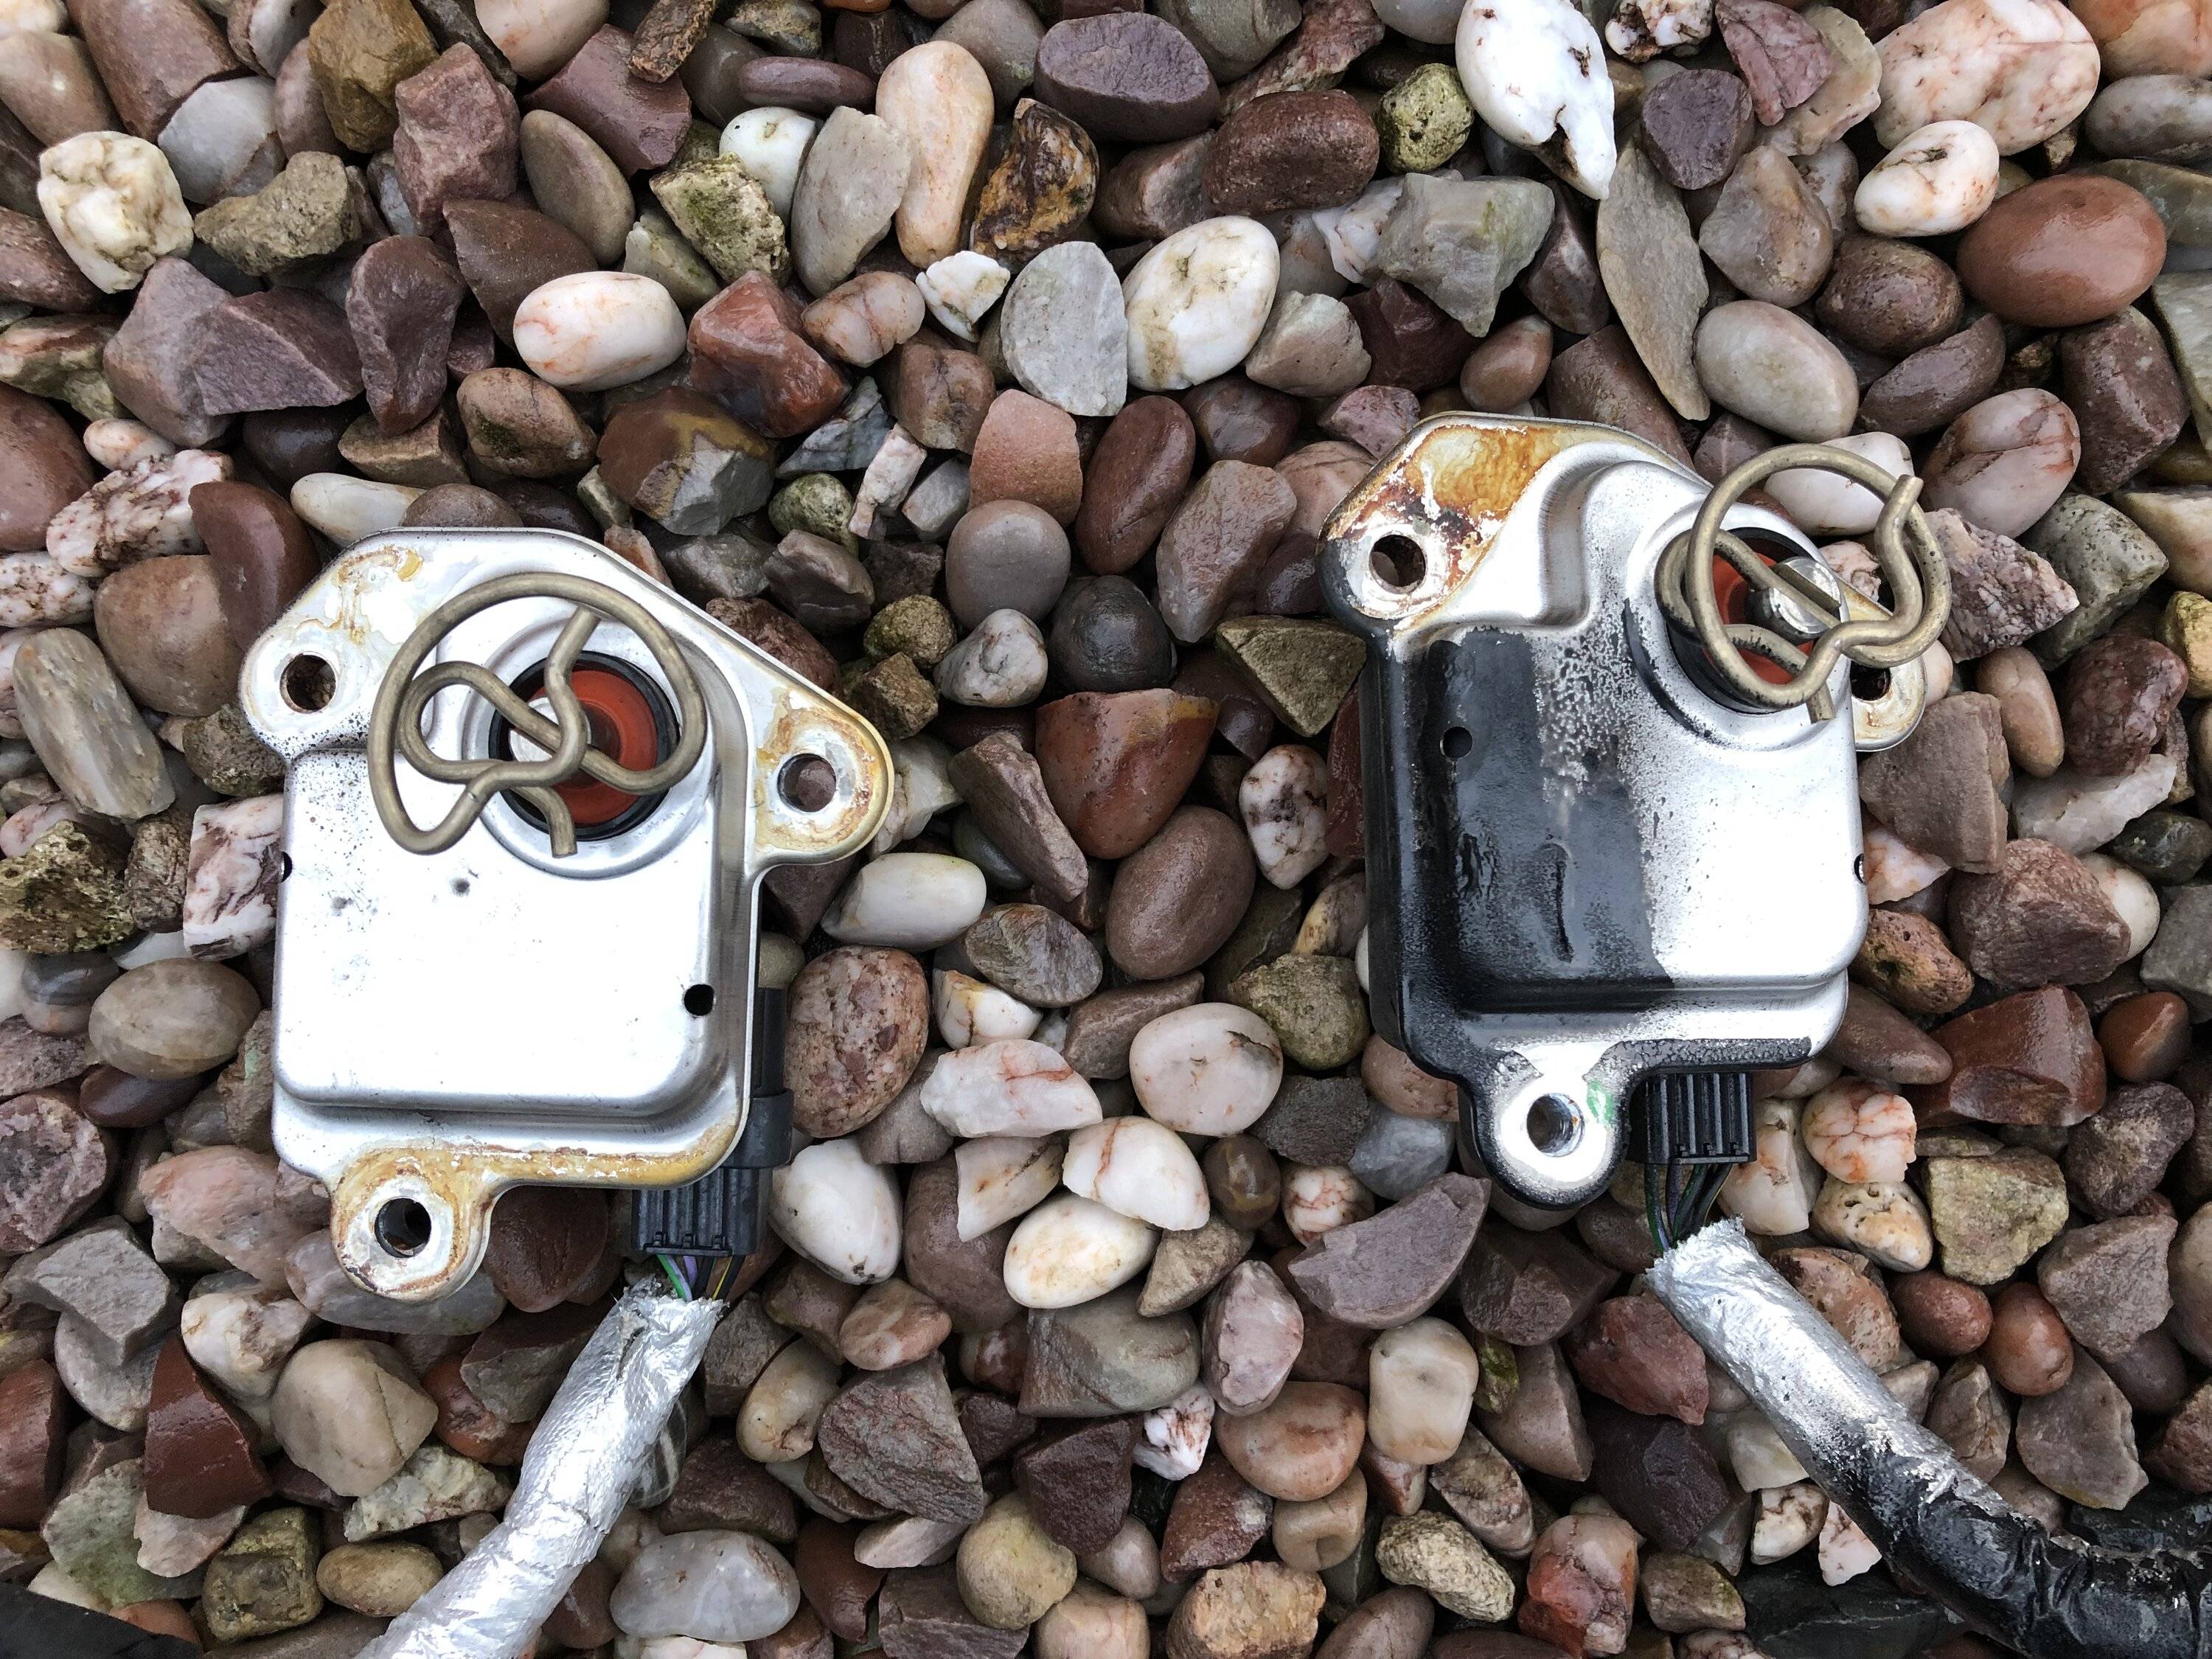
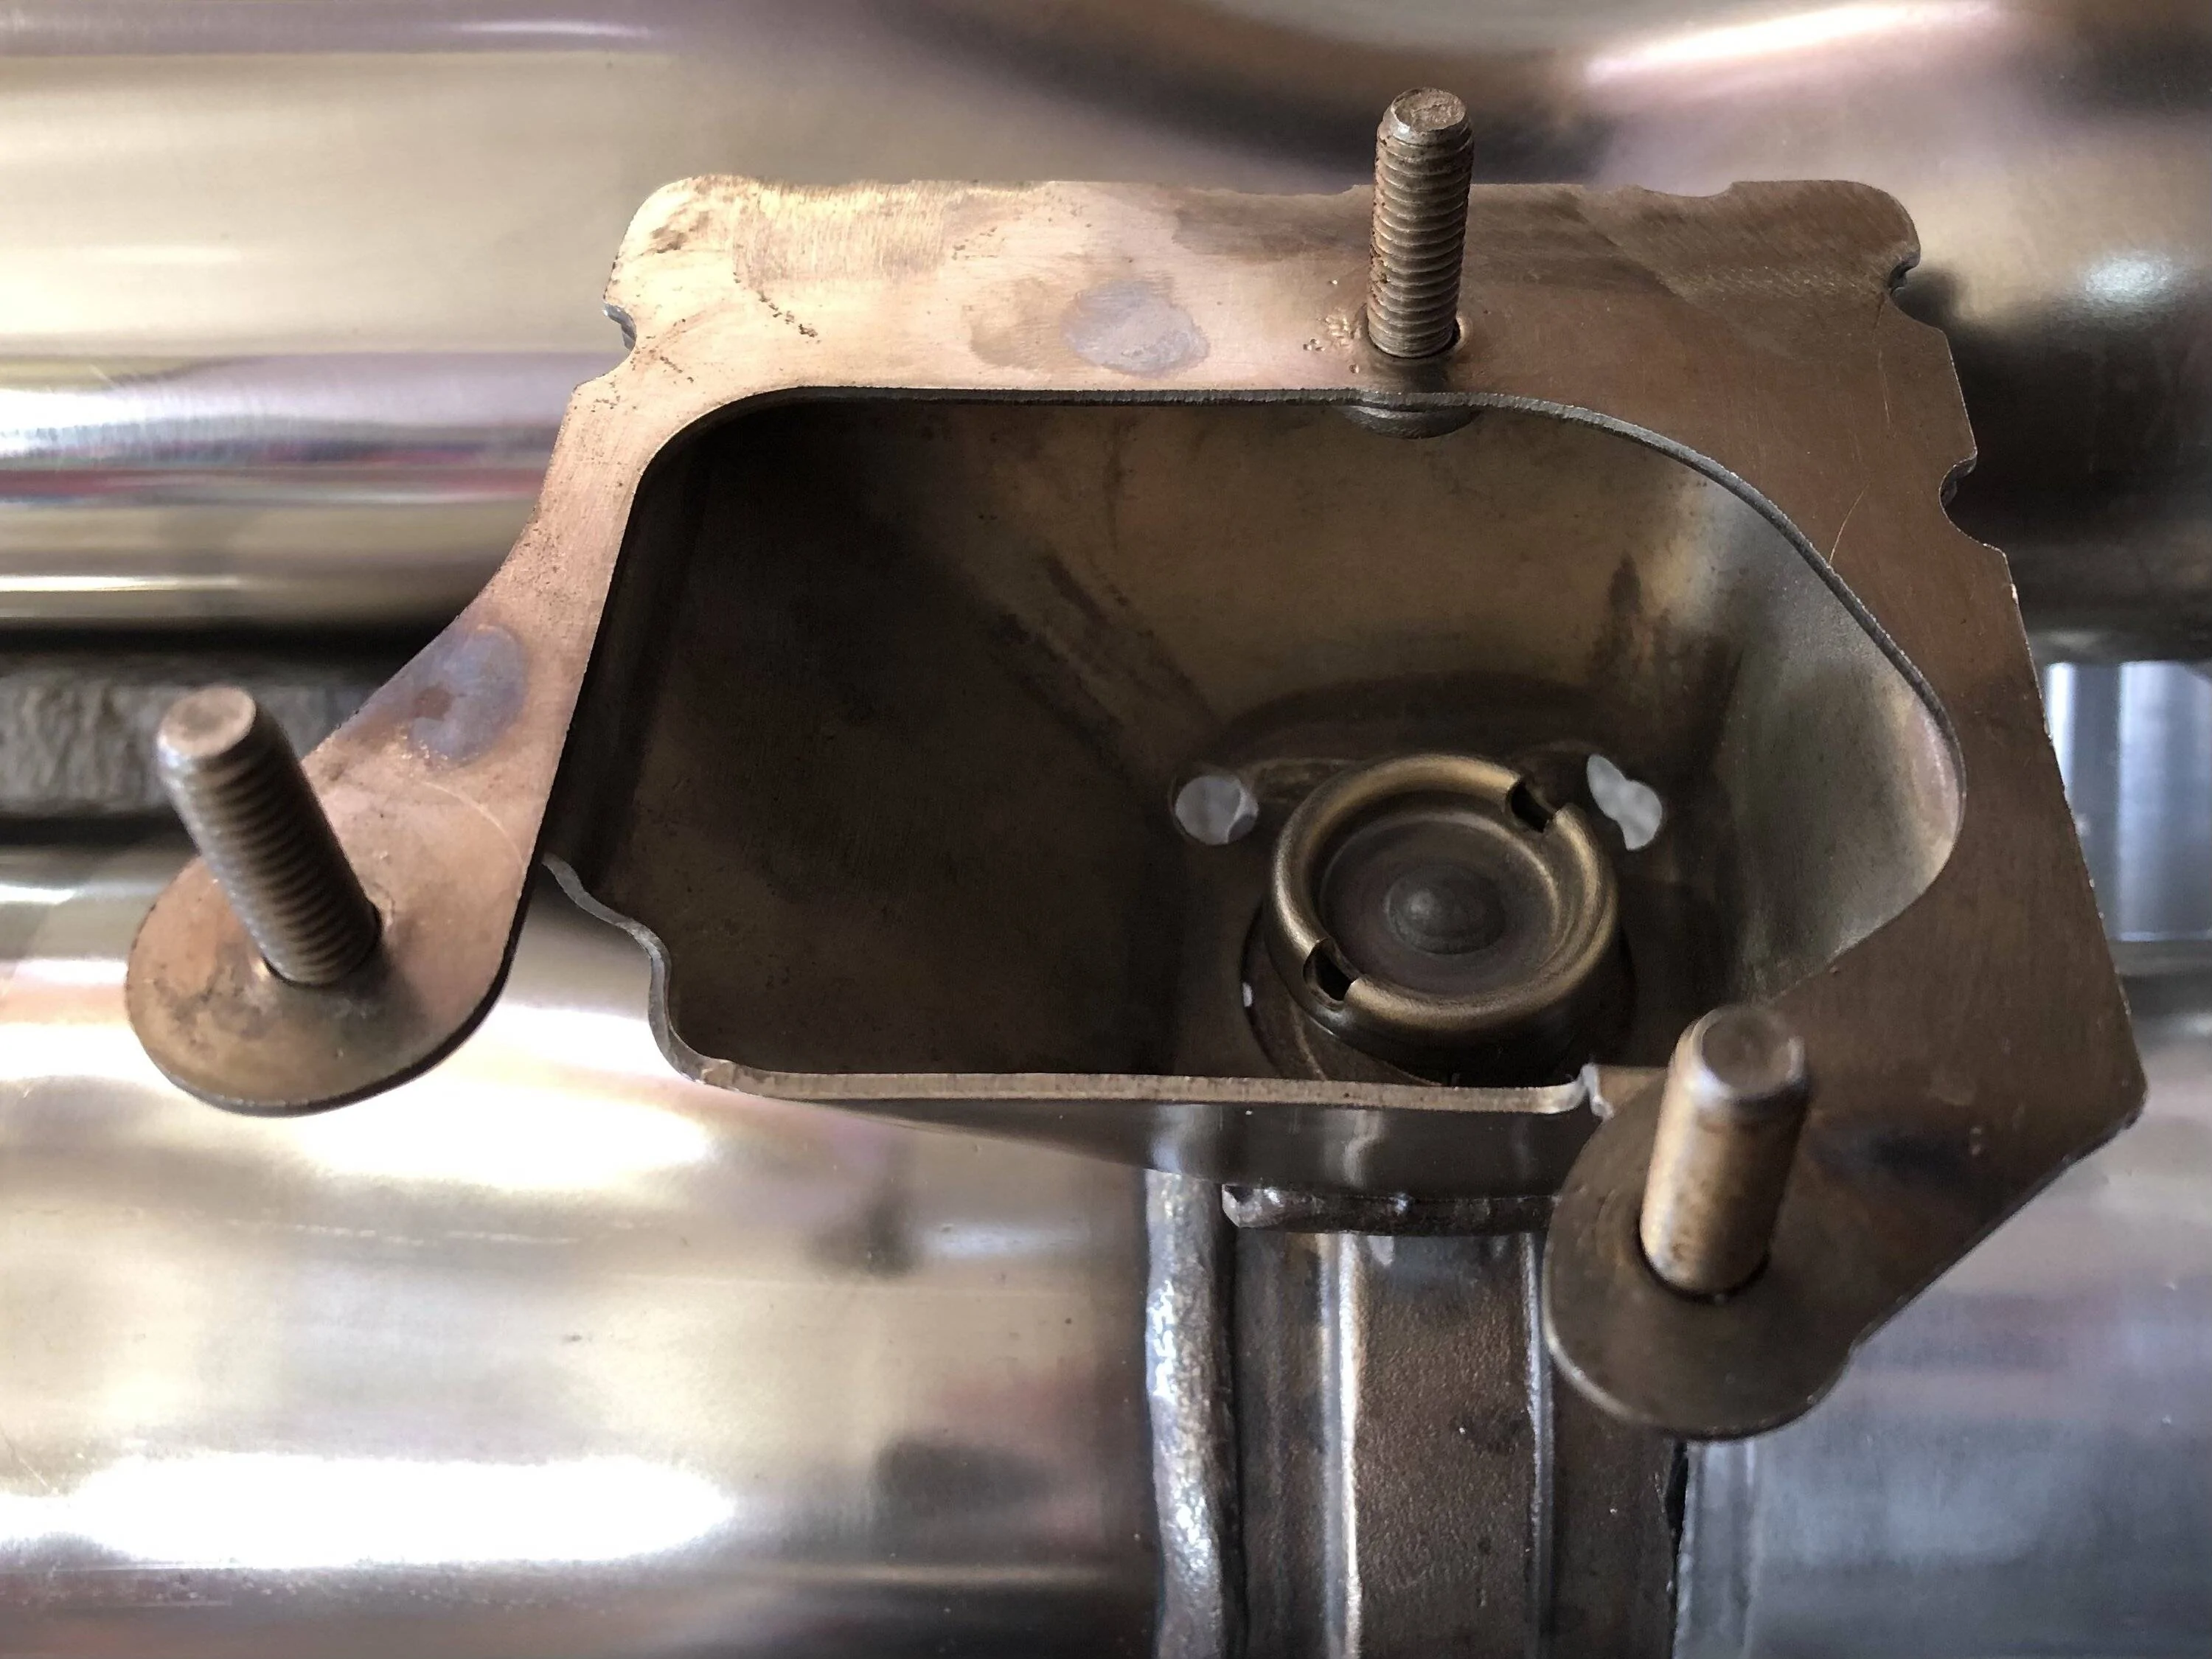
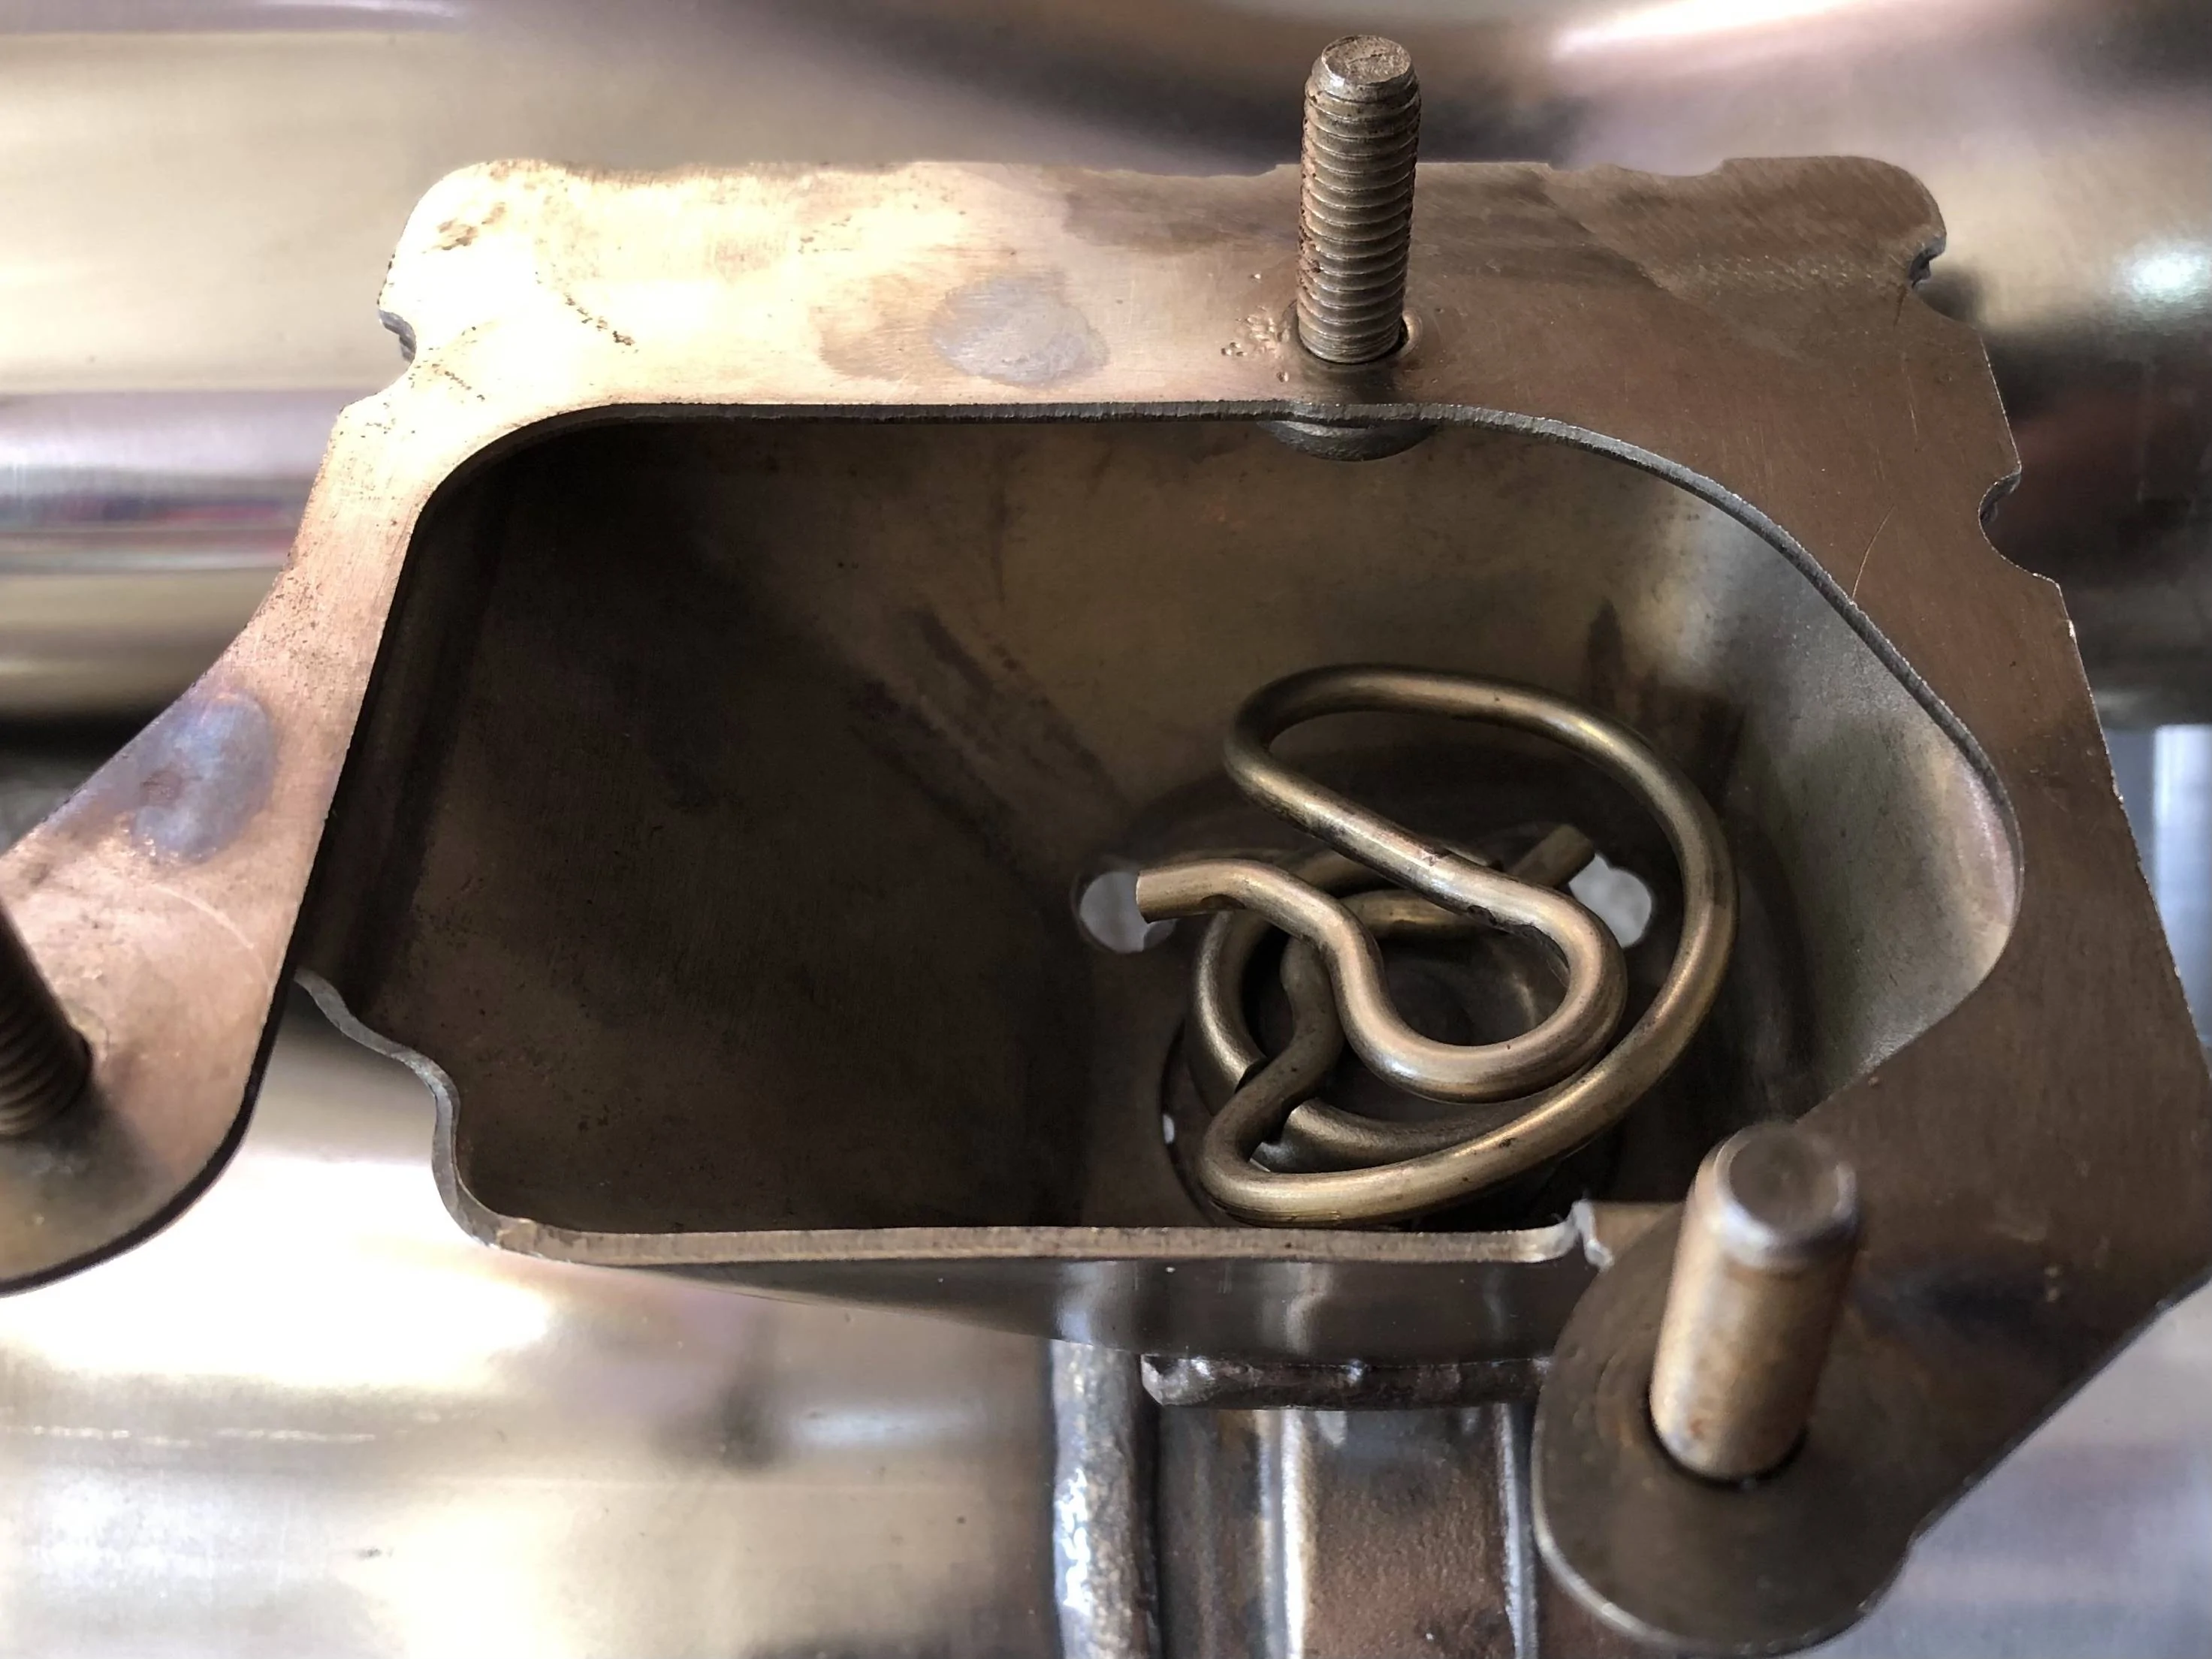
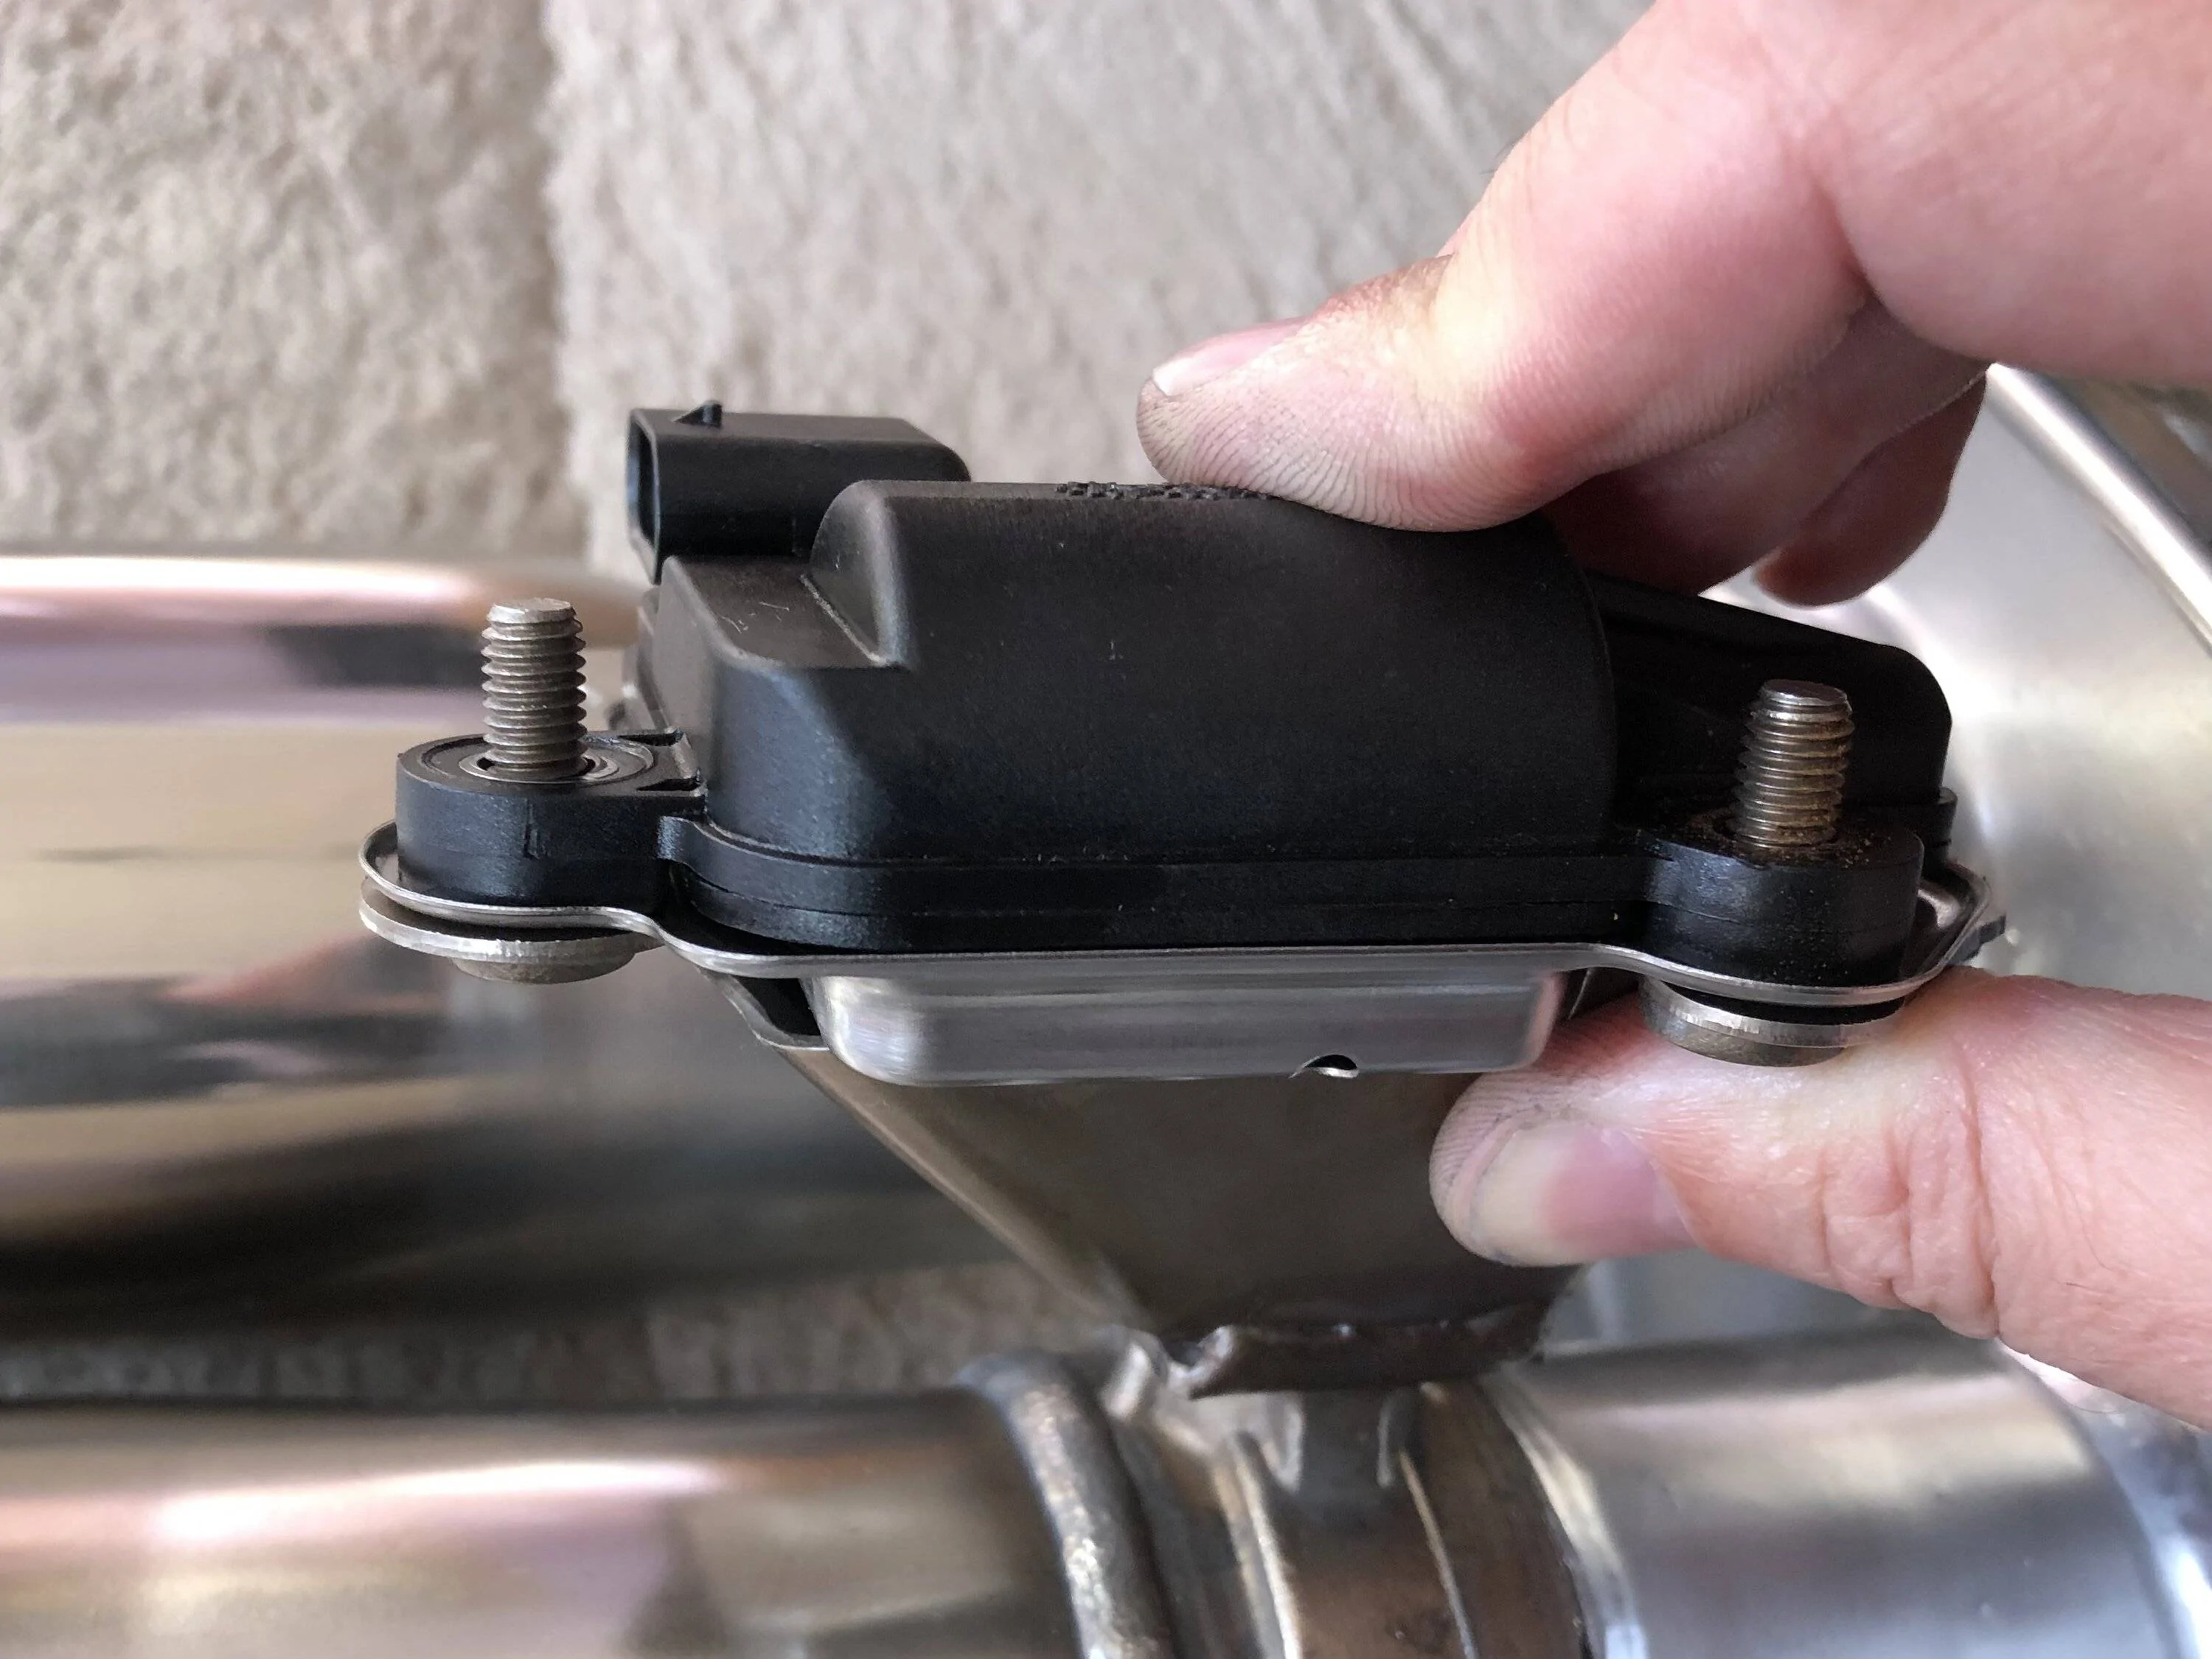
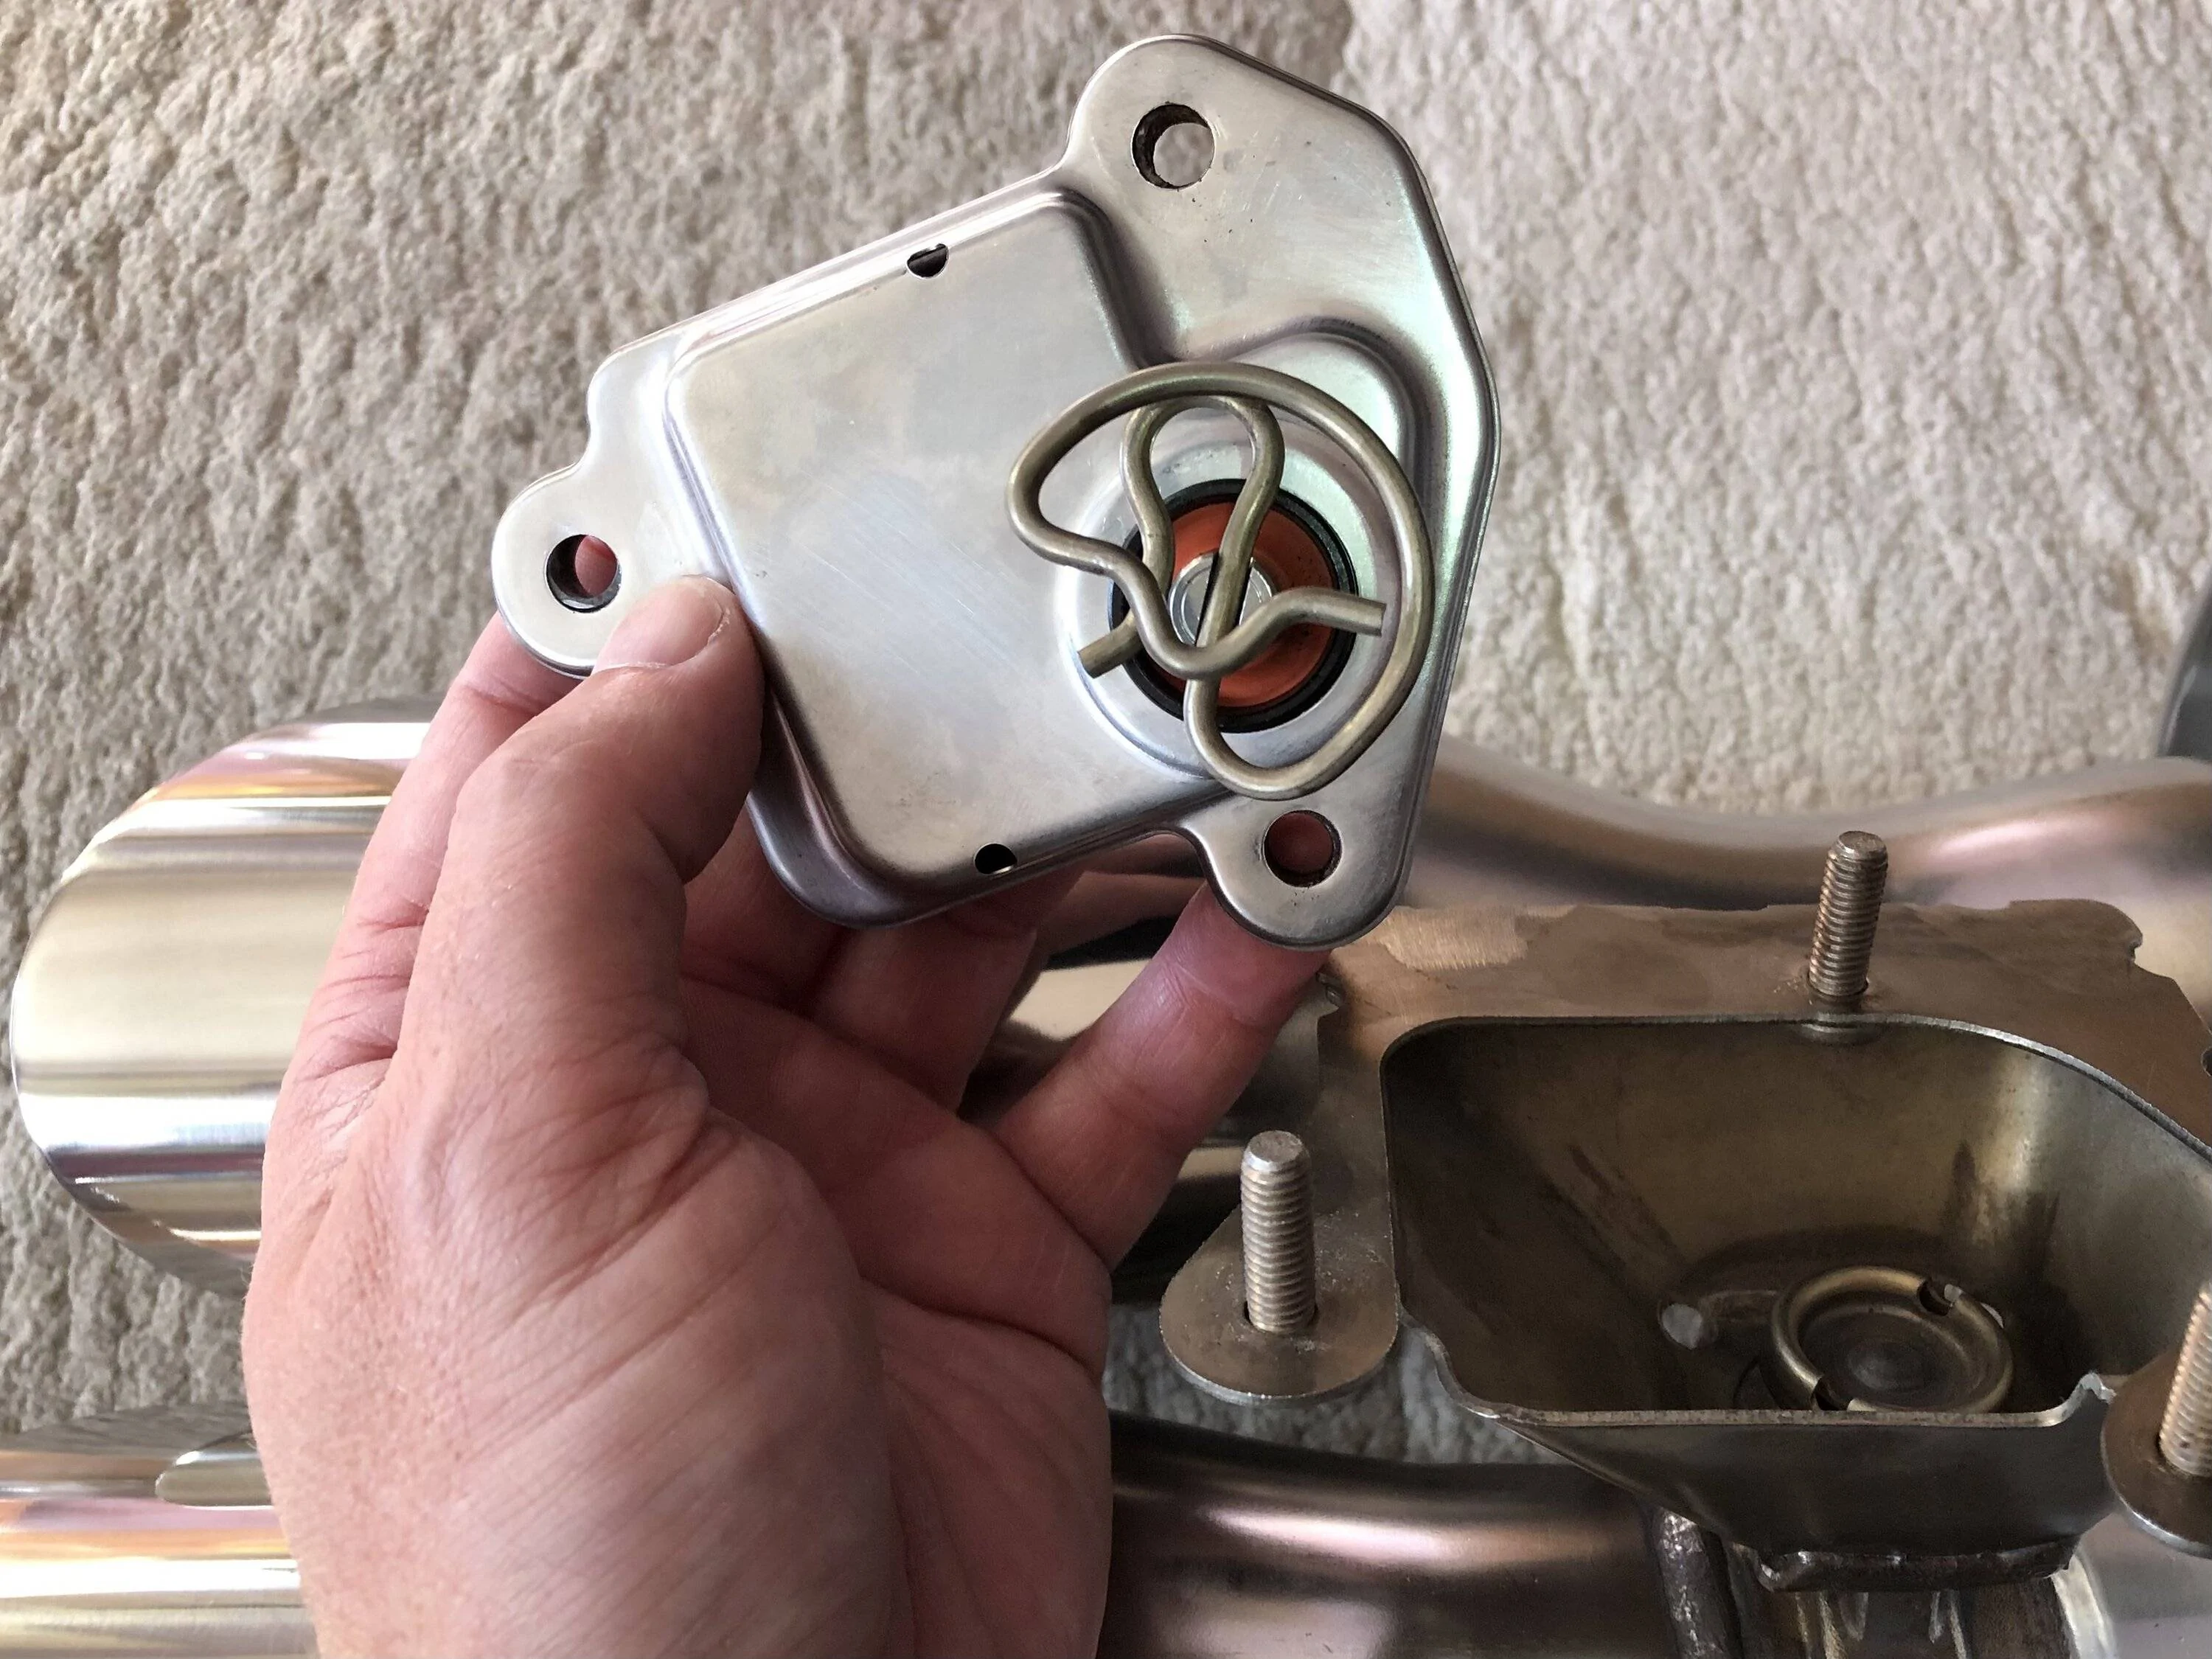
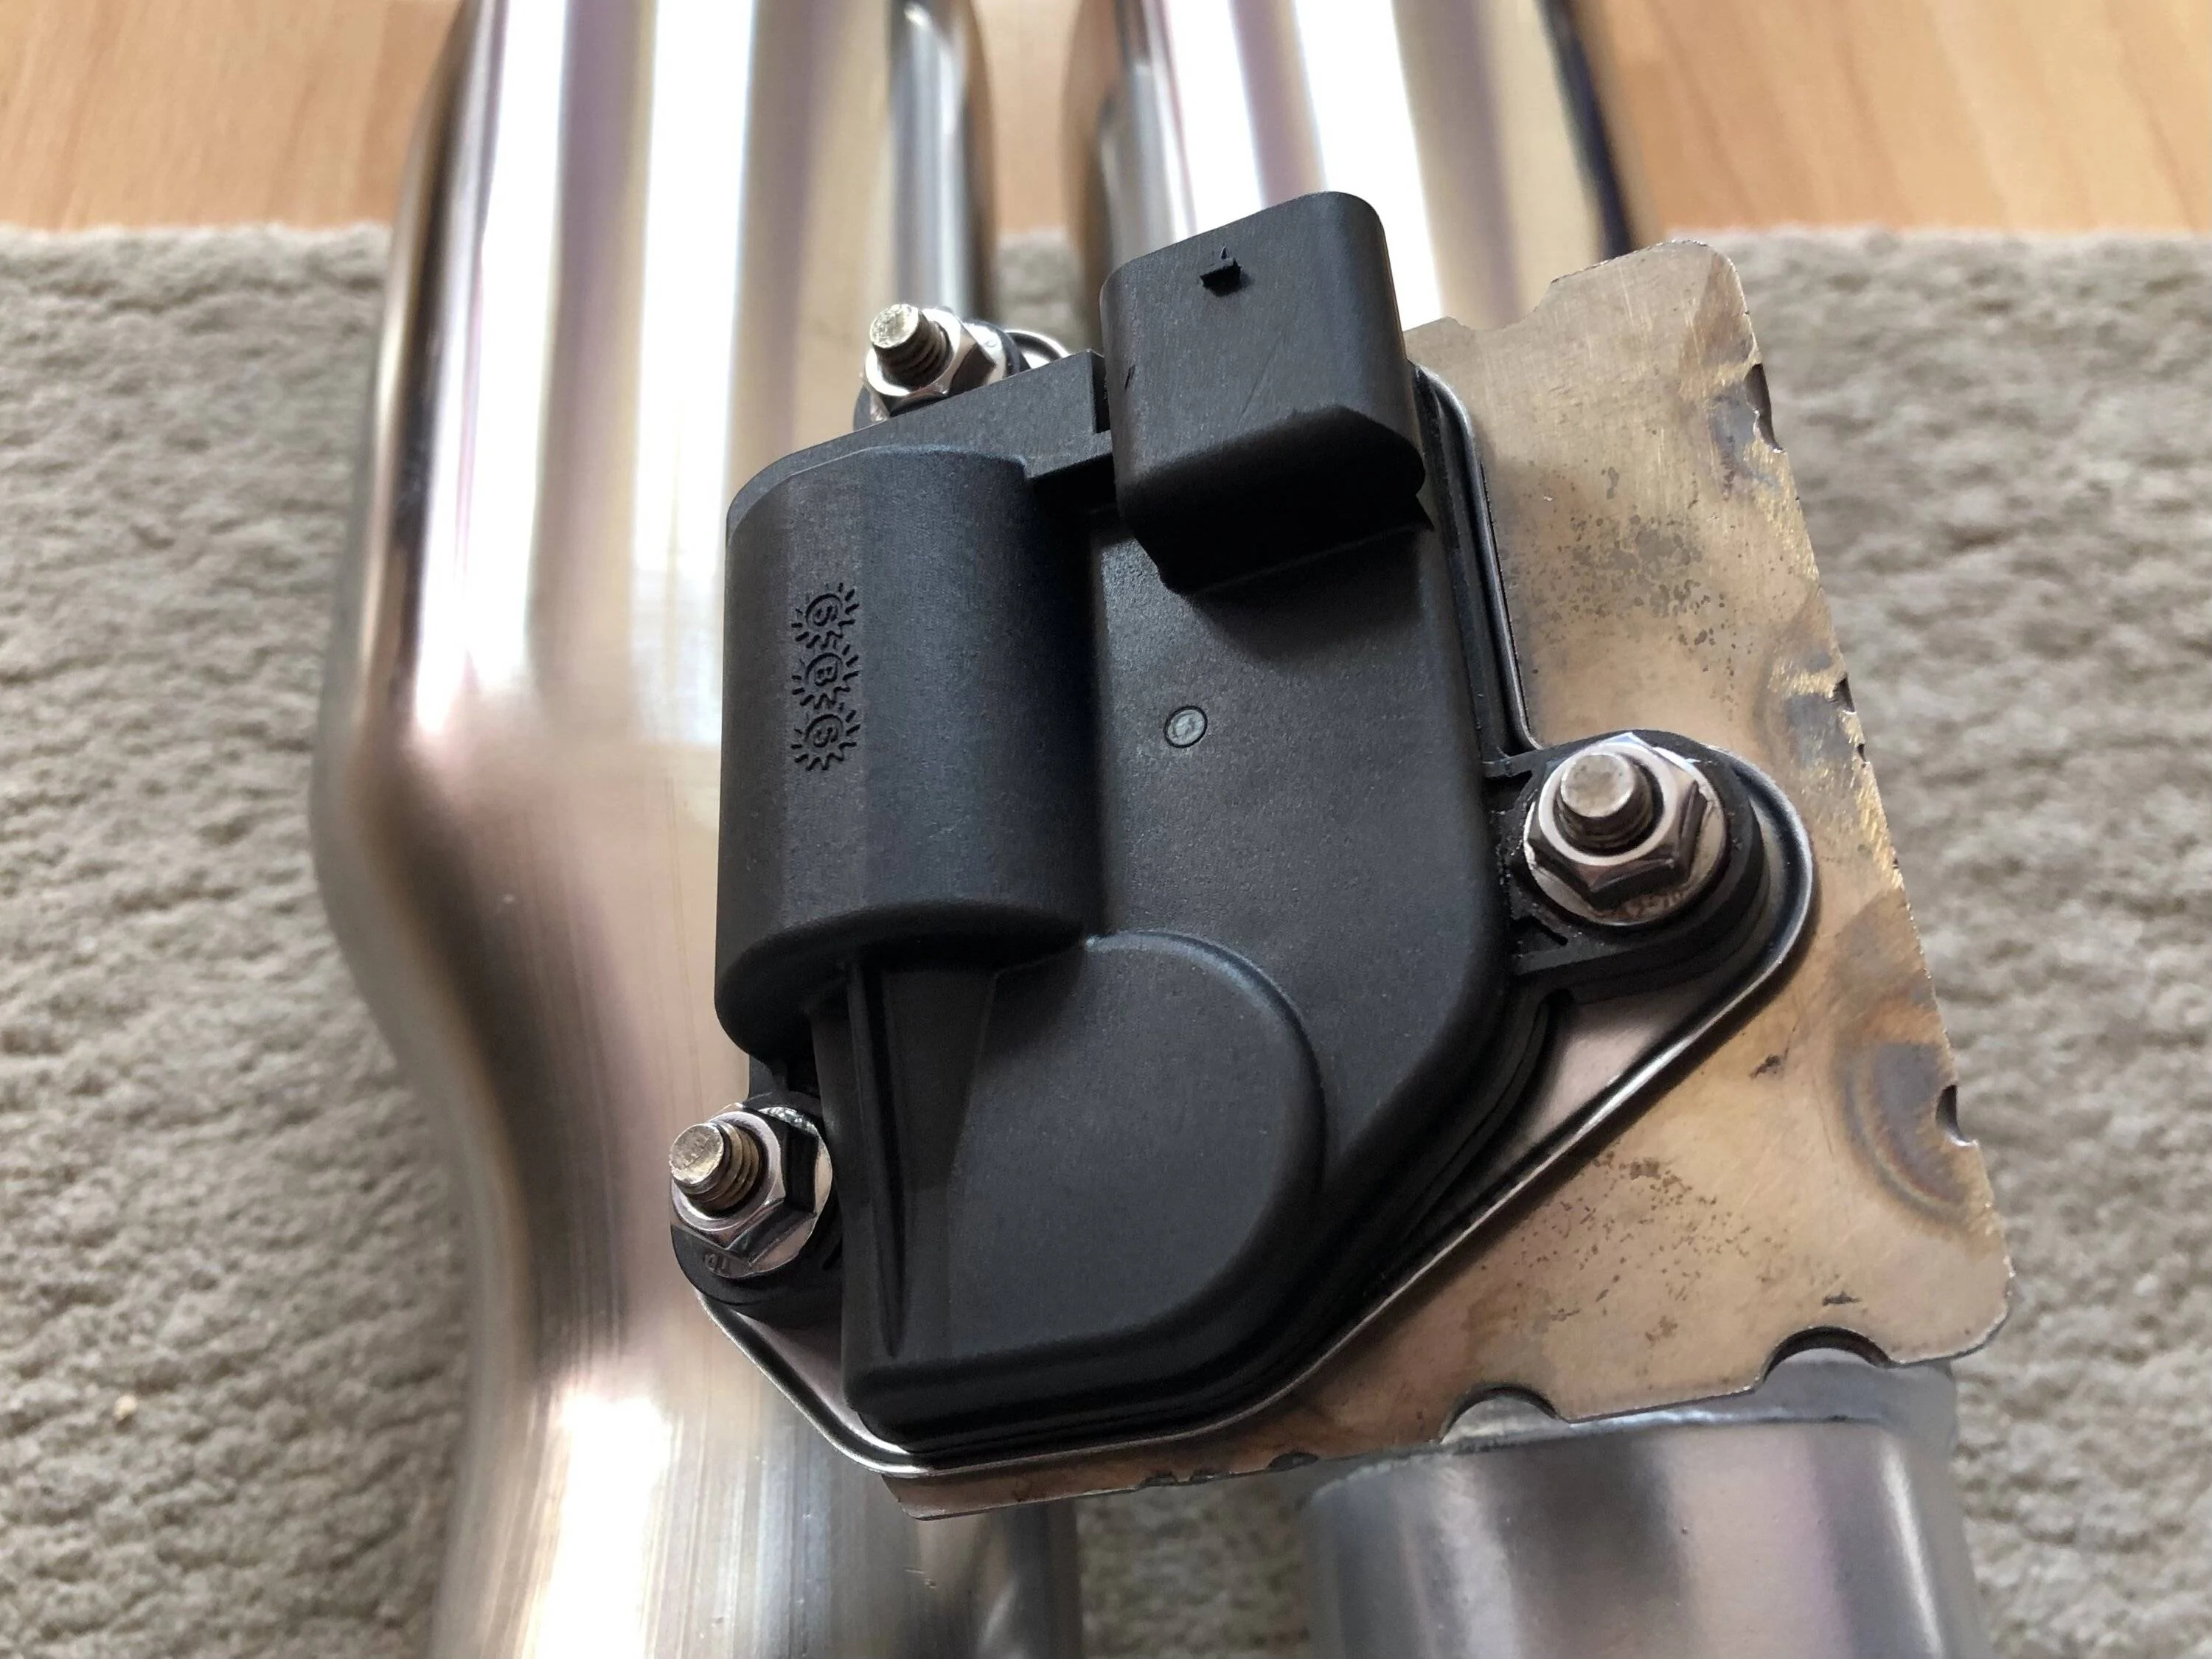
Hey all, my pp1 active exhaust has been giving me fits for a while now. I have Texas speed headers and cut n clamp double h pipe. I just installed the headers recently and the active exhaust problem has been present before then. I’ve checked the fuse, I’ve replaced the wiring at the exhaust tips with brand new wiring (so no cut wires). My selector will work occasionally, but 9/10 times it’s just stuck in normal mode and won’t give me another option. Am I overlooking something? Has someone else had this problem? Since I have new wiring do I need to take it to ford and have them flash something?

Sorry if this has been discussed already or if I’m coming across as a dunce
Sponsored


Synergy720

Well-Known Member
Joined
Oct 7, 2019
Threads
13
Messages
122
Reaction score
150
Location
Bay Area, California
First Name
Bryan
Vehicle(s)
2020 Mustang GT
If you are sure you have got all the mechanical side of things sorted 100%, maybe try this :

1676466824503.png


WD :like:
Bro you have no idea how long I have been looking for this, I’ve been stuck in normal mode for 3 weeks now pissing off every German in the morning. Headers, double x, and active exhaust in the AM is not very neighbor friendly. I just did this and it worked.
 

WD Pro

Well-Known Member
Joined
Jan 18, 2018
Threads
132
Messages
6,763
Reaction score
13,550
Location
United Kingdom
Vehicle(s)
Lime GT
Vehicle Showcase
1
Bro you have no idea how long I have been looking for this, I’ve been stuck in normal mode for 3 weeks now pissing off every German in the morning. Headers, double x, and active exhaust in the AM is not very neighbor friendly. I just did this and it worked.
Glad it helped :like:

The procedure is to seat the actuators after they have been removed or got out of sync. I found it when my exhaust was off, but as Ford were being nice and allowing me to modify it whilst I was having warranty work done, I didn’t want to burden them with the procedure when they didn’t need to do it for their bit.

I managed to seat my actuators whilst the exhaust was as off the car and it worked out well, this post may help others who find this thread in future :

Answering my own question and although it's for a GT, I guess it may be a very similar procedure for a 500 :like:

Unlike the aftermarket active exhausts, the GT AE seems to hold the valves under tension, so once they are released it's tricky to get them lined up with the spring again (maybe this is Fords method to combat valve noise ?).

There is a procedure to reseat the springs :

IMG_7283.jpg


But for my own reasons this just wasn't practical - I need the exhaust to be perfect when it goes back on, without having to drop it a little and re-secure the actuators after the seating / reset process.

So after unsuccessfully messing around with the spring pre mounted on the actuator, here's the only way I found I could do it :

1) Start by recording how your actuators and springs were when they were first removed - the GT's aren't handed :

1665262668917.jpeg


2) Once everything has been stripped and cleaned and your ready for reassembly, make sure the actuator slides on and off it's mounting studs very easily. Re align the studs if needed. Use two M6 nuts and a deep socket to provide leverage without damaging the threads :

1665262810137.jpeg


3) Ensure the valve is fully turned in the direction to line up with the actuator - in the case of the GT they were fully open :

1665262887563.jpeg


4) Make sure the exhaust is level, and then carefully position the spring on the top of the valve :

1665262935359.jpeg


5) Without disturbing the spring, carefully lower the actuator so it just rests on the spring :

1665263072456.jpeg


6) Note I am working with the cut out of the actuator housing towards me, that's so I can peep under and see the actuator shaft and spring is 'almost' aligned. From 6 o clock :

1665263180020.jpeg


And from four o clock :

1665263205606.jpeg


7) If all looks OK, push the actuator down and wiggle / twist it a little it on its studs whilst maintaining downwards pressure. If you hear a fairly loud snap, then the spring has most likely seated in the actuator shaft.

1665263513875.jpeg


8) Don't trust it the first time, open it back up and check its correct. Do it a few times to get a feel what it's like when it correctly seats.

The first indication that it has seated correctly, will be that the actuator goes tight on its studs as it's now fighting the spring a little - there will be some resistance to lift it of it's studs.

The second indication is that the spring is fully located in the actuator shaft when you lift it off :

1665263496084.jpeg


9) Once you are confident you can do it right every time, bolt it down to stay (I know I have missed the little bracket from the inboard nut, it's paint is hardening) :

1665263618263.jpeg


10) As a final check, fist your exhaust deep enough to twiddle the flap. In the case of the GT it's fully open, rock solid one way (it's up against it's stops), but it can be moved with firm spring resistance the other way - instantly returning to it's home position when you remove pressure on the butterfly.

Just as a heads up and I know I'm not alone with this, the inserts around the bolt holes in the plastic actuator body (to stop it getting overtightened) seem to corrode excessively and very easily (maybe a reaction to all the stainless in that area ?). I covered the bottom bit of the stud, the insert and all mating faces with high temp grease before tightening everything down.

Hope that helps and that it's also useful for the 500 setup :like:

WD :like:
WD :like:


Top