Sponsored

2019 header install

KARTMAN

Member
Joined
Jun 16, 2019
Threads
1
Messages
11
Reaction score
2
Location
OKC
First Name
Marvin
Vehicle(s)
2019 Mustang GT
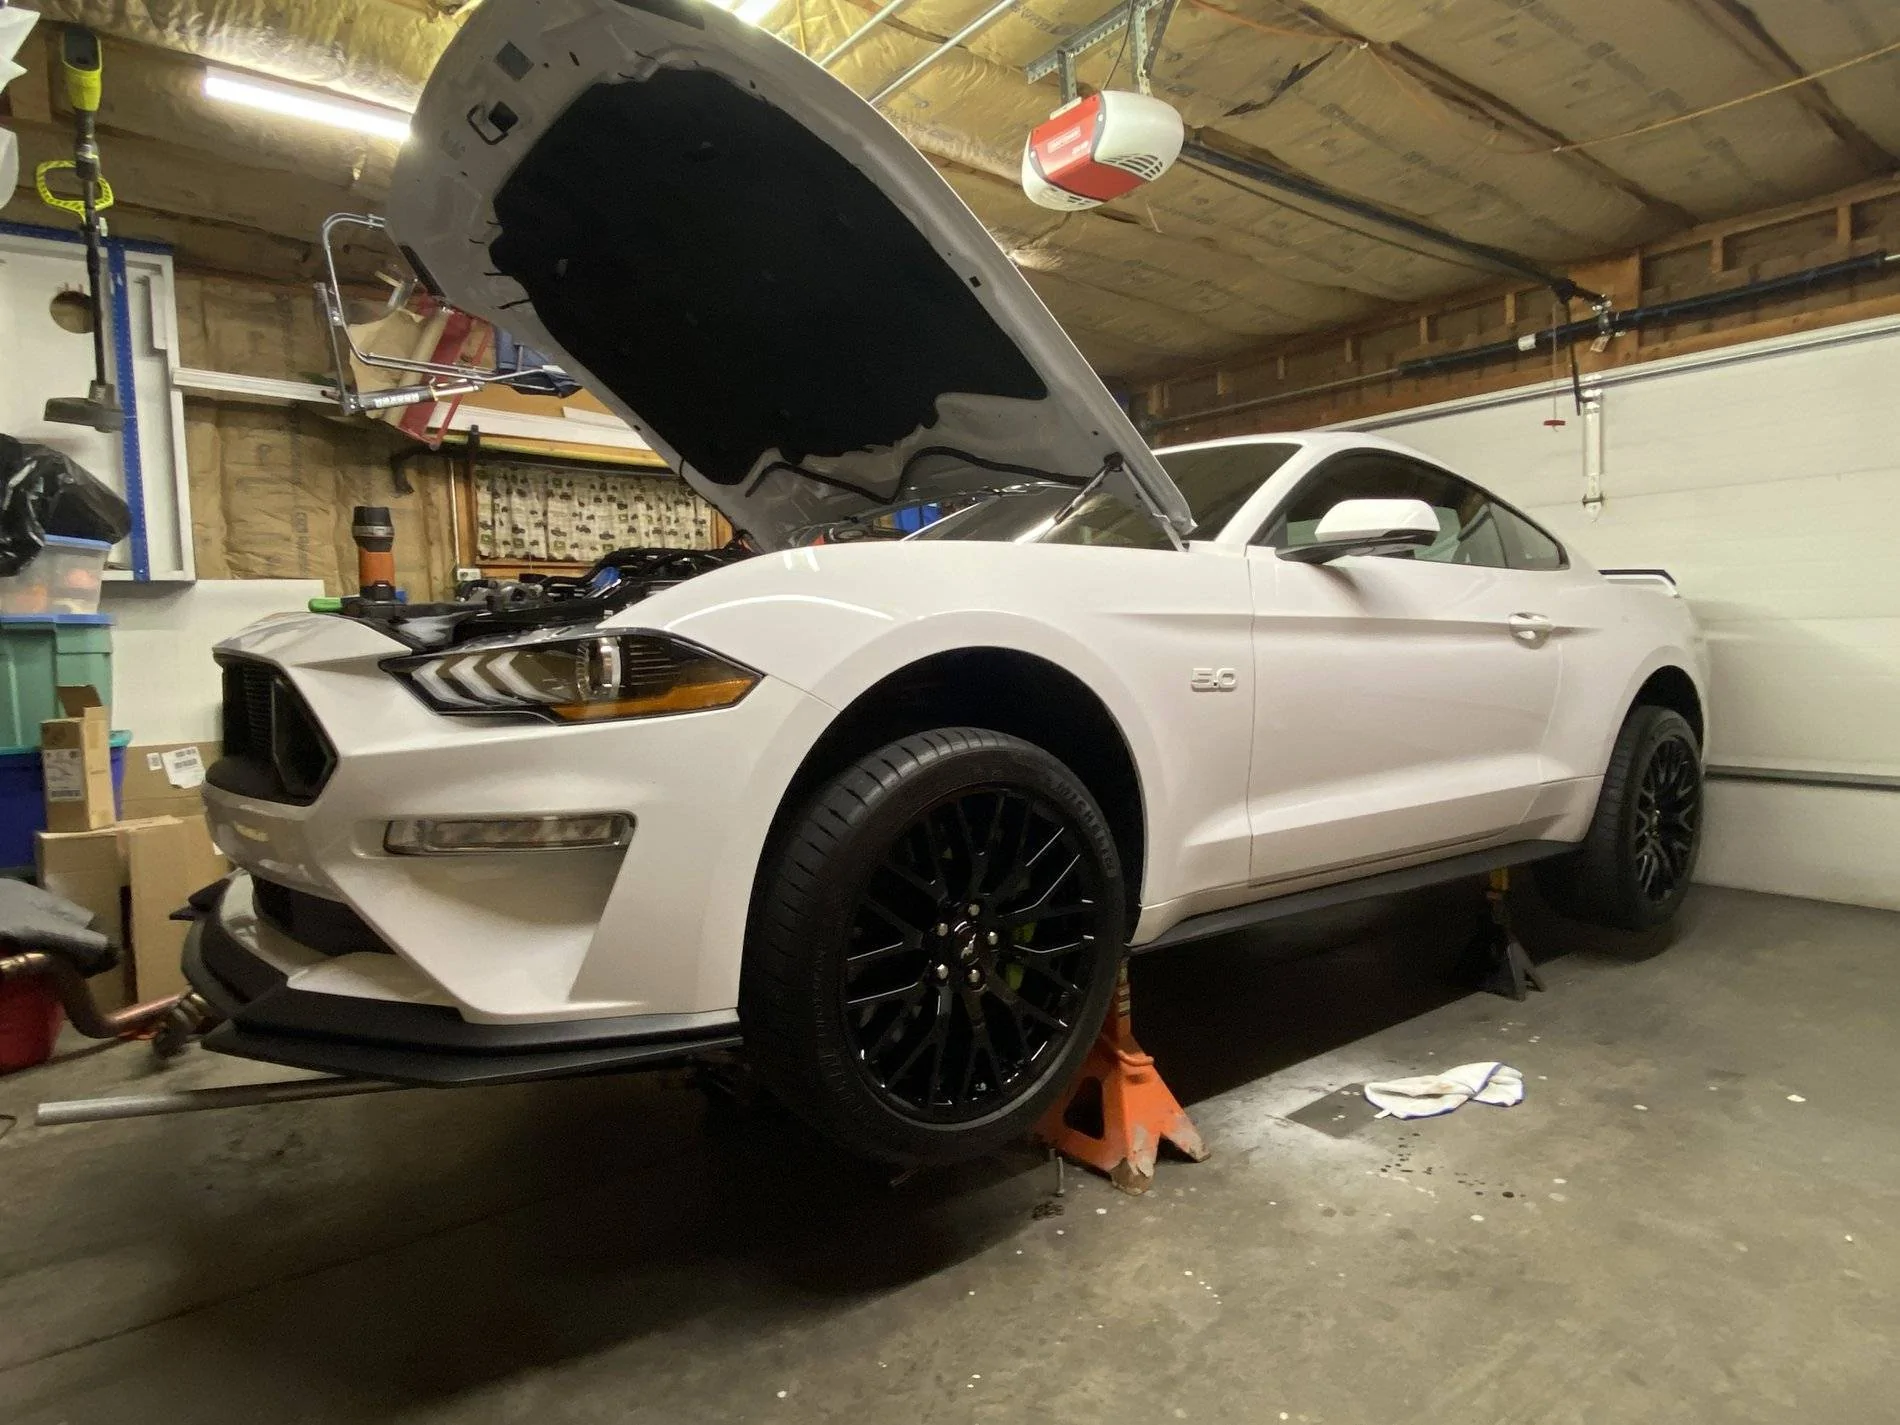
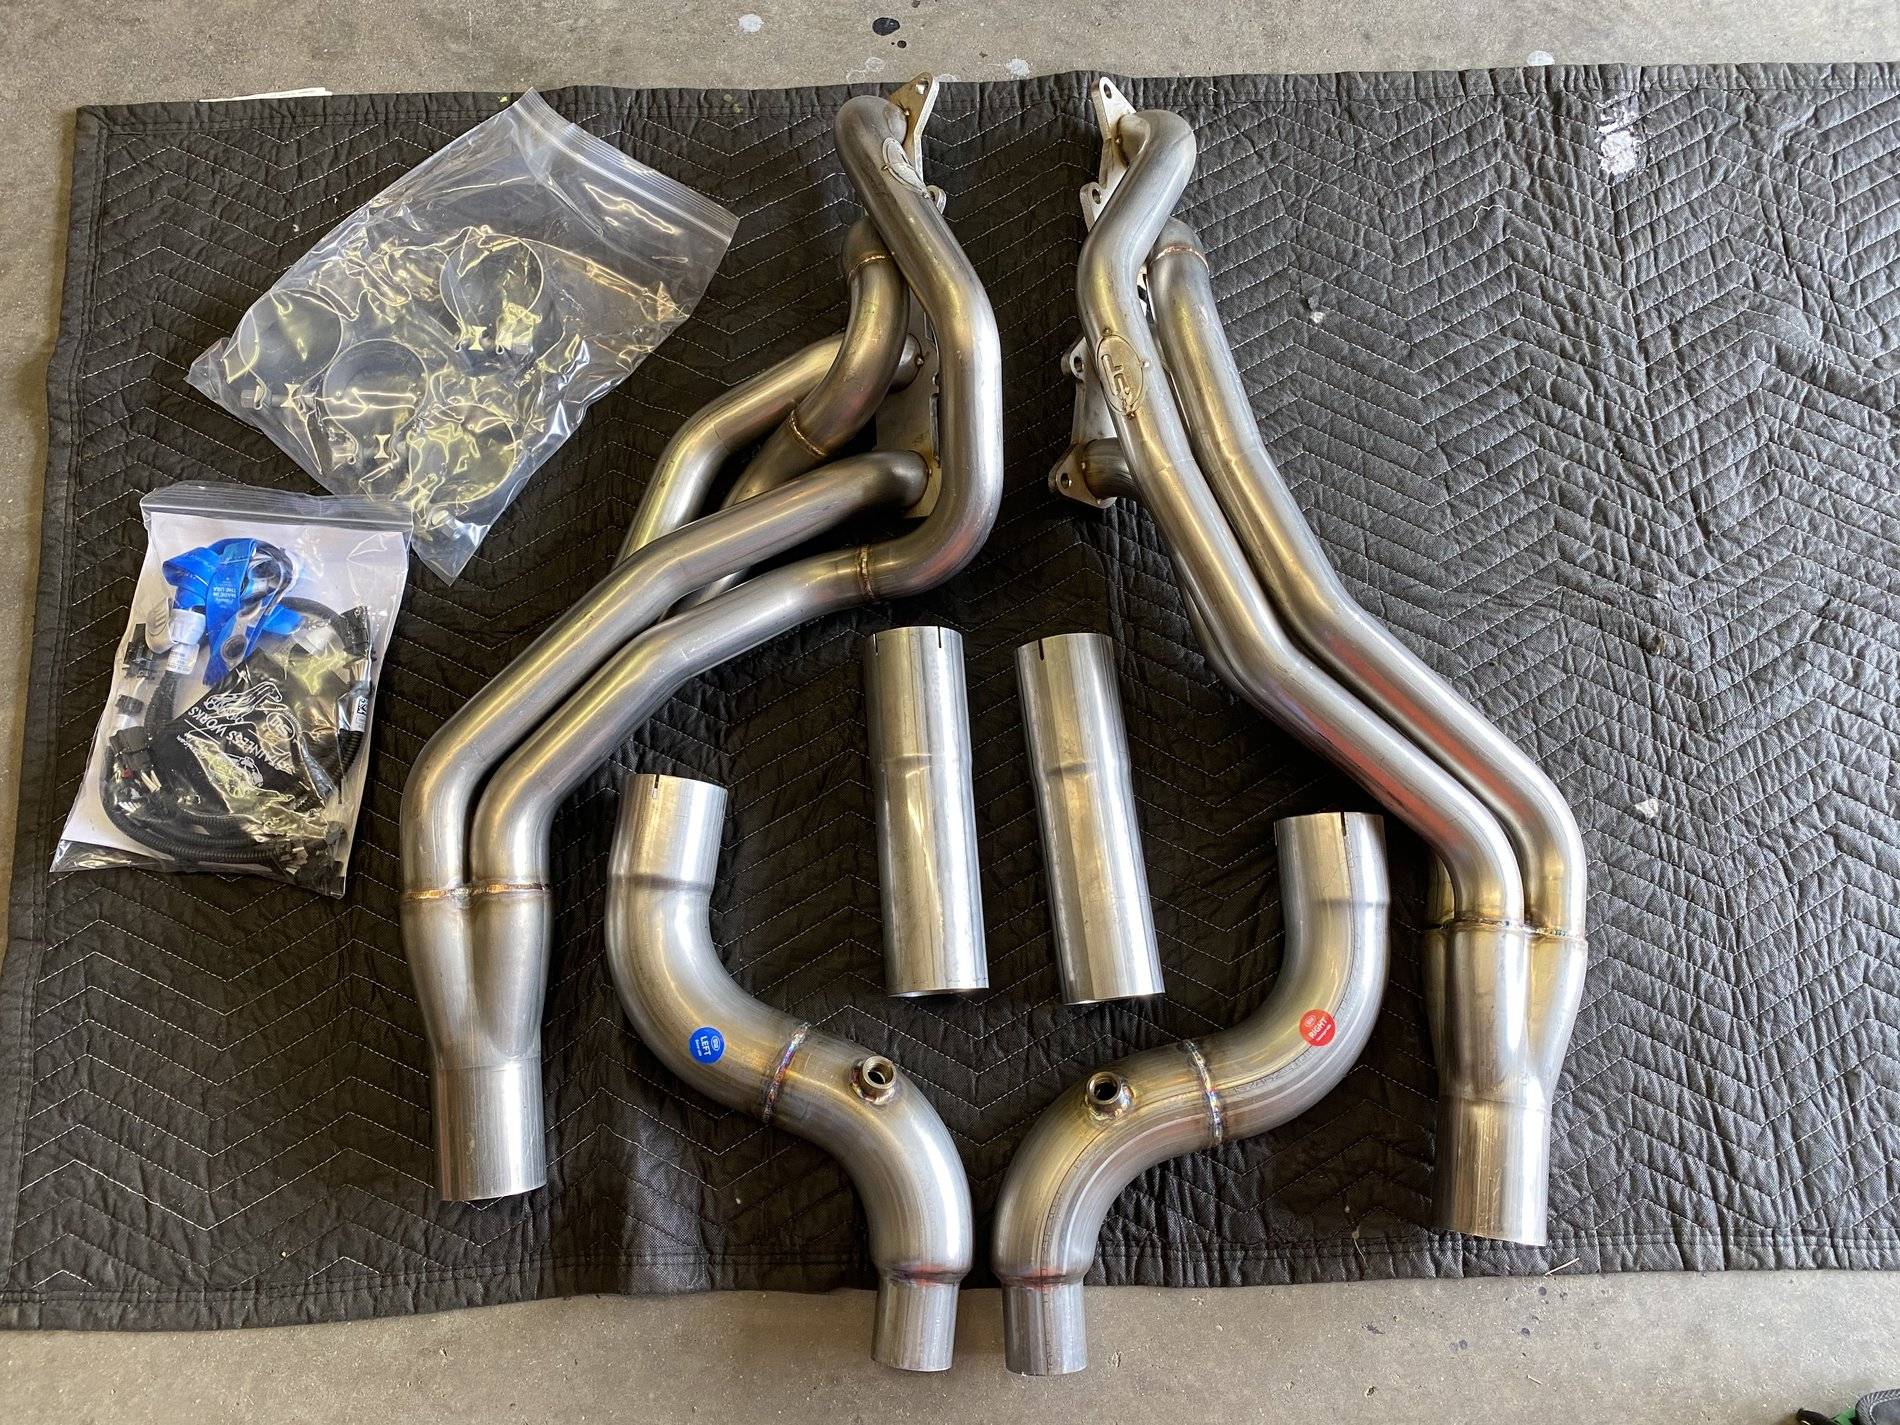
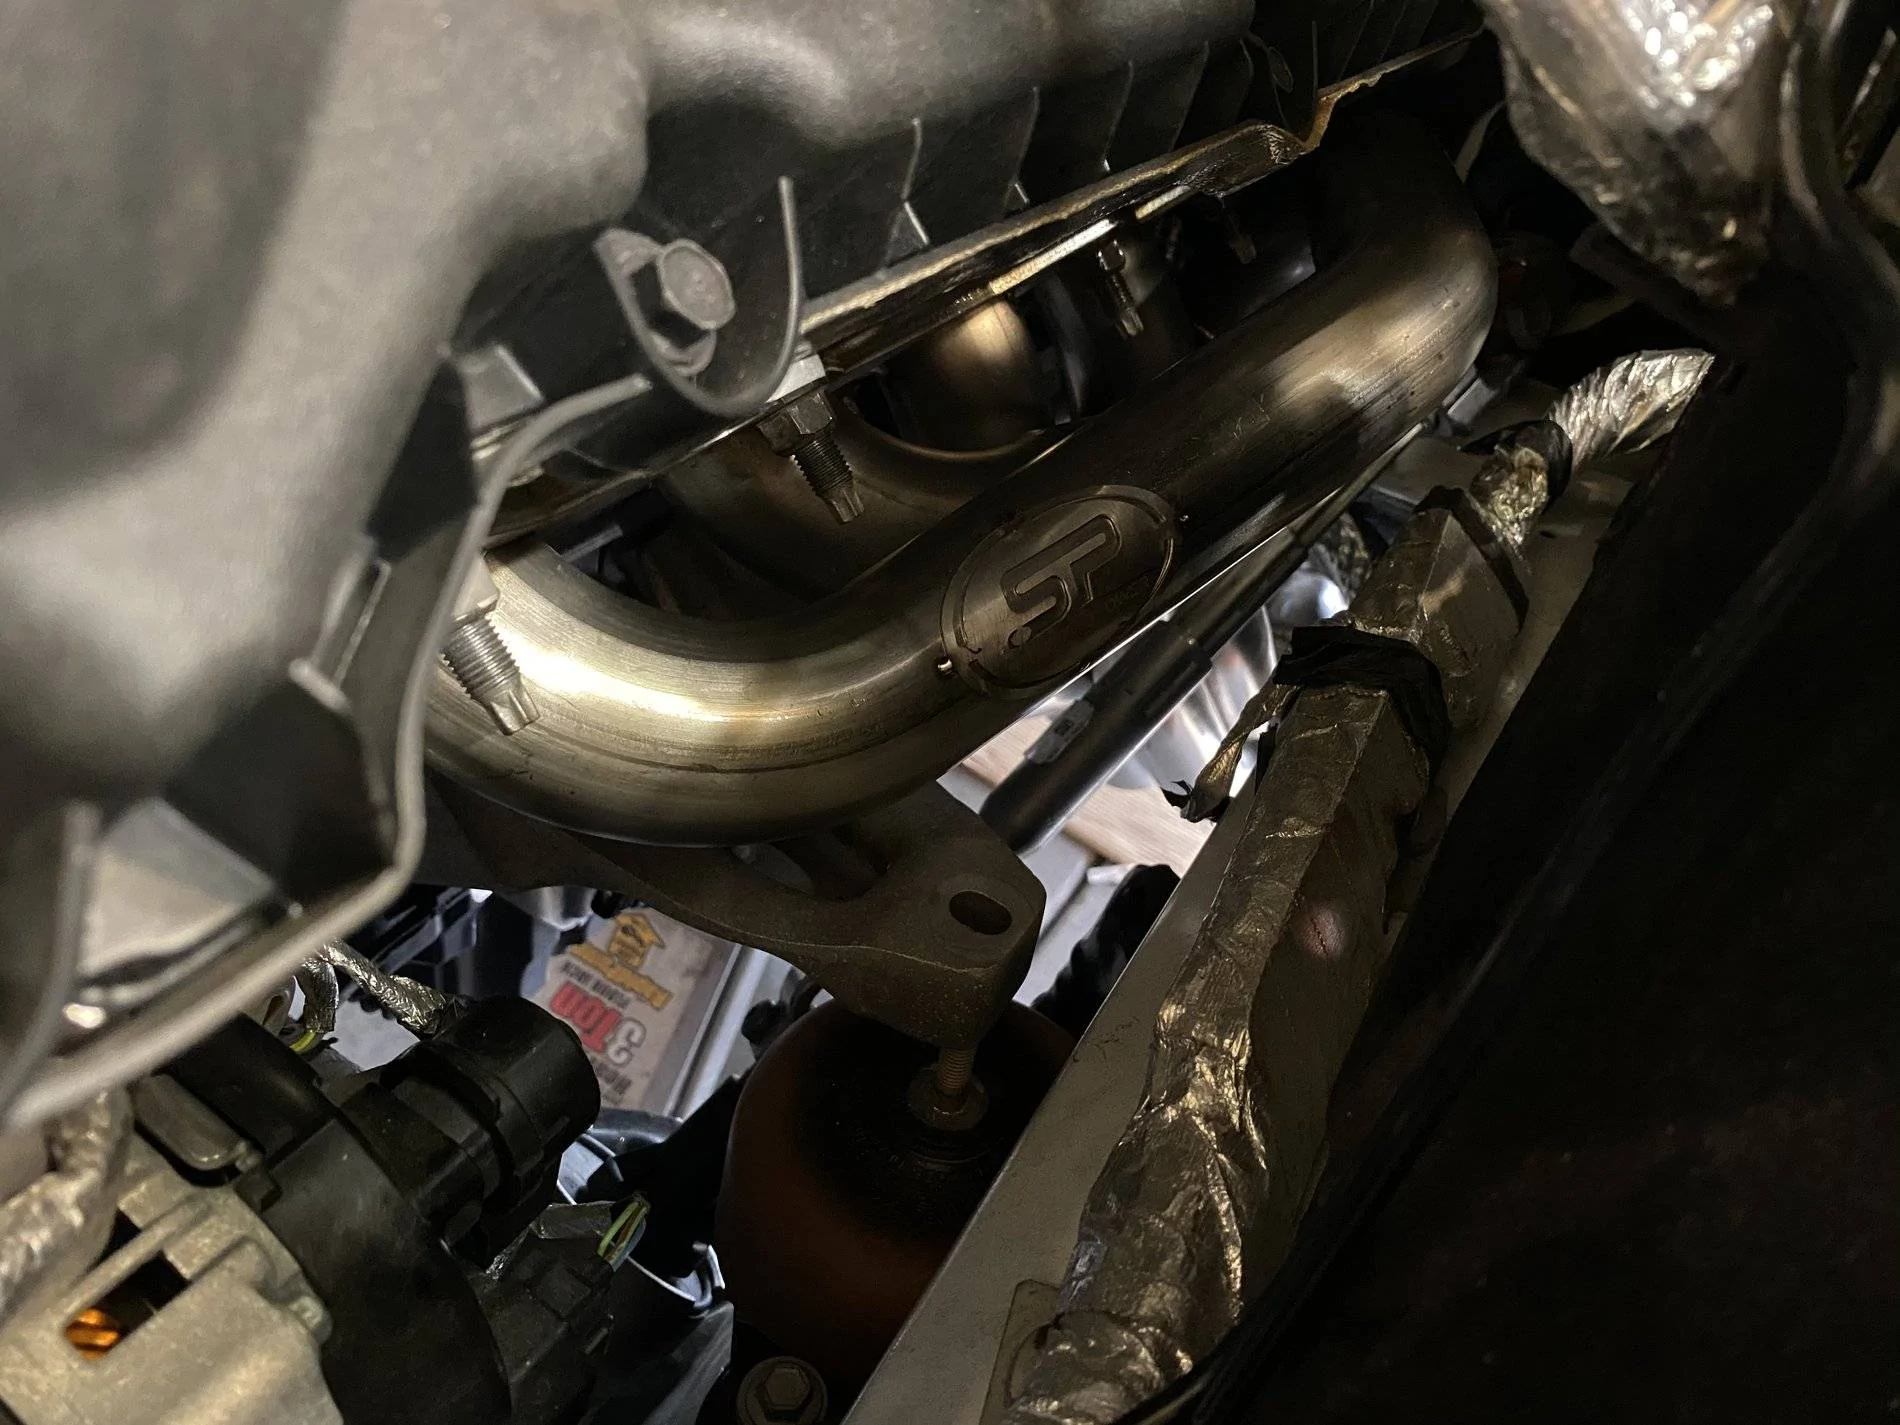
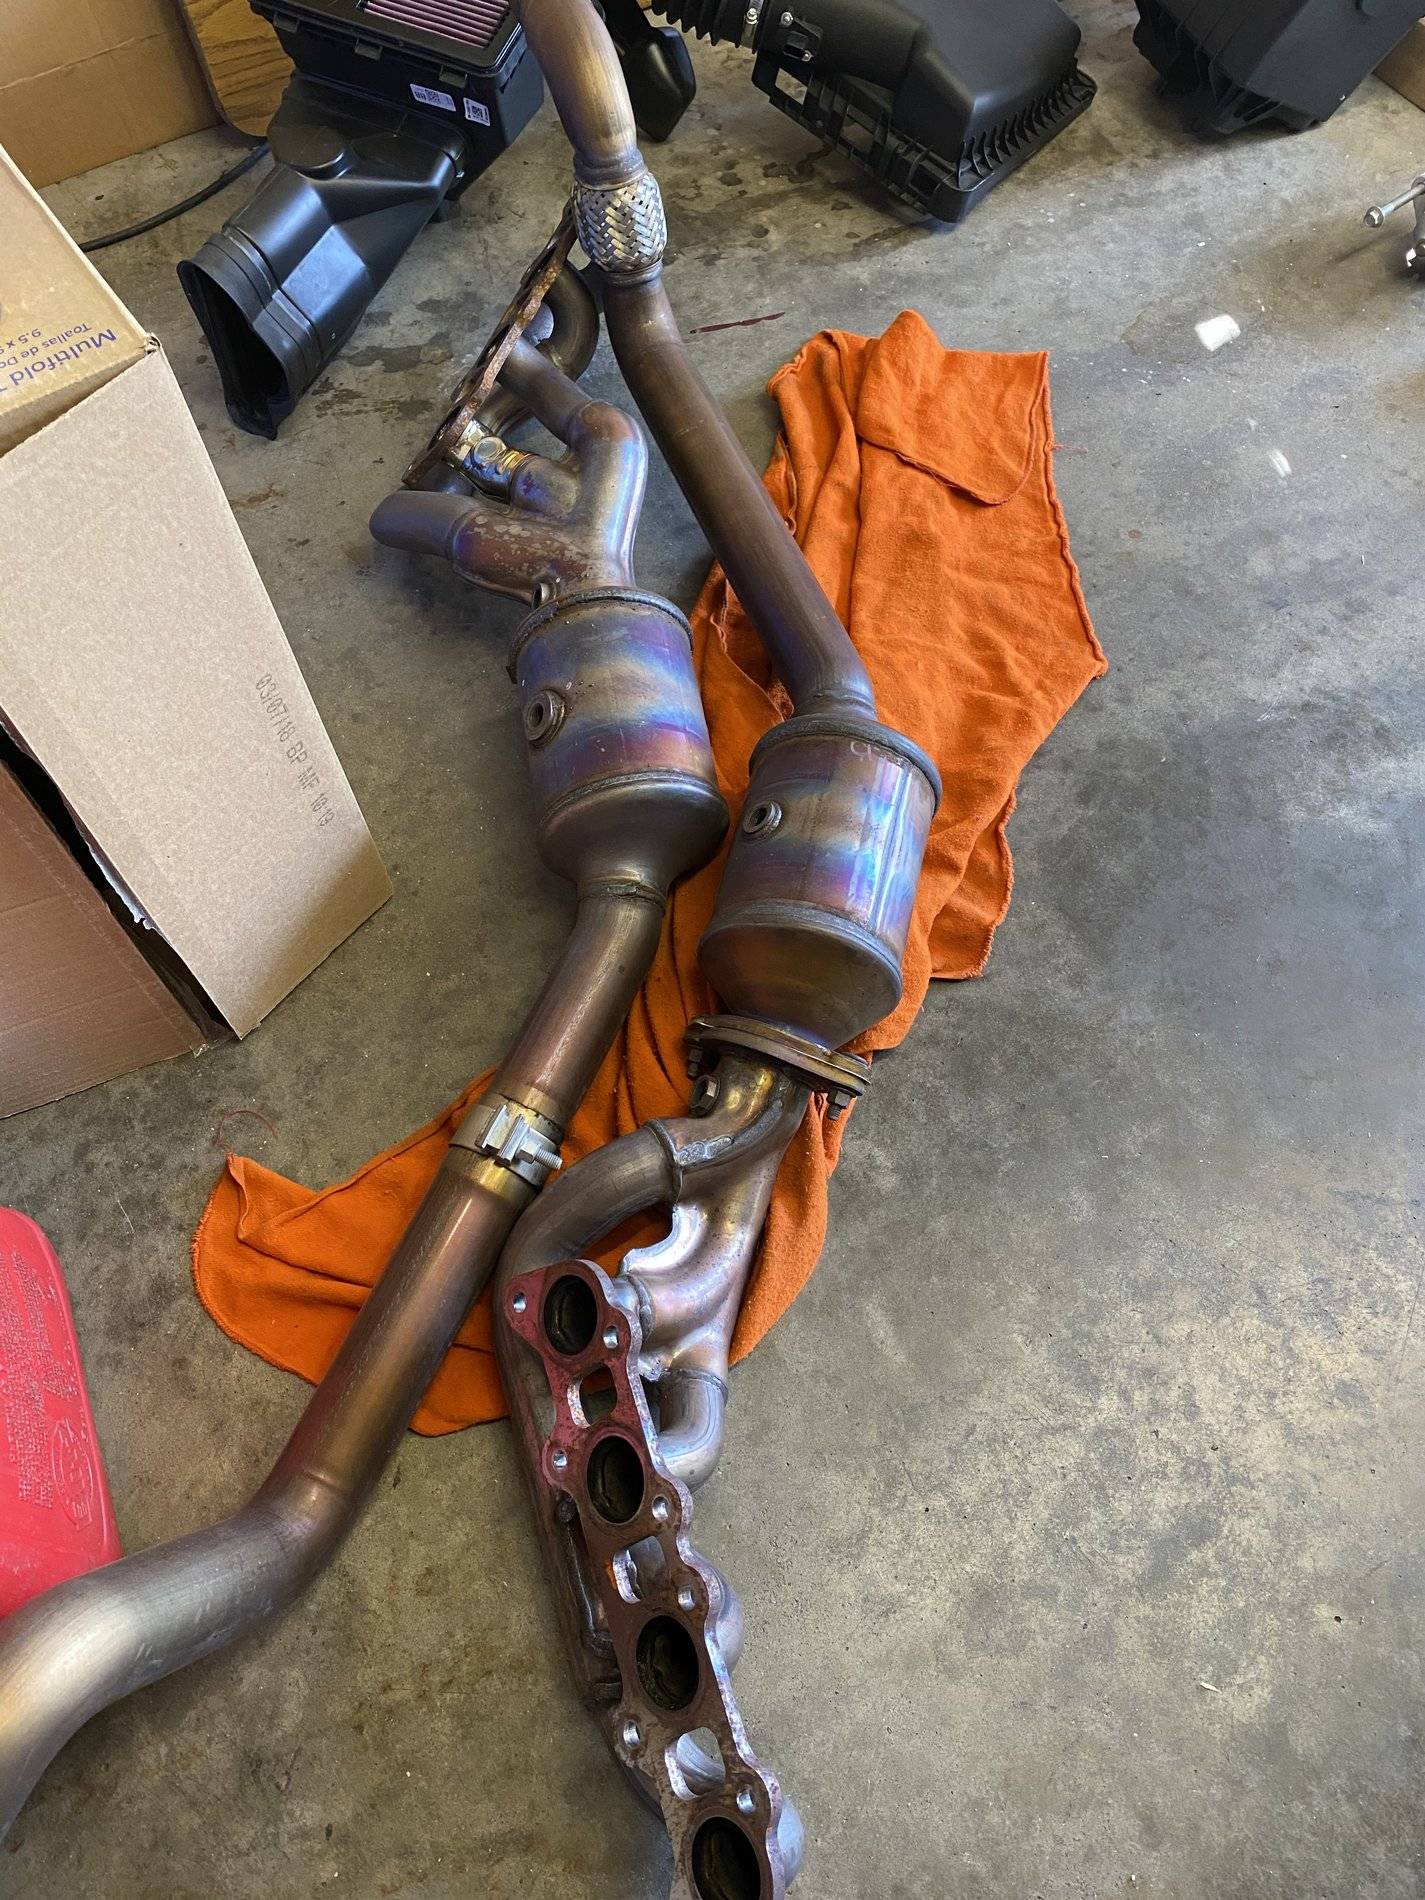
Hello all, first post of mine. I have a 2019 5.0 and looking to do a full stainless works exhaust. I know it’s a difficult task to put headers on. I’m never done it but I’m not afraid to do it. I’ve been reading a few threads on here and was wondering if you would do it if it was your first time. And also what tips or tools did you use that really helped? I am getting quotes from shops to do it but I’m tempted to do it myself.
Sponsored


sabtaj1

Well-Known Member
Joined
Sep 11, 2019
Threads
29
Messages
1,135
Reaction score
1,294
Location
Bettendorf, IA
First Name
Jason
Vehicle(s)
2019 PP1 Mustang GT, 1965 Fairlane 500 wagon
Just installed mine on my 2019. I did stainless power. Installed on jackstands. Wasn’t bad at all. Once you have it on stands, remove intake and lower intake box. Then remove battery cover, battery, battery box and pull the two clips on ur pass side cowl. Then remove the Blk plate that is between the battery and motor. Then remove motor mount nuts (15mm) from up top. Remove cat back. Optional...(loosen the two nuts on trans crossmember) helps when lifting motor... then use a piece of 2x4 and position floor jack with 2x4 on bellhousing n have someone slowly raise engine while you watch from below. I raise to where motor mount studs aren’t poking out of the mount plates.... DS- Mark n separate the steering linkage top bolt. You can remove quite a few nuts from above on this manifold. Rest easy from below. Then from below, remove the 4 13mm bolts holding the motor mount plate. Of course disconnect O2 plugs. One all nuts are off it comes right out. Do not need to remove any studs from driver side. Unless you plan to use something diff. Header goes in just as easy as it came out. Put 4 bolts back in motor mount. Passenger side is a diff story. Remove starter, then motor mount. Basically the same but tighter and all studs have to be removed after the nuts. I found it difficult to get the top front stud n nut but I finally got a ratchet n hands there from underneath. Now once you get that POS outta there. Follow the A/C lines going towards the firewall. You will see a stud n 10mm nut sticking out toward where header will sit. Remove nut and stud is slide clip. Slides n pops off (known to cause false knock). You will have to drop motor about a 1/2” or so for header to clear. Lift er up with gasket n try n get a stud started or bolt and go from there. Front top one was a pain. However. I was able to use studs in all of em except top two center holes, had to use bolts. You can actually reach 3 if not all four from above. I also did the proper x pattern working my way from middle outward when tightening. Once ur done there it’s just putting back together. Easy. Be sure to re tighten trans nuts if you loosened em.
Tools that will save ur azz
13mm & 15mm flex head wrench, swivel head 3/8 ratchet, 1/4 wrench, E8 socket, long extensions and a swivel adapter for sockets.
 

sabtaj1

Well-Known Member
Joined
Sep 11, 2019
Threads
29
Messages
1,135
Reaction score
1,294
Location
Bettendorf, IA
First Name
Jason
Vehicle(s)
2019 PP1 Mustang GT, 1965 Fairlane 500 wagon
A few pics
0CF91DE4-8A64-4215-B3F5-24A4052C31DD.jpeg
996538F9-0805-4EB0-B95C-969C811E767C.jpeg
88BE2978-9D6A-4387-8E82-1E658A8D6D89.jpeg
FF891E5A-9229-4C11-A3E5-8E208AFA7A52.jpeg
3B412A82-0F3F-48F0-B78A-3FD8CD8936EC.jpeg
 
OP
OP

KARTMAN

Member
Joined
Jun 16, 2019
Threads
1
Messages
11
Reaction score
2
Location
OKC
First Name
Marvin
Vehicle(s)
2019 Mustang GT
Just installed mine on my 2019. I did stainless power. Installed on jackstands. Wasn’t bad at all. Once you have it on stands, remove intake and lower intake box. Then remove battery cover, battery, battery box and pull the two clips on ur pass side cowl. Then remove the Blk plate that is between the battery and motor. Then remove motor mount nuts (15mm) from up top. Remove cat back. Optional...(loosen the two nuts on trans crossmember) helps when lifting motor... then use a piece of 2x4 and position floor jack with 2x4 on bellhousing n have someone slowly raise engine while you watch from below. I raise to where motor mount studs aren’t poking out of the mount plates.... DS- Mark n separate the steering linkage top bolt. You can remove quite a few nuts from above on this manifold. Rest easy from below. Then from below, remove the 4 13mm bolts holding the motor mount plate. Of course disconnect O2 plugs. One all nuts are off it comes right out. Do not need to remove any studs from driver side. Unless you plan to use something diff. Header goes in just as easy as it came out. Put 4 bolts back in motor mount. Passenger side is a diff story. Remove starter, then motor mount. Basically the same but tighter and all studs have to be removed after the nuts. I found it difficult to get the top front stud n nut but I finally got a ratchet n hands there from underneath. Now once you get that POS outta there. Follow the A/C lines going towards the firewall. You will see a stud n 10mm nut sticking out toward where header will sit. Remove nut and stud is slide clip. Slides n pops off (known to cause false knock). You will have to drop motor about a 1/2” or so for header to clear. Lift er up with gasket n try n get a stud started or bolt and go from there. Front top one was a pain. However. I was able to use studs in all of em except top two center holes, had to use bolts. You can actually reach 3 if not all four from above. I also did the proper x pattern working my way from middle outward when tightening. Once ur done there it’s just putting back together. Easy. Be sure to re tighten trans nuts if you loosened em.
Tools that will save ur azz
13mm & 15mm flex head wrench, swivel head 3/8 ratchet, 1/4 wrench, E8 socket, long extensions and a swivel adapter for sockets.
Awesome. Very nice write up. I’ve always loved to work on cars and hate to take it to a shop when I love to tinker with cars. I just haven’t had the time with work and family. Do I need any gaskets or anything else? Also I may be going to you when I start this project to pick your brain and whatnot. Nice car BTW. I got a black one. I sometimes regret not getting a white car lol
 

sabtaj1

Well-Known Member
Joined
Sep 11, 2019
Threads
29
Messages
1,135
Reaction score
1,294
Location
Bettendorf, IA
First Name
Jason
Vehicle(s)
2019 PP1 Mustang GT, 1965 Fairlane 500 wagon
Re use factory gaskets. They are fine. Stainless power ones come with some high temp gasket sealer. I only used some on pass side to hold the gasket to the header during install.
 

Sponsored

PistolPete

Well-Known Member
Joined
Nov 7, 2019
Threads
4
Messages
73
Reaction score
13
Location
Texas
First Name
Scott
Vehicle(s)
2018 Mustang GT PP1, 2008 Dodge Ram Hemi, 2009 Honda Accord
Nice write up! Whew, still sounds like a lot. I think shops are charging around $500 to install them around here. Are certain brands easier than others? Do they sound any different from brand to brand? Sounds like a good days work... Probably worth it though.
 

sabtaj1

Well-Known Member
Joined
Sep 11, 2019
Threads
29
Messages
1,135
Reaction score
1,294
Location
Bettendorf, IA
First Name
Jason
Vehicle(s)
2019 PP1 Mustang GT, 1965 Fairlane 500 wagon
I was quoted $650. Passed. Did it myself. Got the stainless power (sister company of stainless works) from lethal performance for $775 shipped with factory connect pipes
 

thelostotter

Well-Known Member
Joined
Sep 13, 2017
Threads
24
Messages
398
Reaction score
197
Location
AZ
Vehicle(s)
2017 GTPP
I had never done it before either. I installed my ARH long tubes myself on race ramps. Yeah it's tedious and time consuming, but not really that difficult. CJ Pony Parts has a really good install video, I think its for an ARH system but for the most part the install is the same for all headers. I'd give yourself ample time, like a whole weekend or more so you can take your time.

I do recommend having two taps to chase the motor mount and exhaust flange threads so the studs and bolts thread in nicely. You have to reach around in there awkwardly and it sometimes is hard to see if things are straight. Chasing the threads first helps everything start threading easier.
 

Blown86GT

Well-Known Member
Joined
Feb 4, 2018
Threads
5
Messages
256
Reaction score
165
Location
Central FL
Vehicle(s)
2018 Mustang GT

Helios

Well-Known Member
Joined
Mar 31, 2020
Threads
8
Messages
216
Reaction score
50
Location
Canada
Vehicle(s)
Gen3 Coyote
I was quoted $650. Passed. Did it myself. Got the stainless power (sister company of stainless works) from lethal performance for $775 shipped with factory connect pipes
Excellent price for the quality pieces you got on pictures. What a steal
Im doing mine in two days, i just got my ARH longtubes at my door. On jackstand itll be aswell, feel like its gonna be a pain in the ass

Same thing as you, direct-connect to resonator.
 

Sponsored

Biggsy

Well-Known Member
Joined
May 3, 2018
Threads
186
Messages
2,266
Reaction score
1,647
Location
MD
First Name
Warren
Vehicle(s)
'17 GT PP, '10 Tundra
I was able to use studs in all of em except top two center holes, had to use bolts.
Did you use the bolts that came with it? I'm going my install tomorrow and read somewhere that with SP you can use studs in all the holes.
 

sabtaj1

Well-Known Member
Joined
Sep 11, 2019
Threads
29
Messages
1,135
Reaction score
1,294
Location
Bettendorf, IA
First Name
Jason
Vehicle(s)
2019 PP1 Mustang GT, 1965 Fairlane 500 wagon
I only used the bolts in passenger side top two holes in center of the header. Studs may have worked but felt like it would be close. Didn’t wanna chance it.
 
OP
OP

KARTMAN

Member
Joined
Jun 16, 2019
Threads
1
Messages
11
Reaction score
2
Location
OKC
First Name
Marvin
Vehicle(s)
2019 Mustang GT
You guys pulled the studs off the block? I’m kinda trying to avoid that lol
Headers and exhaust ordered last night from lethal Performance so I play the waiting game now.
 

sabtaj1

Well-Known Member
Joined
Sep 11, 2019
Threads
29
Messages
1,135
Reaction score
1,294
Location
Bettendorf, IA
First Name
Jason
Vehicle(s)
2019 PP1 Mustang GT, 1965 Fairlane 500 wagon
You guys pulled the studs off the block? I’m kinda trying to avoid that lol
Headers and exhaust ordered last night from lethal Performance so I play the waiting game now.
Only the passenger side... You have to pull those to remove manifold and they have to be out to get the header in. Its not as bad as you think, mine all went right back in no problem. Except the two I did not use.
 
OP
OP

KARTMAN

Member
Joined
Jun 16, 2019
Threads
1
Messages
11
Reaction score
2
Location
OKC
First Name
Marvin
Vehicle(s)
2019 Mustang GT
Only the passenger side... You have to pull those to remove manifold and they have to be out to get the header in. Its not as bad as you think, mine all went right back in no problem. Except the two I did not use.
Damn... I’ve never done that before lol
I guess ima get some hands on education!
Sponsored


Top