GTP
Deutsche Pony
- Joined
- May 27, 2015
- Threads
- 264
- Messages
- 6,053
- Reaction score
- 4,002
- Location
- Indy
- Website
- www.BambergAudio.com
- First Name
- Philip
- Vehicle(s)
- 2019 GT PP1 A10 Outrageous Orange HPDE mods
- Thread starter
- #1
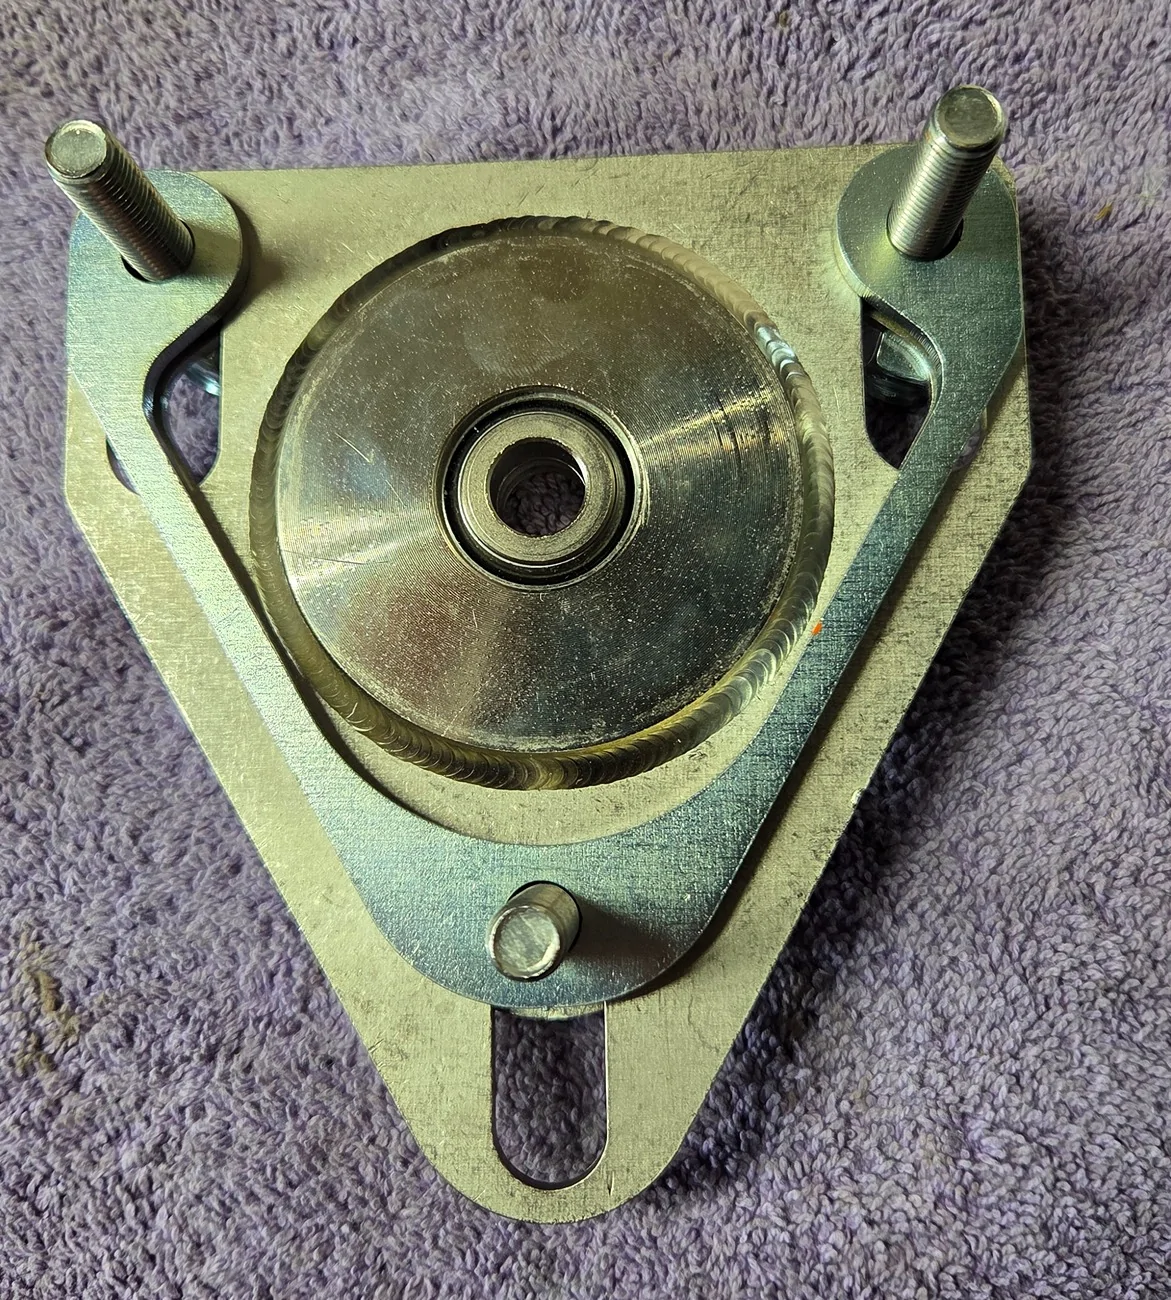
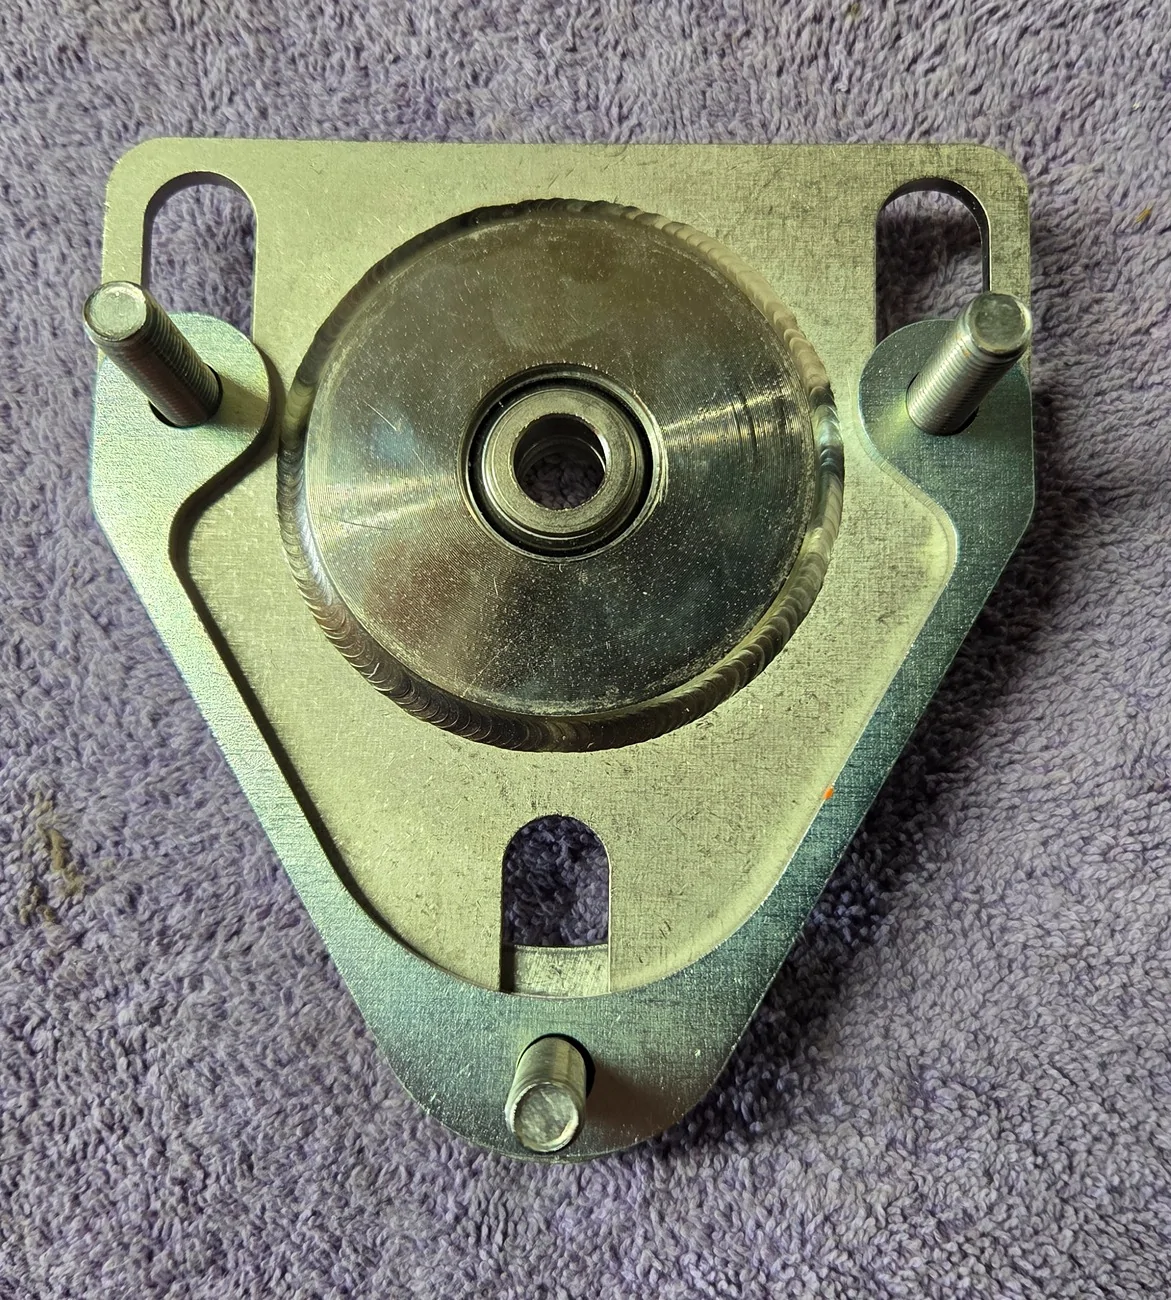
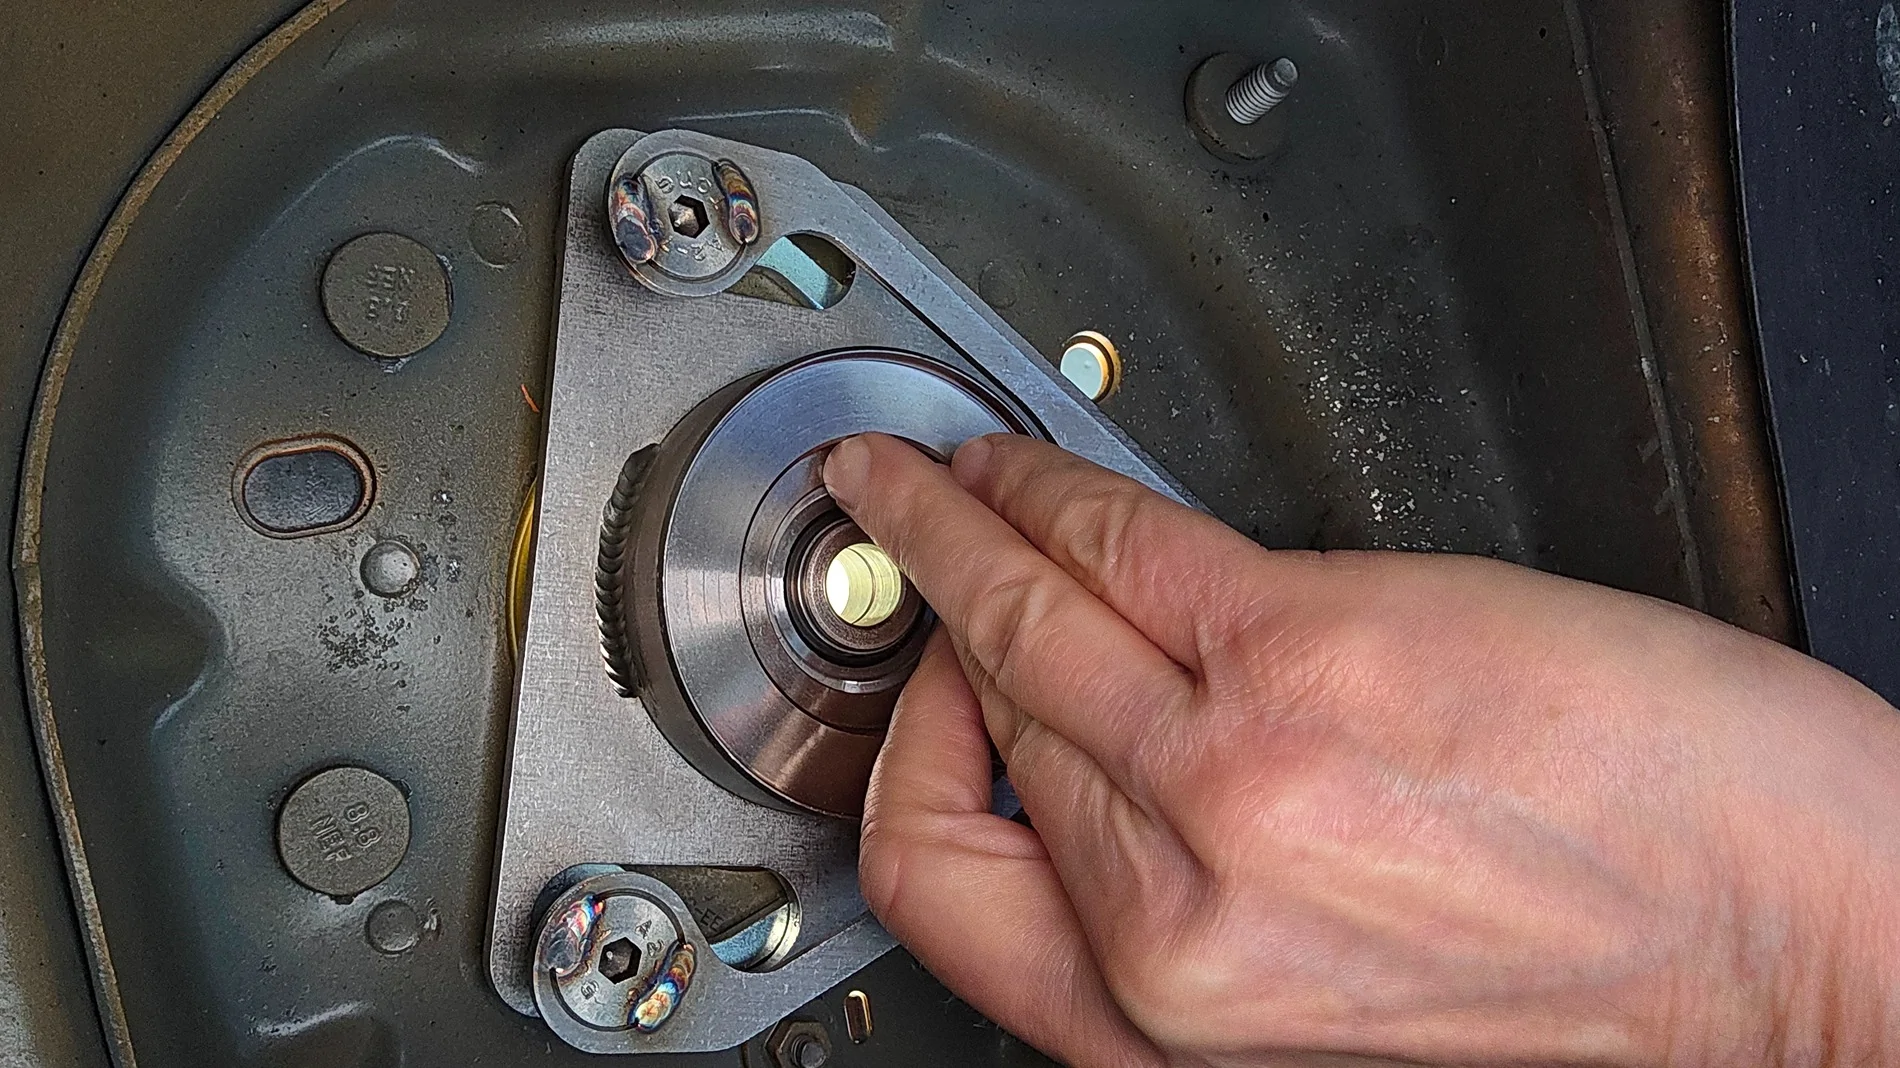
The movement path is aligned with the 3-stud pattern. This means that the plate moves slightly rearward with negative camber while installed on the car. There is also an associated slight increase in caster. Most camber plates are not symmetrical this way, and the 3-stud pattern is rotated by about 14 degrees with the car axis.
The positive camber limit is less than the negative limit. That is, the plate can move farther inboard (negative camber) than outboard (positive camber). This is the primary reason for Steeda plates offering greater negative camber than many other brands, and in spite of a similar slot length.

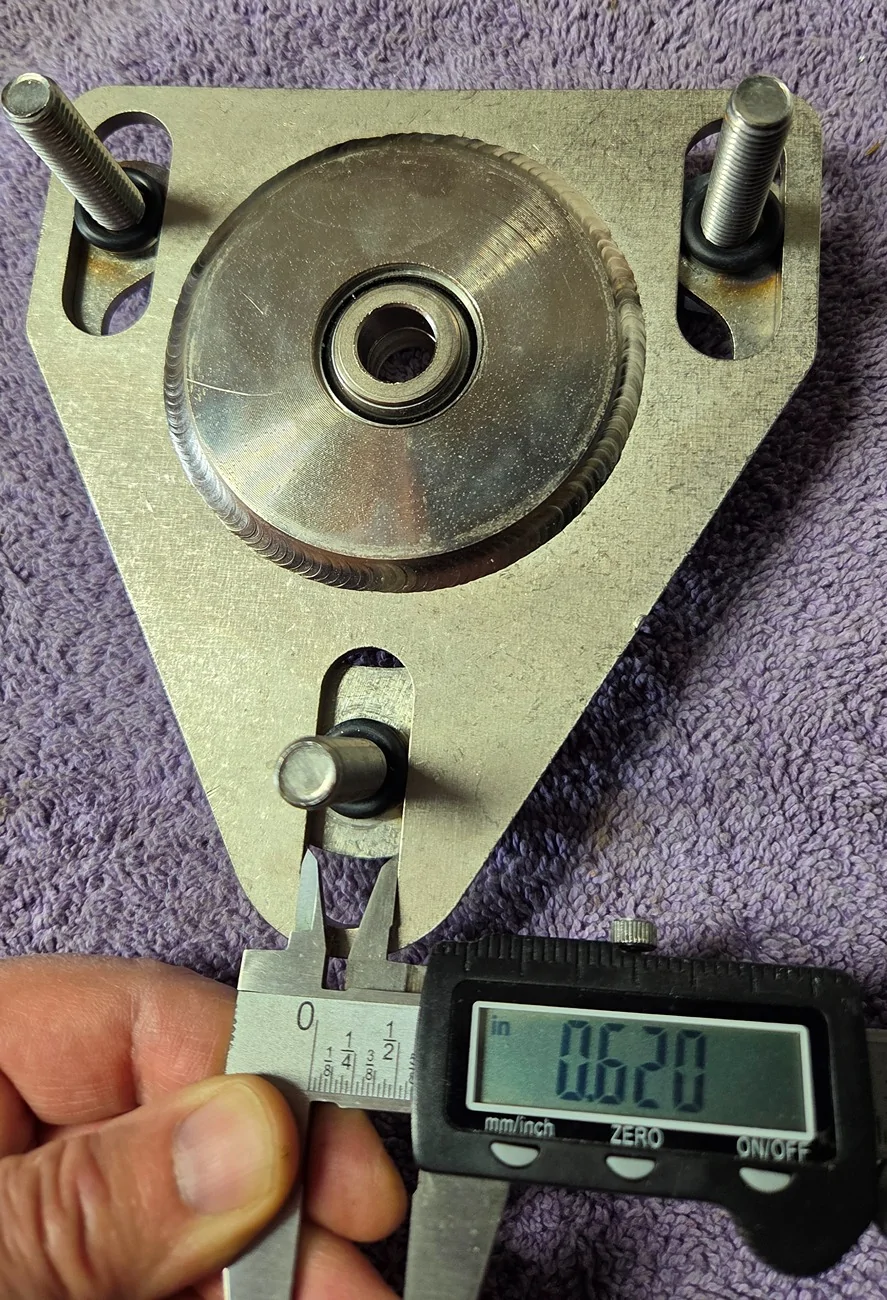
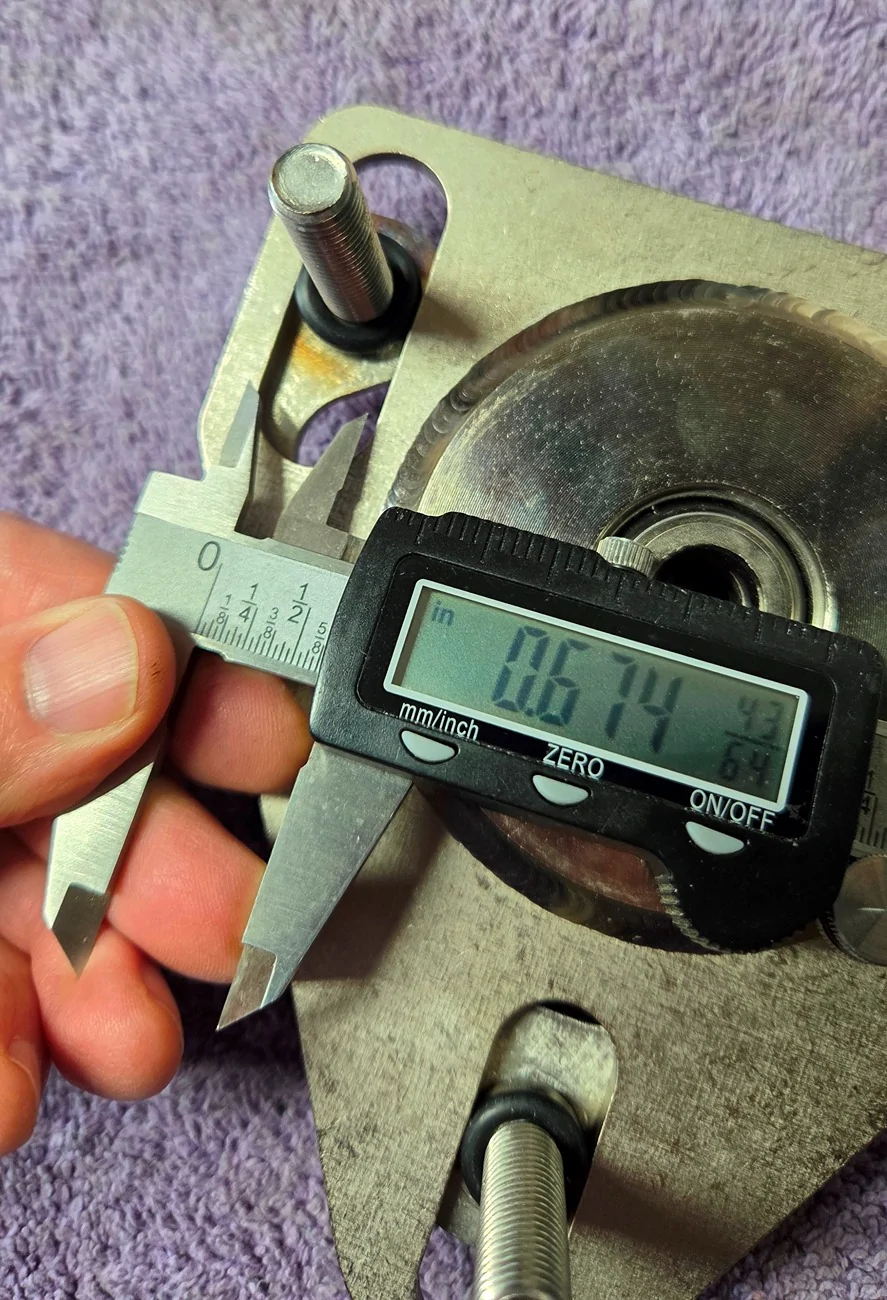
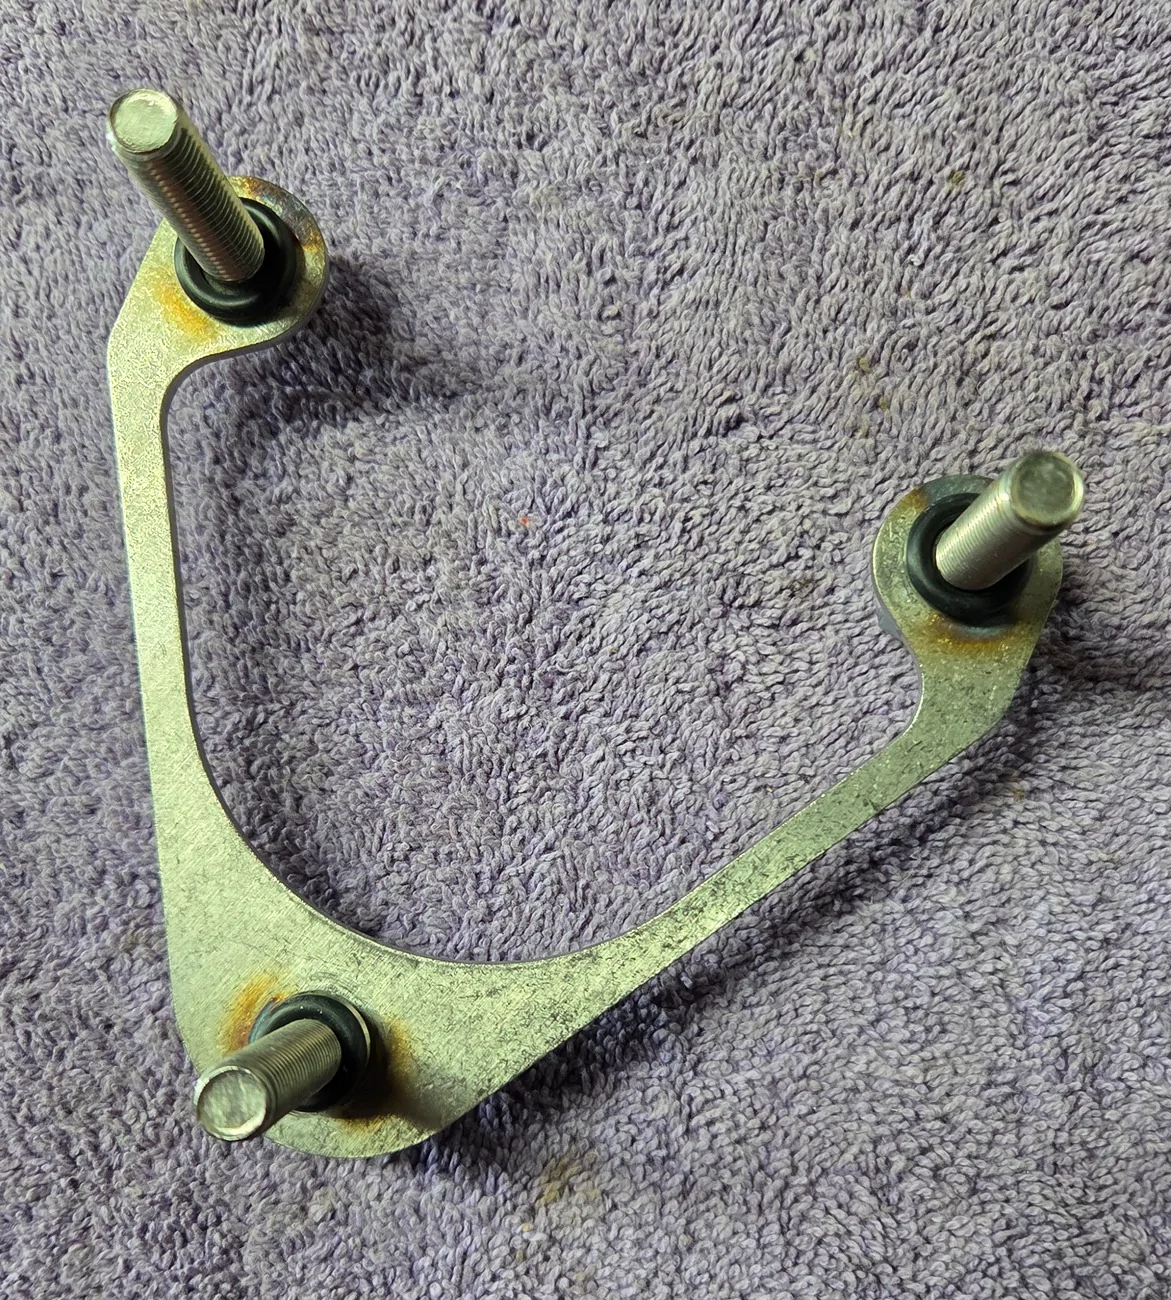
The wide slots design must have been for clearance to the flathead studs. Otherwise there could be binding when moving the plate position, or else the chance for not being fully tight (due to this binding). I found it interesting that the outboard slot measured 0.62” wide while the other two were 0.68”.

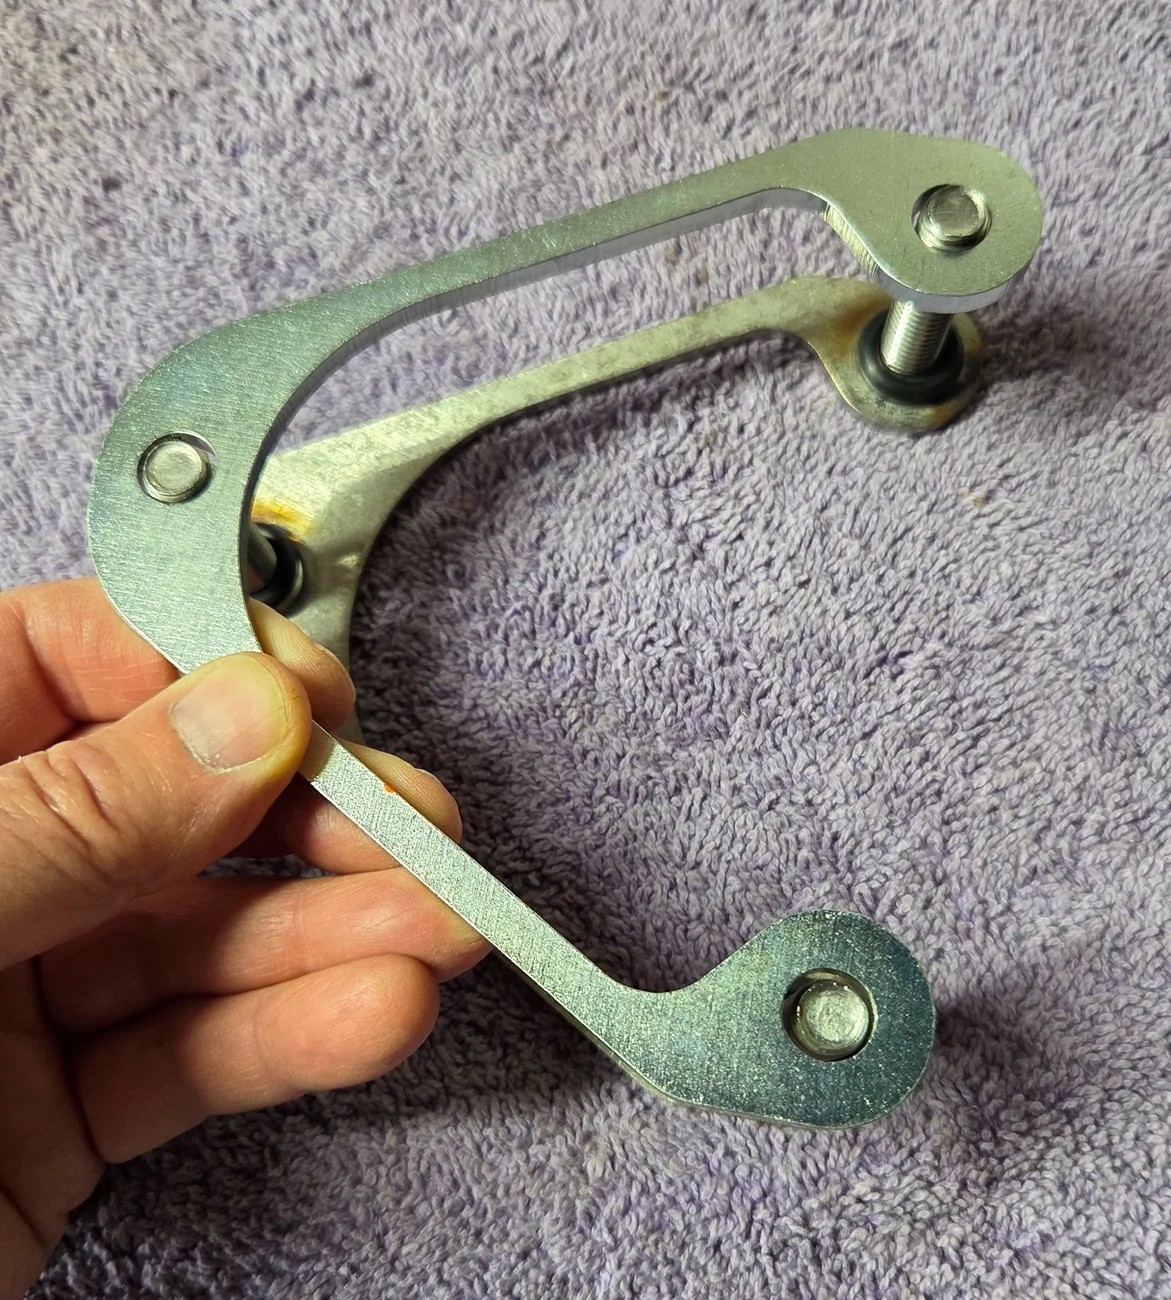
I added 3/8 x 5/8” O-rings to the studs to keep the studs centered within the slots at all positions.
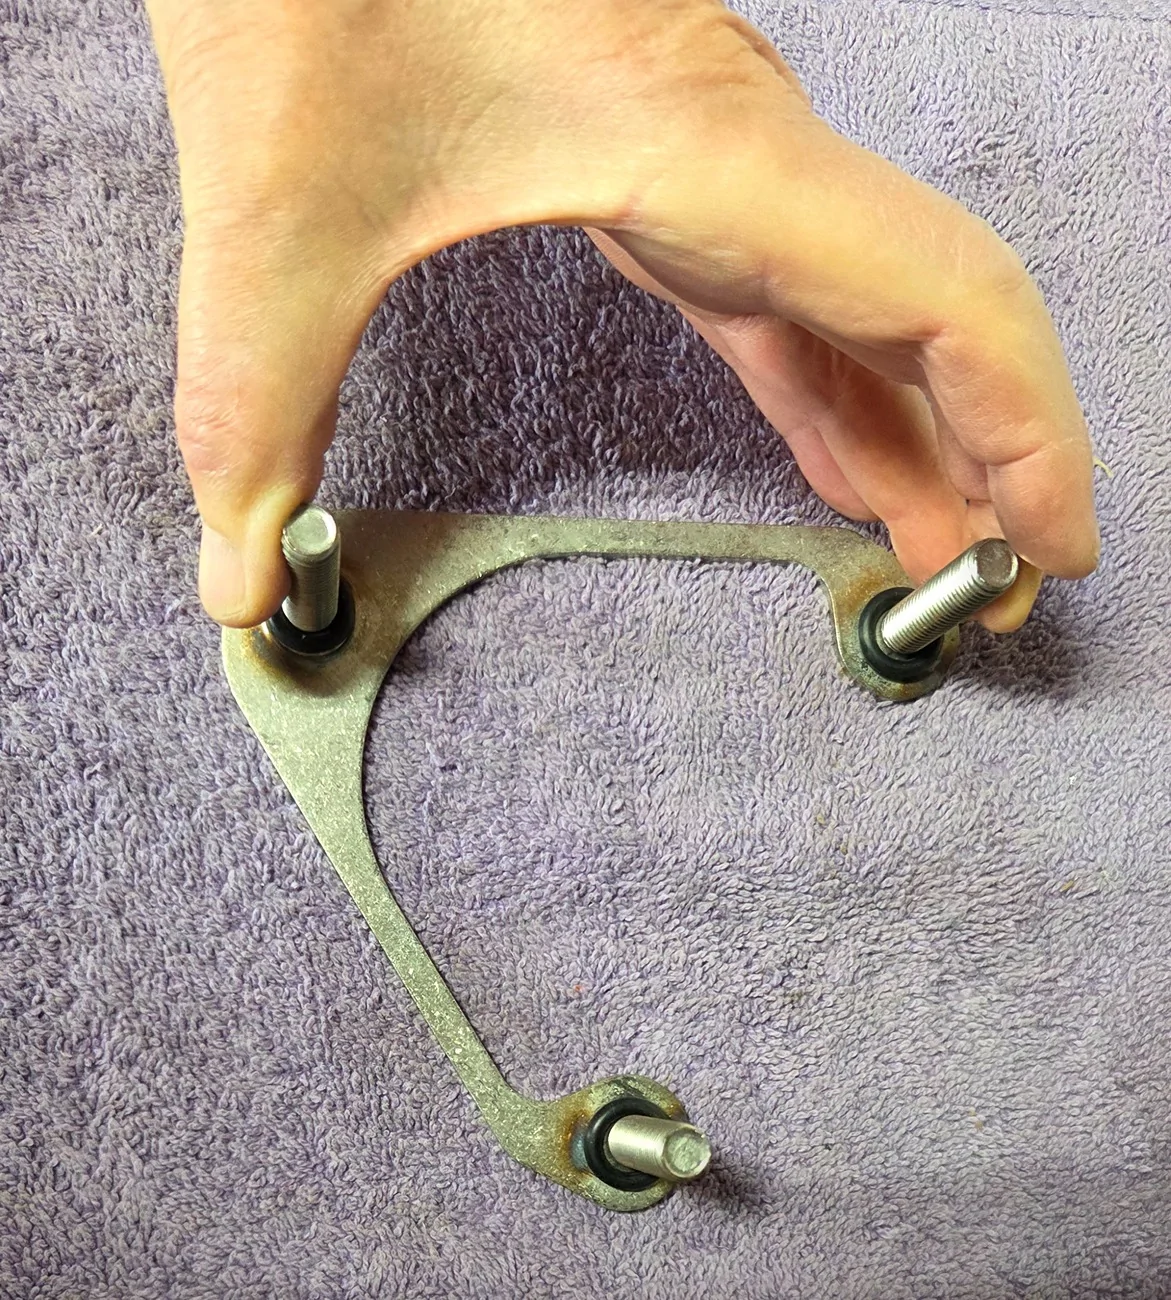
To get the spacer plate to slip over the 3 long studs, the stud-to-stud spacing can be improved by simply separating or compressing them together by hand. This is helpful when using my new camber gauge that slips over the studs.
I checked for any movement/clearance issues underneath the tower top, especially for the most negative camber adjustment.

Up next: DIY Camber gauge for Steeda plates
The positive camber limit is less than the negative limit. That is, the plate can move farther inboard (negative camber) than outboard (positive camber). This is the primary reason for Steeda plates offering greater negative camber than many other brands, and in spite of a similar slot length.
The wide slots design must have been for clearance to the flathead studs. Otherwise there could be binding when moving the plate position, or else the chance for not being fully tight (due to this binding). I found it interesting that the outboard slot measured 0.62” wide while the other two were 0.68”.
I added 3/8 x 5/8” O-rings to the studs to keep the studs centered within the slots at all positions.
To get the spacer plate to slip over the 3 long studs, the stud-to-stud spacing can be improved by simply separating or compressing them together by hand. This is helpful when using my new camber gauge that slips over the studs.
I checked for any movement/clearance issues underneath the tower top, especially for the most negative camber adjustment.
Up next: DIY Camber gauge for Steeda plates
Sponsored
Last edited:
")