Sponsored

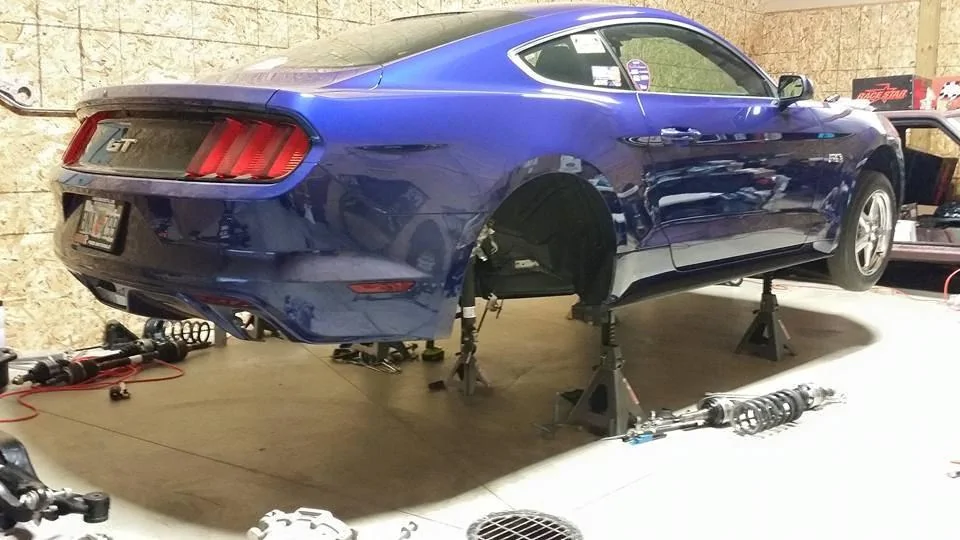
BMR & DSS Install underway

esacteksab

Well-Known Member
Joined
Apr 4, 2015
Threads
64
Messages
1,445
Reaction score
242
Location
CO & KS
Vehicle(s)
2015 Mustang GT
Yes they are, they are ARP, Rehagen Racing sales them RR-1107-S550F & RR-1107-S550R. Somewhere I have thread on here when I did the work.
Thanks! I've got a set of Welds on the way and I was looking for something like that.
Sponsored

 
OP
OP
RBS550

RBS550

Well-Known Member
Joined
May 10, 2015
Threads
72
Messages
645
Reaction score
439
Location
Port St Lucie Fl
Website
www.youtube.com
First Name
RB
Vehicle(s)
2015 Mustang GT
Thanks! I've got a set of Welds on the way and I was looking for something like that.
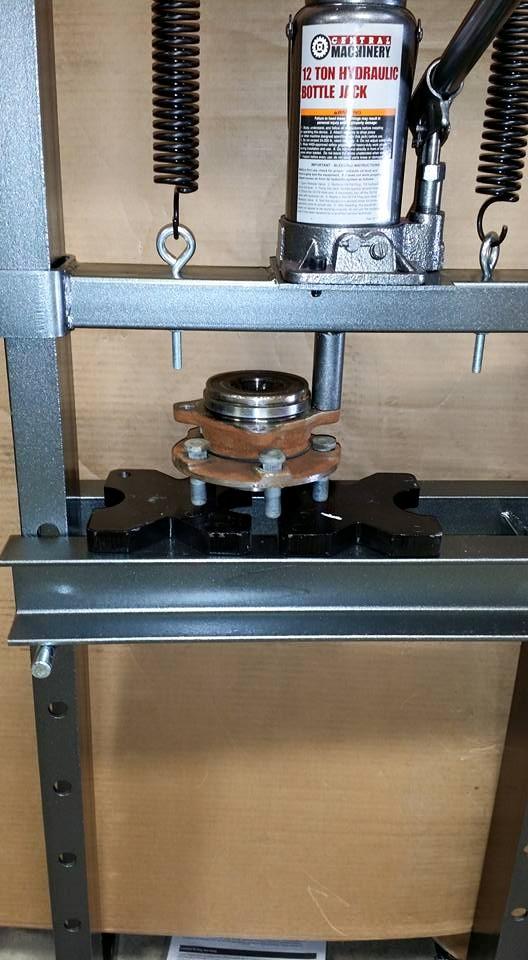
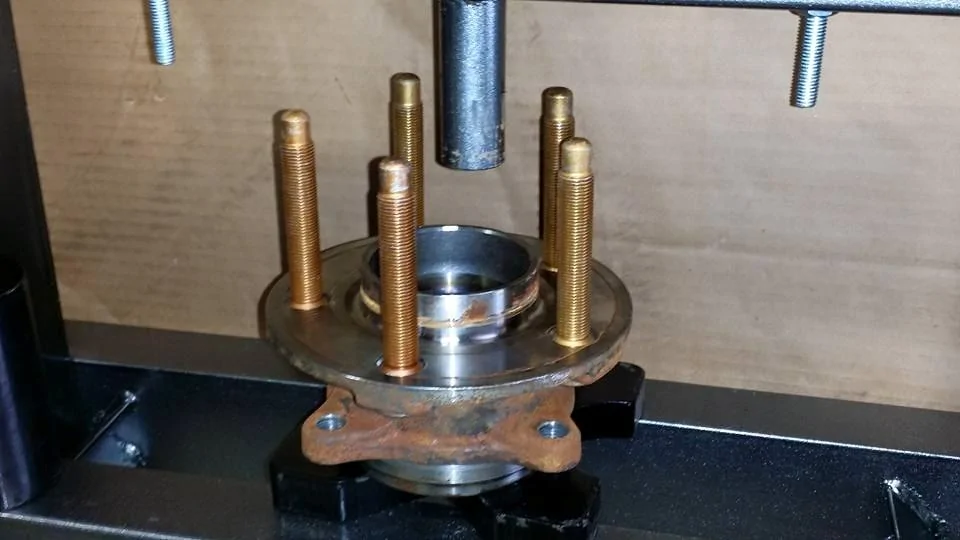
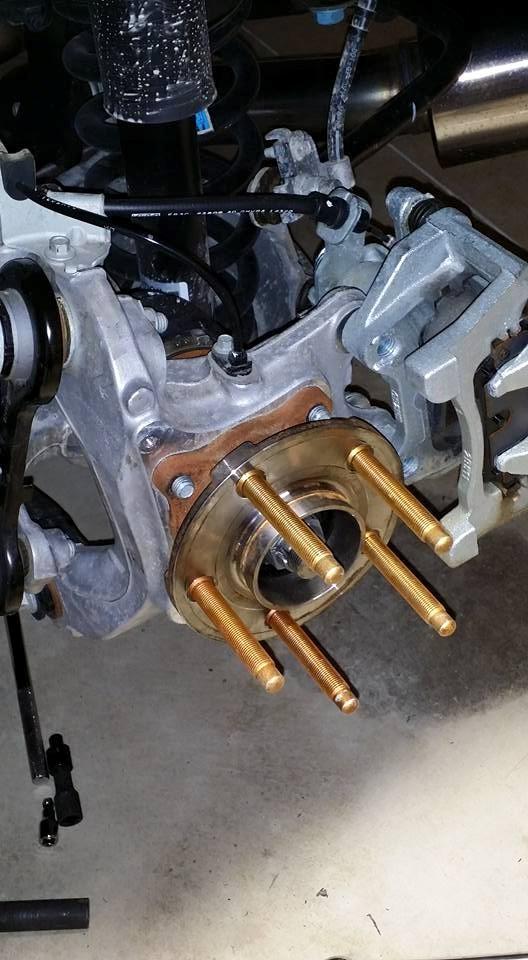
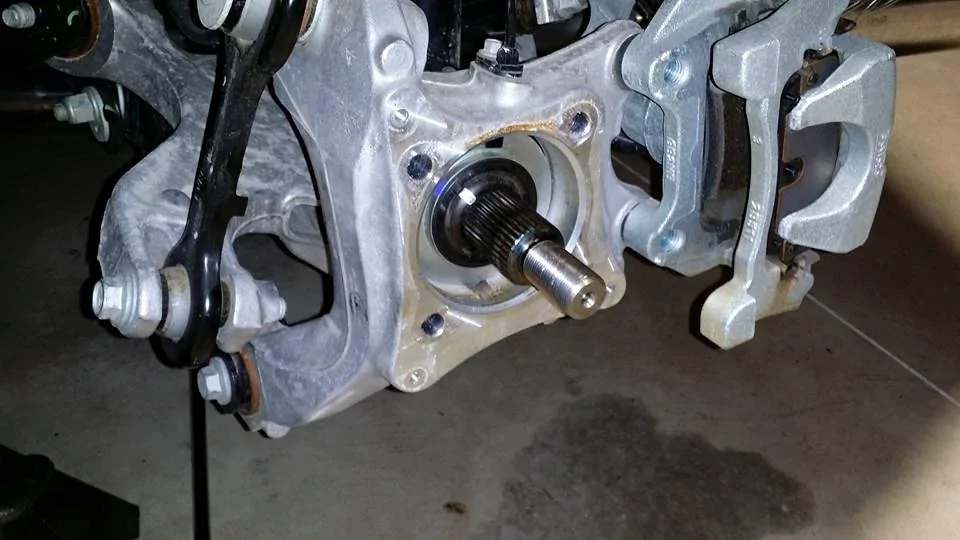
It Was easier to remove the hubs and press them in and out, but many people do it different ways. I will post pics when I get home tonight.
 

esacteksab

Well-Known Member
Joined
Apr 4, 2015
Threads
64
Messages
1,445
Reaction score
242
Location
CO & KS
Vehicle(s)
2015 Mustang GT
It Was easier to remove the hubs and press them in and out, but many people do it different ways. I will post pics when I get home tonight.
On old Chevy's I've always just knocked the studs out with a baby sledge and then pulled them back in just cinching up a lug nut.

Appreciate pics!
 
OP
OP
RBS550

RBS550

Well-Known Member
Joined
May 10, 2015
Threads
72
Messages
645
Reaction score
439
Location
Port St Lucie Fl
Website
www.youtube.com
First Name
RB
Vehicle(s)
2015 Mustang GT
On old Chevy's I've always just knocked the studs out with a baby sledge and then pulled them back in just cinching up a lug nut.

Appreciate pics!
Yes that works also :)
 

Sponsored

OP
OP
RBS550

RBS550

Well-Known Member
Joined
May 10, 2015
Threads
72
Messages
645
Reaction score
439
Location
Port St Lucie Fl
Website
www.youtube.com
First Name
RB
Vehicle(s)
2015 Mustang GT
I mean, I have a press...so if I need to be gentler.
I'm probably over cautious, if I were to do the draw through with a nut, I'd use Never Seize on the threads and the face of the nut, to ease the stress on the threads.
Wheel studs 1.jpg
Wheel studs 2.webp
Wheel studs 3.jpg
Wheel studs 4.webp
 
OP
OP
RBS550

RBS550

Well-Known Member
Joined
May 10, 2015
Threads
72
Messages
645
Reaction score
439
Location
Port St Lucie Fl
Website
www.youtube.com
First Name
RB
Vehicle(s)
2015 Mustang GT
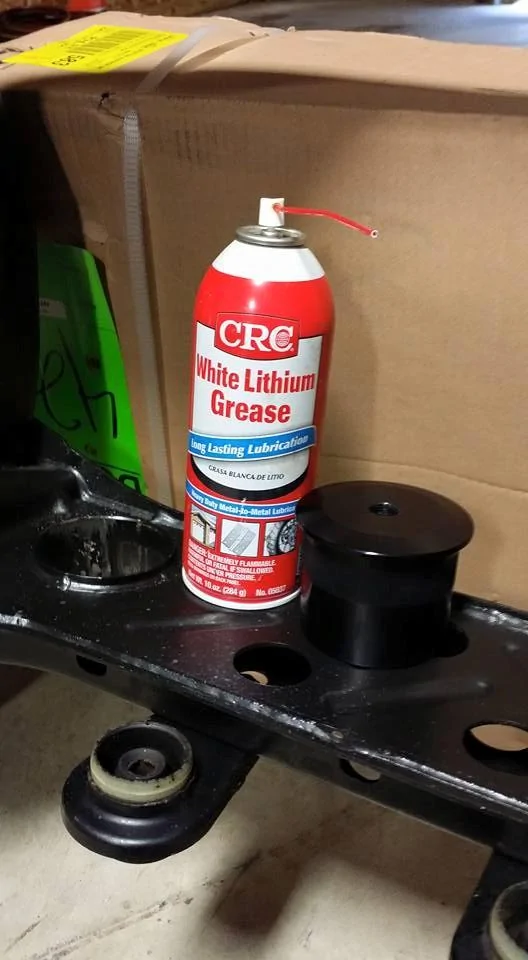
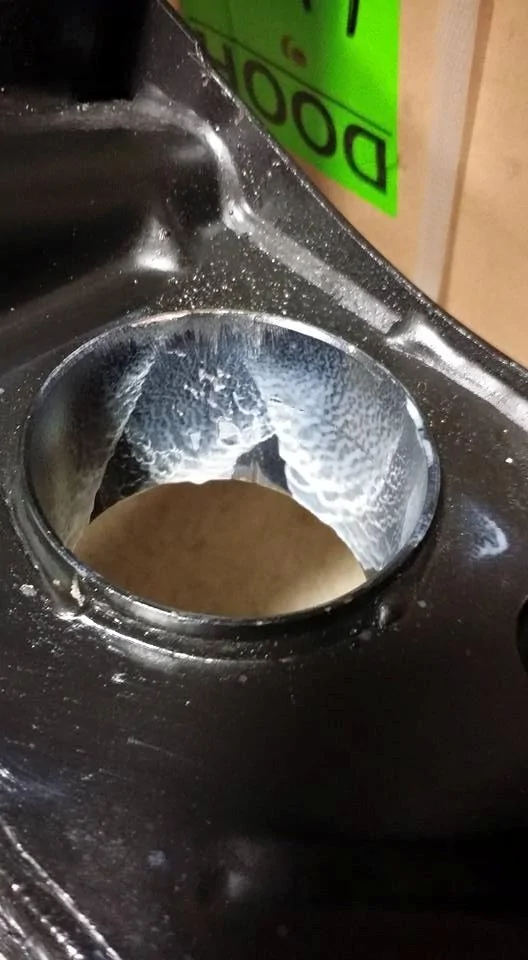
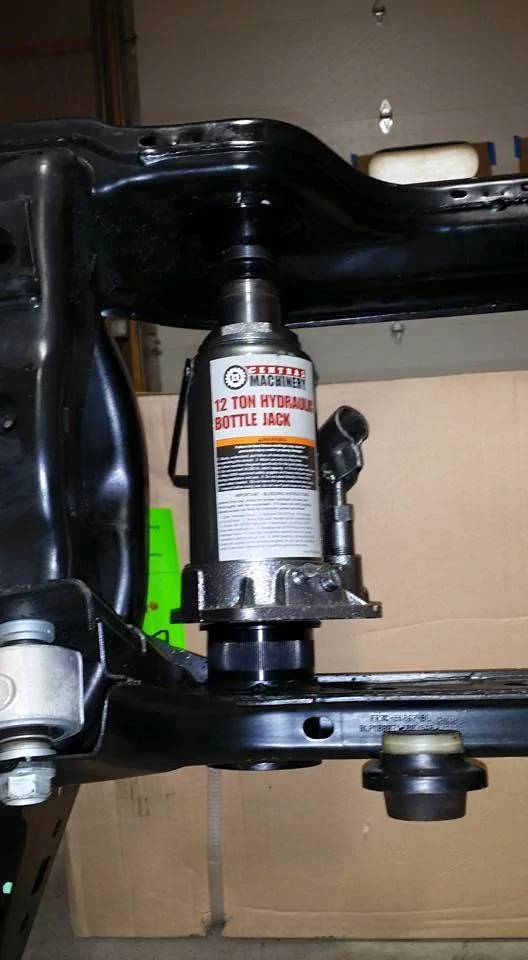
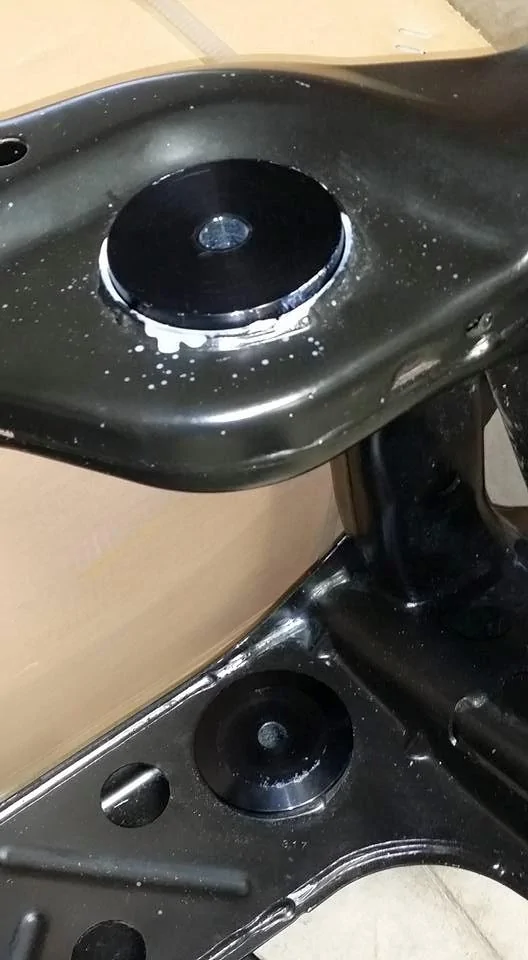
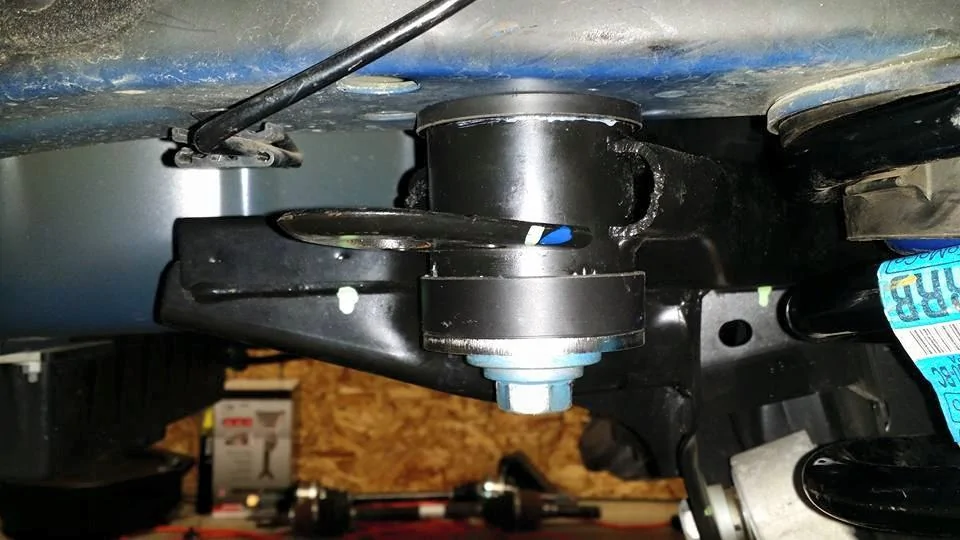
Press bushings in not hammer in

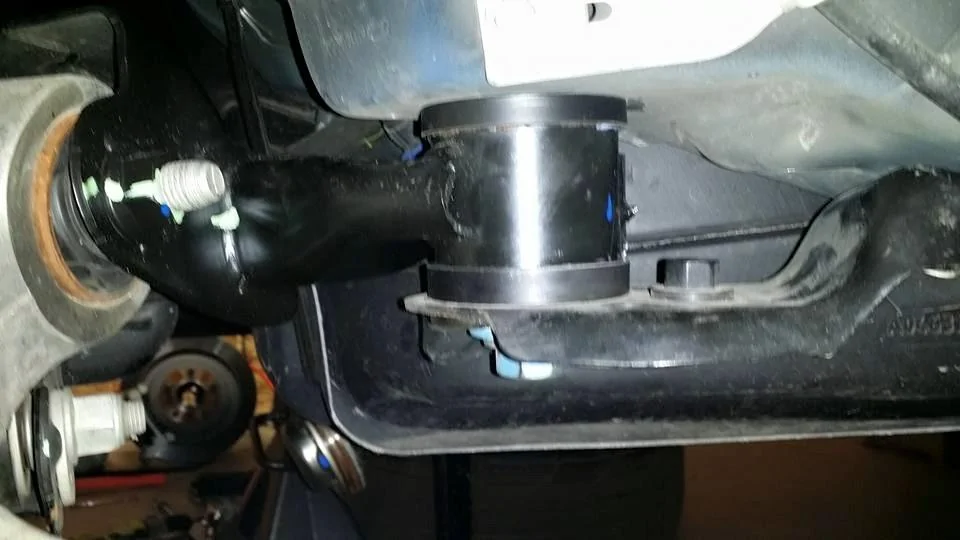
I used a simple bottle jack to press the bushings in, this way they don't get all beat up with a hammer plus I'm at the age if I can use leverage I am. Now keep in mind a bottle jack can produce a lot of pressure....watch it go in and when it's in stop! Now on the Derlin bushings pay close attention to their placement as there are different sizes for specific locations.
BMR bushing install 10.webp
BMR bushing install 11.webp
BMR bushing install 12.webp
BMR bushing install 13.webp
 
OP
OP
RBS550

RBS550

Well-Known Member
Joined
May 10, 2015
Threads
72
Messages
645
Reaction score
439
Location
Port St Lucie Fl
Website
www.youtube.com
First Name
RB
Vehicle(s)
2015 Mustang GT
Jack and car angle

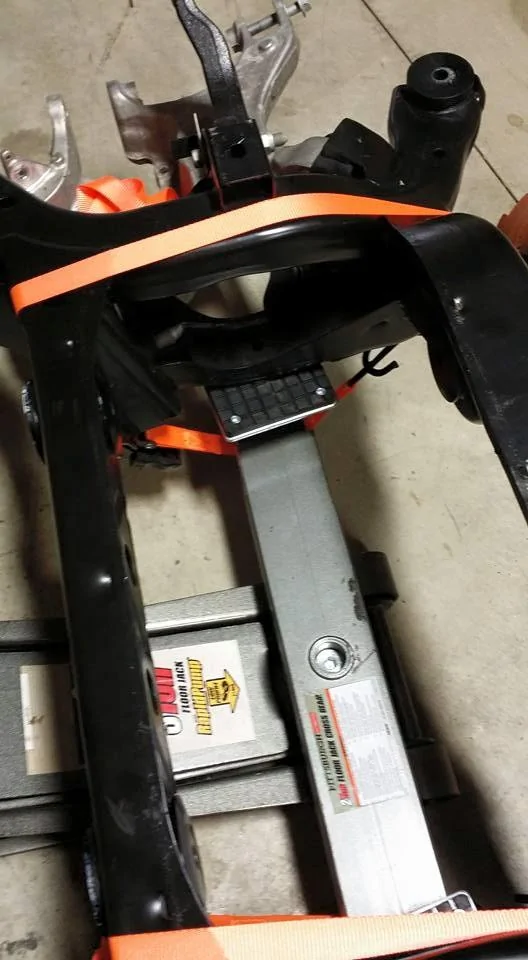
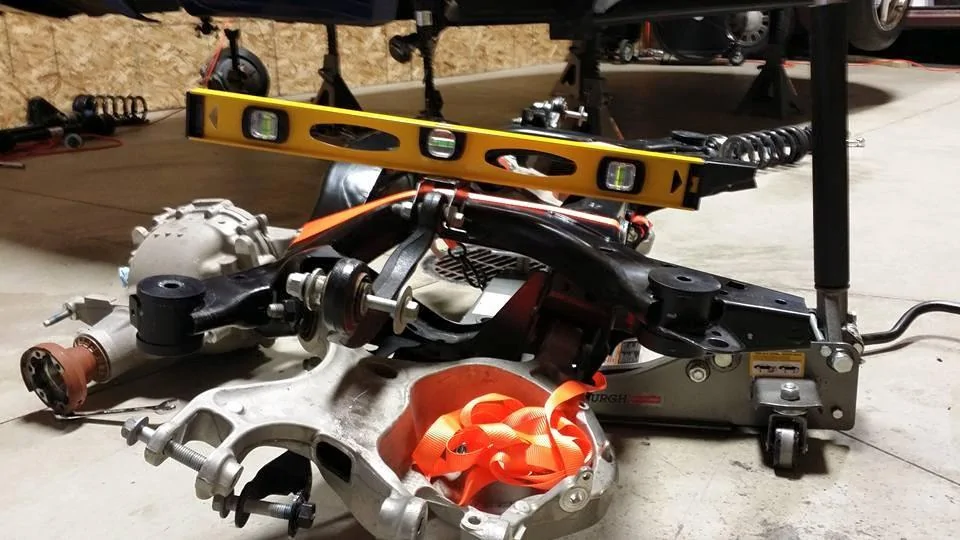
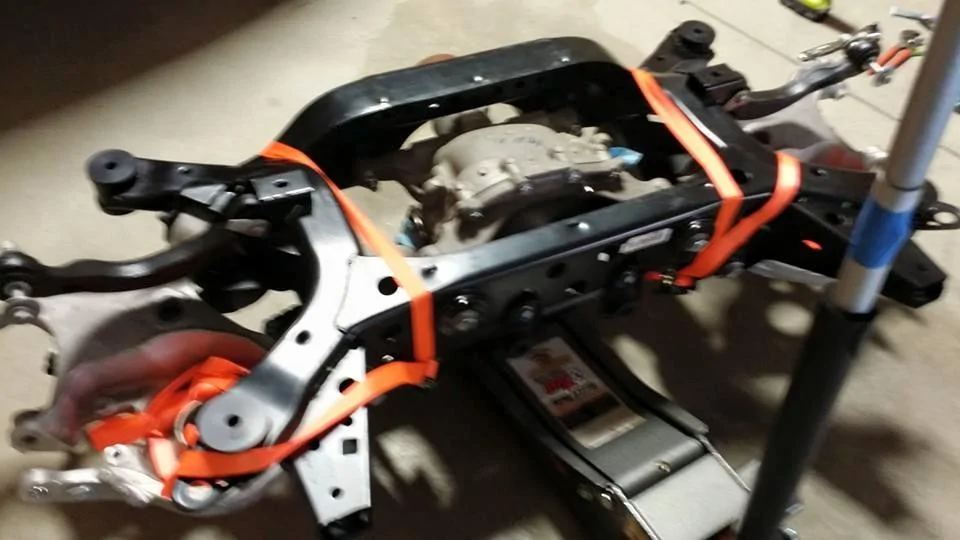
Depending on your jack setup....during lowering the cradle down it seemed to be heavy in the rear, when actually the cradle doesn't sit level on the jack, so I had to raise the front of the car higher than the rear (I have the stands 2 notches higher in the front than the rear, more might be even better), this way the car was on a similar angle as the cradle on the jack. I was doing a dry run without the diff to make it easier to handle.
Jack 1.webp
Jack 2.webp
Jack 3.webp
 
OP
OP
RBS550

RBS550

Well-Known Member
Joined
May 10, 2015
Threads
72
Messages
645
Reaction score
439
Location
Port St Lucie Fl
Website
www.youtube.com
First Name
RB
Vehicle(s)
2015 Mustang GT
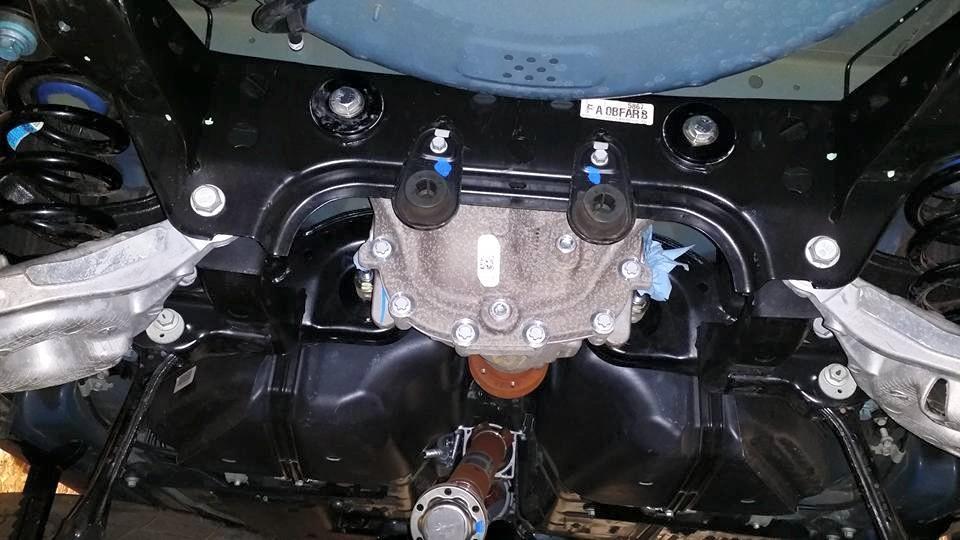
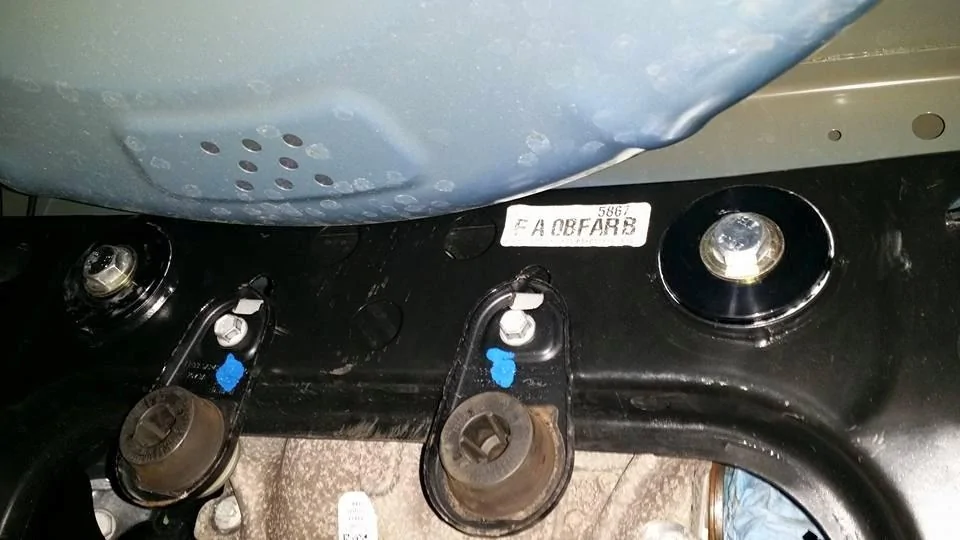
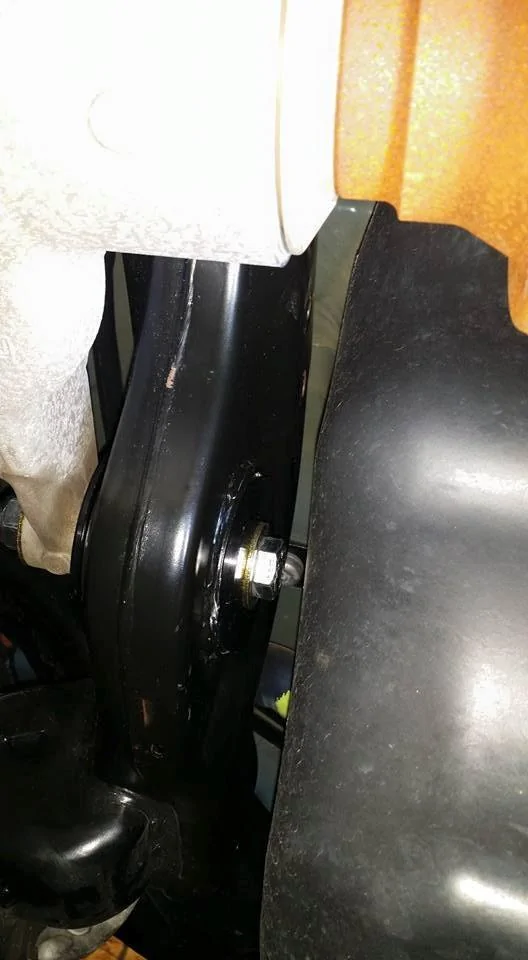
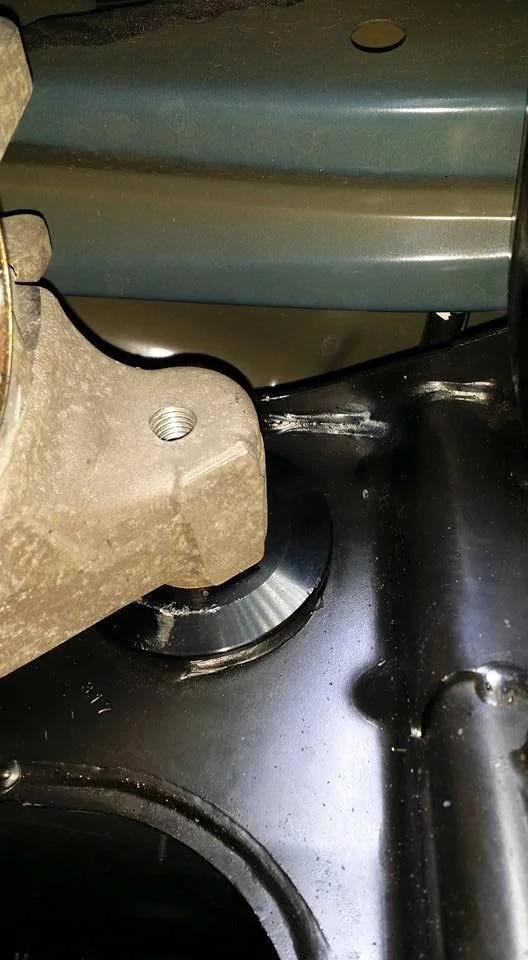
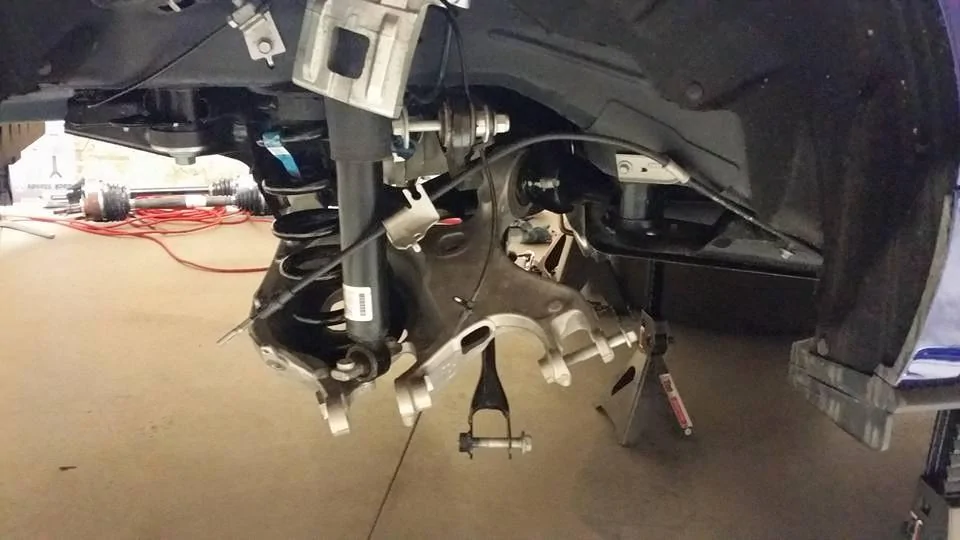
Cradle Install

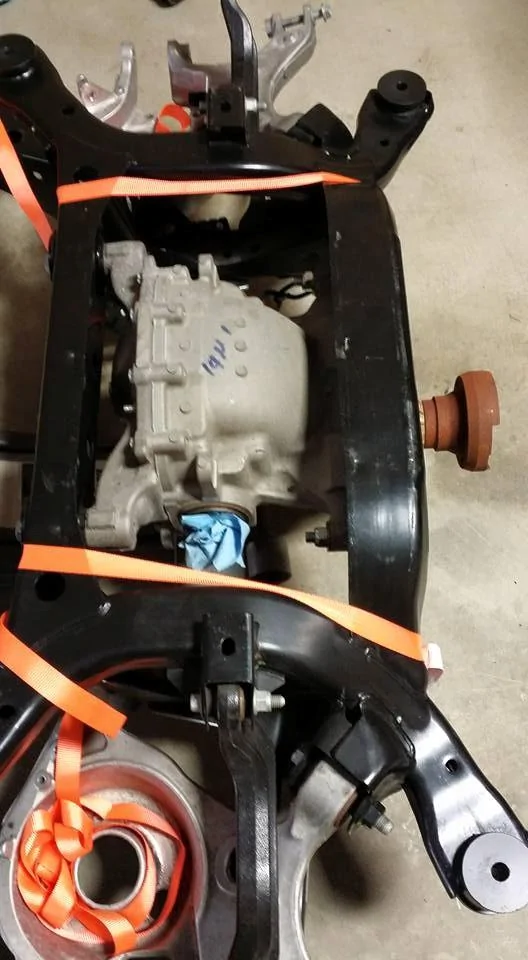
Good Lord! The hardest part of this whole job is the springs! I tried raising the cradle with the springs, but because the springs are at the rear of the cradle that keeps the rear of the cradle from seating against the car, the springs are stiff enough that the car starts lifting off of the jack stands. So I took the springs out, no problem at all seating the cradle then. But now you need to get the springs in, I had to lower the cradle a good inch to do this. Now remember I'm 48 and doing this by myself. So on both sides put the top of the spring in first, after that each side requires a different method due to coil direction. Passenger side pry down on the control arm till it bottoms out then I was able to get the very end of the spring to catch the a control arm by the sway bar link mount, after that some prying with a long pry bar through the spring and through the hole in the control arm where the spring seats and a dead blow hammer and got it in.
Drivers side I pried down on the control arm then spun the spring like a bolt(I think counter clockwise) around the sway bar link mount, then some more prying through the spring and control arm and got it in.
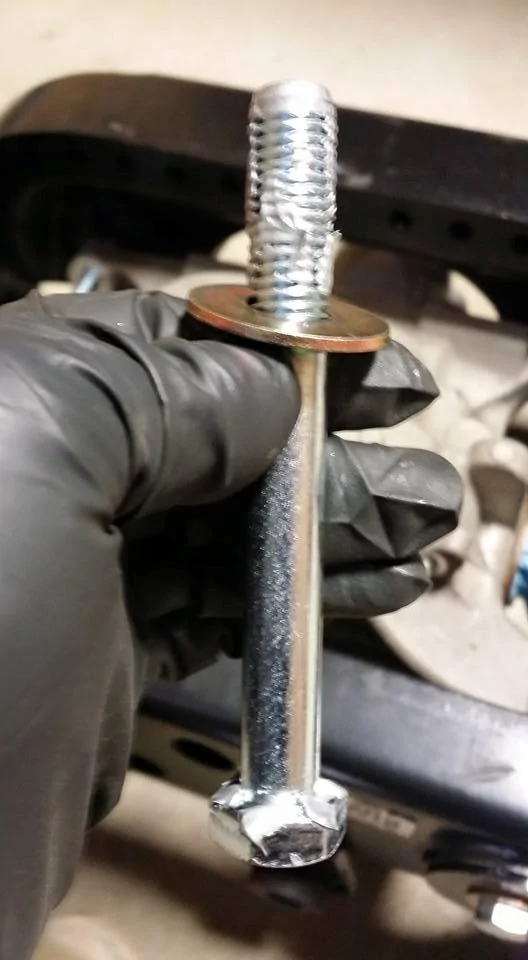
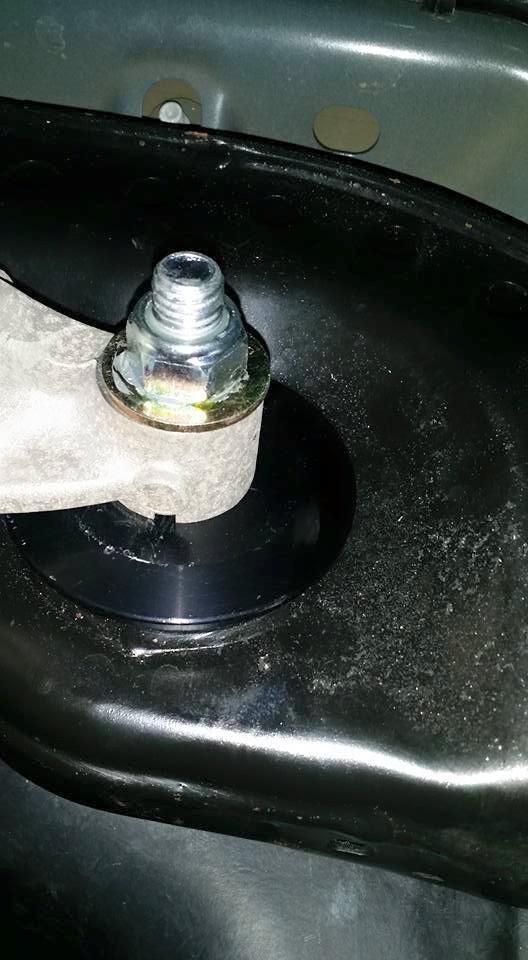
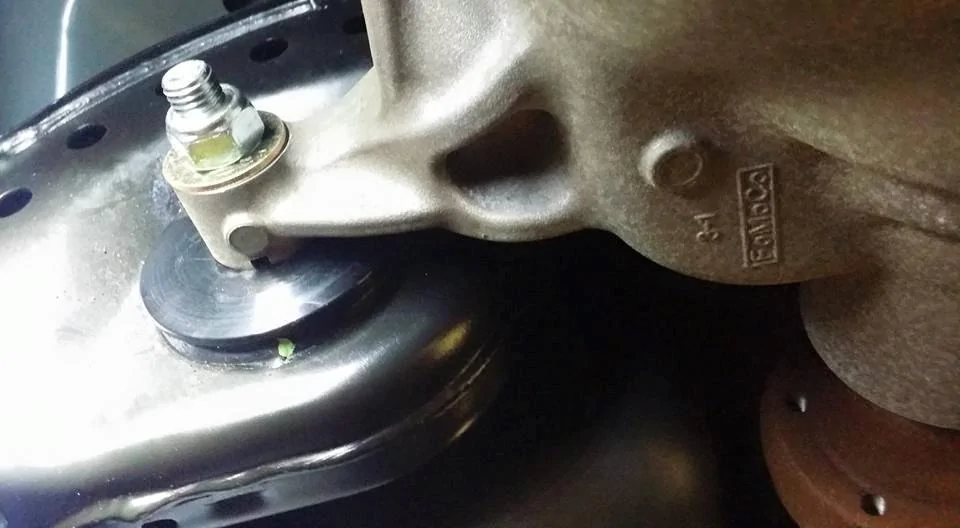
Extra hands will definitely be a big help. Be careful, you'll see I strapped my cradle to the jack. And torquing on your back is no picnic. I use Never Seize as I know I will be taking things apart now and again, this helps to keep the threads healthy. With any kind of thread lube your torque values lower due to the less resistance, so if you choose this route do some homework on this, as different lubes have different resistance values. The pic with the bolt has TOO much under the head to give you an example. And if you get it on your clothes DO NOT wash them in the washing machine that your wife uses! It will get on her clothes load after load!
Cradle install 1.webp
Cradle install 2.webp
Cradle install 3.webp
Cradle install 4.jpg
Cradle install 5.webp
Cradle install 6.webp
Cradle install 7.webp
Cradle install 8.jpg
Cradle install 9.webp
Cradle install 10.webp
Cradle install 11.webp
Cradle install 12.webp
 

BMR Tech

Well-Known Member
Joined
Sep 4, 2014
Threads
168
Messages
5,141
Reaction score
3,711
Location
Tampa, FL
Website
www.bmrsuspension.com
First Name
Dion
Vehicle(s)
2018 GT, 2010 GT500, 2019 F-150 5.0
Good work!

Yeah, that cradle and those damn springs.... It can definitely be a pita.

I LOL big time about the Anti Seize and the washer.....so true, so so true.
 

Sponsored

z06psi

Well-Known Member
Joined
May 15, 2015
Threads
72
Messages
4,157
Reaction score
1,396
Location
Evans, GA.
First Name
Andrew
Vehicle(s)
The pot stirrer
DO NOT wash them in the washing machine that your wife uses! It will get on her clothes load after load!
That's what happened!!!! She asked me about something like this months ago and I told her it was in her head. :D:D:D
 

z06psi

Well-Known Member
Joined
May 15, 2015
Threads
72
Messages
4,157
Reaction score
1,396
Location
Evans, GA.
First Name
Andrew
Vehicle(s)
The pot stirrer
BMR, Do I have the correct bolts I posted earlier?


BMR confirmed I have the right bolts. There should be no bolts with the cradle to body kit as you use the OEM bolts.
 
Last edited:
OP
OP
RBS550

RBS550

Well-Known Member
Joined
May 10, 2015
Threads
72
Messages
645
Reaction score
439
Location
Port St Lucie Fl
Website
www.youtube.com
First Name
RB
Vehicle(s)
2015 Mustang GT


Top