Sponsored

What's In DFB's Cabinet?

MAGS1

Well-Known Member
Joined
Mar 6, 2020
Threads
98
Messages
11,652
Reaction score
19,130
Location
Somewhere in Middle America
First Name
Mark
Vehicle(s)
2022 Mustang GT
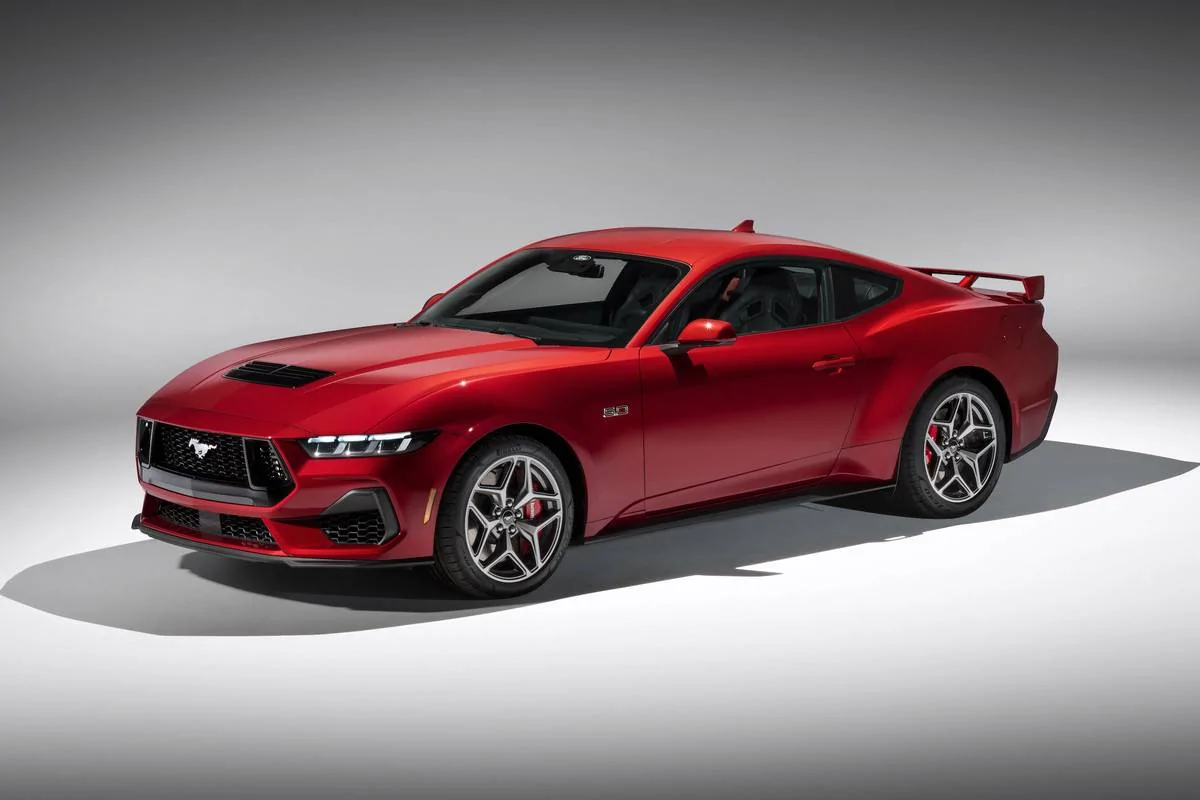
Happy new car day, D! Always an exciting day and one that most of us car nuts never forget. Race Red looks stunning on S650. Enjoy!
Sponsored

 

kilobravo

Well-Known Member
Joined
Aug 10, 2019
Threads
95
Messages
8,736
Reaction score
8,861
Location
Corpus Christi, TX
Website
kilobravo.com
First Name
KB
Vehicle(s)
'16 CT6, '18 SD, '20 GT 500
As the salesman approached me, I’m not going to lie, I was speechless and on the brink of tears.
I had perzactly the same thing happen to me when I picked up Sarah, Deyon..you're not alone.

There is no reason for such a reaction, just something I have always had when I’m either dreading or anticipating something.
I share the anxiety issue as well. Benzos are pretty helpful. <grin>

I think there may have been a little suppressed laughter when Kylie Minogue popped up on the screen after pairing my phone, even though I closed all of my apps to avoid such embarrassment.
OMG did that ever give me a grin! TOO funny, D!

The same for the line-lock, which is a shame because I wanted to do a massive burnout on the way out of the dealership.
ALSO TOO DAMN FUNNY! :=)
 

larr12

Well-Known Member
Joined
Jul 9, 2020
Threads
17
Messages
1,123
Reaction score
1,723
Location
USA
First Name
Alberto
Vehicle(s)
2020 Mustang PP1
Congrats on the new toy @DFB5.0
 
OP
OP
DFB5.0

DFB5.0

Well-Known Member
Joined
Mar 15, 2017
Threads
93
Messages
5,467
Reaction score
15,737
Location
Australia
Vehicle(s)
Mustang GT Fastback
Exhausting Work!

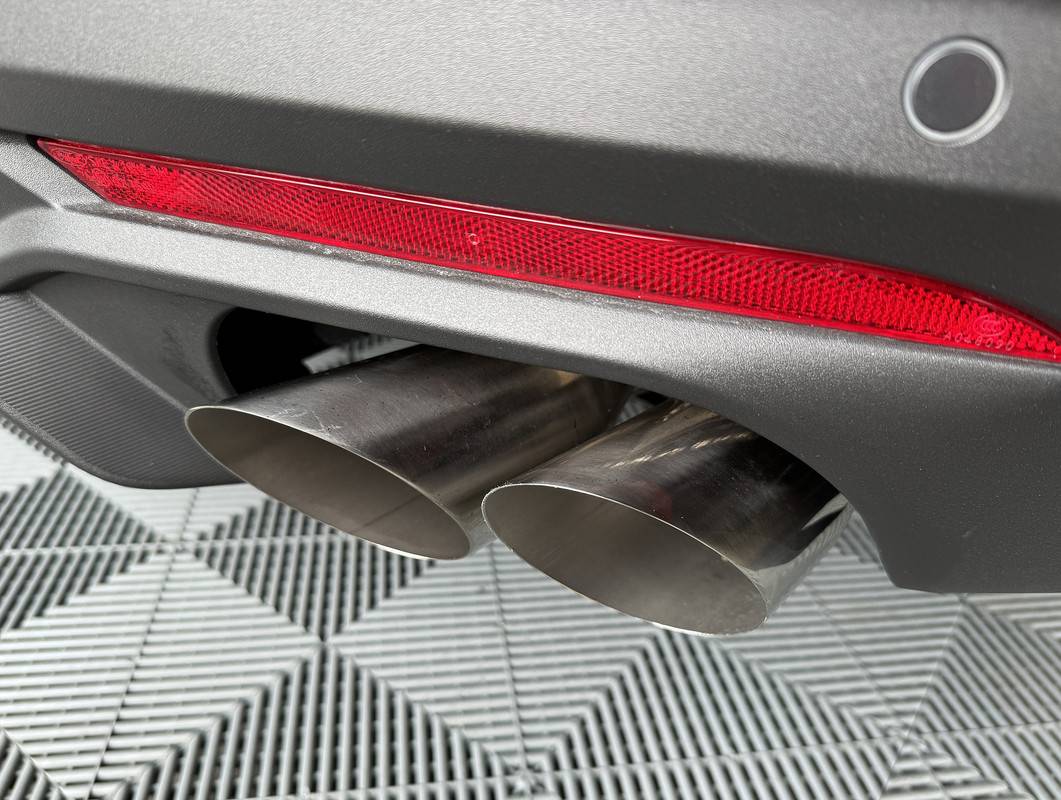
The first detailing job on the new Mustang, addressing the exhaust tips. The S650 uses carry over mufflers and exhaust tips from S550, so the pipes themselves are not sleeved with a chrome finisher. I actually quite like the crisp look they bring, even if it means they will require more ongoing maintenance. The condition of the tips at first looked fine, but under closer inspection, they needed some attention to bring to a level I'd be happy with.

IMG-2002.jpg


IMG-1998.jpg


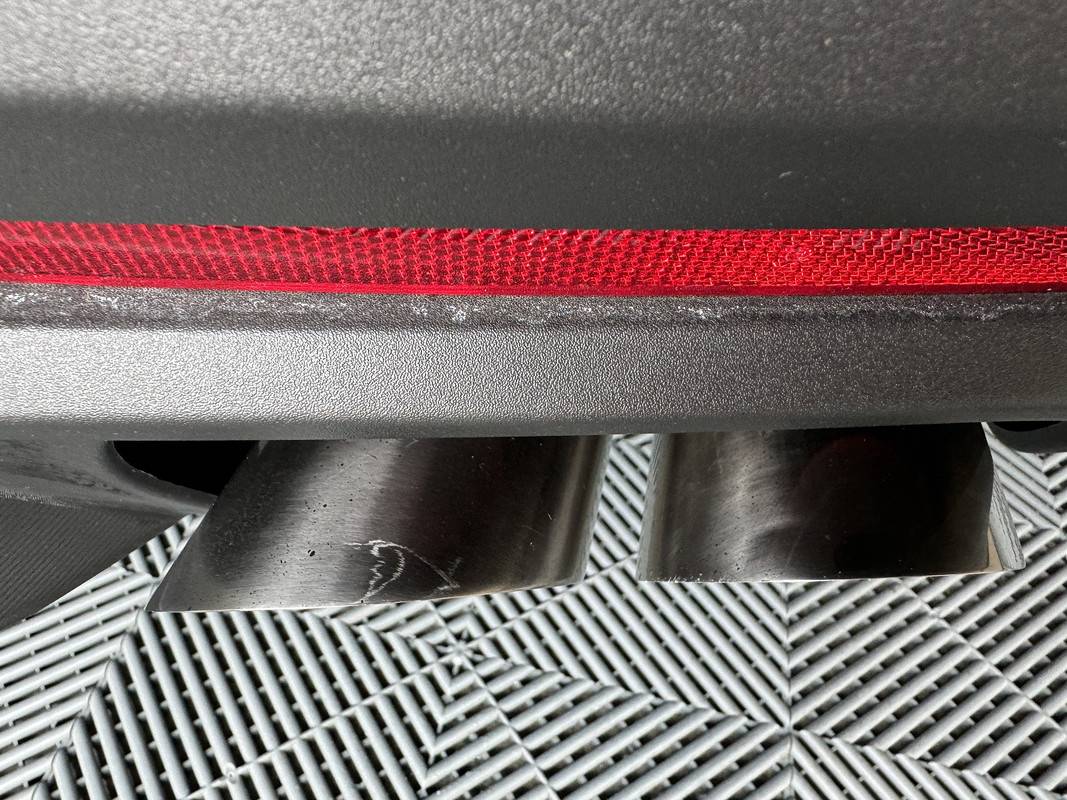
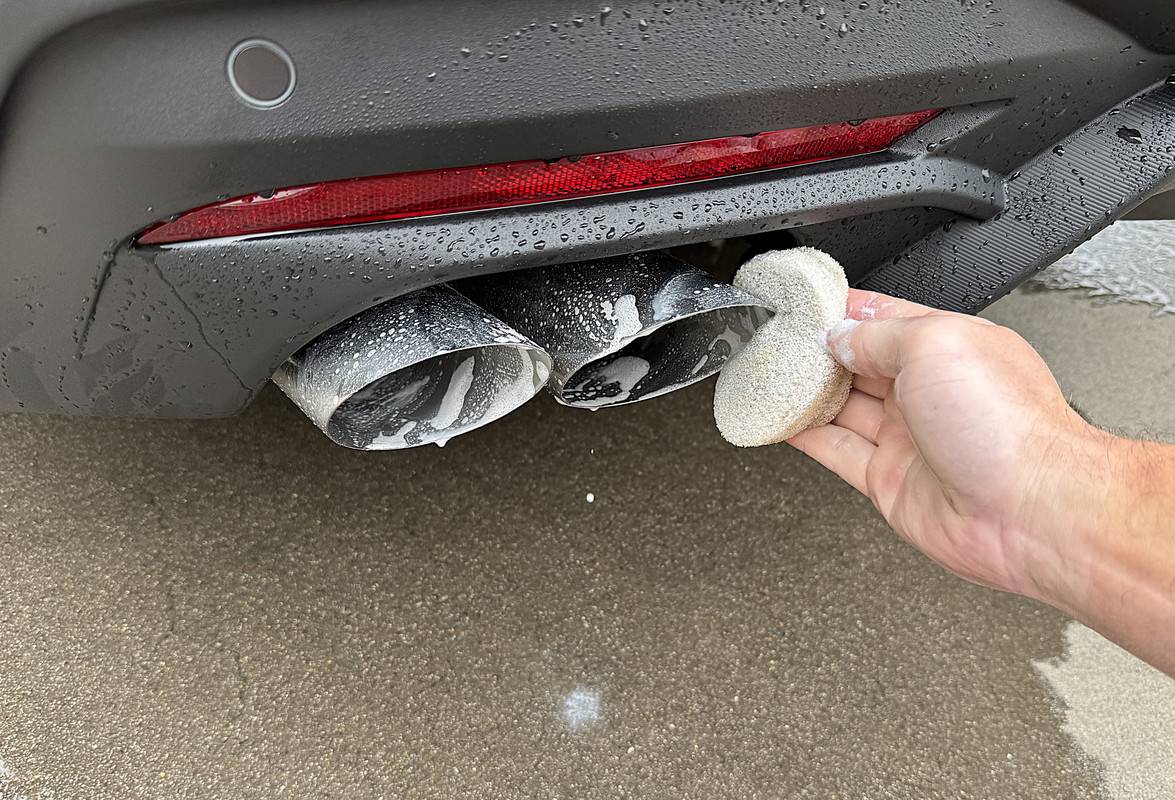
Frustratingly, Ford still spray the underside of export Mustang's with horrible black paint, something that I immediately noticed when I got home from the dealer. Seeing smoke pour out from under the hood of your brand-new car is not something you want to see! A customer new to Mustang's would be extremely worried by this, but I've treaded this path before and know that the smell and smoke was from that useless paint. I mention this because that stuff was all over the exhaust tips, you can see it in the second pic above, and that was the good side, the underside was caked in it. This meant I needed to add an extra step this morning.

IMG-2014.jpg


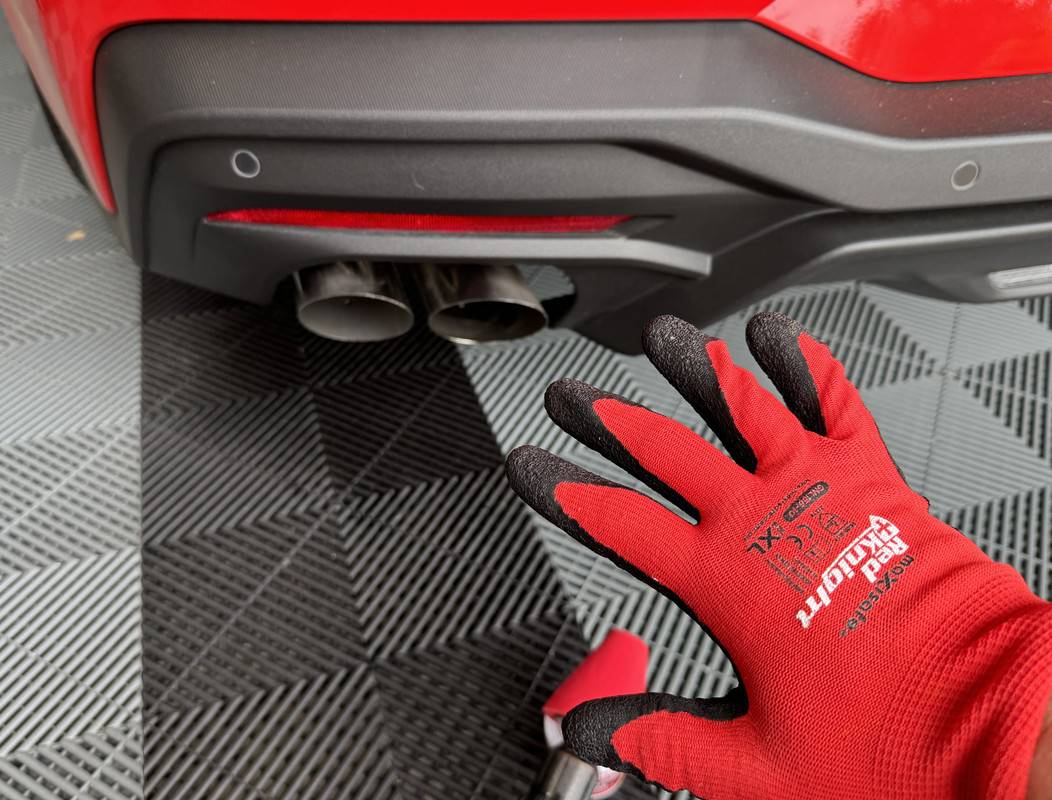
Before I went any further, it was time to glove up. These tips are renounced for being a finger slicer, that crisp edge is certainly sharp. I'd normally have nitrile rubber gloves on when using harsher chemicals, but they would have been useless here. A clean pair of my garden gloves worked well.

IMG-2009.jpg


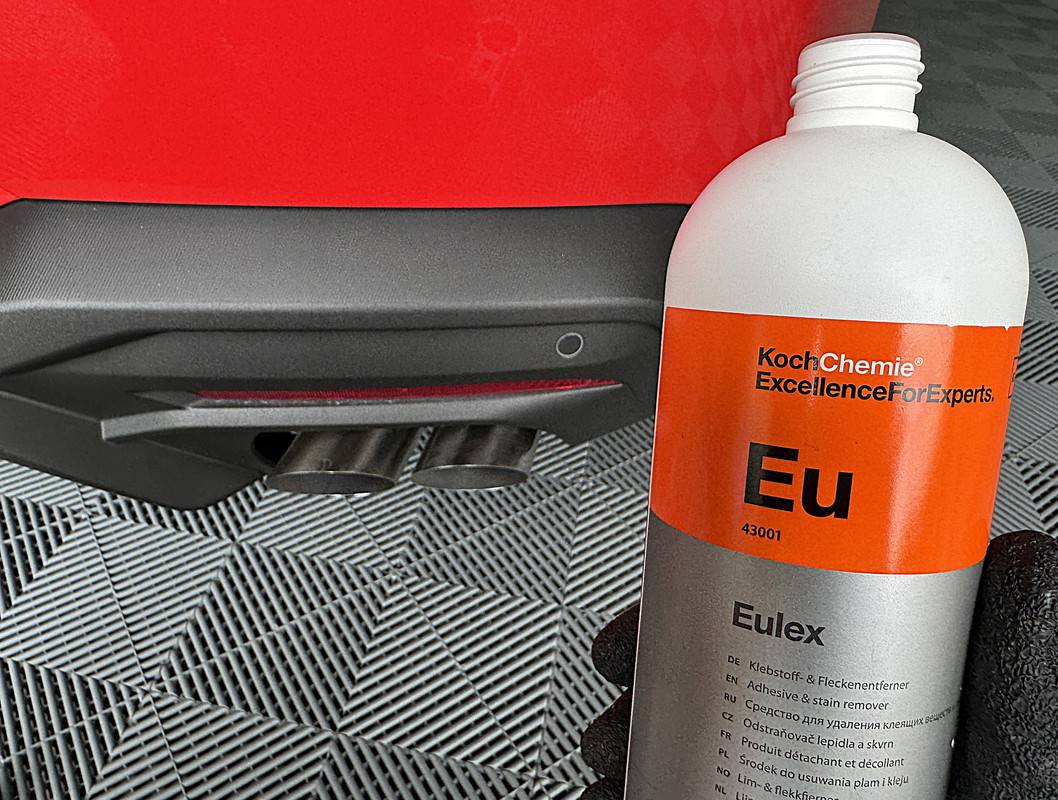
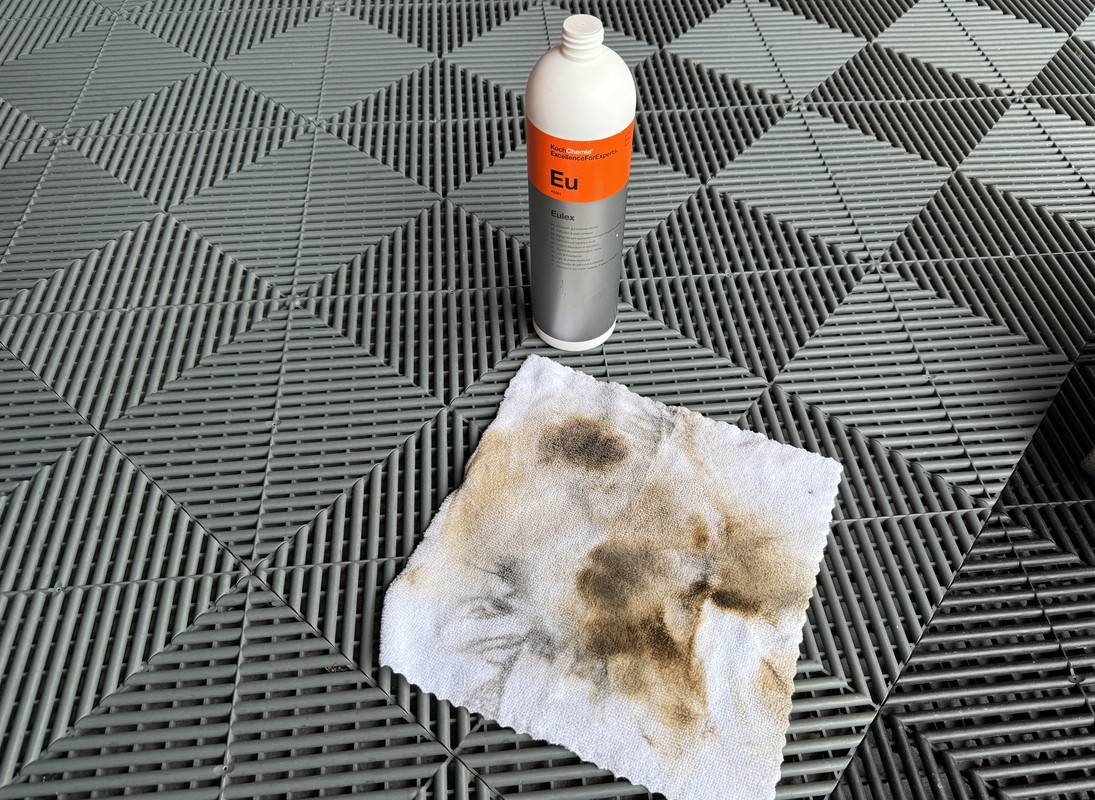
Koch Chemie Eulex is a sledgehammer, no doubt about it, and you should never use it in confined spaces as its extremely heady. It's typically used as a heavy-duty tar and adhesive remover, but this paint is like tar anyway. Turns out it worked very well at softening the paint to the point where it was removed with a towel. The problem here is working around that plastic bumper, care was needed to not get the Eulex everywhere. I worked my back to where the pipe joins the muffler, in other words, I had to know when to stop. If you end up doing this, chose your towel carefully, you will ruin it.

IMG-2016.jpg


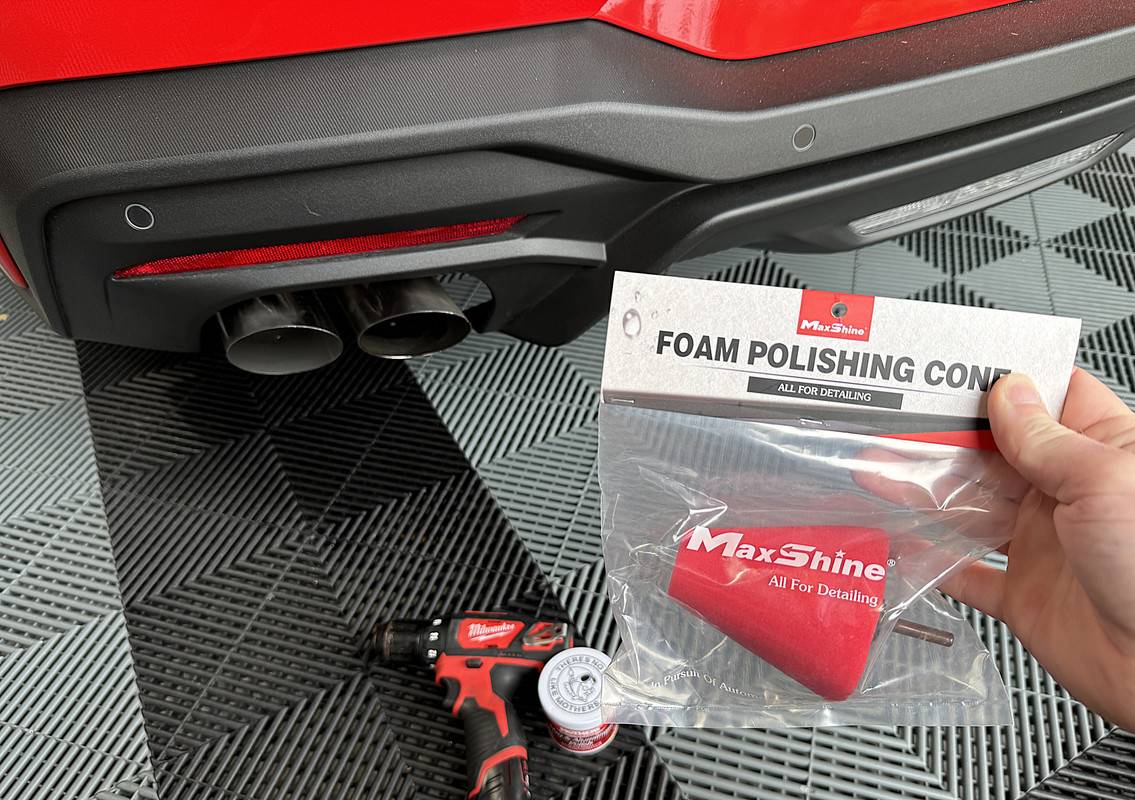
After the paint removal, I flushed the tips with ONR to remove the Eulex residue, which I can still smell in the garage. From here, I could start to polishing. For the inside of the pipe, I grabbed a Maxshine Polishing Cone which I had in stock and worked them over with Mothers Mag & Aluminum Polish.

IMG-2008.jpg


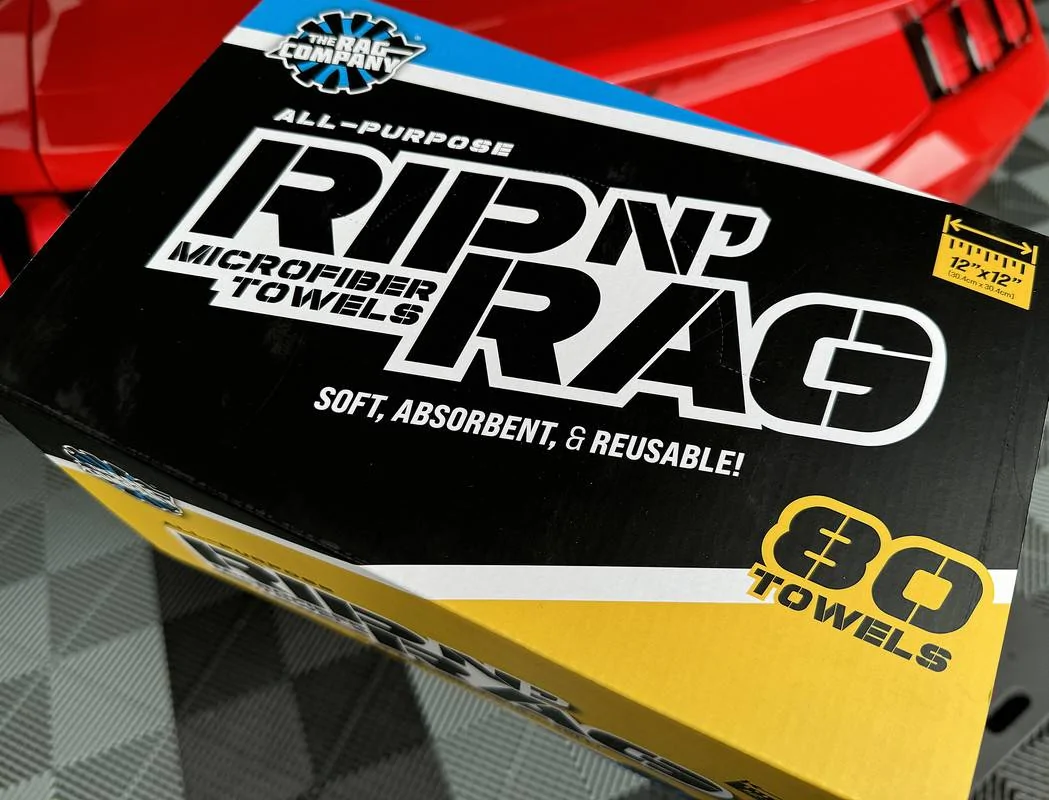
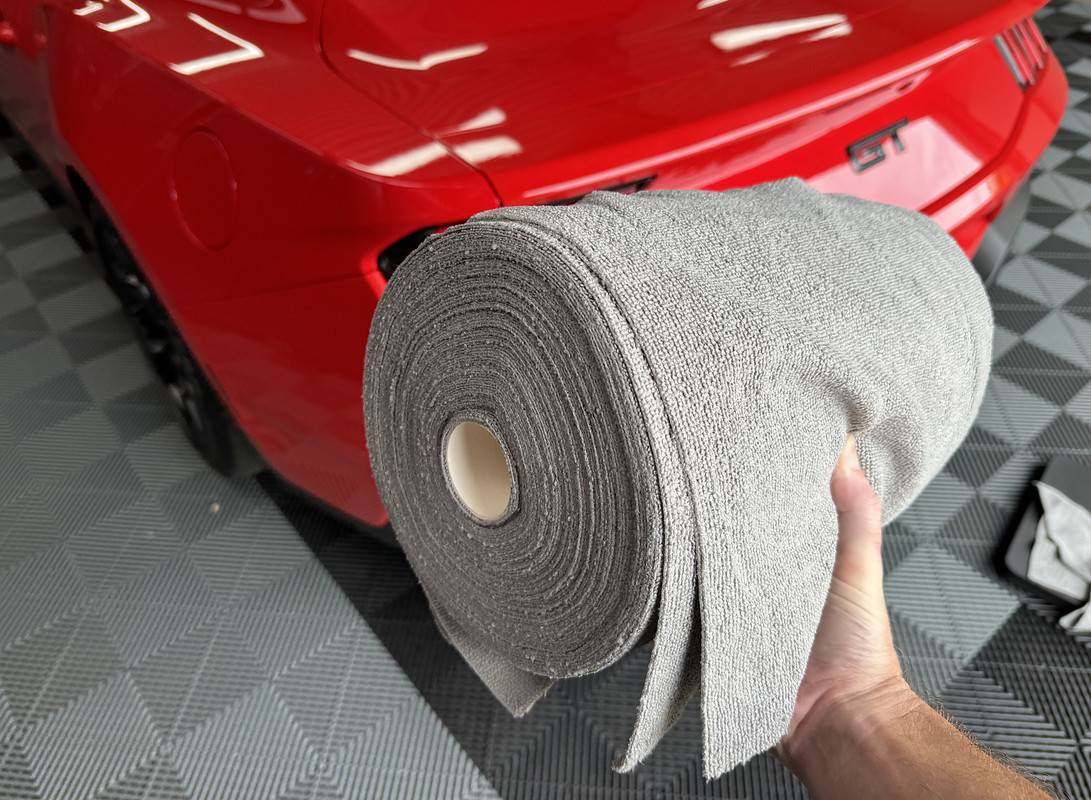
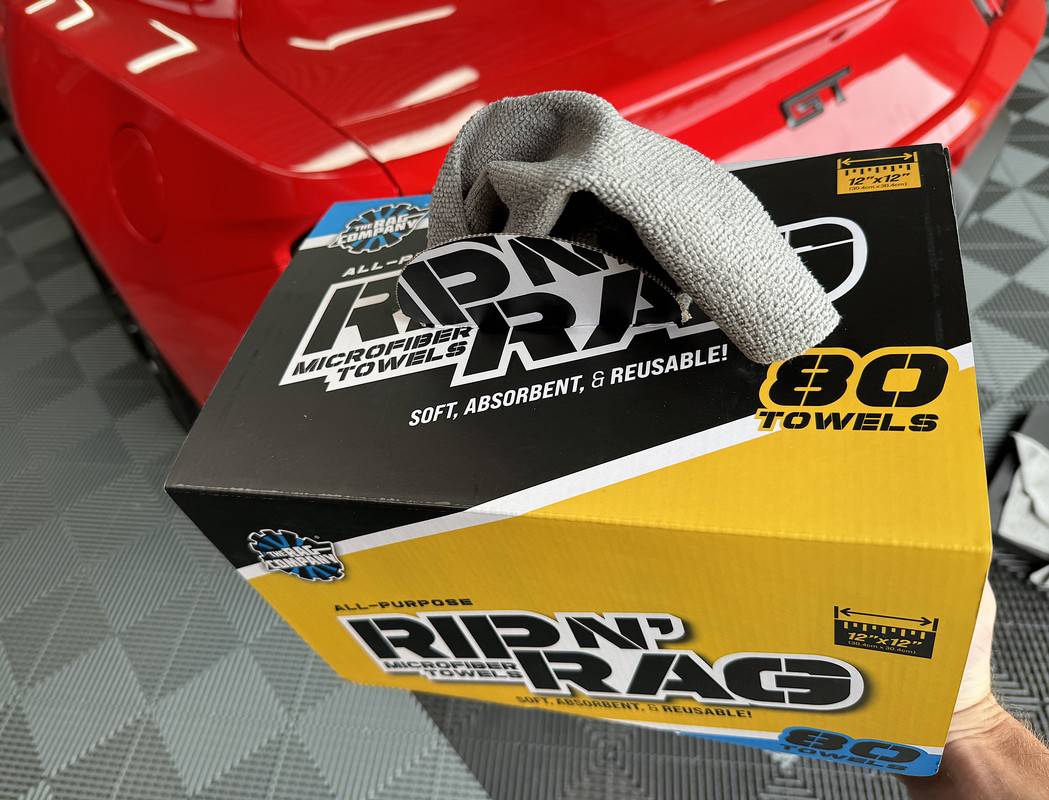
At this point I want to highlight the brilliance of "disposable" microfiber towels. I've been running down a box of Repco Eclipse Microfiber Cloths, which are 200 gsm towels in 30cm x 30cm size. These are not the best towel you will ever have, but they excel in being cheap and sacrificial at 0.65c each. Their replacement I bought some time ago being the TRC Rip 'n' Rag.

IMG-2018.webp


I have to say, when TRC launched these, they made a huge song and dance about the concept of a microfiber dispenser pack and the disposable nature. Many companies have delivered this format in the past, long before TRC adopted it. Compared to the Repco towels, they actually have a lower 180 gsm and cost 0.87c per towel. However, with a 70/30 blend, they do seem to be softer and more absorbent, Repco don't publish the blend so I would say their cost per towel is achieved with a higher polyester count vs polyamide (polyamide is the absorbent/softness part).

IMG-2023.jpg


IMG-2026.jpg


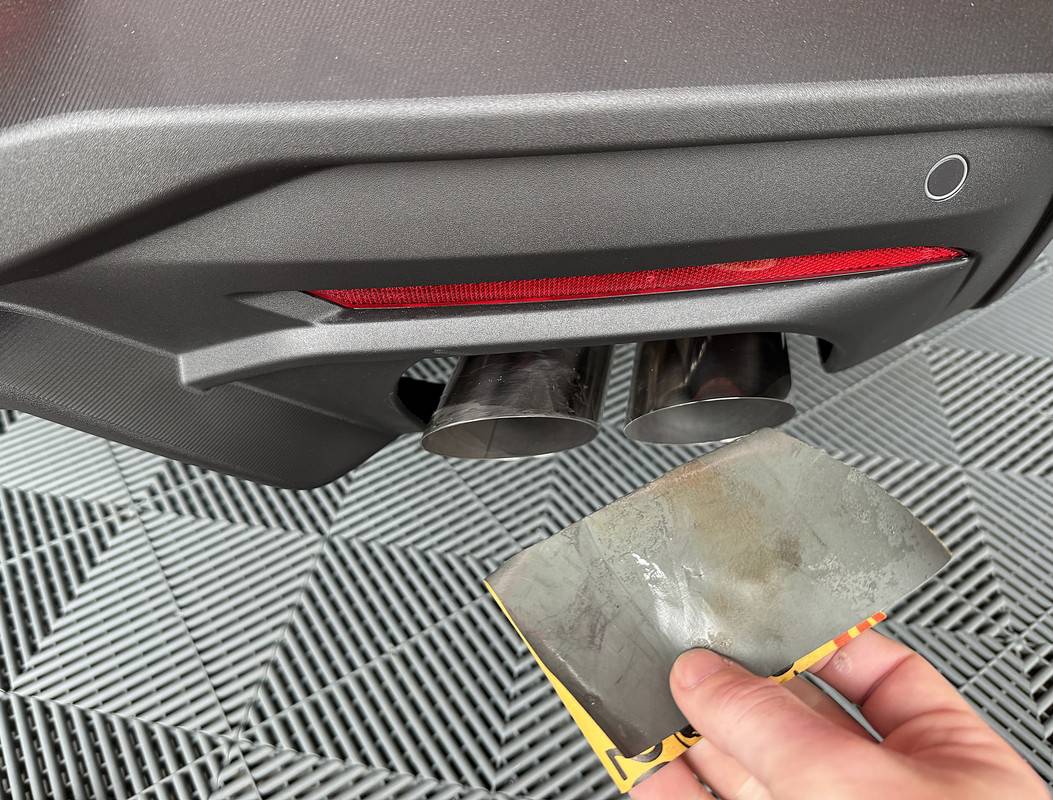
The inboard right side pipe had some sort of scratch that didn't remove with polish, a light hit with some wet and dry paper sorted it easily, I also used that to round off some of the edge.

IMG-2030.jpg


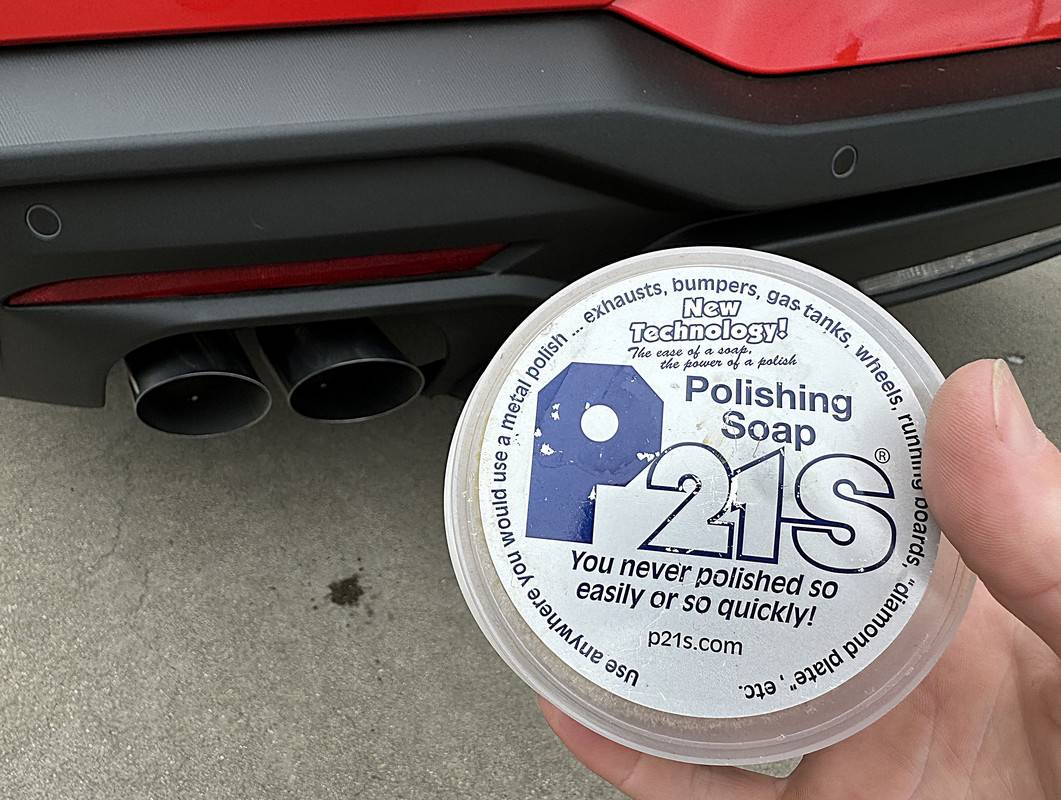
It was then time for a favorite of mine, a very obscure product that is so perfectly tailored for its role.................P21S Polishing Soap. I used this a final go-over, it actually feels grittier than the Mothers metal polish. A tub of this is going to last you for the rest of your life, its a must for those who love a clean set of pipes.

IMG-2032.jpg


IMG-2035.jpg


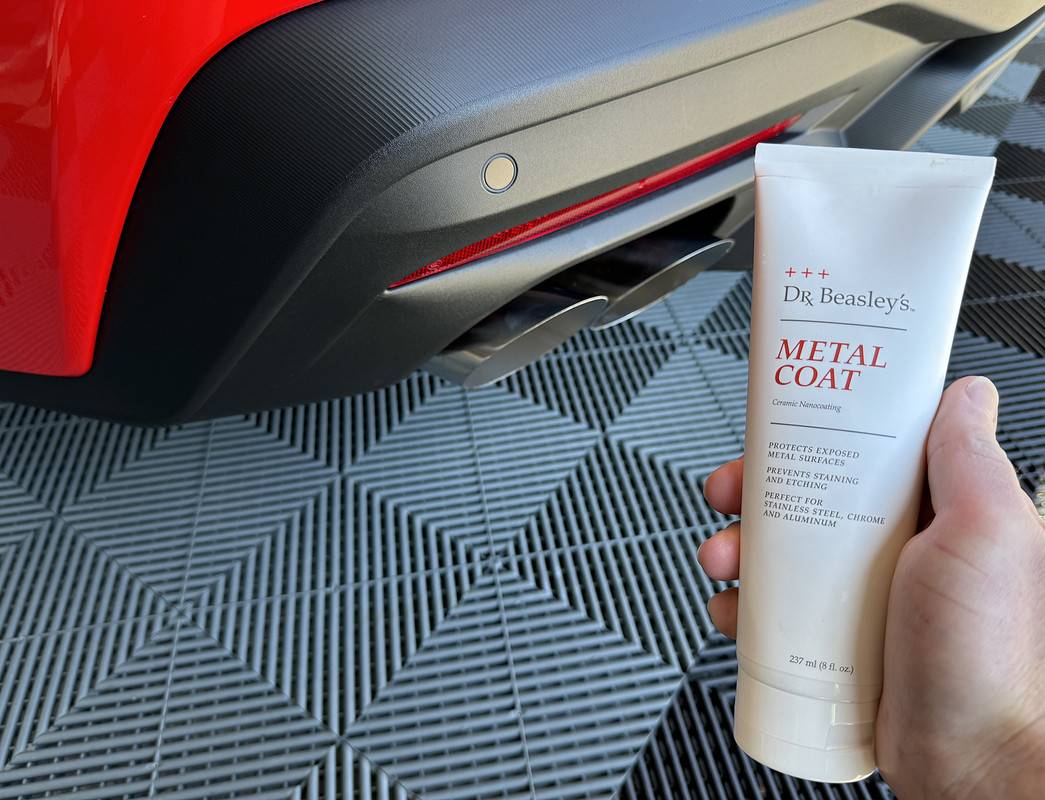
The final step was the application of Dr. Beasly's Metal Coat. I got this bottle at great expense through Obsessed Garage, but I see its now available on Amazon...................at great expense too. Like P21S, a bottle will last a very long time.

IMG-2102.jpg


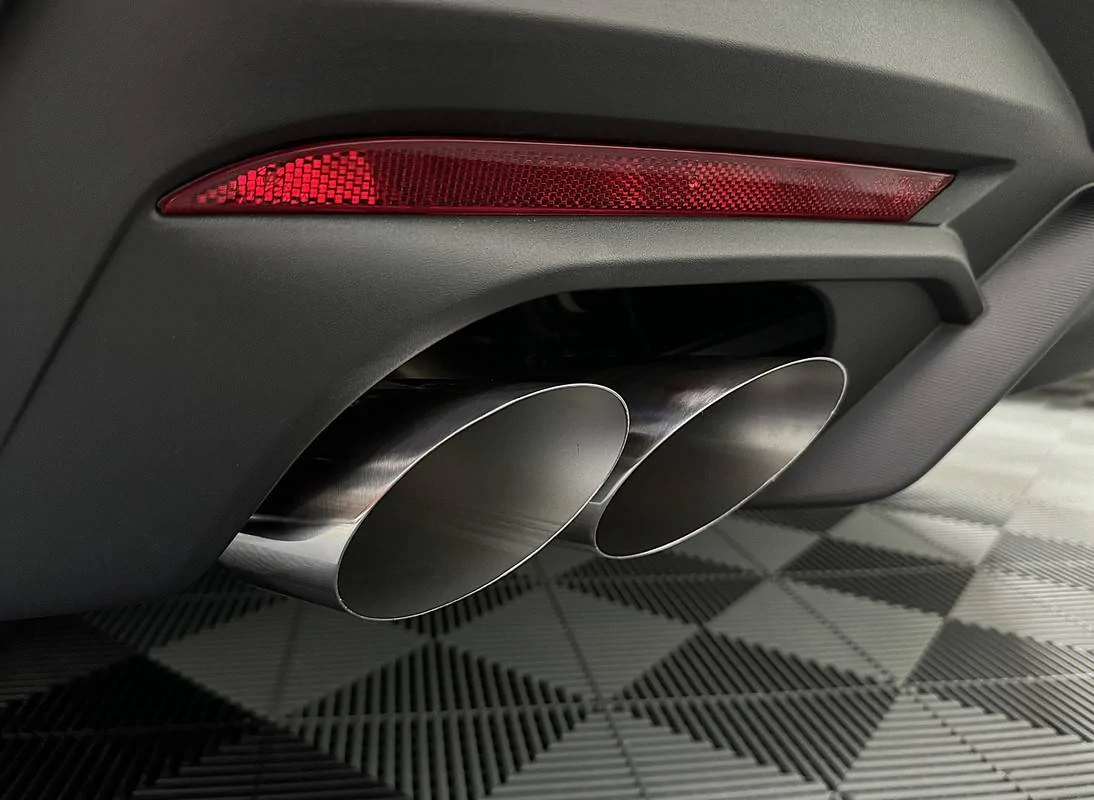
And the final result. Overall, they are a marked improvement prior to all this work, but I think I can still get a little more out of them. If I can find a tip style I like, I may end up going that route instead.

IMG-2113.webp
 
OP
OP
DFB5.0

DFB5.0

Well-Known Member
Joined
Mar 15, 2017
Threads
93
Messages
5,467
Reaction score
15,737
Location
Australia
Vehicle(s)
Mustang GT Fastback
The First Wash!

For a car guy, and a detailer in particular, the first wash of a new car is a very important bonding moment. For me, it's the moment where I begin to understand "how" to wash the car. The S550 was my favorite car to wash, the expansive panels and all of those taut lines were strangely satisfying. The colour played a big part too, it might have lacked a metallic element to make it POP, but I could make it look so glassy smooth that you could almost see through it! So, no pressure then on the new Mustang.

I'm approaching this car a little differently than usual. In the past, its been a mad rush to get everything done, for this car I going to take my time and do things in more manageable chunks, the exhaust tips being an example. In theory, this should make the process more enjoyable and less taxing. I'm also exploring a video element, which you will see soon.

The car was presented to me clean, but not to my level. That is nothing against the dealer, it's the reality of production line detailing. And to be fair, I didn't ask for perfection, I simply told them to wash it and make it presentable for delivery. So, my brain really needed to get the car properly clean and up to a base standard.

For the first wash, I decided to make this the decon wash, getting that knocked out prior to polishing in the coming week. This would also give me a proper look at the condition of the car, the paint in particular.

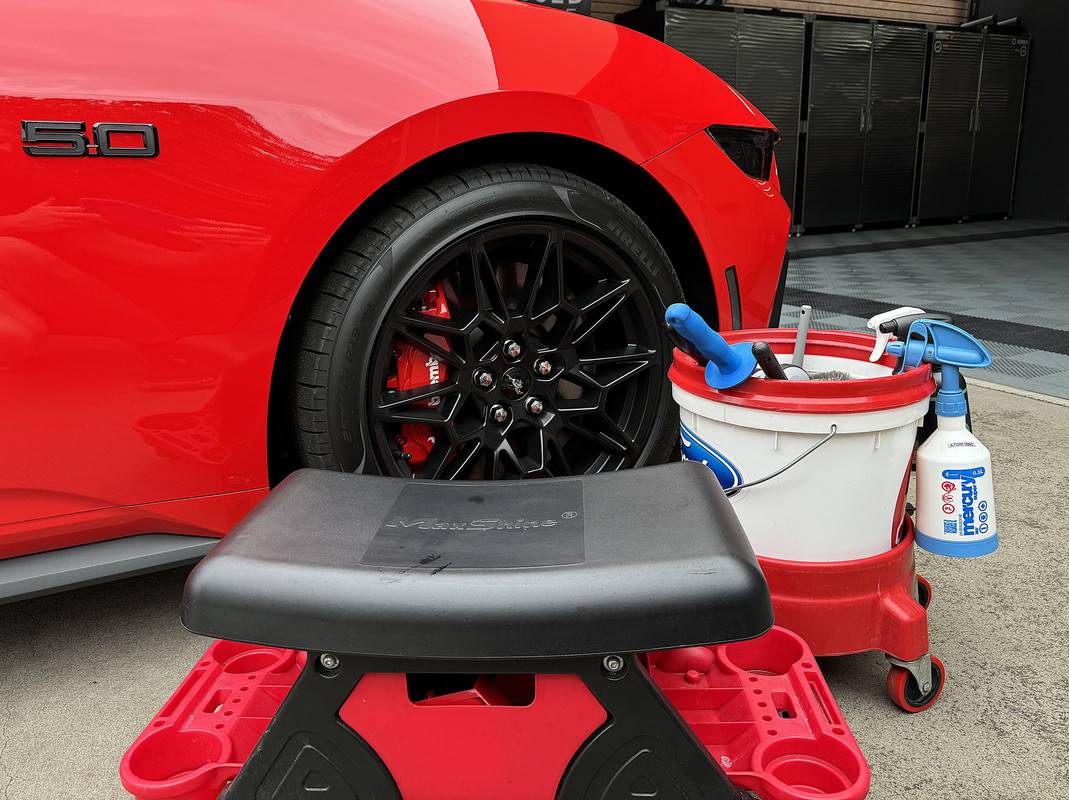
IMG-1996.jpg


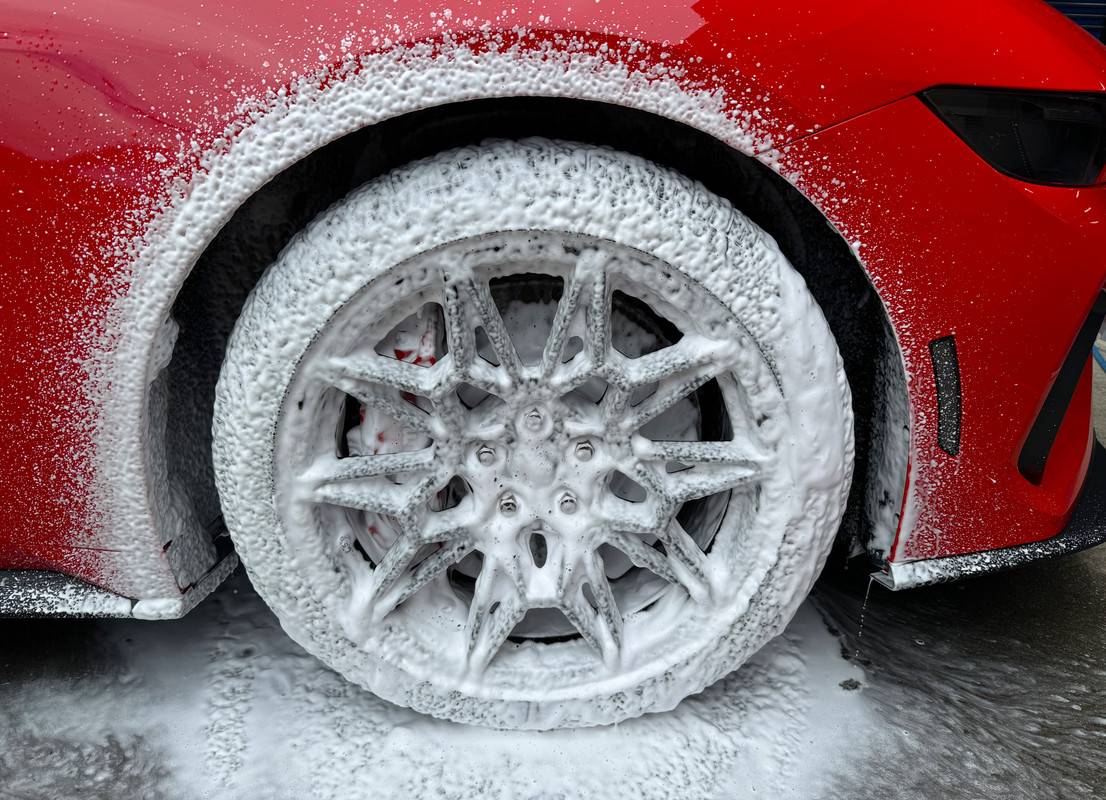
First up, the wheels. Oh boy, these are going to drive me nuts! :facepalm:

IMG-2044.jpg


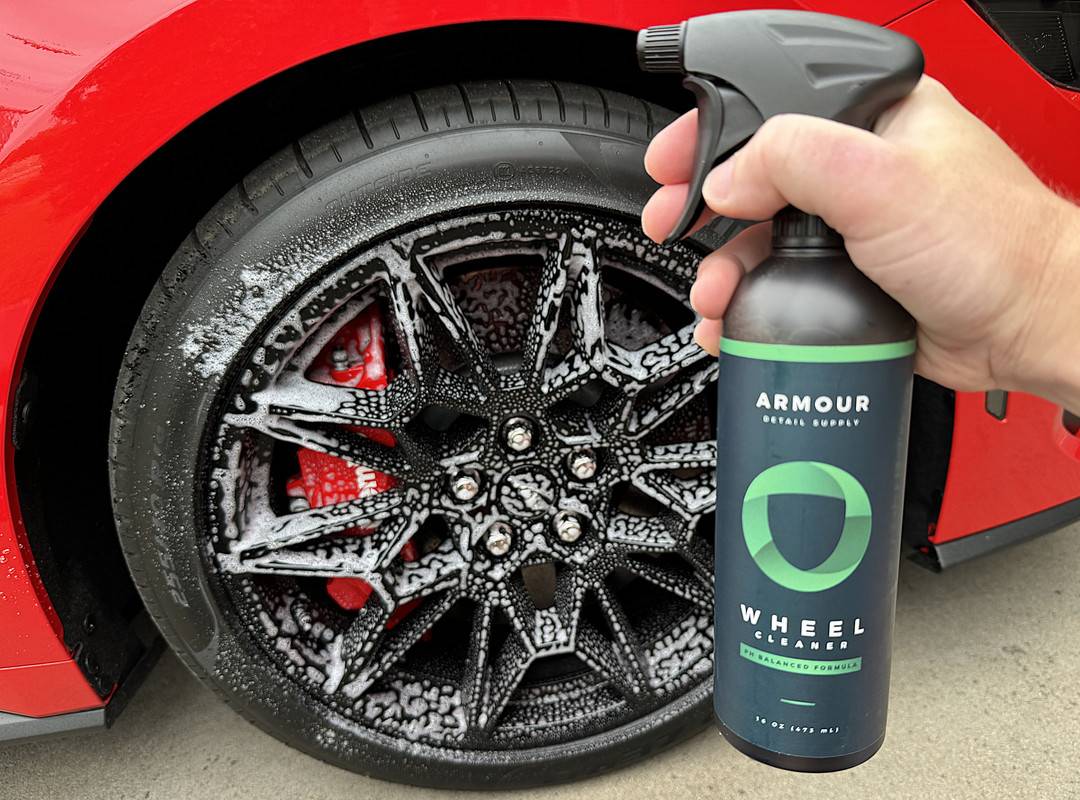
To start with, I decided to pre-treat the wheels with ADS Wheel Cleaner. To be honest, on such a new car I wasn't expecting to see much reaction, but that proved wrong.

IMG-2047.jpg


IMG-2050.jpg


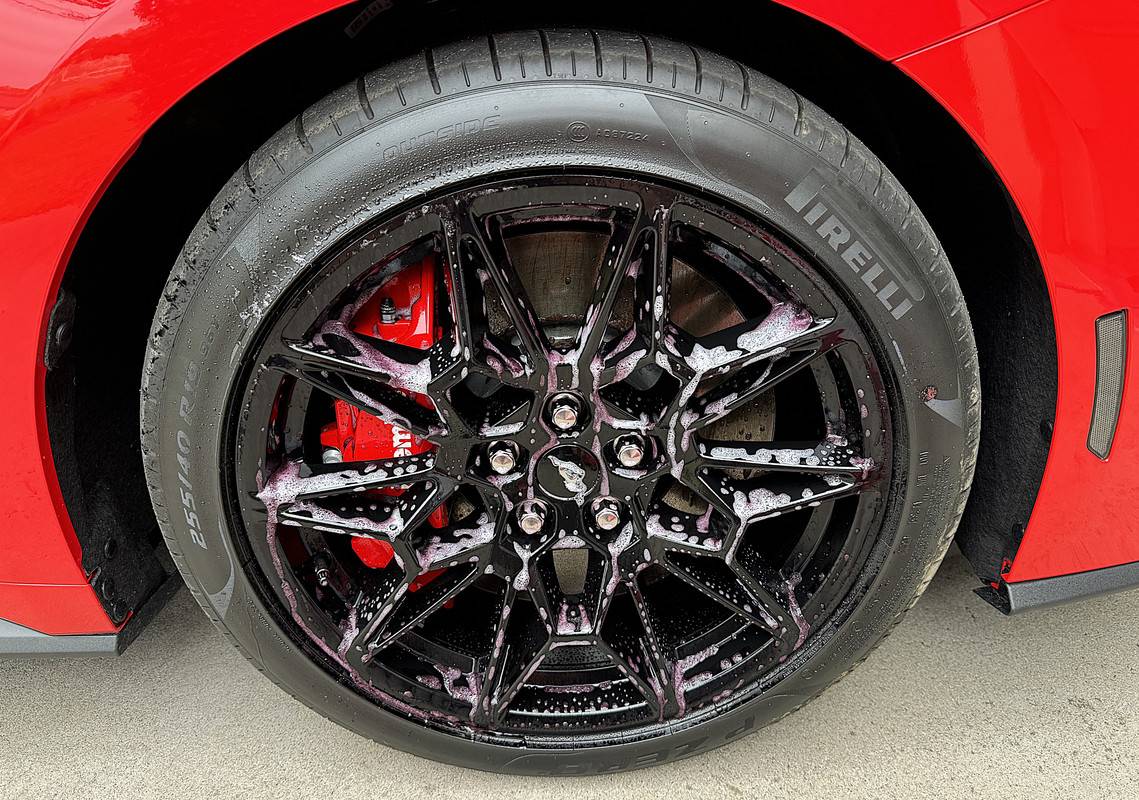
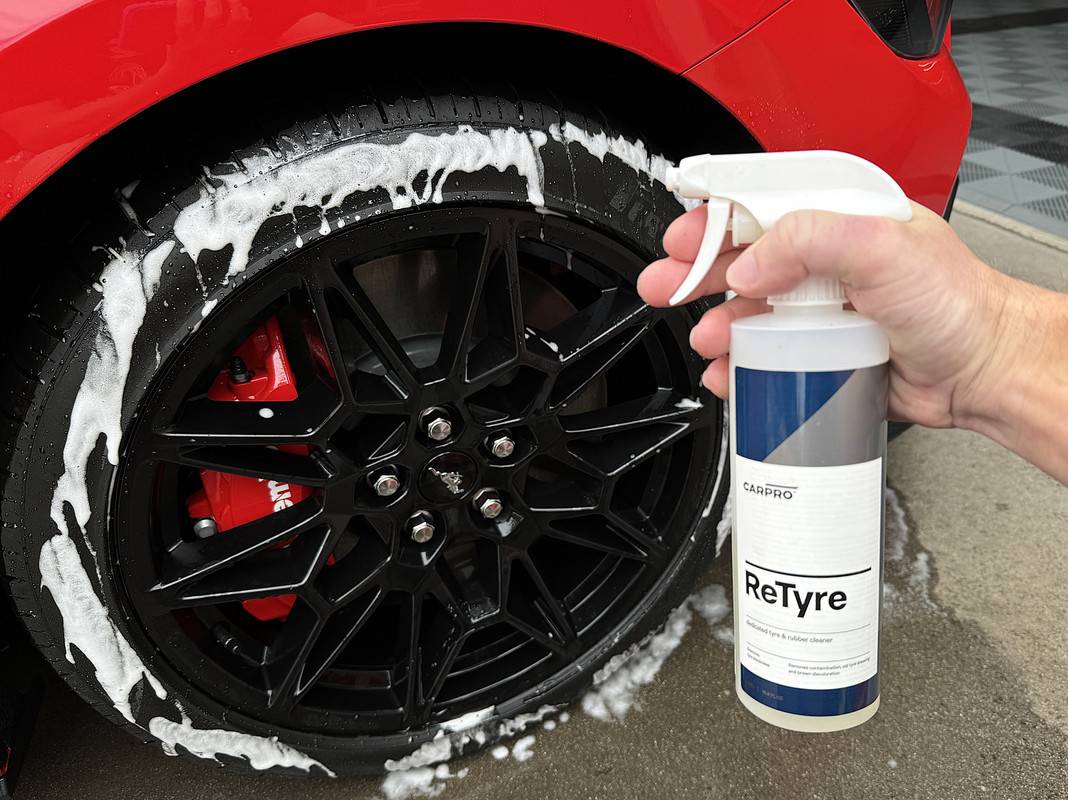
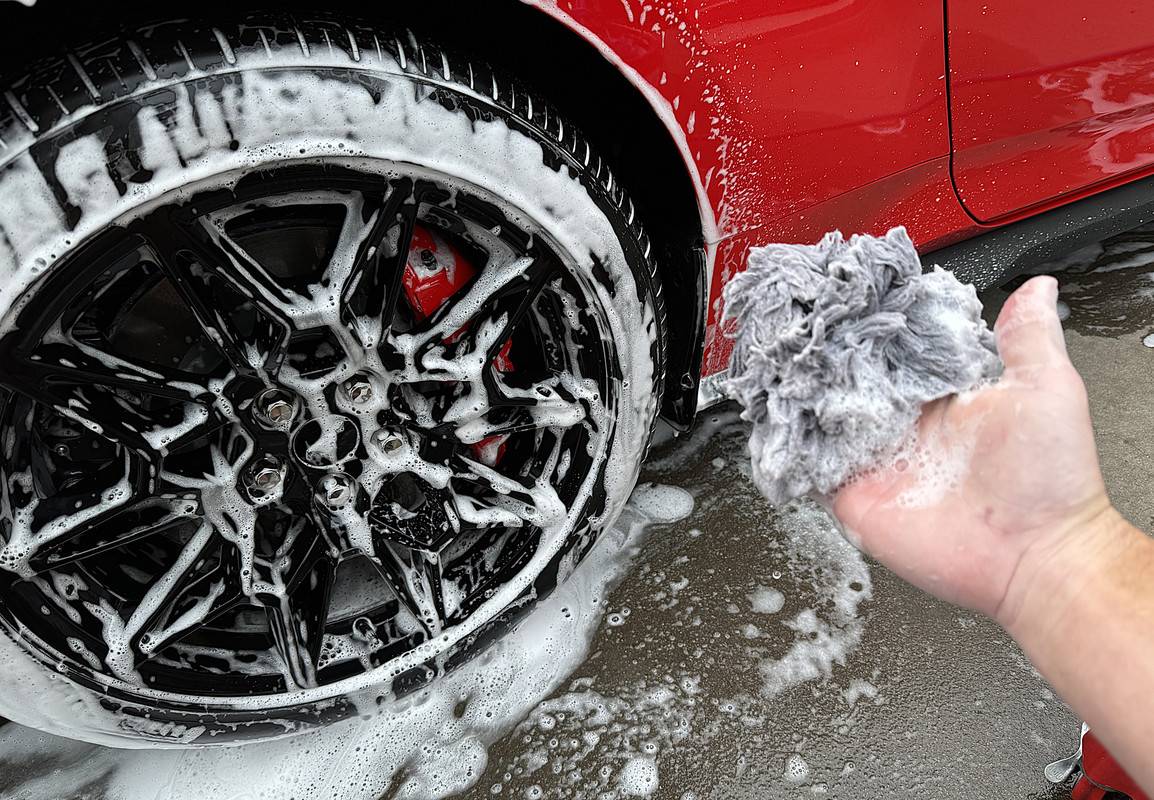
With that rinsed, I turned my attention to removing the crap they put on the tyres, Carpro ReTyre stripping it with ease. I then foamed down with Brake Buster and cleaned the wheels and wheel arches. Interestingly, Ford are now using carpeted arch liners front and rear, which is probably contributing to the increased cabin refinement that I have already noticed.

IMG-2053.jpg


IMG-2054.jpg


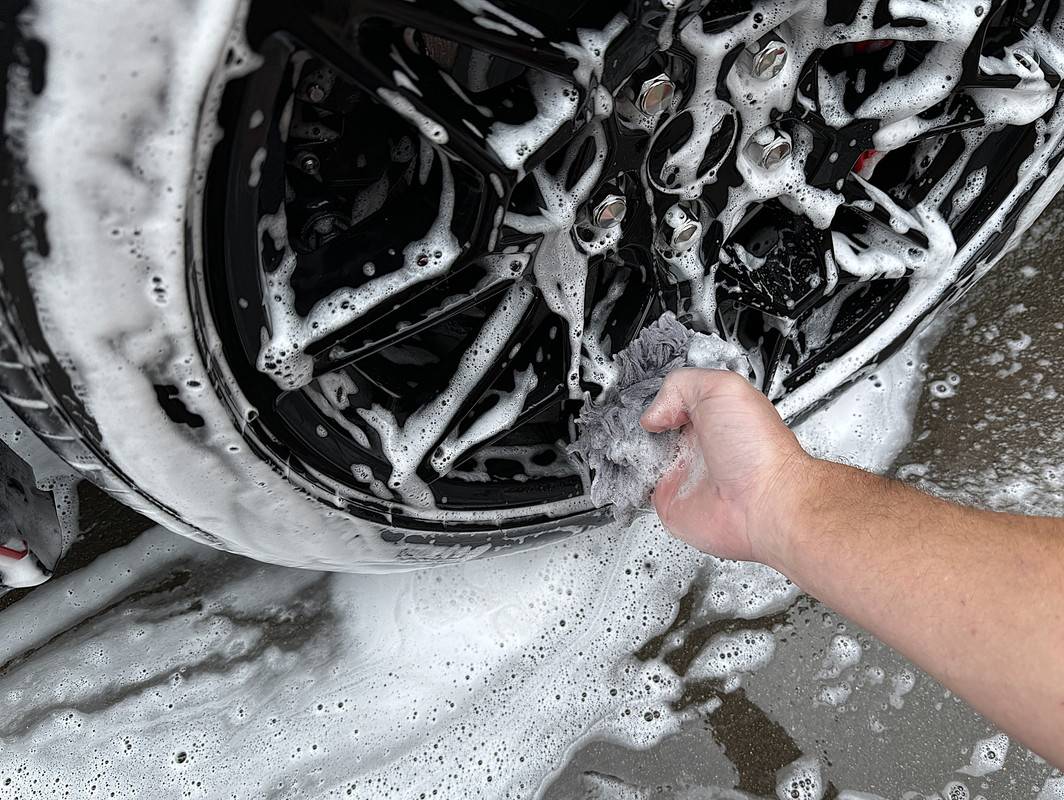
I managed to get the Incredi-Brush Flat between the rotor and the inner barrel, but still needed the EZ-Detail to squeeze between the MASSIVE front calipers. On the rear, I have two calipers to deal with as they now use a separate caliper for the handbrake. The intricate lacework of spokes meant the Ultra Wool Mitt is a must.

IMG-2062.jpg


IMG-2063.jpg


At this point, I would have normally given the wheels a hit with Carpro Hydr02 to help with drying. However, I'll be coating them in the near future, and because of the matte finish, I wouldn't be able to polish that off. For now, they can remain bare.

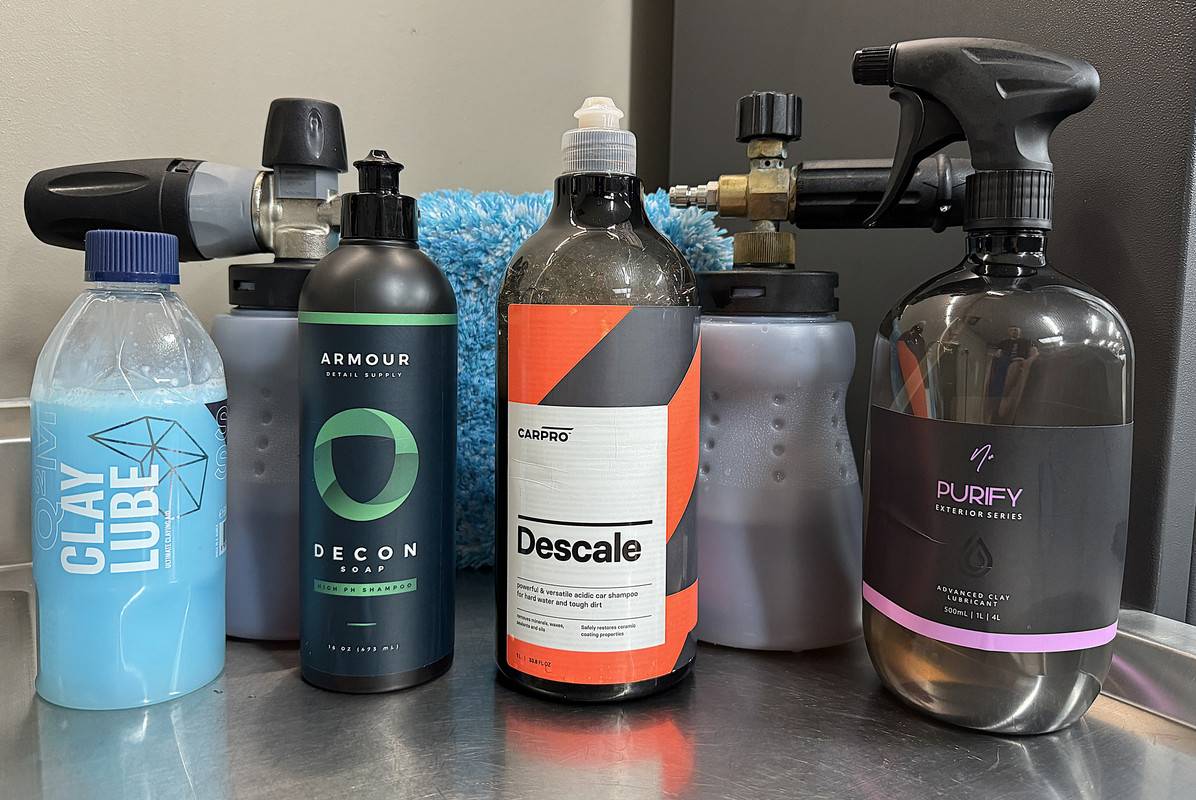
From here, this is where I started the decon process by using NV Purify, applied to the whole vehicle. These cars sit out in the open for months prior to shipping and delivery, so who knows what has bonded to the paint in that time.

IMG-2067.jpg


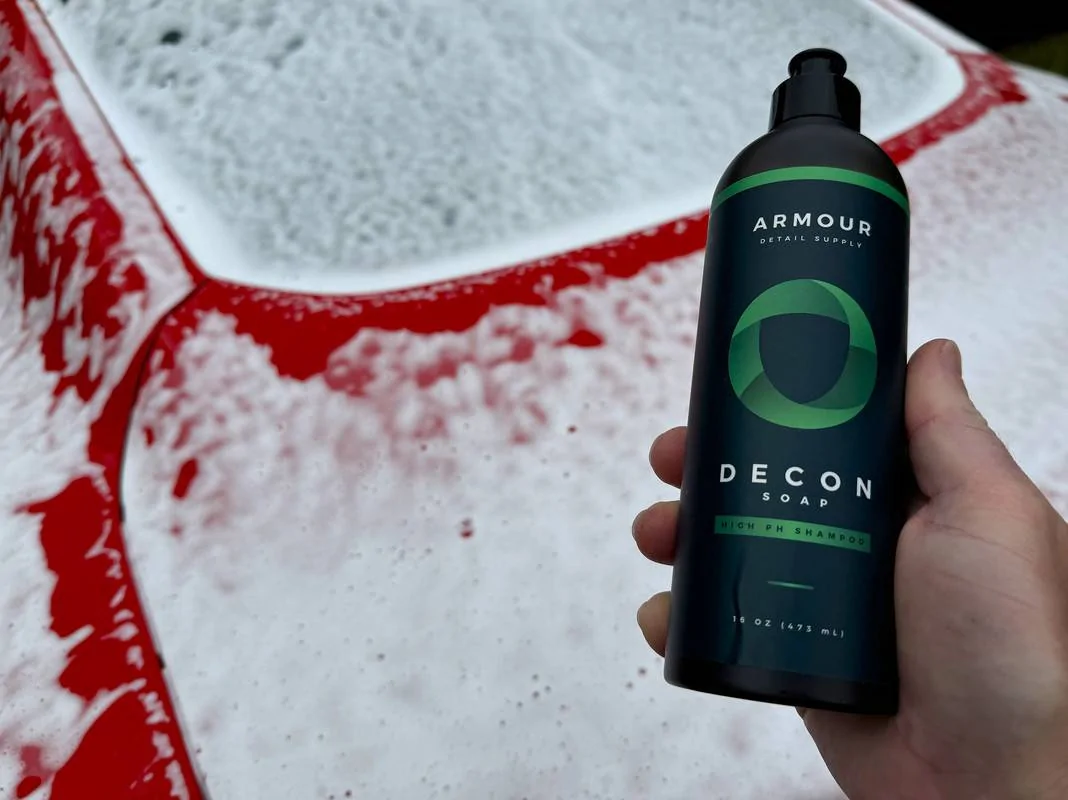
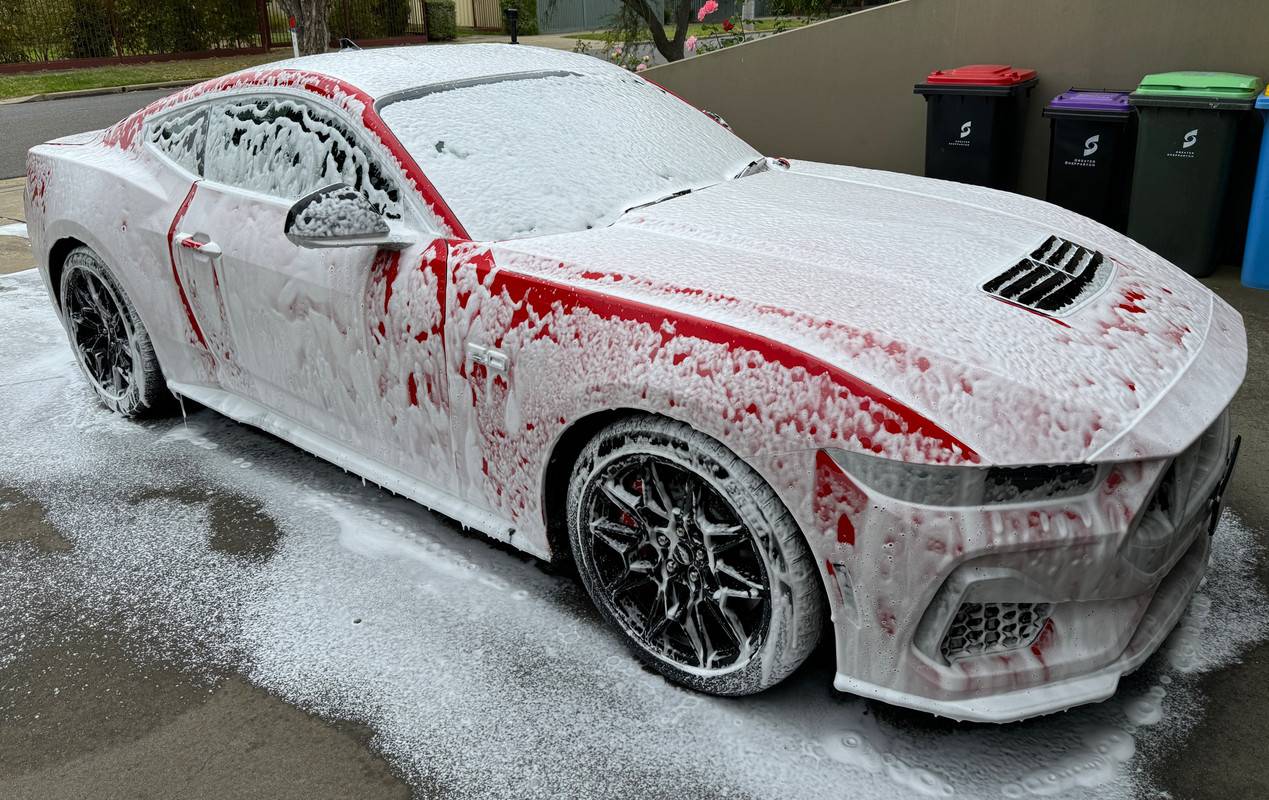
After allowing to dwell, I foamed down with ADS Decon Soap. Race Red would have masked it to a degree, but remarkably, there was little to no iron reaction from the Purify.

IMG-2073.jpg


IMG-2068.jpg


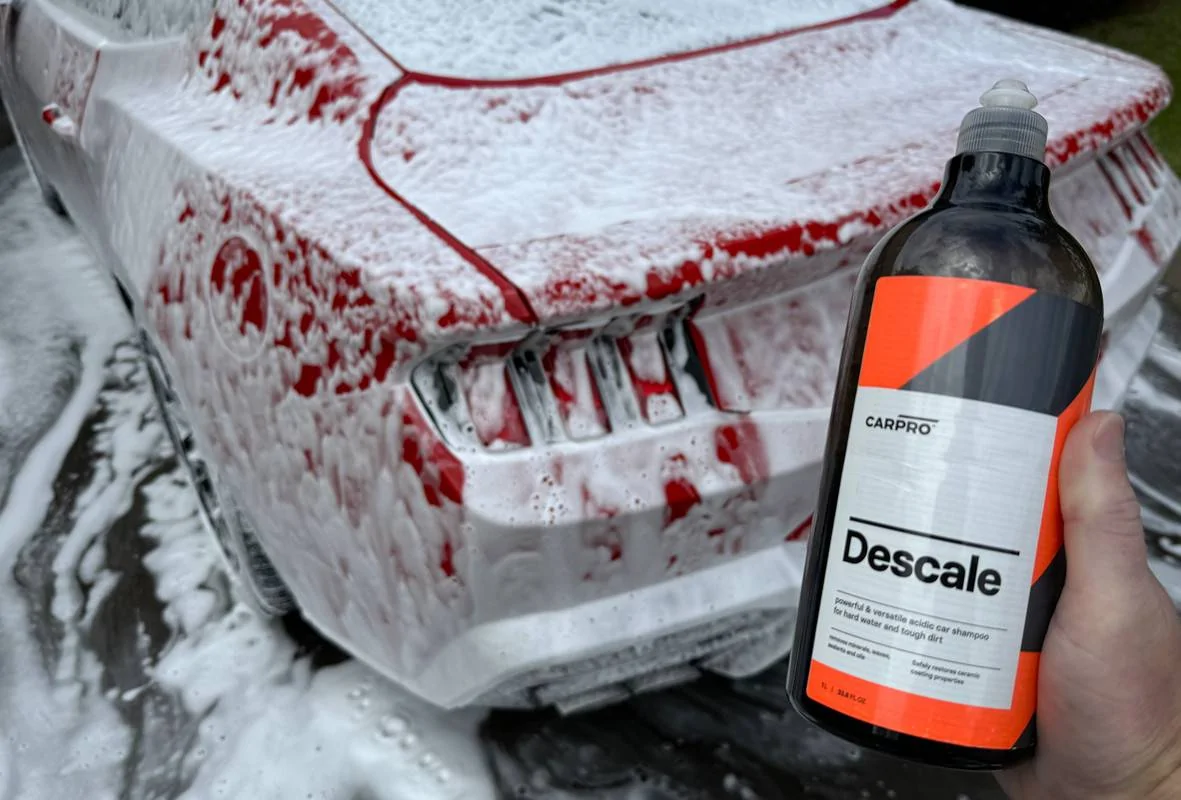
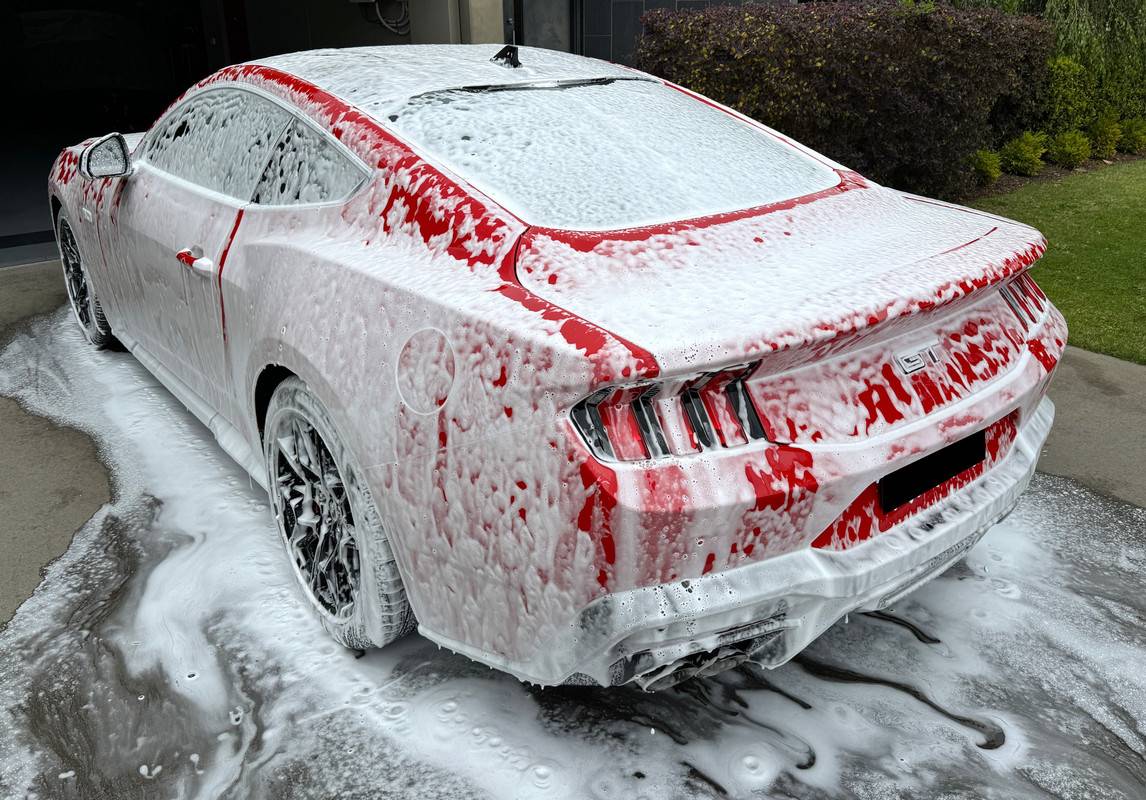
From here, I rinsed the car down to remove the Purify and Decon Soap, then re-foamed using Carpro Descale for the contact wash. Again, parked outdoors for so long, it was bound to have picked up some mineral content in that time. Up until now I had not touched the paint, but again, it was remarkably smooth under the wash pad and my hands.

IMG-2078.jpg


IMG-2070.jpg


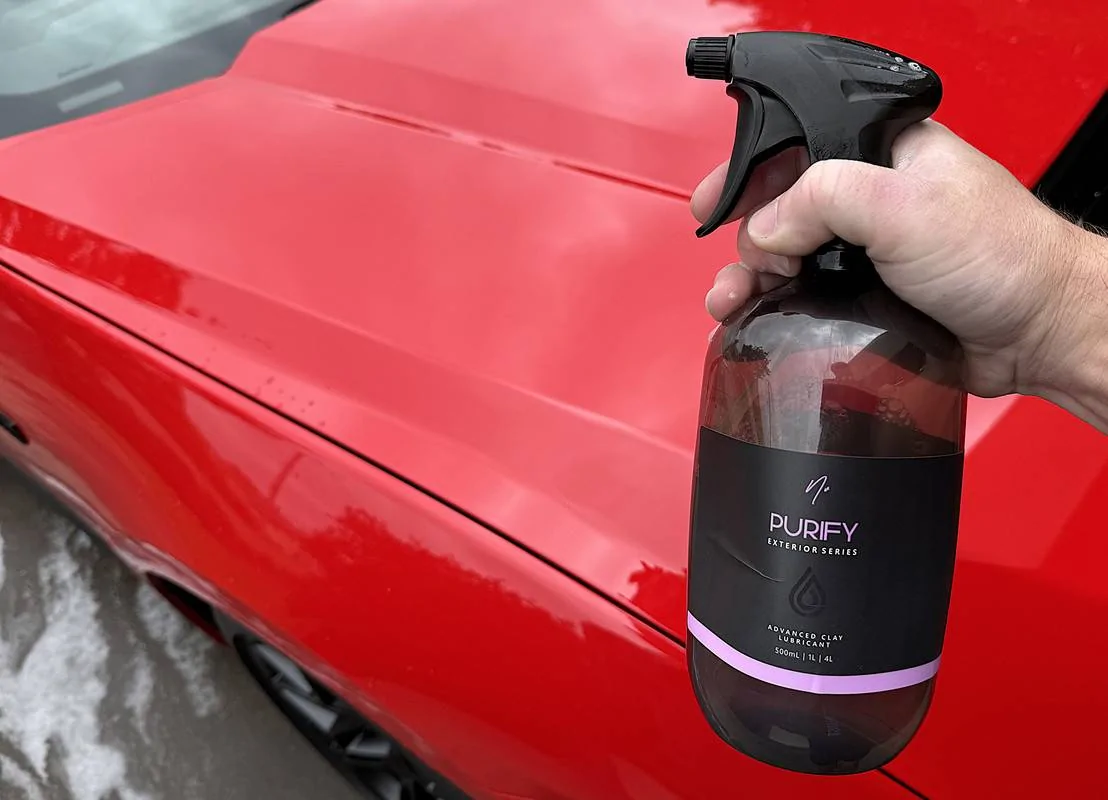
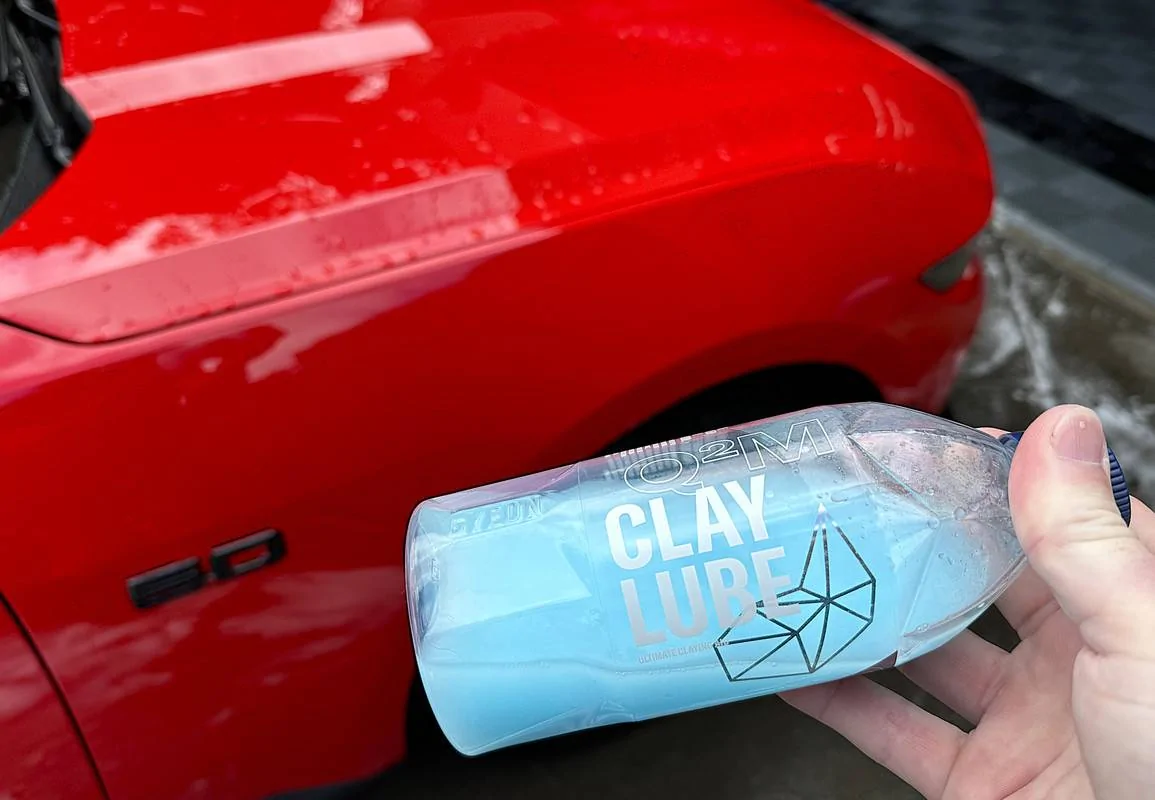
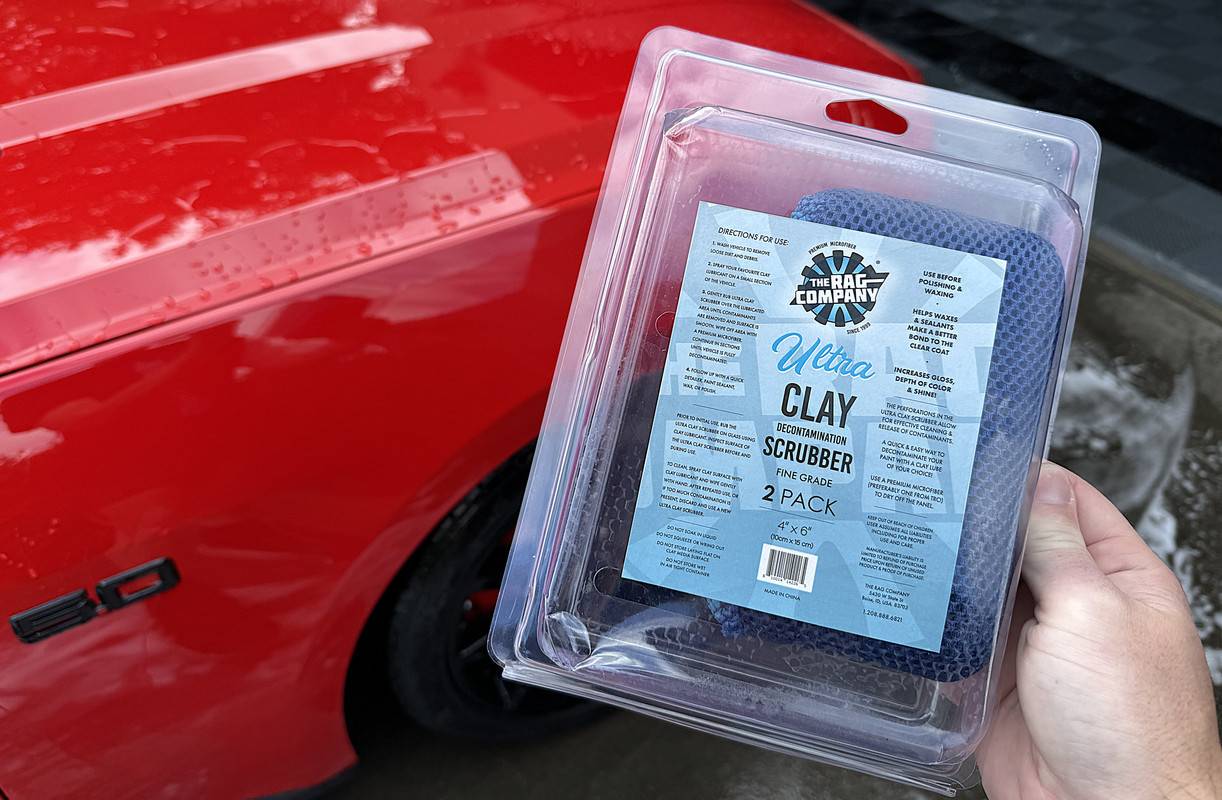
Yet another rinse, it was time for clay. I could probably have skipped this step, but I had everything set up to go, and I would later find a couple of rough spots on the rear bumper and hood. In this case, I'm using the excellent TRC Ultra Clay Scrubber and Gyeon Clay Lube mixed at 6:1 in an iK sprayer. Applying little to no pressure, I made my way around the car in sections, rinsing after finishing each. That Gyeon Clay Lube is the best I have used, in the past I simply used quick detailer, but this stuff has considerably more lubrication and less grabbiness, smells lovely too.

IMG-2081.jpg


IMG-2082.jpg


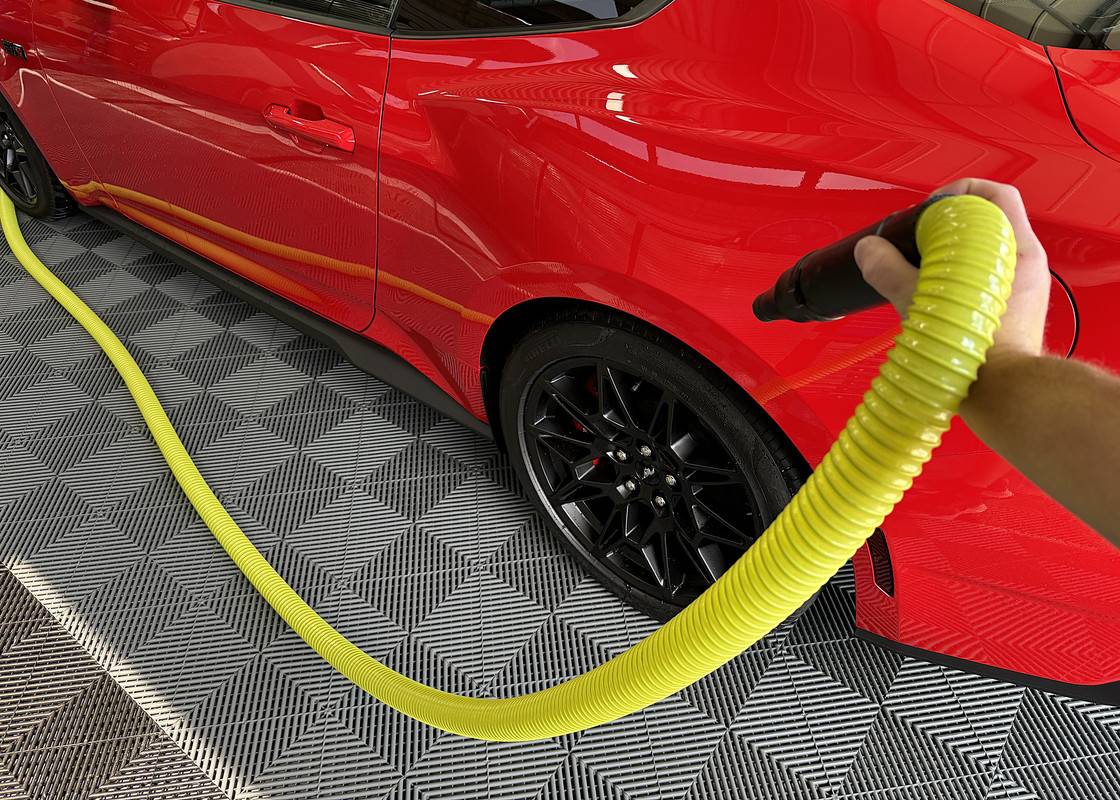
With the wash finished, I moved into the garage to dry the car. Today I decided to use the Big Boi over the EGO, without anything on the paint, I needed that extra grunt to deal with the bare paint. Actually, it's amazing how much more effective the Big Boi is compared to the EGO.

IMG-2090.jpg


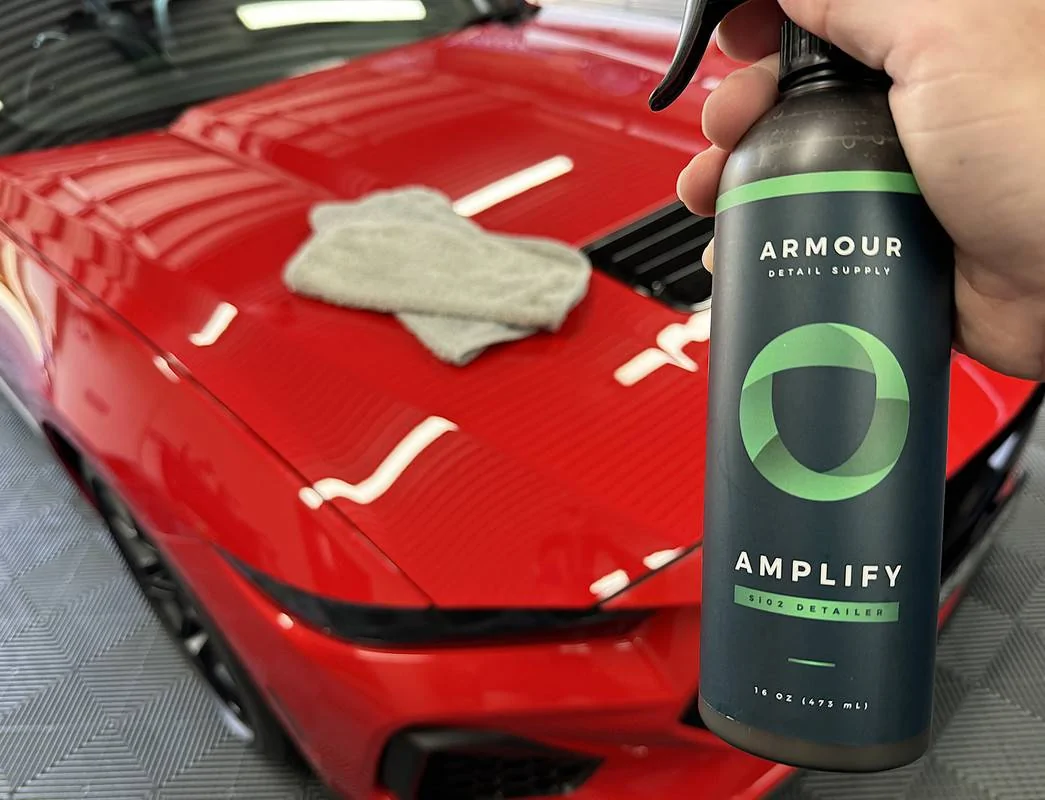
At this point, the car was 98% dry and I could have left it that. Considering that I'll be polishing soon, I really didn't need to be adding anything with protection to it, a simply quick detailer like Paint Gloss would have been sufficient. But I couldn't resist, out came the ADS Amplify. And what a treat, it adding gloss and slickness that was missing from the equation. I'm glad I did this step because it brought the car to the point where I'm happy.............for now.

IMG-2092.jpg


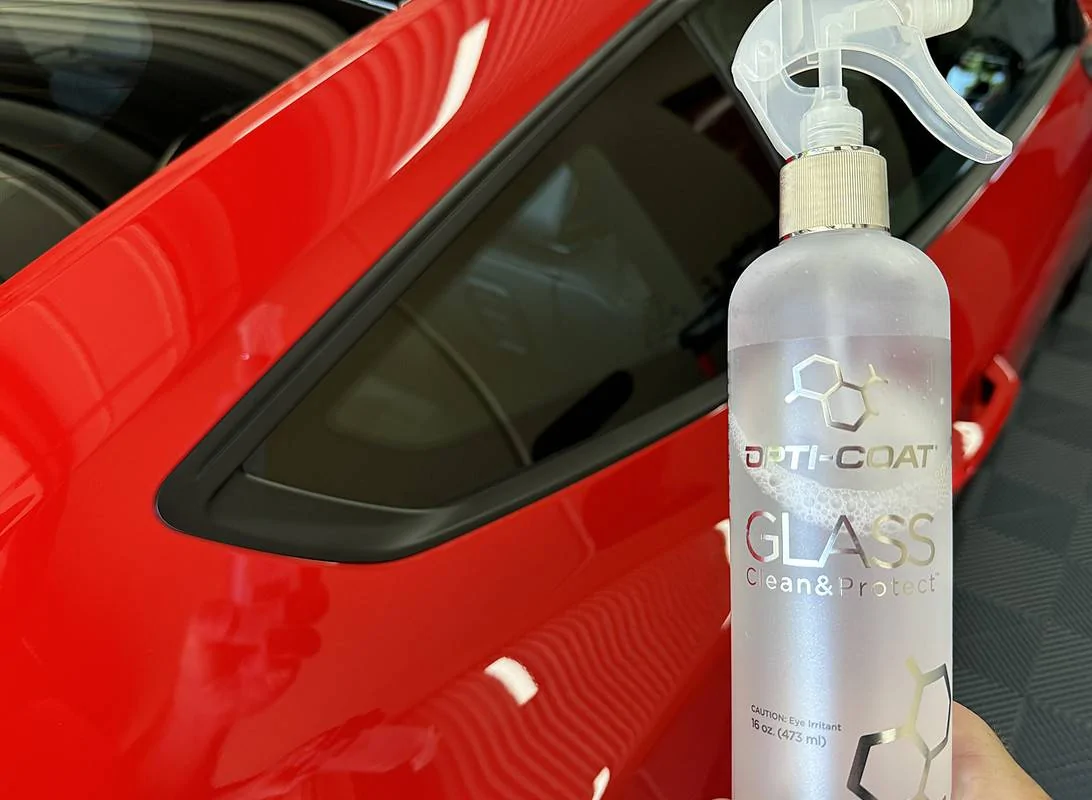
I'll also be polishing the glass at some point, but I wanted something on there in the meantime. Opti-Coat Clean & Protect was the choice, this stuff adds some decent water beading from a very simple spray and wipe application, and unlike Clarify Phobic, it doesn't streak.

IMG-2097.jpg


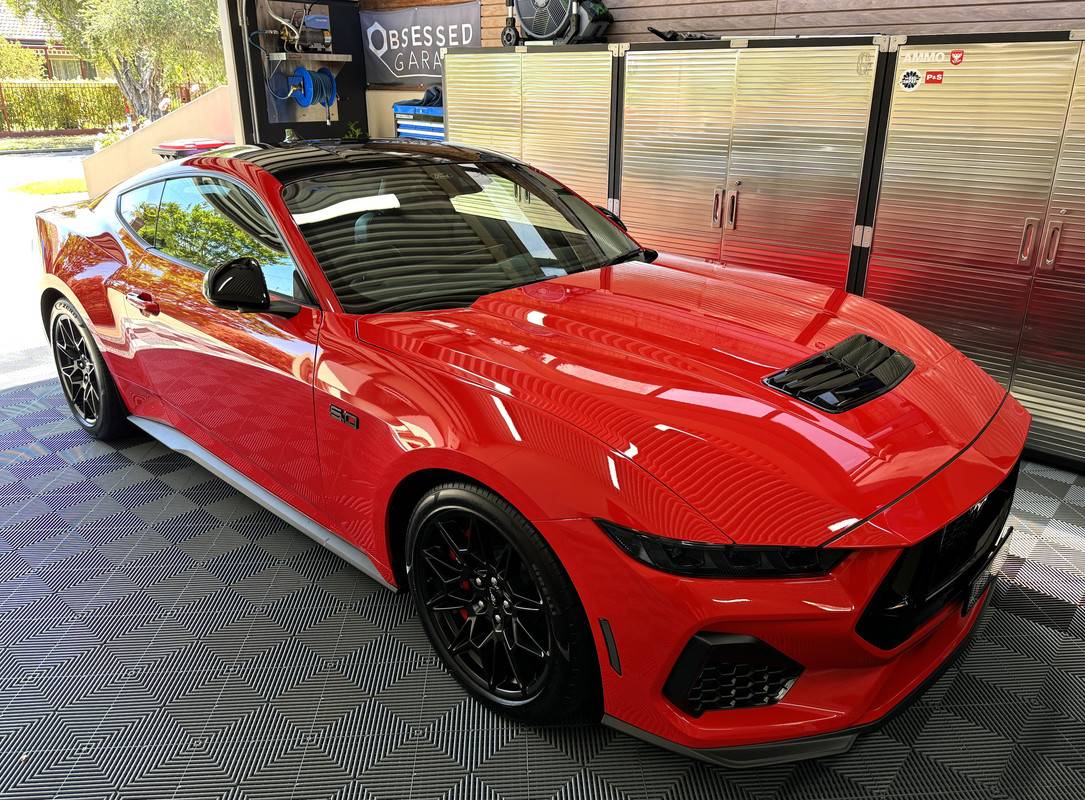
Both Clean & Protect and Amplify will be removed once the polishing begins. However, I'm happy to have gotten the car properly clean and decontaminated, it now looks and feels up to my standards. Overall, the car has been delivered in decent shape. Naturally, there are a couple of areas that will need some attention, the gloss black hood vent is hazed out, and there are a couple of light scratches on the driver's side A-pillar. And the engine bay needs attention. I'm sure I'll find more, but at this stage, I don't want to know.

Finishing things off, I dressed the tyres with OG Tire Dressing, which was knocked down after 15-minutes. And I couldn't help myself, I gave the wheels a pass with KCx Quick Shine, then wiped down the engine bay with ECH20.

IMG-2107.jpg


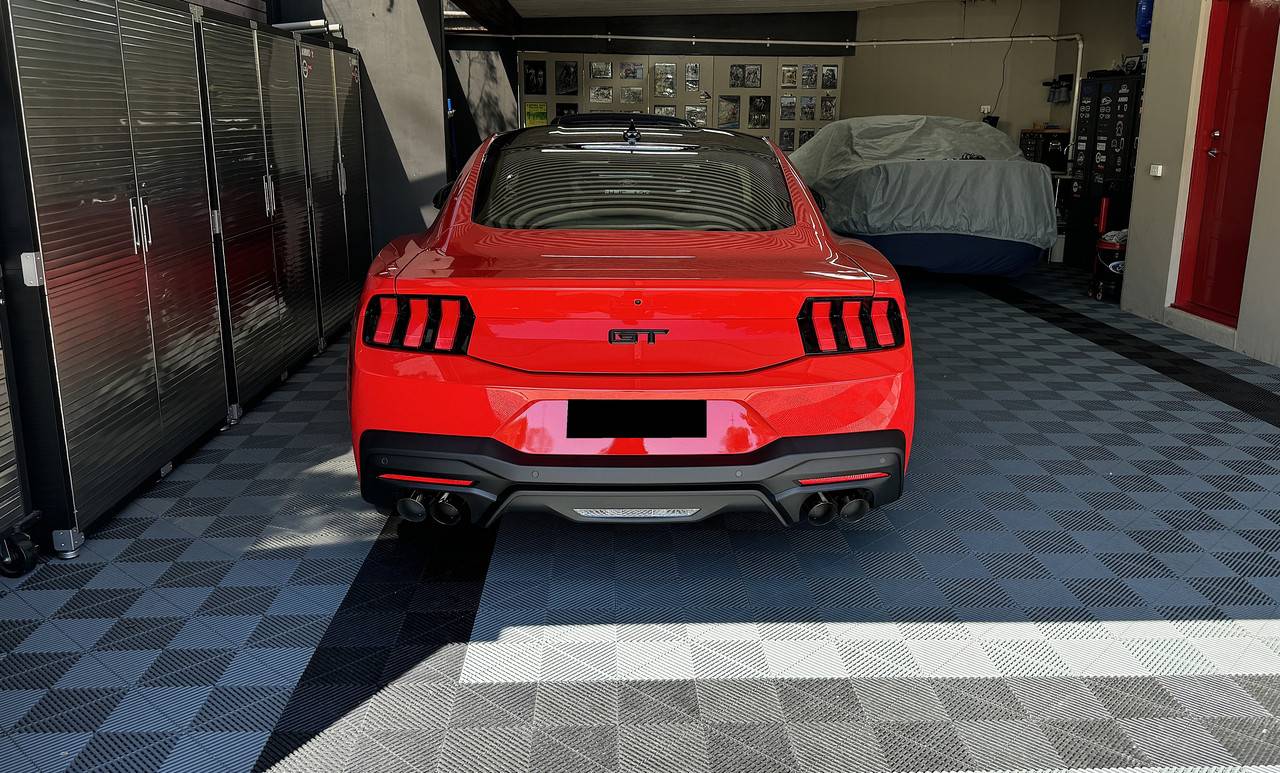
You know, the rear of the S650 originally left me cold. However, the straight on view of the rear is my favorite part of the car now. In fact, I no longer feel the need for a spoiler. Terrible shot, but looking back into my garage at this sight makes me extremely happy....................and its been a long time since I've been able to say that.

IMG-2108.jpg


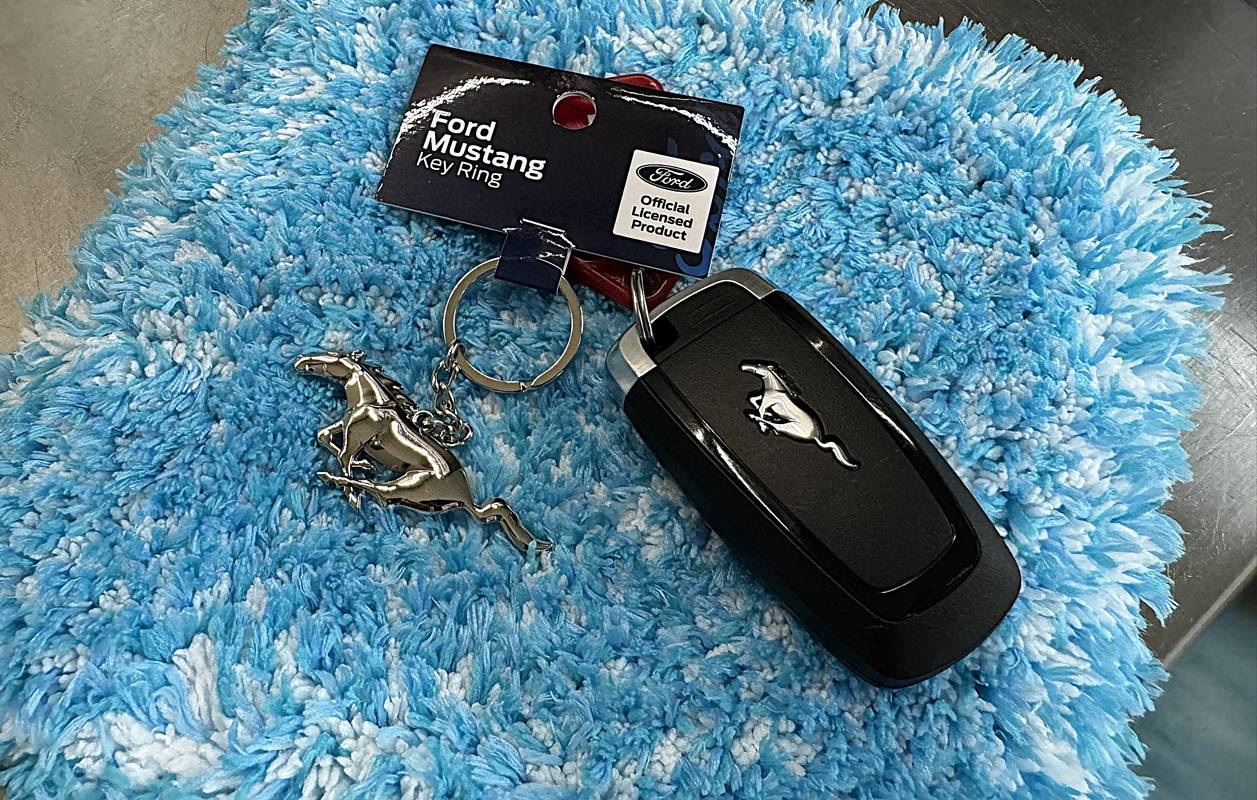
And finally, one little touch to make the keys mine.........................

IMG-1989.jpg
 

Sponsored
OP
OP
DFB5.0

DFB5.0

Well-Known Member
Joined
Mar 15, 2017
Threads
93
Messages
5,467
Reaction score
15,737
Location
Australia
Vehicle(s)
Mustang GT Fastback
And so, here is my YouTube on camera debut.........................


Yeah, I know, that's cheating. But, at least you can see some of my words in action with this time lapse. I did the driver's side wheels before turning the camera on so that there wasn't a delay before the action started. I'm multi-media-tasking here, hence the pauses in action to take stills.
 

skinnyb

Well-Known Member
Joined
Jun 25, 2022
Threads
12
Messages
3,682
Reaction score
9,341
Location
Knoxville TN
First Name
Alex
Vehicle(s)
21 Mach 1. FJG, Tremec, ESS G3X
And so, here is my YouTube on camera debut.........................


Yeah, I know, that's cheating. But, at least you can see some of my words in action with this time lapse. I did the driver's side wheels before turning the camera on so that there wasn't a delay before the action started. I'm multi-media-tasking here, hence the pauses in action to take stills.
Very nice... The car looks great, can't wait to see the finished product..
 

skinnyb

Well-Known Member
Joined
Jun 25, 2022
Threads
12
Messages
3,682
Reaction score
9,341
Location
Knoxville TN
First Name
Alex
Vehicle(s)
21 Mach 1. FJG, Tremec, ESS G3X
Exhausting Work!

The first detailing job on the new Mustang, addressing the exhaust tips. The S650 uses carry over mufflers and exhaust tips from S550, so the pipes themselves are not sleeved with a chrome finisher. I actually quite like the crisp look they bring, even if it means they will require more ongoing maintenance. The condition of the tips at first looked fine, but under closer inspection, they needed some attention to bring to a level I'd be happy with.

IMG-2002.jpg


IMG-1998.jpg


Frustratingly, Ford still spray the underside of export Mustang's with horrible black paint, something that I immediately noticed when I got home from the dealer. Seeing smoke pour out from under the hood of your brand-new car is not something you want to see! A customer new to Mustang's would be extremely worried by this, but I've treaded this path before and know that the smell and smoke was from that useless paint. I mention this because that stuff was all over the exhaust tips, you can see it in the second pic above, and that was the good side, the underside was caked in it. This meant I needed to add an extra step this morning.

IMG-2014.jpg


Before I went any further, it was time to glove up. These tips are renounced for being a finger slicer, that crisp edge is certainly sharp. I'd normally have nitrile rubber gloves on when using harsher chemicals, but they would have been useless here. A clean pair of my garden gloves worked well.

IMG-2009.jpg


Koch Chemie Eulex is a sledgehammer, no doubt about it, and you should never use it in confined spaces as its extremely heady. It's typically used as a heavy-duty tar and adhesive remover, but this paint is like tar anyway. Turns out it worked very well at softening the paint to the point where it was removed with a towel. The problem here is working around that plastic bumper, care was needed to not get the Eulex everywhere. I worked my back to where the pipe joins the muffler, in other words, I had to know when to stop. If you end up doing this, chose your towel carefully, you will ruin it.

IMG-2016.jpg


After the paint removal, I flushed the tips with ONR to remove the Eulex residue, which I can still smell in the garage. From here, I could start to polishing. For the inside of the pipe, I grabbed a Maxshine Polishing Cone which I had in stock and worked them over with Mothers Mag & Aluminum Polish.

IMG-2008.jpg


At this point I want to highlight the brilliance of "disposable" microfiber towels. I've been running down a box of Repco Eclipse Microfiber Cloths, which are 200 gsm towels in 30cm x 30cm size. These are not the best towel you will ever have, but they excel in being cheap and sacrificial at 0.65c each. Their replacement I bought some time ago being the TRC Rip 'n' Rag.

IMG-2018.jpg


I have to say, when TRC launched these, they made a huge song and dance about the concept of a microfiber dispenser pack and the disposable nature. Many companies have delivered this format in the past, long before TRC adopted it. Compared to the Repco towels, they actually have a lower 180 gsm and cost 0.87c per towel. However, with a 70/30 blend, they do seem to be softer and more absorbent, Repco don't publish the blend so I would say their cost per towel is achieved with a higher polyester count vs polyamide (polyamide is the absorbent/softness part).

IMG-2023.jpg


IMG-2026.jpg


The inboard right side pipe had some sort of scratch that didn't remove with polish, a light hit with some wet and dry paper sorted it easily, I also used that to round off some of the edge.

IMG-2030.jpg


It was then time for a favorite of mine, a very obscure product that is so perfectly tailored for its role.................P21S Polishing Soap. I used this a final go-over, it actually feels grittier than the Mothers metal polish. A tub of this is going to last you for the rest of your life, its a must for those who love a clean set of pipes.

IMG-2032.jpg


IMG-2035.jpg


The final step was the application of Dr. Beasly's Metal Coat. I got this bottle at great expense through Obsessed Garage, but I see its now available on Amazon...................at great expense too. Like P21S, a bottle will last a very long time.

IMG-2102.jpg


And the final result. Overall, they are a marked improvement prior to all this work, but I think I can still get a little more out of them. If I can find a tip style I like, I may end up going that route instead.

IMG-2113.jpg
I am very happy with the P21S soap. I used on both my vehicles and it cleans amazingly well. Also used on my friend's Mach 1 last weekend... Its annoying how much carbon they accumulate over time. I need to get some of the Dr Beasley coat at some point...

IMG_2068.jpeg
 
OP
OP
DFB5.0

DFB5.0

Well-Known Member
Joined
Mar 15, 2017
Threads
93
Messages
5,467
Reaction score
15,737
Location
Australia
Vehicle(s)
Mustang GT Fastback
Inner Workings!

Most detailers hate doing interiors! And trust me, I can totally get that. Dealing with neglected interiors is time consuming and tedious, compounded by being cramped up within a confined space. My worst nightmare? Dealing with the cheap and nasty carpet the Japanese and Korean car companies use for their interiors. That stuff just hangs onto every grain of sand and debris, even after using every tool and method under the sun, it still doesn't look clean.

Having said all of that, I don't mind maintaining an interior, that I find cathartic. Maintaining a state of cleanliness means you don't need to reach for the sledgehammers such as heavy-duty interior cleaners and all-purpose cleaners. And while I typically use an interior quick detailer, to perfectly honest, all you need to maintain a clean interior is a damp microfiber.

Now, I know what you are going to say..............."why are you cleaning a brand-new interior".........................because that's what I do! :giggle: Seriously though, the initial clean is about hitting the reset button, albeit very early on. As mentioned during the first wash, these cars sit out in the open for months, all the while the interior is left to bake and outgas. The most obvious here will be the glass, often witnessed by a fine haze when looking out into the light. The interior in general sees many hands as its assembled, driven off the line, prepared for shipping, moved from Ford's holding yard to the dock, onto the vessel, off the vessel, into a holding yard, driven onto and off the truck, then many dealerships personal as its prepared for sale. Think of like buying a used car, you replace all of the fluids to start from fresh. Same concept here.

IMG-2140.jpg


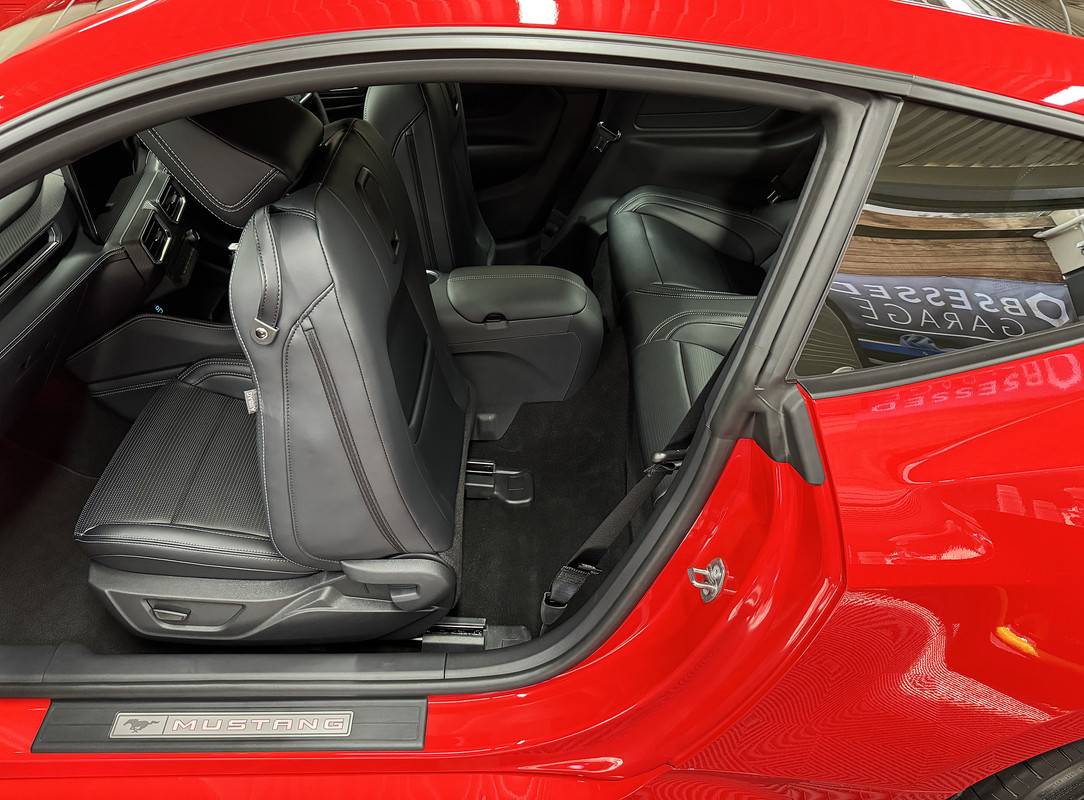
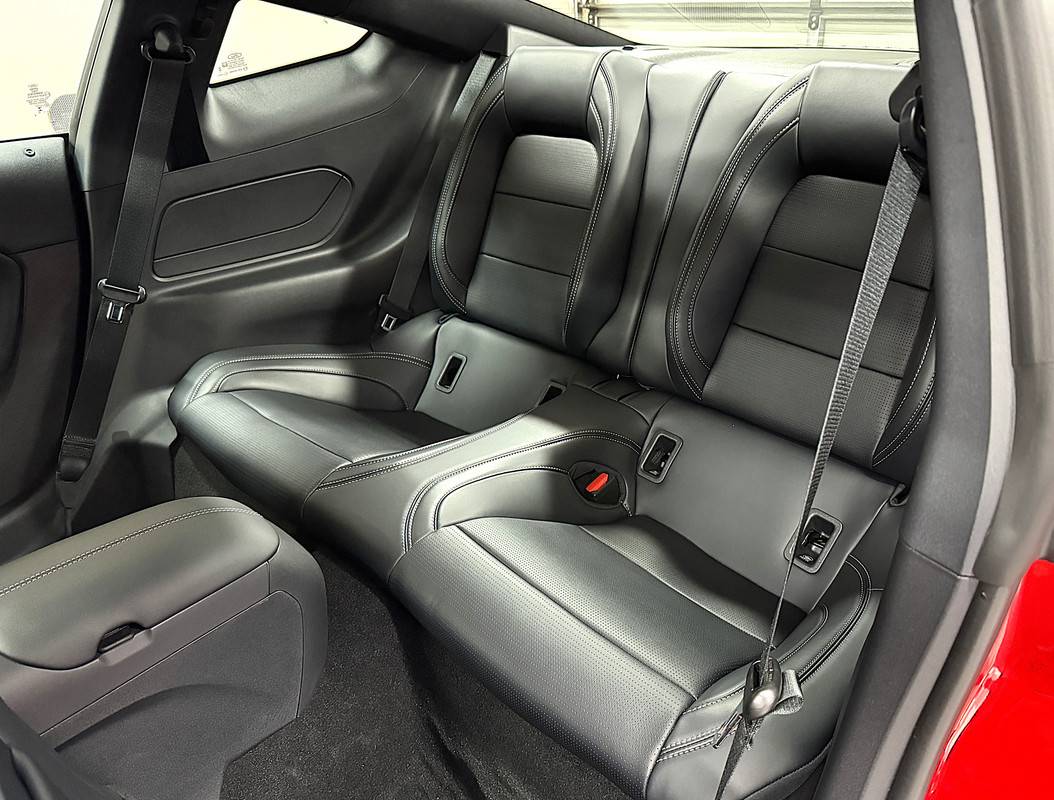
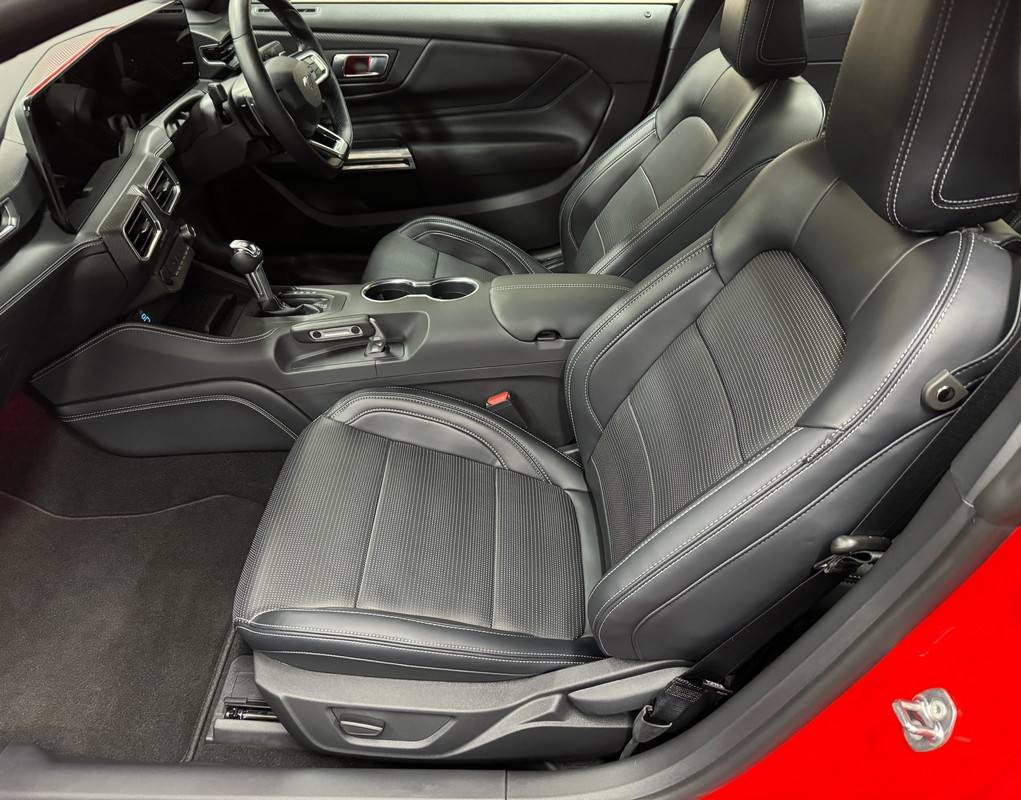
I decided to get the rear accommodation sorted first, which means moving the seat back and base all the way forward, then folding yourself into the back seat. The first thing I noticed, Ford have changed from a carpeted parcel shelf to a hard plastic. The natural reaction to that would be, wow how cheap. But actually, vacuuming that carpeted parcel shelf was difficult, so a simple wipe going forward will be much easier and convenient.

IMG-2149.jpg


IMG-2146.jpg


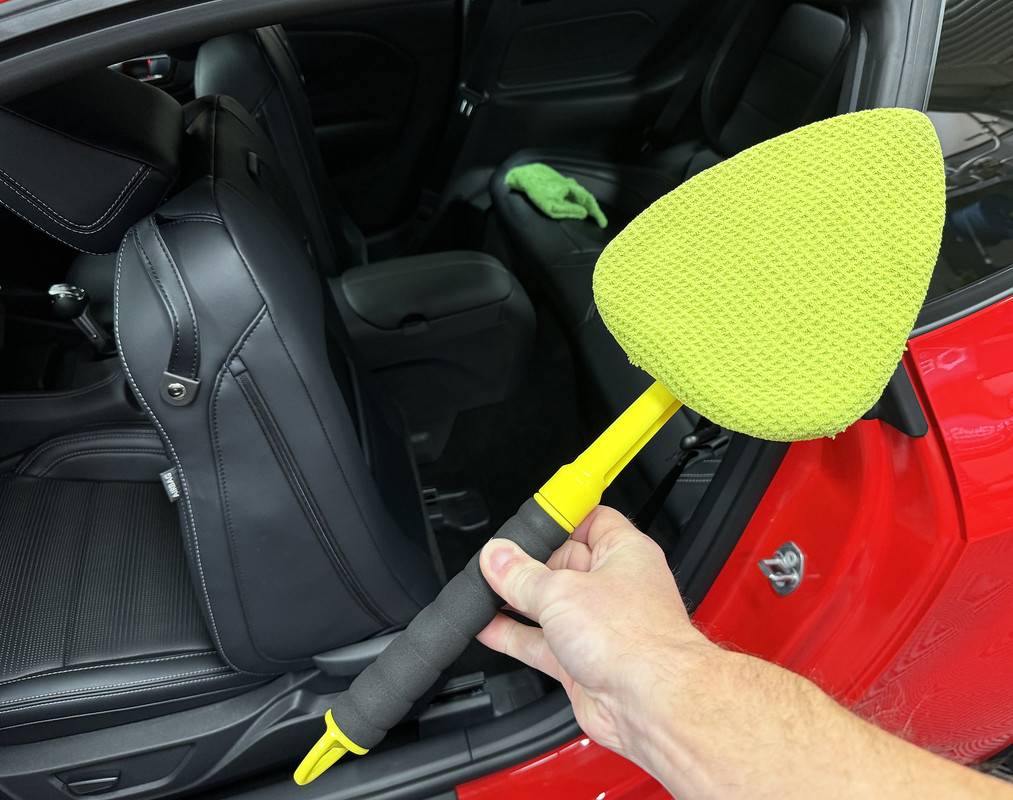
First, cleaning the rear glass. Every S550 and S650 Mustang owner needs one of these, the Stoner Reach & Clean Tool. This might seem like a gimmick, but it makes the job much easier, especially reaching right down to the very base of the screen that would ordinarily be missed. This applies to the front screen as well. I teamed this with the classic Invisible Glass.

IMG-2151.jpg


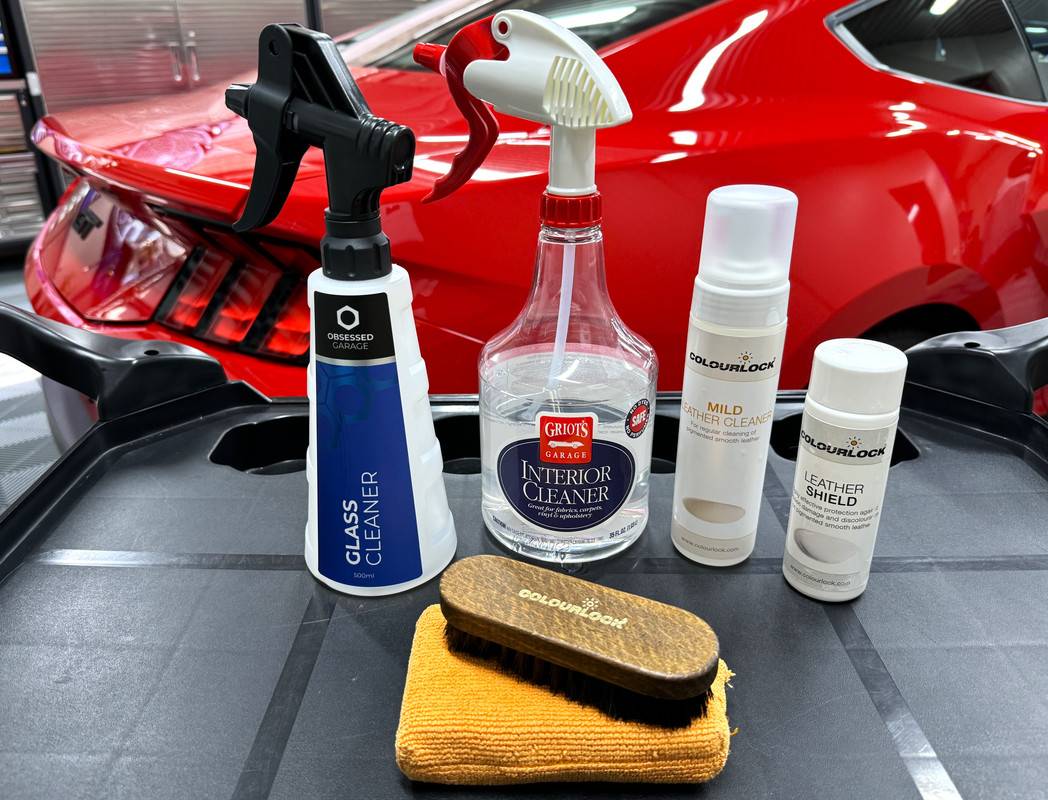
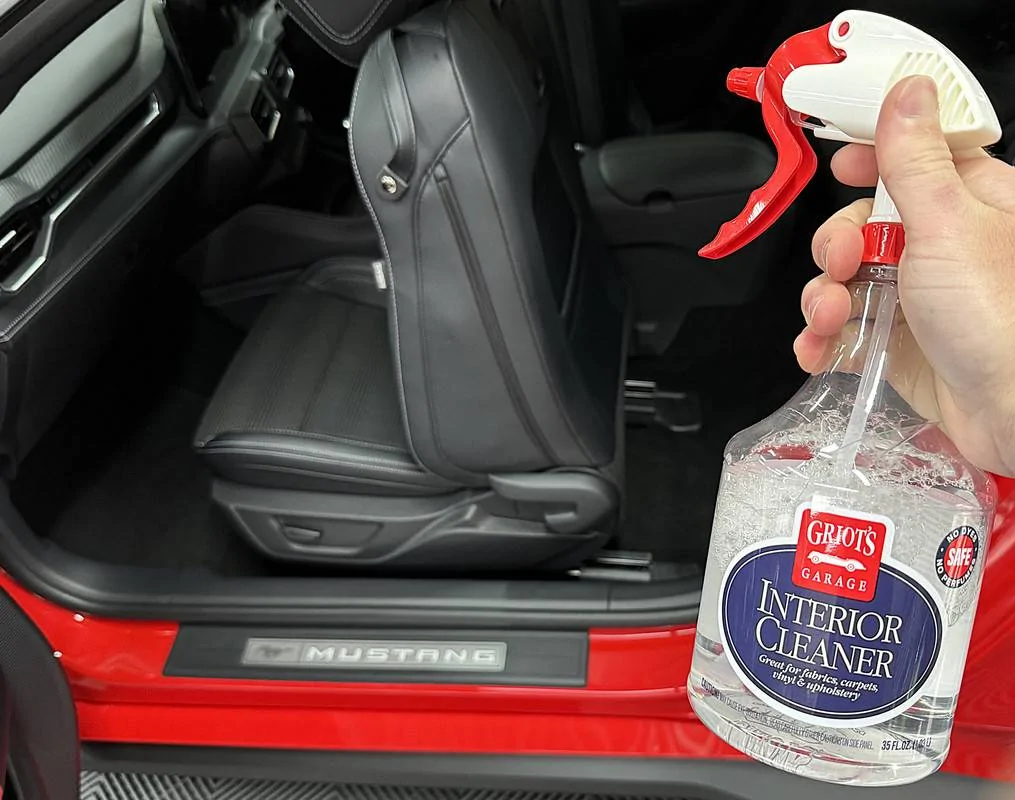
I then used Griot's Interior Cleaner to wipe down the leather seats and plastics. Why Griot's? Because it's not scented..................you only get that new car scent for so long. :wink: Because the rear seats will never have been used, I didn't feel the need for a more intensive leather cleaning back there. After the wipe down with Griot's, I applied ColourLock Leather Shield, including the back of the front seats. A quick vacuum on the carpet, it was time to move to the front row seats.

IMG-2153.webp


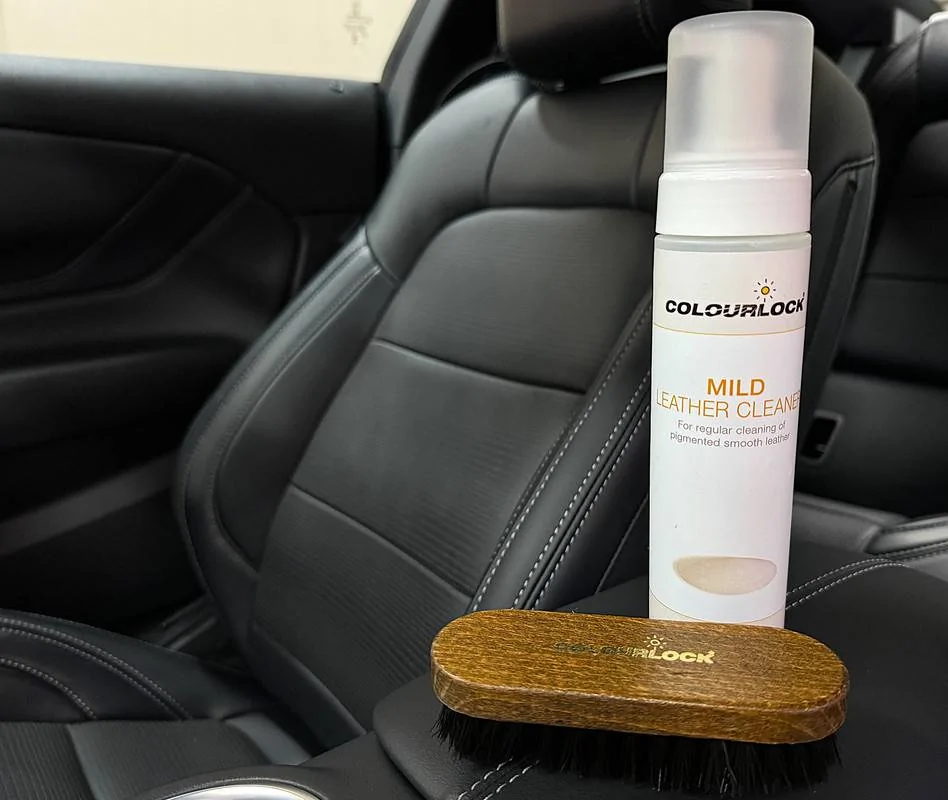
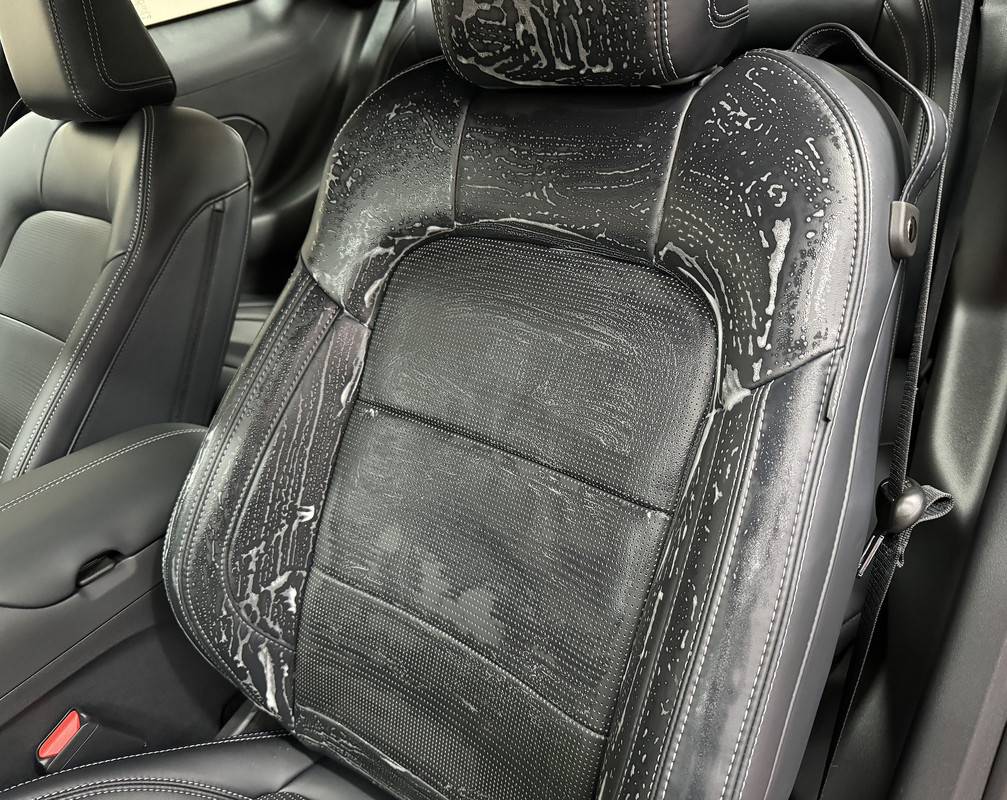
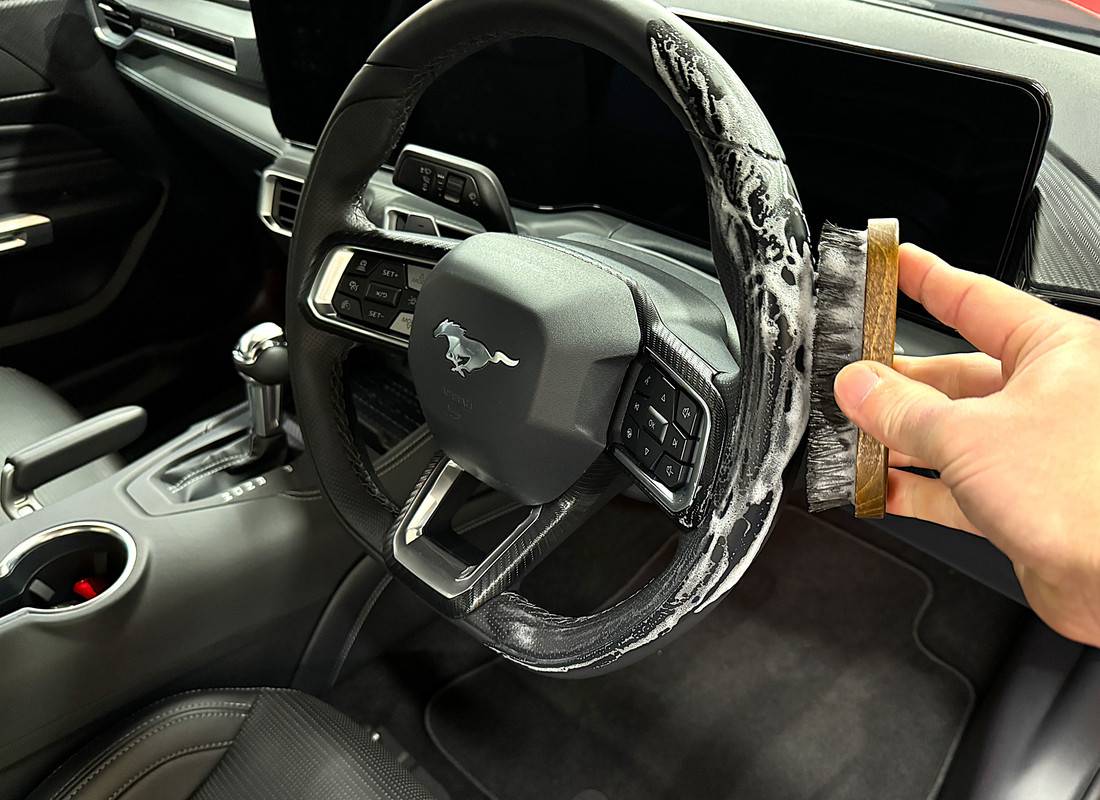
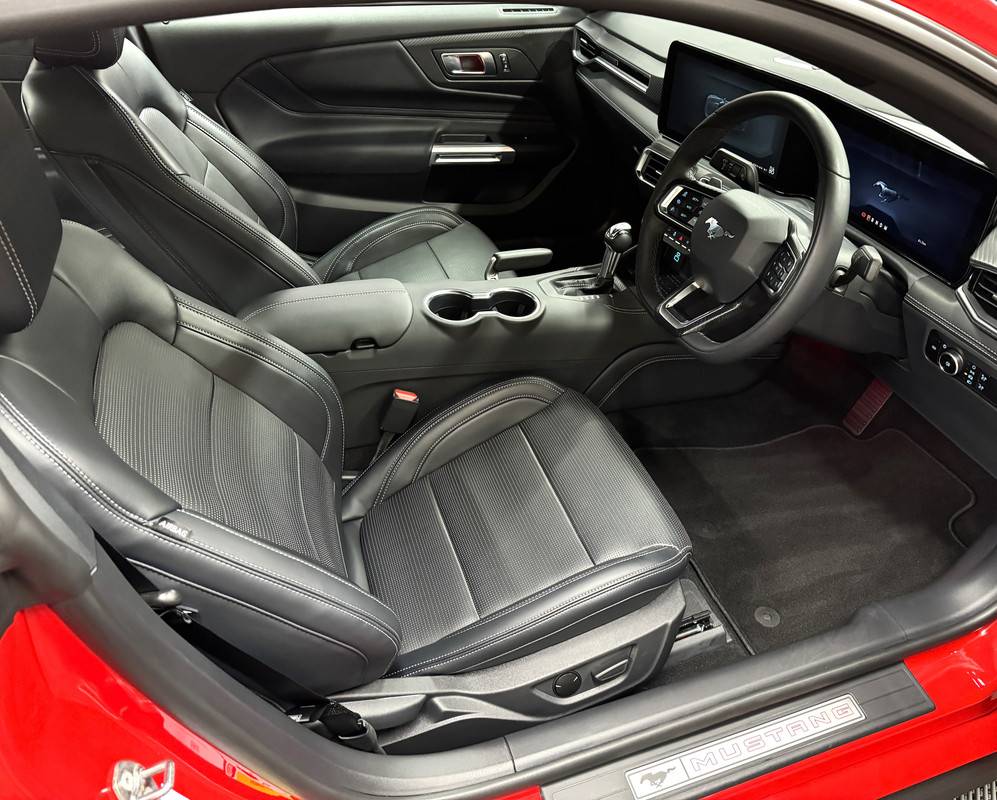
Again, the Griots was used for a quick wipe down of the console, dashboard and door trims. The front screen and door glass given the same treatment as the rear. For the seats and steering wheel, I used the ColourLock brush and Mild Leather Cleaner. Again, this was more of a reset procedure, so only light pressure was used.

IMG-2156.webp


IMG-2157.jpg


IMG-2161.jpg


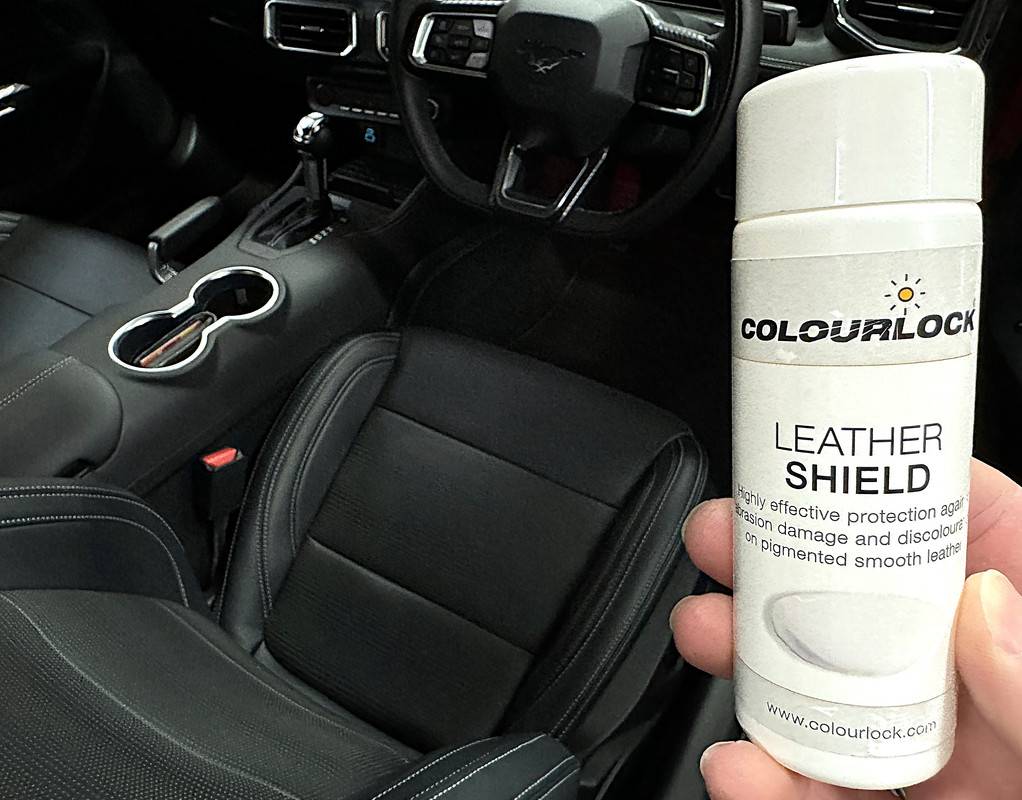
Now clean and allowed to dry, I then applied ColourLock Leather Shield. For brand new leather, ColourLock recommend using Leather Shield up to the 3-year mark, from there you switch to Leather Protector. Leather Shield is an abrasion, discoloration and dye transfer blocker that also allows it breath. ColourLock suggest that signs of wear are most pronounced over the first three years, so Leather Shield was designed to prevent that. For best results, the driver's seat should have this applied every six months, once a year for rest of the interior.

IMG-2170.jpg


In my case, I applied Leather Shield to the aforementioned rear seats, the front seats, steering wheel, door trims, gear shifter and boot, drift brake, the center console and console lid. Yes, most of that is not real leather, but there is no harm applying it to artificial leather. Like the Leather Cleaner, Shield is unscented.

IMG-2165.jpg


IMG-2166.jpg


Leather Shield goes on quite shiny, but as it flashes away, the finished result is a soft, natural, matte finish. No greasiness, no shine. I have to say, afterwards, the leather took on a new dimension, it feeling softer and smoother than before.

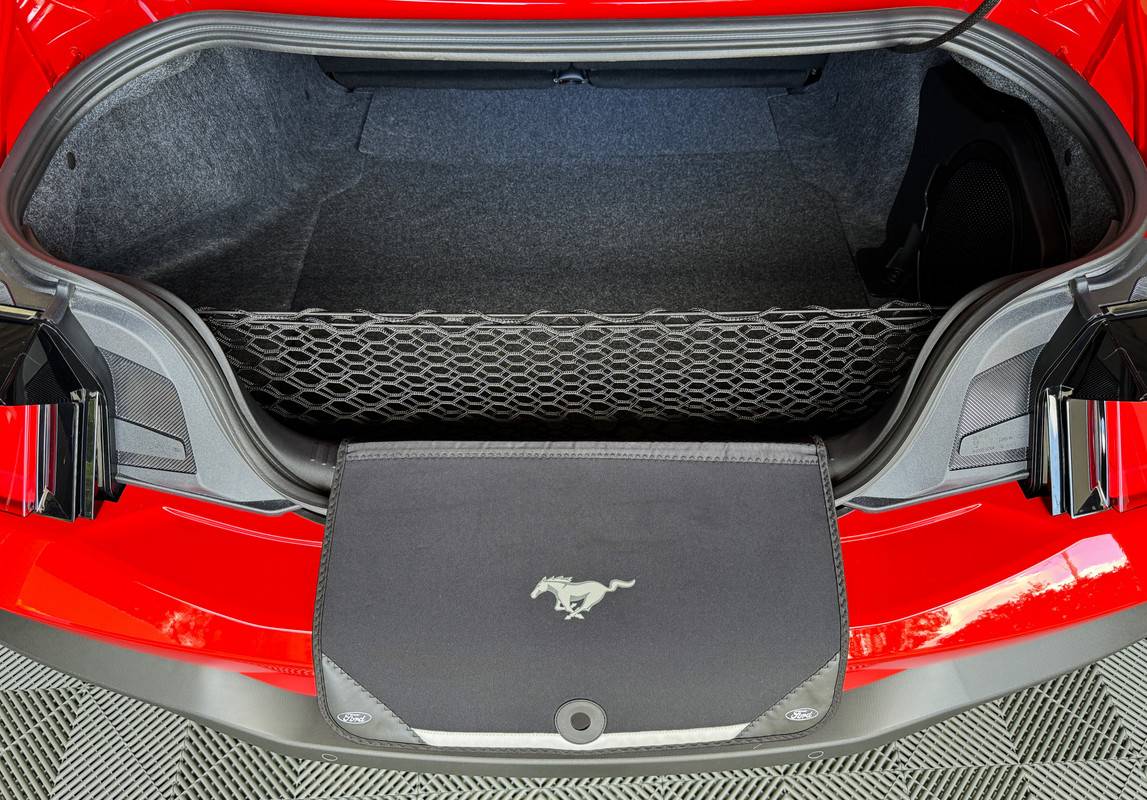
Finally, a couple of additions to the boot.

First off, I repurposed the scuff guard and cargo net from my S550. Combined, these two are worth about $140 new.

Genuine Ford Pony Logo FLA Boot Scuff Guard
Genuine Ford Cargo Net Mesh Organiser Backer

IMG-2123.jpg


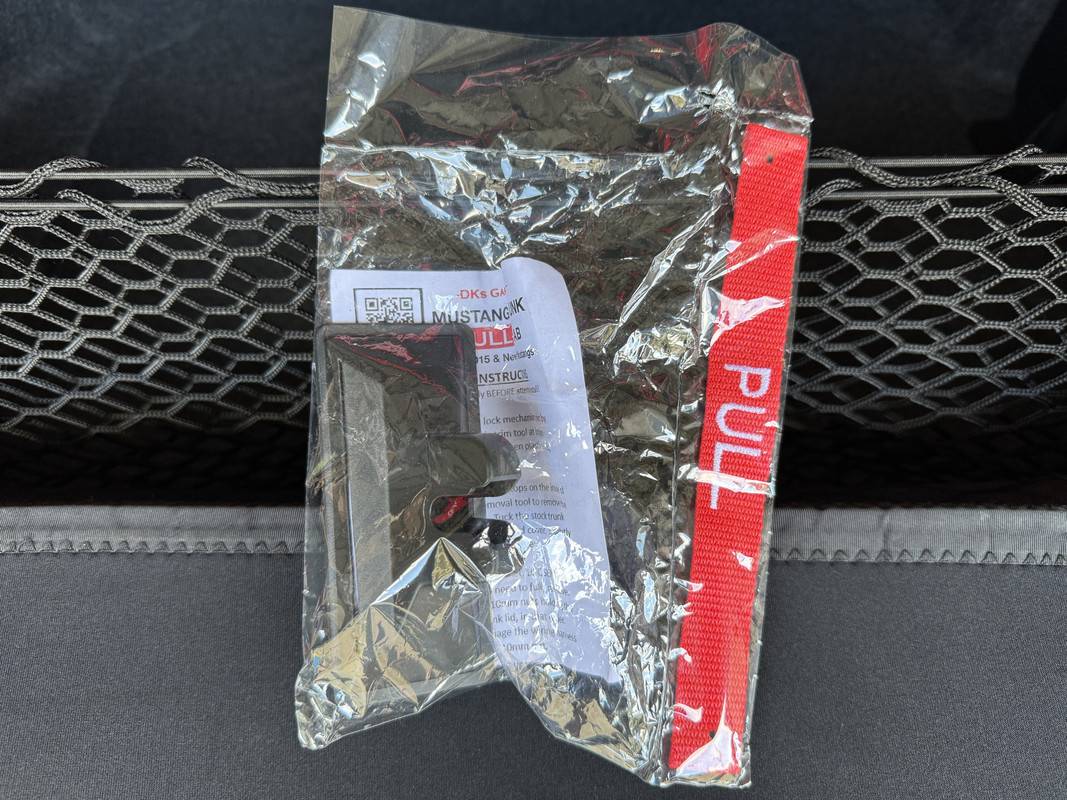
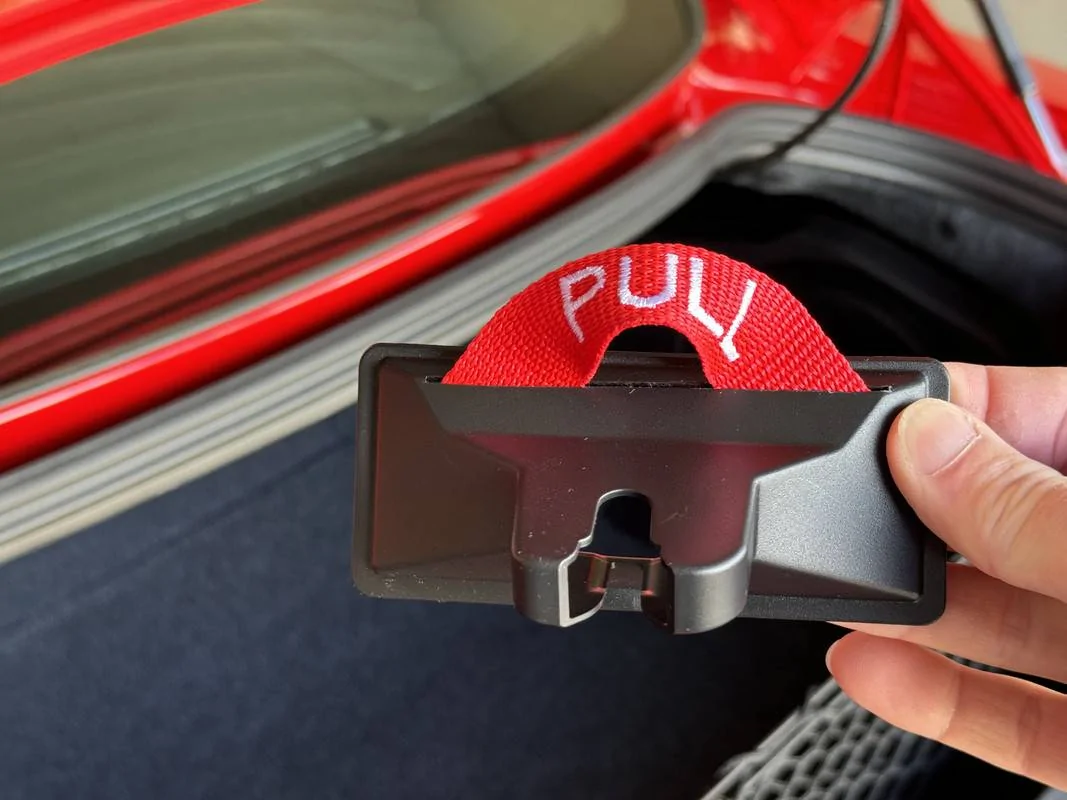
Next, a very generous gift from a fellow Mustang 6g/7g forum member after a trip to the USA. This item replaces the standard boot lock cover and provides a grab point to close the boot lid without fingerprinting your paint. Many thanks @50ALM , greatly appreciated. :like:

IMG-2129.jpg


IMG-2134.webp


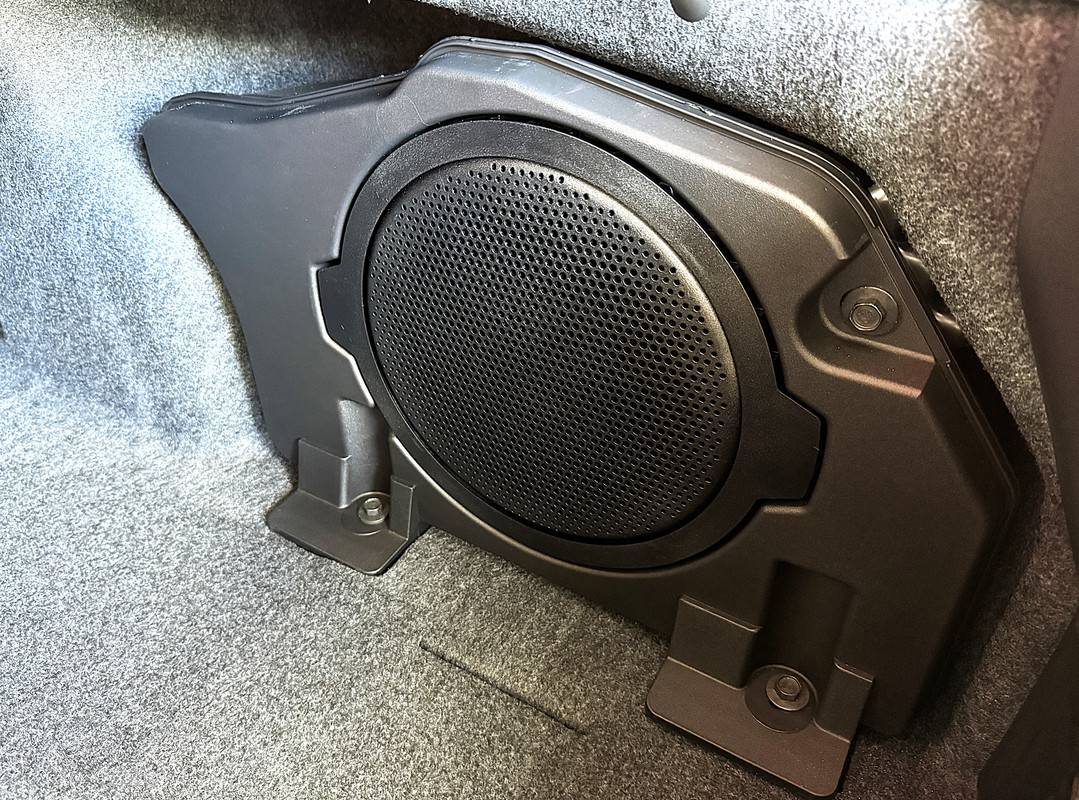
Not an addition per say, but new to me as my S550 didn't come with one, a sizeable subwoofer.

IMG-2126.jpg
 

Bulutt

Well-Known Member
Joined
Sep 6, 2019
Threads
33
Messages
1,286
Reaction score
1,973
Location
Australia
Vehicle(s)
2019 Bullitt
The Spec!

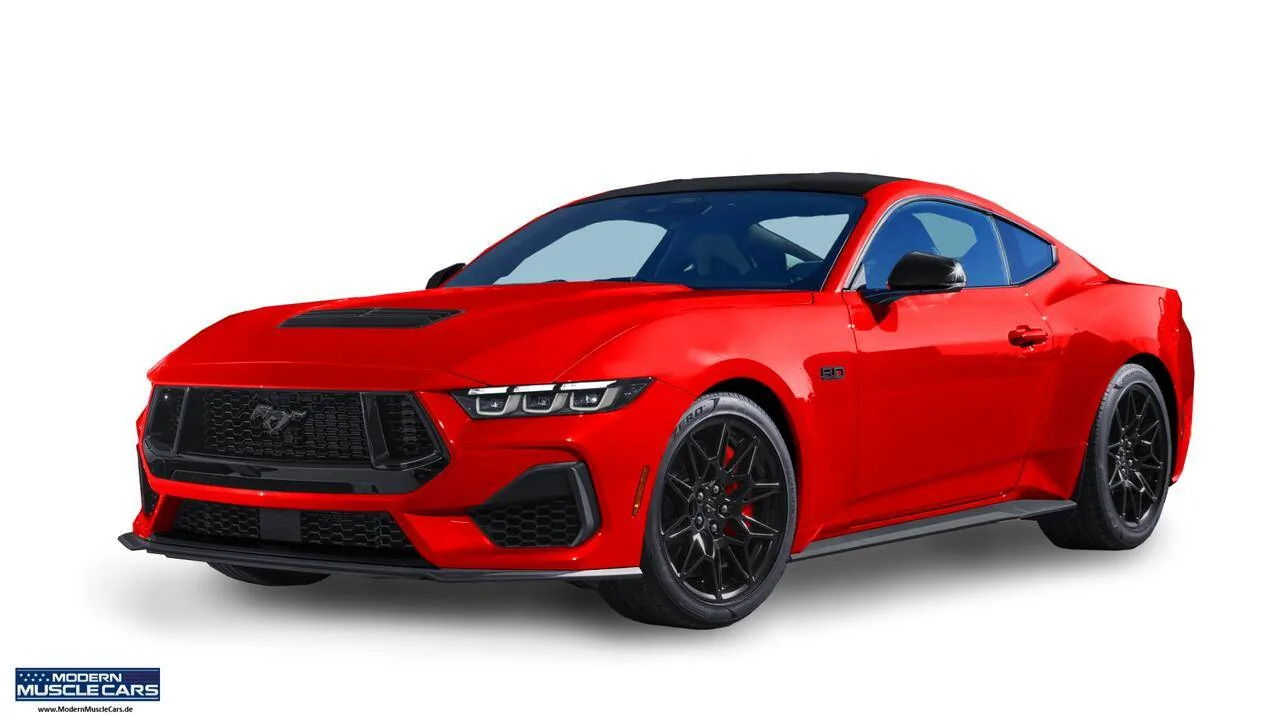
Up until this point, I just realized that I haven't outlined my chosen spec for this car. Model wise, I briefly entertained the idea of aiming for the top and ordering a Darkhorse. Thing is, I had a strong hunch that Ford were going to ask in excess of $100,000 for them, which many said I was bonkers to think that. History will prove that my hunch proved correct. In any case, I had already decided on a GT Fastback before Ford announced pricing. An EcoBoost didn't interest me, nor did a convertible.

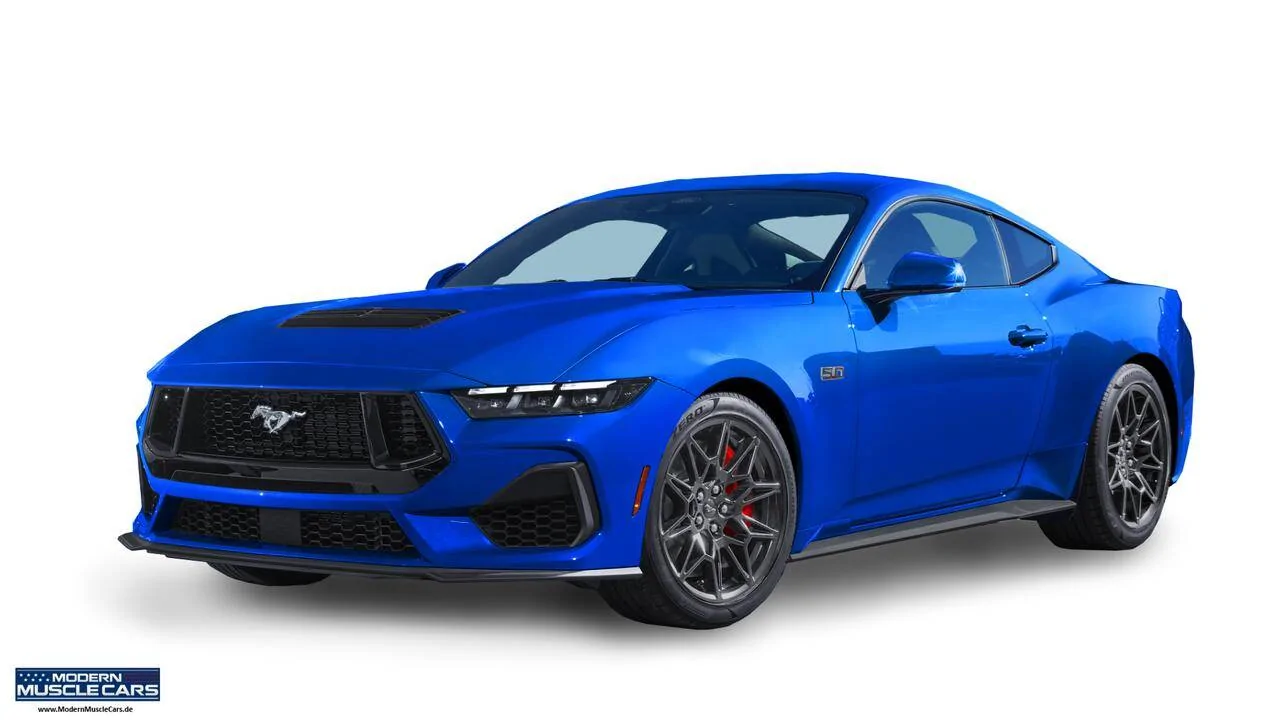
Next, colour. Believe it or not, I actually considered two colours. The delightful Atlas Blue would have made for a different look, but........................Race Red was calling my name again. For me, fire engine red and Mustang's go hand in hand.

ab101.jpg


s650301.jpg


To mix things up, I also decided on the Black Pack, called the Nite Pony Pack in America. This brought satin black wheels, black painted roof and side mirrors and black badging. But the best part of the Black Pack is the headlights, the lack of chrome makes the front end look sinister! Even my salesman commented that the Black Pack was the smart choice. Sadly, shortly after my car was built, Ford discontinued the Black Pack due to parts shortages. Very happy that I managed to get it though!

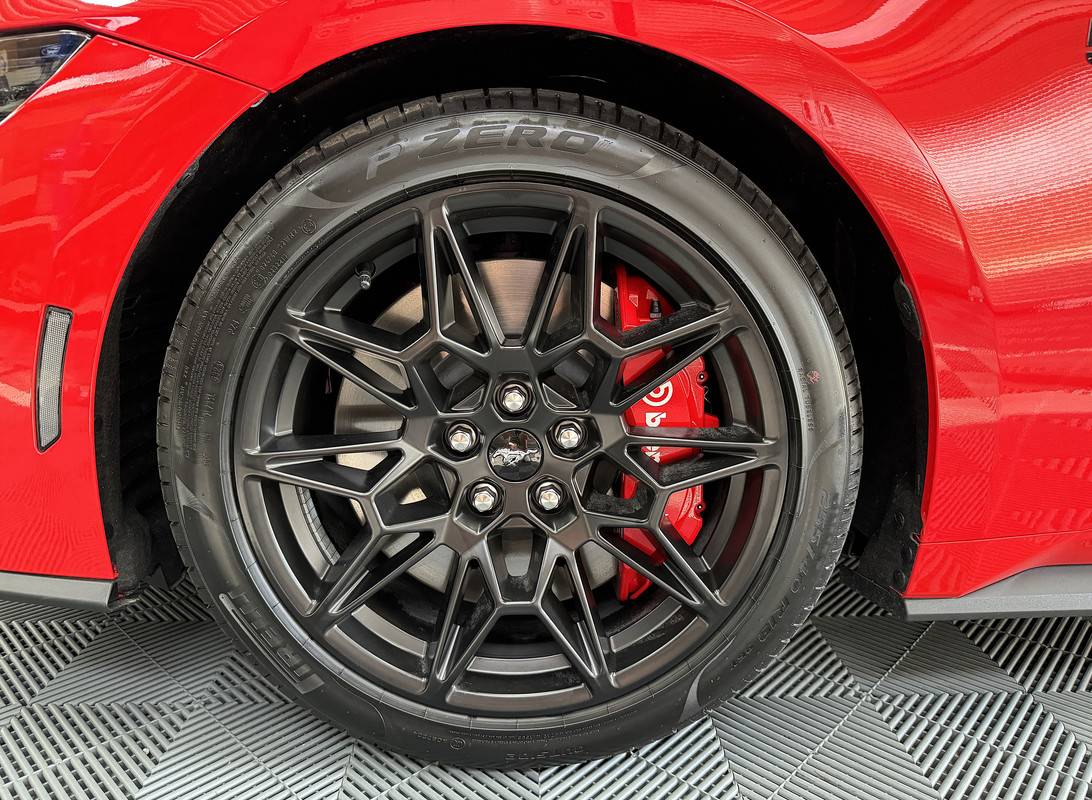
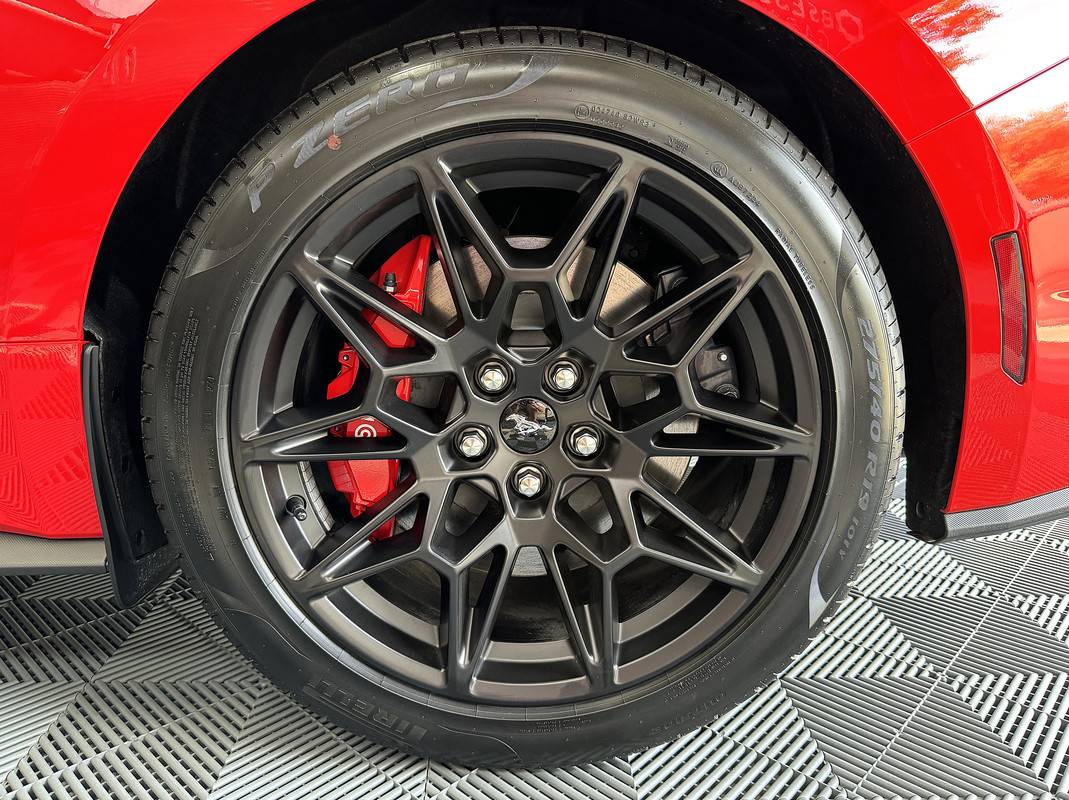
From here, I also knew I wanted Magneride. This is quite an expensive option, one that I didn't question selecting for the improvement in ride and handling it would bring. Had it been available when ordering my S550, I would have ordered it then too. The massive side benefit to Magneride is the red painted Brembo calipers. If you have bought a car with big brakes, I kinda want to see them, not blend into the background like they did on my S550.

IMG-1975.jpg


I love how Ford are now putting Brembo calipers on the back, makes the car look so much better. The little Pony logo is a nice touch too.

IMG-1976.jpg


Transmission? If Ford offered the Tremec on the GT, there might have been a choice to make. Other than being very noisy, I never had an issue from the MT82, the shifter feel and weight was perfect. But, I wanted to try something different, and so the 10R80 10-speed auto became the default.

The only other option that I pondered was the Recaro seats. I test drove a S550 with Recaro's a few years ago and thought they were great. But, I had a lot of people telling me that they get old really quick, the firmness and high bolsters becoming an issue. After placing my initial order request, I had later asked for them to be added on my order. For some reason, my ordered didn't get amended. That wasn't a bad thing because by the time I noticed it, I had already changed my mind again. When prices were announced, I was already looking at a considerably more than I had expected to pay, so no Recaro's worked out for the better.

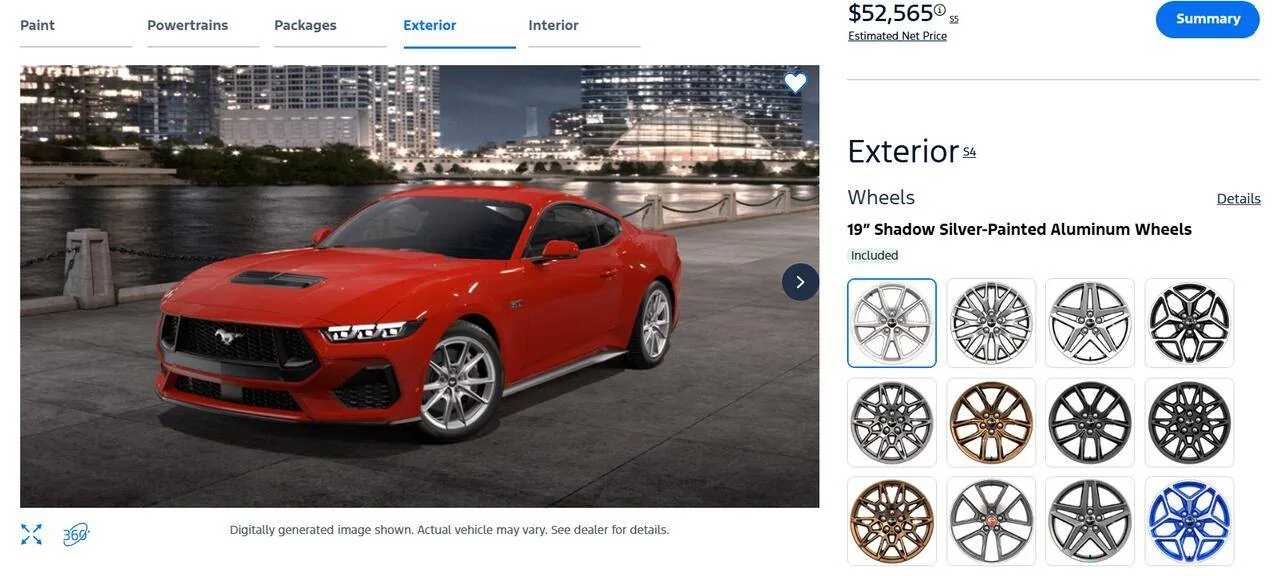
There are three other options I would have dearly liked to order if Ford were more adventurous. First, a choice of wheels! I hate those bird-nest things, especially in black. I would have loved the machined Y-Spokes offered in the US, which are compatible with the Performance Pack.

Screenshot-262.jpg


s650203.jpg


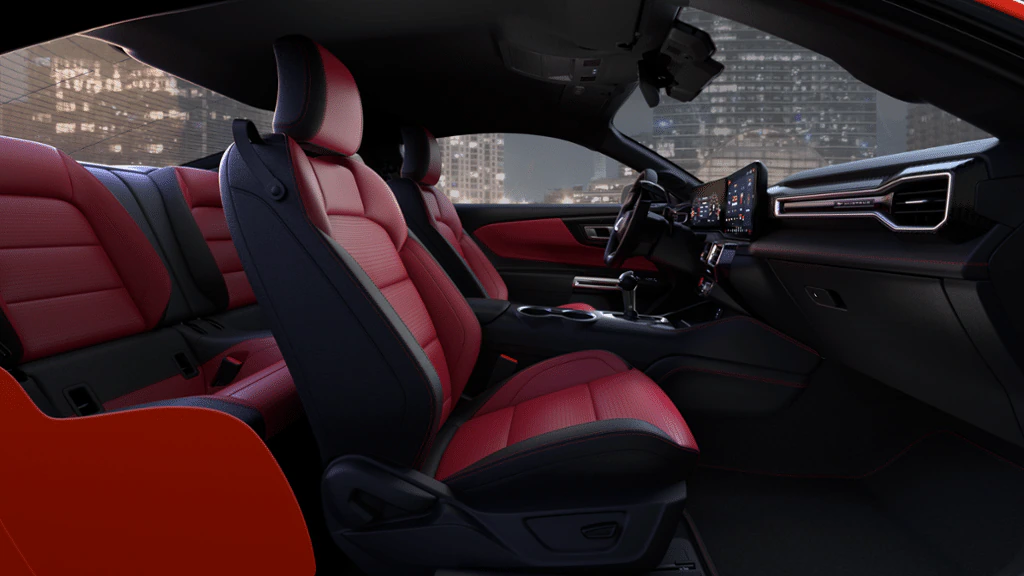
I know I harp on this, but the Carmine Red interior would have brightened up an otherwise dark environment.

650.1.jpg


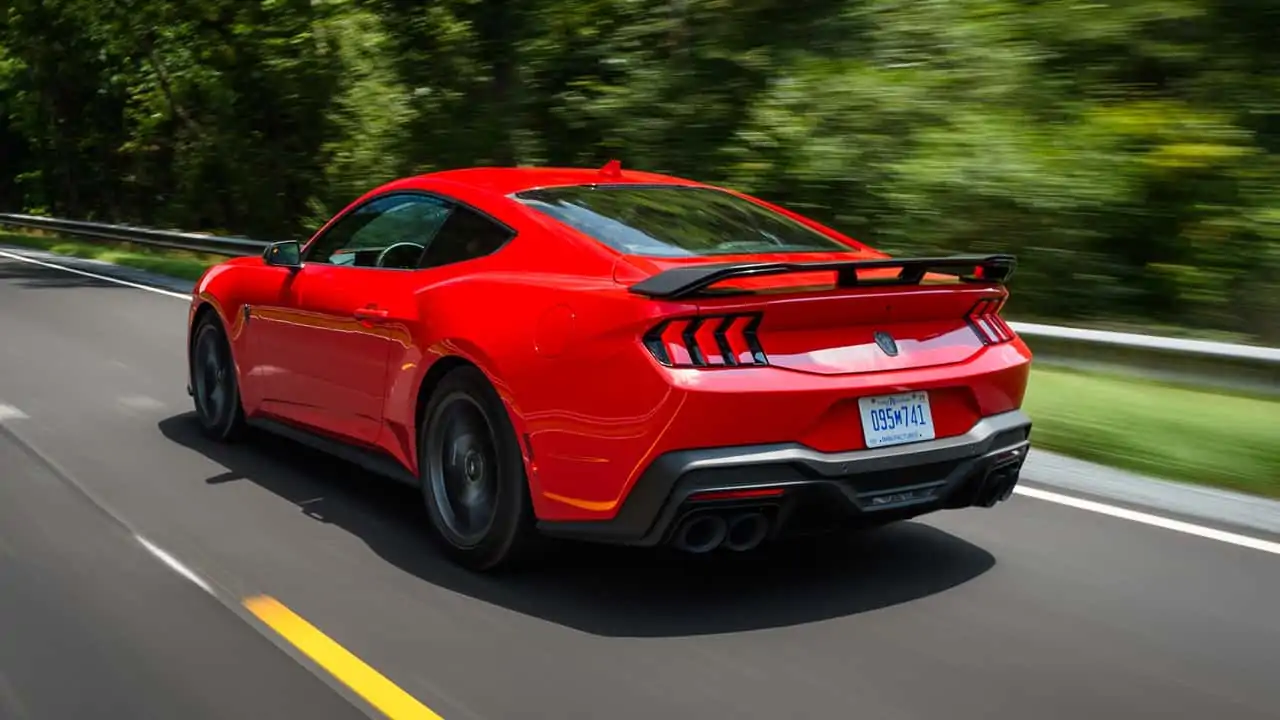
And I would have liked a rear spoiler, the pinched rear of the S650 sort of needs one. For some reason only known to Ford Australia, you can't order a spoiler separately, nor can you have it when selecting the Black Pack, its only available on the Appearance Pack which also includes stripes. However, having seen an S650 in person now, the rear is much better than I had been expecting.


At the end of the day, I'm happy with my spec. :like:

Side story I forgot to mention earlier - I remarked to my salesman that I knew which car he was going home in tonight. Apparently, there was a contest who would be driving my old Mustang home, seniority ruled supreme, and the sales manager won the argument. I should have piped up and insisted my salesman take it first, it was his sale. In any case, I told him to give it hell. :wink:
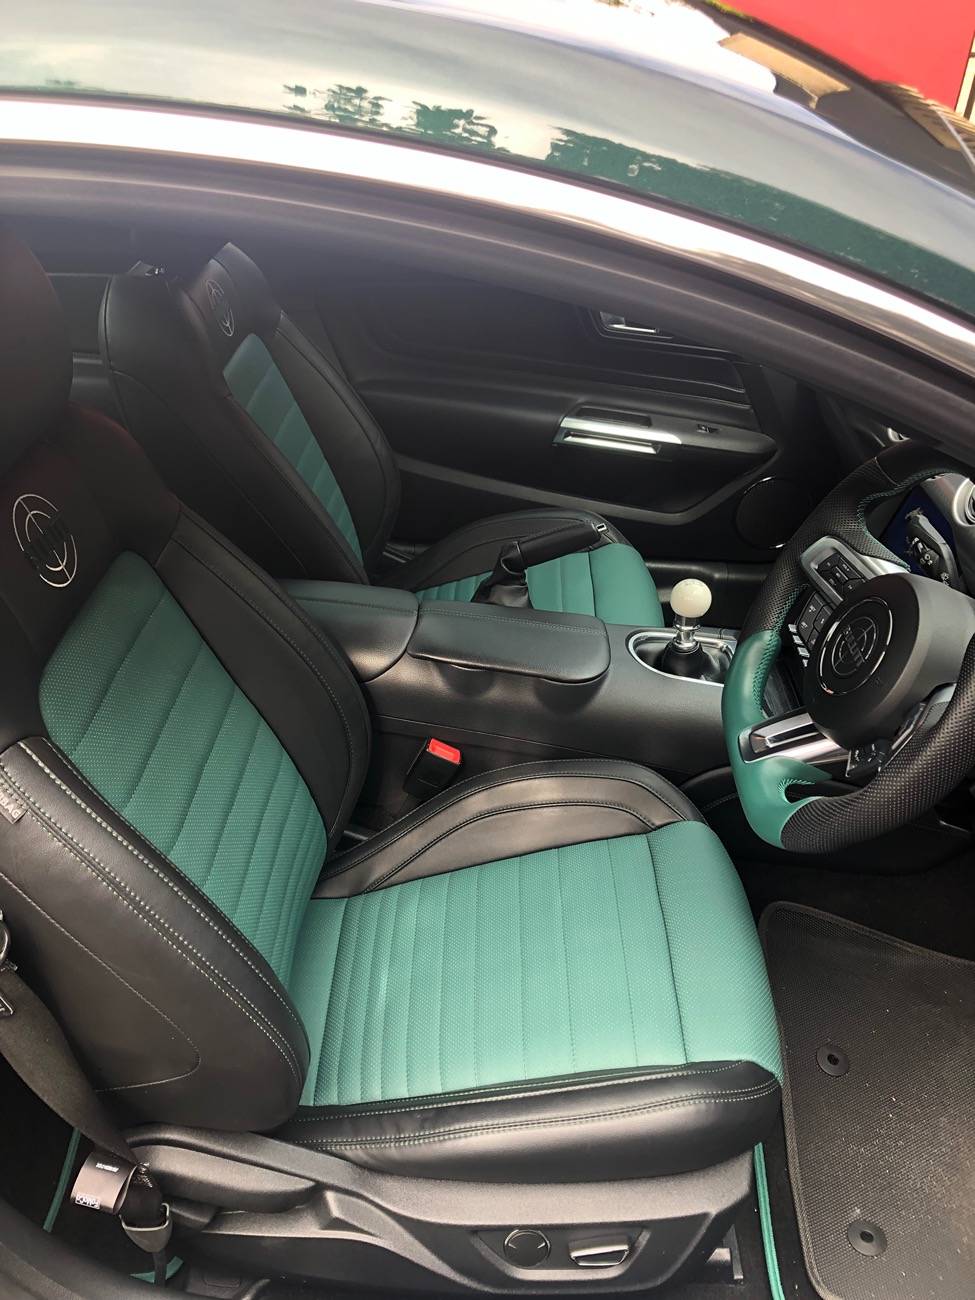
Get a good trimmer to do a couple of red leather inserts in the front seats. Not so expensive but makes a big difference. You see and feel them every time you get into the car.

IMG_2588.jpeg
 

Sponsored
OP
OP
DFB5.0

DFB5.0

Well-Known Member
Joined
Mar 15, 2017
Threads
93
Messages
5,467
Reaction score
15,737
Location
Australia
Vehicle(s)
Mustang GT Fastback
As was obvious, the two year wait for this car tested my patience, especially between year one and year two! As the wait grew longer and longer, I had people telling me that they would never wait so long for a car.

Many times I considered cancelling my order and buying something else. If the right used car popped up, that may well have happened. Thing is, the right used car was basically a unicorn and meant too much compromise for my liking, especially at the asking prices. Every time to tried to sway, I kept returning to the car I had on order, nothing else ticked all the boxes.

One of the things that kept me motivated and excited about a new Mustang was watching and hearing videos of the new S650 starting up. This will probably sound completely weird, but how a car sounds as it winds-over on the starter and ultimately fires up is something that gets me excited! Those sounds often get stuck in my head, giving me a little buzz when I think about them.

The whirr of a V12 Aston Martin reminds me of the 5th Gear review of the then new DB9.


The rapid turn over and blast of sound from a V8 F-Type is pure heaven!


I also loved the distinctive sound a last-gen Windsor as it wound over. I think FPV used the same starter on the 5.4 Boss V8's too. I always thought the Holden equivalent sounded so lazy as it was turned over.


Same for the Miami V8's, which have quite a long run on the starter before firing off.


And so, as I watched videos of others starting up their very own S650 Mustang's, the excitement for doing that for myself helped keep the faith. What I love most about the S650 in particular is the fast-paced whirr and blast of revs as it fires off. There's just something about it that makes me grin! And the best part, you don't have to be in the car to start it, the remote start function allows you to take a front row position behind the car for the full sensory experience.


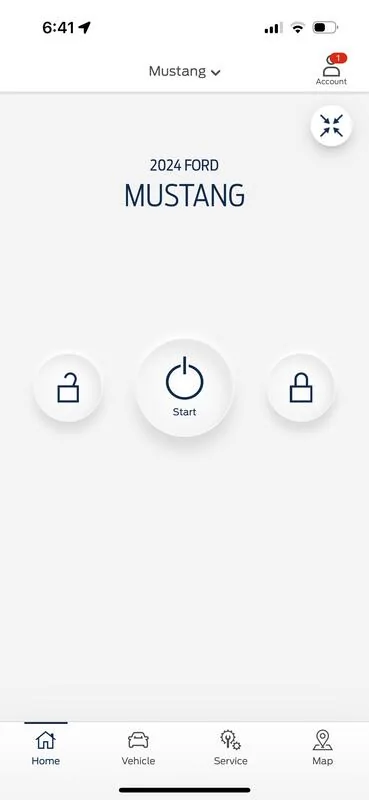
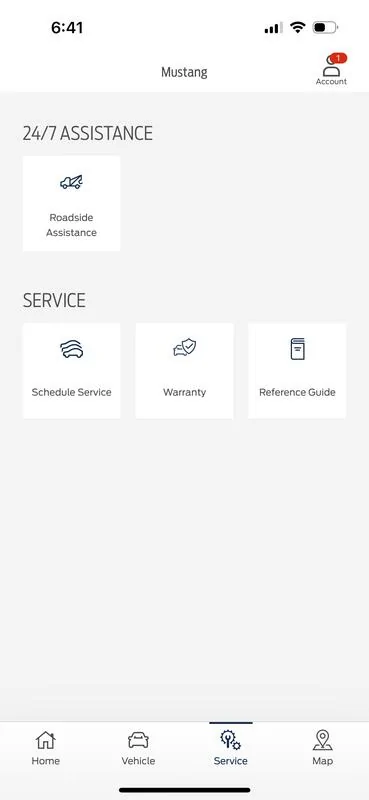
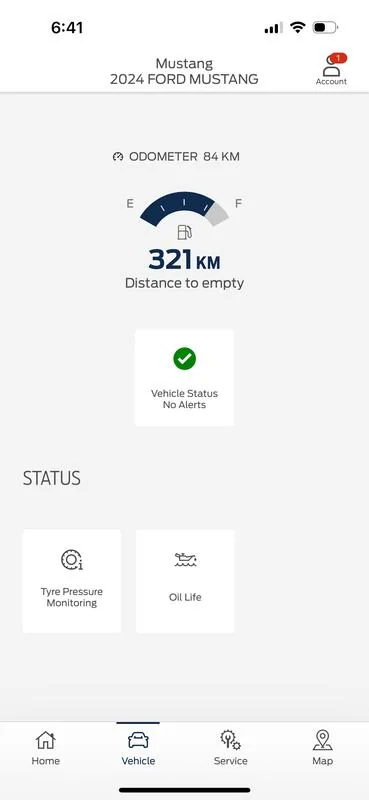
Actually, you can also remote start and stop the car with the Ford Pass App. This allows you to start or stop the vehicle remotely, handy if you want to warm the car up before taking off or making sure the battery is charged while you are away on holiday. The App also allows you to lock and unlock the vehicle, provides a distance to empty estimate, tyre pressure monitoring, oil life, vehicle tracking and current location, the ability to book scheduled services or contact roadside assistance.

Ford All-New FordPass App | Ford Australia

IMG-2176.webp


IMG-2175.webp


IMG-2174.webp


At the end of the day, this is probably more about Ford collecting vehicle usage data and research than it is of convenience, but it's an interesting feature of the car and worth highlighting.

Also, think about the fun you could have ransoming starting up a car while you watch on in amusement. Or maybe freaking out a family member while you are at work. Not that I would ever do such a thing.......................................... :giggle:
 

radar

Well-Known Member
Joined
Sep 28, 2016
Threads
15
Messages
566
Reaction score
553
Location
Melbourne AUSTRALIA
First Name
Ray
Vehicle(s)
2017 GT Convertible 5 Litre V8
Again, congratulations on your new car Deyon. I might tongue in cheek suggest the Atlas Blue may not have been a bad choice.
You know I’m not a fan of red cars!
I jest. Looks fabulous and glad you got everything you want.
I spent Sunday at Mustang Display at Knox Ford and the S650s on display look great.
Now both cars are secure in storage in Melbourne. I’ve returned to Philippines for my Prinsesa as she completes her Degree.

My coupe is running a ReSet/Beadmaker/PERL routine, while the vert is the same except for NV Boost V2. I like the Boost doesn’t mention precautions about imminent moisture/rain or application in sunlight.
But the gloss from Beadmaker on my Race Red is insane.

Not sure yet how I will slip Adapt/Amplify into that regime. Thanks again for your advice. I’m happy to have superb products doing a great job at Bowdens prices.
I’ve trialled a cheap round brush from Ali Express, and with PERL 1:1, all four tyres look great in 5 minutes.
Enjoy your new car ❤
 
OP
OP
DFB5.0

DFB5.0

Well-Known Member
Joined
Mar 15, 2017
Threads
93
Messages
5,467
Reaction score
15,737
Location
Australia
Vehicle(s)
Mustang GT Fastback
I'm probably spamming the internet with my car at the moment, but I've been waiting to show it off for two years, so sue me! :giggle:

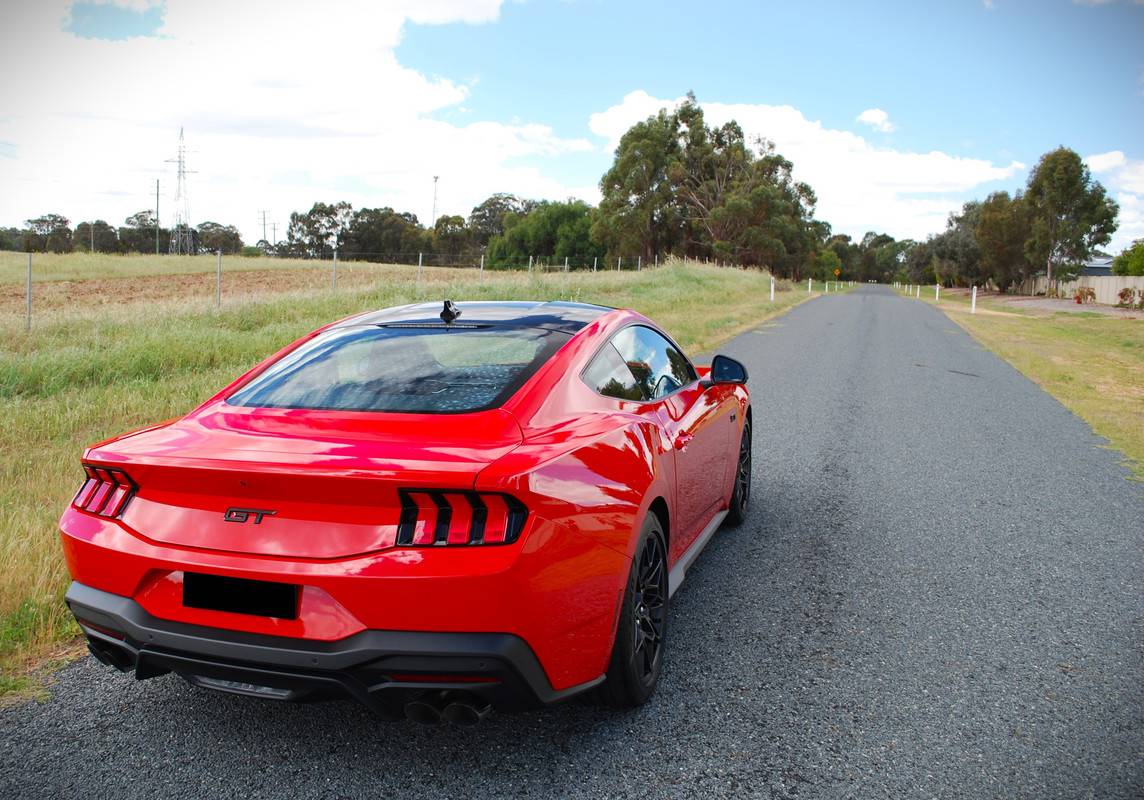
When Ford unveiled the S650, I have to say the rear end did not grab me. Strangely, I now absolutely love the rear styling.

DSC-0408.jpg


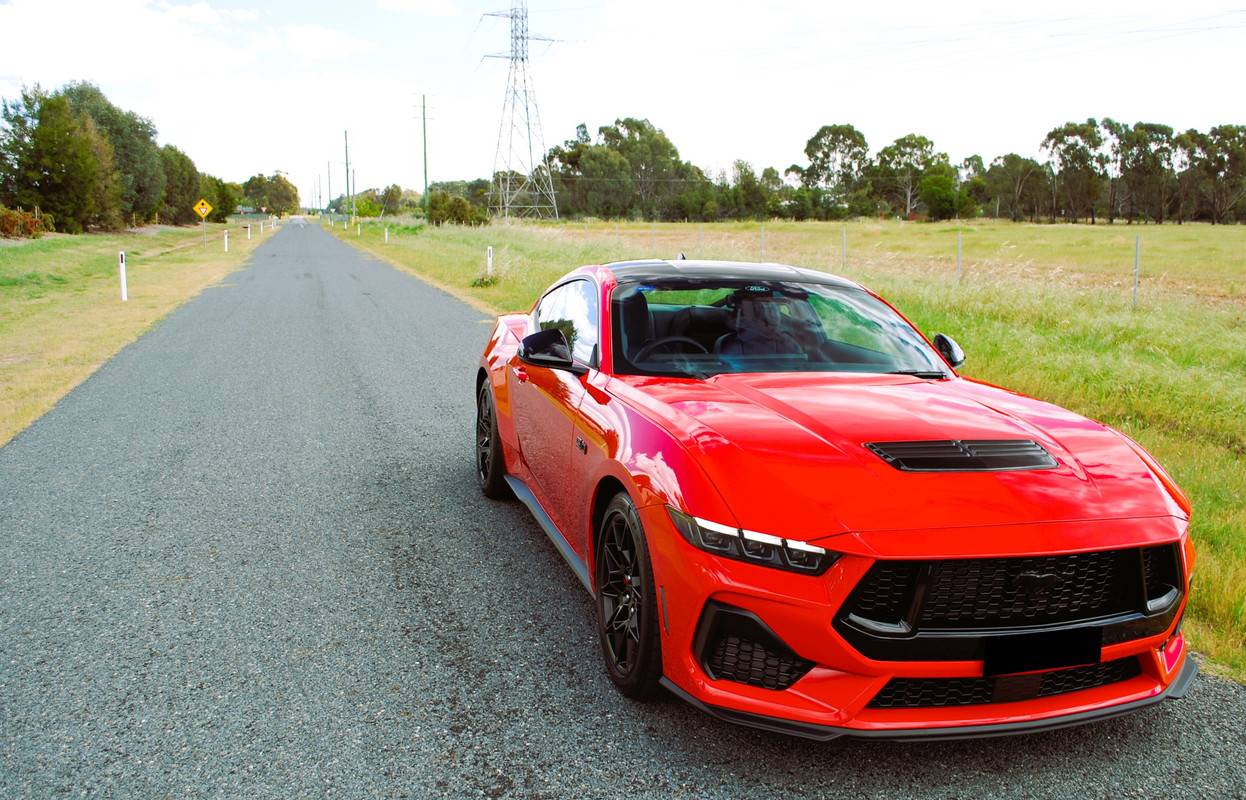
At the front, those brooding blacked out headlights look so sinister!

DSC-0409e.jpg


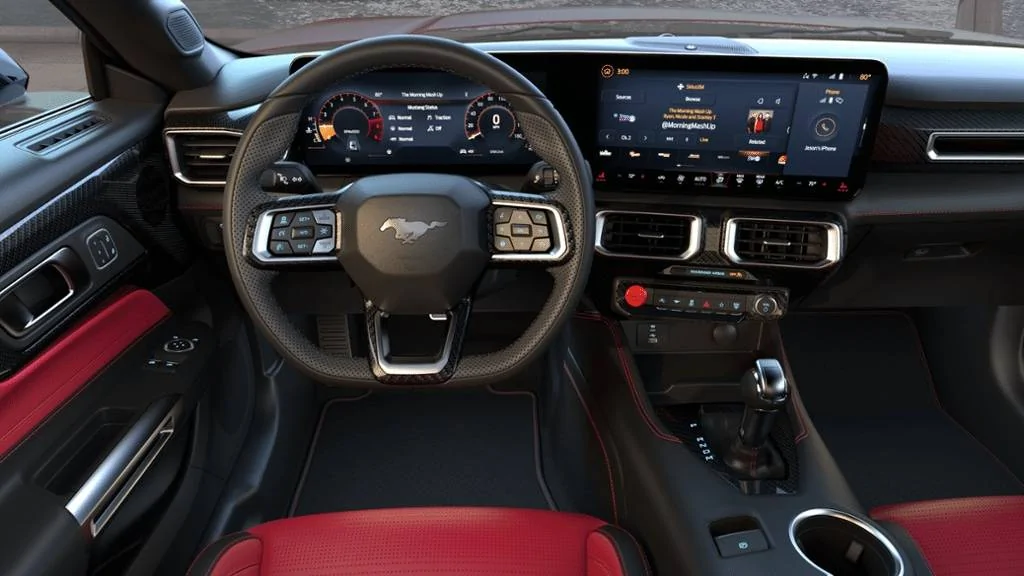
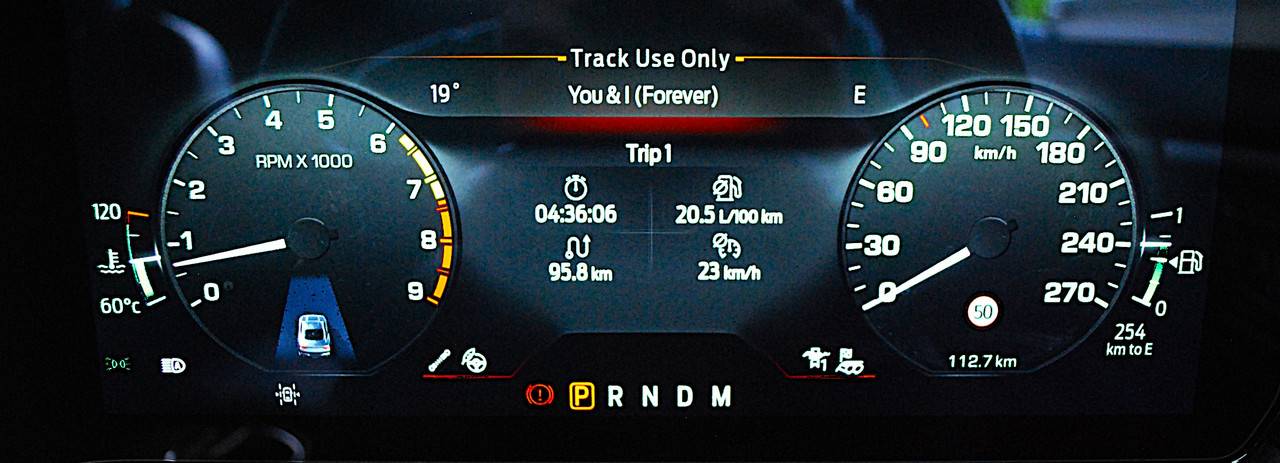
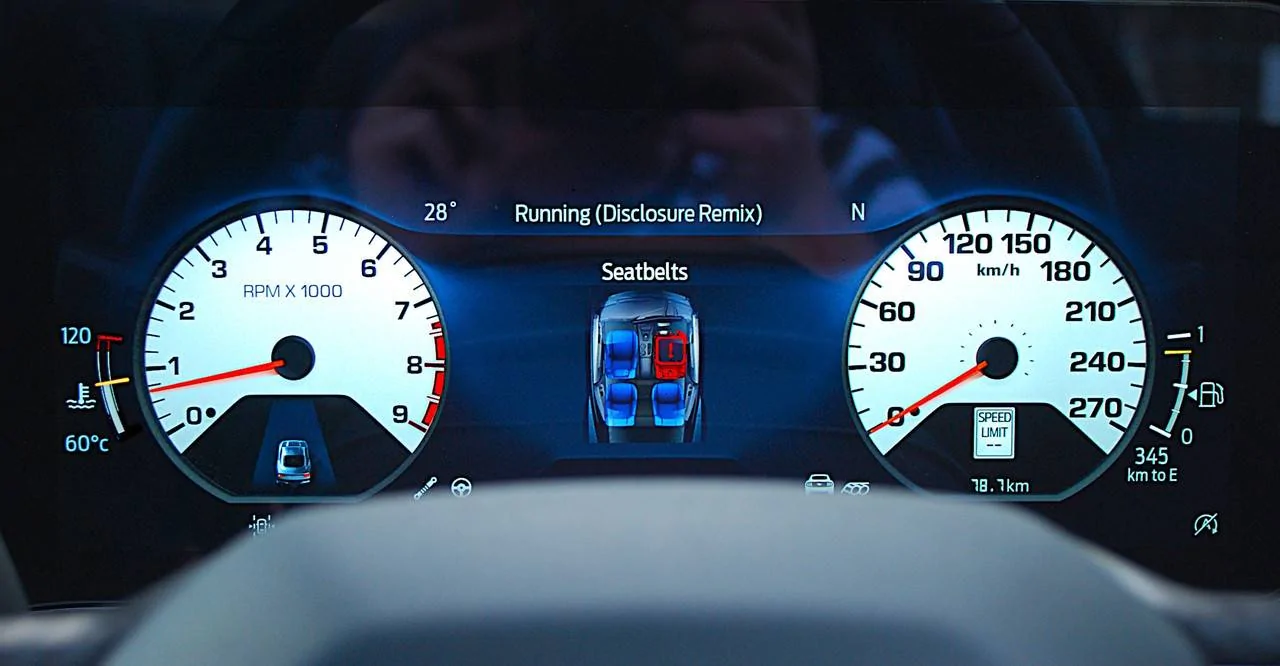
And today's cluster theme, Fox Body '87 - '93. Both this and the recently added SVT Cobra design are the clearest to view, there's something to be said about simplicity and how it relates to legibility.

Fox Body, take note of my economy reading, it drank more than a 1/4 tank doing just over 100km :giggle: Not that I'm thrashing the car, its just tight. (That's 11.47 MPG and 62 miles)

DSC-0433.jpg


SVT Cobra -

dd6.webp
Sponsored


Top