Sponsored

kz

Well-Known Member
Joined
Oct 26, 2014
Threads
62
Messages
4,586
Reaction score
2,912
Location
West Chester, OH
Vehicle(s)
Mustangs & F150
Second: More importantly, they help with keeping brake dust off the wheels, which is a big bonus.
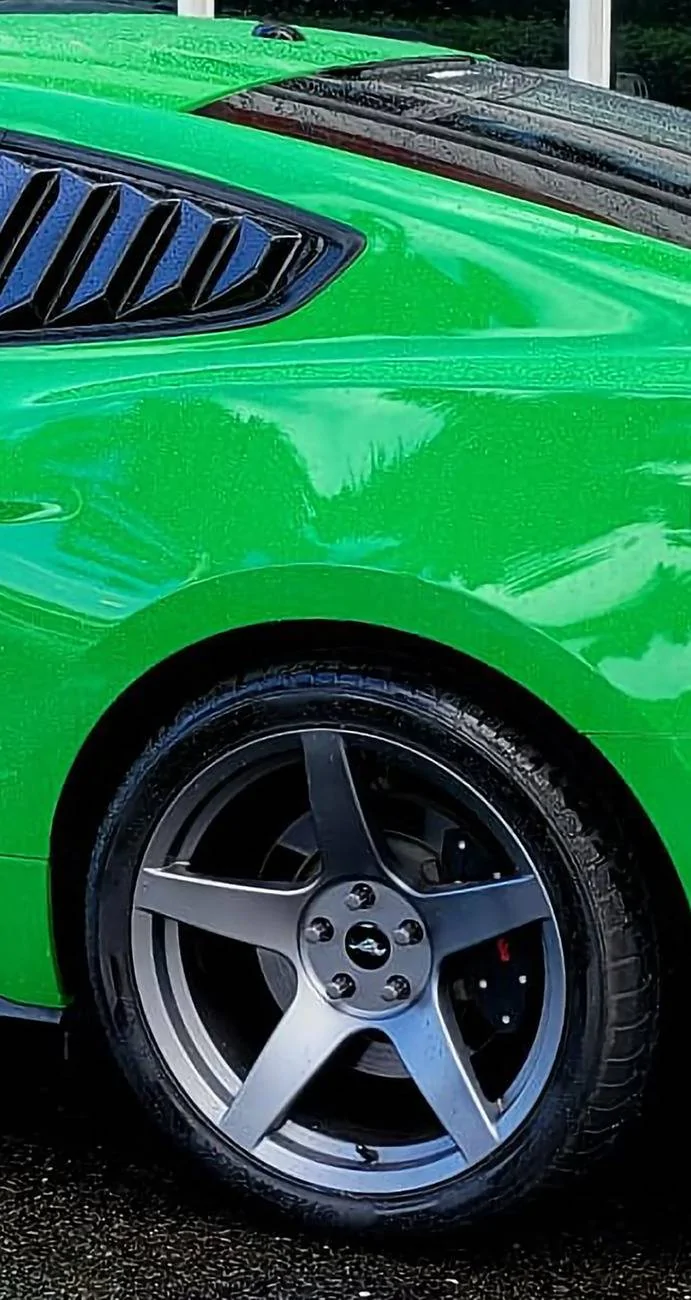
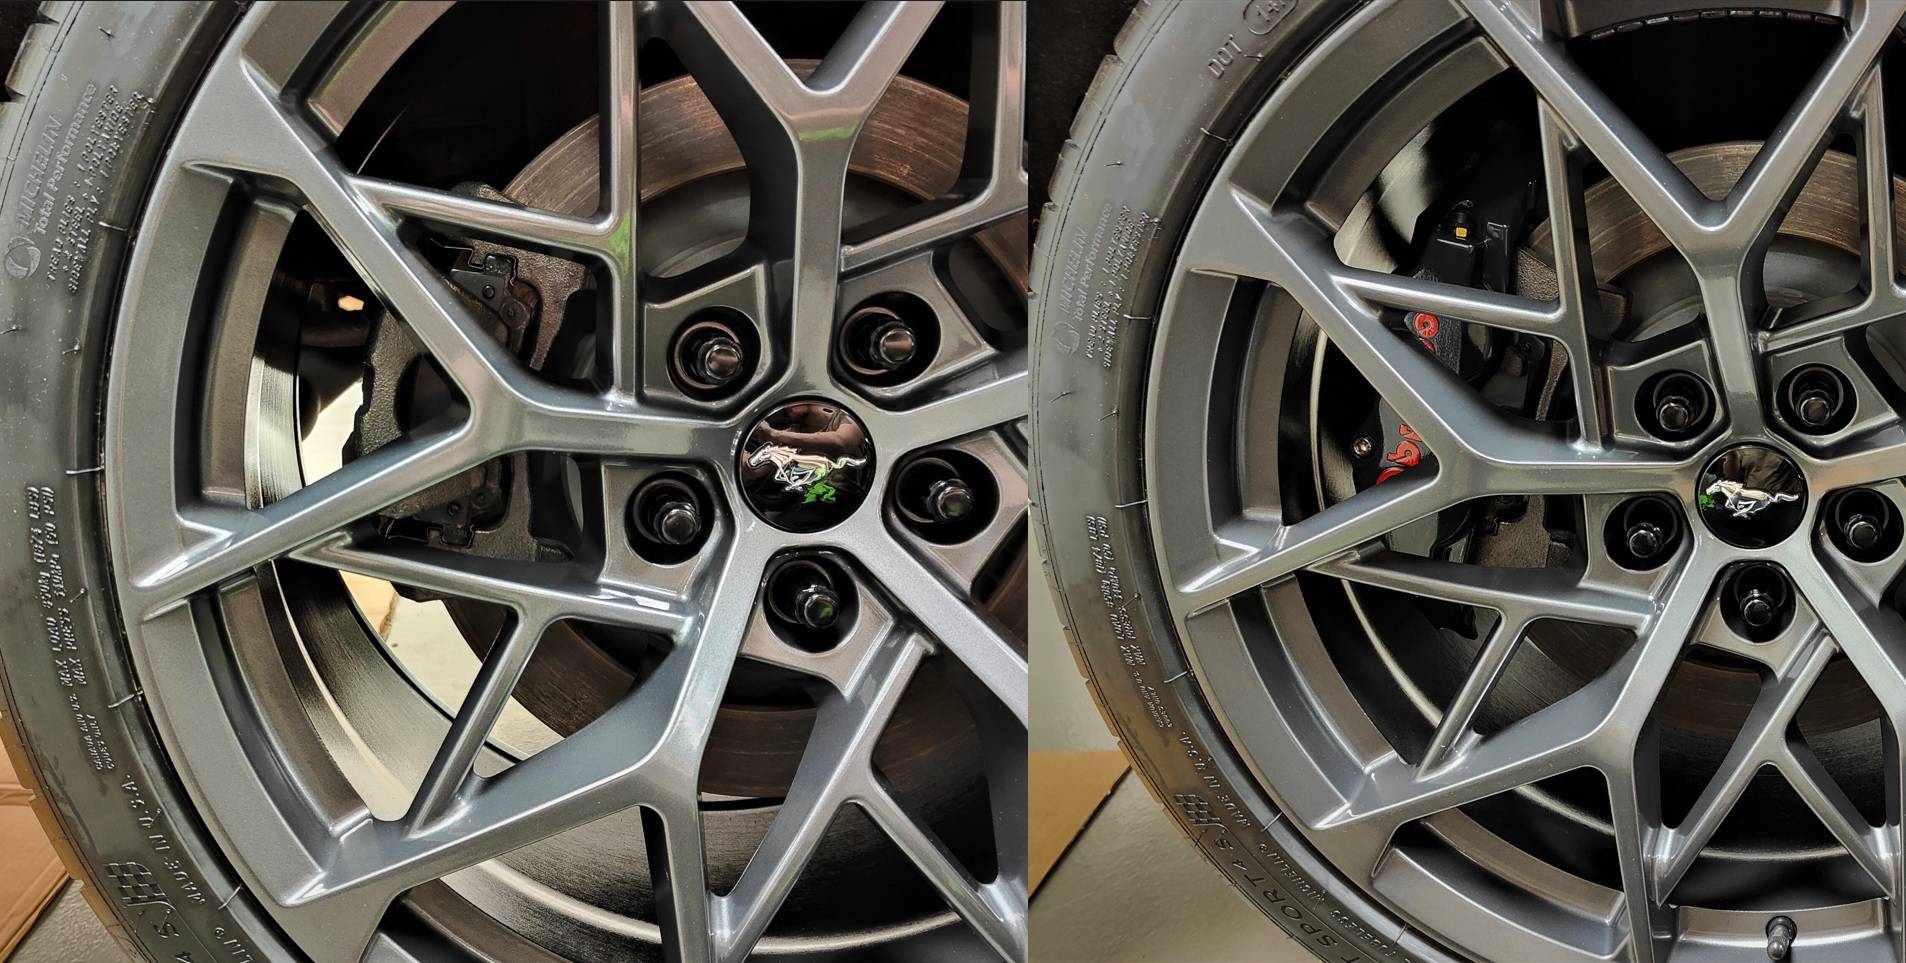
Also prevent cooling of the caliper when needed. Which is really stupid.
Sponsored


MadRabbit

Active Member
Joined
Sep 13, 2023
Threads
1
Messages
41
Reaction score
95
Location
PA
First Name
Tobey
Vehicle(s)
2020 Ecoboost
Only really a concern if you are tracking the car, which I would assume 95% of us aren't.
 

dirtwarrior

Well-Known Member
Joined
Mar 22, 2021
Threads
240
Messages
1,223
Reaction score
371
Location
kentucky
First Name
Joe
Vehicle(s)
2015 3.7 mustang
For those of us with the standard front brakes. Which cover will fit?
 

Rapid Red

Well-Known Member
Joined
Nov 4, 2019
Threads
45
Messages
5,049
Reaction score
4,095
Location
Woodstock GA
First Name
Greg
Vehicle(s)
GT PP2 RaceRed Roush> Steeda> preformance
Vehicle Showcase
2
MGP makes theirs out of aluminum and does custom color matching and lettering/logos. They are pricey but that would be the way I'd go if I did this.

Also want to add that covers serve two purposes, so they aren't just cosmetic.
First: they cover up the GOD awful looking stock calipers on the base cars. (sure you CAN paint them, but that's just putting lipstick on a pig. By painting them all you've done is drawn attention to the ugly stock calipers...FAIL)

Second: More importantly, they help with keeping brake dust off the wheels, which is a big bonus.
How do you think a cover will keep break dust from getting on the wheel? I also cannot see any temp changes with those silly covers.

They only cover the face .:question:
 

Sponsored

MadRabbit

Active Member
Joined
Sep 13, 2023
Threads
1
Messages
41
Reaction score
95
Location
PA
First Name
Tobey
Vehicle(s)
2020 Ecoboost
It won't totally stop dust from getting to the wheel but any dust that gets on the back of it isn't getting on to the wheel and every bit helps.

And heat is an issue for sure if you are tracking the car and pushing it hard. But on the street, unless you ride the breaks like a grandma, it's not really an issue.
 

Rapid Red

Well-Known Member
Joined
Nov 4, 2019
Threads
45
Messages
5,049
Reaction score
4,095
Location
Woodstock GA
First Name
Greg
Vehicle(s)
GT PP2 RaceRed Roush> Steeda> preformance
Vehicle Showcase
2
It won't totally stop dust from getting to the wheel but any dust that gets on the back of it isn't getting on to the wheel and every bit helps.

And heat is an issue for sure if you are tracking the car and pushing it hard. But on the street, unless you ride the breaks like a grandma, it's not really an issue.
I can go ridiculous, and say the alum cover would help reduce the heat. As they will act as a heat sink.
 

Tonyyyyy

Well-Known Member
Joined
May 2, 2024
Threads
19
Messages
77
Reaction score
20
Location
Greece
First Name
Antony
Vehicle(s)
Ford mustang gt 2020
Hello everyone!
So just as a lot of you guys, I'm dreading the look of the rear calipers on my GT 2020 when the front BREMBO calibers looks great!

I looked into painting the calipers, but it both was a PITA job along with the result of just making an ugly caliper visible.
When I turned to covers, I realized that there was a lot of options and with different results and work needed.

My goal... It should be easy to do myself, it should be fairly cheap and I wanted a solution where it was possible to take the brakes on/off for maintenance without having to cut off or ruin the covers.

This is what I used for the project:
- Caliper covers size large
- BREMBO Sticker
- Graphite grey spray paint (Find something that matches as good as possible - this was what I could get in Denmark)
- Automotive clearcoat (I found something from the same brand as the paint)
- Heat resistant silicone sealant (I found some heat resistant gasket silicone for 250degrees C (482 degrees F))
- Different tools and stuff explained through the guide.

Preparation of the original caliper:
Org. rear red.jpg


I brushed off any dirt with a steel brush dremel tool and afterwards I cleaned it with petrol based cleaning agent and then isopropanyl. I only cleaned the marked area since that was where it would bind.

Covers:
Covers painted.jpg

The covers needed to be cut a little to fit since they are universal. I have no pictures of this process but I did it with a fresh box cutter blade and I kept cutting a little, test fit, cut again, test fit, and so on untill it was as wanted.
I took off the screws and fake brake lines. sanded the covers with fine grid for prepping it for paint. Then I painted then with 4 coats of paint and made it cure for 24 hours.

Then wet sanded it with very fine grid both to make the small flaws in the paint go away along with making it better for binding with clearcoat.

On with the stickers - might be the most tricky part to get it straight and looking good.
After the stickers has been added it is time for clear coat.

IMPORTANT! First coat of clear has to be very thin since too much will dissolve the adhesive on the stickers and make them wobble and ugly... and YES!... I did that the first time and had to sand down both covers again and start over, so make sure you're careful here!
Afterwards I glued the screws back on along with the fake bleed valve. I used epoxy for this.

Comparison:
Compared.jpg

In the picture the color is more off that real. Have in mind that the front brakes aren't painted and in this picture the caliper is away from light under a fender while the cover hand held out where the light makes it look brighter.

Mounting:
Caliber with adhessive.jpg
Cover with adhessive.jpg
Cover mounted and pressurxed.jpg


The silicone was added in the caliber as well as on the cover. I used a finger to spread it to make it stick better (on the cover the black lines are markings of where it will sit on the caliber). After spreading it, I added a little more on both parts to make sure it would bond together nicely.

Afterwards when pressing it on the caliper I went to town with tape to make it sit still and correct for a couple of days to make completely sure that it had cured.

Polish and coating:
Cover mounted and done.jpg

After it had cured I polished them with 2500 polish compound and then coated them with CarPro CQuartz 3.0. Add they are smooth, looks glazed and are hardly picking up any dust. Plus they are very easy to clean!

Before and after:
1688850435895.jpeg


_DSC0609.jpg

_DSC0622.jpg

Final thoughts...

This was an easy project and it requires no special tools or expensive parts. It is not perfect and when you know what to look for, you can easily still see the original bracket.
It could have been done a lot prettier but I had a priority of easy maintenance as stated in the beginning.

I am really happy with the result and I can only recommend to go for it.

If you have any questions regarding this guide just hit me. Due to logistics since I'm in Denmark I might not be helpful with where you're able to find the parts others than the covers and stickers. And even those you might be able to find cheaper/easier than I could here in We-hate-funny-cars-part-of-the-world, haha!

Happy modding!

Thoughts a year after:
So after a year I did a checkup when getting the car ready for winter storage.
I am amazed that it seems to be placed well protected by the rim from stone chips - it has no damage at all and this is also the first time cleaning the covers and it went smooth as F...
I tried to pull it lightly but as far as I can remember, it sits just as fine as when mounted.
I also checked if they had any heat damage or was warped due to heat but no signs of that.

I ended up just cleaning it and then put on some ceramic maintenance detailer and we're ready for the next season 🔥


@MrBD1348 @StangTime @Roy_Steeda @ing3nious @WhitemarePP @LarsenGrind
Hello friend, nice job, i like it 🔥
Can you please tell me which size of callipers you choose for the rear covers?
small,medium or large?
Thank you
 

dirtwarrior

Well-Known Member
Joined
Mar 22, 2021
Threads
240
Messages
1,223
Reaction score
371
Location
kentucky
First Name
Joe
Vehicle(s)
2015 3.7 mustang
He used the large for the front with a little trimming. The rear brakes are a little smaller so med or large will fit.
Sponsored


Top