Bulutt
Well-Known Member


Sponsored
The big ticket item was a maxshine m8 pro.So, what goodies did you snag?
")
...in a Mustang, XR6, XR8 or Jaaaaaag. Perish the thought, all horrible choices and way too many, no wonder it's an issue. Tell you what, at great personal sacrifice I'll drive one of the aforementioned 'shitters' to the location and return with goodiesAll are a 2.5 hr drive though.


Happy for you to do that, only stipulation is I come too....in a Mustang, XR6, XR8 or Jaaaaaag. Perish the thought, all horrible choices and way too many, no wonder it's an issue. Tell you what, at great personal sacrifice I'll drive one of the aforementioned 'shitters' to the location and return with goodies


Excellent work, well done!!I first dipped my toes into detailing about 14 years ago, back then it was a Bosch Pex440 AE orbital Sander (similar to a porter cable), Lake Country pads and either Poorboys or Menzerna polishes. There was no fancy Si02 sprays or graphene or ceramics, it was just carnuba or Poorboys EX-P if you wanted something to last more than 2 weeks.
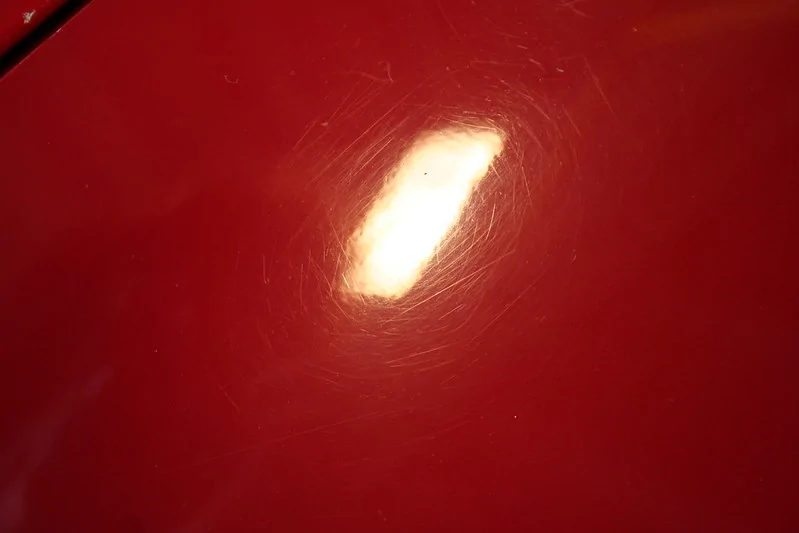
Back then I owned a 1991 Toyota MR2 in red (soft single stage paint, so it was often matte pink), it was around 15 years when I bought it, and like most cars 15 years old it had its fair share of swirls and paint defects.

But a bit of love revived it (aside from the deeper scratches) - you can see the halogen lamps in the reflecttion, so you know this is an old photo.
I loved that car, I owned it for 13 years - 7 years later and I still regret selling it.
(you can see the Poorboys SSR2, Carnuba Wax and some Meguars soft wash in the background)

After reading all the posts here, I was inspired to dive back in and tidy up the wifes Volkswagen Passat.
The first step was to work out what tools and chemicals I had or needed. I dug out my old detailing gear and discovered most of it had solidified or disintigrated (sitting in storage for a decade will do that....)
This sample of PERL came from Waxit sometime around 2010. It seemed to survive ok, but I ended up refilling it with a fresh batch of perl diluted to ~4:1.

I borderlined stalked DFB and put together a shopping list, I collected the last items just in time for the long weekend here in Australia, so I set to work.
Started with NV Purge on the wheels, then applied Nova Snow with an MJJC V3 S foam cannon... I've never used a foam cannon before, these things are a heap of fun!
I then clayed the car using NV purify, I love this stuff - iron decontamination and clay lubricant in one... Seeing the car turn into streaks of purple is amusing and slightly embarrasing (this car hasn't been cared for as well as it should have been).
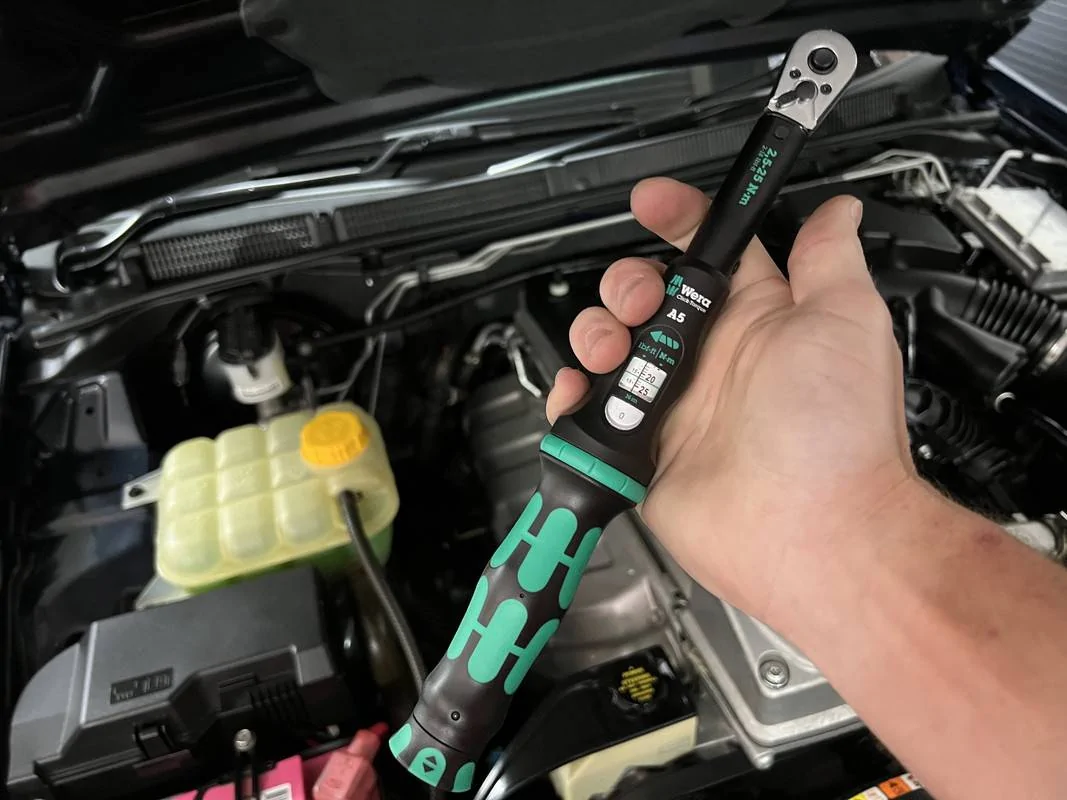
Next was setting to work with my new Maxshine M8 Pro, this is a world apart from the old Bosch Orbital sander - so much less vibration, a dream to work with.
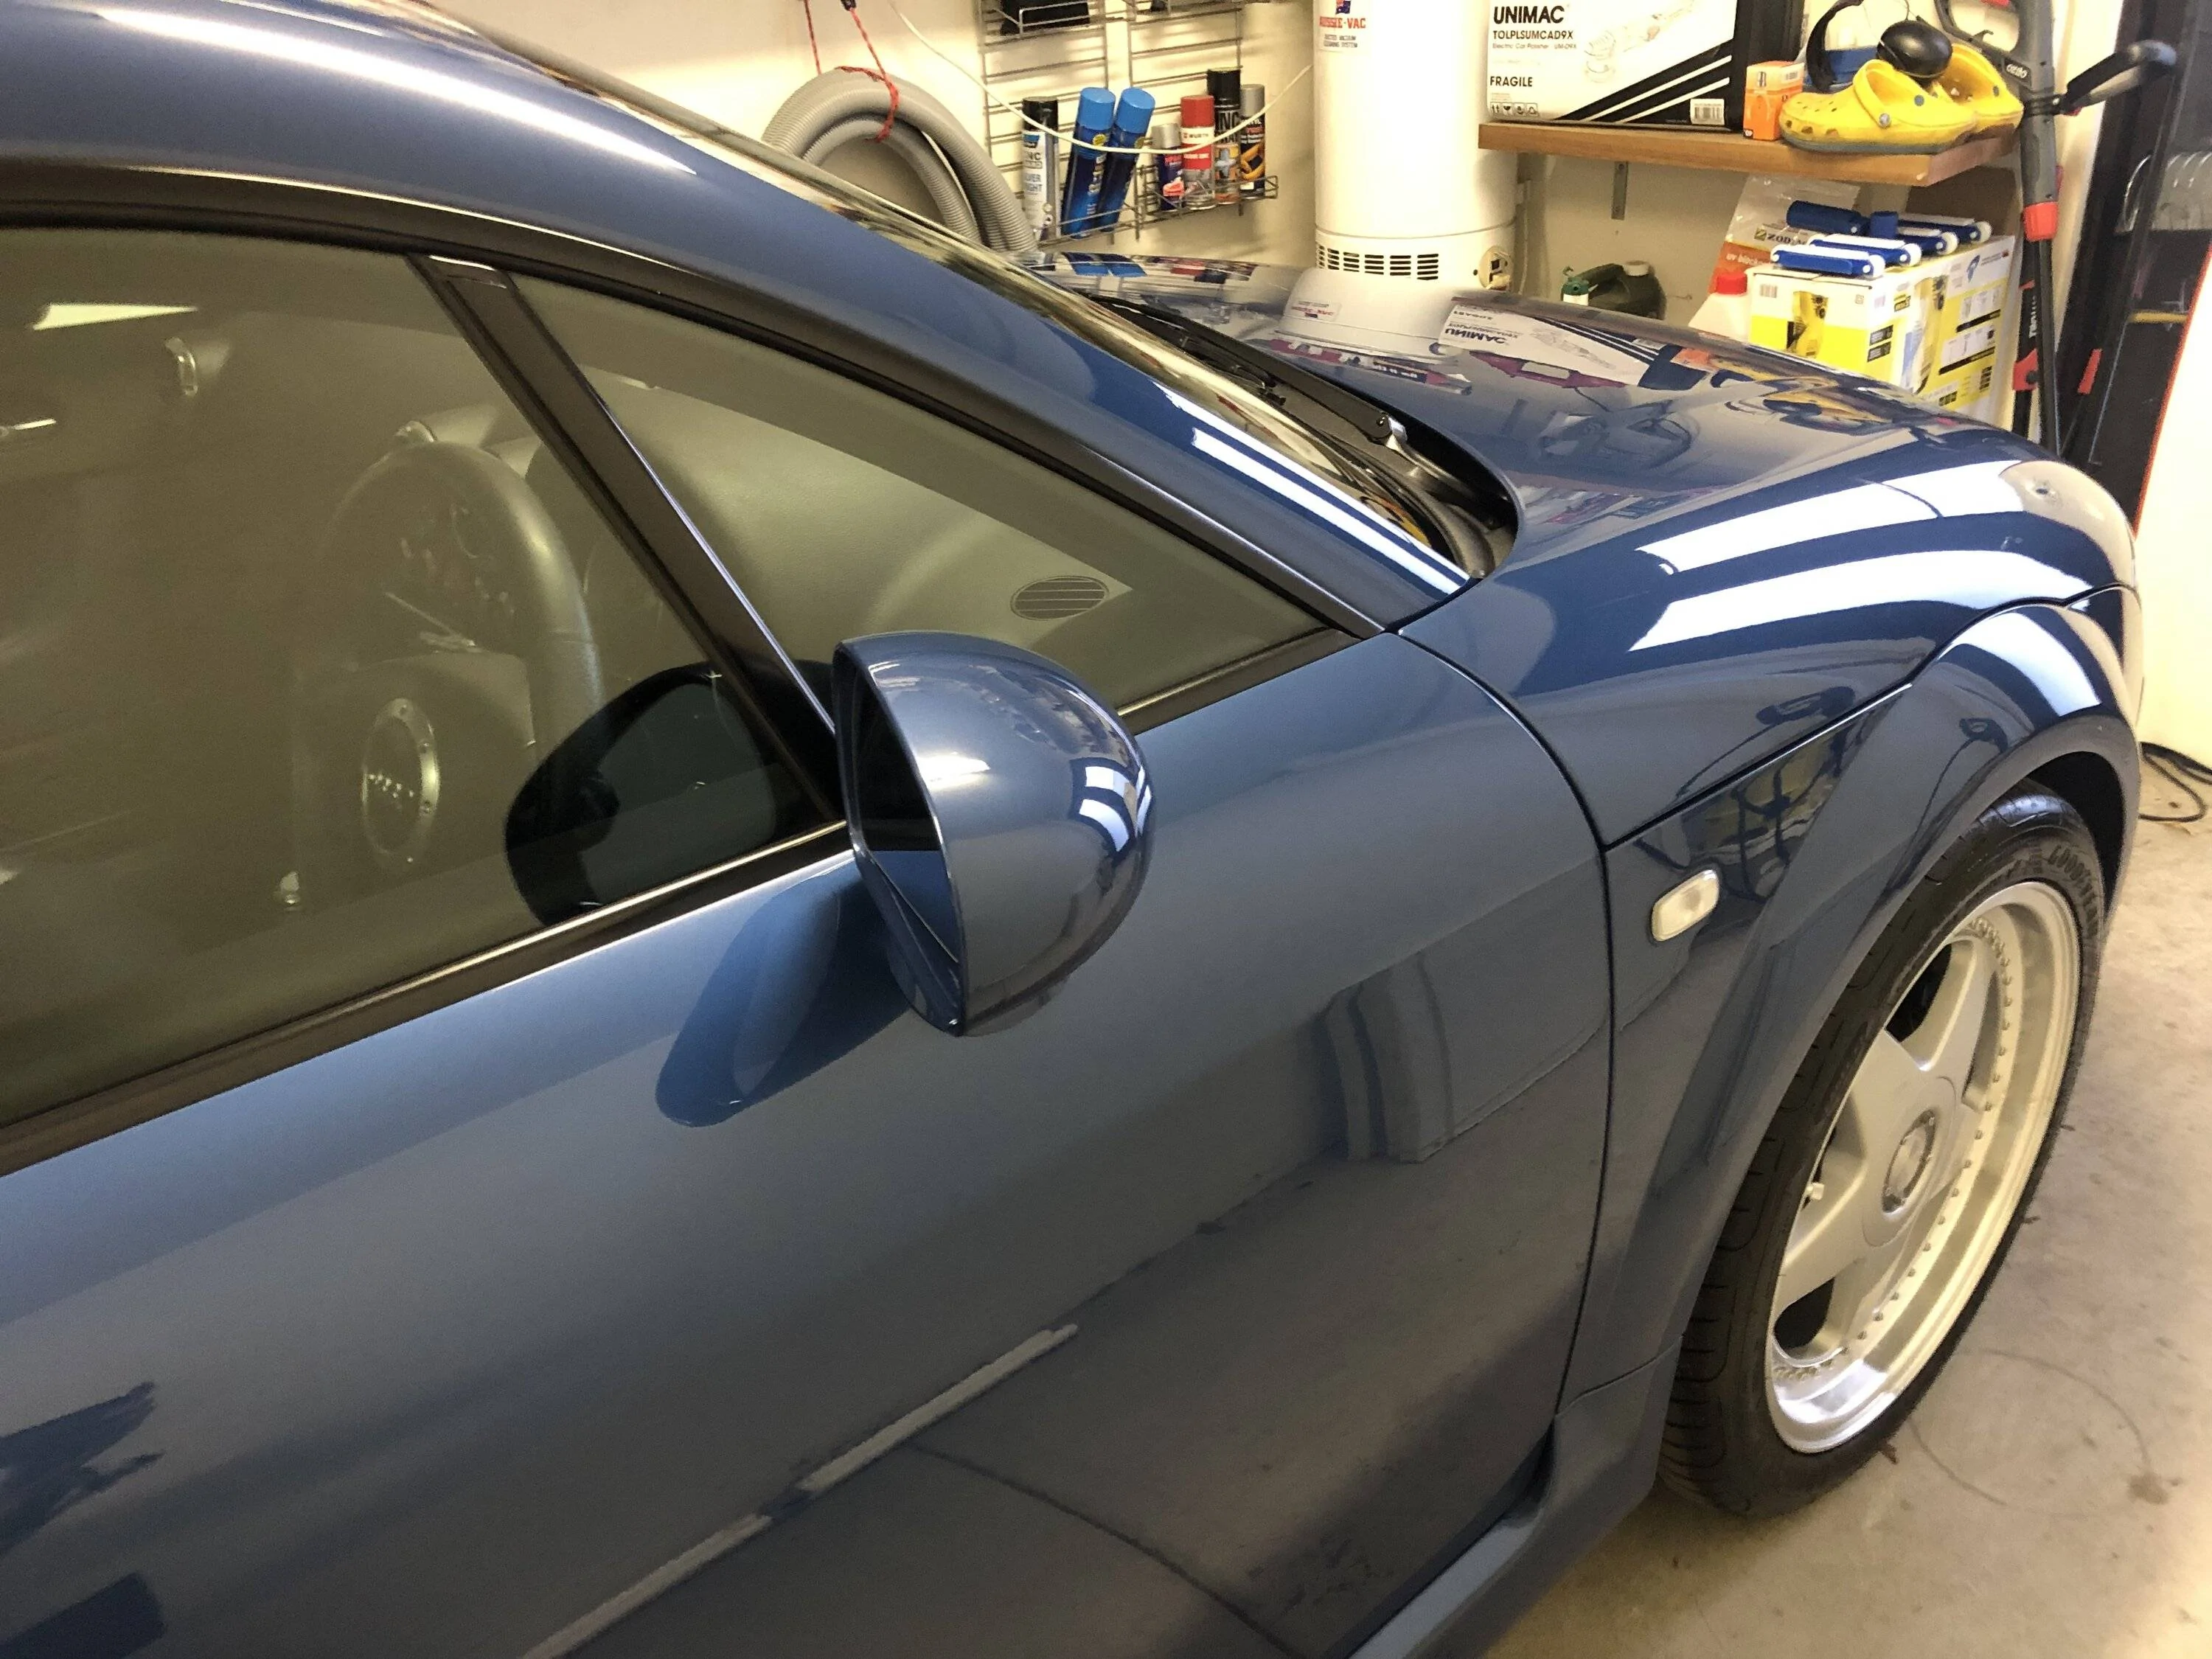
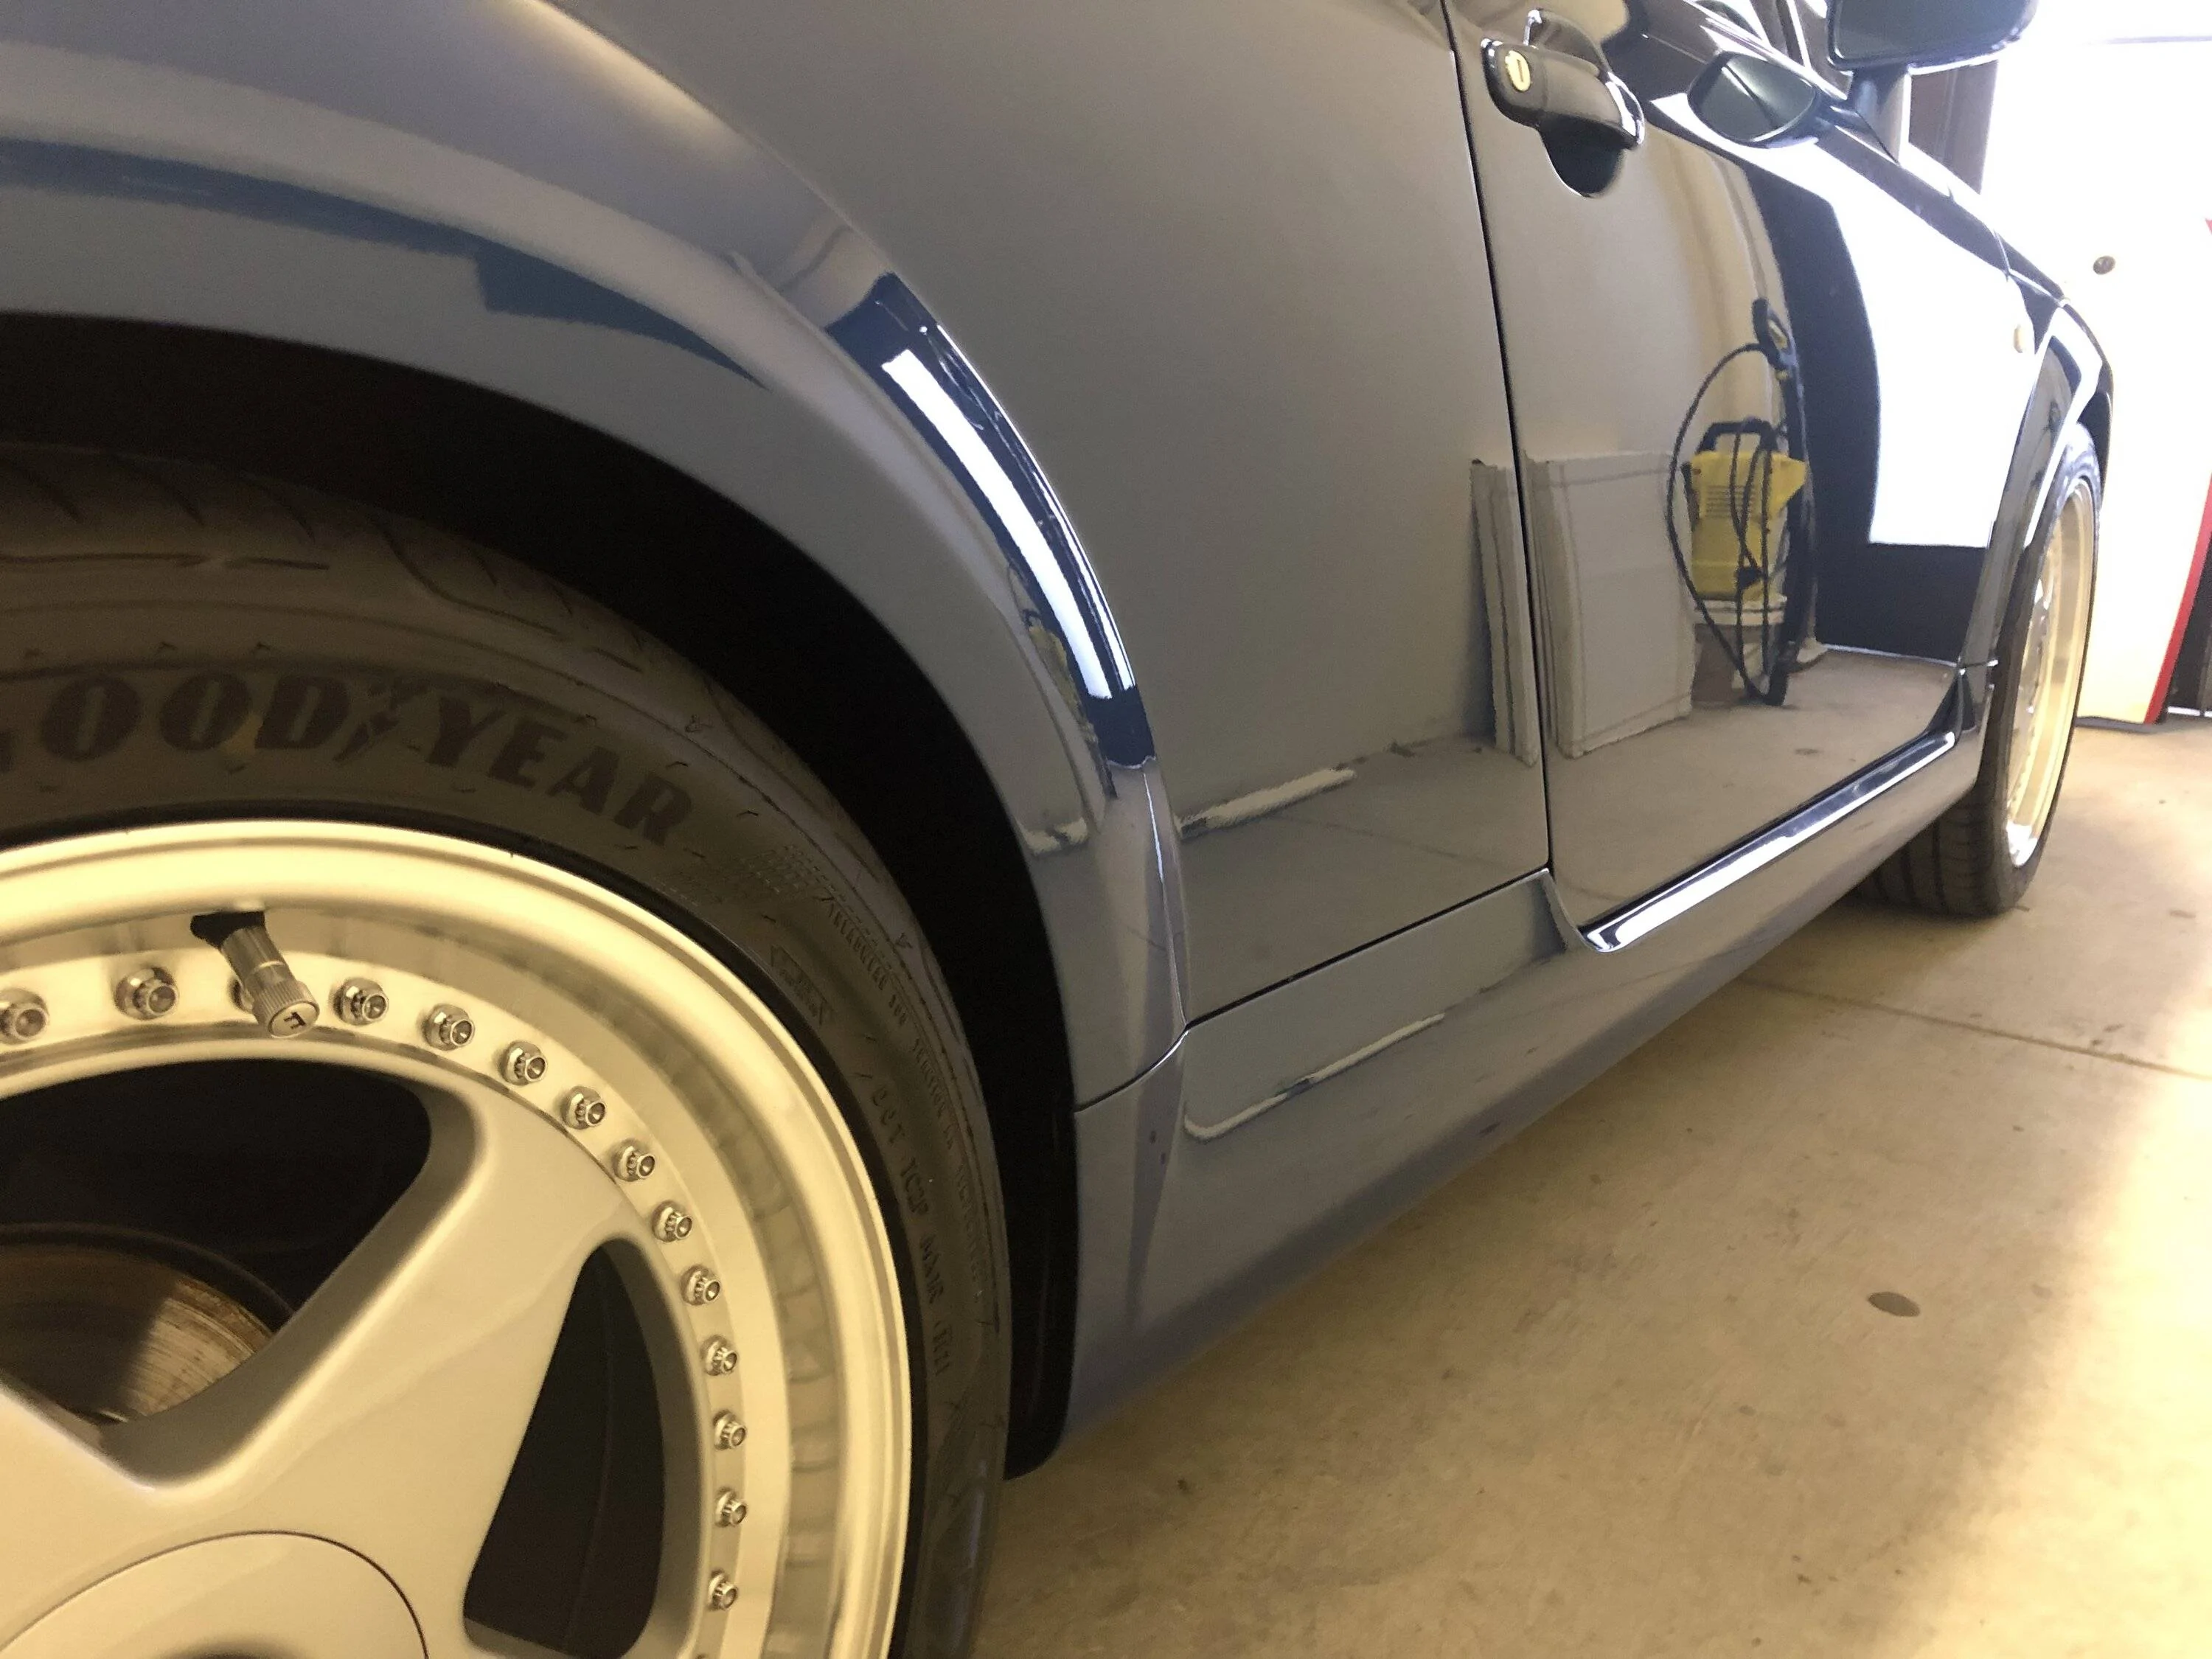
I ended up using the Shinemate yellow medium pad and Menzerna fastgloss 500 compound (its now called, or has been replaced by 400) on the horizontal surfaces, and the Orange Lake Country CCS pads with Menzerna 2400 as a stage 2 for the horizontal and a single stage for the verticals.... Man Volkswagen paint is HARD.
Didn't get all the swirls and defects out, but made a significant improvement.
I then wiped each panel down with Gyeon Prep and coated it with Nova Jet - one panel at a time.
I used DFB's tip for the tyres - using that old PERL sample bottle and a foam applicator.
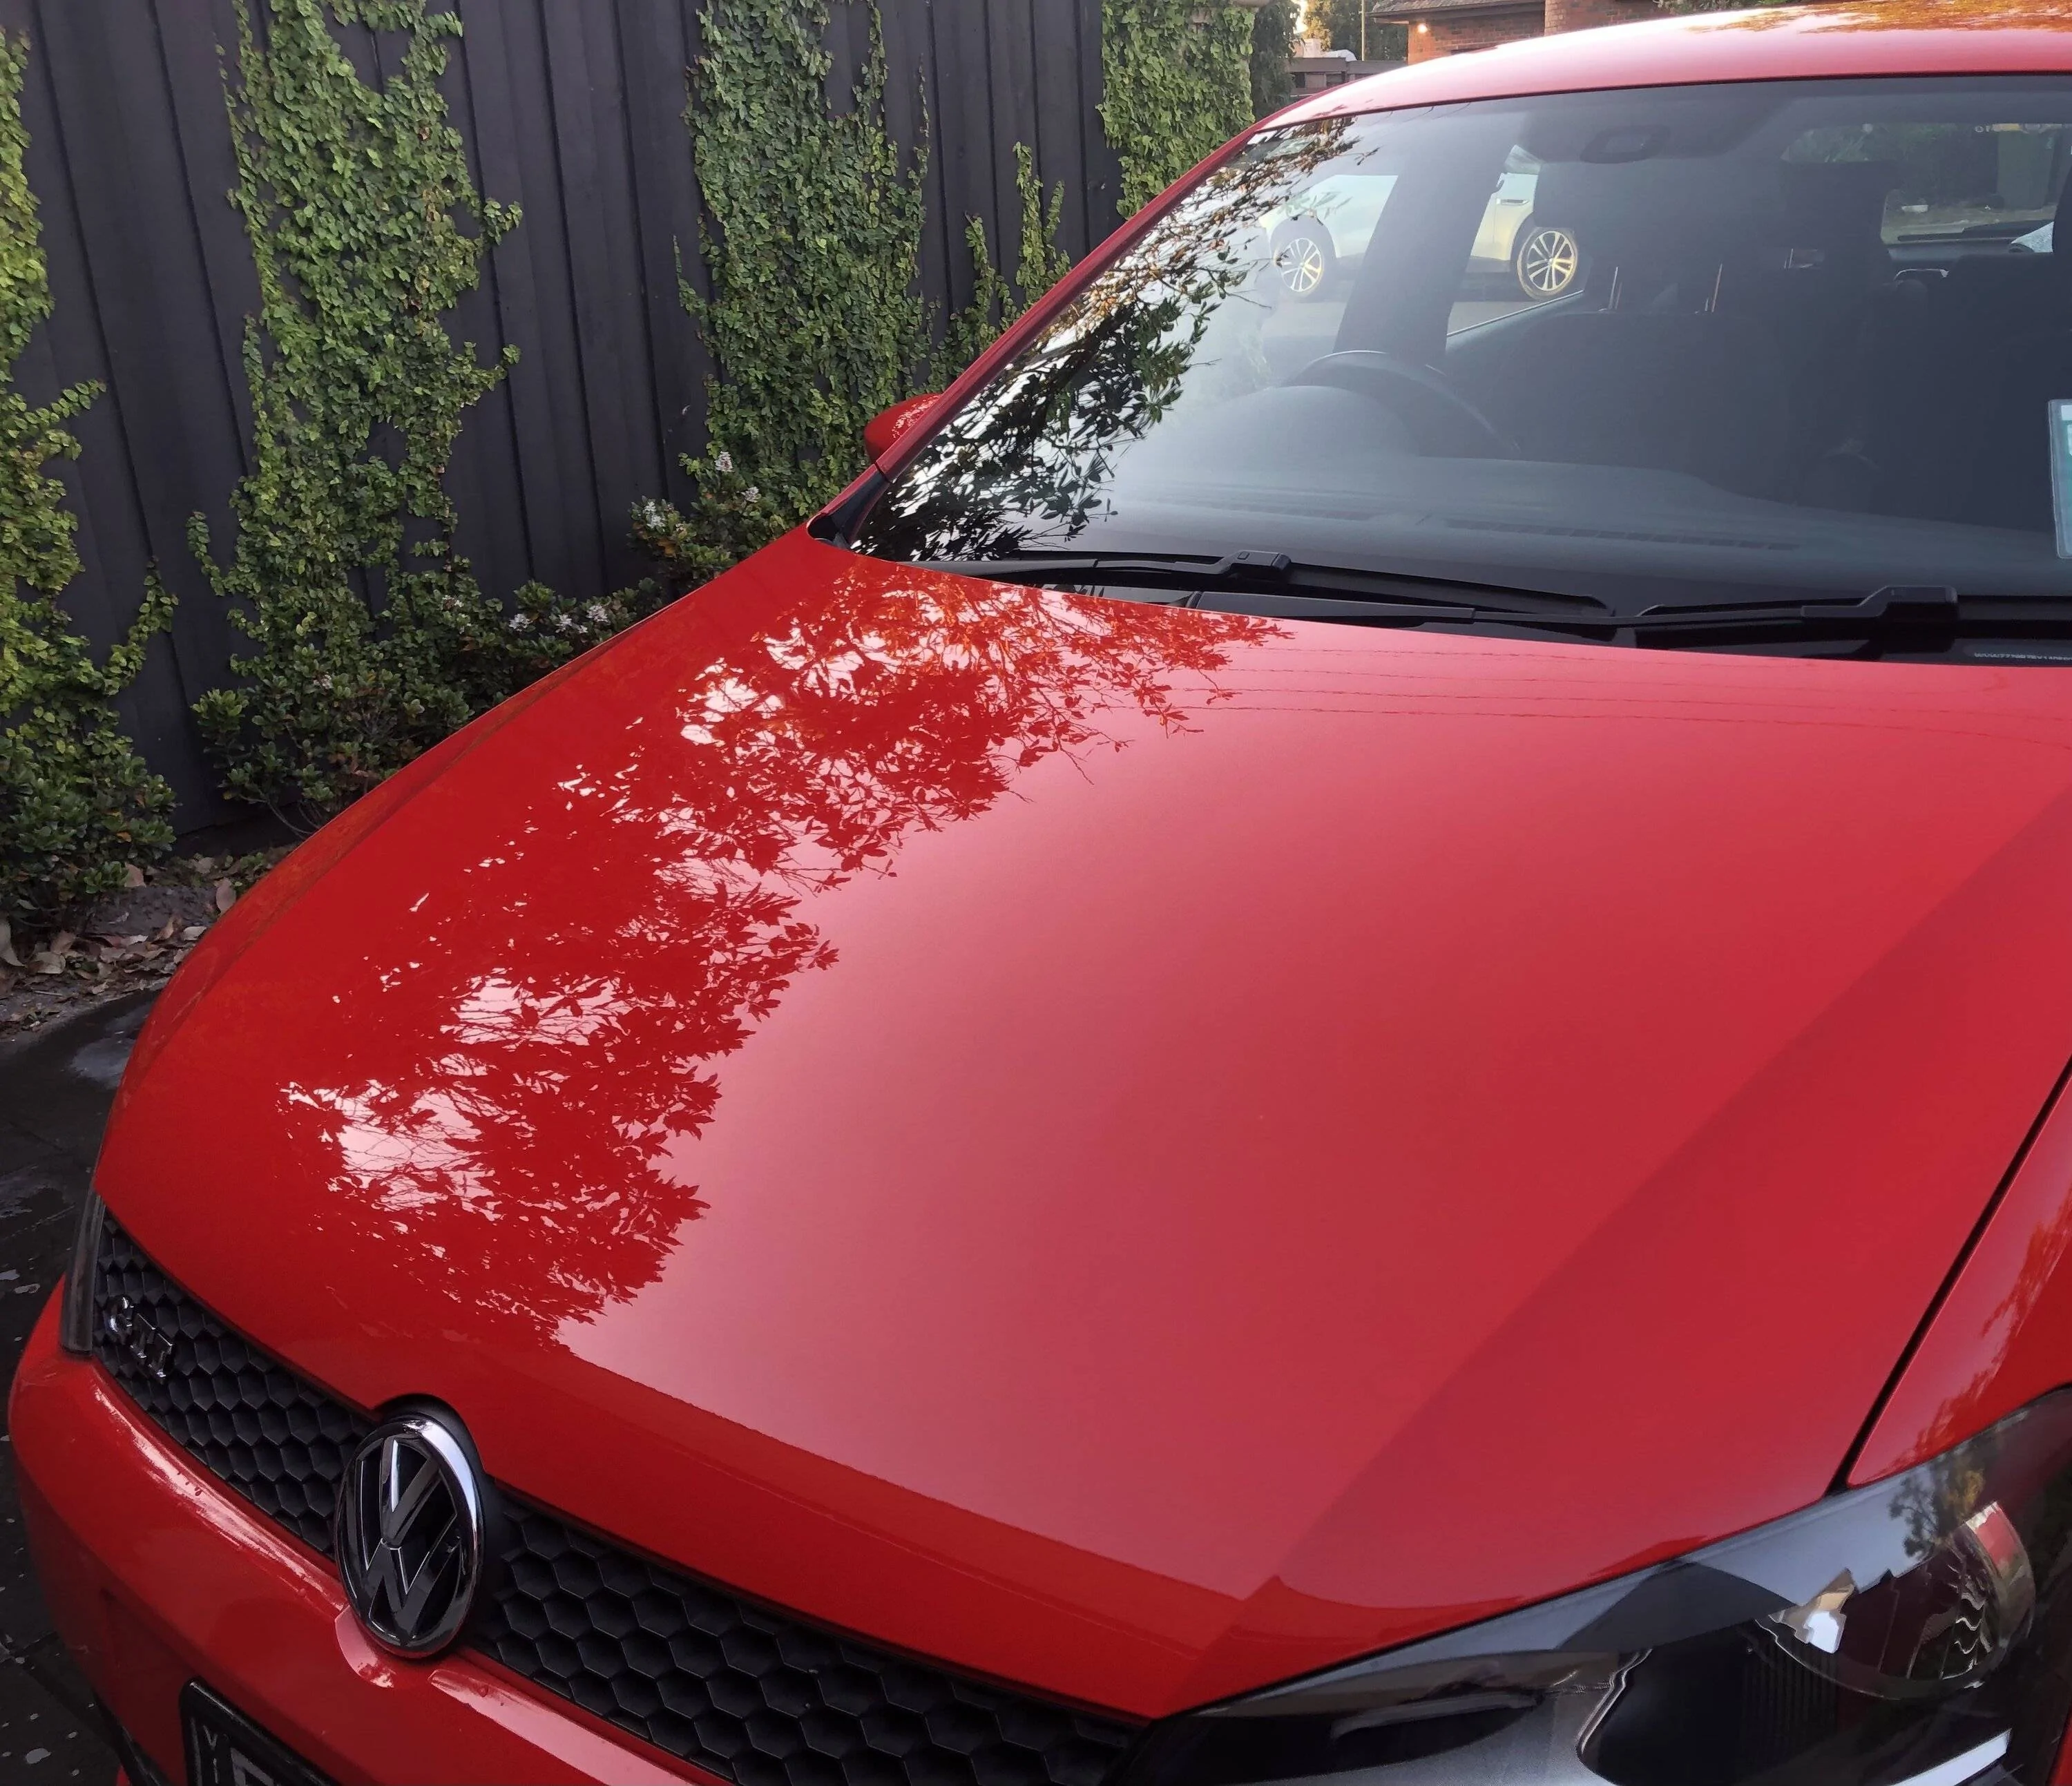
And here's the end result - It's not perfect, but it is a LOT better and boy does it shine now!

big thanks to DFB for all of the write ups, posts and insipiration.


I remember not having any idea what Perl was when I received it. I had to look it up, and I hated it because I had no idea how to use it so it just streaked everywhere.Excellent work, well done!!
I think I have had a few stalkers over the years, in both a good way and a slightly freaky way.
Waxit sent me a Carpro sample pack around the same time. Carpro were basically unknown back then. I sort of only used the TarX and nothing else until I discovered the brand properly. I think I only recently threw those sample bottles away.
Don't get too hung up on removing all defects from the paint. I think some people hear "paint correction" and assume that total defect and scratch removal is possible. That is possibly true, but at what cost? You only have so much clearcoat, so chasing each and every defect is a very fine line to follow. My approach is to achieve an obvious visual improvement, adding gloss and removing a decent number of defects, then calling it good.
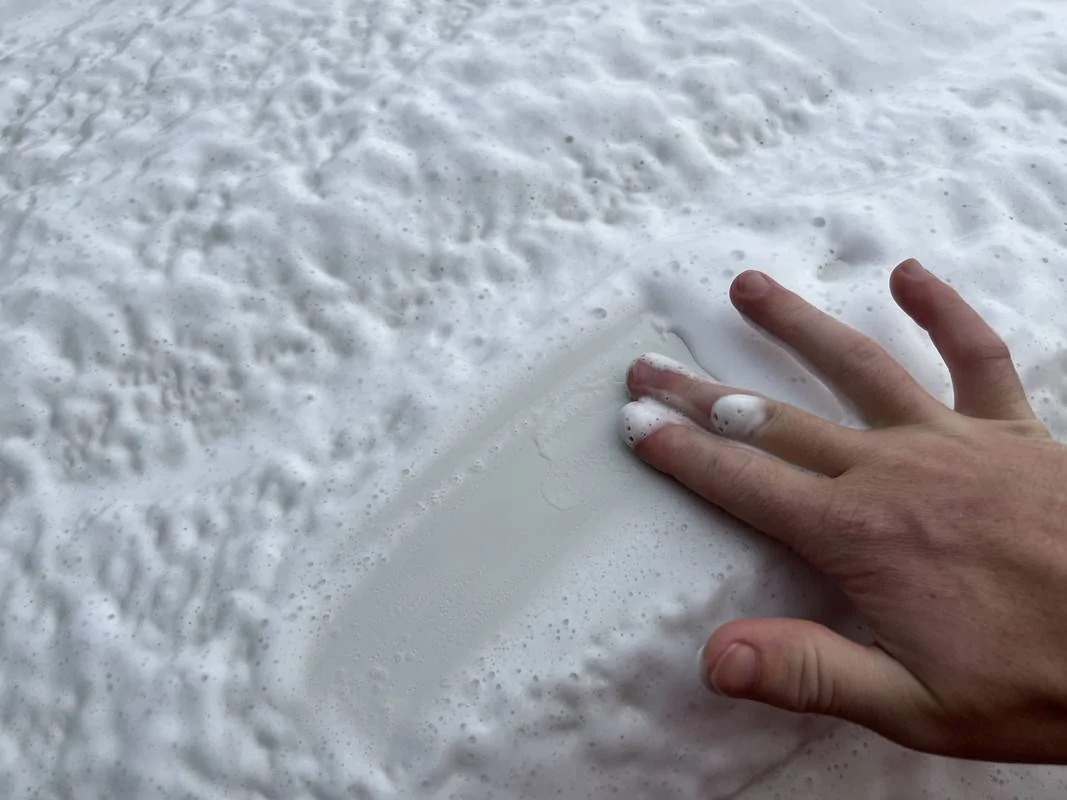
And yes, there is nothing like a good snow job..........................


I’ll send you some links later on.I remember not having any idea what Perl was when I received it. I had to look it up, and I hated it because I had no idea how to use it so it just streaked everywhere.
My approach with the Volkswagen was almost exactly as you said, not perfection, just improving its current condition.
After using the foam cannon, dragging out the cheap pressure washer and fighting with a tangle of hoses, I can foresee some upgrades there in the near future. Maybe not the full kranzle setup you have but a decent hose and reel would go a long way!


Looks goodLatest delivery, the new version of ONR has only just gone on sale in Australia.

I don't really use ONR for rinse-less washing, more so for cleaning door jambs, engine bay wipe downs and as an ultra mild interior cleaner/detailer.
Also props to Optimum for offering some (most) of their products in a smaller bottle size, great for product whore like me who likes to try several different similar products.
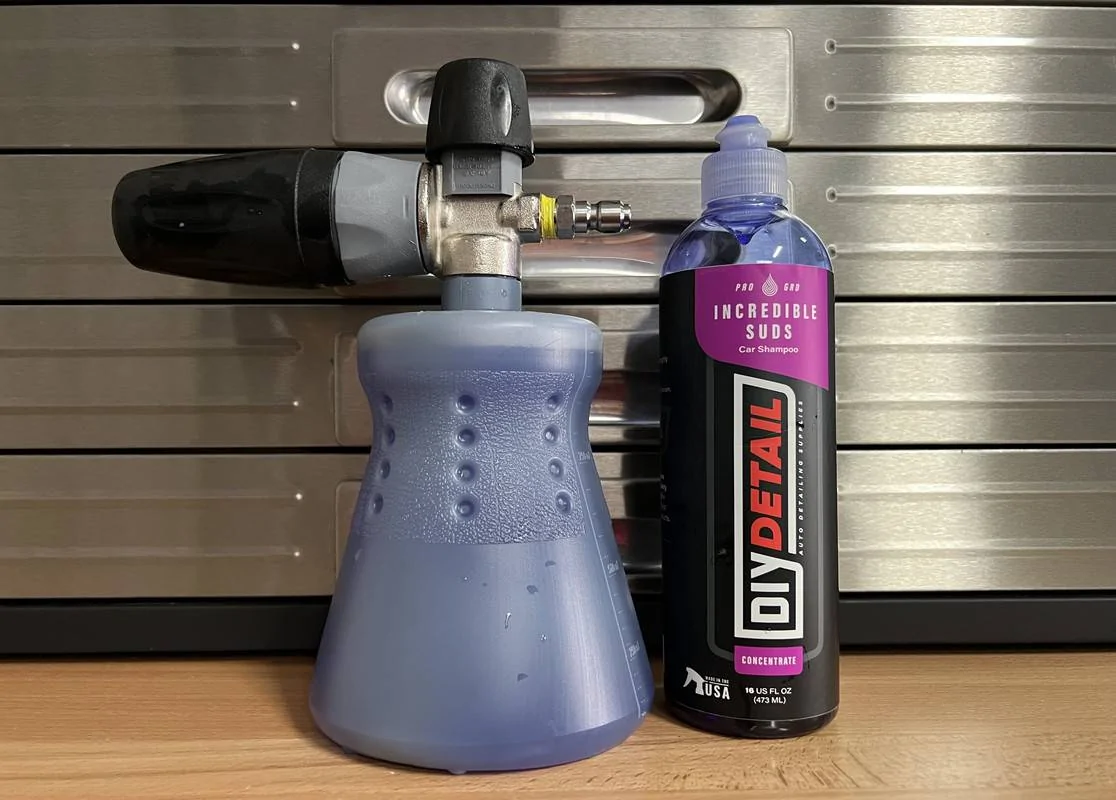
. Also I spy a bottle of Incredible Suds too ... I follow Yvan on DIY detail channel and really like him and Nick. I have some of their products on my to buy list too. UGH. The rabbit hole keeps getting deeper LOL..Incredible Suds is just that, incredible!Looks good


I read that too quick. My brain saw wife #3’s car. LolNo 3, wifes car…done.