OP
OP
AcceptableNebula
Well-Known Member
- Joined
- Apr 5, 2023
- Threads
- 19
- Messages
- 335
- Reaction score
- 927
- Location
- Massachusetts
- First Name
- Jake
- Vehicle(s)
- 2023 Ford Mustang GT Premium
- Thread starter
- #46
Billet Blues
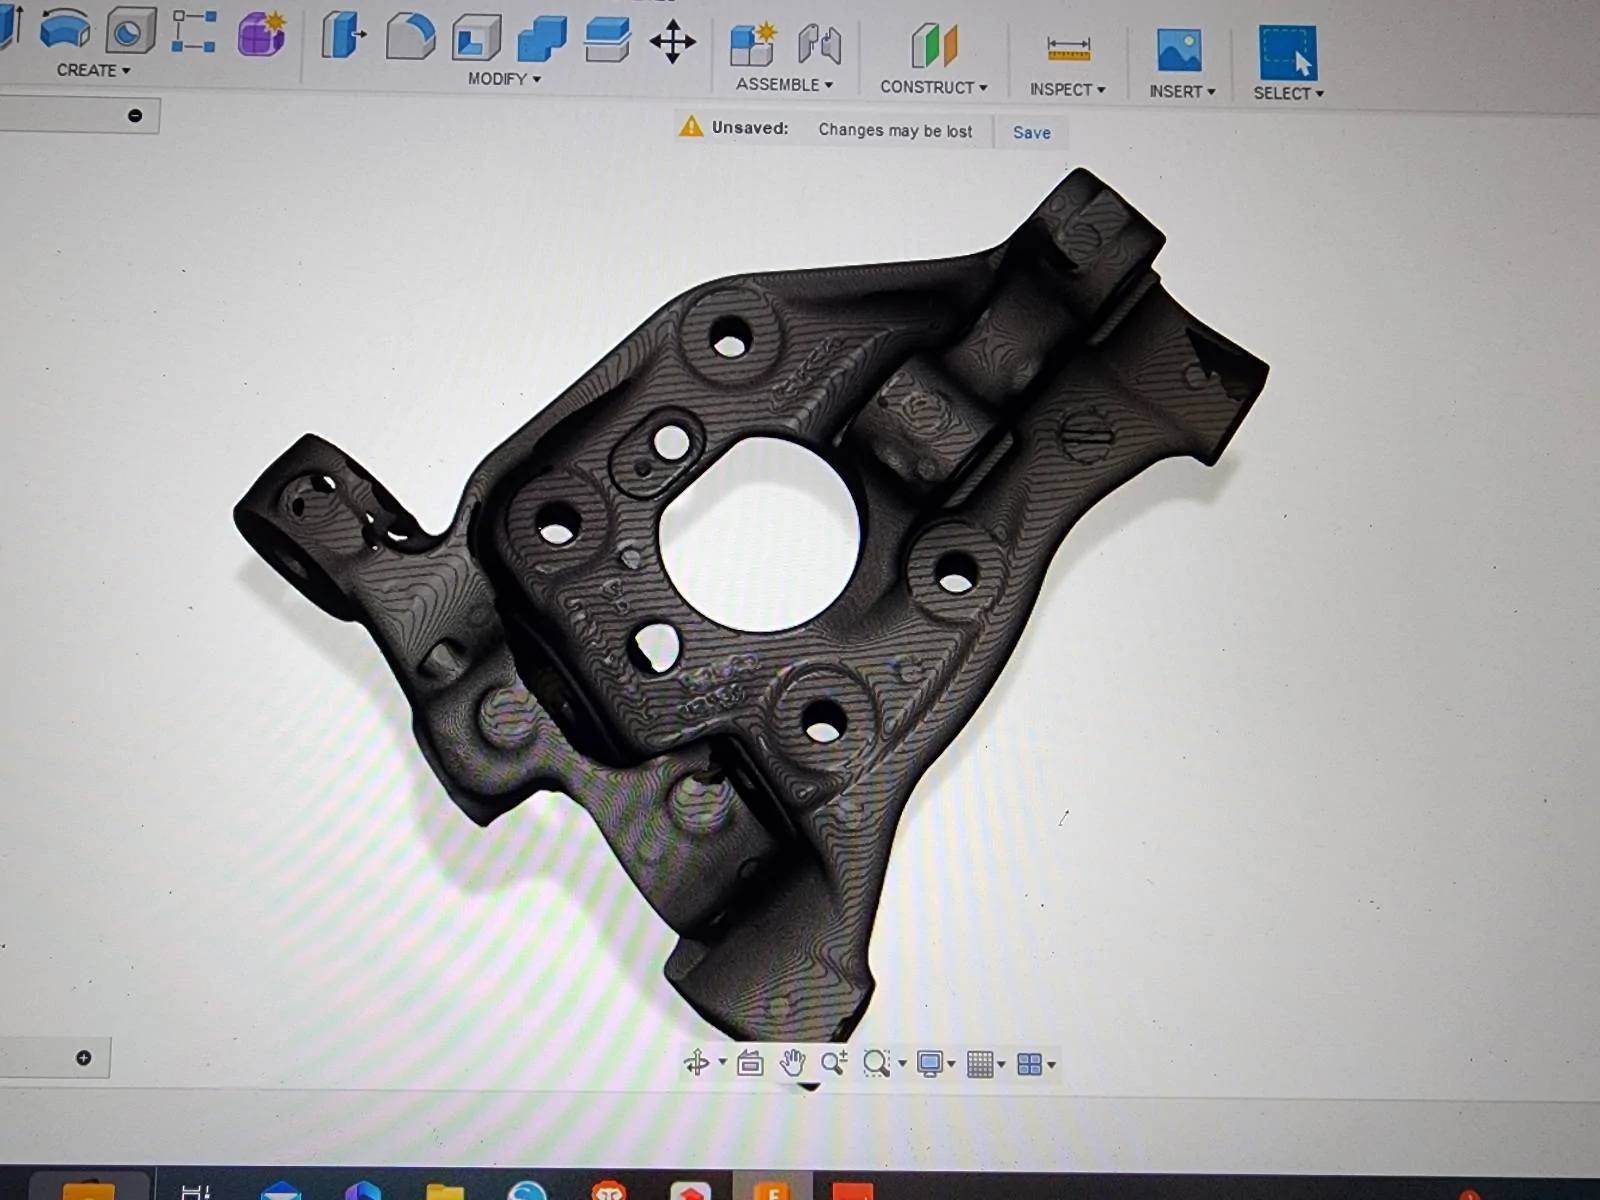
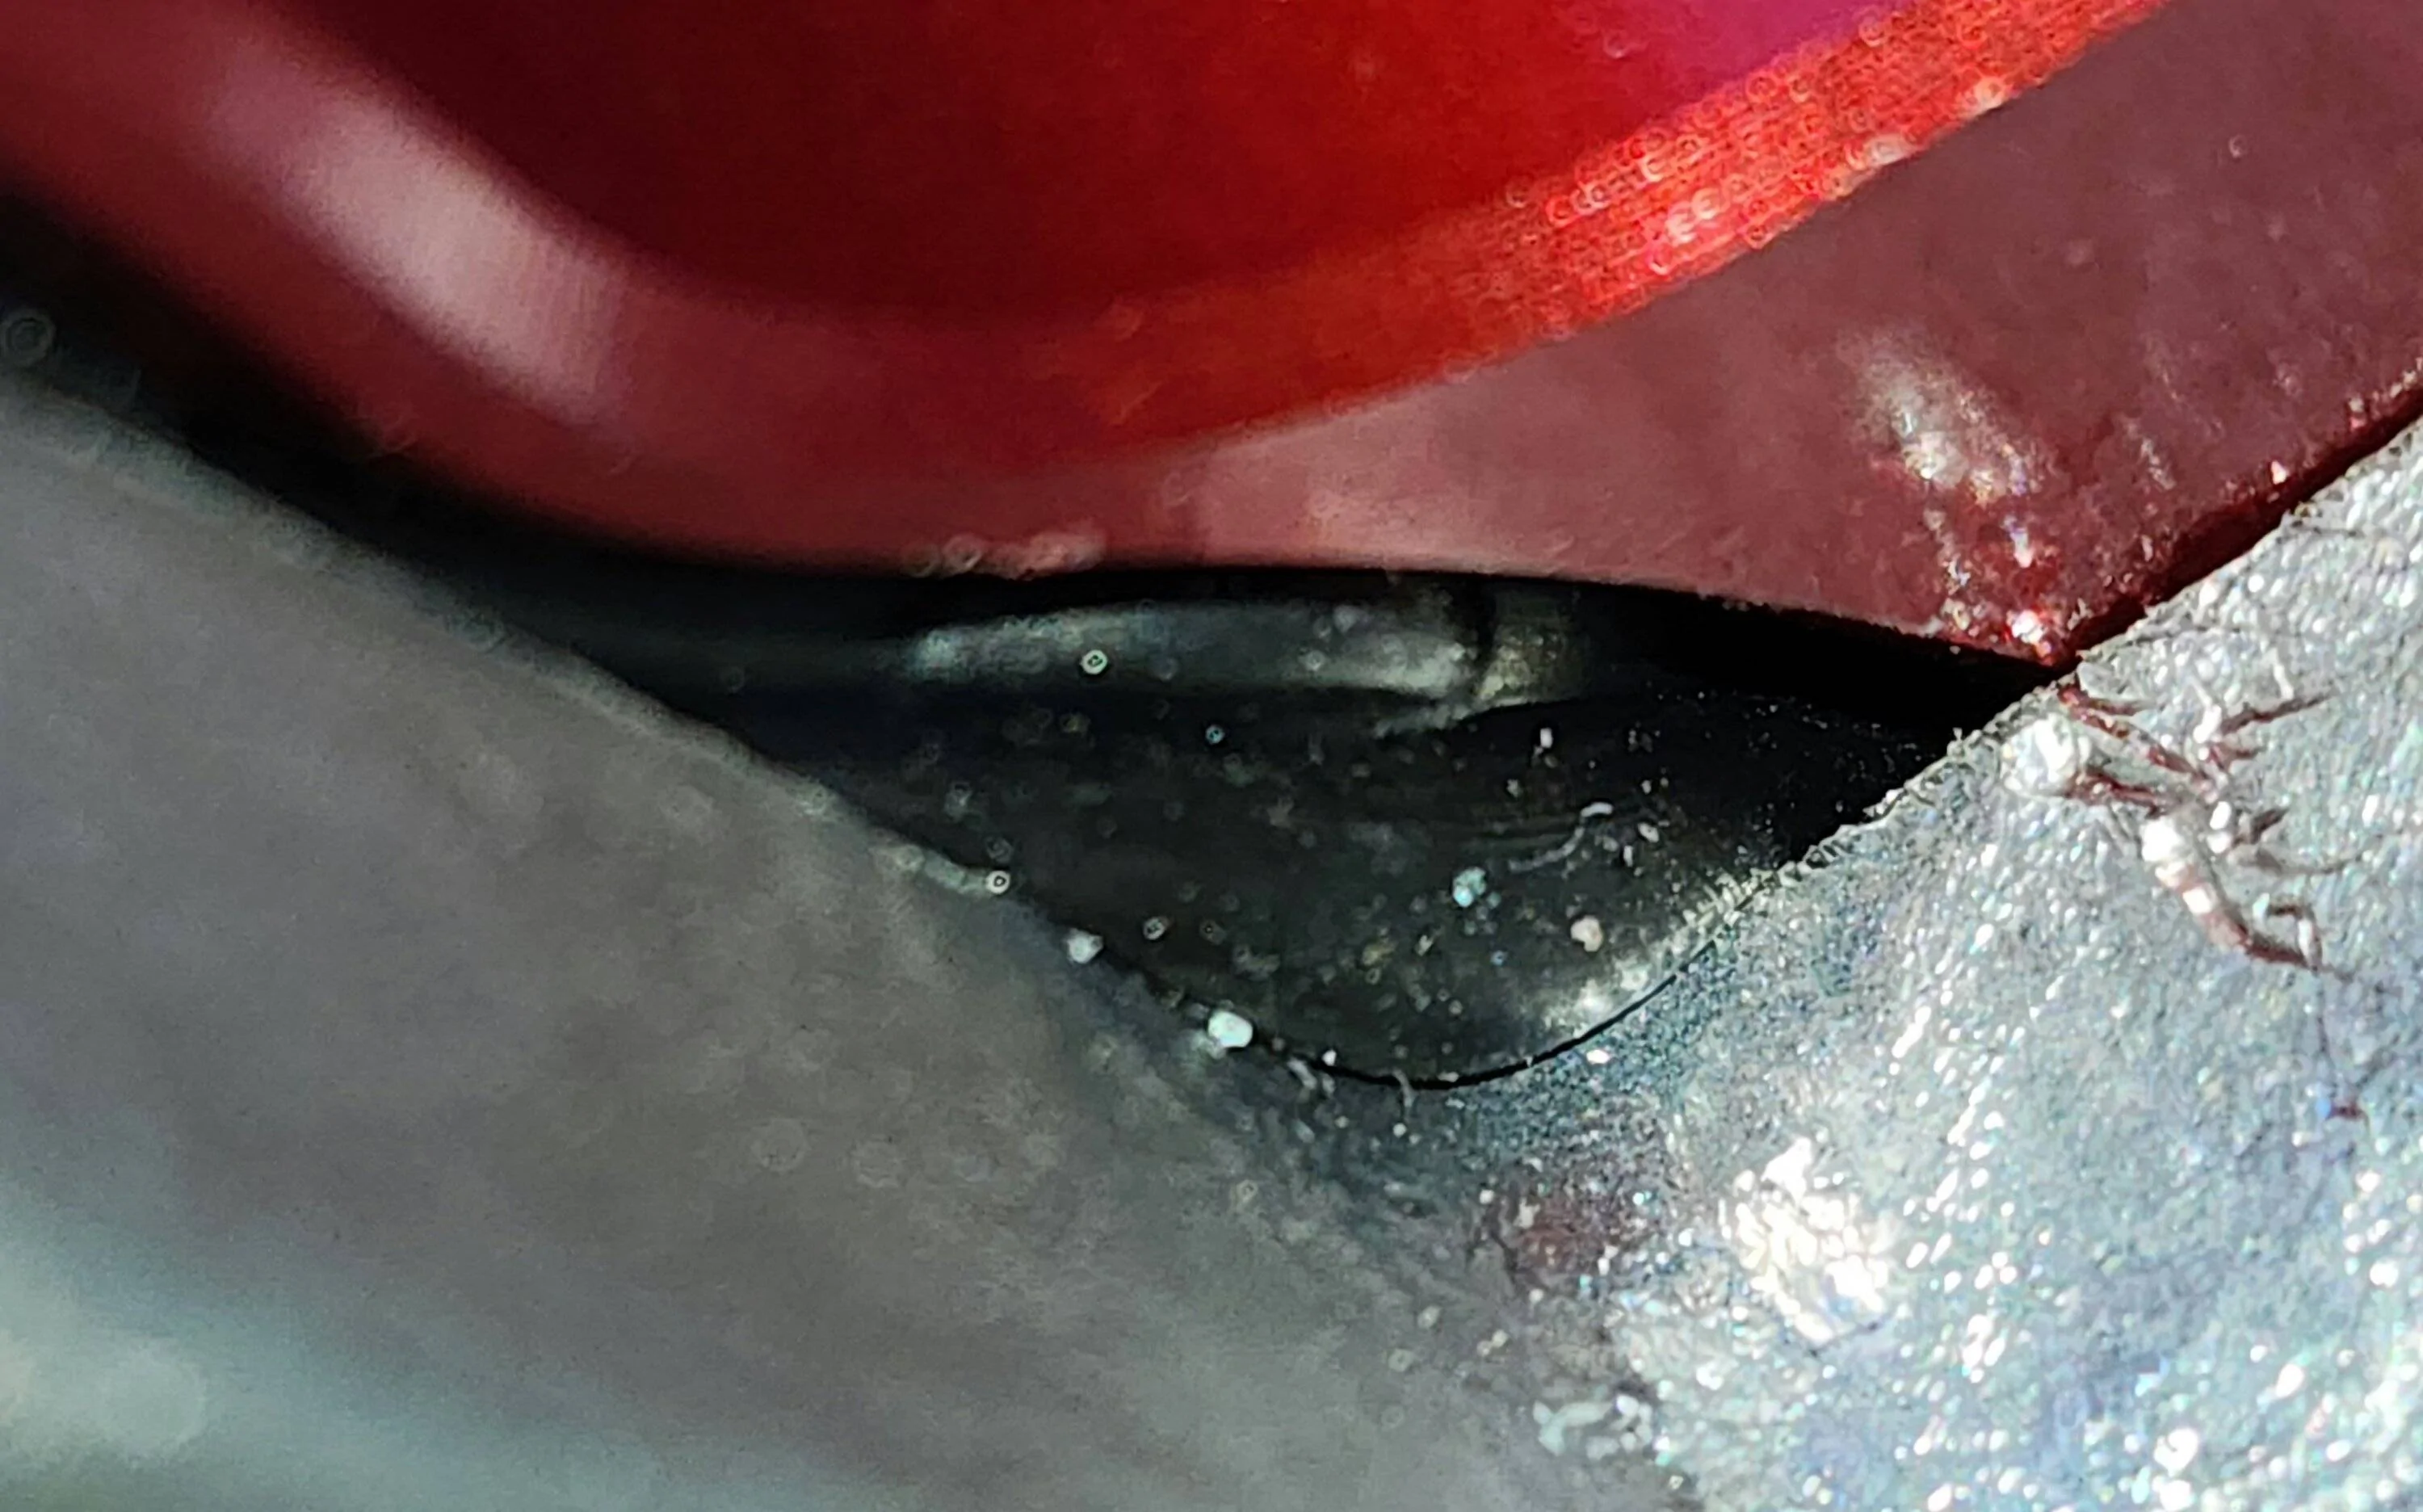
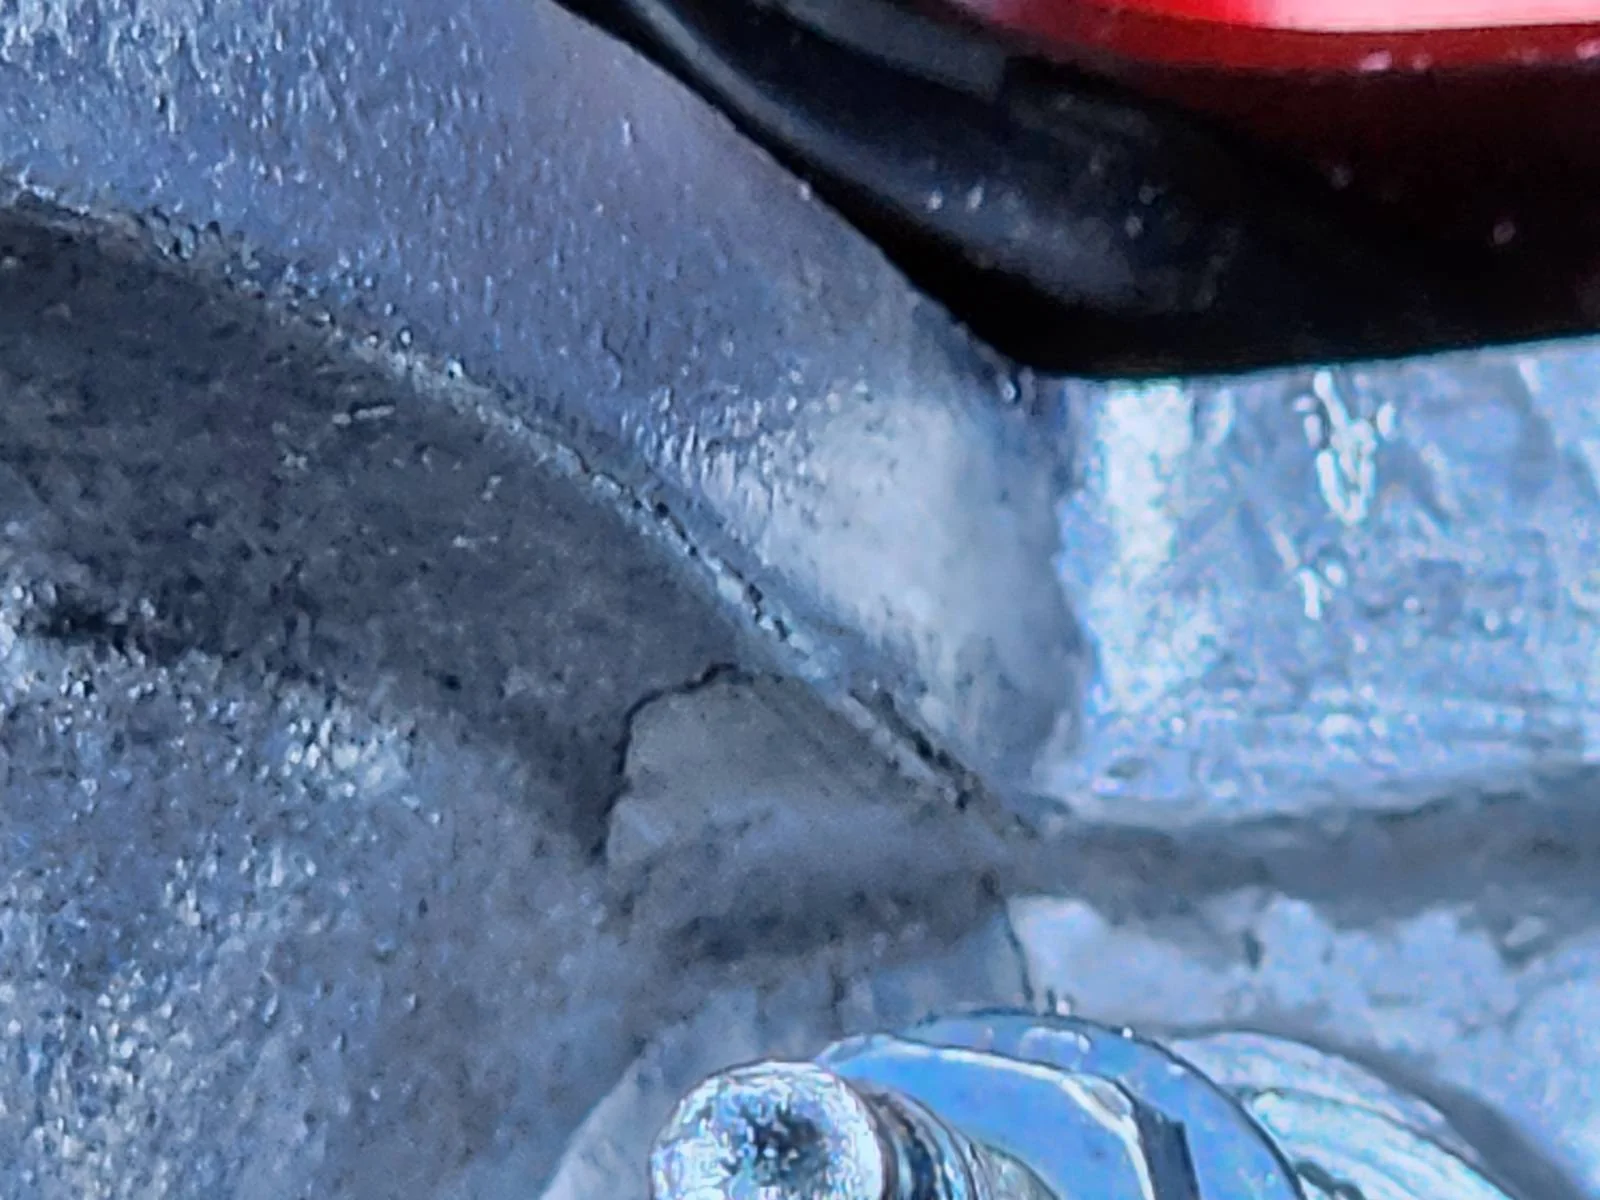
I'm sure you've seen me mention the delay the valve covers caused in the build. Some from the shape but some are from the design.
When I installed the covers, I noticed there was no flexibility in positioning the cover. Usually there is a minor amount of movement available, but this was locked in place. The screw heads cut into the counterbores on different sides, so I assumed those counterbores just weren't big enough. I locked the covers down and went on. While messing around with the water pump, I noticed I could see the valve cover gasket. I decided to take them off. What I found was shocking to me. Perhaps my expectations are too high because I have the ability to machine things myself at a relatively high level.
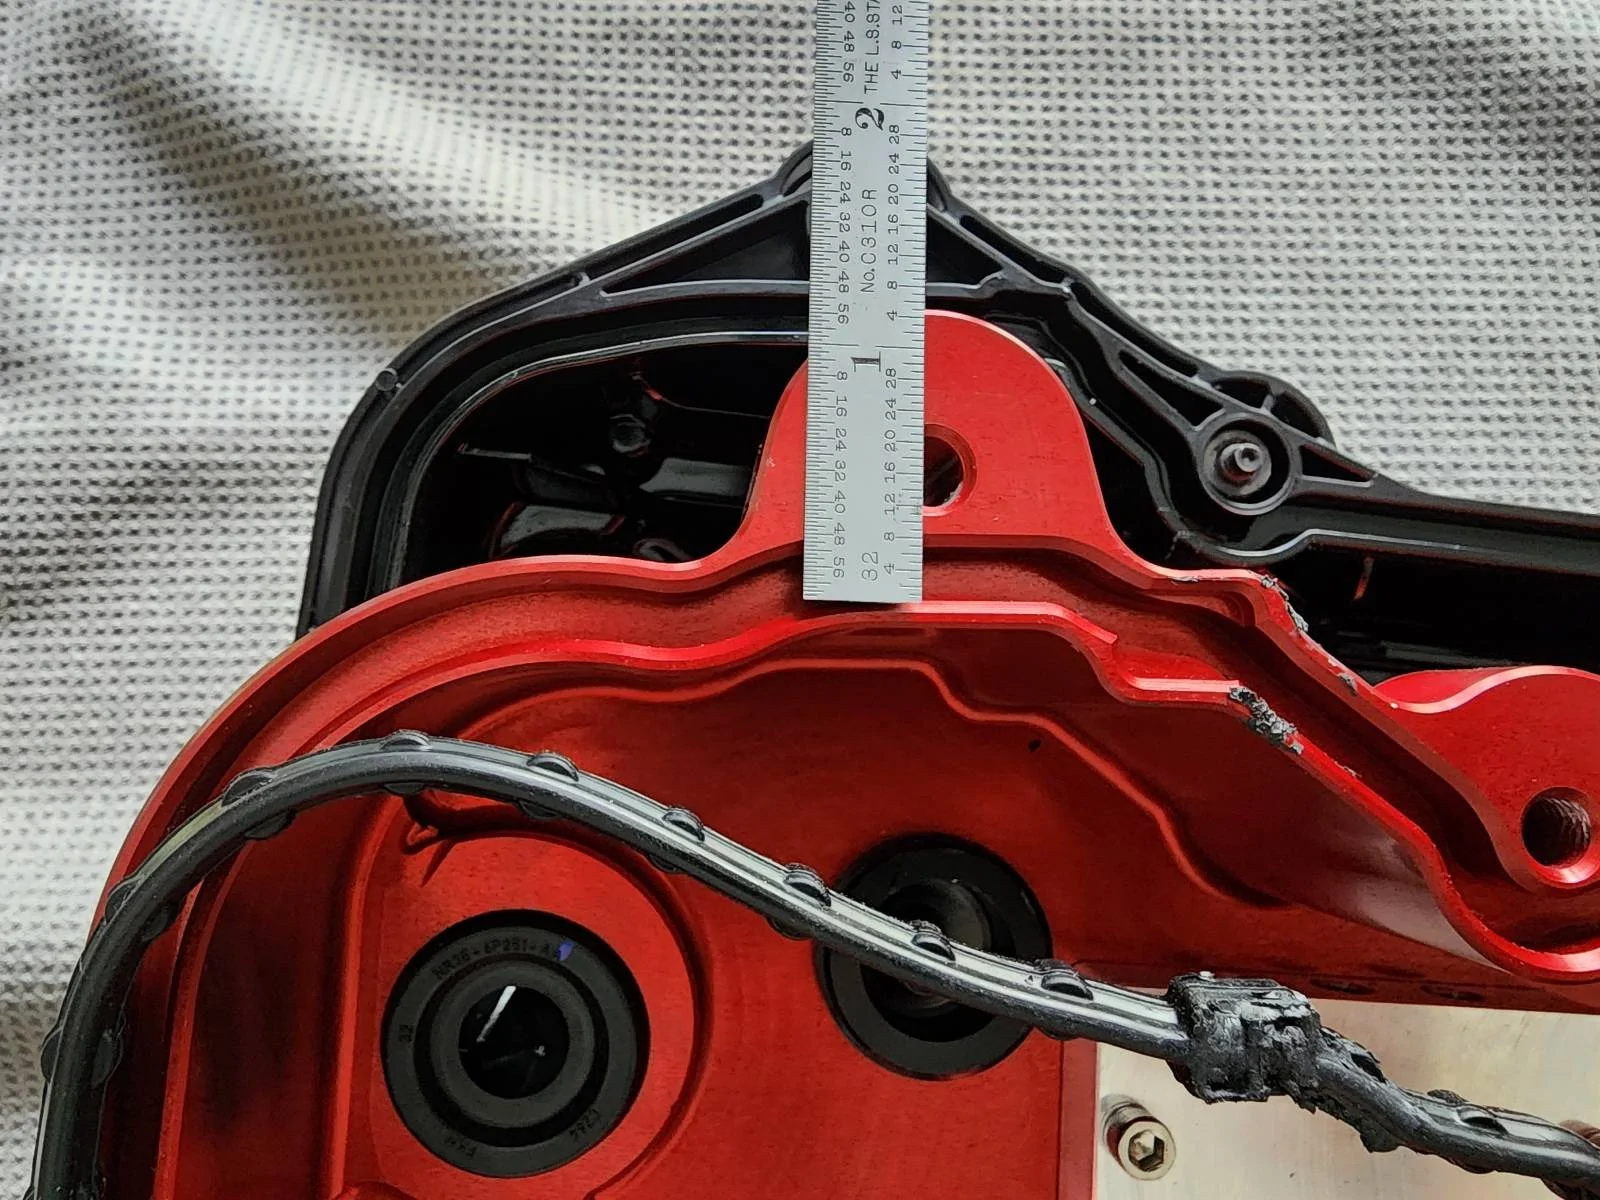
First issue was the gasket path. It goes up and then back down again while the factory cover goes straight. That's the area that overhangs my front cover. So I figured I would put a gauge pin in each hole, and do some math, then open them up to the maximum possible, leaving at least 0.035" wall between the gasket and the hole.
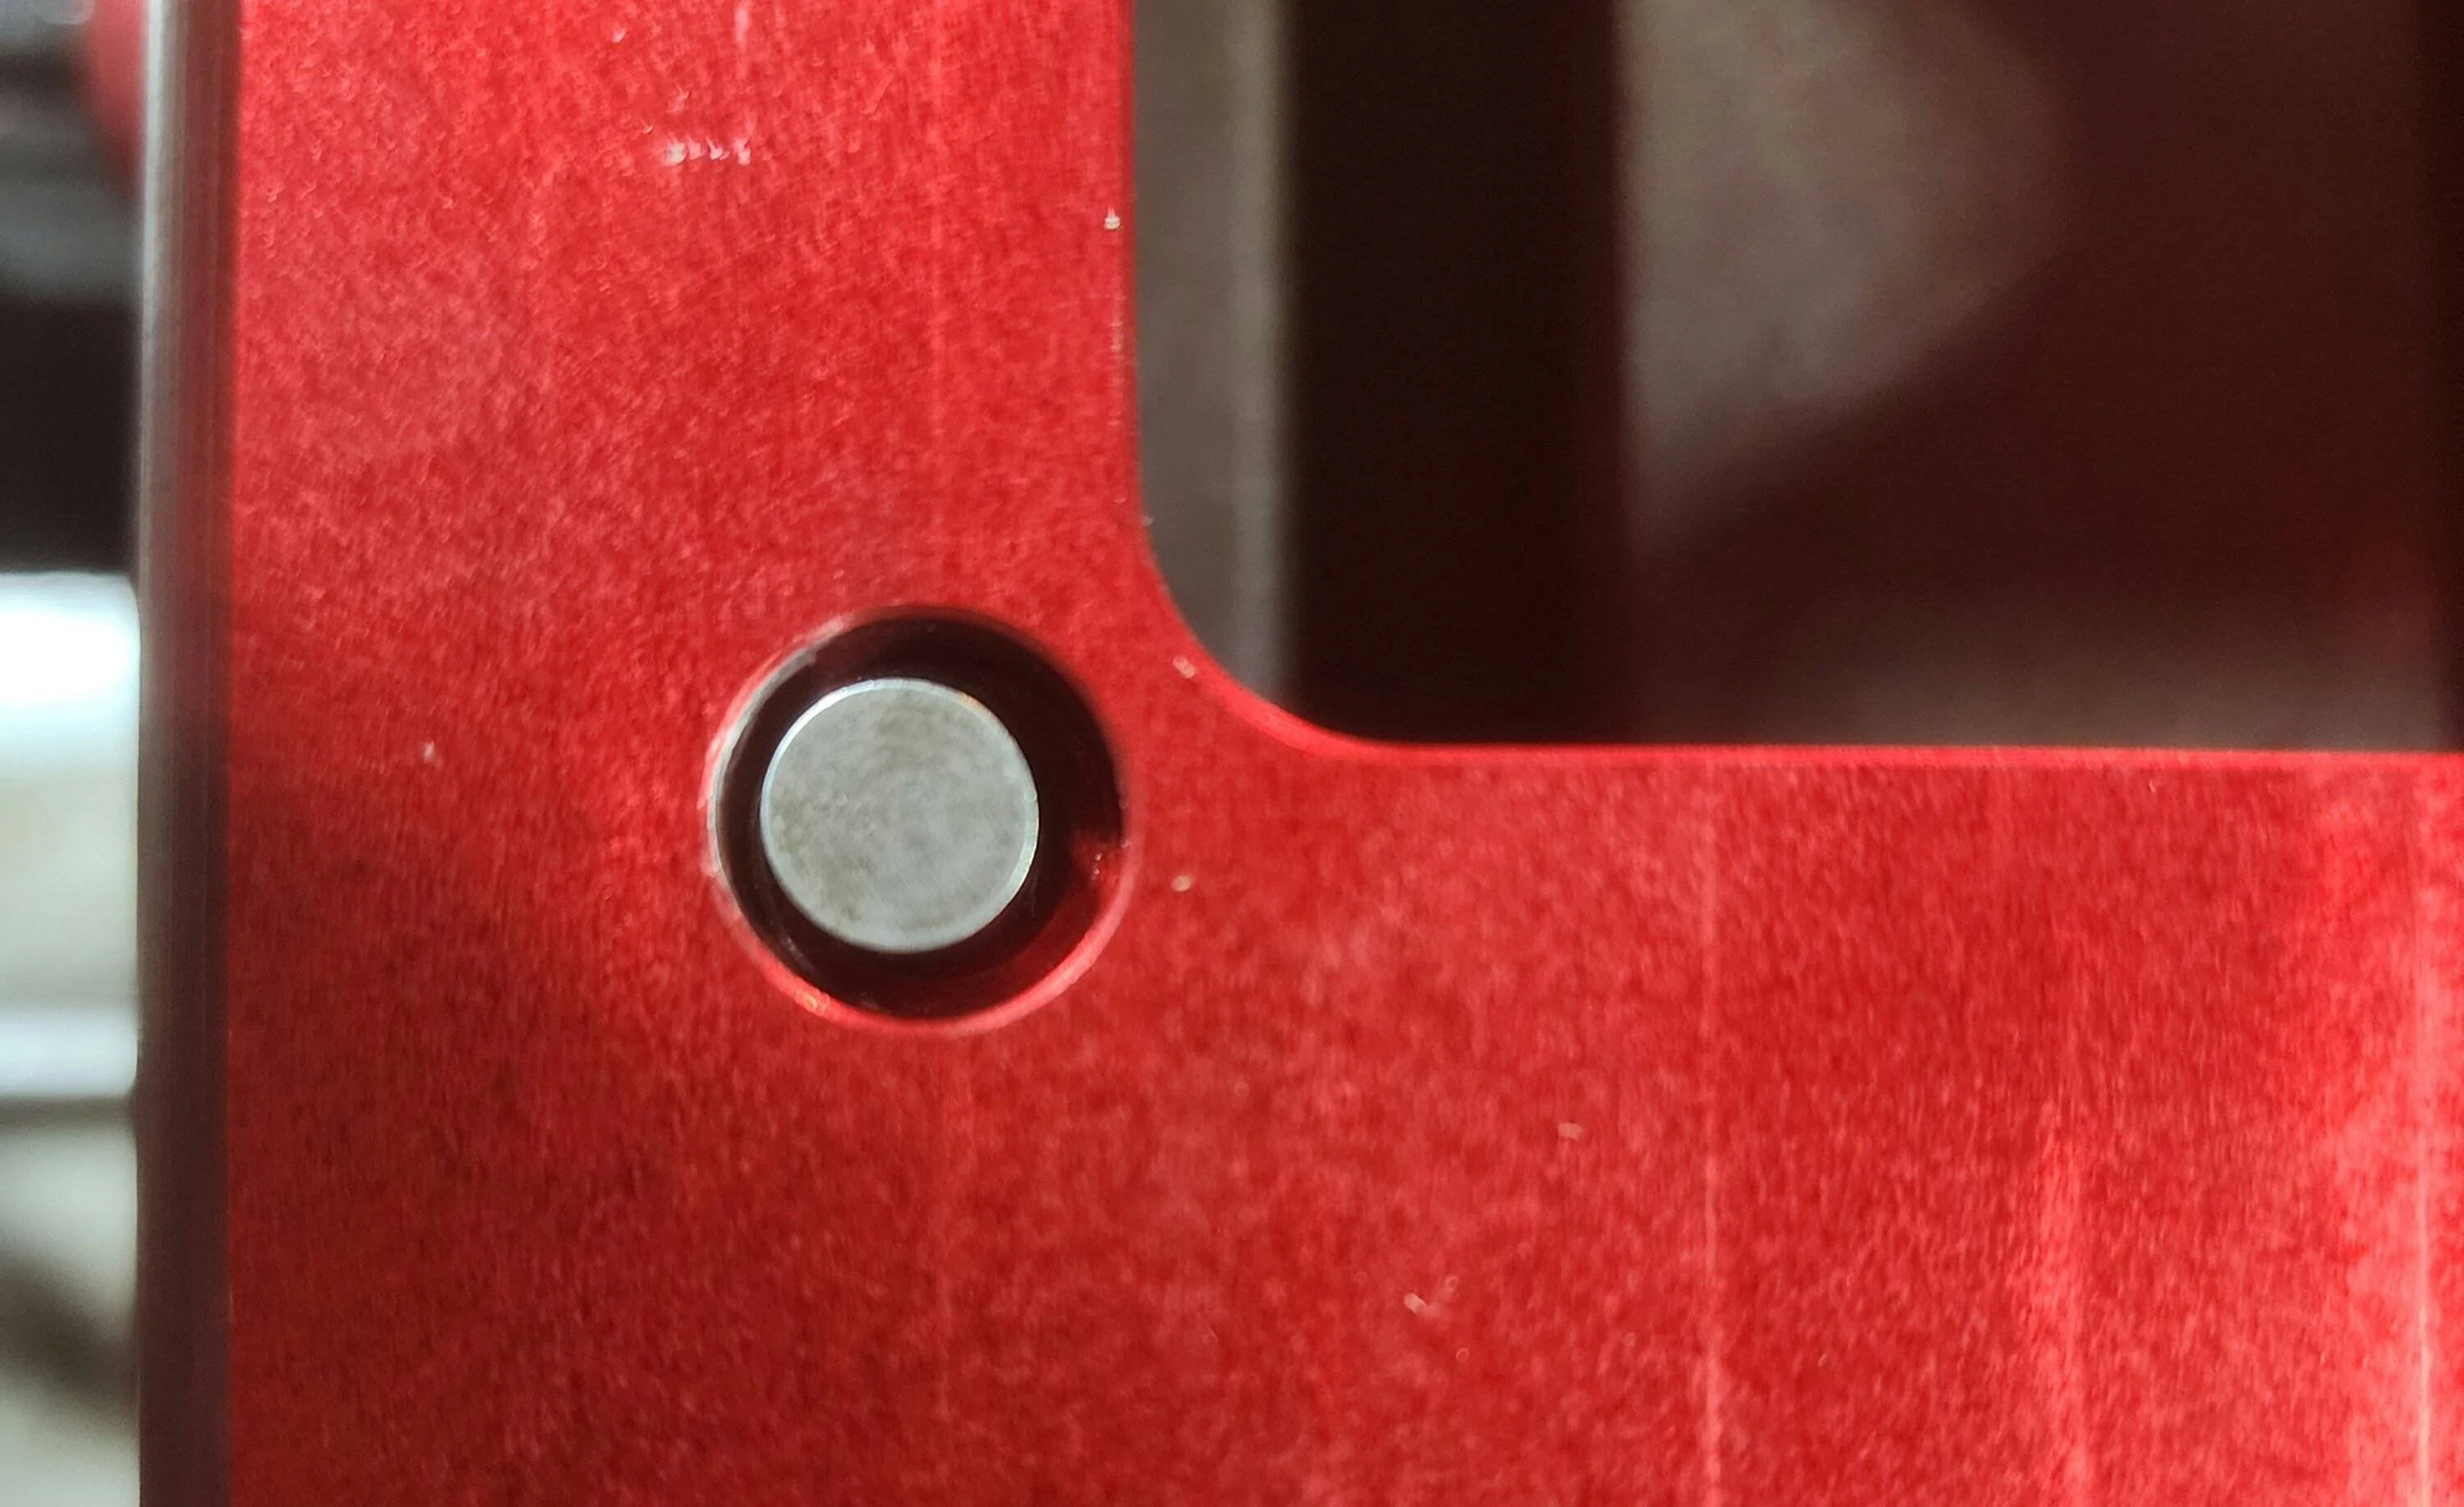
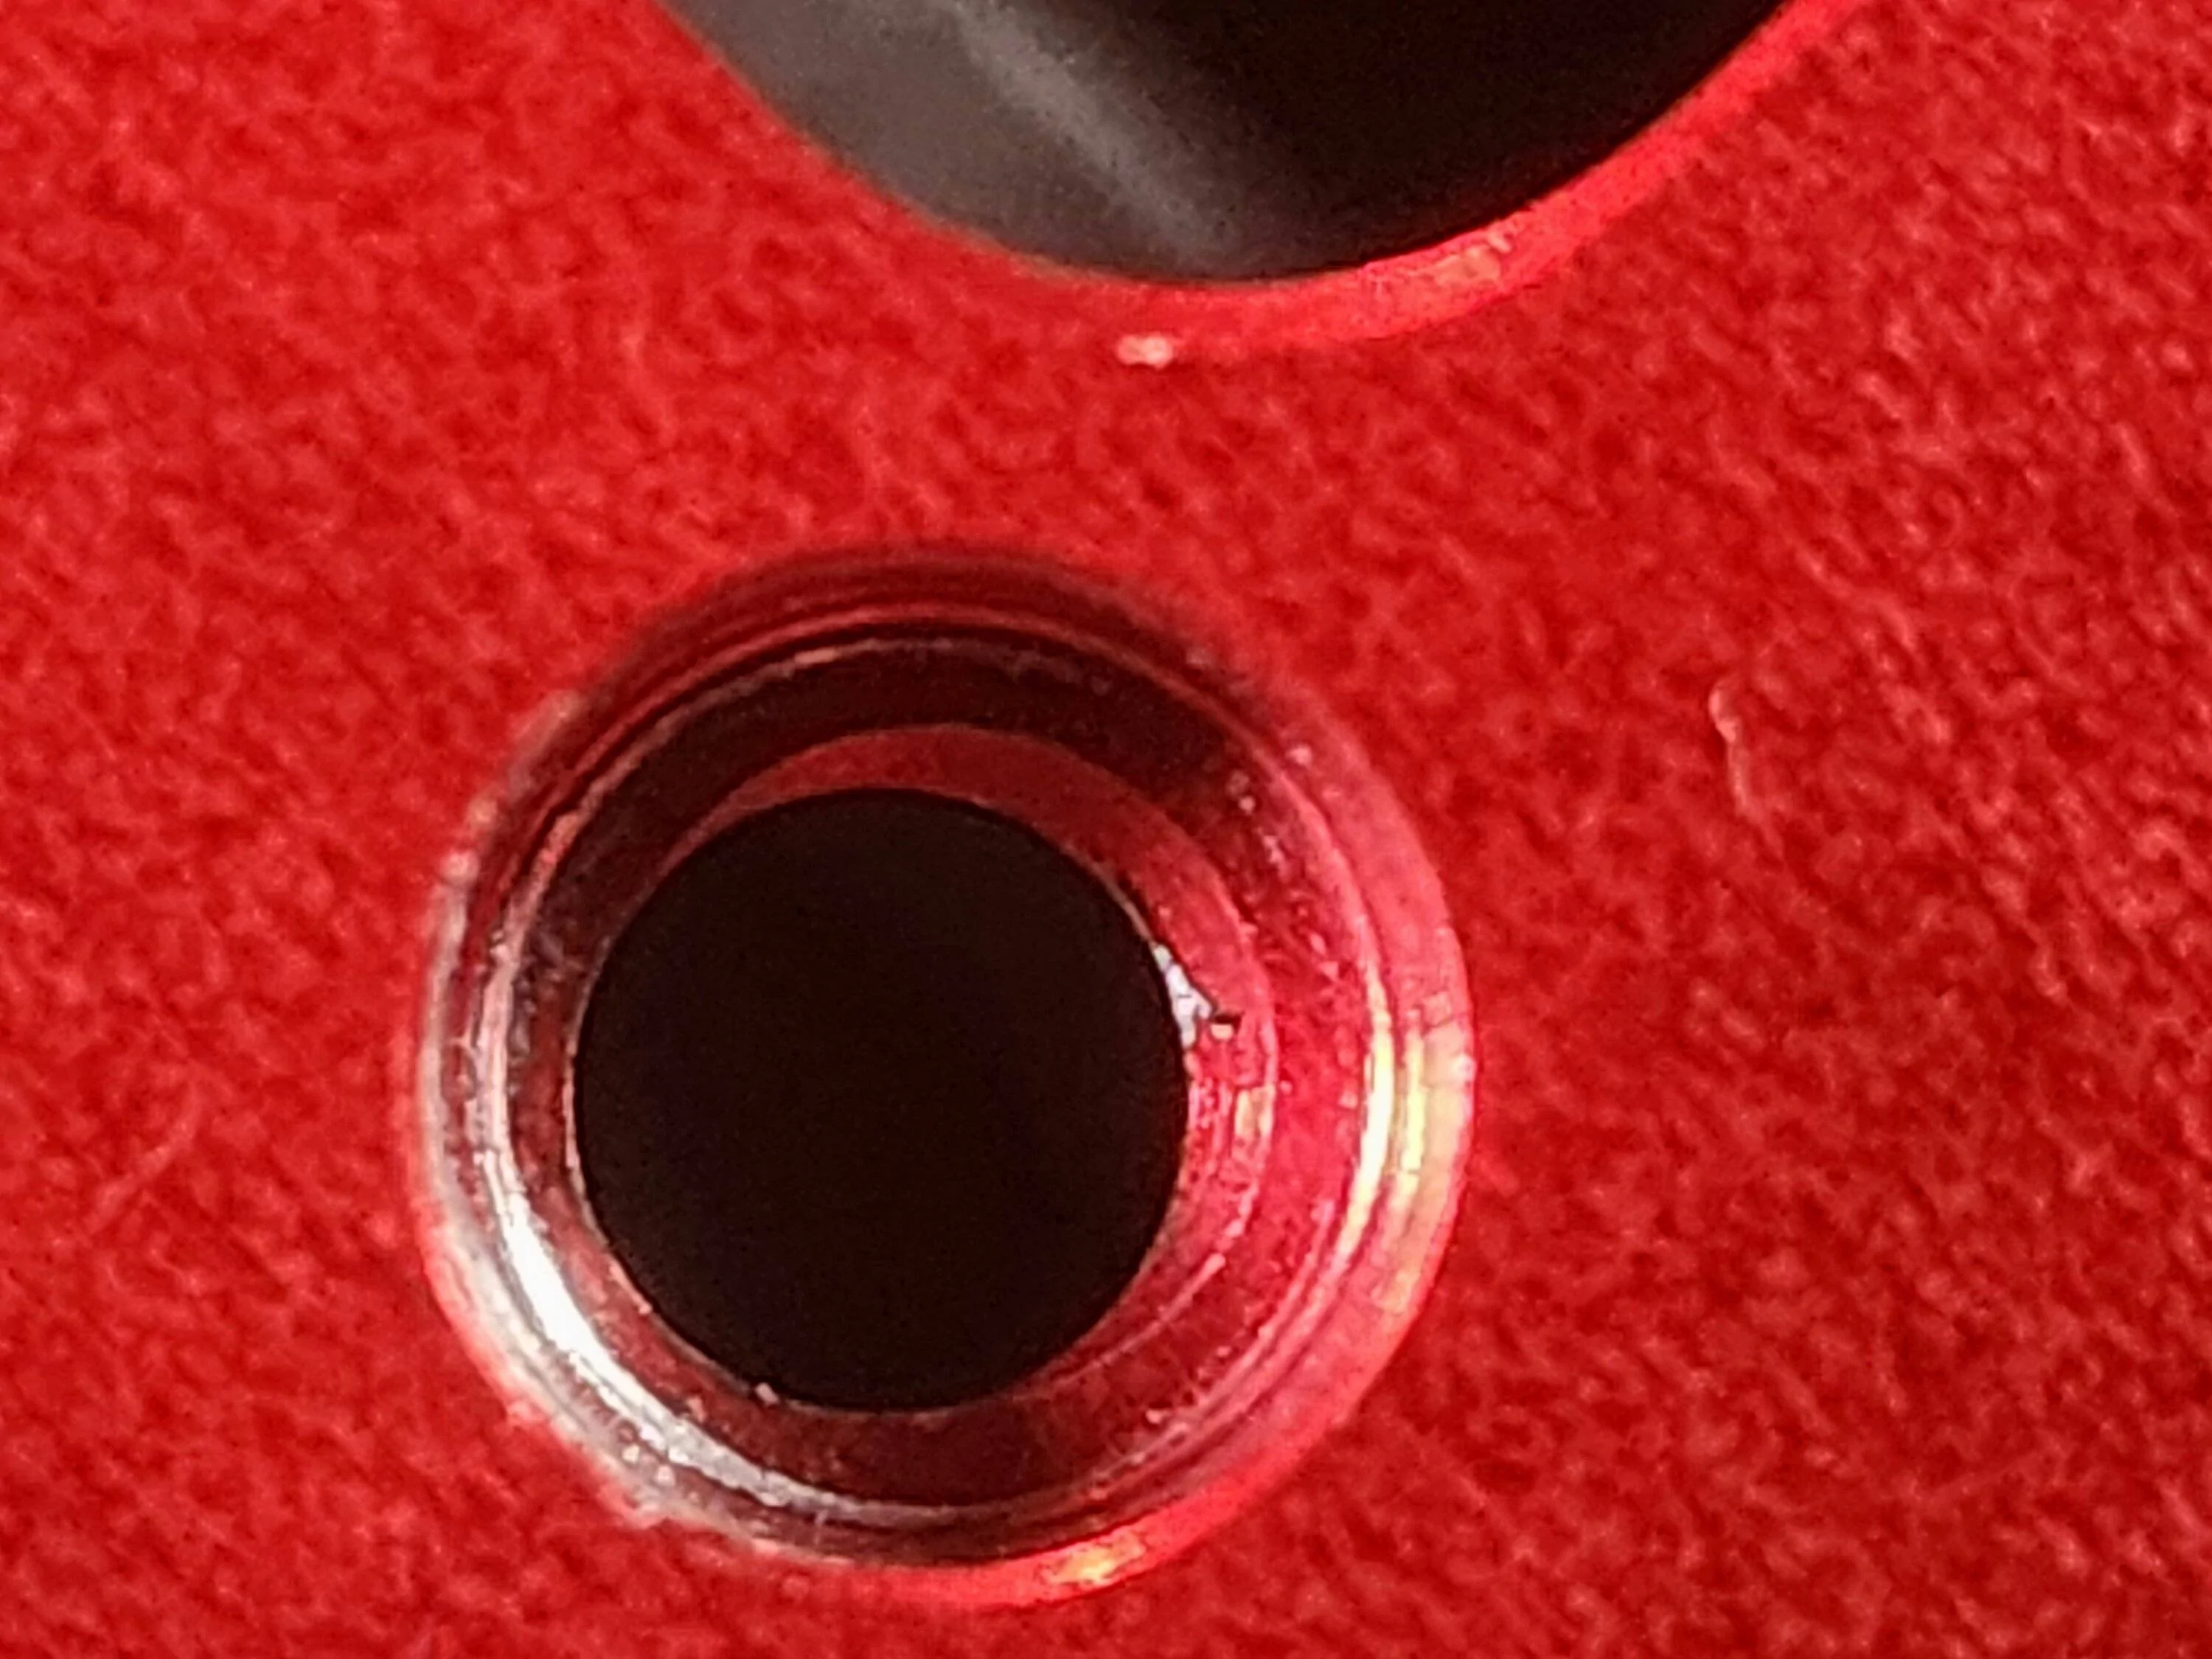
After opening the perimeter holes, I had to do the 3 bolts by the HPFP. The 0.272" gauge pin did not fit, so I dropped in size until 0.269" fit in the bore. I noticed at that point the counterbore was not concentric with the center bore. In my opinion, this is the reason the cover would not move. The bolt head was removing the anodizing from the counter bore, and the threads were removing the opposite side of the bore. You can see where the chamfer operation only did one side of the bore, because it was not concentric to the location of the chamfer operation.
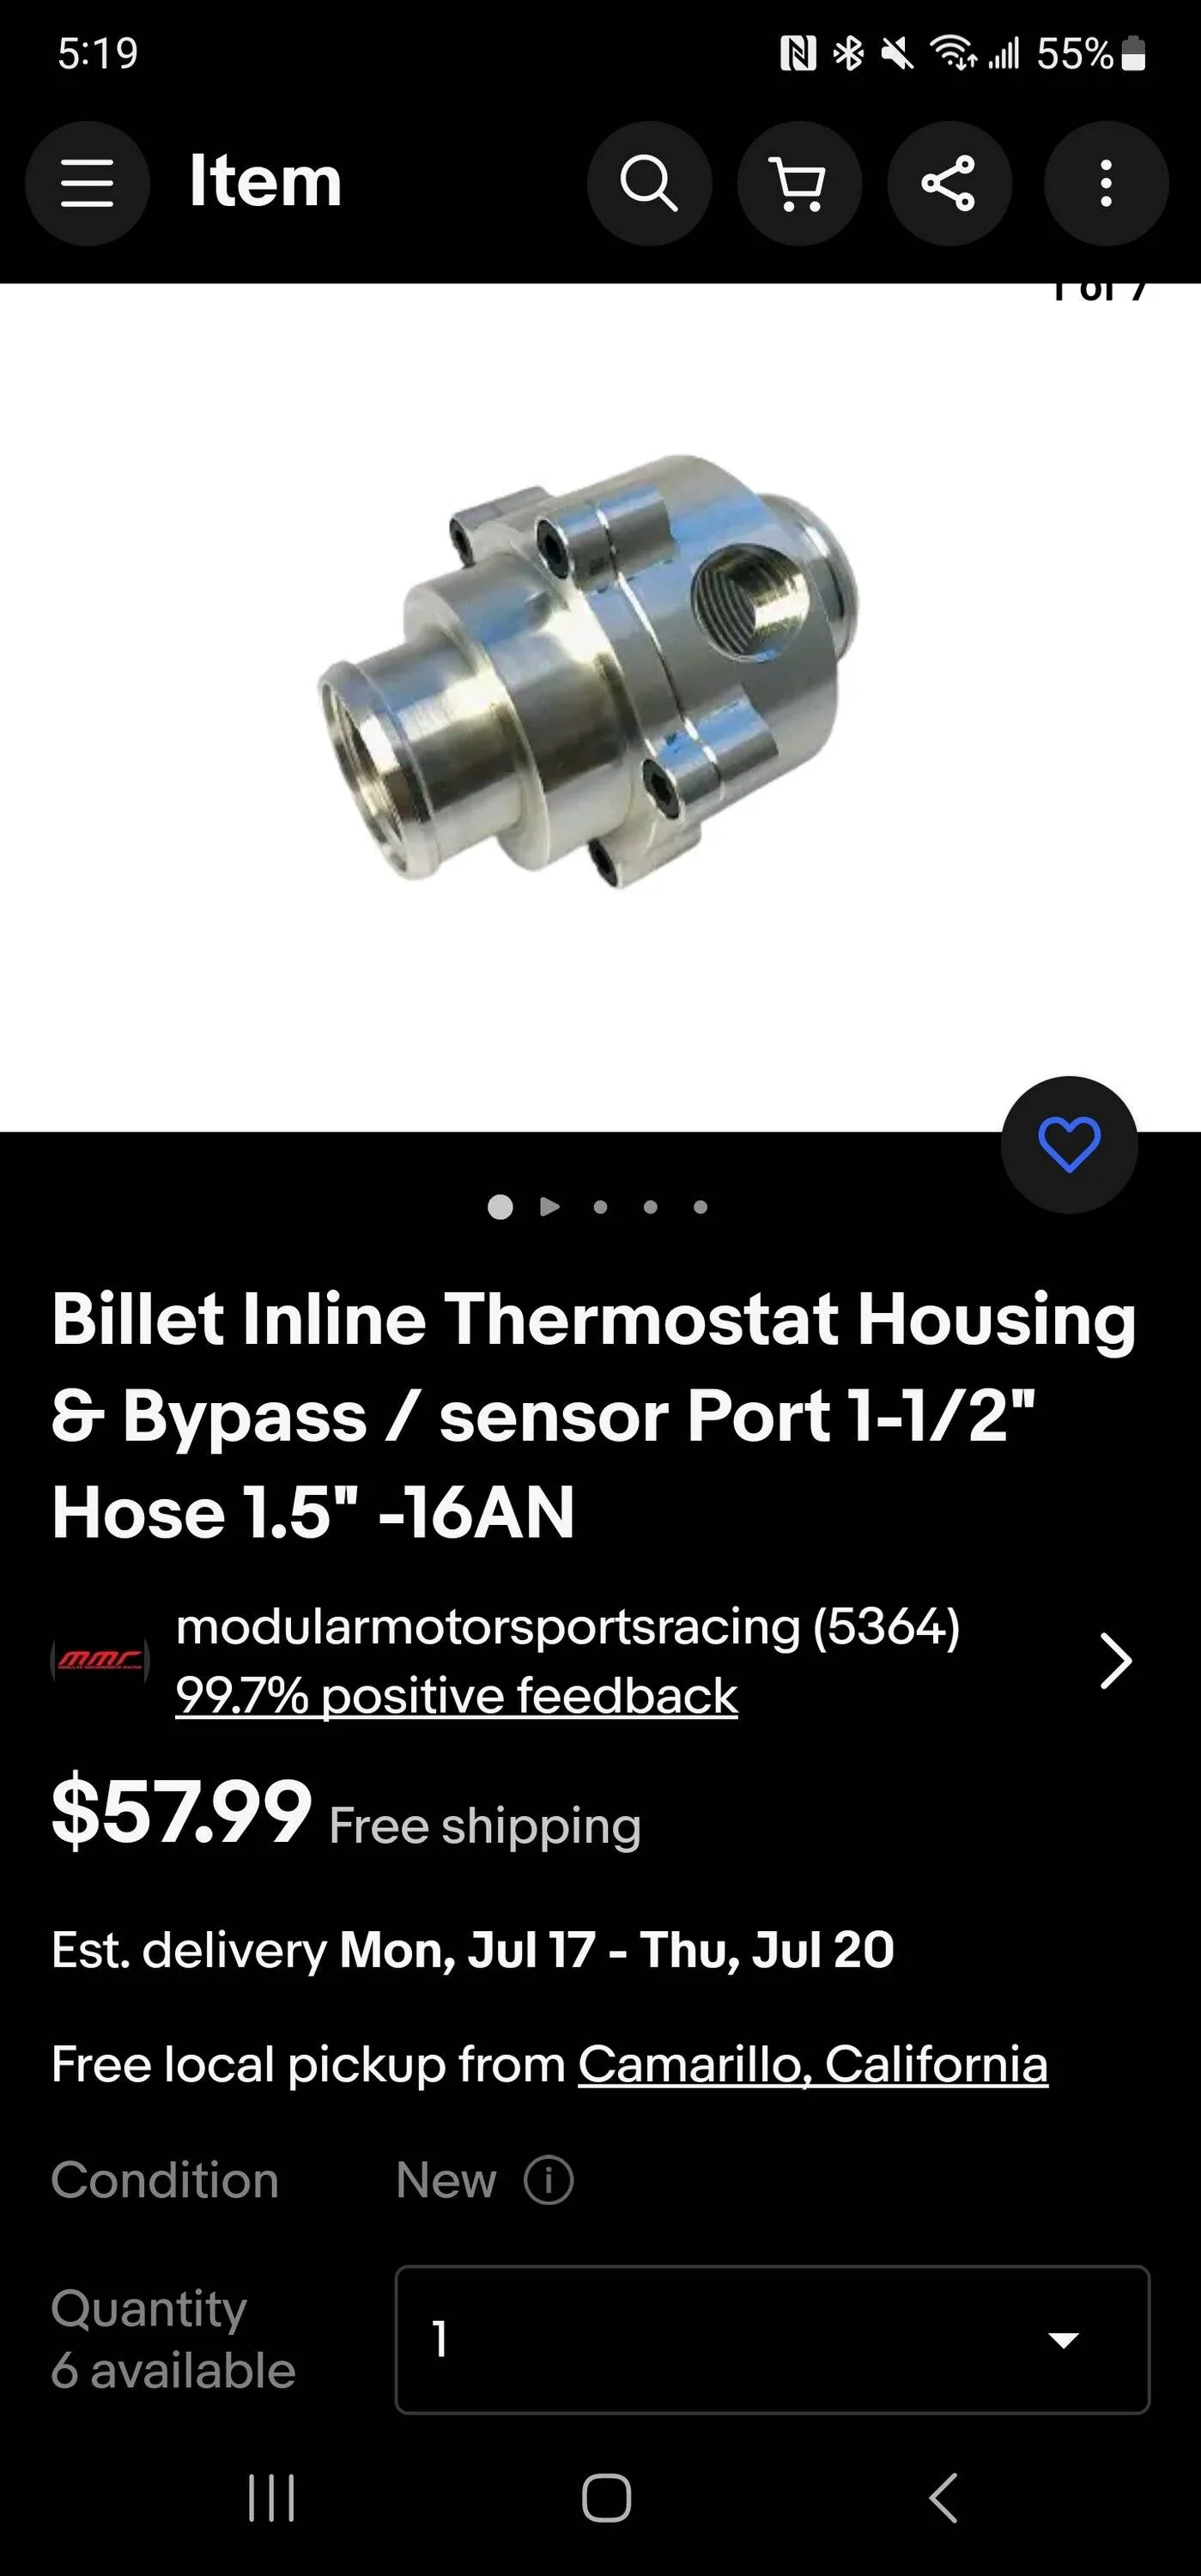
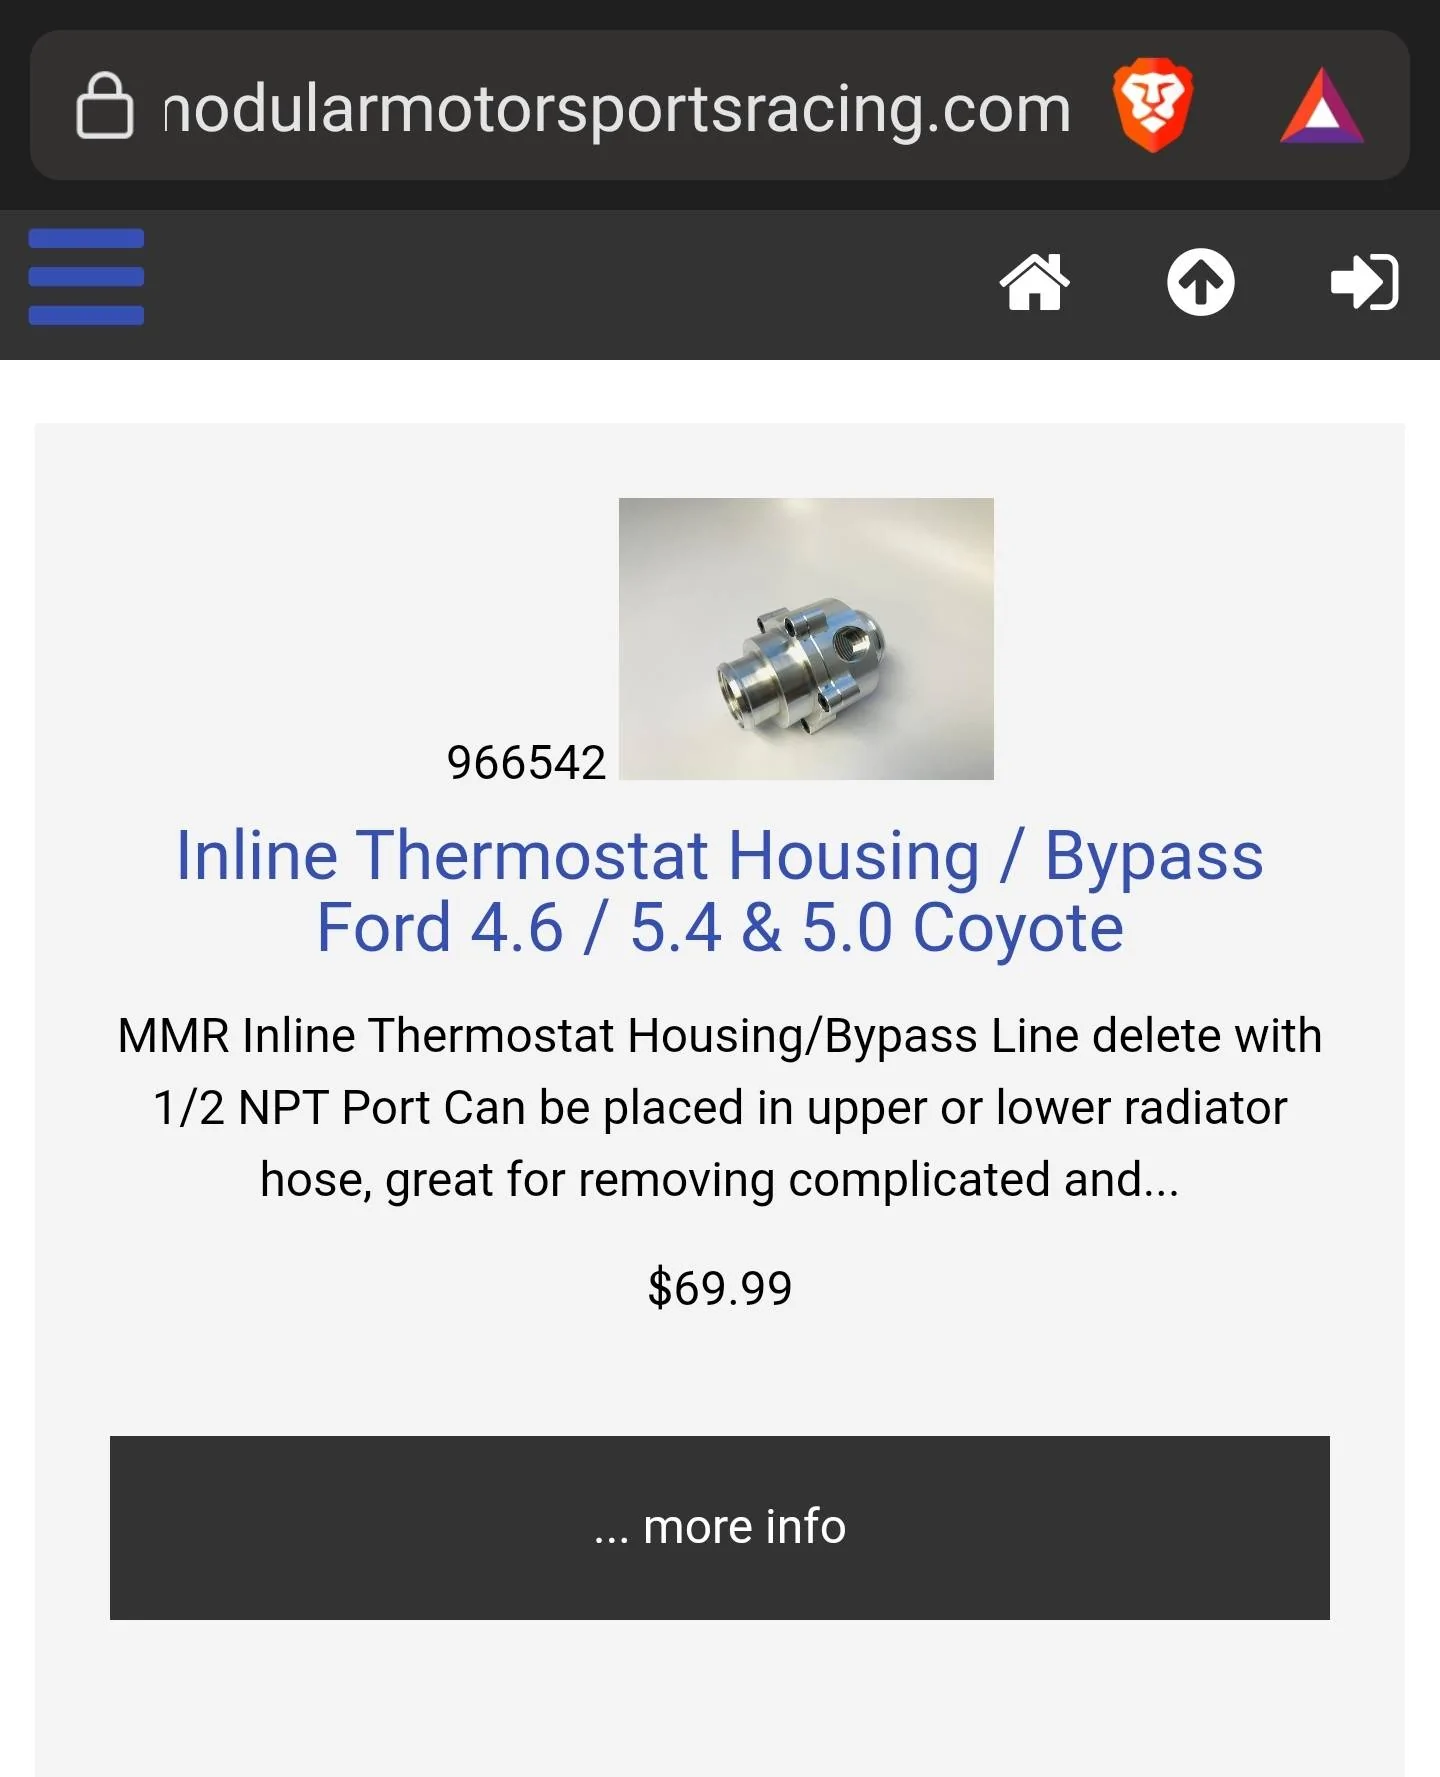
So I fixed all that, but the gasket is still barely on the gasket surface. I asked MMR to make me a new cover once they fixed the operation and gasket path. They said none of their covers leak, so they aren't fixing anything or making me a new cover.
Needless to say, I won't be using anymore of their stuff. What's funny is they quote themselves as a sales pitch saying they can't have a leaking cover at 265 mph (paraphrased). The gasket routing off the gasket mating surface would be a major cause of a leak. In my humble opinion of course.
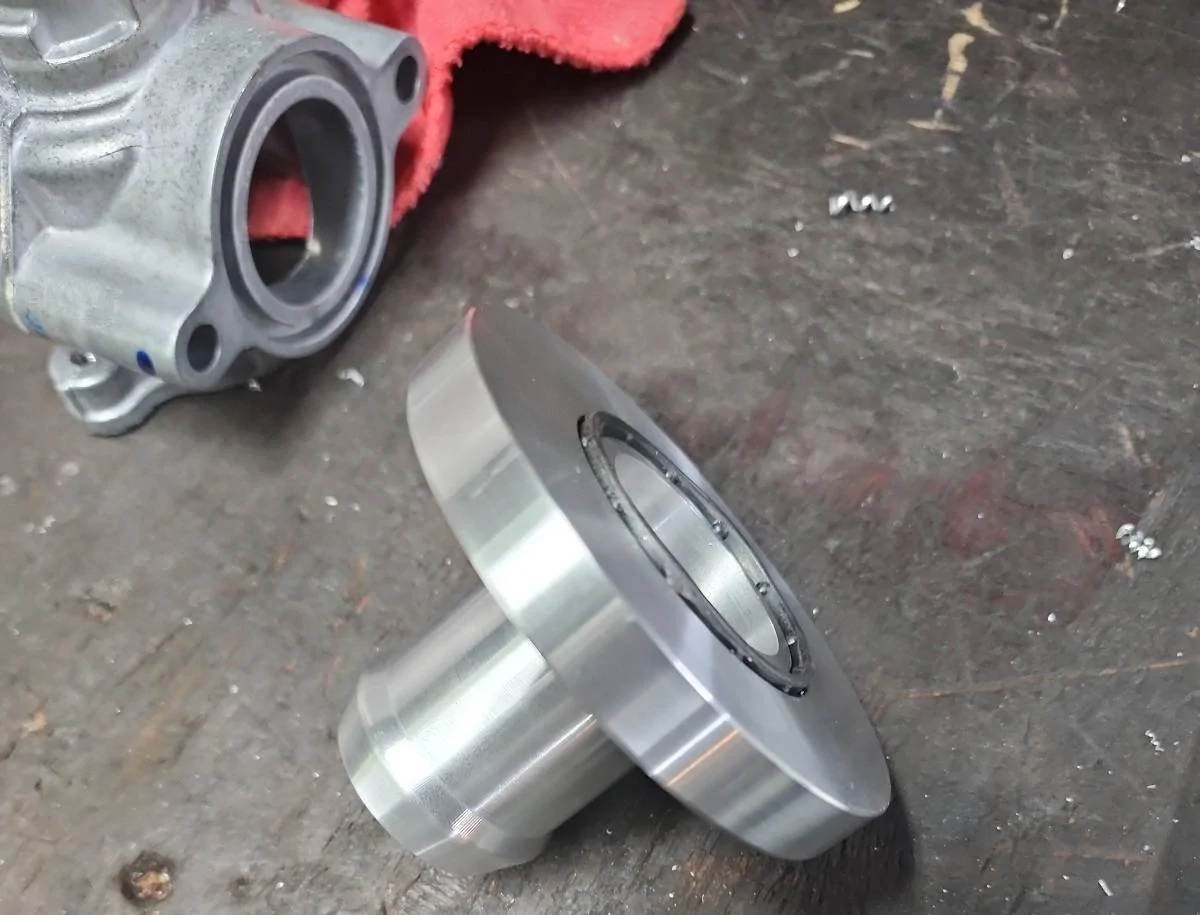
To go with my billet blues, I made the water pump fitting and bracket out of 7075 aluminum. Apparently it has a secret to anodize, that I have not discovered. The fitting face is hard and you can tell it is anodized. I just can't get it to accept the amount of dye needed for proper coloring. I stripped it all off with sodium hydroxide and did it over again. Leaving it cooking for an extra 15 minutes and doubling the amperage to 5 amps per fitting had the same exact effect. Looking like I will be trying the standard Cerakote on these fittings instead. Very excited to try it. It is used on firearms all over and offers similar properties.
To finish of my bad luck with billet, my front wheels came in after 9 weeks. Someone forgot to mill the matching pockets in the spokes so they are making me another set now. Can't make this shit up.


I'm sure you've seen me mention the delay the valve covers caused in the build. Some from the shape but some are from the design.
When I installed the covers, I noticed there was no flexibility in positioning the cover. Usually there is a minor amount of movement available, but this was locked in place. The screw heads cut into the counterbores on different sides, so I assumed those counterbores just weren't big enough. I locked the covers down and went on. While messing around with the water pump, I noticed I could see the valve cover gasket. I decided to take them off. What I found was shocking to me. Perhaps my expectations are too high because I have the ability to machine things myself at a relatively high level.
First issue was the gasket path. It goes up and then back down again while the factory cover goes straight. That's the area that overhangs my front cover. So I figured I would put a gauge pin in each hole, and do some math, then open them up to the maximum possible, leaving at least 0.035" wall between the gasket and the hole.
After opening the perimeter holes, I had to do the 3 bolts by the HPFP. The 0.272" gauge pin did not fit, so I dropped in size until 0.269" fit in the bore. I noticed at that point the counterbore was not concentric with the center bore. In my opinion, this is the reason the cover would not move. The bolt head was removing the anodizing from the counter bore, and the threads were removing the opposite side of the bore. You can see where the chamfer operation only did one side of the bore, because it was not concentric to the location of the chamfer operation.
So I fixed all that, but the gasket is still barely on the gasket surface. I asked MMR to make me a new cover once they fixed the operation and gasket path. They said none of their covers leak, so they aren't fixing anything or making me a new cover.
Needless to say, I won't be using anymore of their stuff. What's funny is they quote themselves as a sales pitch saying they can't have a leaking cover at 265 mph (paraphrased). The gasket routing off the gasket mating surface would be a major cause of a leak. In my humble opinion of course.
To go with my billet blues, I made the water pump fitting and bracket out of 7075 aluminum. Apparently it has a secret to anodize, that I have not discovered. The fitting face is hard and you can tell it is anodized. I just can't get it to accept the amount of dye needed for proper coloring. I stripped it all off with sodium hydroxide and did it over again. Leaving it cooking for an extra 15 minutes and doubling the amperage to 5 amps per fitting had the same exact effect. Looking like I will be trying the standard Cerakote on these fittings instead. Very excited to try it. It is used on firearms all over and offers similar properties.
To finish of my bad luck with billet, my front wheels came in after 9 weeks. Someone forgot to mill the matching pockets in the spokes so they are making me another set now. Can't make this shit up.


Sponsored
Last edited: