Grimreaper
Well-Known Member
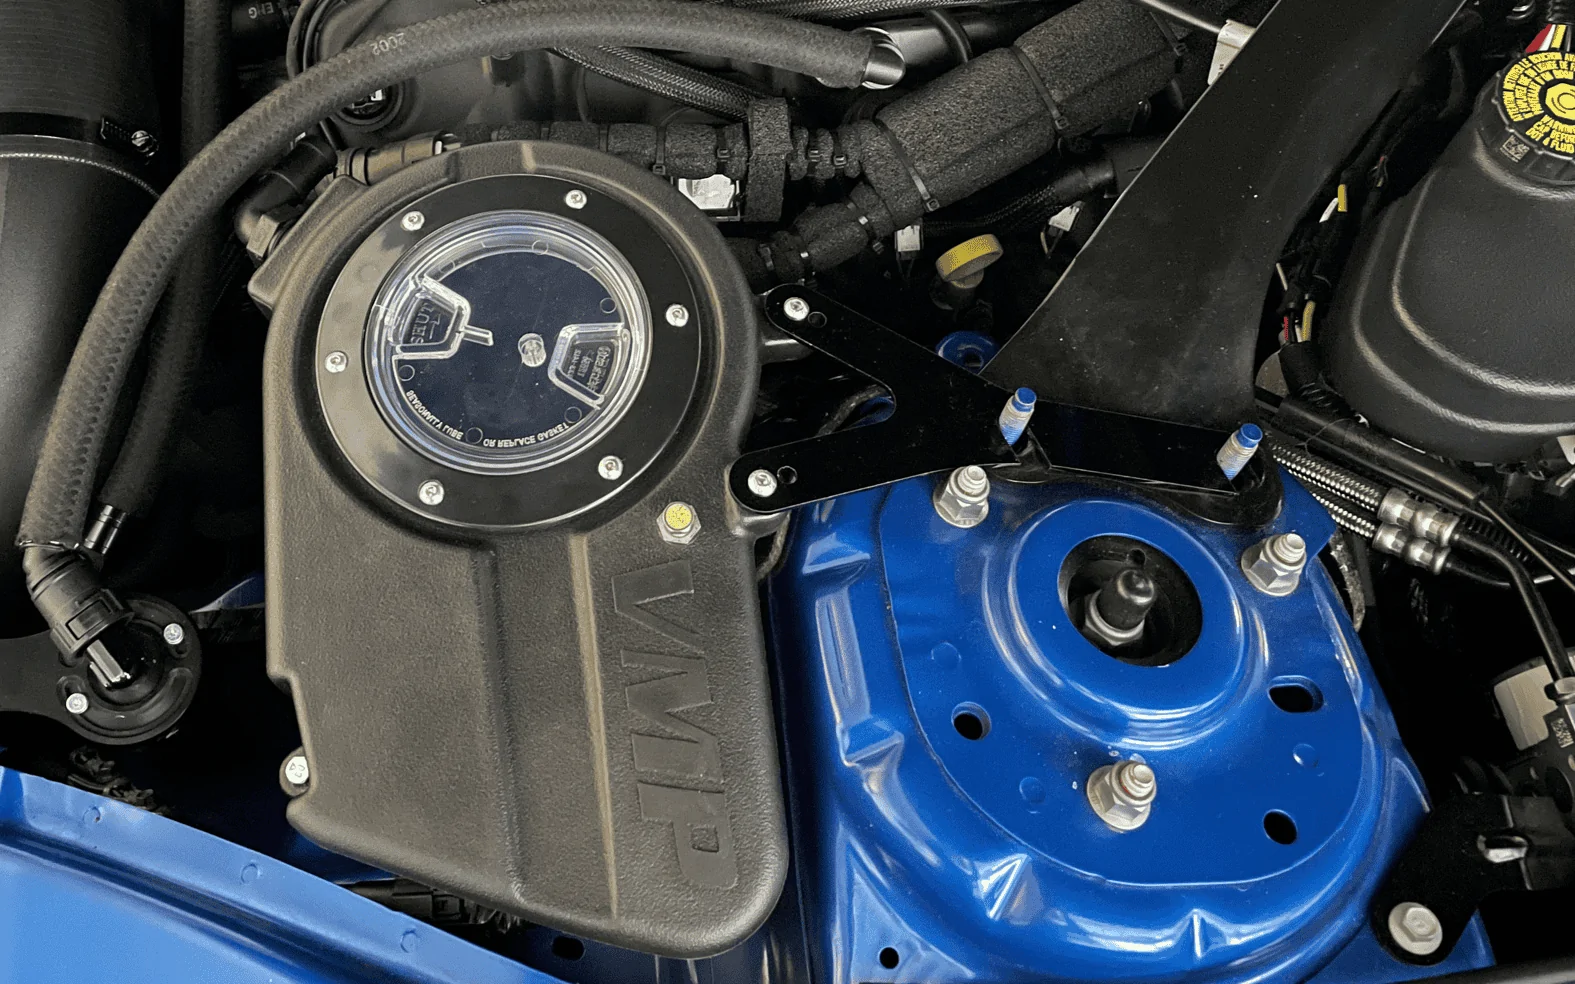
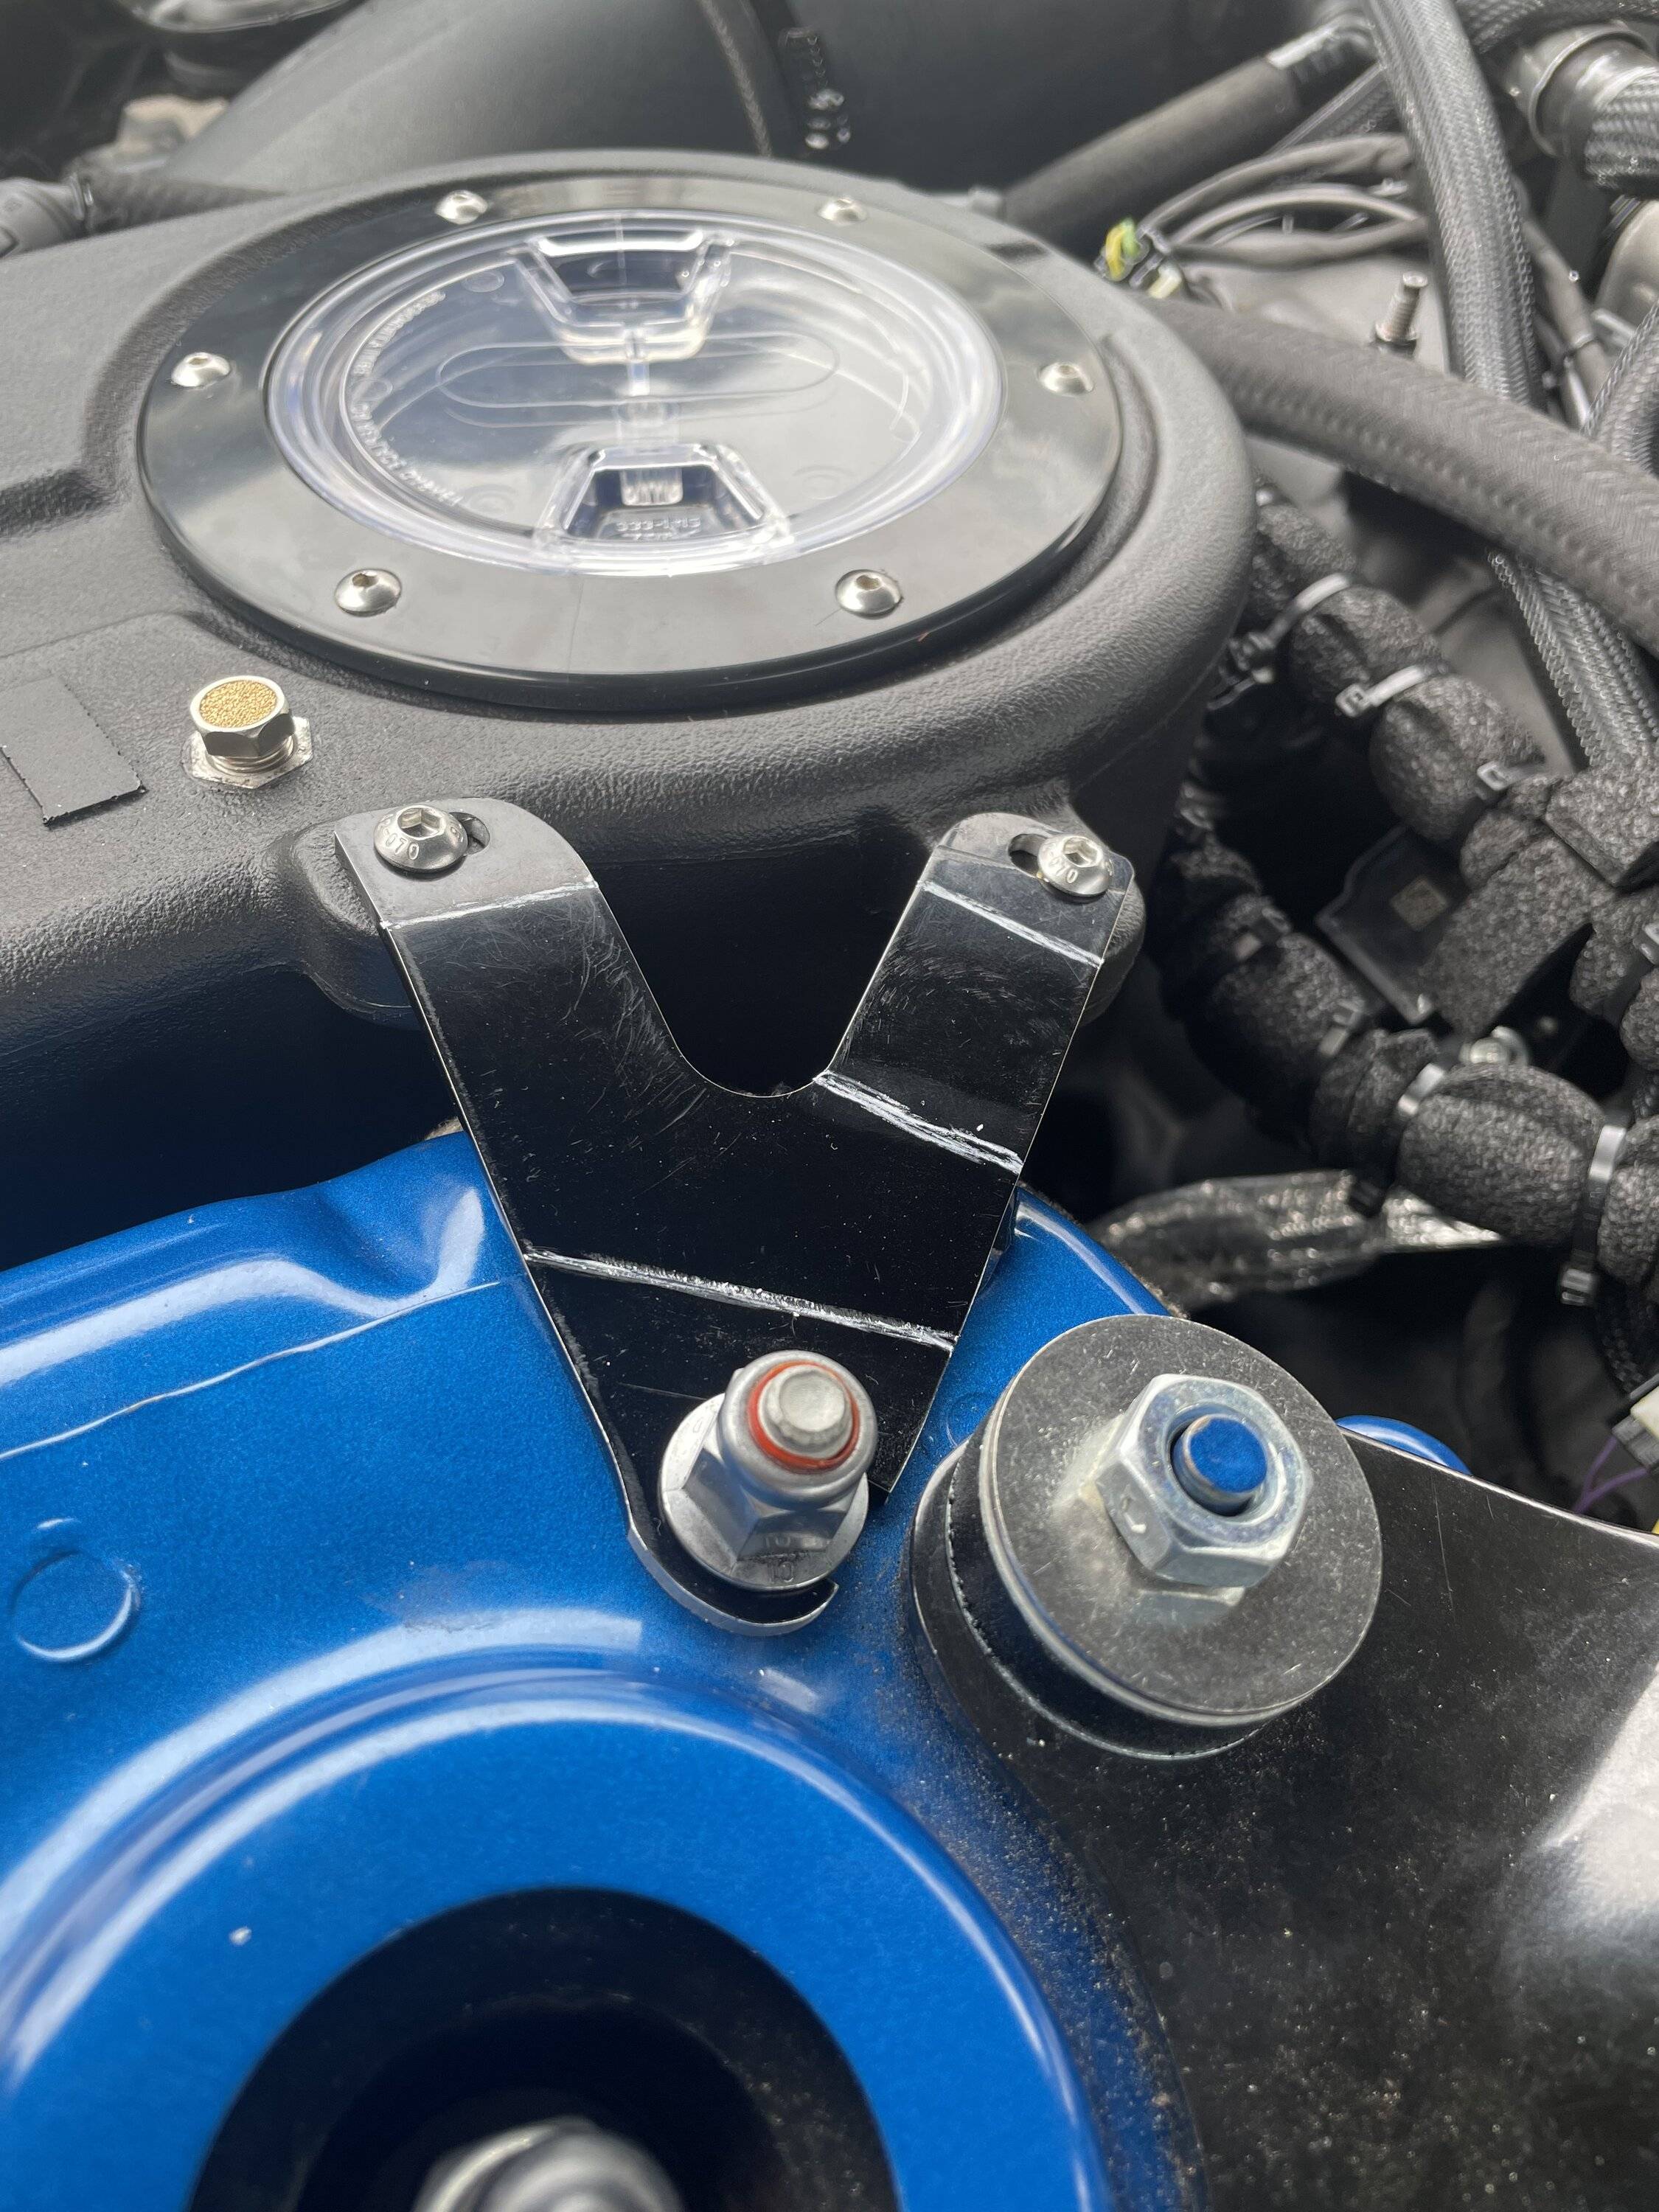
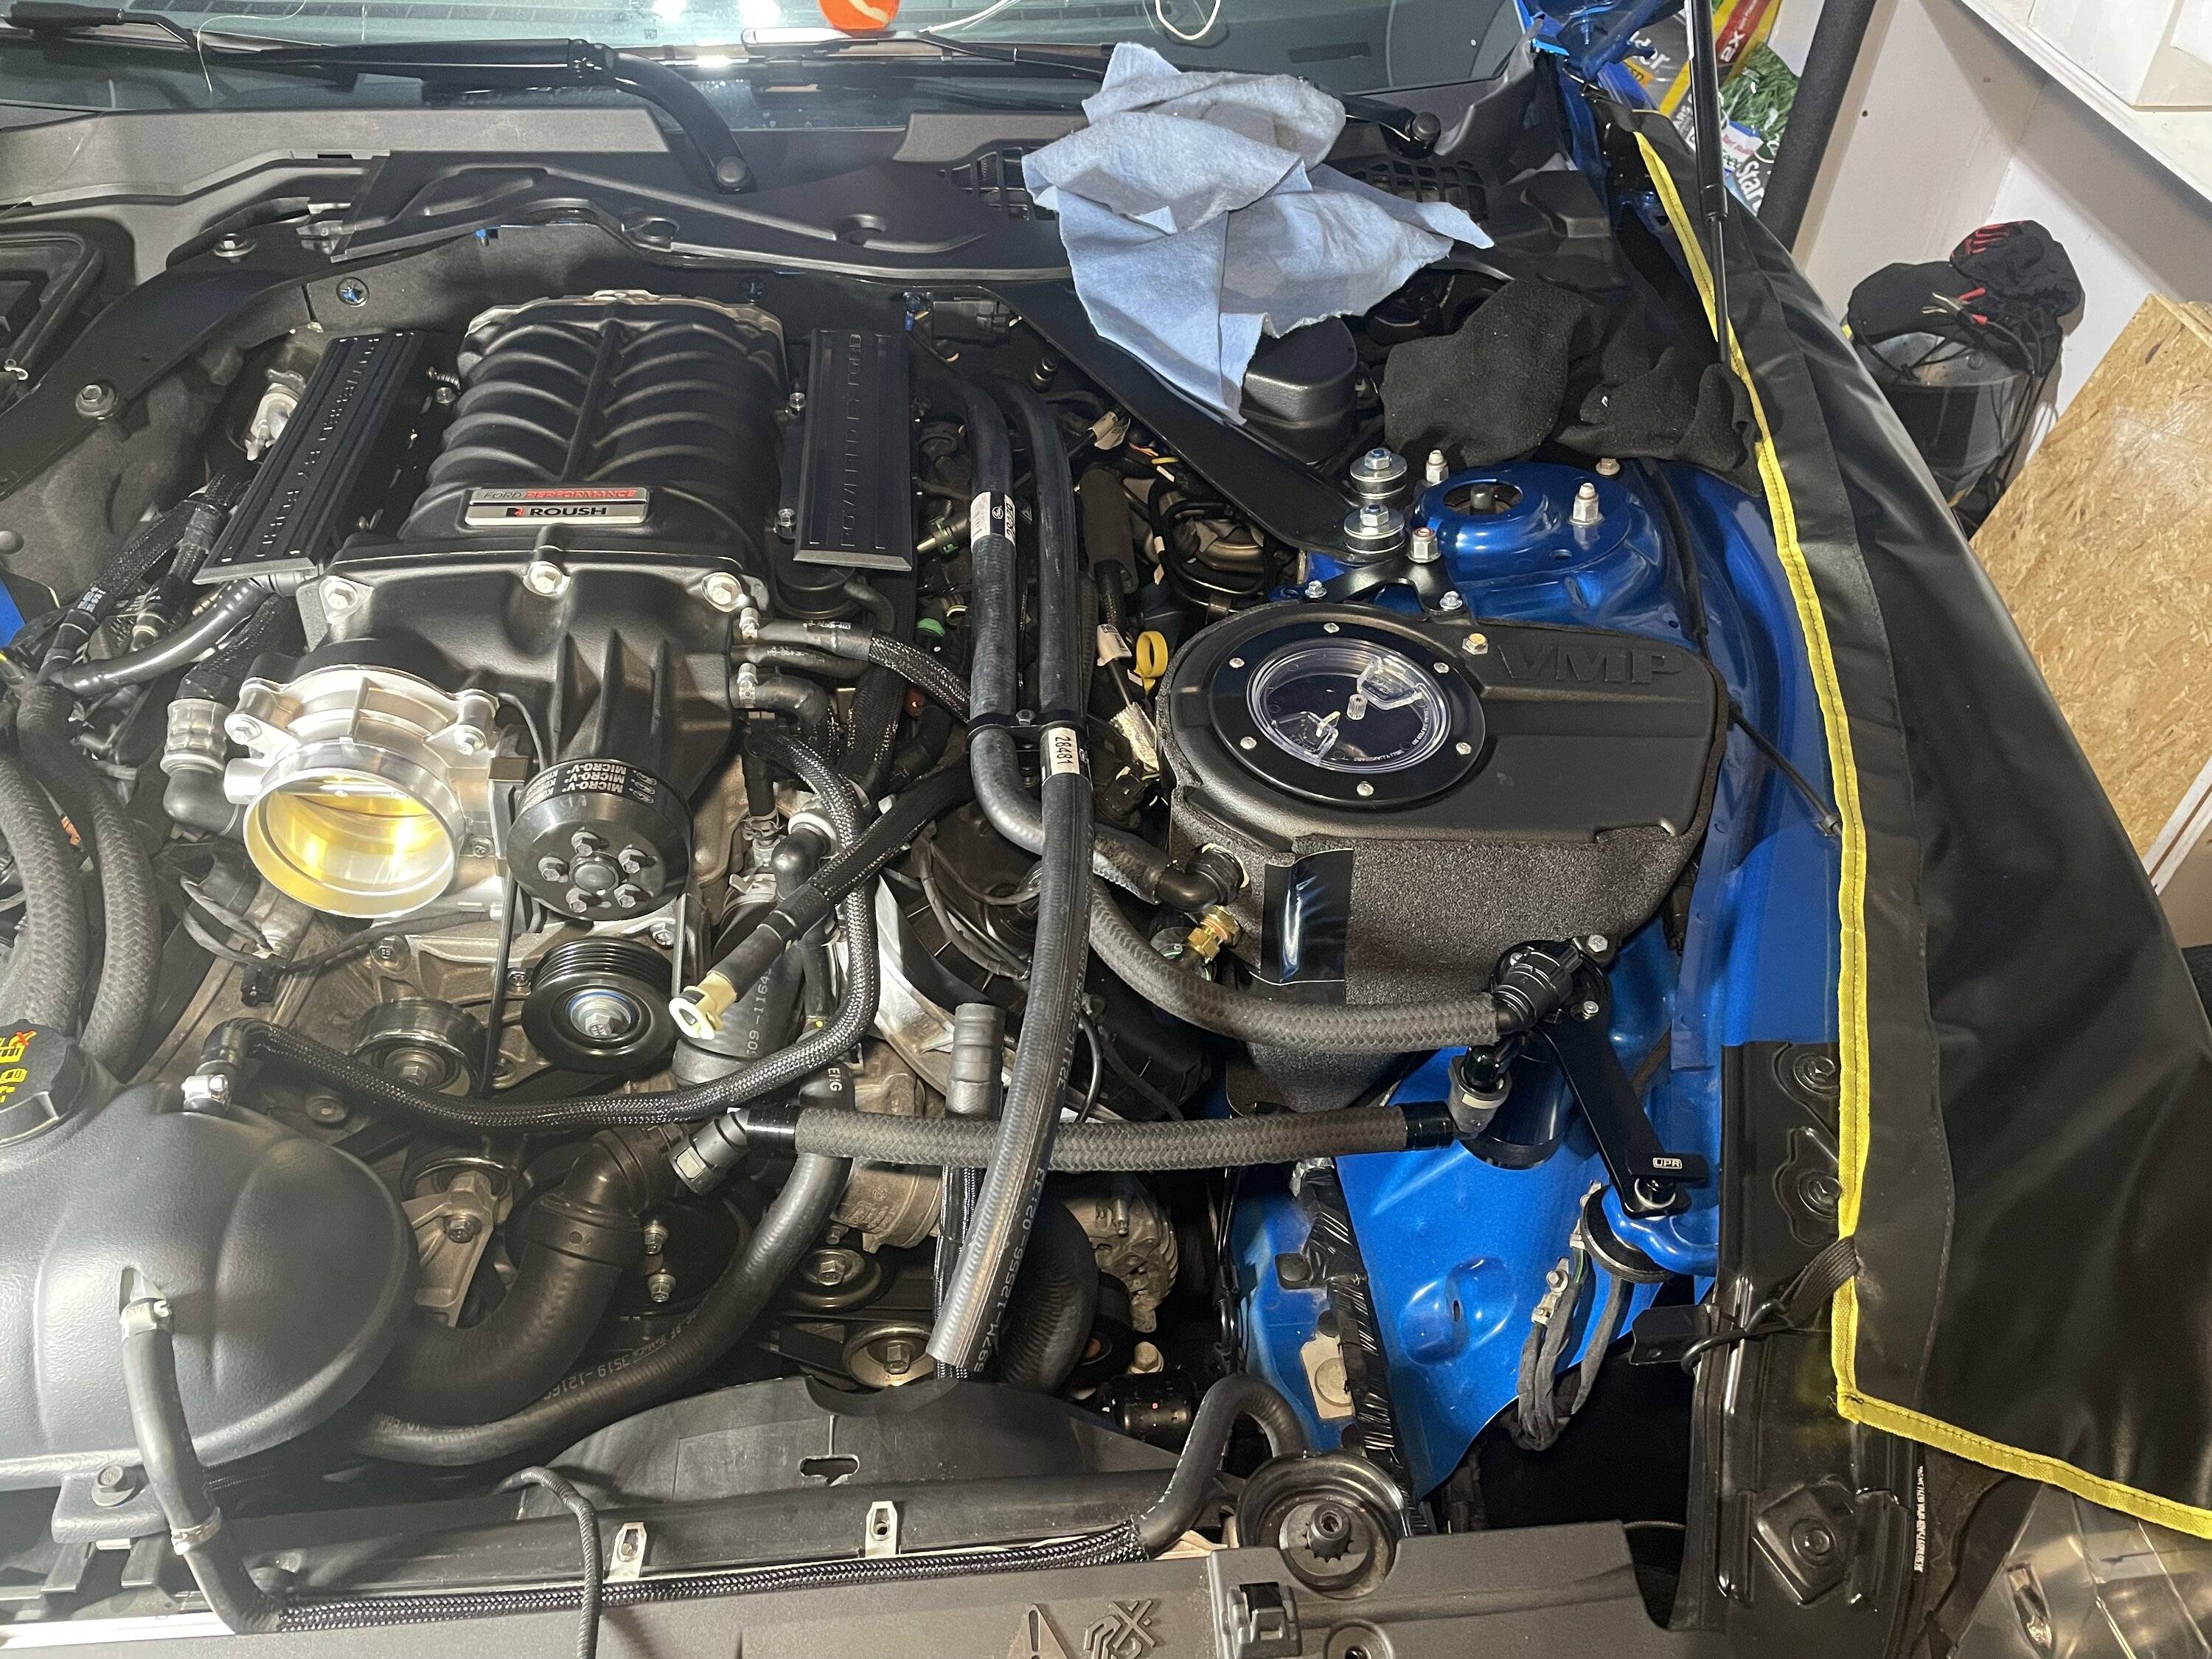
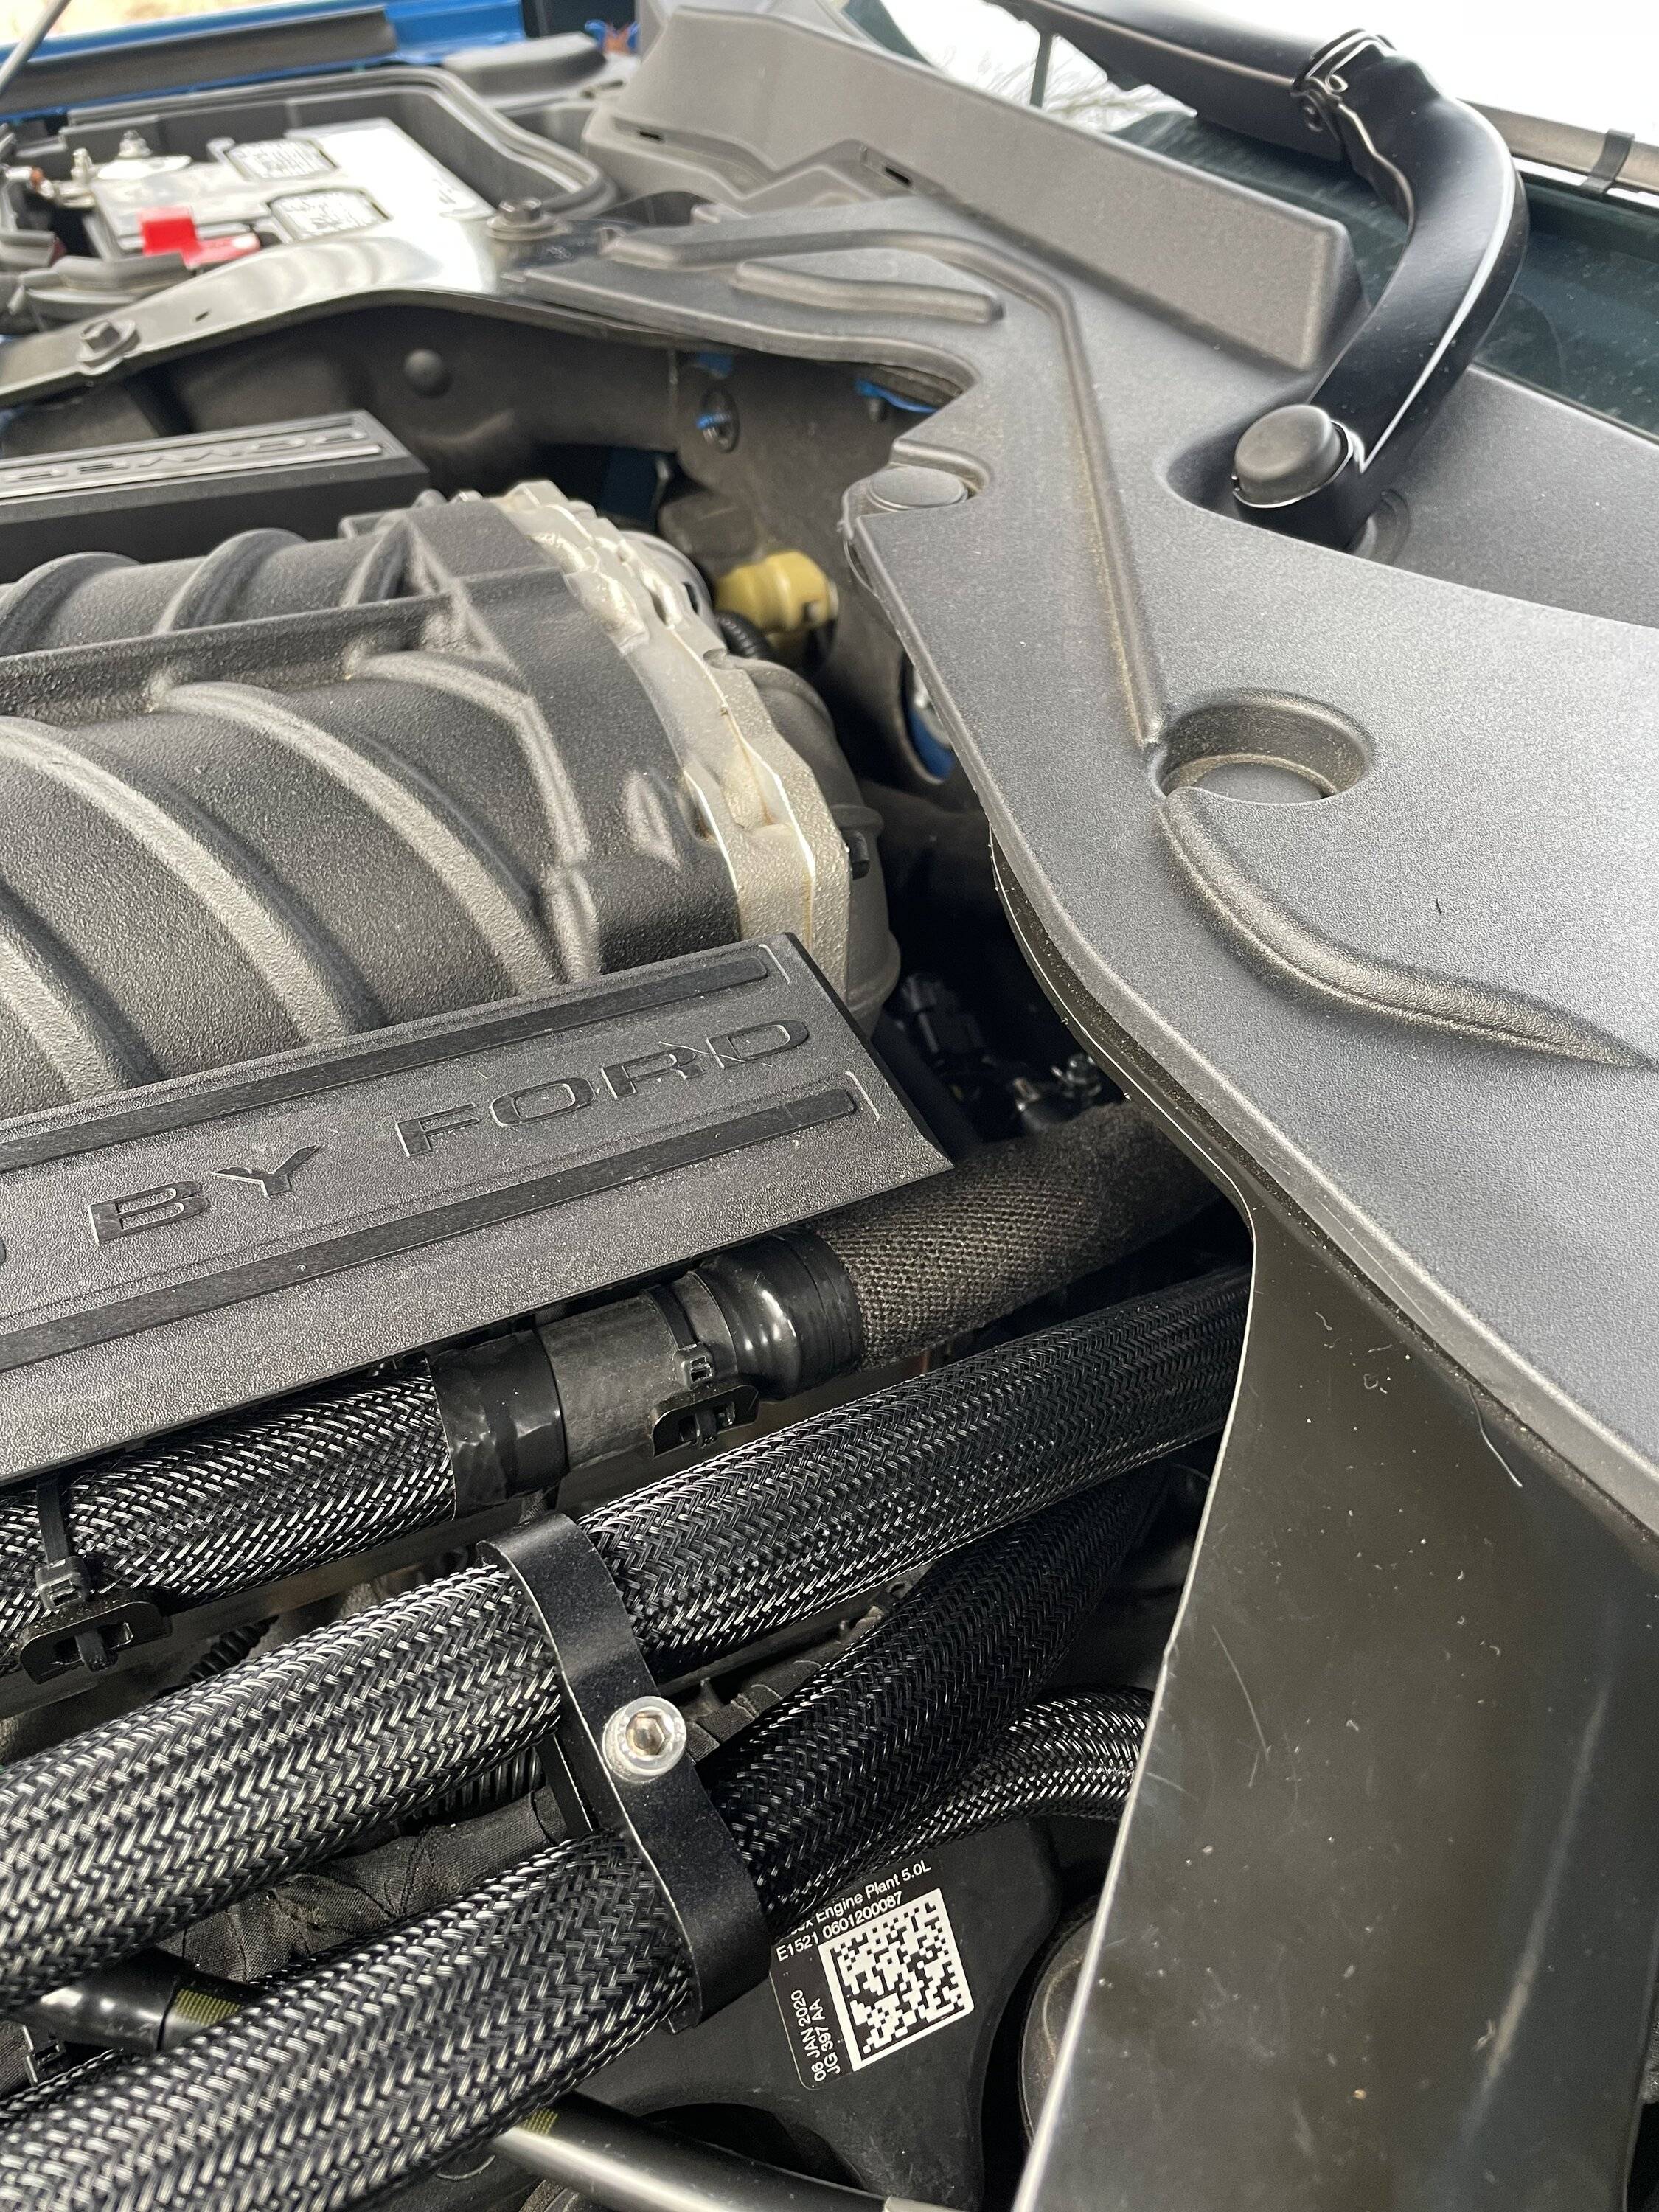
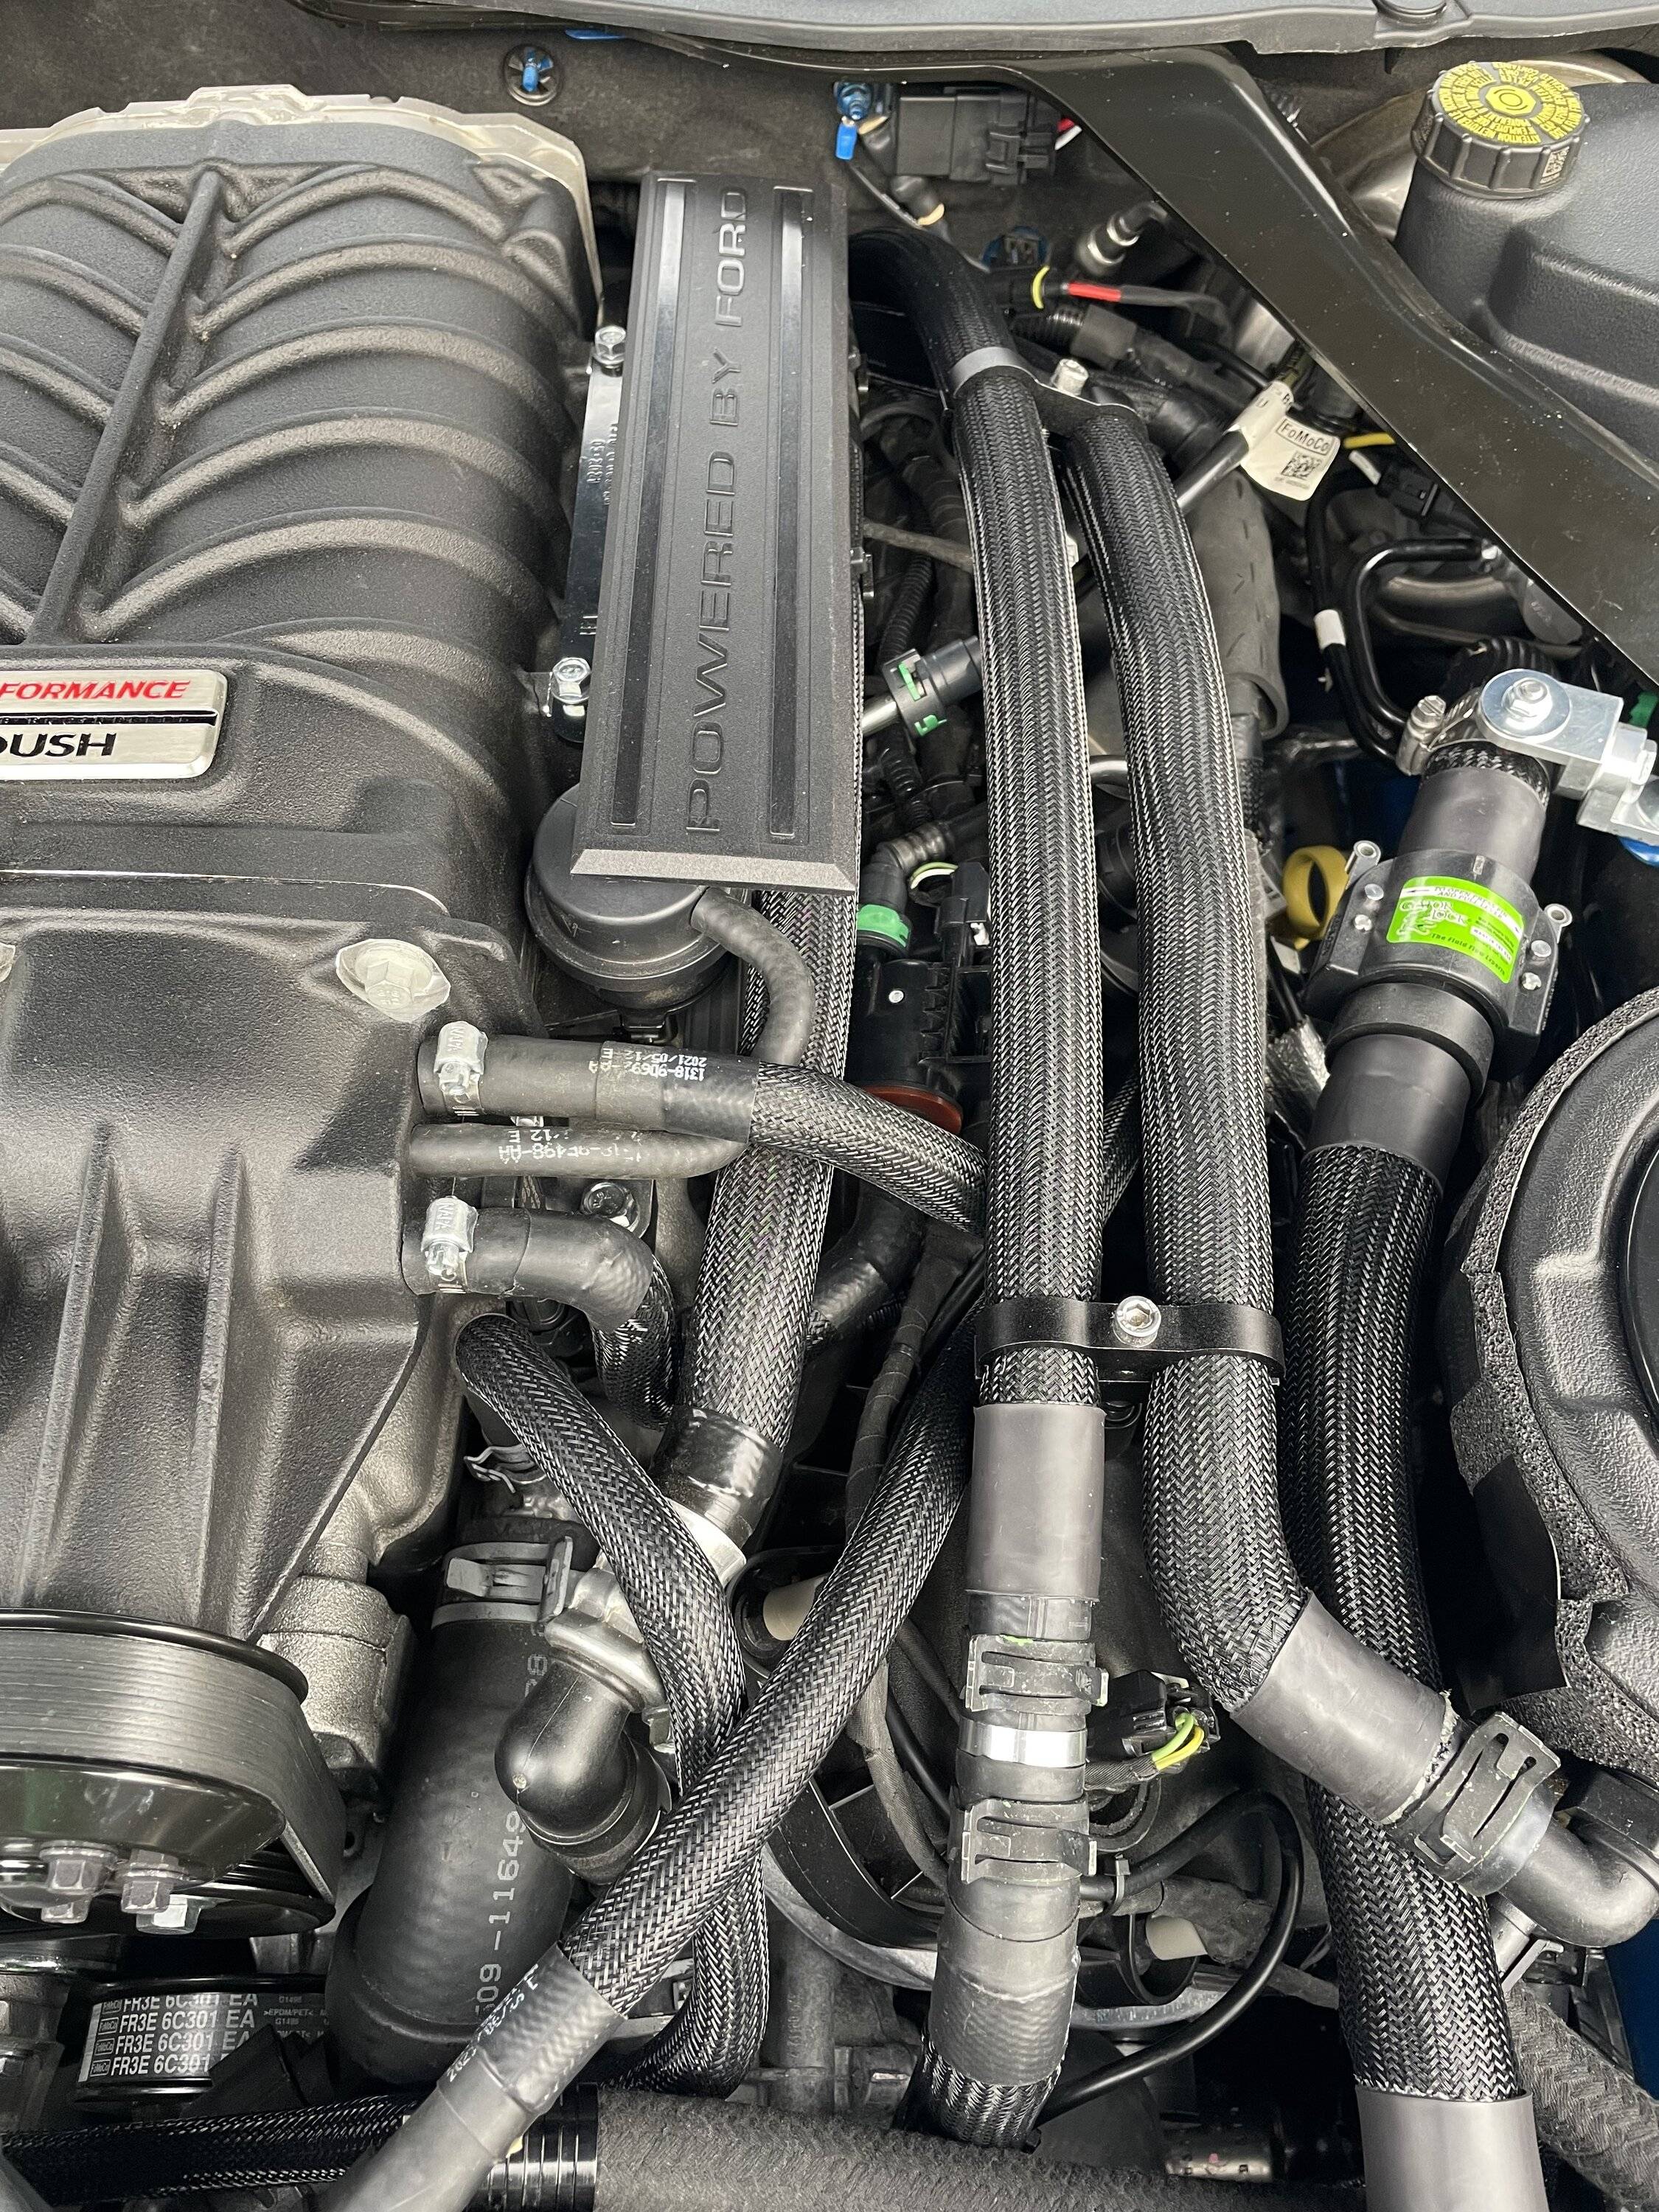
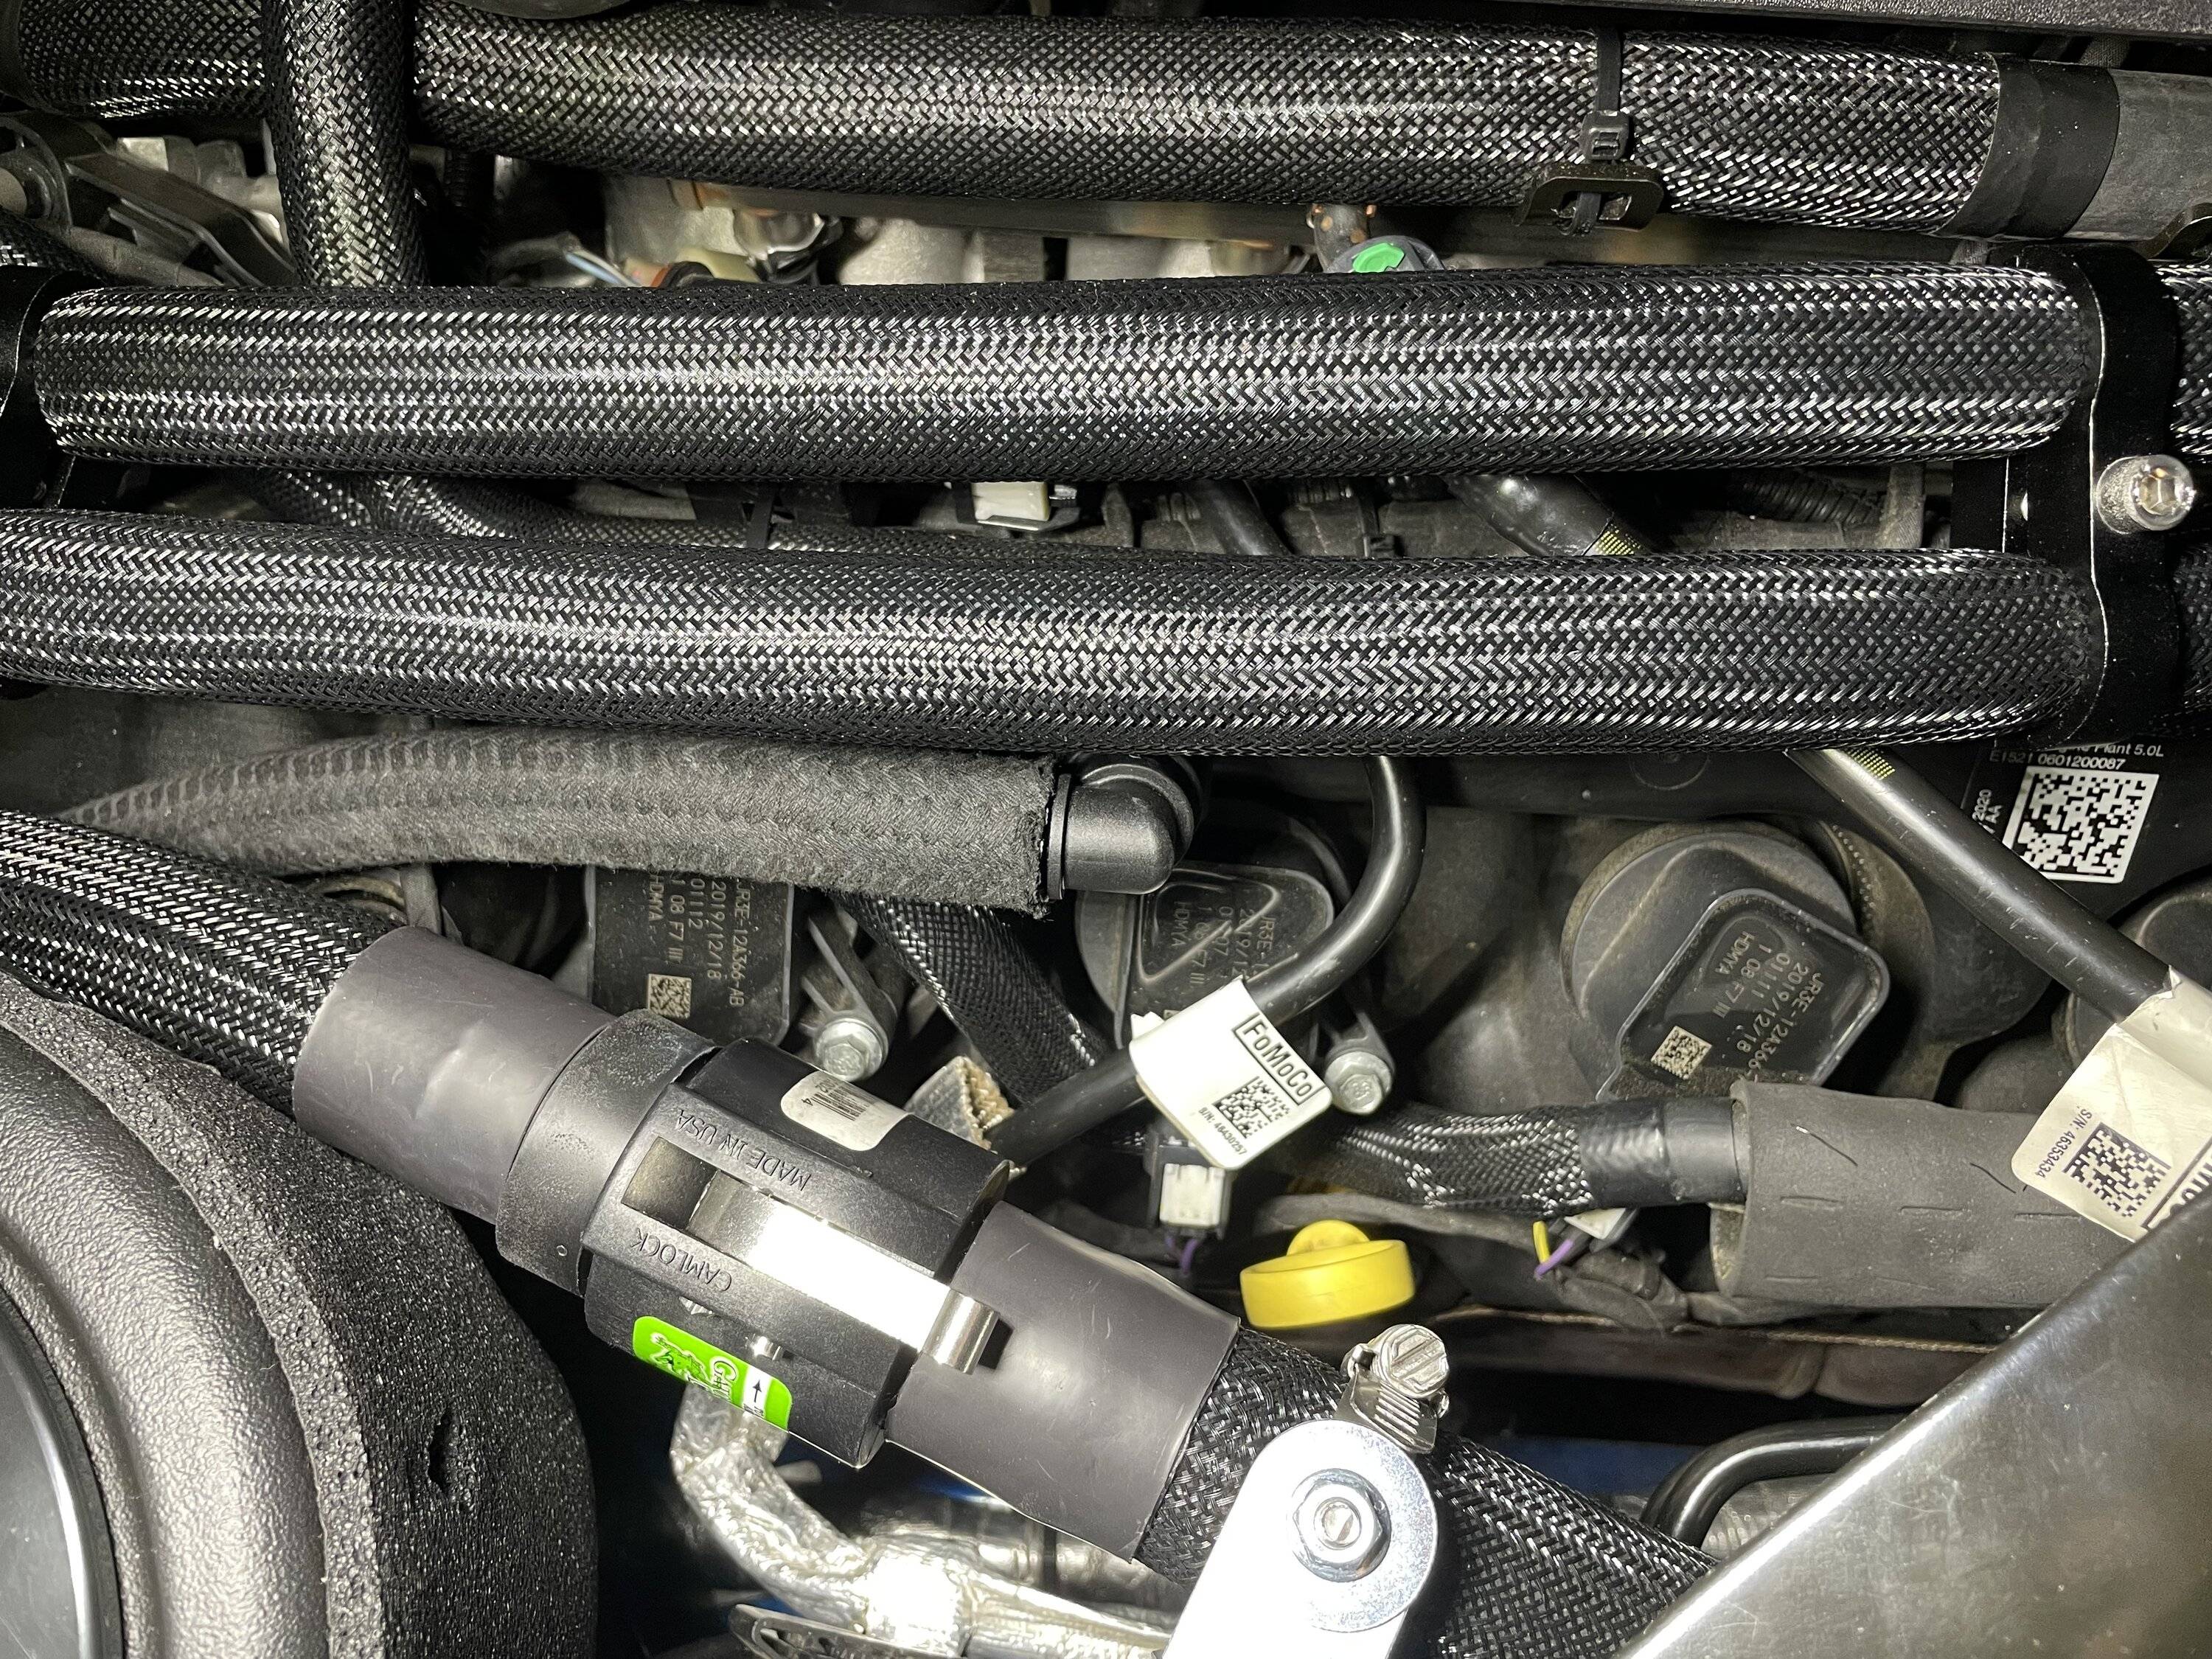
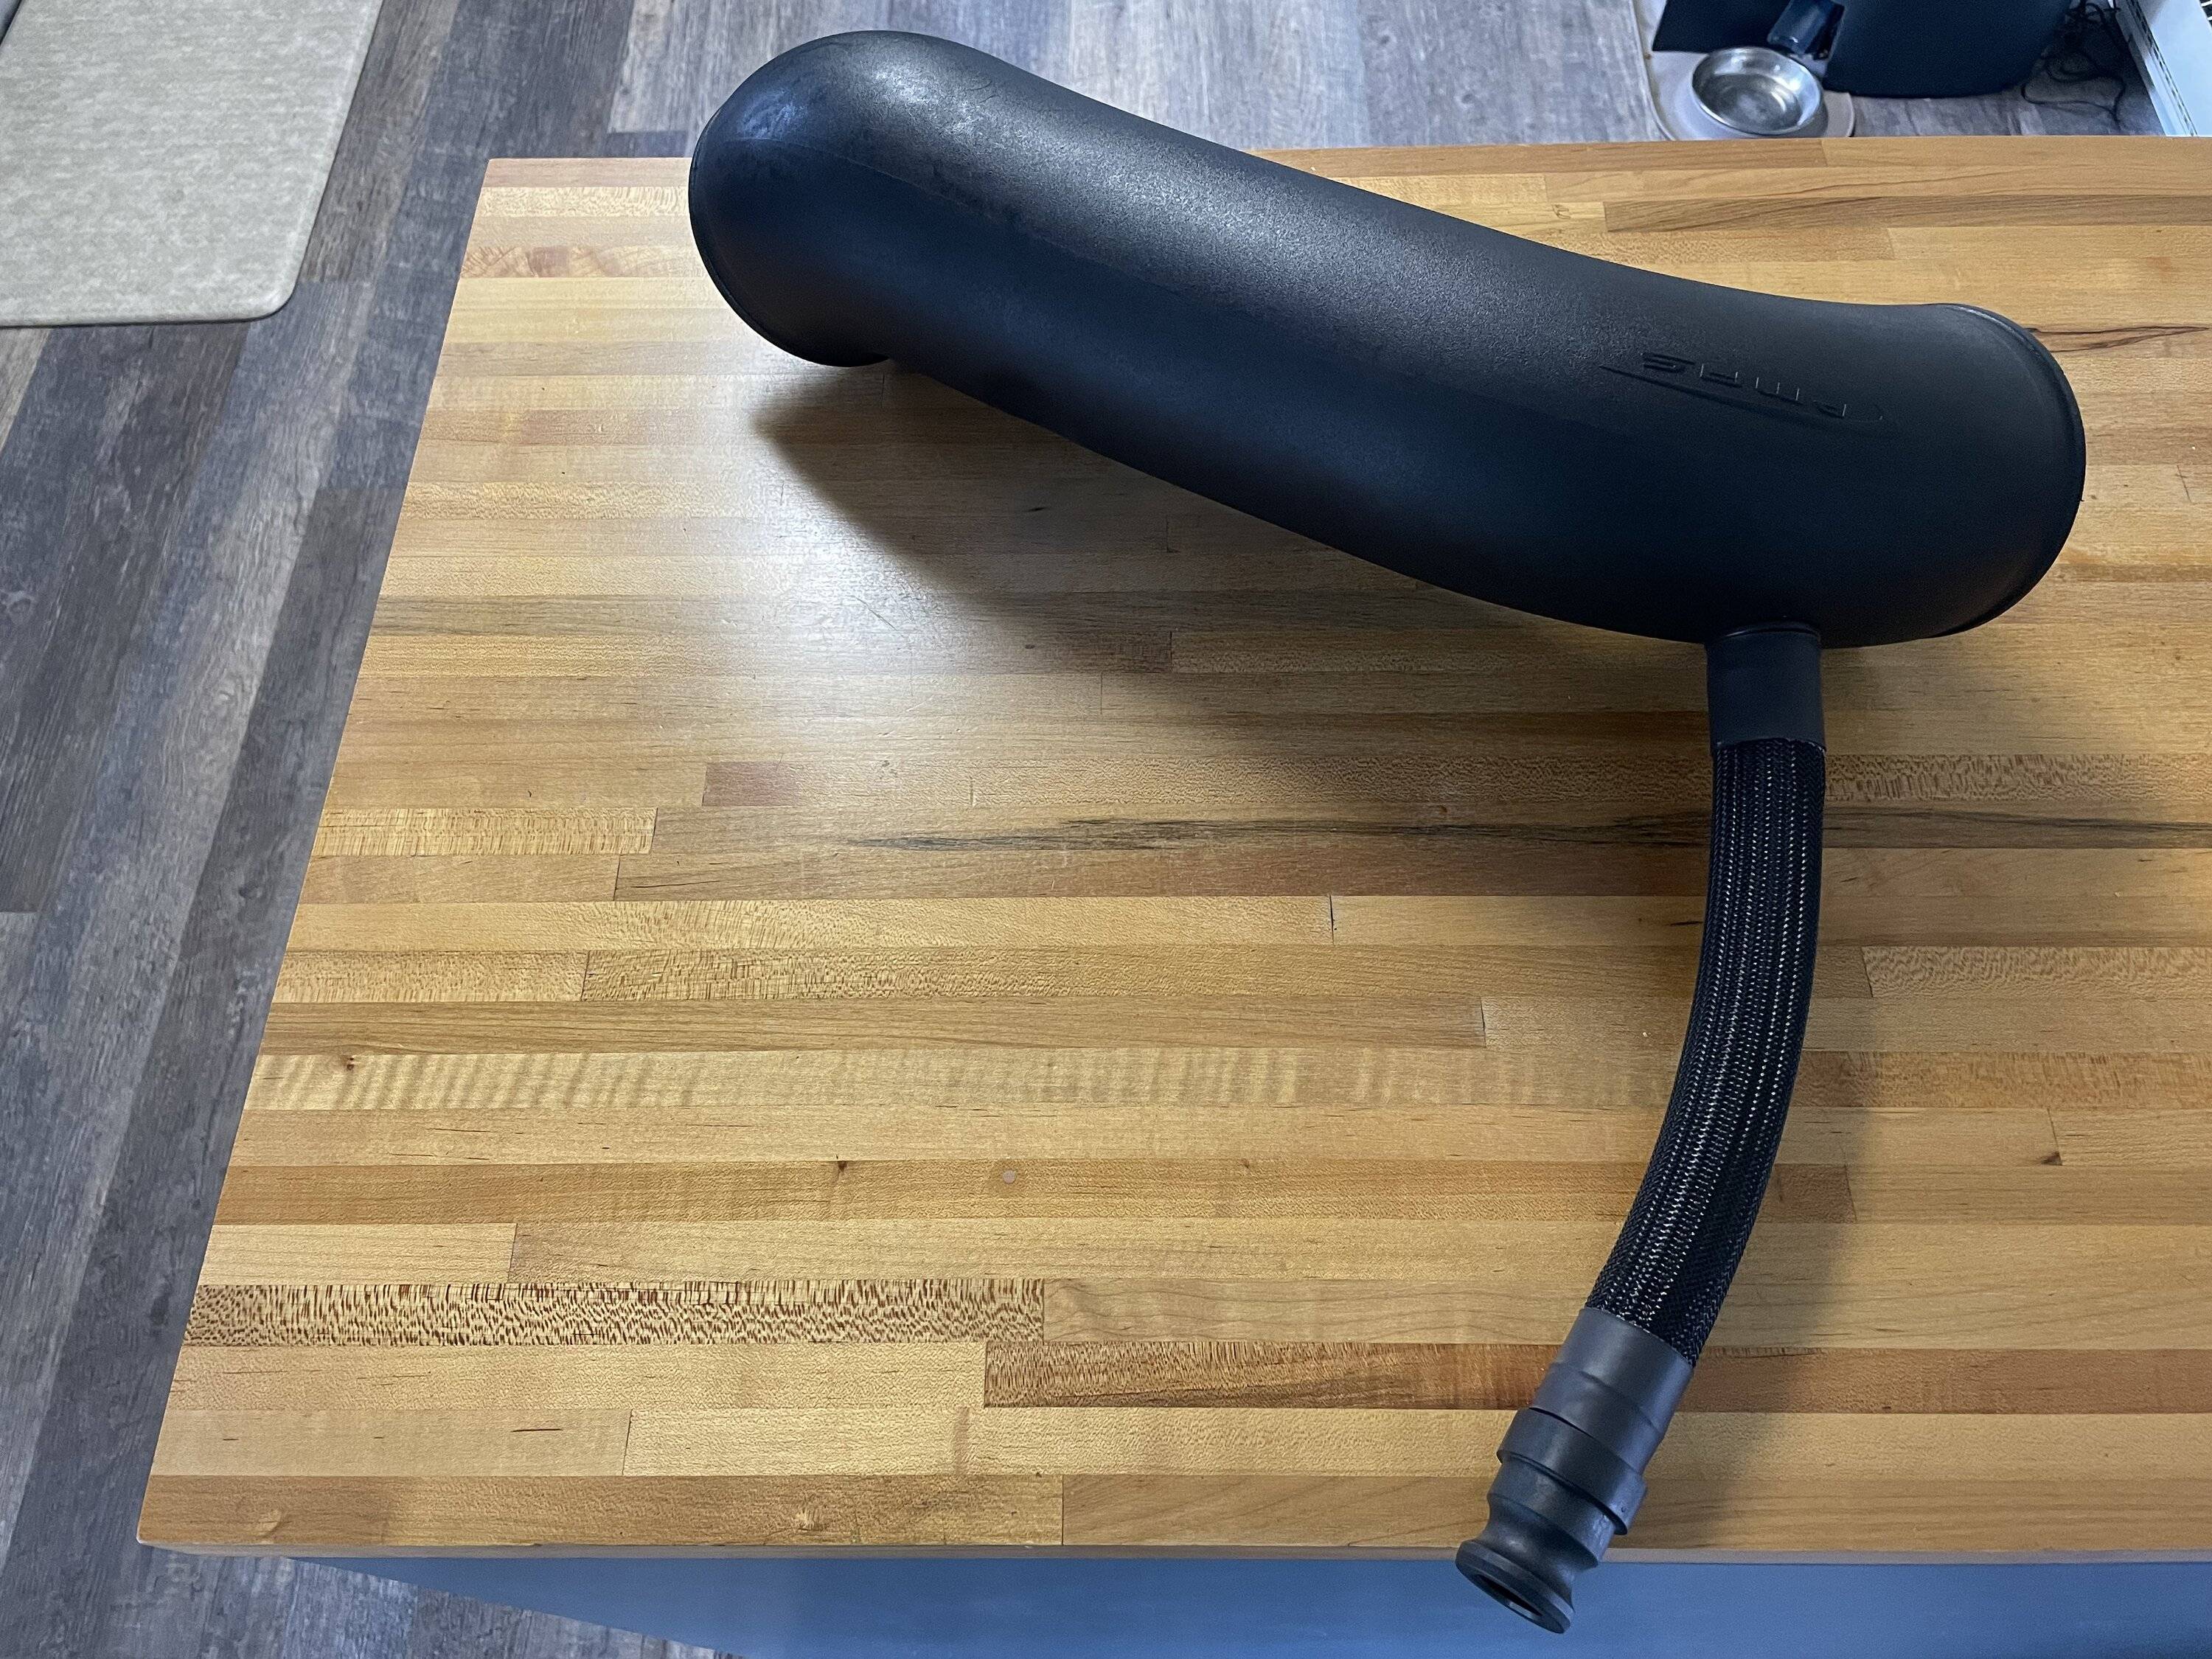
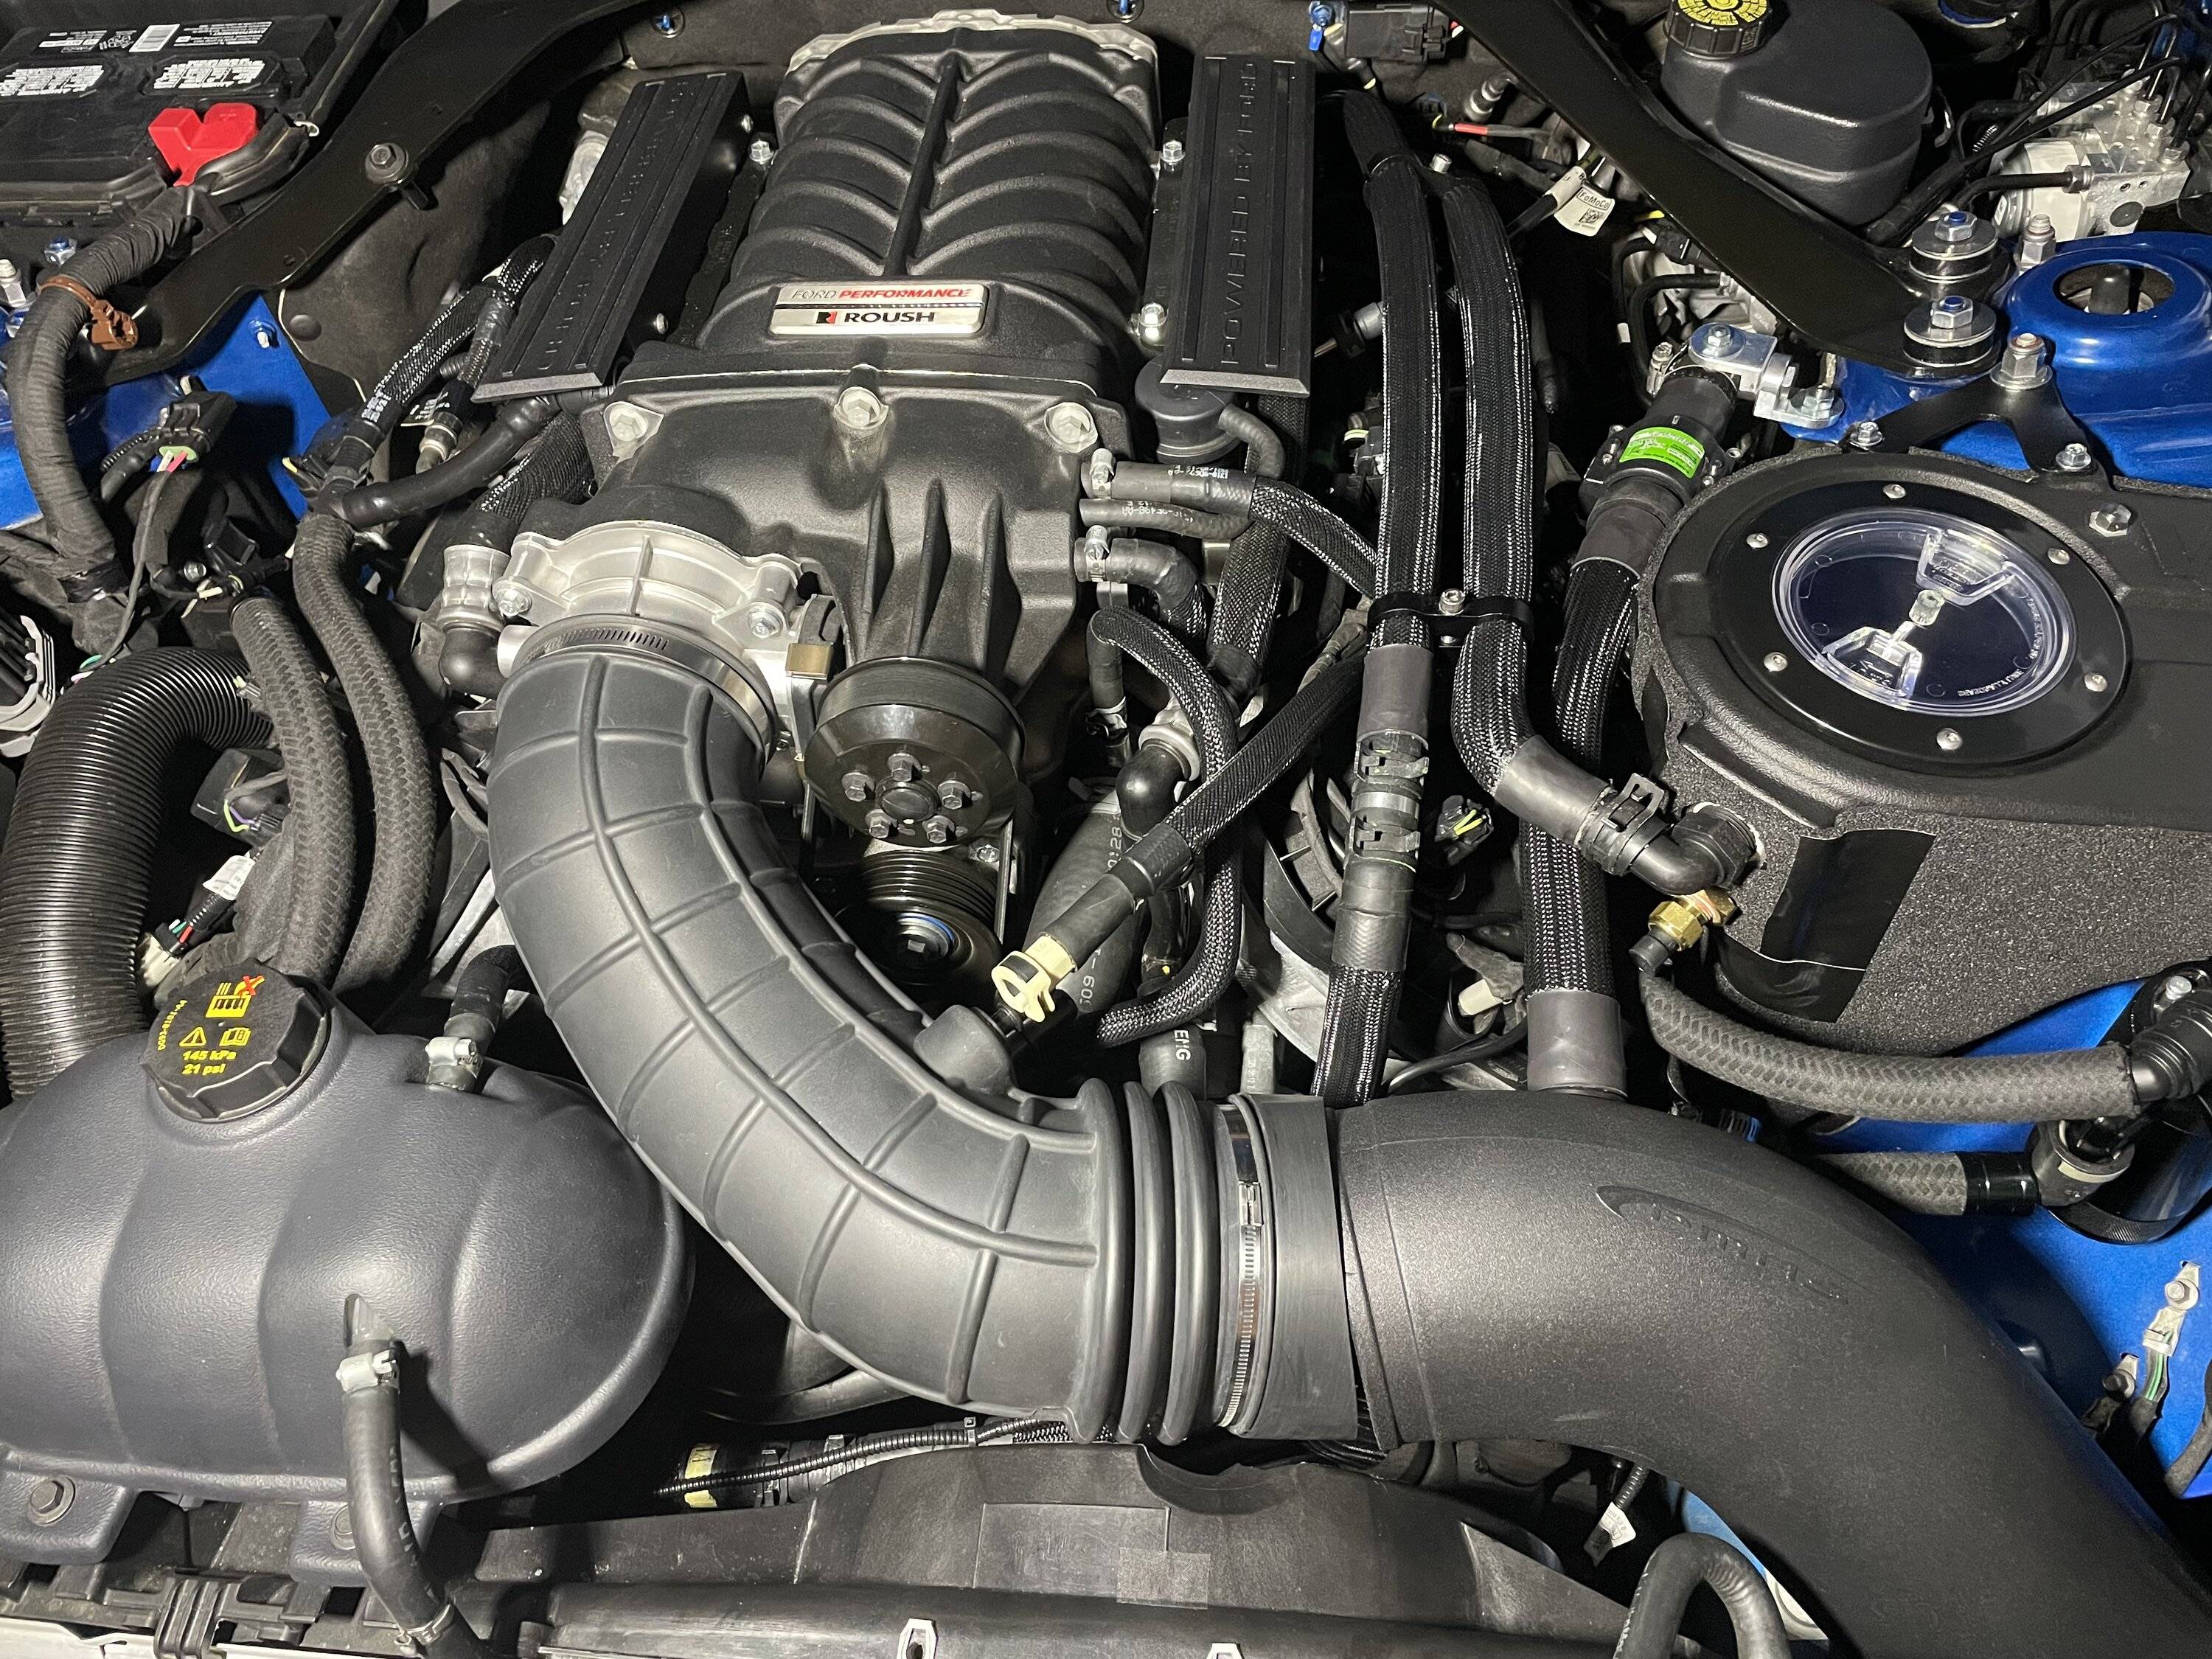
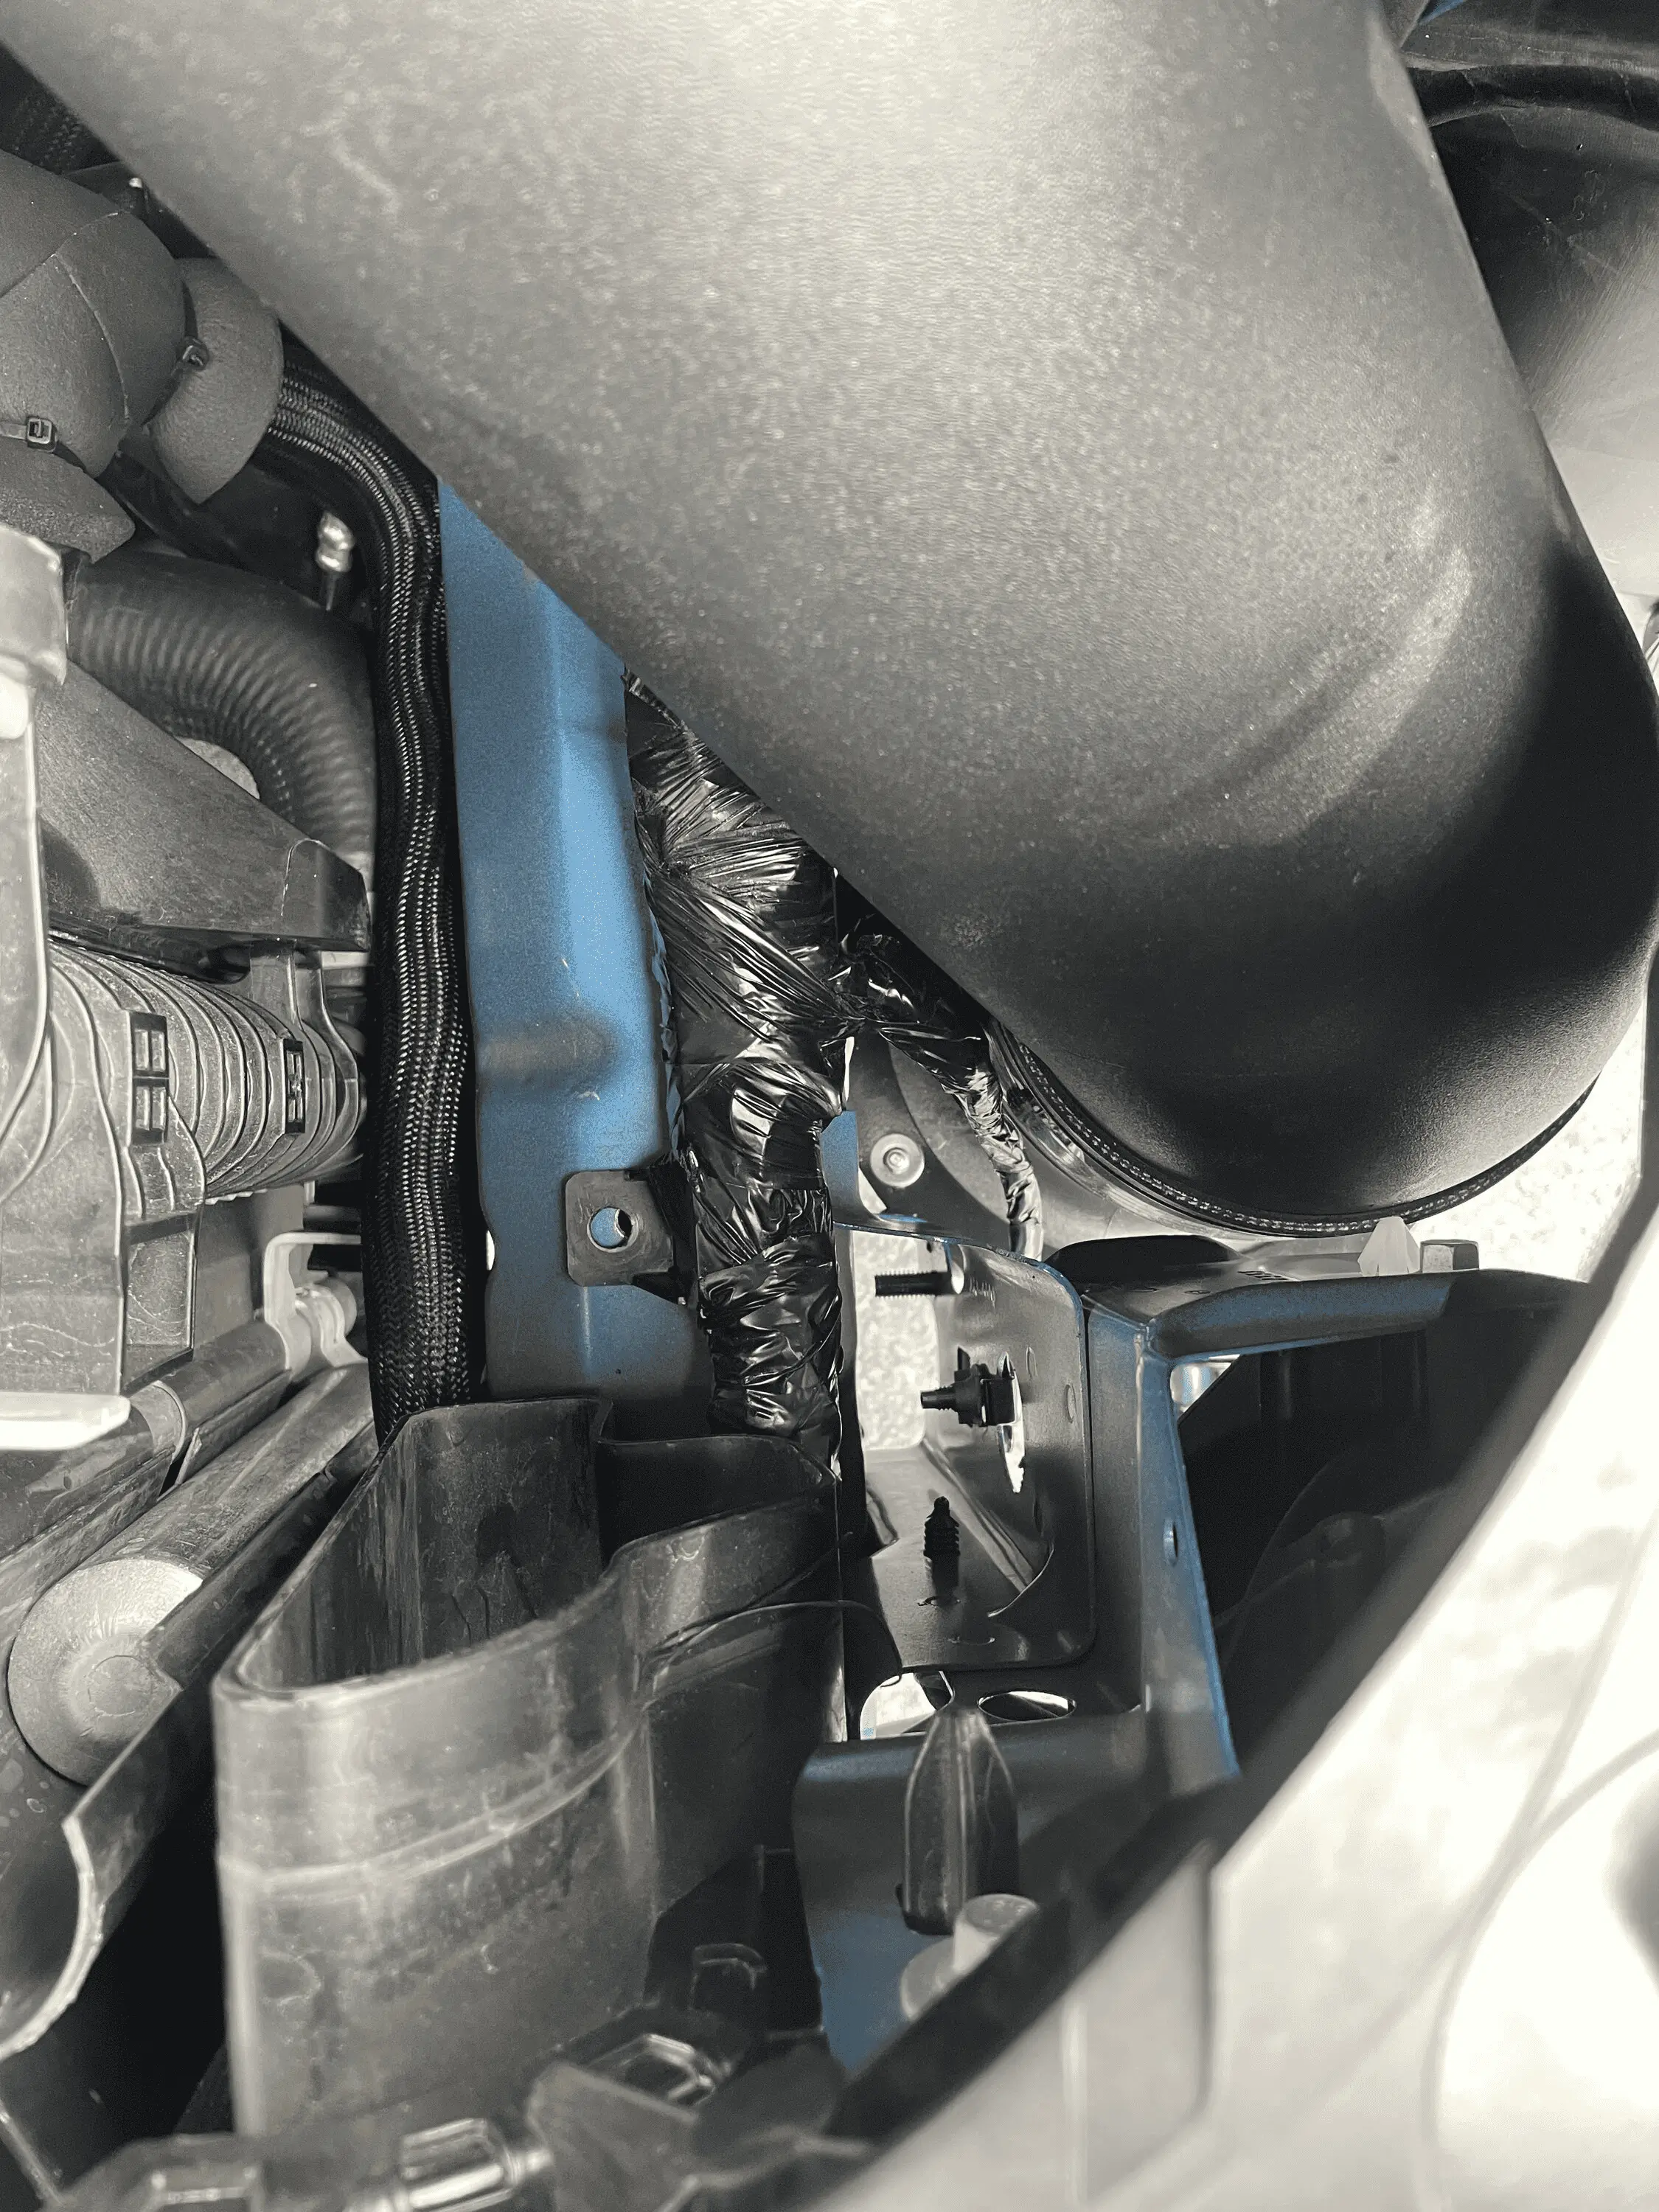
Yep that's the setup. Please do share if your able to see if flipping will allow room to rotate the tube towards the firewall. That is an area of concern. I asked pmas to make a tube last year for their blower intake setup but they turned me down.You have this setup correct?

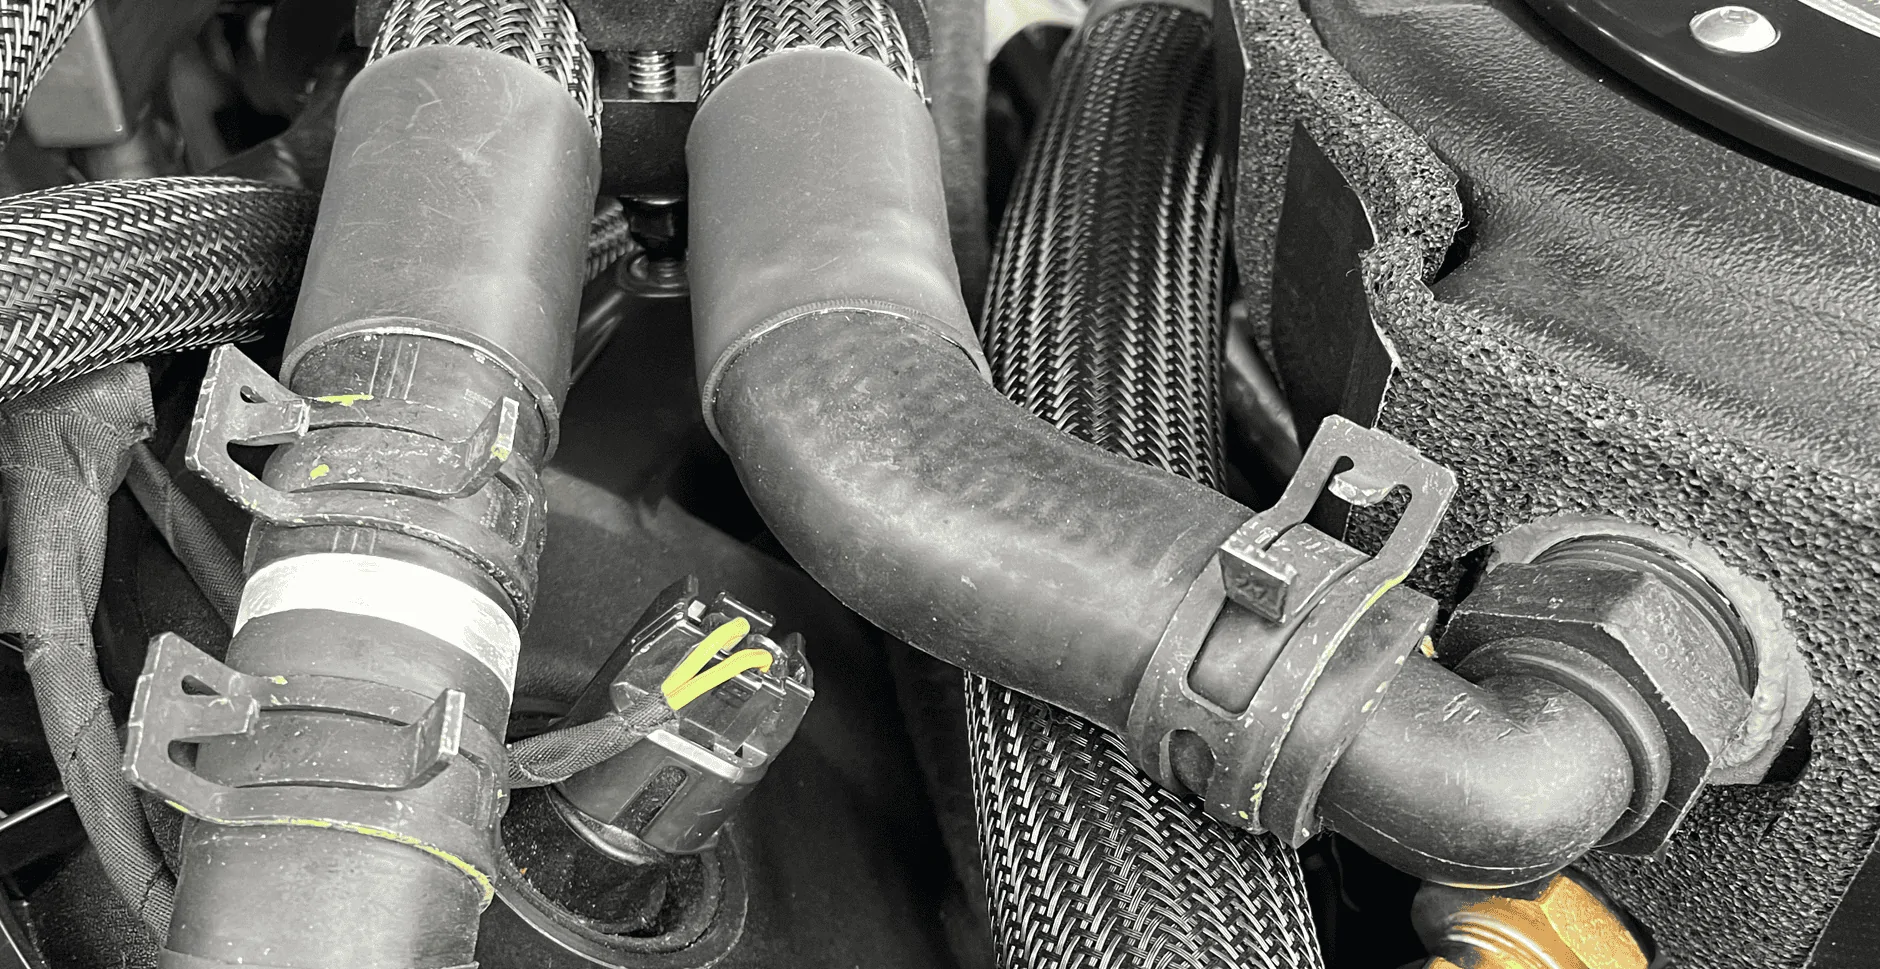
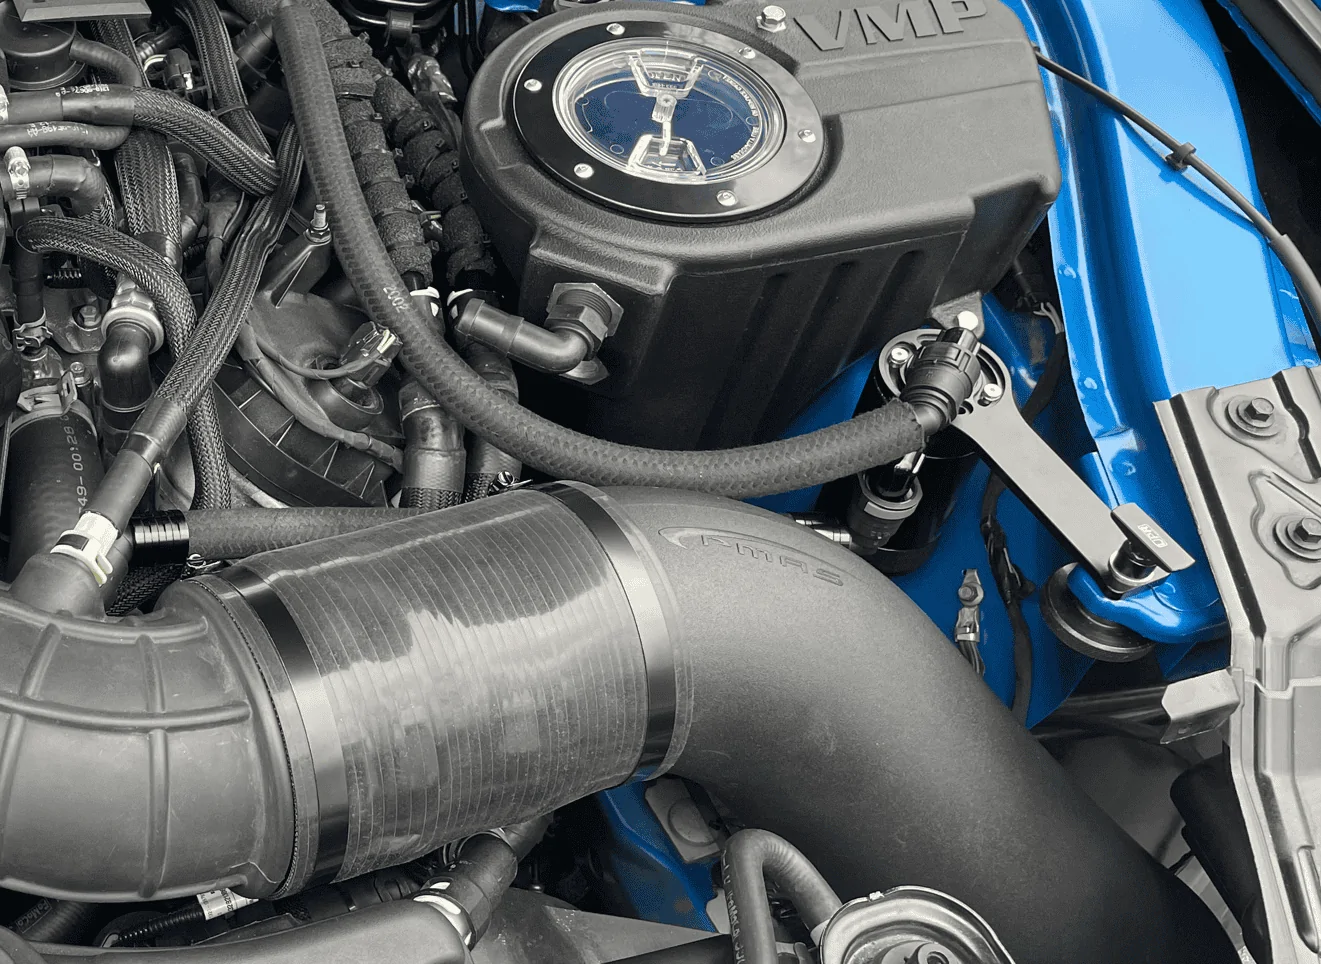
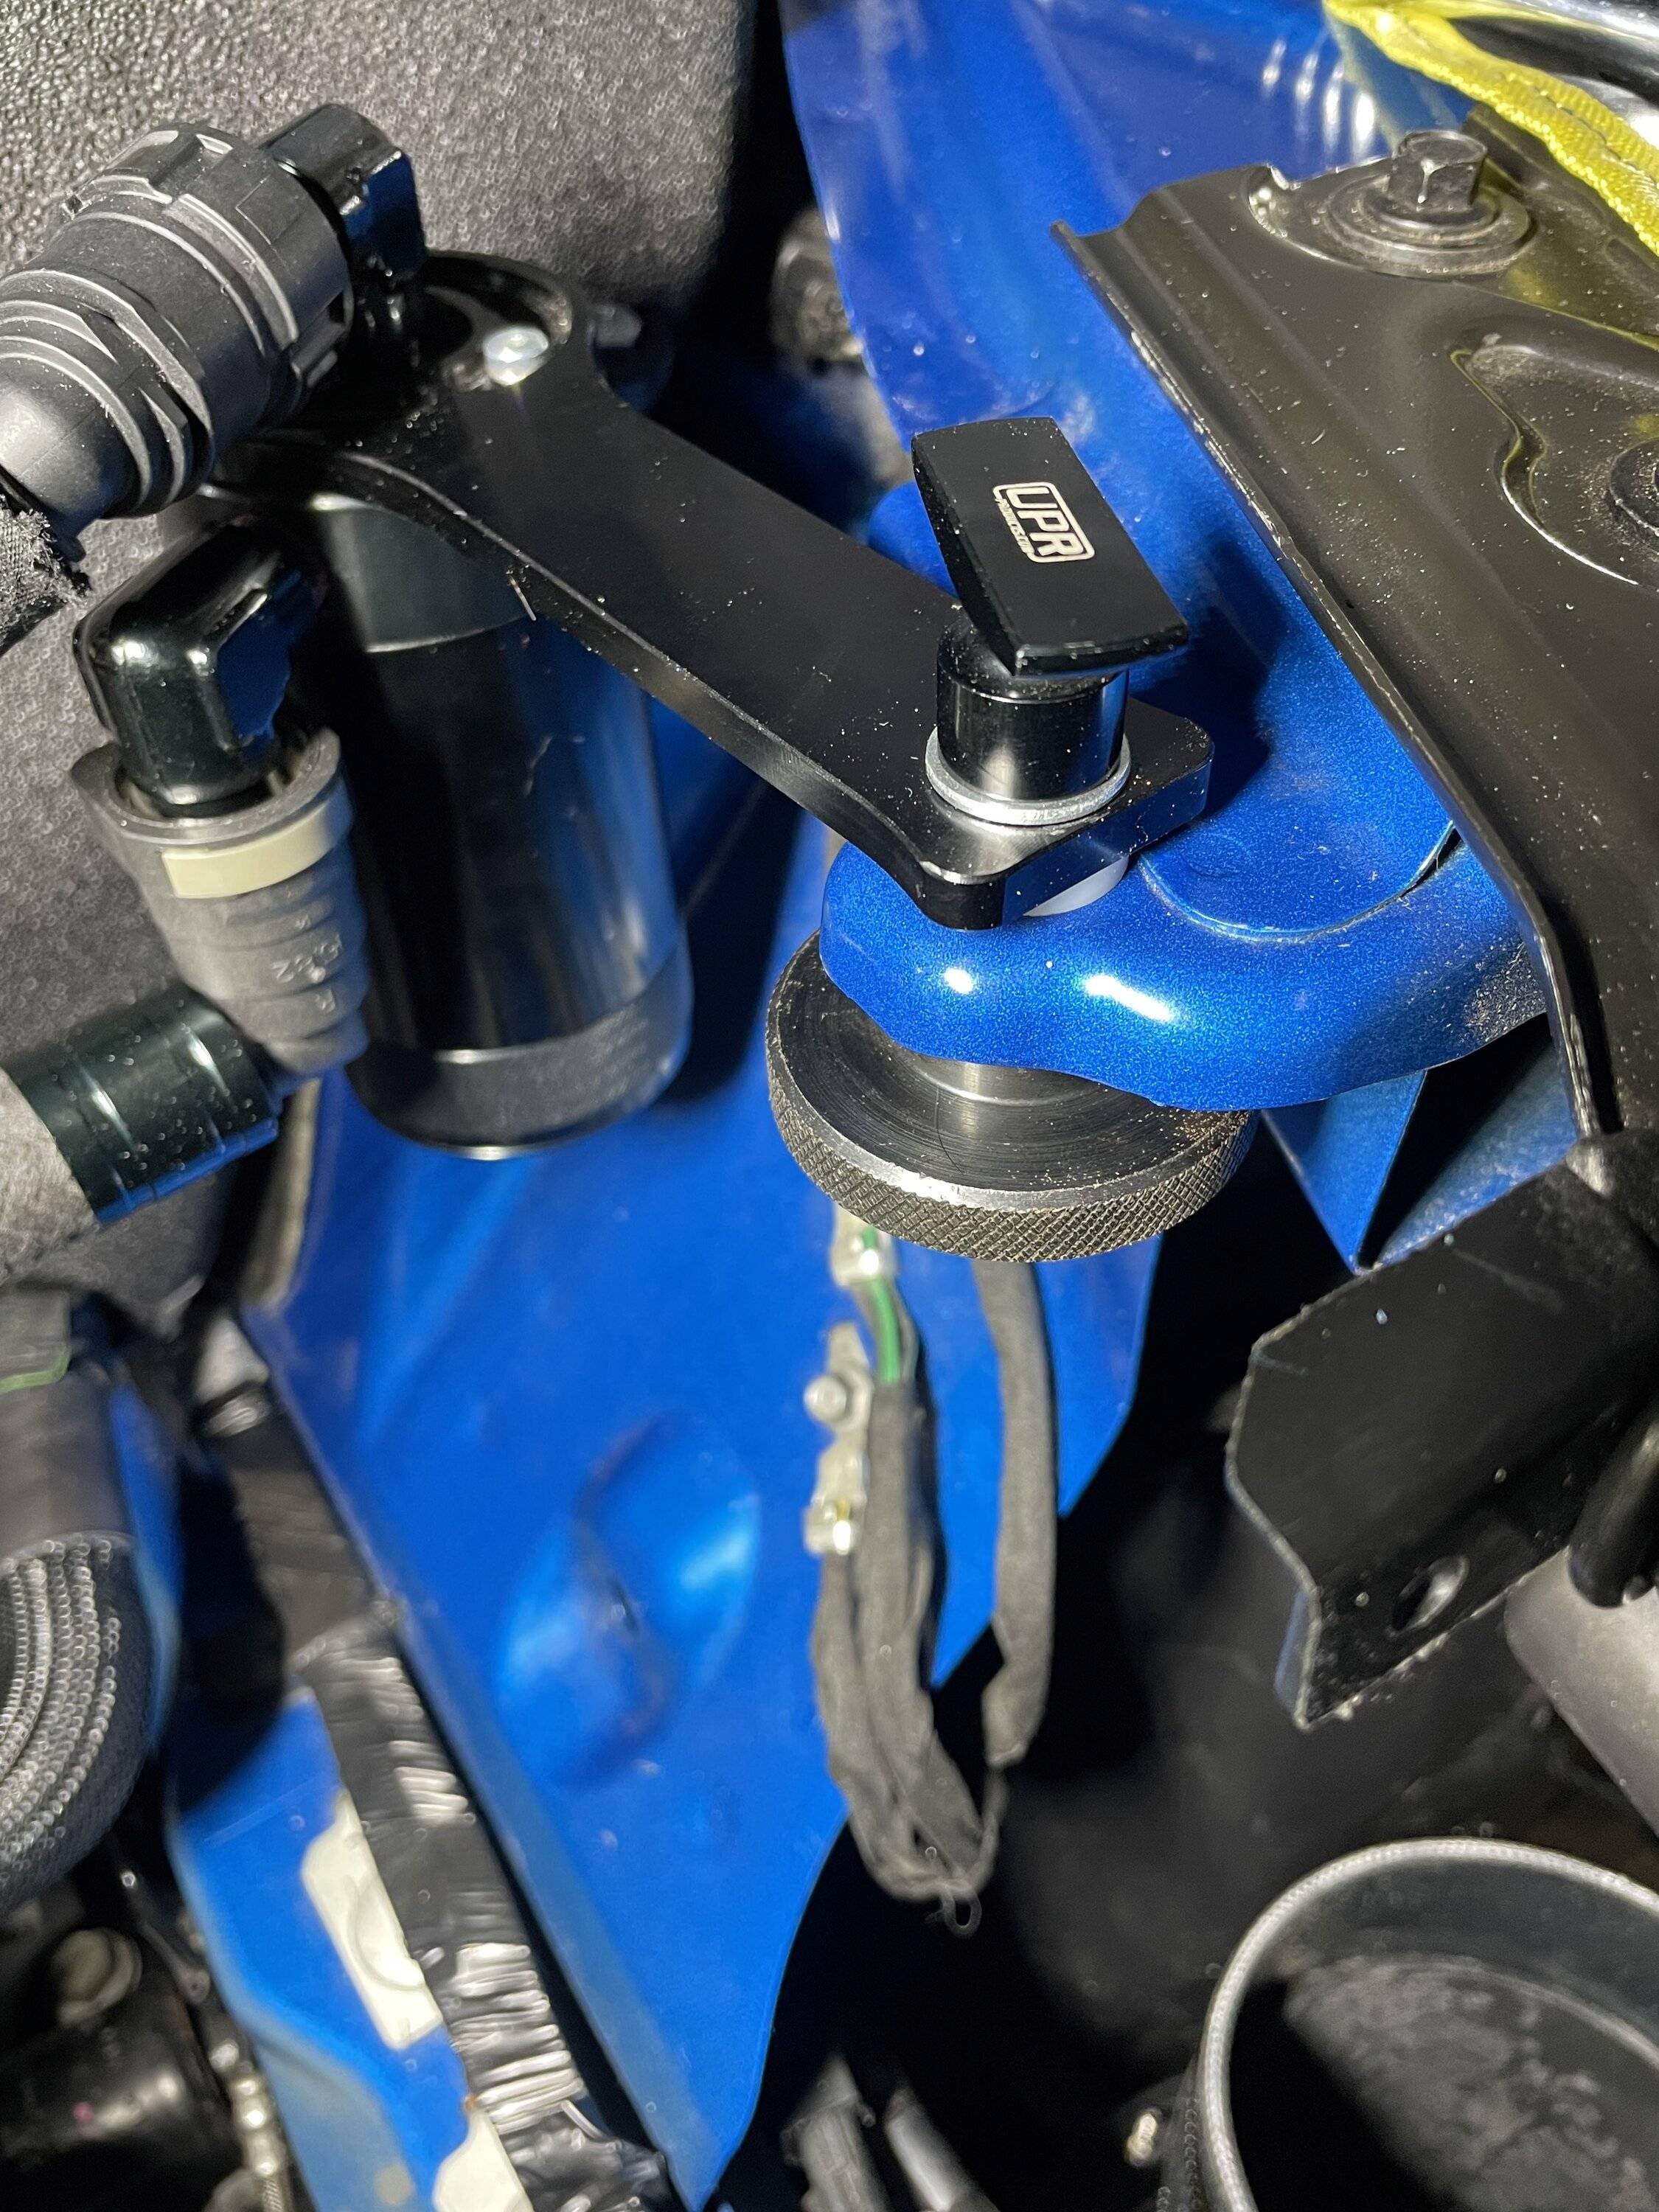
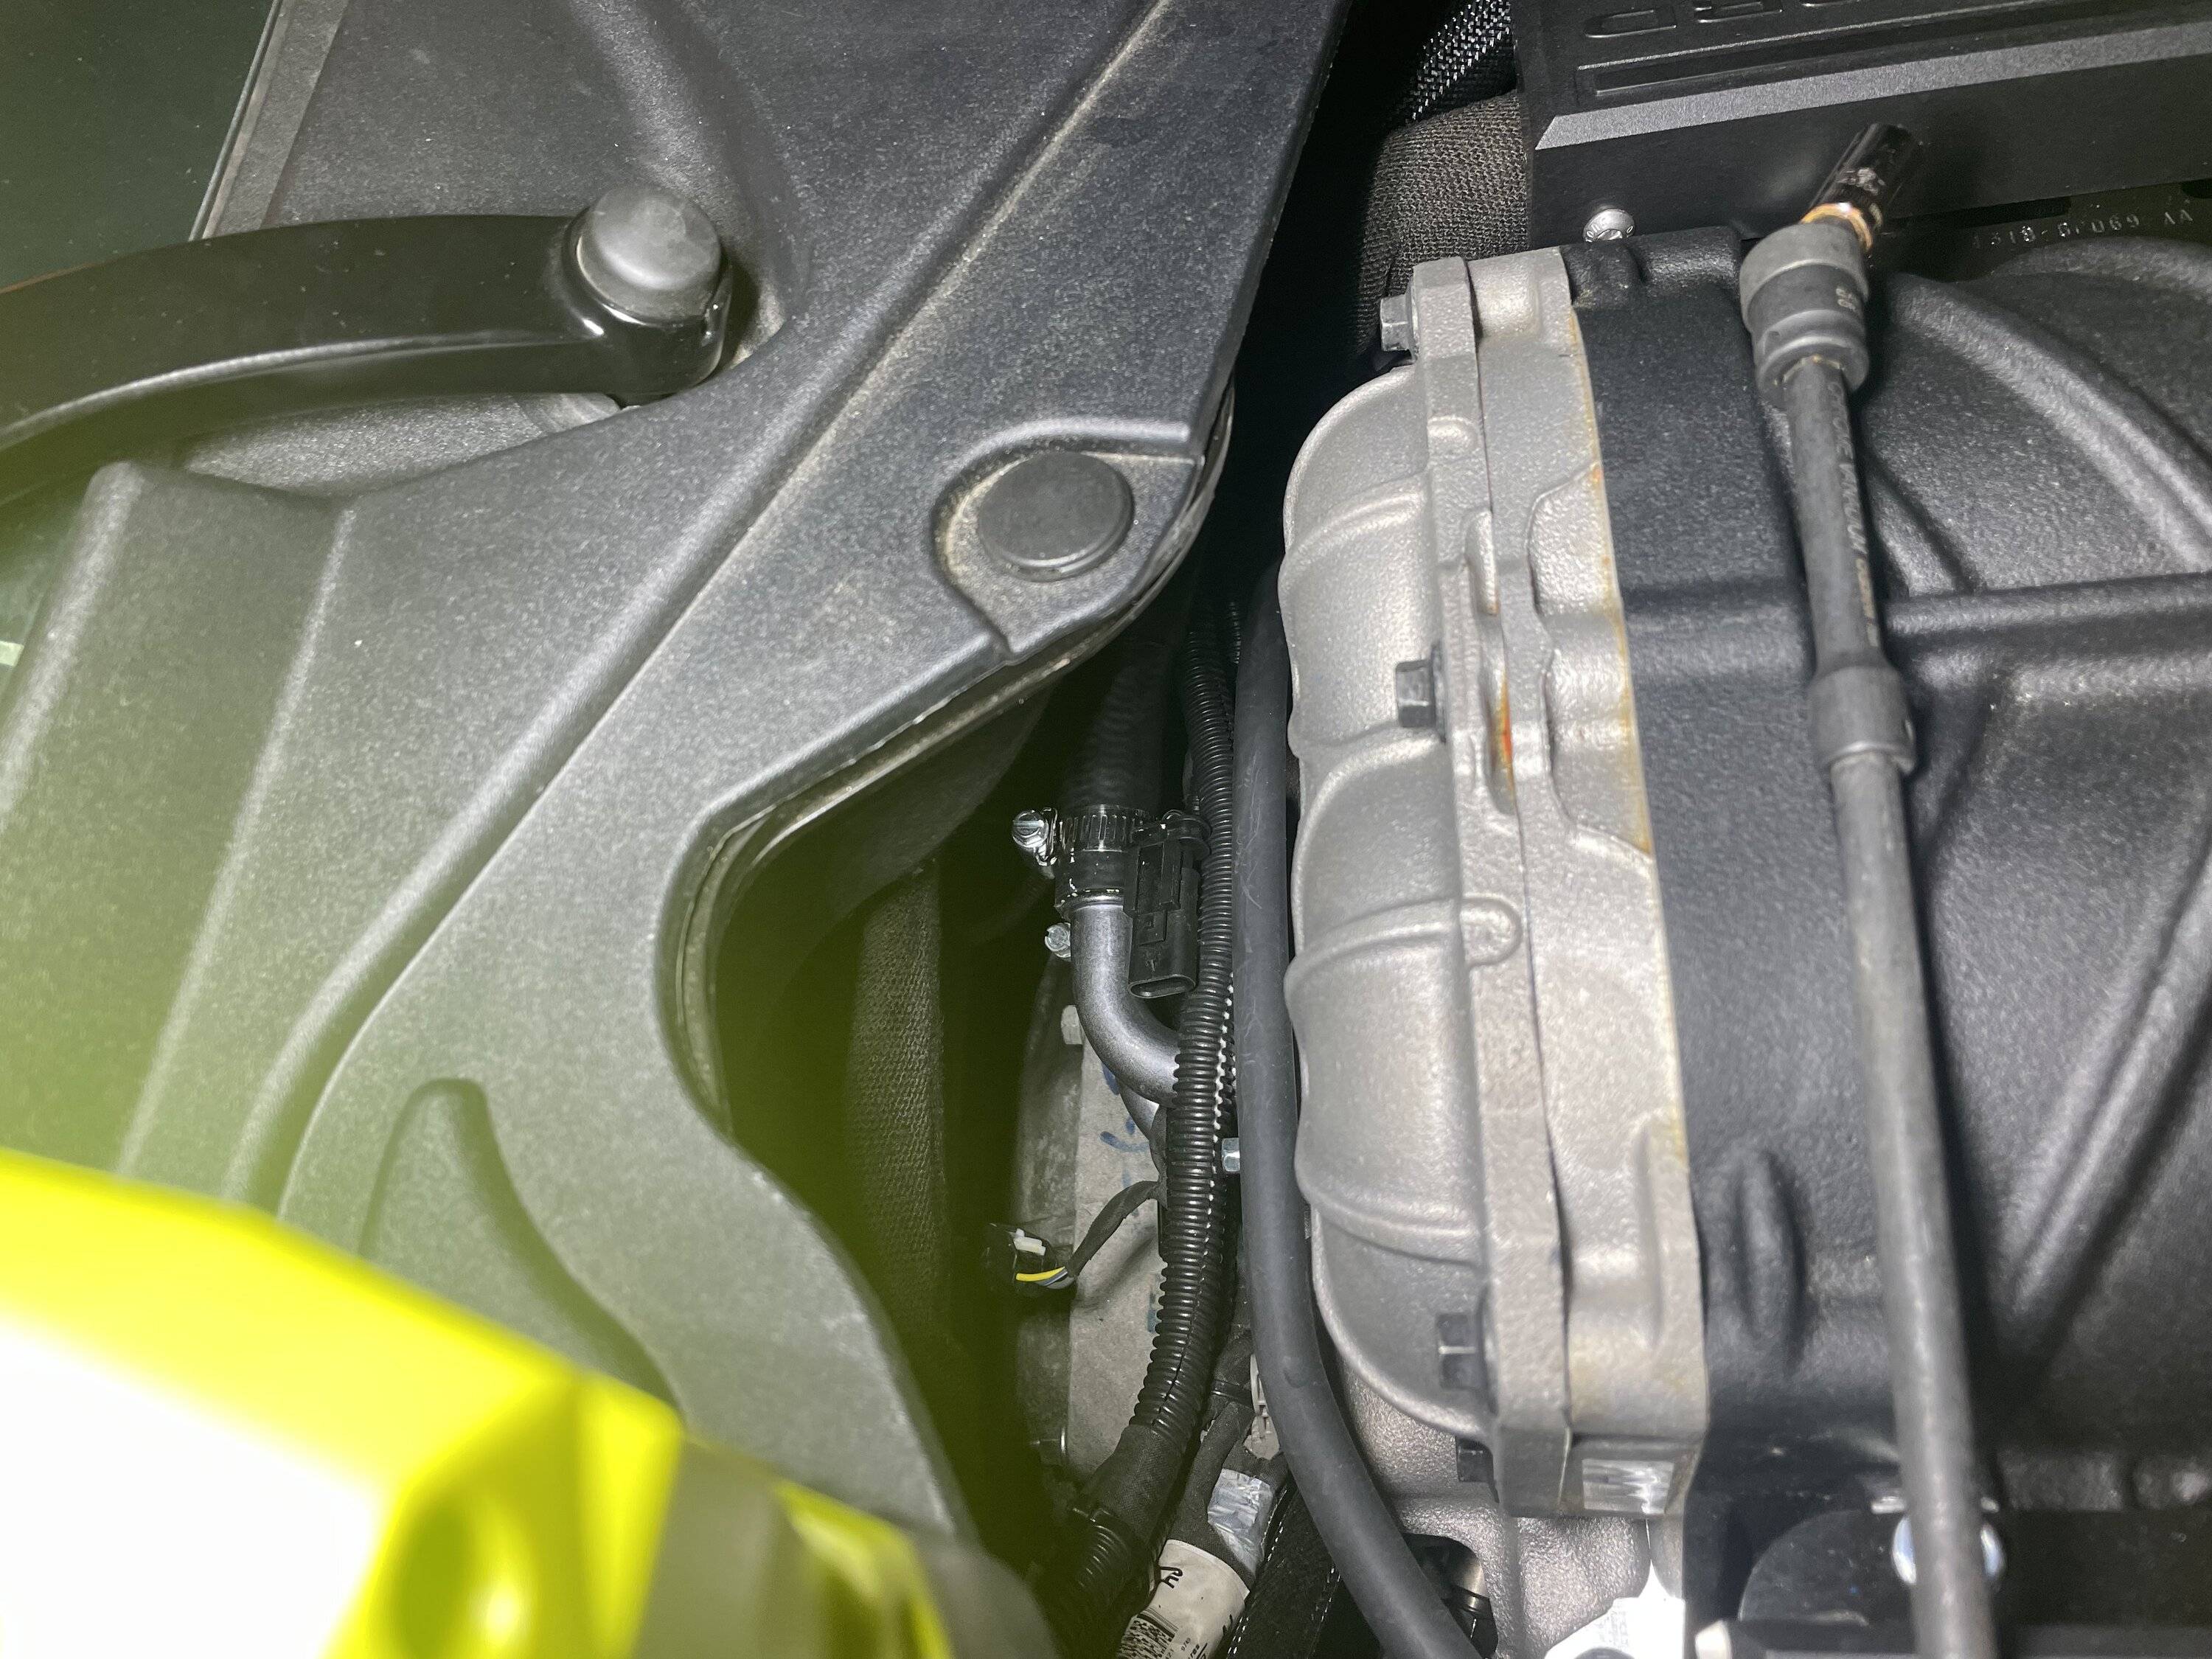
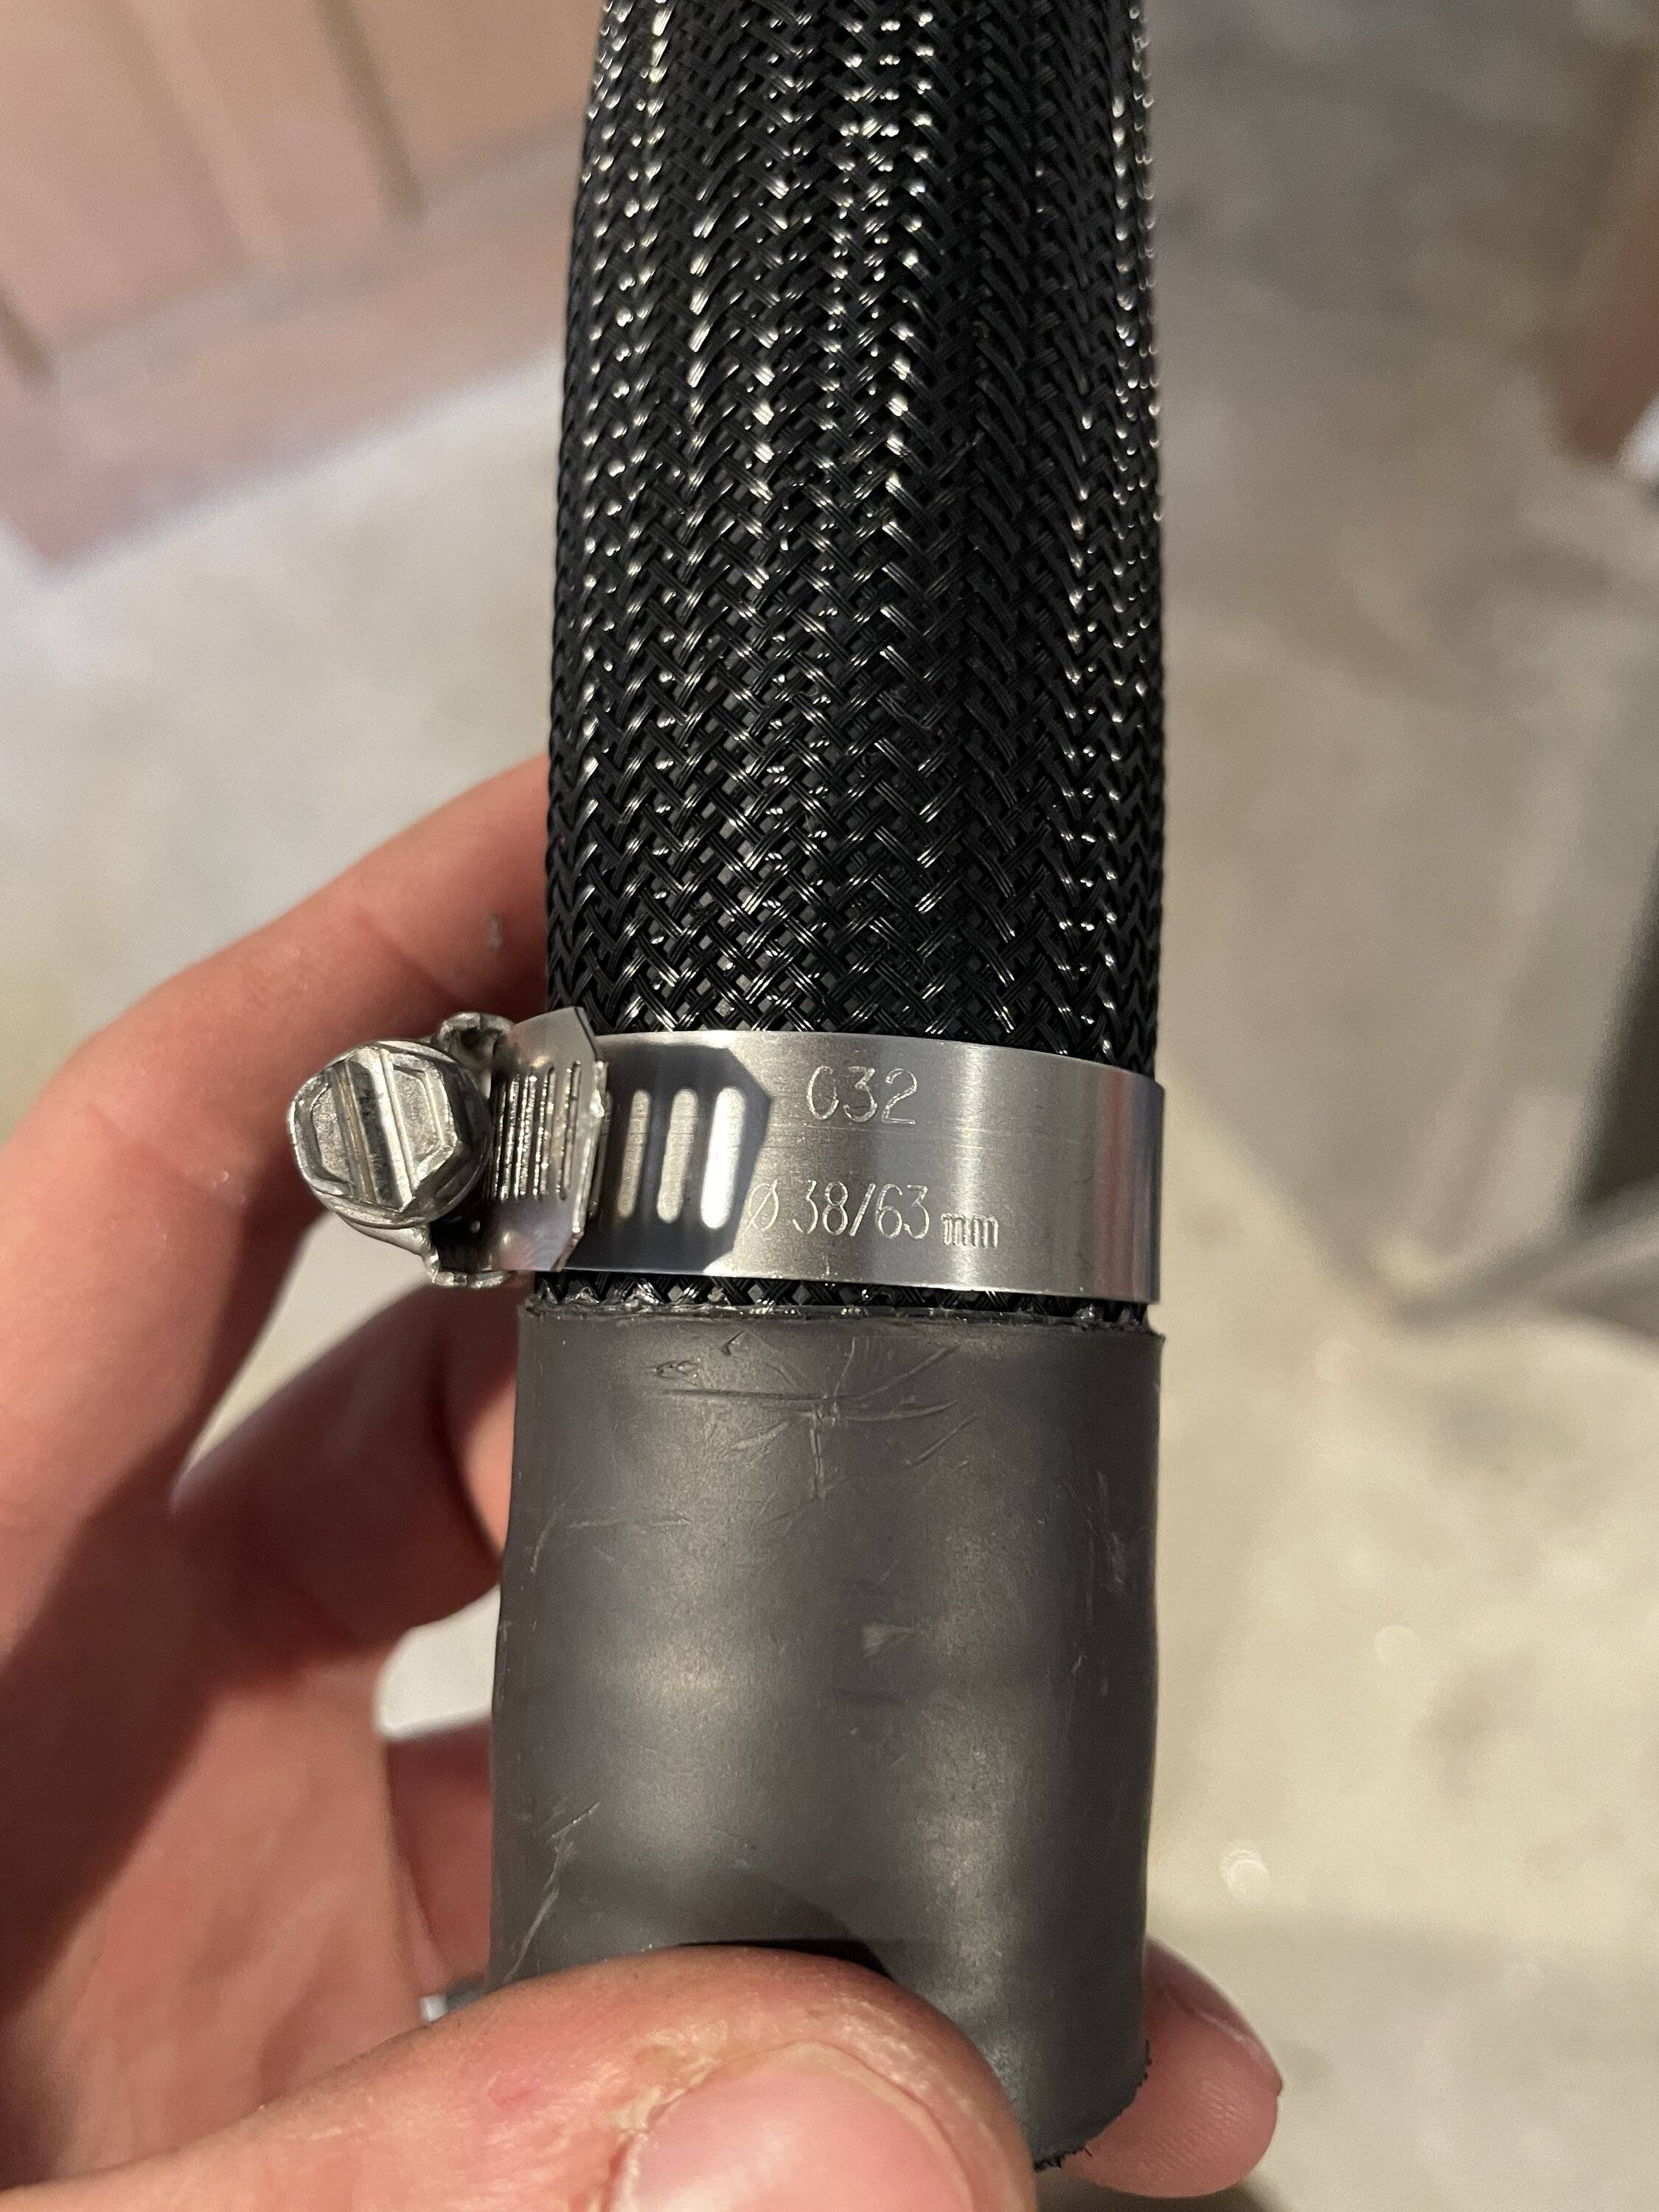
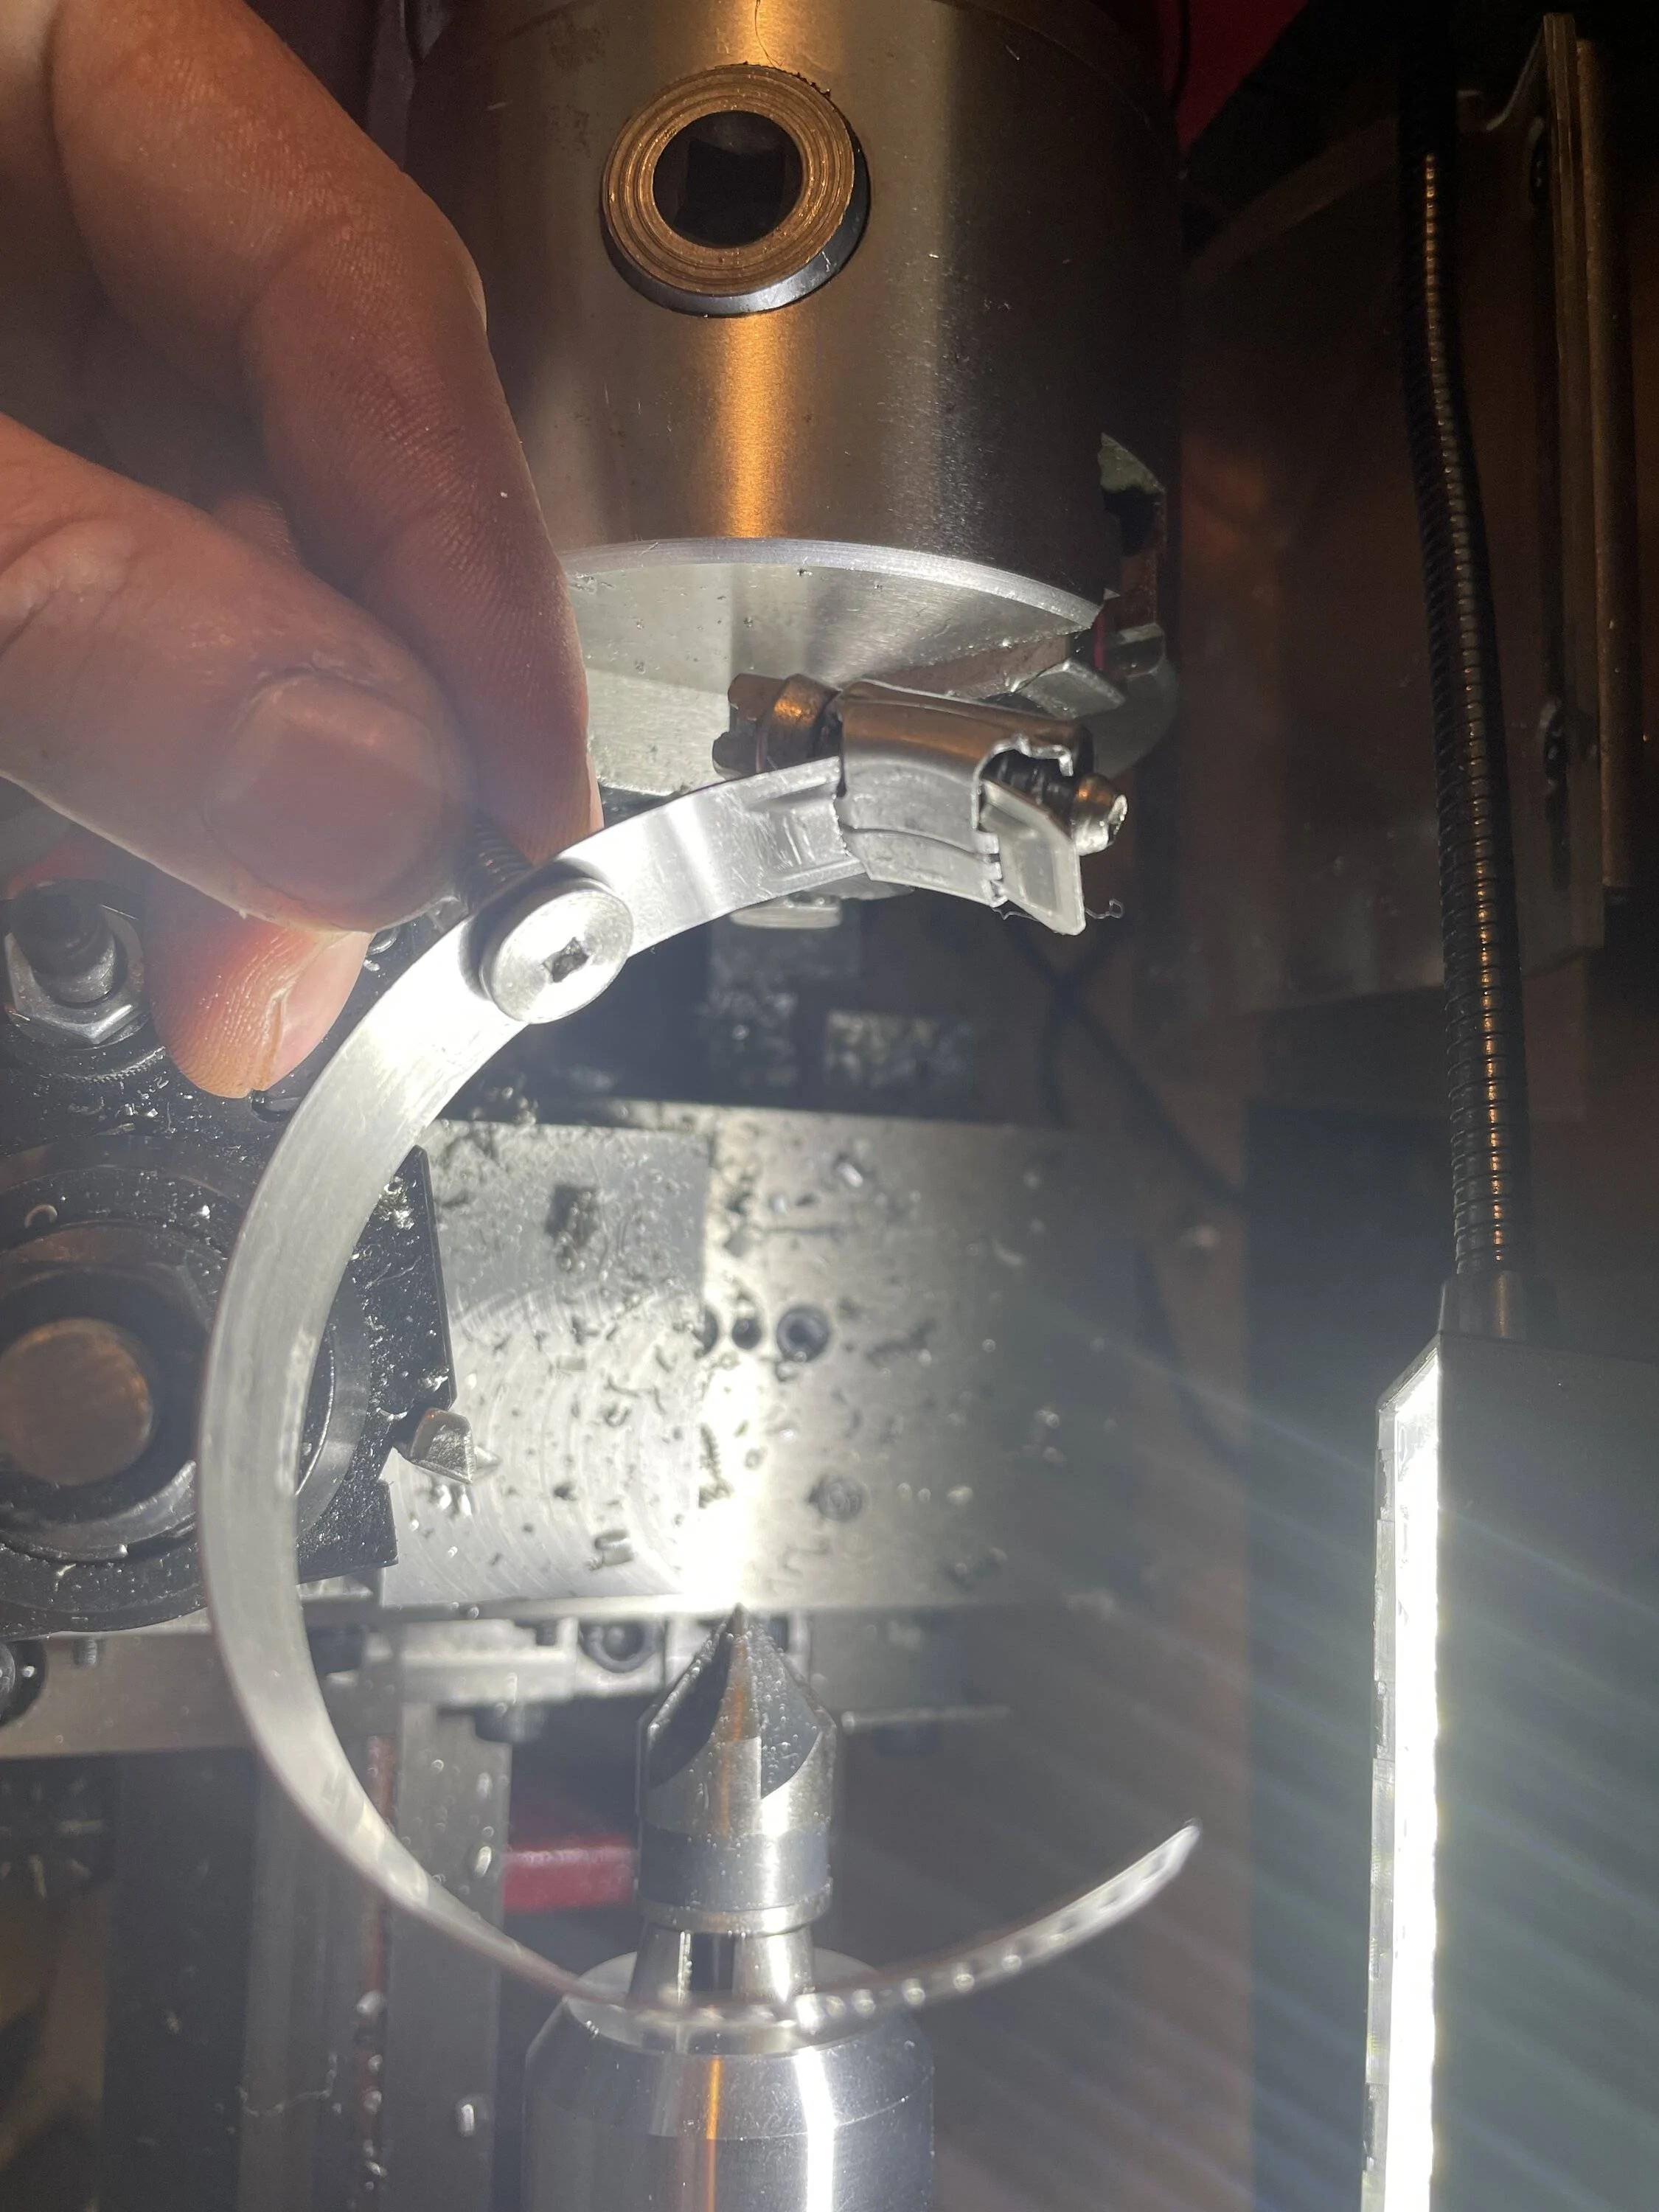
The issue you'll run in to is the PMAS fenderwell tube begins to hit the headlight assembly as you rotate the inlet clockwise. I had to shave a clip to make clearance for the minor rotation mine requires.
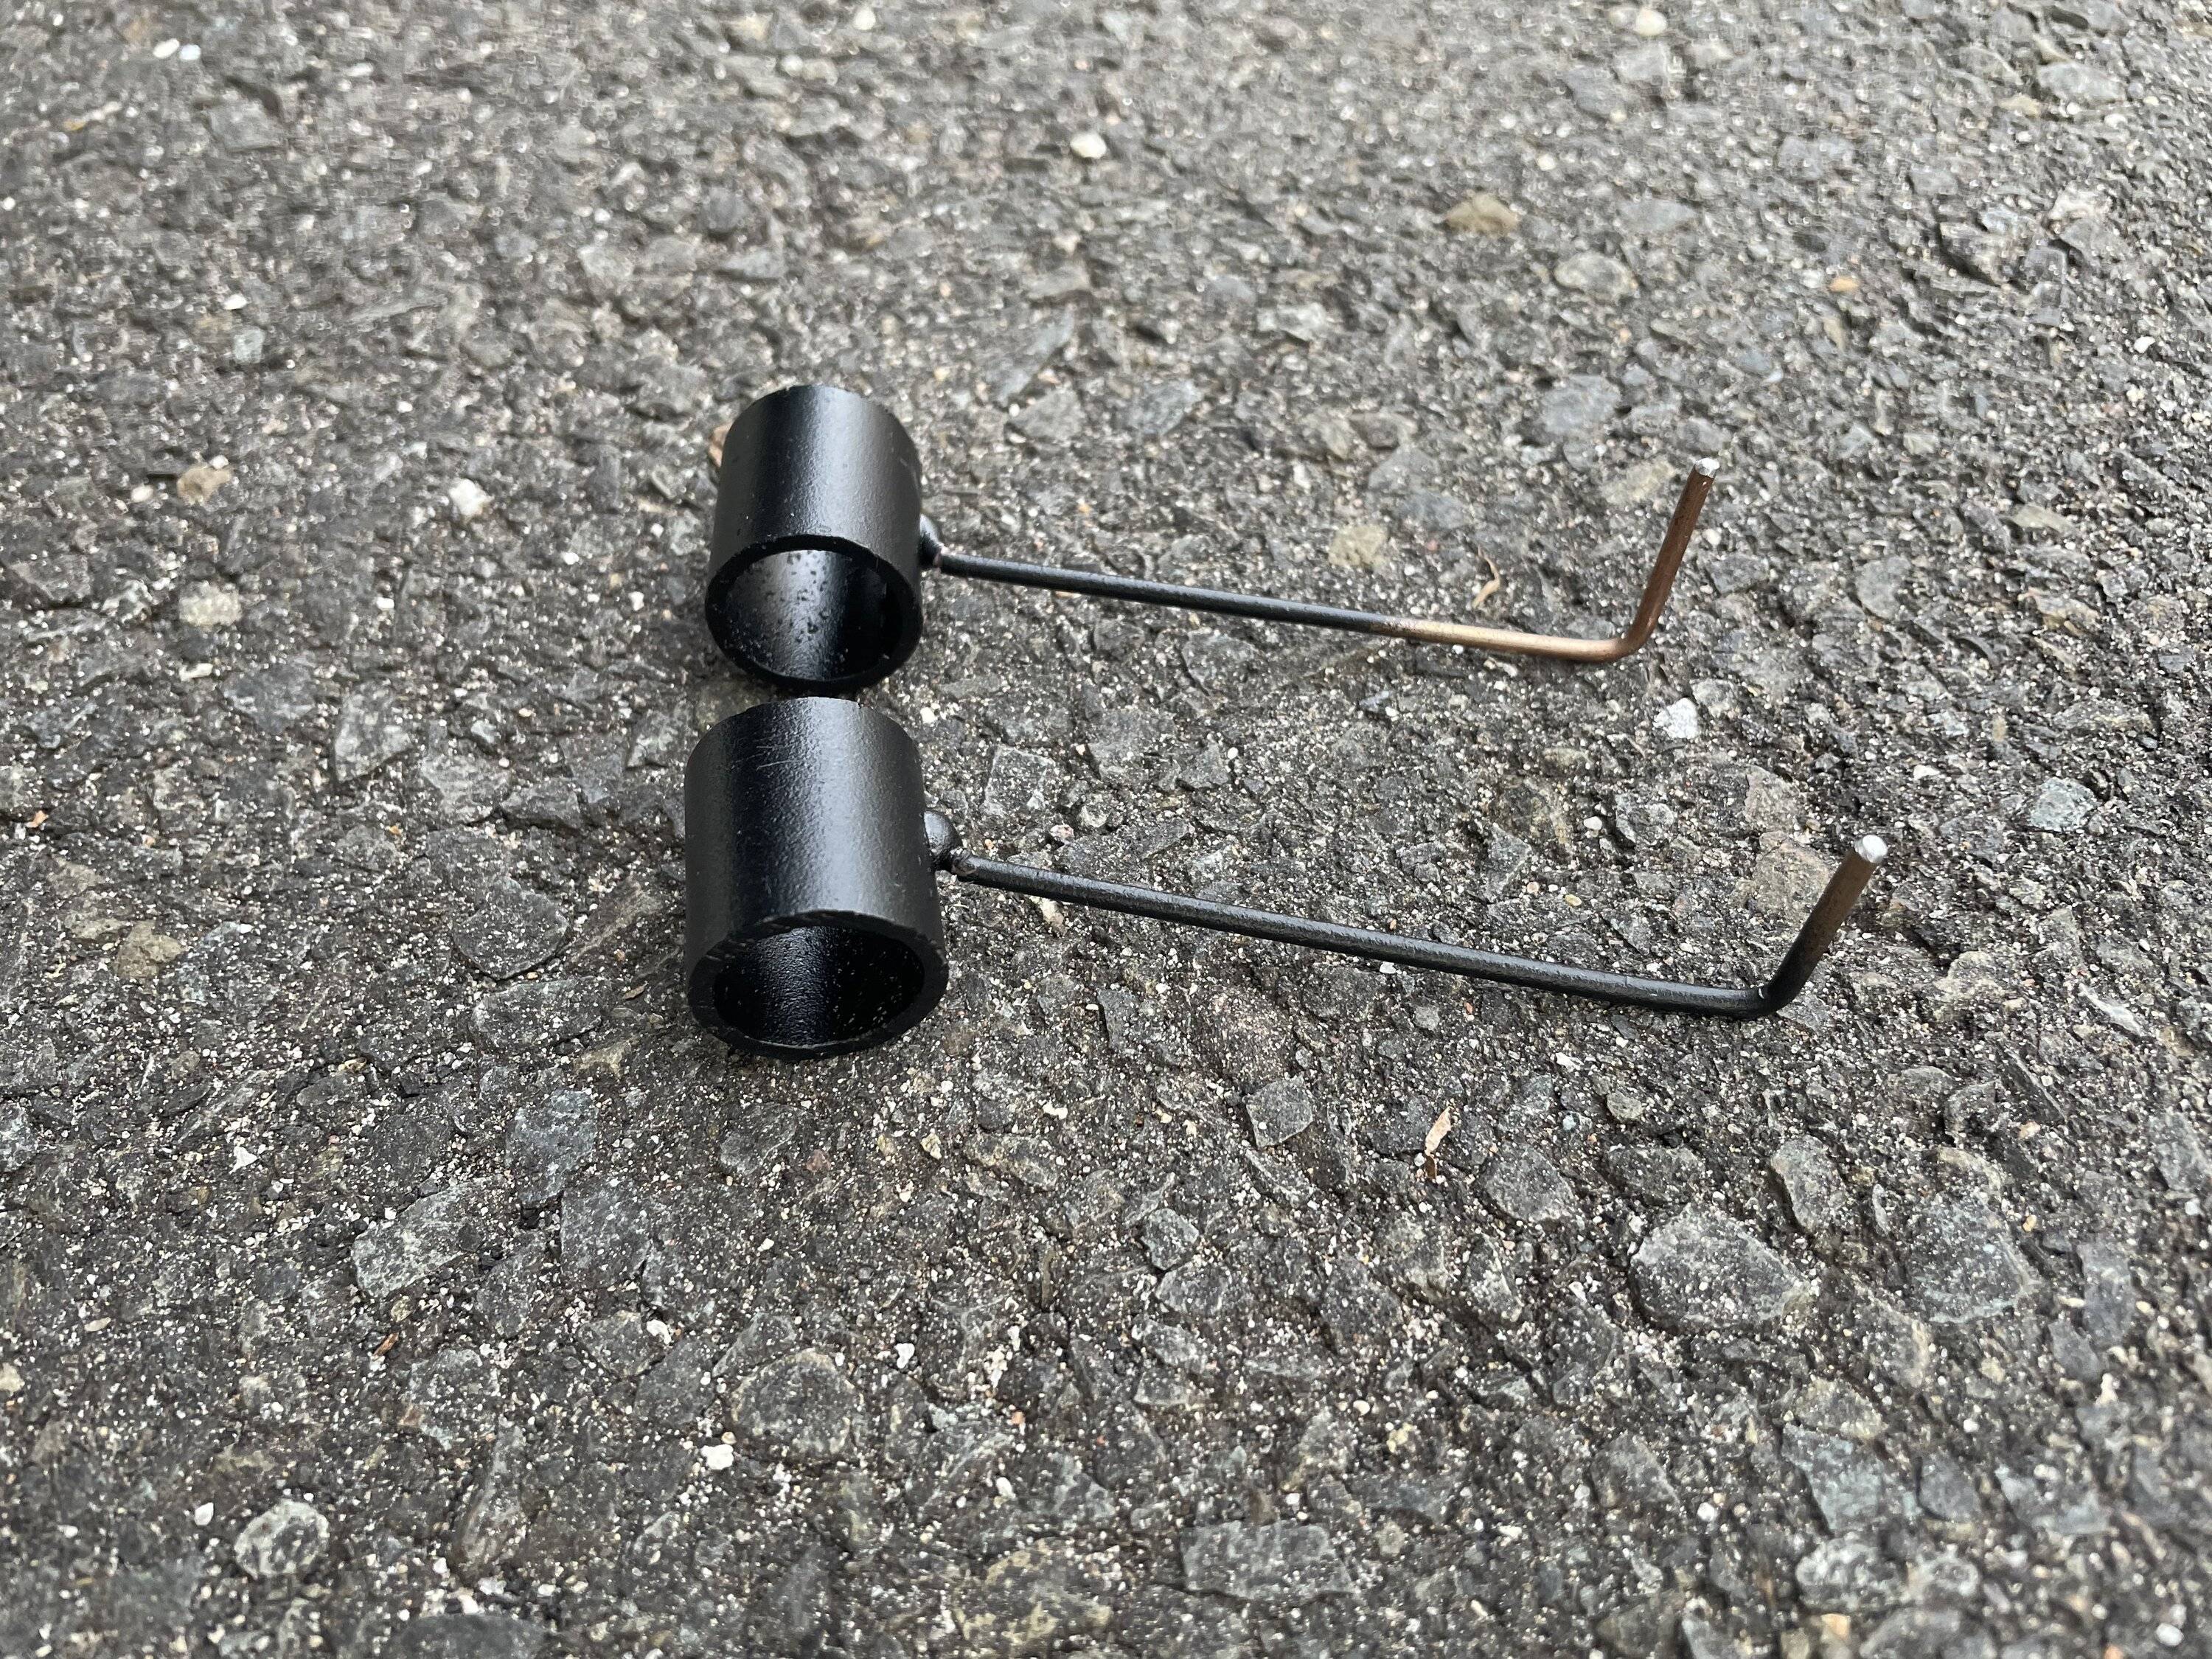
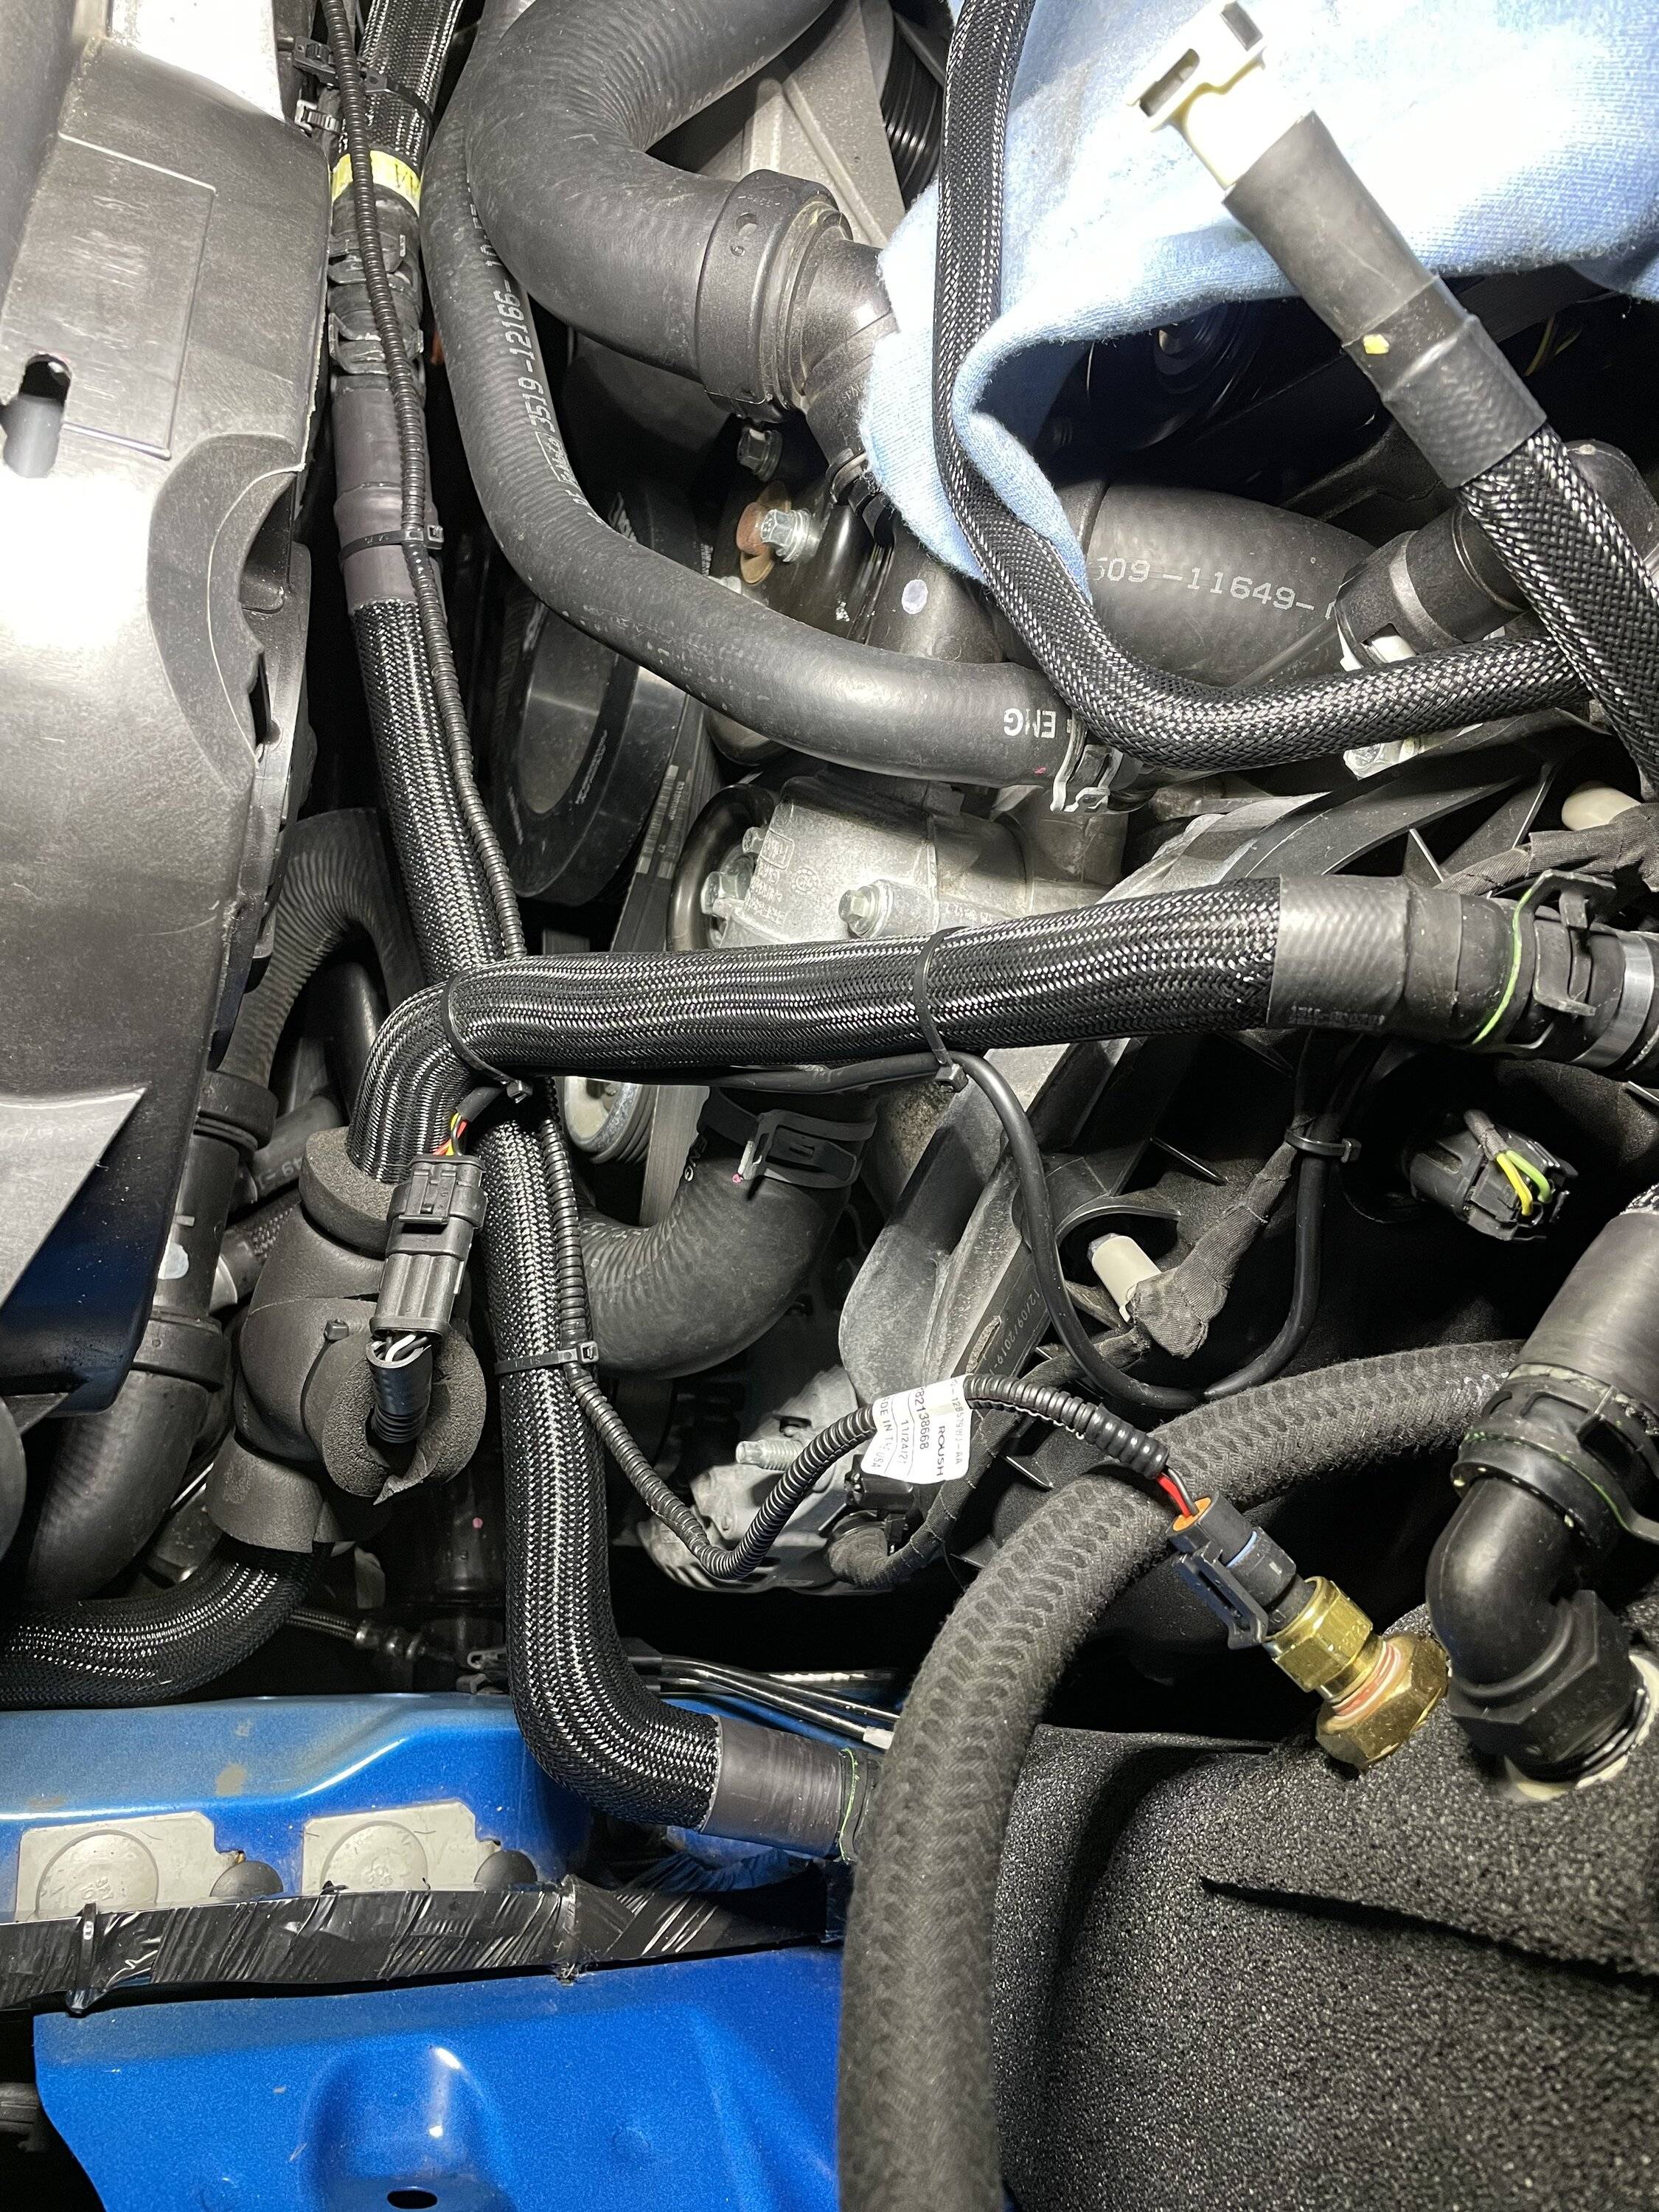
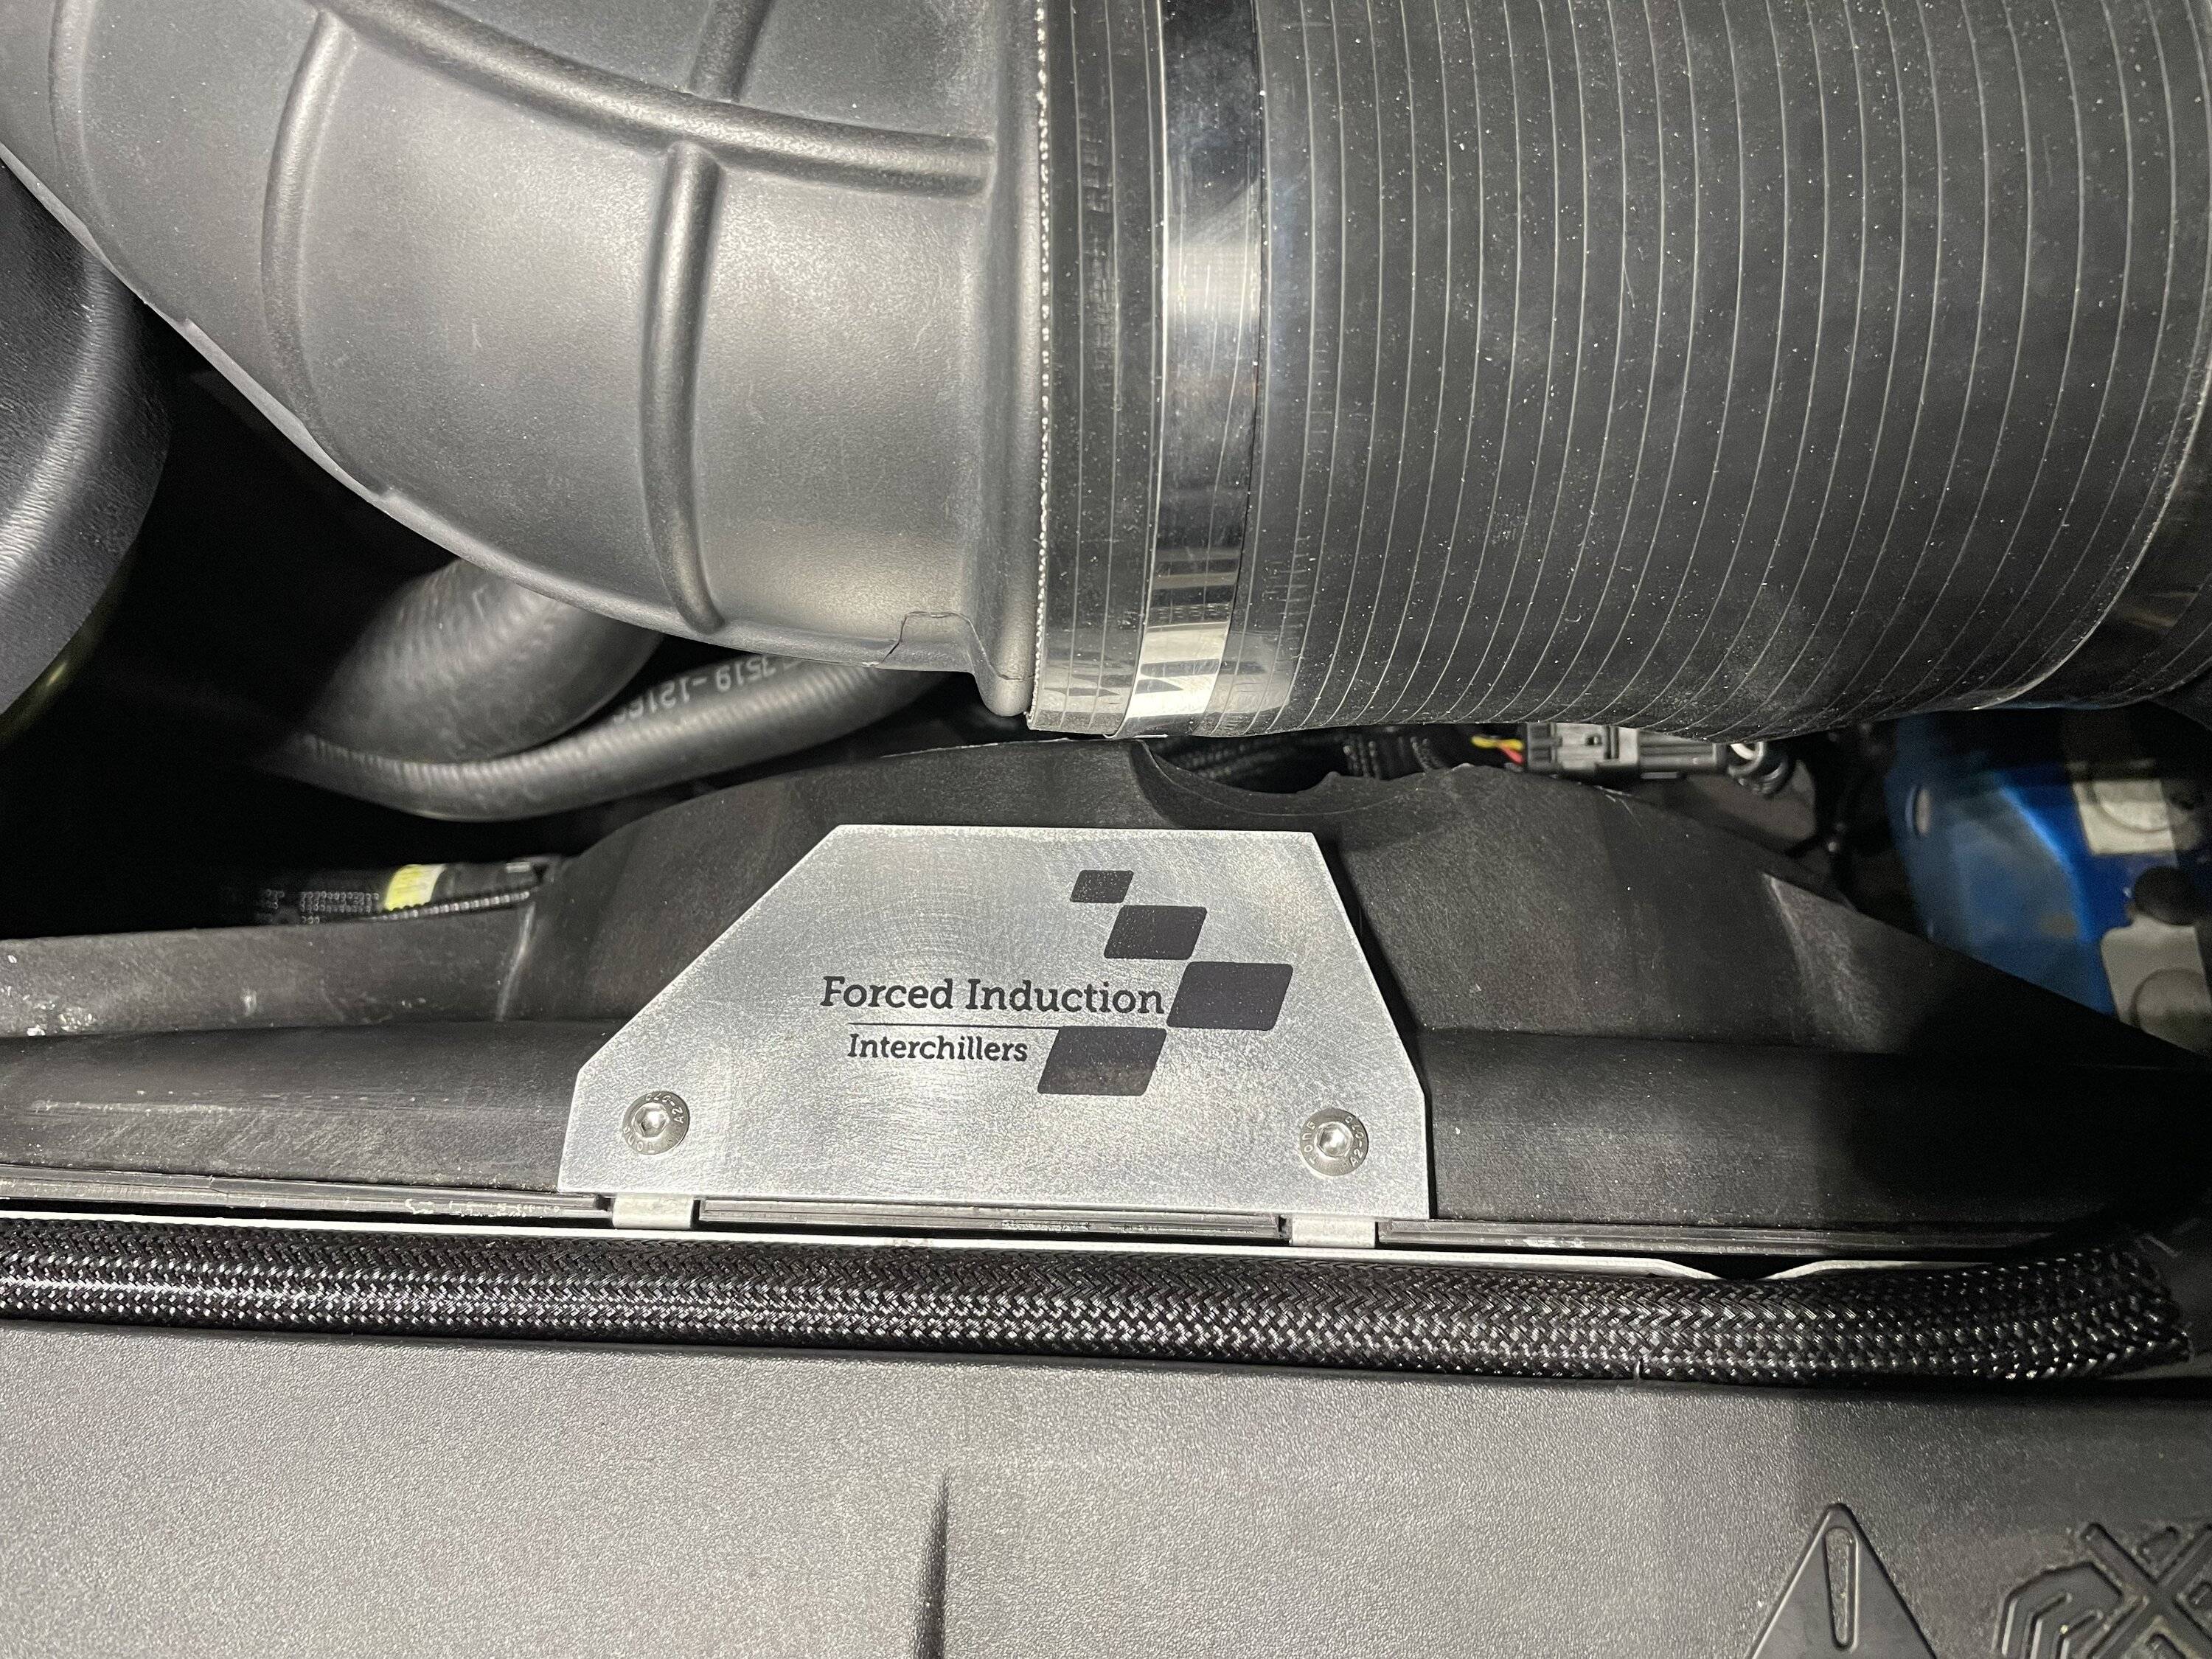
The lower fenderwell tube could be flipped. I'll see if that points it towards the firewall .
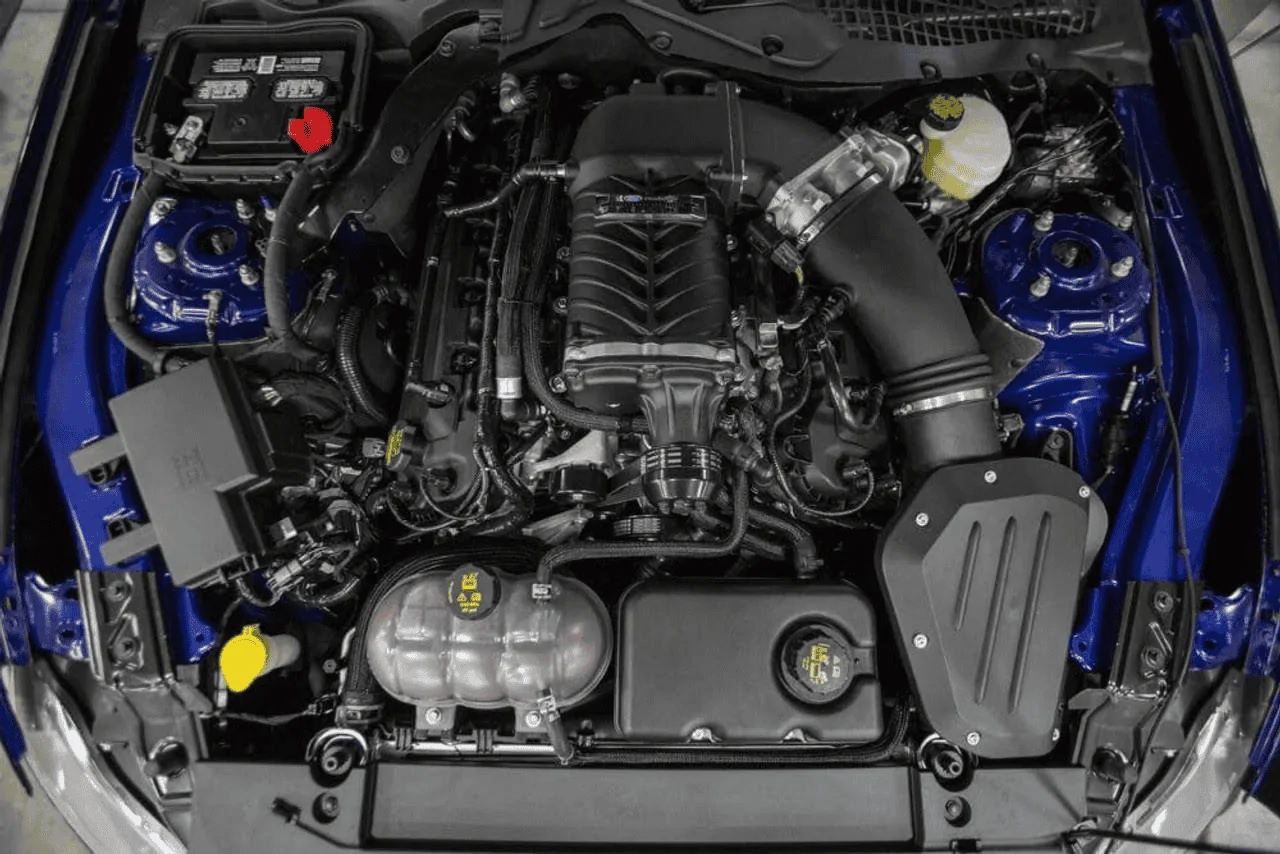
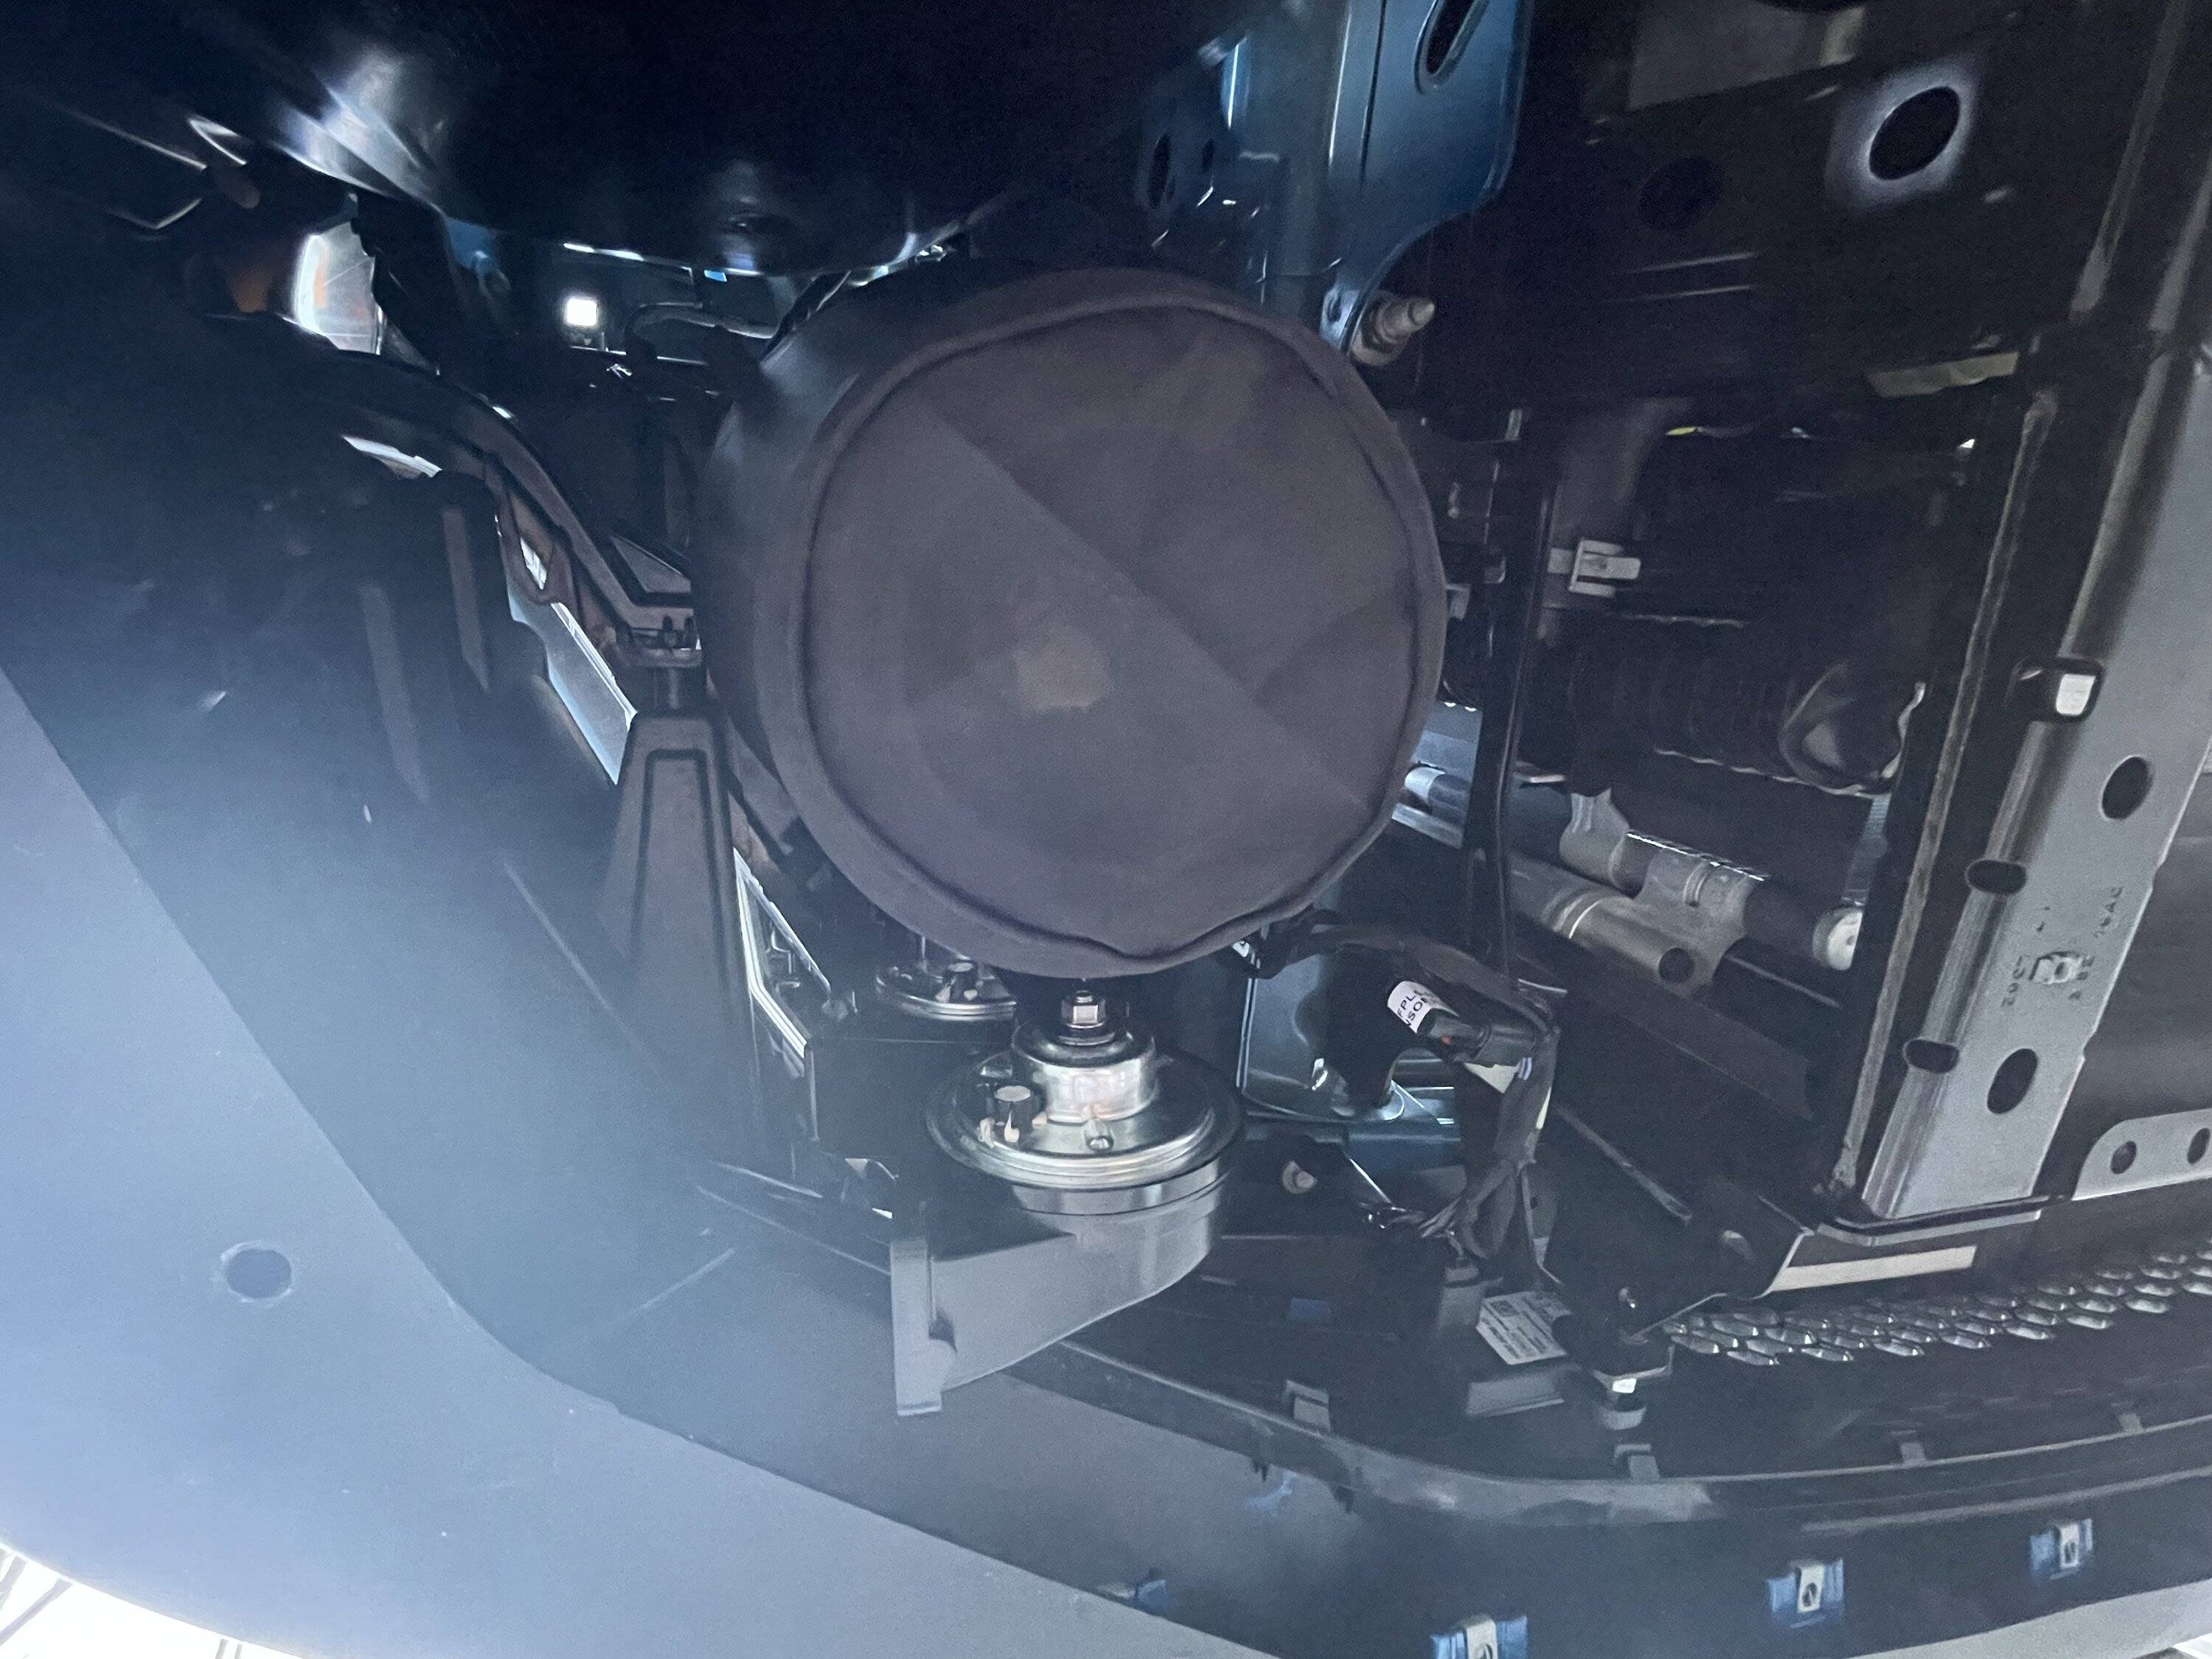
I've thought about cutting into the front panel in front of the apron too and then adding ducting to the roush airbox. Limited space every where though.
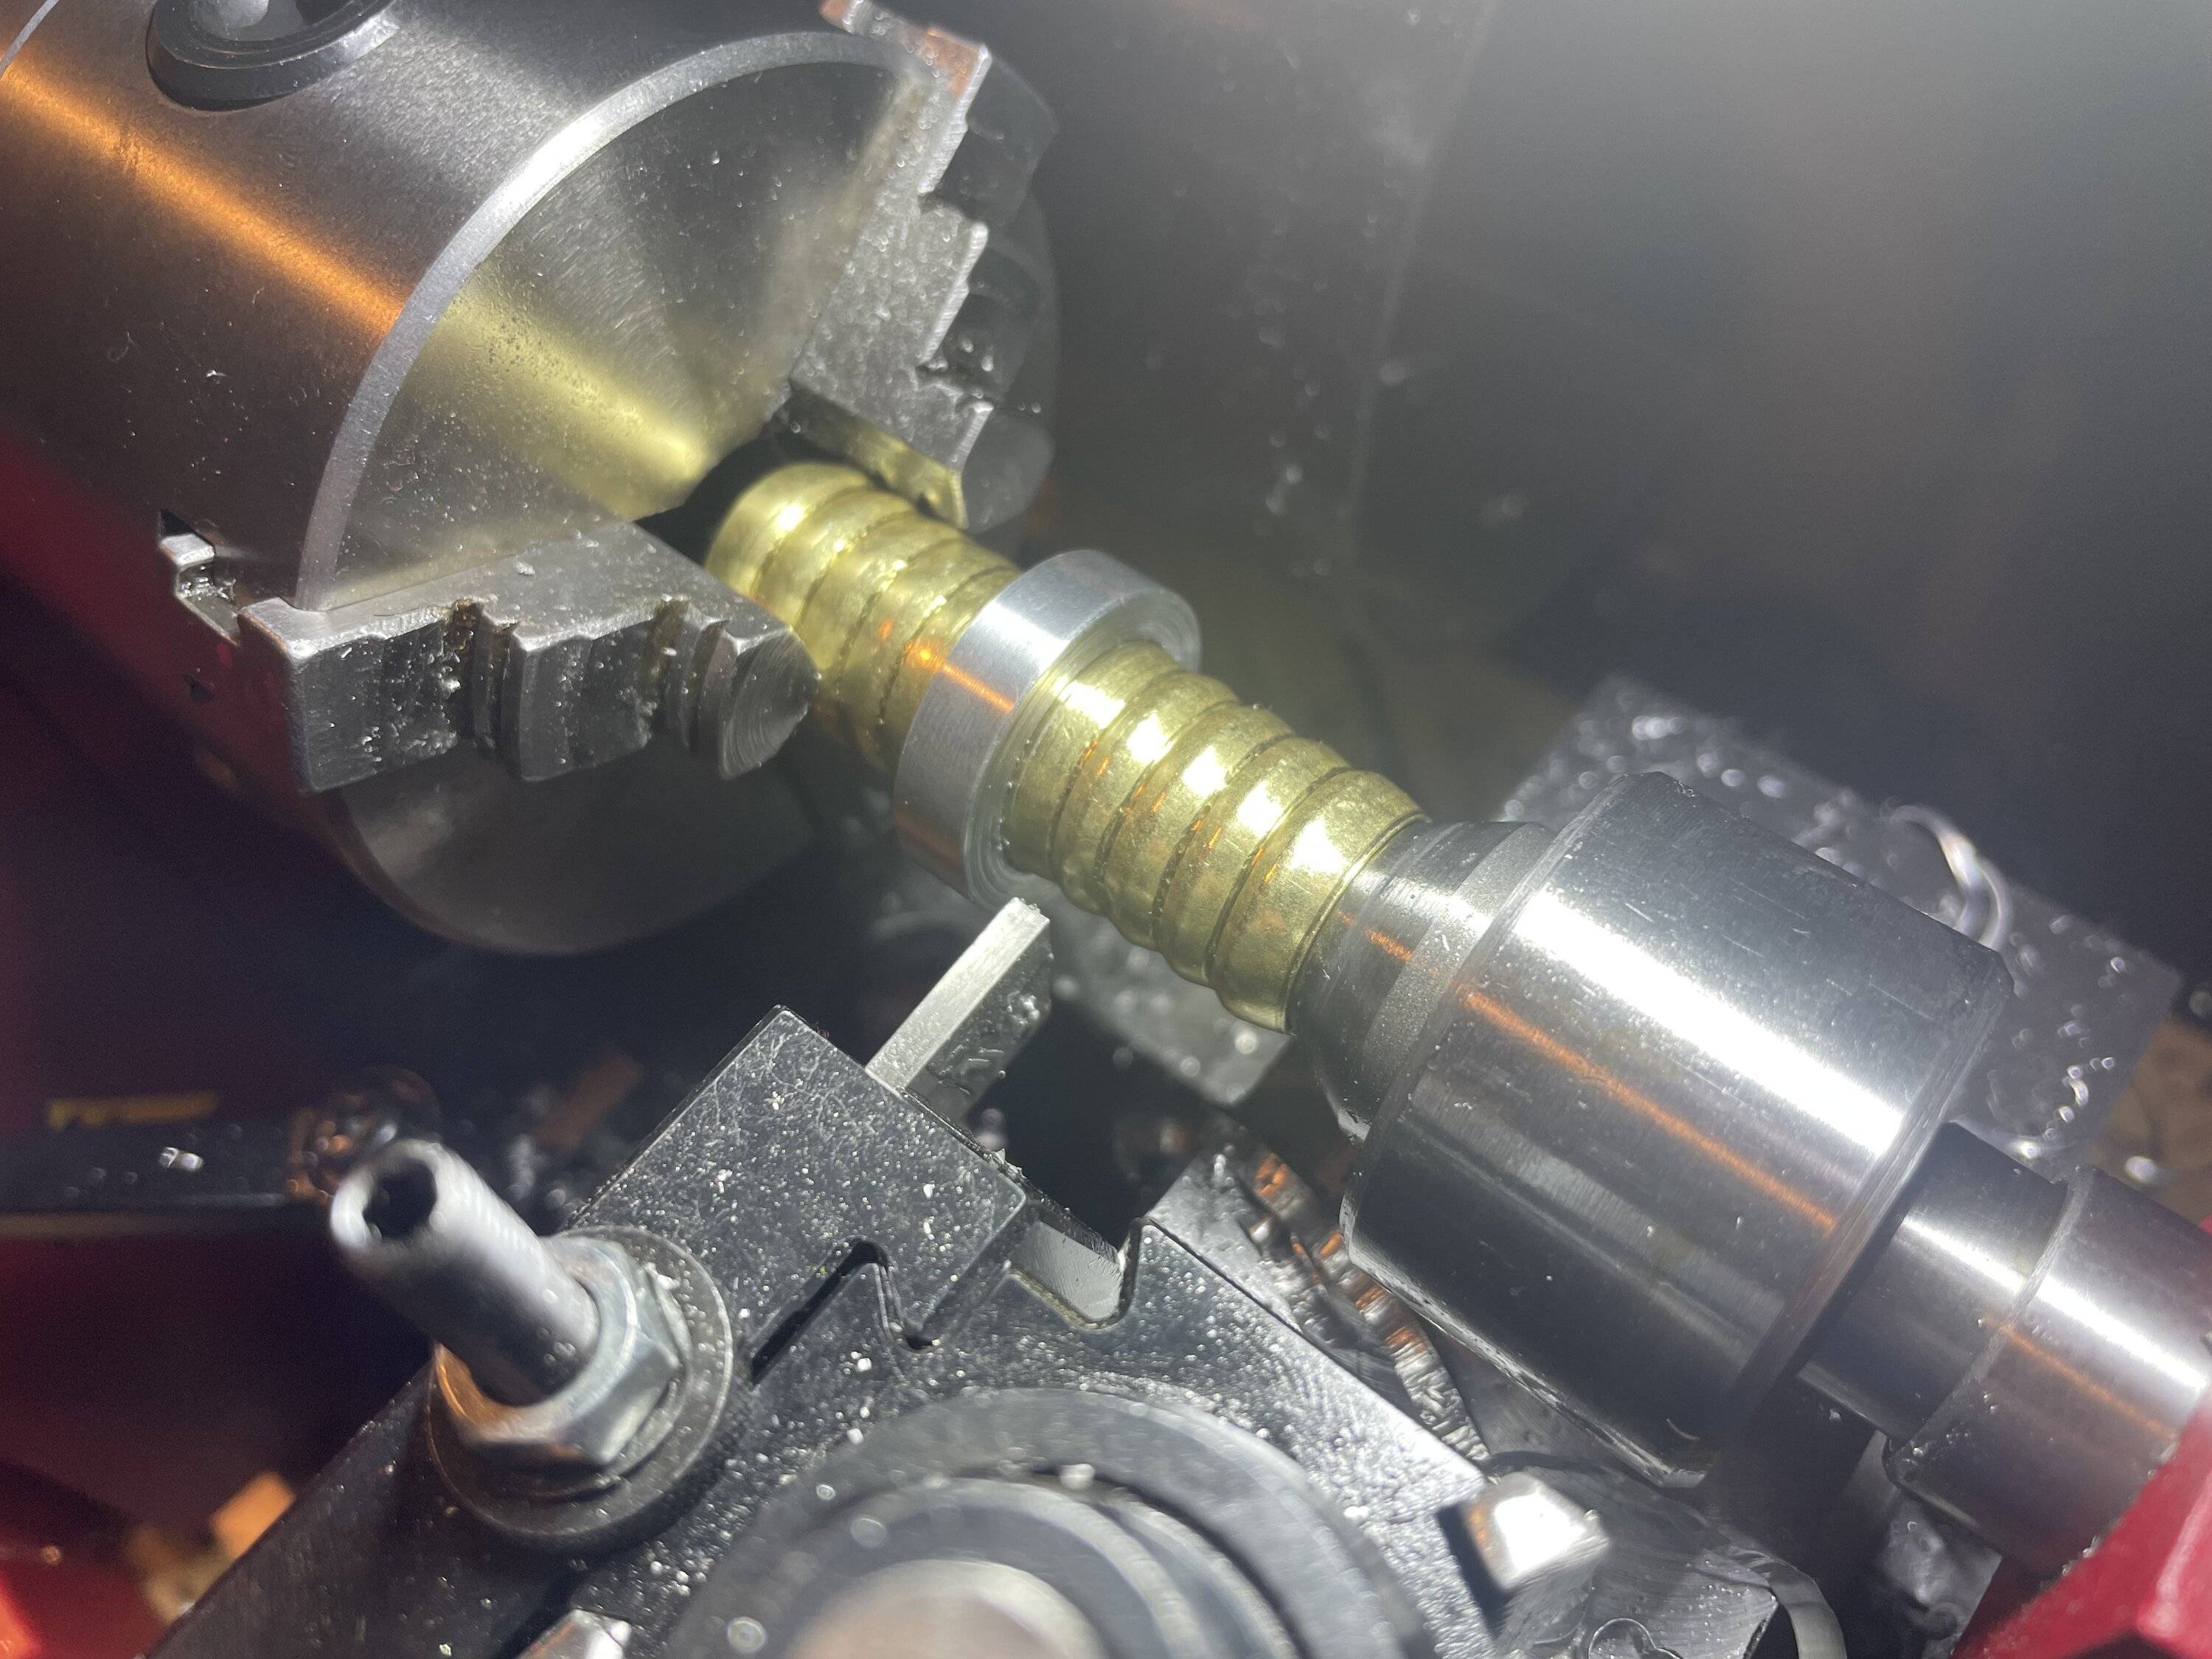
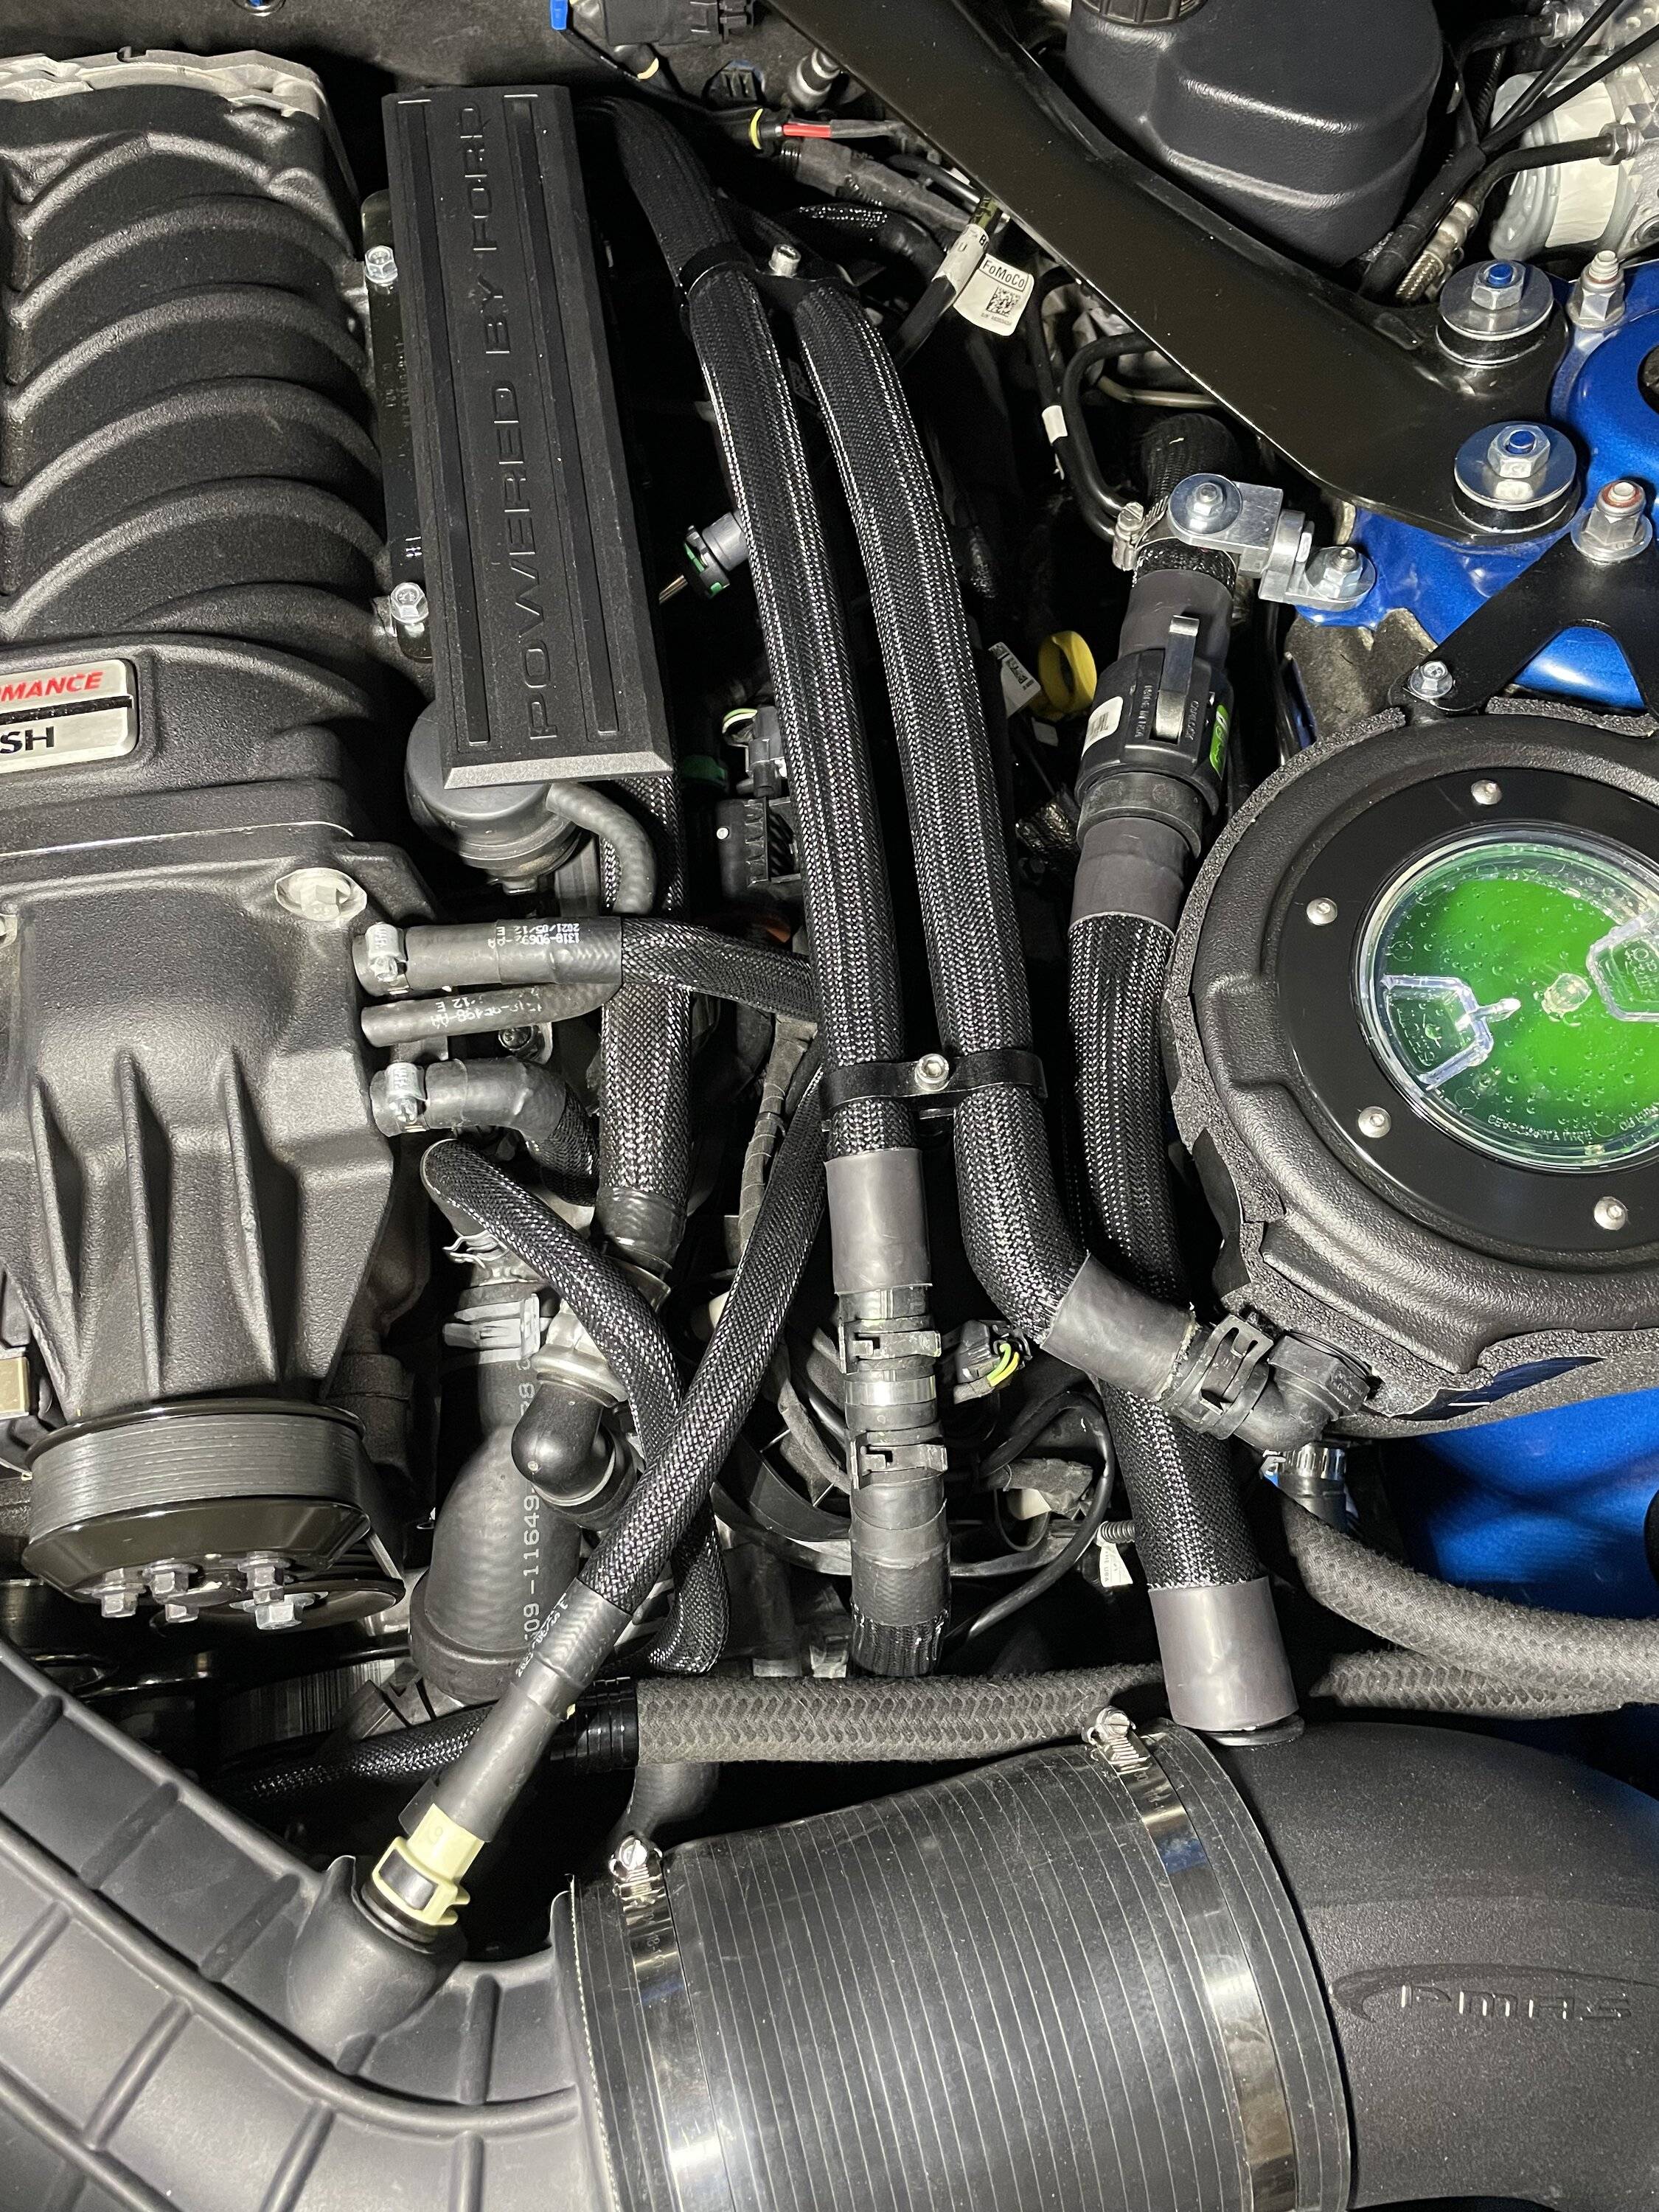
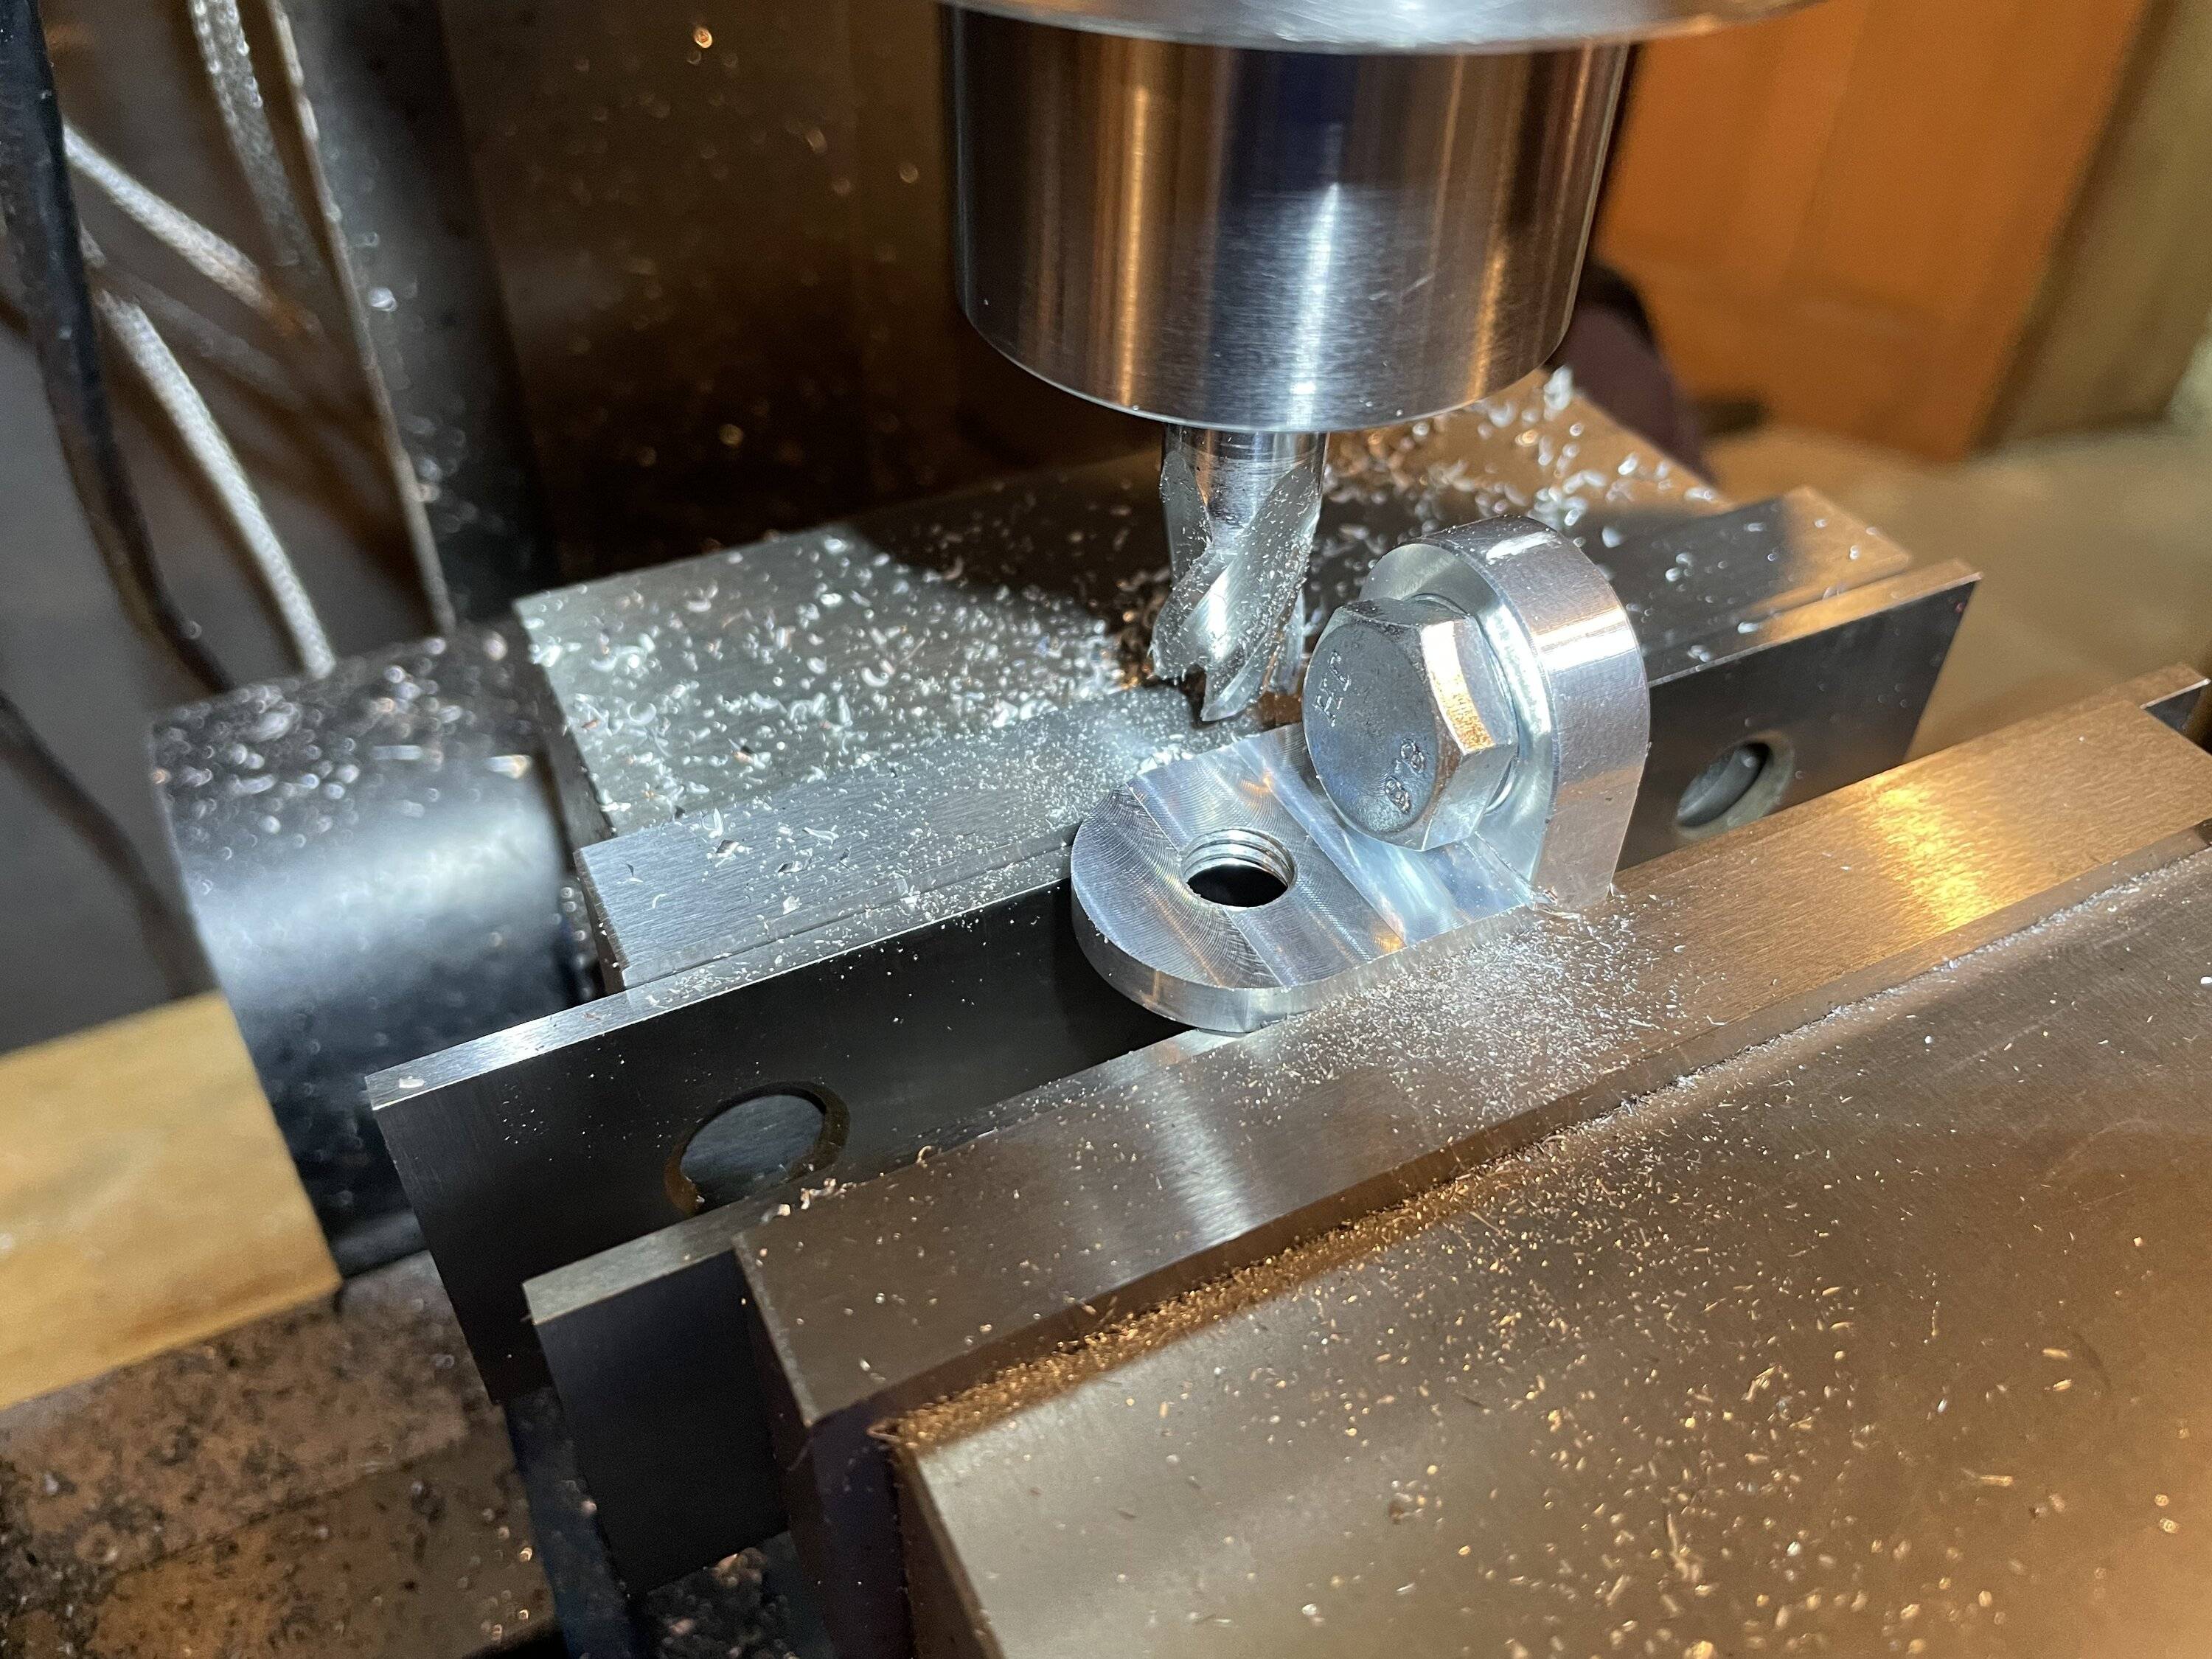
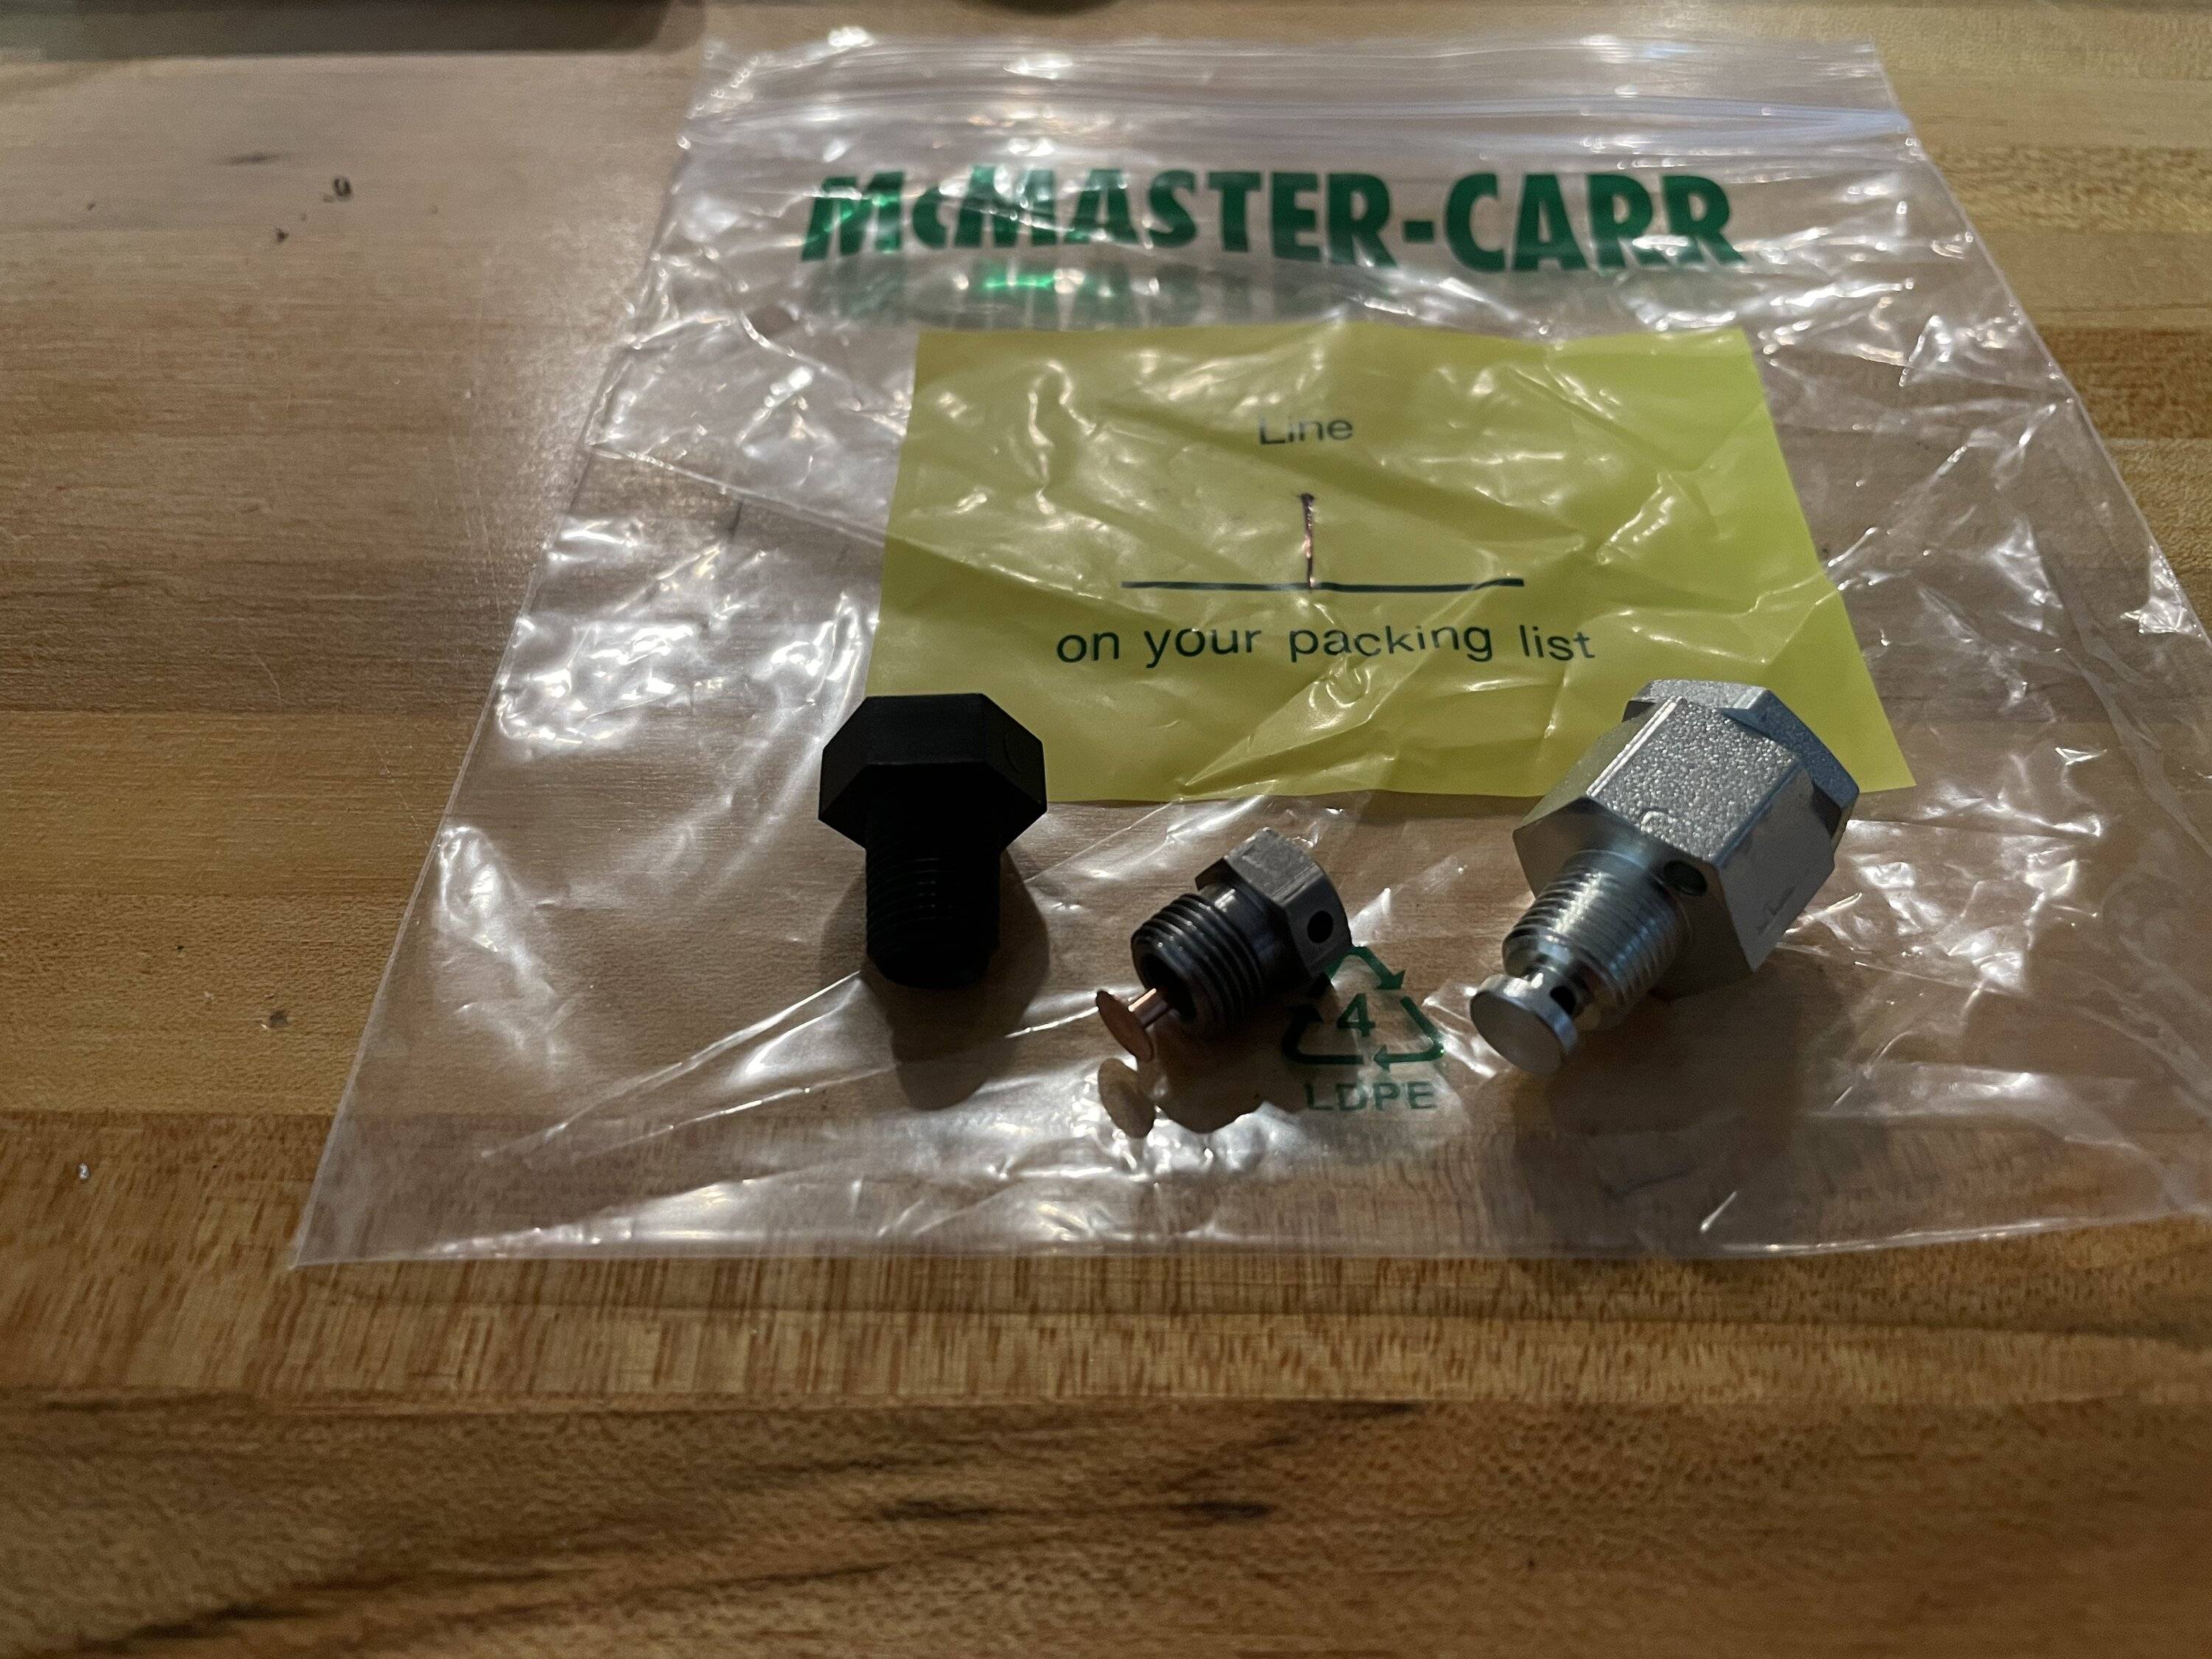
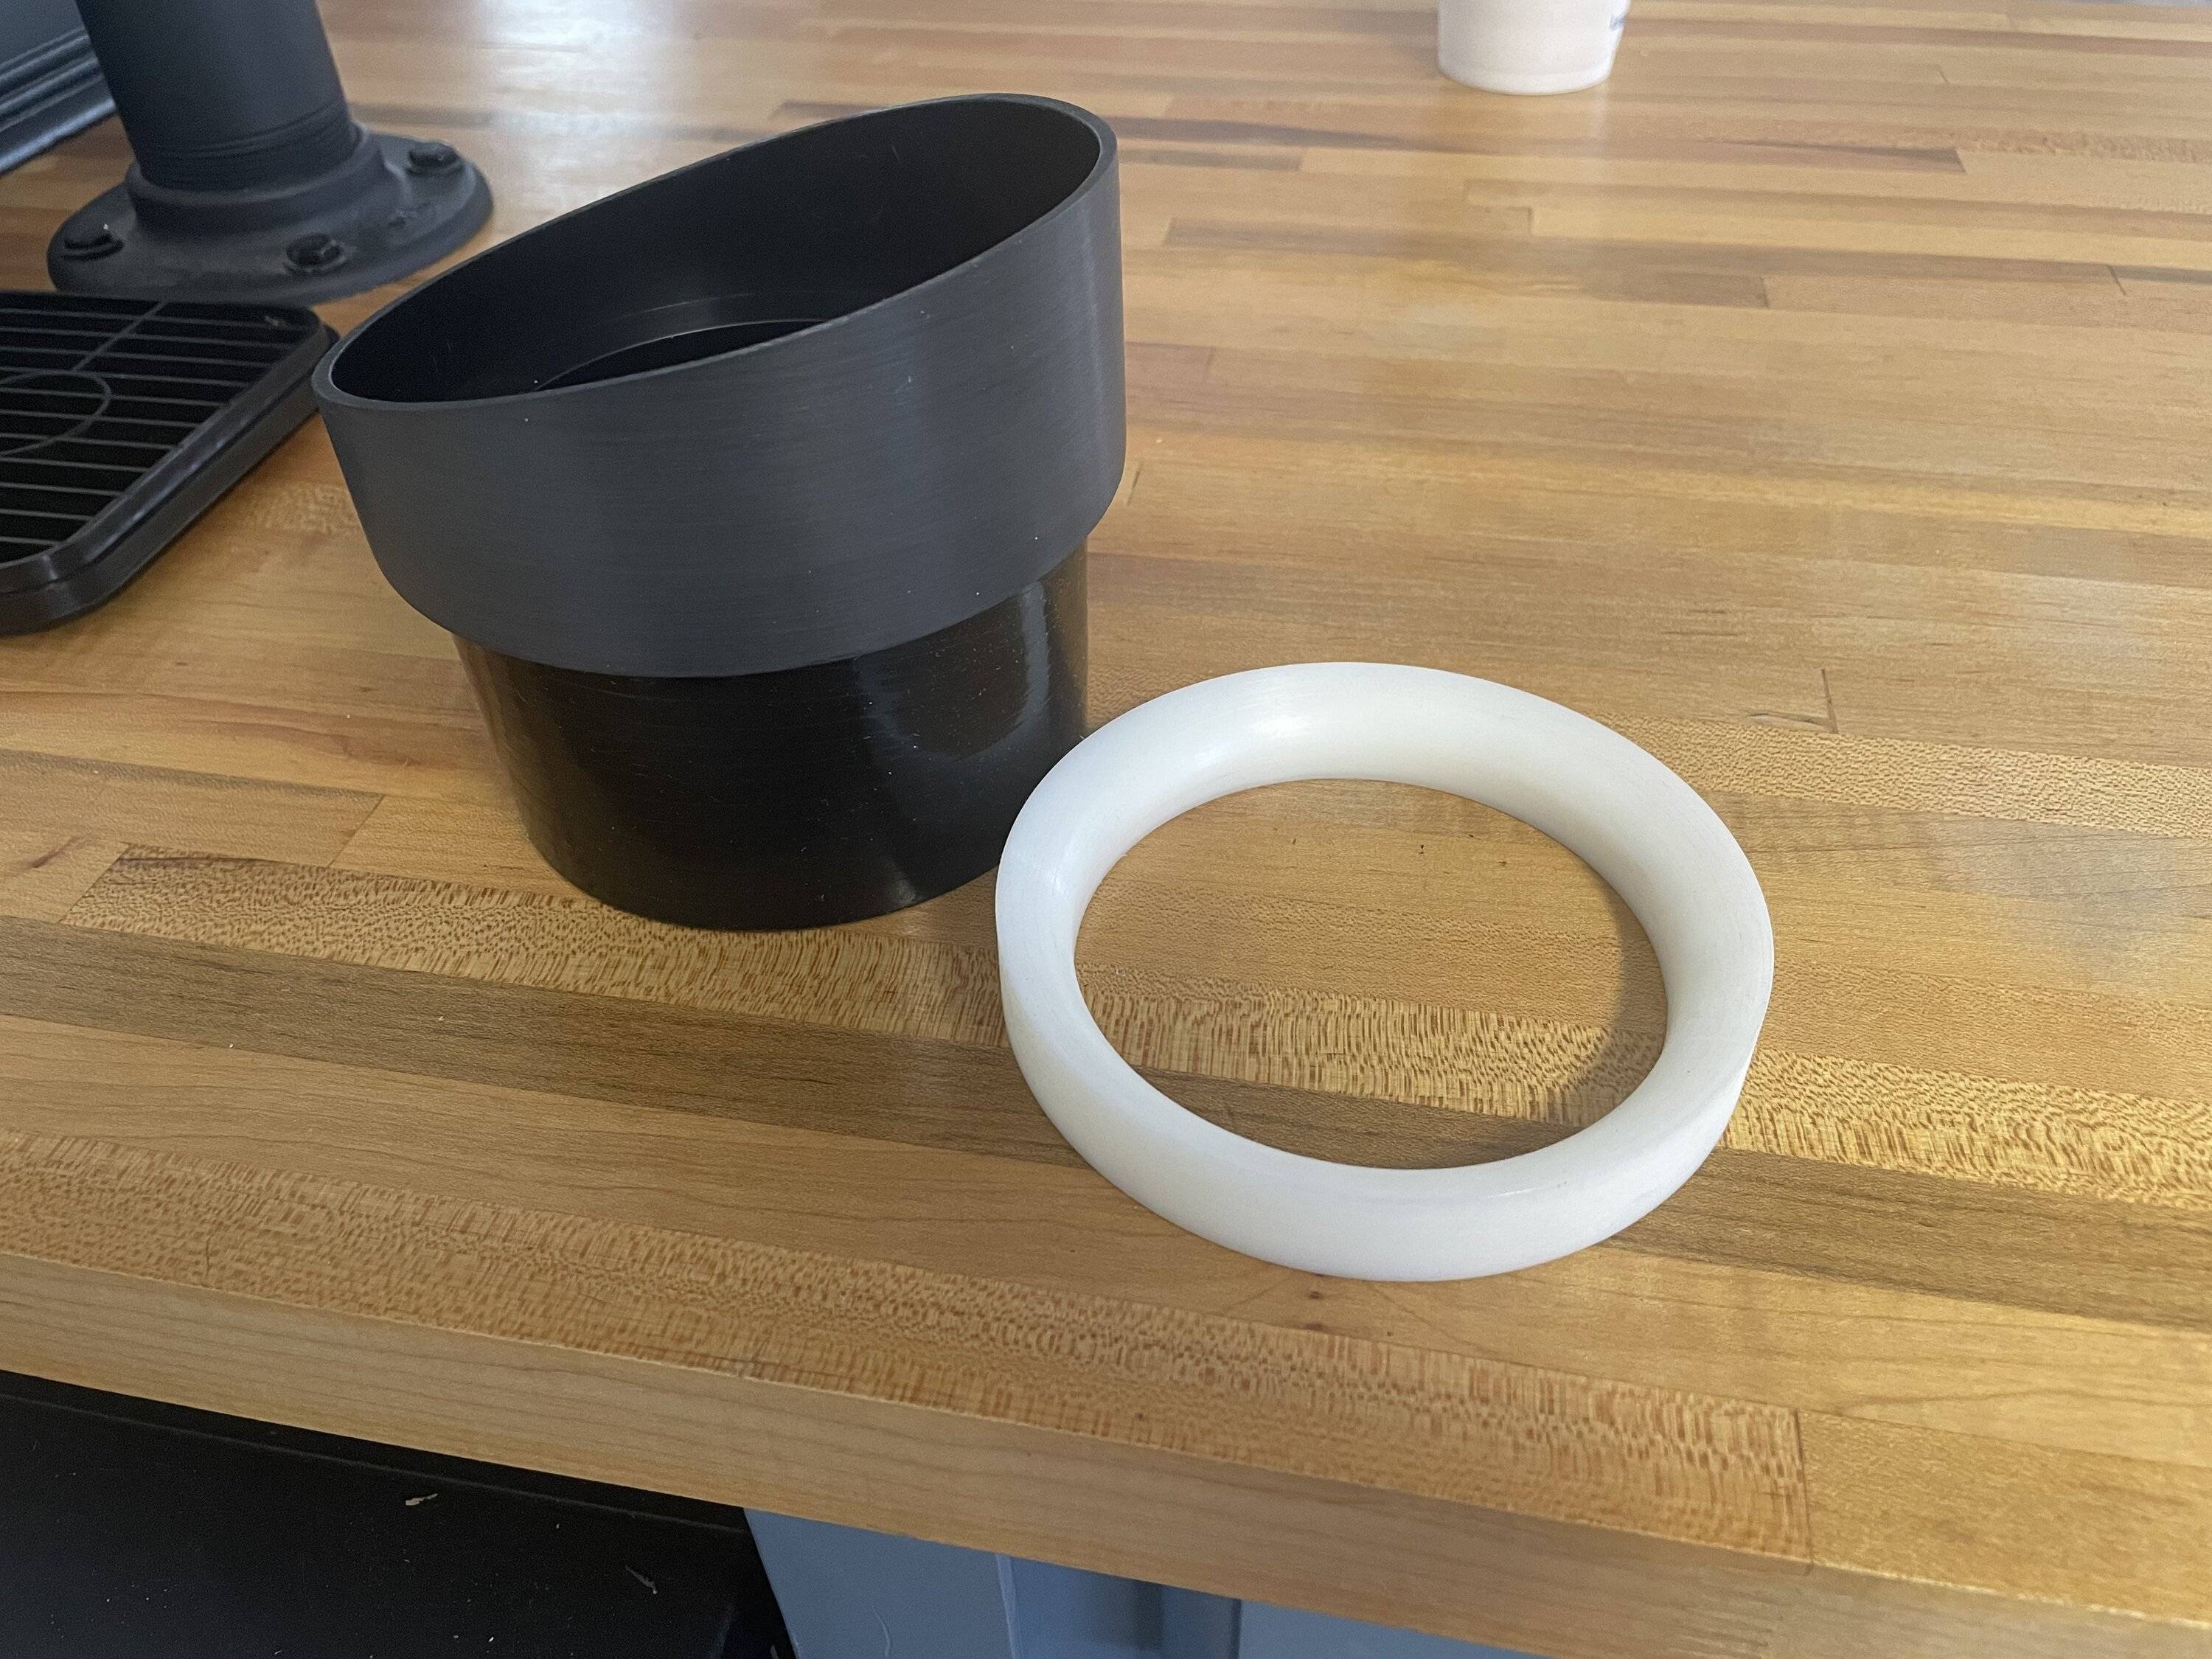
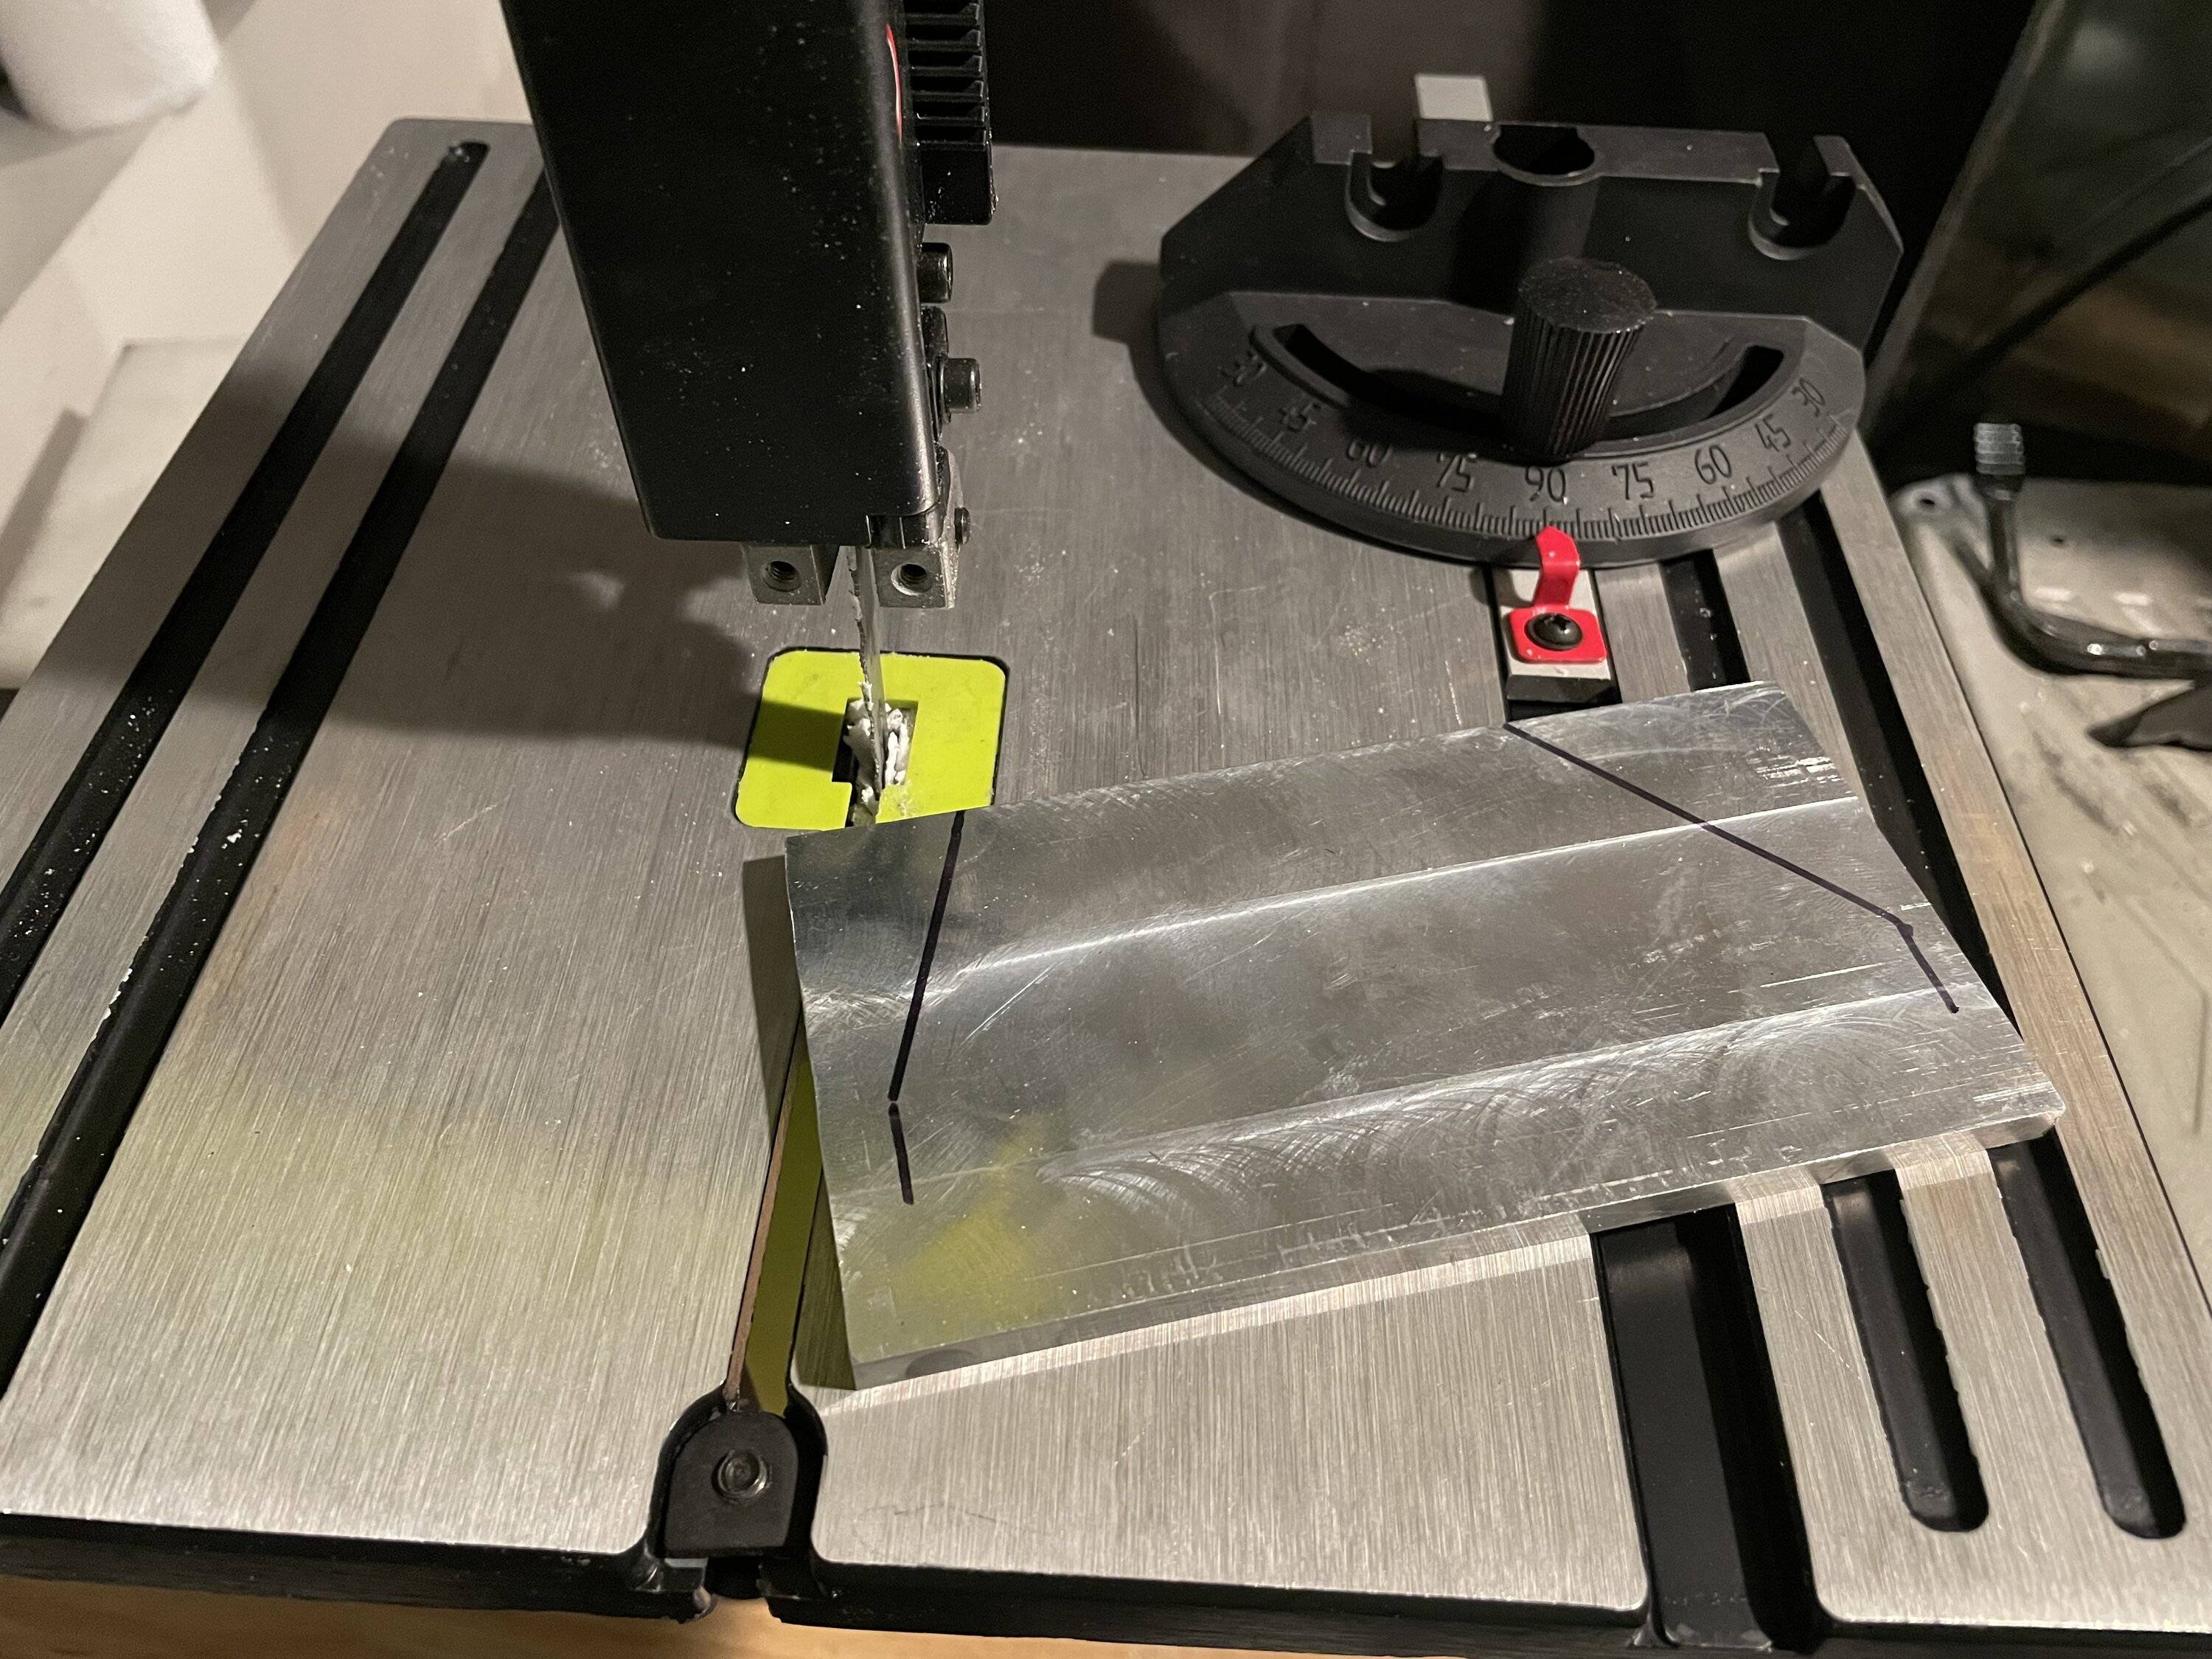
Might chamfer the inside lip on the 5" to 4" reducer
Sponsored
Last edited:


 .
.