Nagare
Well-Known Member
- Joined
- Feb 1, 2017
- Threads
- 58
- Messages
- 4,037
- Reaction score
- 2,256
- Location
- Ft Lauderdale
- Vehicle(s)
- 2017 Lightning Blue V6
- Vehicle Showcase
- 1
[MENTION=29061]5.0_SD[/MENTION] sorry but it came out as a regular install basically, seems my stereo guys tapped in at the rear deck which I wasn't sure on.
[MENTION=32012]randy_tho[/MENTION] they seem painted on to me, at least they were moving with a very brief finger picking.
I got everything in and set up on Saturday morning, but I'd say for a first time installer this would take 3-4 hours on the high end. Definitely a lot quicker once you've done it at least once.
Protip #1: just yank all the panels out. They aren't as fragile as you might think, none broke when I decided to basically rip the vent panel out.
Protip #2: don't do it at night, unless you have a well-lit area/garage to work in.
Protip #3: make sure you plug everything in (fully, most of them click in)
For the backup camera, there are two brown wires with black stripes that have to be connected (I used a small standard wire connector). Didn't figure this one out until I was all buttoned back up so I had to take things apart again. Which led to me finding out that it is all a lot easier the second time you do it.
For the USB, gray is the center storage one, black is the front one.
Going to be messing around it with it over the next few days, but so far looks way better than the previous unit and hope to have my few quirks fixed easily.
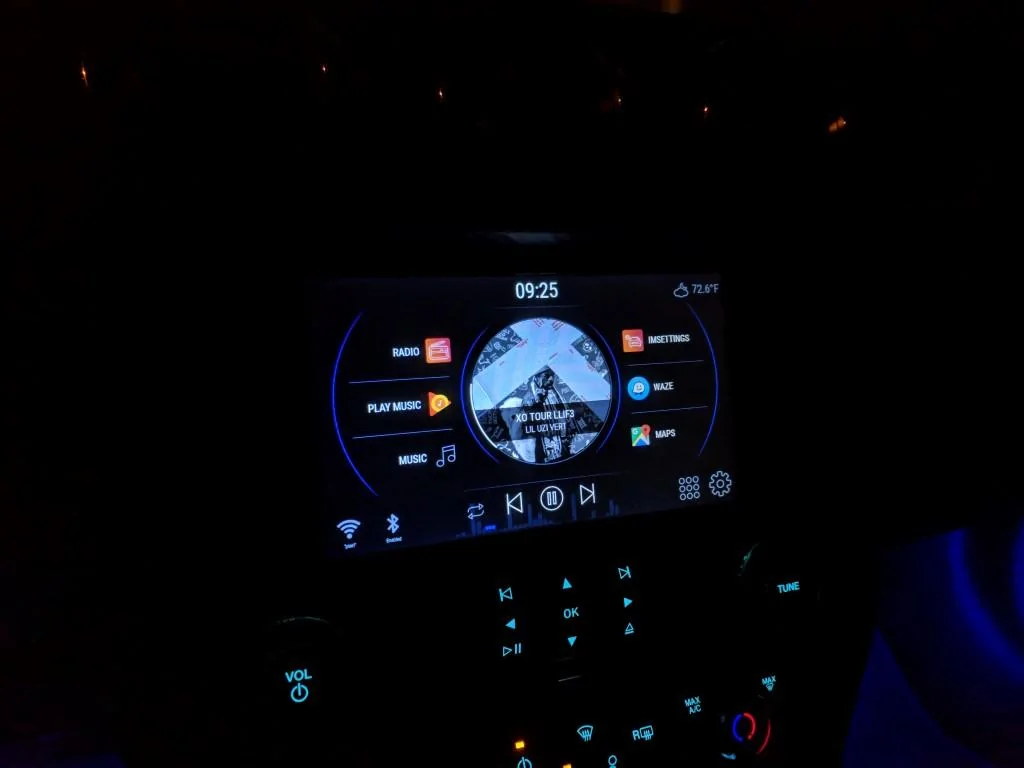
Just for kicks, this pic might make some of you happy too :clap2:

[MENTION=32012]randy_tho[/MENTION] they seem painted on to me, at least they were moving with a very brief finger picking.
I got everything in and set up on Saturday morning, but I'd say for a first time installer this would take 3-4 hours on the high end. Definitely a lot quicker once you've done it at least once.
Protip #1: just yank all the panels out. They aren't as fragile as you might think, none broke when I decided to basically rip the vent panel out.
Protip #2: don't do it at night, unless you have a well-lit area/garage to work in.
Protip #3: make sure you plug everything in (fully, most of them click in)
For the backup camera, there are two brown wires with black stripes that have to be connected (I used a small standard wire connector). Didn't figure this one out until I was all buttoned back up so I had to take things apart again. Which led to me finding out that it is all a lot easier the second time you do it.
For the USB, gray is the center storage one, black is the front one.
Going to be messing around it with it over the next few days, but so far looks way better than the previous unit and hope to have my few quirks fixed easily.
Just for kicks, this pic might make some of you happy too :clap2:

Sponsored
Last edited: