Sponsored

SW LT Header Install Started

RBS550

Well-Known Member
Joined
May 10, 2015
Threads
72
Messages
645
Reaction score
439
Location
Port St Lucie Fl
Website
www.youtube.com
First Name
RB
Vehicle(s)
2015 Mustang GT
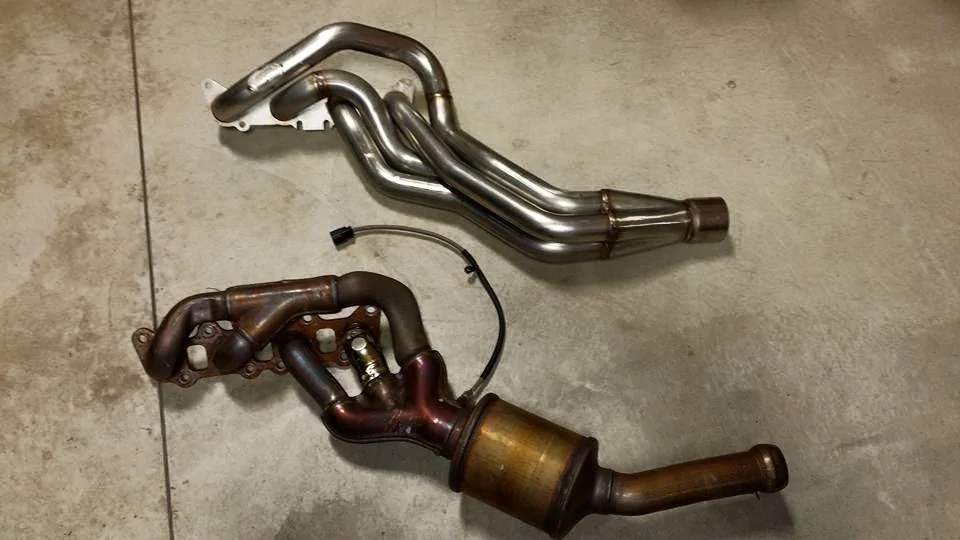
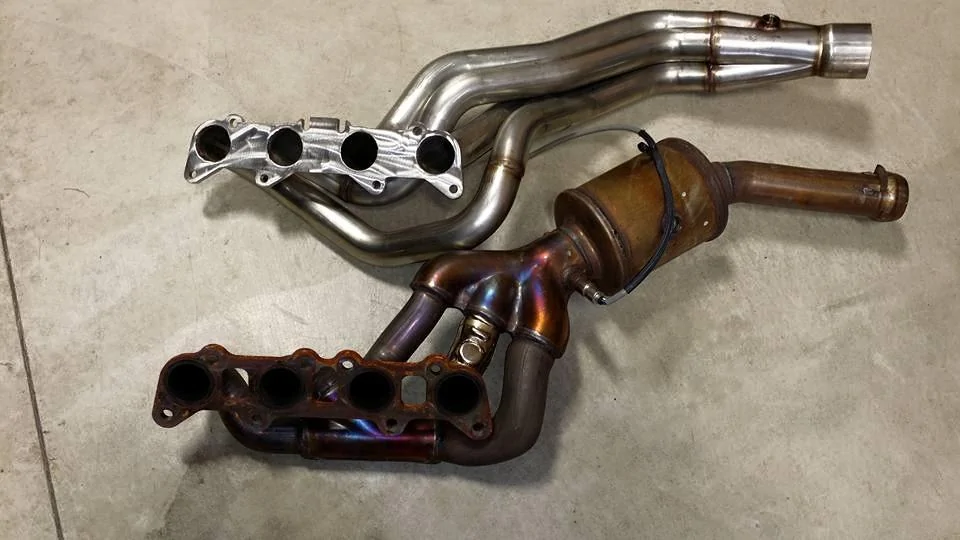
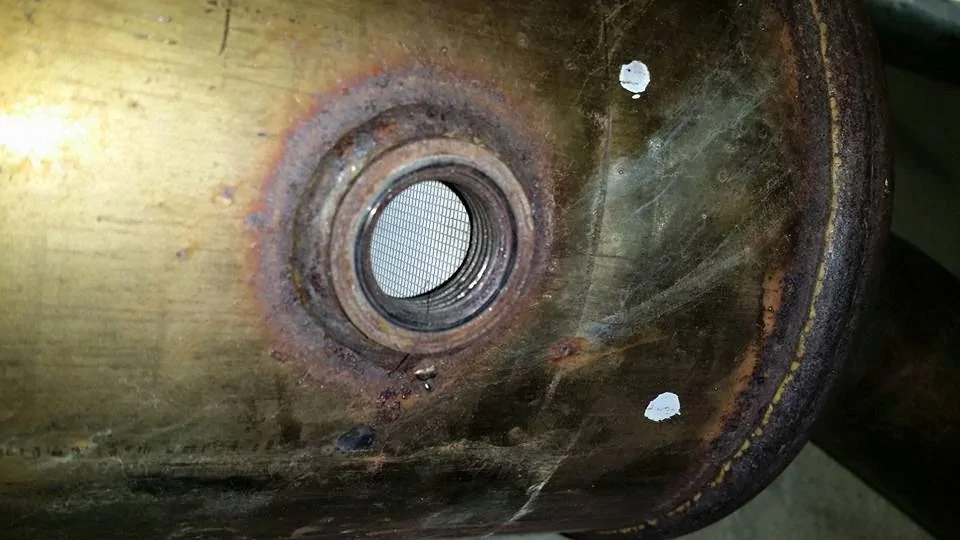
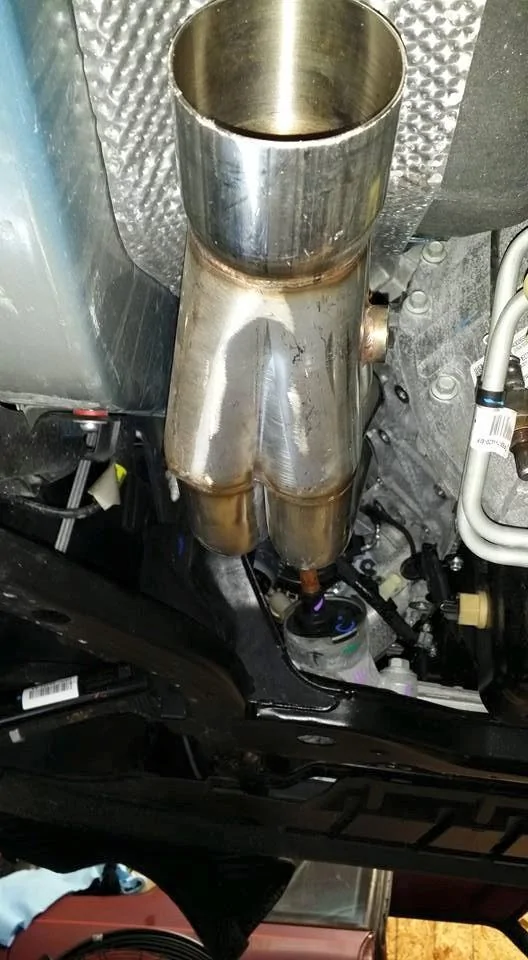
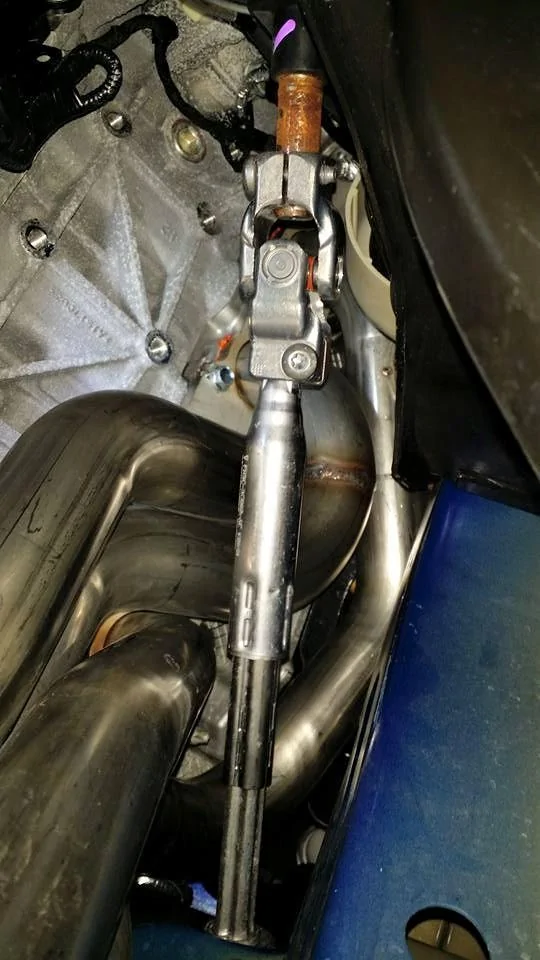
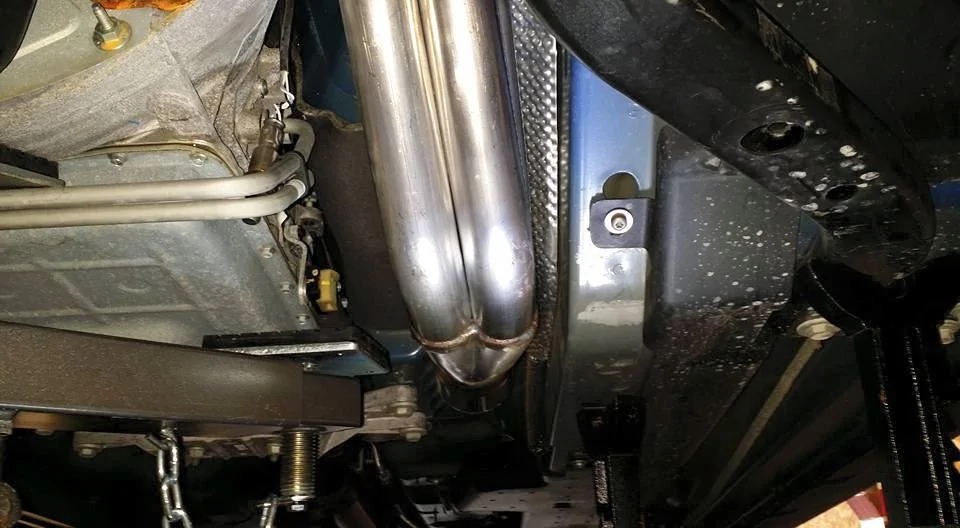
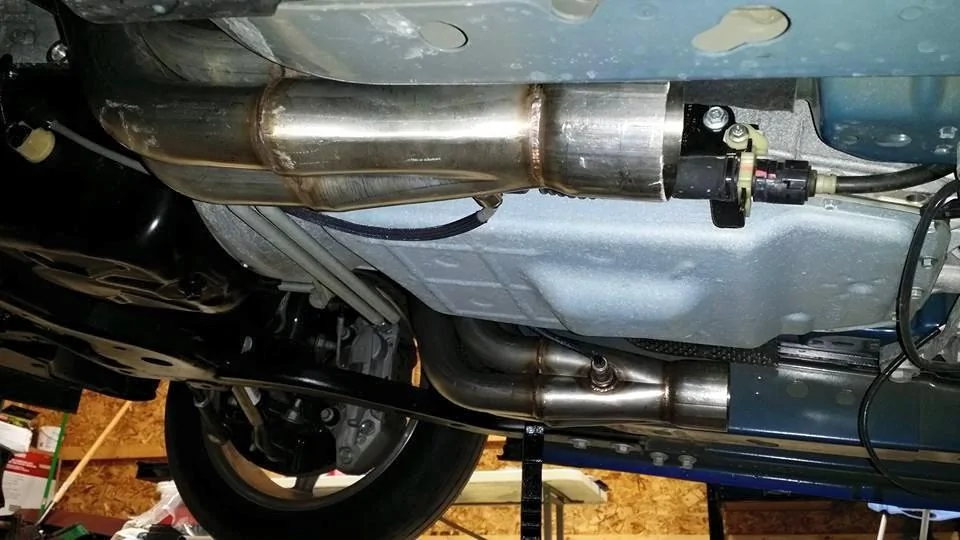
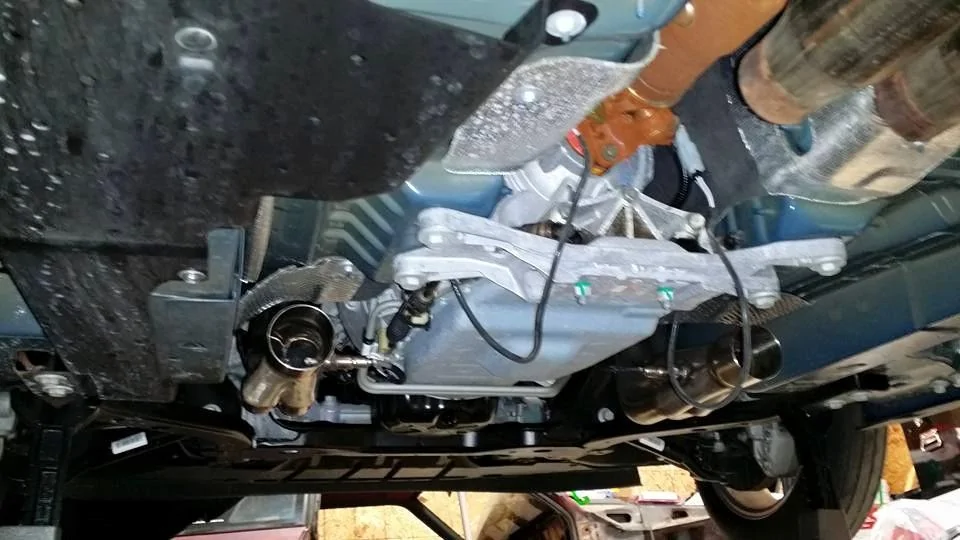
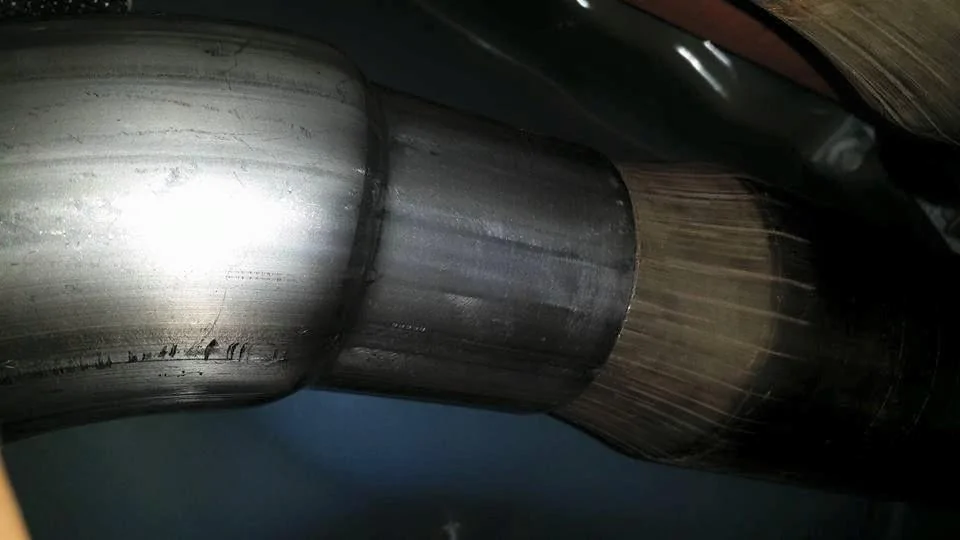
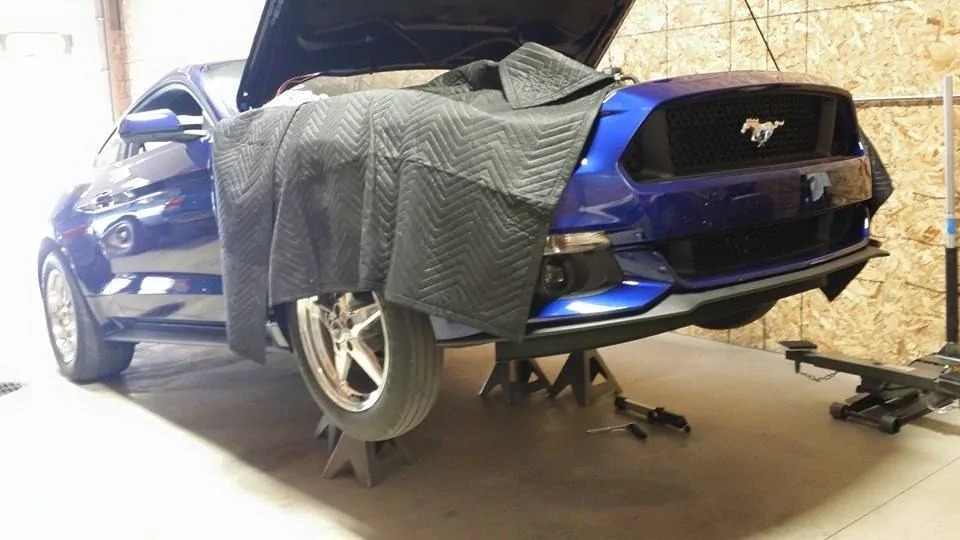
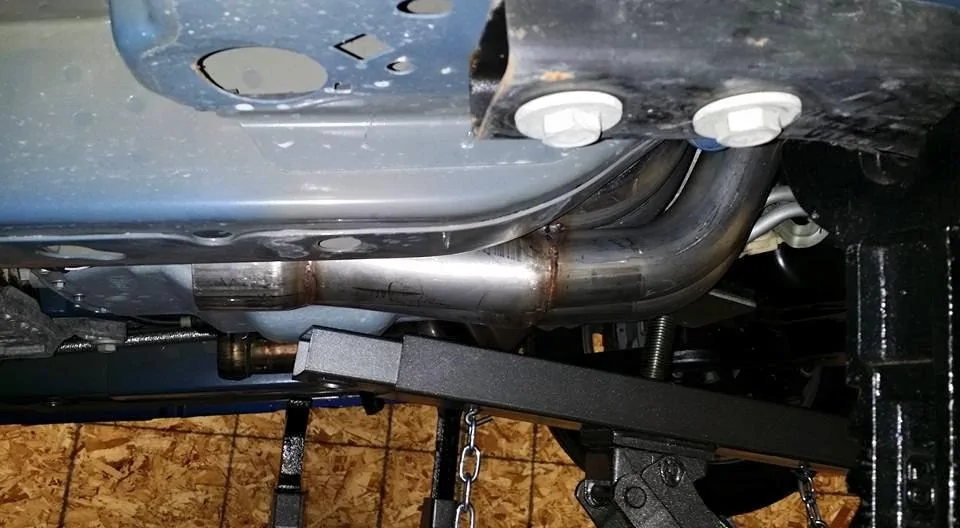
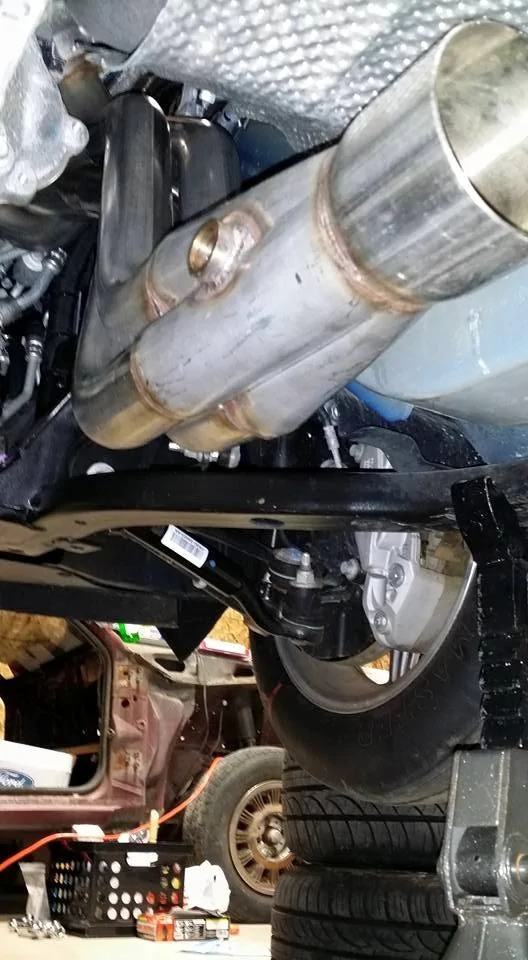
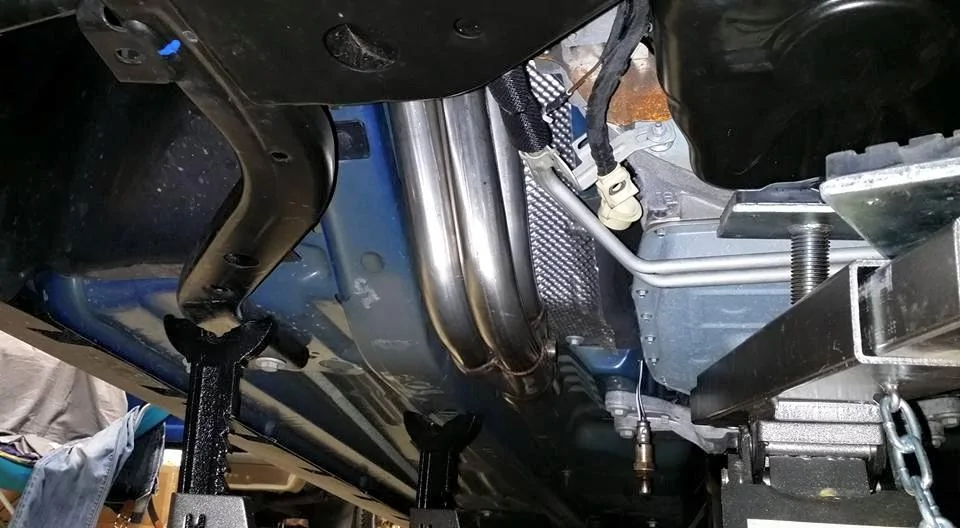
I started installing Stainless Power LT from Team Beefcake today here are a few pics .. Getting back to work then:cheers:
RB HEADER.webp
RB HEADERS 8.jpg
RB HEADERS.webp
RB HEADERS2.webp
RB HEADERS4.jpg
RB HEADERS5.webp
RB HEADERS3.jpg
Sponsored


Jeff_oddo

Well-Known Member
Joined
Apr 23, 2015
Threads
69
Messages
1,072
Reaction score
129
Location
Colorado Springs, CO
First Name
Jeff
Vehicle(s)
Mustang GT Premium
How hard was it to install?
 

gsxr1300

Well-Known Member
Joined
Nov 16, 2014
Threads
15
Messages
2,211
Reaction score
521
Location
MA
First Name
Jason
Vehicle(s)
2023 Mach 1 2015 Mustang GT PP (Sold)
How much time so far?
 
OP
OP
RBS550

RBS550

Well-Known Member
Joined
May 10, 2015
Threads
72
Messages
645
Reaction score
439
Location
Port St Lucie Fl
Website
www.youtube.com
First Name
RB
Vehicle(s)
2015 Mustang GT
Level of difficulty

How hard was it to install?
Keep in mind I'm 48 and not a spring chicken, if I could bench press a 110 lbs I'd be surprised lol. The passenger side took me 8.5 hours. No specialty tools other than a E8 socket to remove the studs. But a variety of wrenches(some ratcheting), sockets & extensions and a long skinny telescoping magnet(for when you drop the new top header bolt and it goes between the pipes and slides all the way down to the collector!) in hind site lay a towel over the pipes. I used only hand tools. Most of the top bolts were done from the top along with the 2 bolts & 1 nut holding down the rubber portion of the engine mount. A note: on the 2 bolts holding down the rubber engine mount, they had son much cured thread locker on them that I had to clean it off (wire wheel or a pick) before I could thread them in again. The new header bolts that came with the headers actually worked better with 1/2" size tools rather than 13mm, probably due to the tapered head on the bolt. Loosening and tightening was the only challenge as the old & the new headers slip right out & in. You may have to lower the engine back down a little to get the new header lined up with the holes(remember I raised it to get the engine mounts out), a piece of wood (4x4 preferably) for jacking the engine, I chose to jack at the bell-housing vs the oil pan. Remember to at least have both engine mount nuts backed off before jacking (1 nut per side on top of the rubber portion of the engine mount). I did leave the front stud in, to give me something to hang the header on. I also ran the new bolts in once to make sure there's no thread issues before putting the header in. I used the copper silicone, mostly to make the gasket stay in place during install and anti-seize on the header bolts. Today after laundry I'll start the drivers side.
 

Rubred50

Well-Known Member
Joined
May 31, 2015
Threads
7
Messages
146
Reaction score
17
Location
USA
Vehicle(s)
2015 GT 5.0 PP
Hopefully it's worth a significant gain. Wish you well with the completion of the install and thanks for the info. I am a couple of years older and will not attempt this...LOL! Let us know how your ride performs after you retune and go to the track.

Thanks again!!
 

Sponsored

dubster99

Well-Known Member
Joined
Aug 12, 2014
Threads
45
Messages
2,517
Reaction score
436
Location
Nor*Cal
Vehicle(s)
2015 Ingot Silver GT PP
Are those the ones without leads? If so, what are you going to use to connect to the exhaust?
 
OP
OP
RBS550

RBS550

Well-Known Member
Joined
May 10, 2015
Threads
72
Messages
645
Reaction score
439
Location
Port St Lucie Fl
Website
www.youtube.com
First Name
RB
Vehicle(s)
2015 Mustang GT
Drivers side Long Tubes

Drivers side much easier, I didn't remove the rubber portion of the engine mount. I'm leaving two studs both top front & rear. Just under 2 hours to remove. I've already did a dry run on installing to see what it takes to get around the rubber engine mount. Taking lunch then back to work.
Drivers side 1.webp
Drivers side 2.webp
Drivers side 3.jpg
Drivers side 4.jpg
Drivers side 5.webp
Drivers side cat.webp
 

Wblv17

older fart
Joined
Aug 31, 2014
Threads
11
Messages
1,605
Reaction score
245
Location
Crazyville Texas
First Name
Rob
Vehicle(s)
2014 5.7HEMI Ram and 2015 eco boost race red pp
boy the stock exhaust is constipated


looking good OP
 
OP
OP
RBS550

RBS550

Well-Known Member
Joined
May 10, 2015
Threads
72
Messages
645
Reaction score
439
Location
Port St Lucie Fl
Website
www.youtube.com
First Name
RB
Vehicle(s)
2015 Mustang GT
Drivers side in!

The drivers side is way easier. I suggest doing the hard side first(passenger side) that way when you get to the drivers side it's all down hill. In all this side took about 5 hours both sides total 13.5 hours. Now of course if I was to do it again I could shave quite a bit of time off of that. :headbang:
Drivers side 6.webp
Drivers side 7.webp
Drivers side 8.webp
Drivers side 9.webp
 
OP
OP
RBS550

RBS550

Well-Known Member
Joined
May 10, 2015
Threads
72
Messages
645
Reaction score
439
Location
Port St Lucie Fl
Website
www.youtube.com
First Name
RB
Vehicle(s)
2015 Mustang GT
Gains

Hopefully it's worth a significant gain. Wish you well with the completion of the install and thanks for the info. I am a couple of years older and will not attempt this...LOL! Let us know how your ride performs after you retune and go to the track.

Thanks again!!
I hope it pays off as well, I will definitely post results...good or not so good.
 

Sponsored
OP
OP
RBS550

RBS550

Well-Known Member
Joined
May 10, 2015
Threads
72
Messages
645
Reaction score
439
Location
Port St Lucie Fl
Website
www.youtube.com
First Name
RB
Vehicle(s)
2015 Mustang GT
Leads

Are those the ones without leads? If so, what are you going to use to connect to the exhaust?
I'm using Performance Connect off road leads. They're coming in a separate box, I should have them in a day or so. I will post pics of them also.
 
OP
OP
RBS550

RBS550

Well-Known Member
Joined
May 10, 2015
Threads
72
Messages
645
Reaction score
439
Location
Port St Lucie Fl
Website
www.youtube.com
First Name
RB
Vehicle(s)
2015 Mustang GT
Both sides

Hers's some pics of both sides. I didn't use the extensions for the O2s, the factory gives you plenty...you just need to reroute the wires.
Both 1.webp
Both 2.webp
Both 3.jpg
Both 4.jpg
Both 5.webp
 

Vile_the_Bastage

of Clan Bastage
Joined
Nov 9, 2014
Threads
23
Messages
614
Reaction score
230
Location
Midwest
First Name
Internet Legend
Vehicle(s)
2015 Mustang GT Premium
How did you reroute the wires on the passenger side? I tried going the no O2 sensor extension route but discovered that my passenger side was bundled in with a massive wiring harness up top that gave me no slack. Every way I tried to run it left me a bit short, or it would start to thread but have way to much tension on the wires. Did you remove it from the bundle?
 
OP
OP
RBS550

RBS550

Well-Known Member
Joined
May 10, 2015
Threads
72
Messages
645
Reaction score
439
Location
Port St Lucie Fl
Website
www.youtube.com
First Name
RB
Vehicle(s)
2015 Mustang GT
Wire reroute

How did you reroute the wires on the passenger side? I tried going the no O2 sensor extension route but discovered that my passenger side was bundled in with a massive wiring harness up top that gave me no slack. Every way I tried to run it left me a bit short, or it would start to thread but have way to much tension on the wires. Did you remove it from the bundle?
When you put your hand up from the tail shaft of the trans you can feel a plastic retainer...I opened it by hand and pulled the wire from the front...bringing the plug through. And I unplugged both before rerouting.
 
OP
OP
RBS550

RBS550

Well-Known Member
Joined
May 10, 2015
Threads
72
Messages
645
Reaction score
439
Location
Port St Lucie Fl
Website
www.youtube.com
First Name
RB
Vehicle(s)
2015 Mustang GT
Factory Connect

Here's what Factory Connect looks like.
Lead to catback.webp
Sponsored


Top