wildcatgoal
@sirboom_photography
Got mine in last light. Fitment is excellent. I had to fight the damn wires and gas filler pipe in the way, too. What I realized you could do is dismount the wires (driver side) from their little holder doo-dads up high getting toward the center of the car, which made it easier to get them out of the way, then you had much more space. I had to disconnect the ABS sensor wire where it mounts to the frame rail, too.
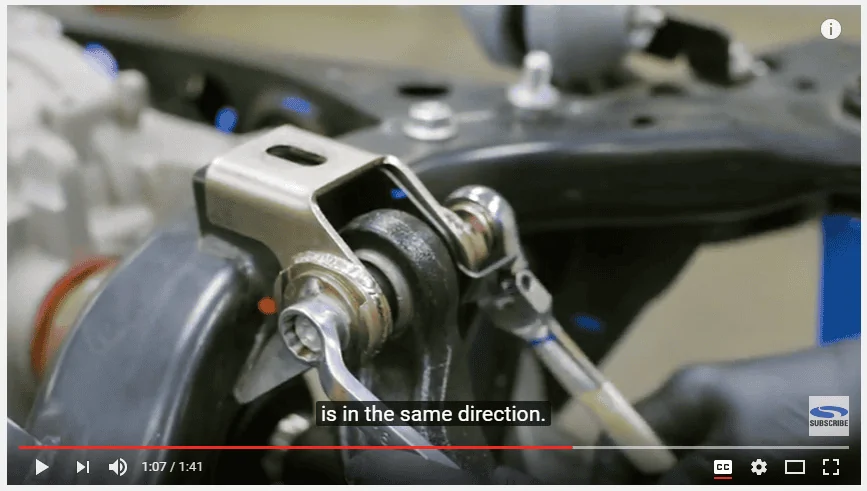
I oriented the welded nut face toward the front of the car on both sides because that seems to be the easiest location to get to in order to adjust camber.
I will say, an 18mm deep well swivel socket (not the swivel attachment thing that looks like a driveshaft joint) will really make this job (and at-track adjustments) easy. I was able to borrow one from a guy who was at the shop. Without it, I would have used one of those bendy adapters that look like a driveshaft joint, but it would have been tight. This is definitely a job that can be done easier with the springs out and/or the IRS lowered, but if you use your noggin, it can be done by your usual garage mechanic. I would recommend, if you do a jackstand job, only jacking up the back of the car so you get that triangle of extra space (because the back is sticking up at an angle) for your big 1/2" 120 ft. lbs. torque wrench. I'll be at the alignment shop today and I look forward to what they think of the ability to adjust with these.
Did anyone notice... how freakin' ugly the stock camber arm is? I've never really looked at it... and now that I'm intimate with it, I'd rather have a better looking one. ;)
Sponsored

")