Sponsored

StangTime

Well-Known Member
Joined
Apr 16, 2019
Threads
77
Messages
3,510
Reaction score
3,934
Location
Ontario 🇨🇦
First Name
Todd
Vehicle(s)
19' GT PP1 Manual
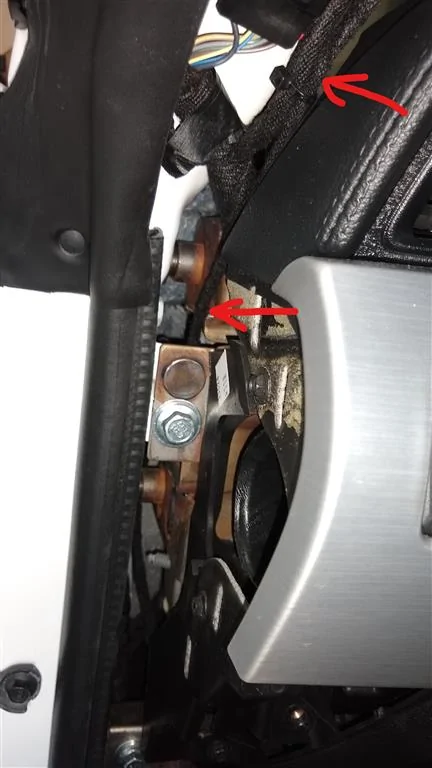
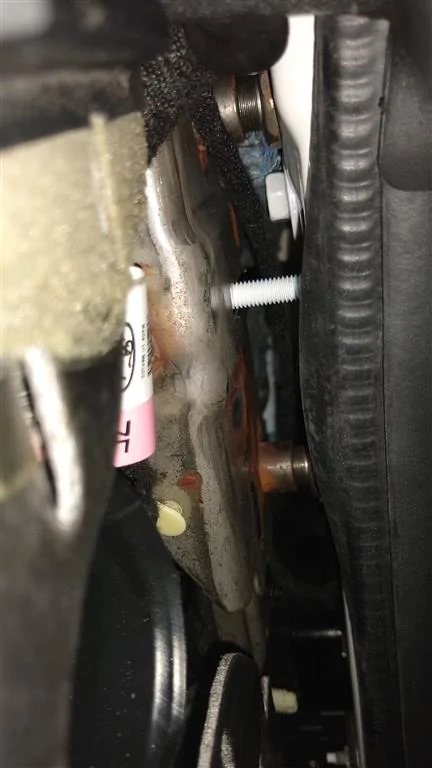
The plastic used to make the A-piller is some kind of Polypropylene or ABS PP blend. It's really slick and I couldn't get epoxy to stick to it. So you might want to use your Dremel to scuff up any areas that you would apply hot glue so it holds.
Sponsored


Cathul

Well-Known Member
Joined
Sep 4, 2017
Threads
5
Messages
870
Reaction score
384
Location
Germany
First Name
Peter
Vehicle(s)
Ford Mustang GT
I treated the outer door skin with two layers of Dynamat Xtreme and used the large pad that goes behind the driver from the Fast Rings set. I opted not to treat the inner door skin at this time. I can always go back and do it later on.
Believe me when i say you will do this sooner than later. :p
But anyway... i wish someone would make me some adapters like this for my Gladen Zero Pro speakers.. <sigh>
Cannot do it my self, don't have a router or jigsaw or any other equipment needed to make some of those...

poor me :(
 
OP
OP
mikes2017gt

mikes2017gt

Well-Known Member
Joined
Feb 21, 2017
Threads
59
Messages
936
Reaction score
311
Location
San Antonio, TX
Vehicle(s)
17 GT Prem M/T 3.55

Cathul

Well-Known Member
Joined
Sep 4, 2017
Threads
5
Messages
870
Reaction score
384
Location
Germany
First Name
Peter
Vehicle(s)
Ford Mustang GT
Yes. Asked them if they ship to Germany, but didn’t get an answer.
 
OP
OP
mikes2017gt

mikes2017gt

Well-Known Member
Joined
Feb 21, 2017
Threads
59
Messages
936
Reaction score
311
Location
San Antonio, TX
Vehicle(s)
17 GT Prem M/T 3.55
That's funny because I emailed them about 3 weeks ago with a question about their sub boxes and I never got a reply either. I guess business is so good they don't have to reply to potential customers. I'm sure if I called them I could get my answer but I'm really not looking to buy anything at this time, so I won't bother.
 

Sponsored

OP
OP
mikes2017gt

mikes2017gt

Well-Known Member
Joined
Feb 21, 2017
Threads
59
Messages
936
Reaction score
311
Location
San Antonio, TX
Vehicle(s)
17 GT Prem M/T 3.55
Been tied up with other things this week and haven't made much progress. Will rectify that this coming week!

I did get the tweeters glued into the A-pillars. I was more careful Dremeling-out the driver's side tweeter hole...really took my time. I was able to get a snug press-fit, which made gluing in the tweet a whole lot easier. Funny how that works. :facepalm:

It's not pretty, but it's in there. That's hot-melt glue. As nobody will ever see the backs of the a-pillars, I wasn't shy with the glue. Do it once and do it right! BTW, I do have some epoxy, but it's not the real thick kind..it's kinda runny. I was worried if I used it, it would run out the front of the hole, around the tweet and ruin the whole thing. I roughed-up the plastic around the mounting hole with the Dremel sanding drum in hopes of giving the glue a better bite.
IMG_20201003_162729986 (Large).jpg


End result. The grill is not in final position yet (it just pops off so you can align it once installed).
IMG_20201003_162712613 (Large).jpg
IMG_20201003_162719542 (Large).jpg


I have some sheet foam that came with the Sound Skins kit that I'll be putting over the backs on the tweets for good measure. I'm going to let the glue dry overnight before I do anything else.

The tweets seem to be securely mounted, but I'm not totally confident yet. It remains to be seen if the hot melt glue will hold once I start wiggling/bending the a-pillar to get them reinstalled. I really hope it holds b/c while the driver's side is a loose press-fit, the passenger side isn't. They look identical from the front, but the fact is the passenger a-pillar hole is just a smidge too big and the tweeter will fall right out if the glue fails.

I checked and the a-pillars are $52 each, plus shipping. So if I have to start over, that's what it'll cost me. Let's hope it doesn't come to that.

Tomorrow I'll run the wires from the tweets to the driver's kick and get the a-pillars back on. I found these cool quick-disconnects on Amazon and I'll be using these in the a-pillars to keep the tweeters serviceable.

quick disconnects.JPG


https://www.amazon.com/gp/product/B01A6LTK44/ref=ppx_yo_dt_b_search_asin_title?ie=UTF8&psc=1
 
Last edited:
OP
OP
mikes2017gt

mikes2017gt

Well-Known Member
Joined
Feb 21, 2017
Threads
59
Messages
936
Reaction score
311
Location
San Antonio, TX
Vehicle(s)
17 GT Prem M/T 3.55
Quick side note. The door panels are back on and I've been listening to the stock HU/amp through the Morel midbasses and mids as both a break-in period and to satisfy my curiosity on how they sound.

With the tweets disconnected, the ohm load on the stock amp is the same with the new speakers. The stock midbass is 4 ohms (match), the stock mid is 8 ohms (mis-match) and I'd imagine the stock tweet is also 8 ohms, so running the tweet/mid in parallel gives a 4 ohm load on the stock amp's mid channel. Which I'm now matching. That was long-winded, but wanted to show I'm comparing apples to apples, so to speak.

The Morel midbass is only 90db efficient, so it sucks power (which is why I'll be giving them 150w apiece), so it's a big draw on the stock amp. The midbasses are extremely well-mounted to the doors (thanks, PVC rings!) so I'm confident they'll handle the power and perform well. If I tune them right, they'll never see anywhere near that 150w.

Conversely, the Morel mid is a damn screamer! It's stupidly loud. I've got the "mid" tone control on the HU at about 25%, but it definitely needs some real, multi-band EQ, which the TWK-88 will provide.

Even without the tweeters, the sound quality improvement is very noticeable. I actually have a soundstage now, which is cool, and I can tell those midbasses are going to slam once they are properly crossed-over, EQ'd and amplified.

The rest of the install should go quickly as the hard stuff is done (amp rack, door speaker/a-pillars). The wiring harnesses are built but still need to be soldered to the Molex plugs. Also still need to run the 0-gauge.

You can probably tell, but I've planned this install to be modular. Get the amp rack completed, get the doors competed and so on. This is the first big install I've done in a long time, but I can tell you the way I used to do them wasn't very efficient. That's why I broke this install up into chunks vs. tearing the entire car apart and having it undriveable for a week or more...which I can't do.

My goal is to complete the install this coming week and that's what I'm planning to do. Tuning the system properly will take time and multiple listening sessions for sure, and that's a whole other affair, but setting the gains on the amps and getting a baseline tune running won't be that difficult. I just want to get the install completed, verify everything is working and I have no noises or other oddities and we'll take it from there. :)
 
Last edited:

Qu8Storm

Well-Known Member
Joined
Dec 21, 2013
Threads
7
Messages
56
Reaction score
35
Location
Maryland
Vehicle(s)
2018 Mustang GT PP1 Ruby Red
Vehicle Showcase
1
@mikes2017gt When you get all the amps installed and everything hooked up make sure you do a phase check. When I installed mine the mid range were out of phase with everything else. And yes the mid range get loud for how small they are.
 
OP
OP
mikes2017gt

mikes2017gt

Well-Known Member
Joined
Feb 21, 2017
Threads
59
Messages
936
Reaction score
311
Location
San Antonio, TX
Vehicle(s)
17 GT Prem M/T 3.55
@mikes2017gt When you get all the amps installed and everything hooked up make sure you do a phase check. When I installed mine the mid range were out of phase with everything else. And yes the mid range get loud for how small they are.
Thanks, @Qu8Storm . I've been doing phase checks at all steps so far and I'm glad I did b/c I found that the wire colors between the Molex connectors and the factory harness don't match up at all, and my mids were out of phase. Adding to the confusion a striped wire in one harness seems to have a different polarity from a striped wire in another harness.

Not that it matters, b/c I'm running new wires for the tweets, but I found the factory tweets are wired out of phase from the mids, which they run in-line with. It's enough to make your head spin.

I made darn sure the mids and midbasses were all "green-green-green-red" on the polarity checker before I put the door panels back on. :)

Now that you've got me thinking about polarity; I need to get the wiring harnesses soldered up while all the details about the wiring is still fresh in my mind.
 
OP
OP
mikes2017gt

mikes2017gt

Well-Known Member
Joined
Feb 21, 2017
Threads
59
Messages
936
Reaction score
311
Location
San Antonio, TX
Vehicle(s)
17 GT Prem M/T 3.55
A-pillars are done and I'm happy to report the glue seems to be holding the tweets OK. TBH, they were about as difficult to get back in as I'd imagined. Not the biggest interior trim PITA I've ever dealt with, but definitely not a "just slap it back in" deal either.

Driver.
IMG_20201004_181444129 (Large).jpg


Passenger.
IMG_20201004_181453120 (Large).jpg


There was prep work involved, namely building the wiring harnesses and running them.

Quick disconnect soldered on.
IMG_20201004_163339642 (Large).jpg


And taped up.
IMG_20201004_163803372 (Large).jpg


I tried adding that peel and stick foam leftover from the Soundskins kit, but it didn't stick at all to the dried glue and all the ribbed surfaces on the back of the panel wouldn't let it grab either. "E" for effort. Skipped the foam.

In the process of building the mating harness to run to the kick panel. The entire length was taped up; just not shown here. I take pics as I work...as I remember to.

IMG_20201004_170048328 (Large).jpg


Running the wire on the driver's side. Here you can see the stock connector (Labeled "1") zip tied to the factory harness, and the new connector (labeled "2") in place. New connector looks huge in this pic. It's really not that big.
InkedIMG_20201004_172949268_LI (Large).jpg


Here you can see the new wire zip tied to the factory harness and run behind the dash mounting bolts.
InkedIMG_20201004_173014197_LI (Large).jpg


Passenger side, same deal. Behind the dash mounting bolts.
IMG_20201004_181524386 (Large).jpg


Zip tied to the factory harness near the fuse block.
IMG_20201004_181533556 (Large).jpg


Just getting that zip tied on was a PITA. I'm a big guy and don't fit in the footwell even with the seats all the way back.

Tomorrow I will gut the interior and run the passenger's tweet wire under the carpet near the firewall. It won't get stepped on there and it'll be under all the padding/carpet anyway.

Tomorrow the 0-gauge will also get run and fuse holder installed. If I'm still feeling frisky after that, I will get the DRC-205 remote for the TWK-88 installed in the center console. There's also the speaker and RCA harnesses to solder up. No shortage of stuff that's all gotta get done! You know how it goes.

But hey, progress!
 

Sponsored

StangTime

Well-Known Member
Joined
Apr 16, 2019
Threads
77
Messages
3,510
Reaction score
3,934
Location
Ontario 🇨🇦
First Name
Todd
Vehicle(s)
19' GT PP1 Manual
Coming along nicely! If you think this takes time, wait until you start tuning the system.
 
OP
OP
mikes2017gt

mikes2017gt

Well-Known Member
Joined
Feb 21, 2017
Threads
59
Messages
936
Reaction score
311
Location
San Antonio, TX
Vehicle(s)
17 GT Prem M/T 3.55
I've got a baseline tune for the TWK-88 already done and sitting on the laptop. Which reminds me that though I've got the crossover points set, as well as the EQ bands for each driver (all flat) I don't have the measurements for the time alignment. Always something.

Question about time alignment. For the subwoofer how would you measure that distance? Just a direct line from the driver, through the backseat, to the driver/passenger's heads? I'll be removing the rear speakers (and possibly drilling-out the holes in the cardboard backing of the parcel shelf cover) to give the bass easier entry into the cabin. I'm probably over-thinking this part.
 

Cathul

Well-Known Member
Joined
Sep 4, 2017
Threads
5
Messages
870
Reaction score
384
Location
Germany
First Name
Peter
Vehicle(s)
Ford Mustang GT
I would phase align the sub to the front speakers. You measure each front and the sub with sweeps with any timing reference (but the same reference on all measurements), build the (a+b)/2 sum of the front and phase align the sub to the sum of the front. The last 3-4 times i did it this way it matched perfectly. Left/right front needs to be aligned though (tape measure, Impulse responses).
 
OP
OP
mikes2017gt

mikes2017gt

Well-Known Member
Joined
Feb 21, 2017
Threads
59
Messages
936
Reaction score
311
Location
San Antonio, TX
Vehicle(s)
17 GT Prem M/T 3.55
Thanks much, @Cathul . I can tell the tuning is going to take quite some time. LOL! I can see it's a lot more complicated than I thought.

I was under the naive impression that as long as my driver-to-ear distances were good and all speakers were in the same polarity, that I was done. Apparently not!
 

Cathul

Well-Known Member
Joined
Sep 4, 2017
Threads
5
Messages
870
Reaction score
384
Location
Germany
First Name
Peter
Vehicle(s)
Ford Mustang GT
Well... distances get you near, but crossovers change the phase of the speakers and so does any equalizing, and this brings you to the point to readjust your delay or phase settings.
Sponsored


Top