Kaps
Mustang maniac
Hi Mate, as mentioned by Big_G:@Kaps
I did the interior and rear lights in 5 mins, so no worries there
The fogs - did you have to jack up the front of the car? Or just stick ya hands in and have a feel?
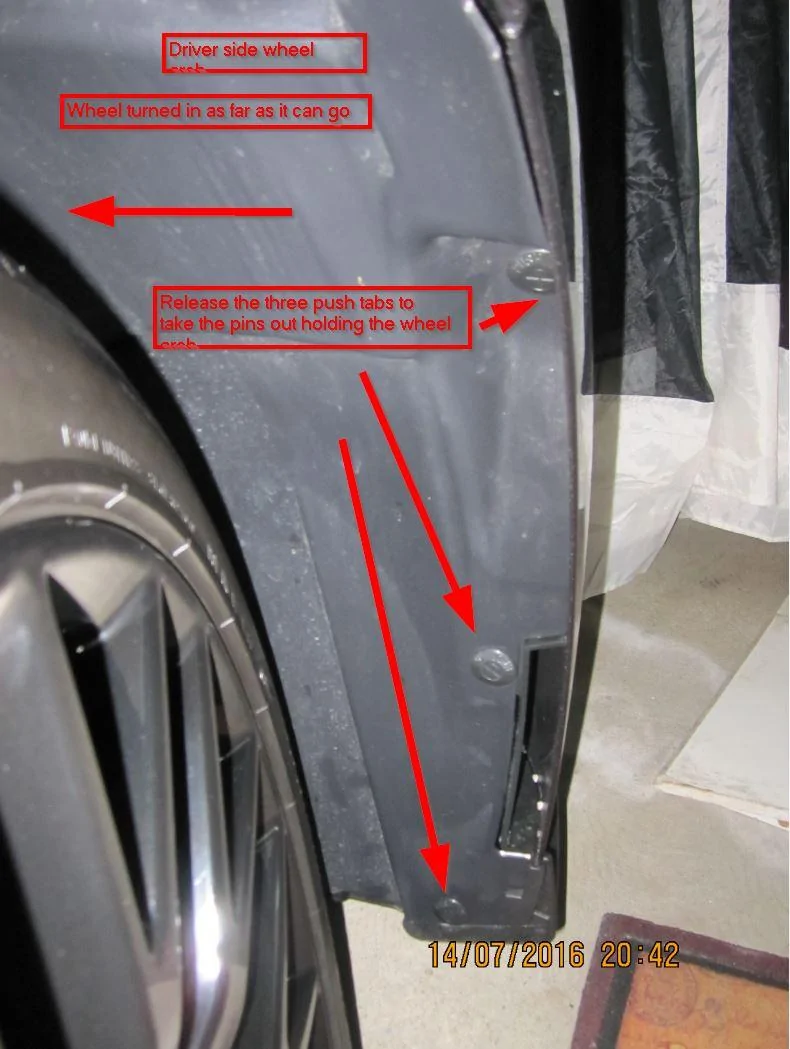
I looked under the car and thought "fark that, i'll do those with bumper off"
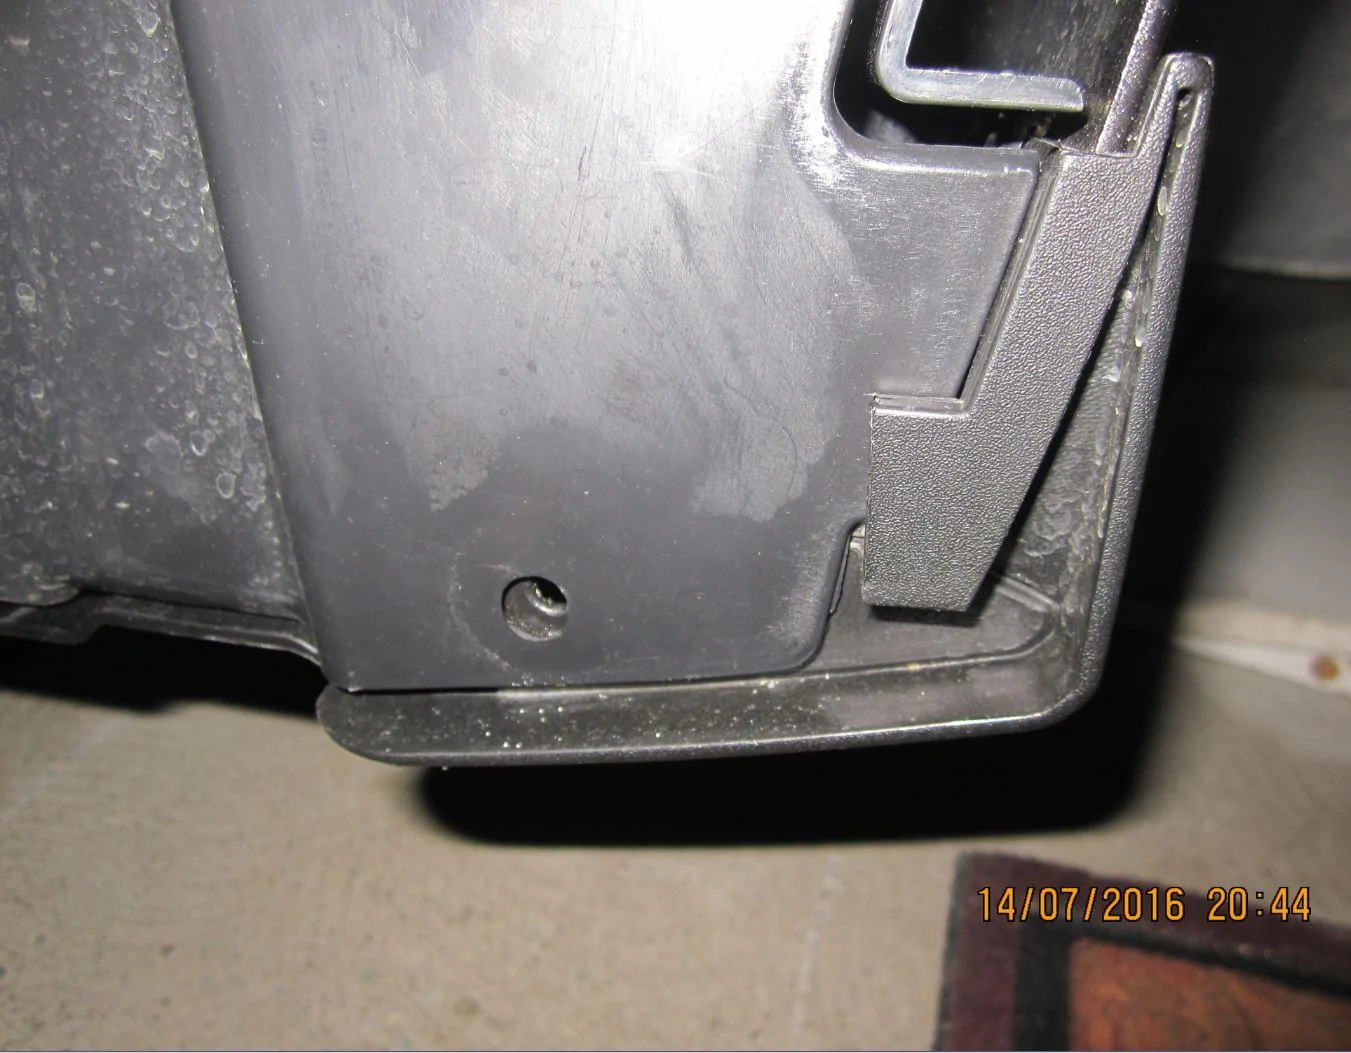
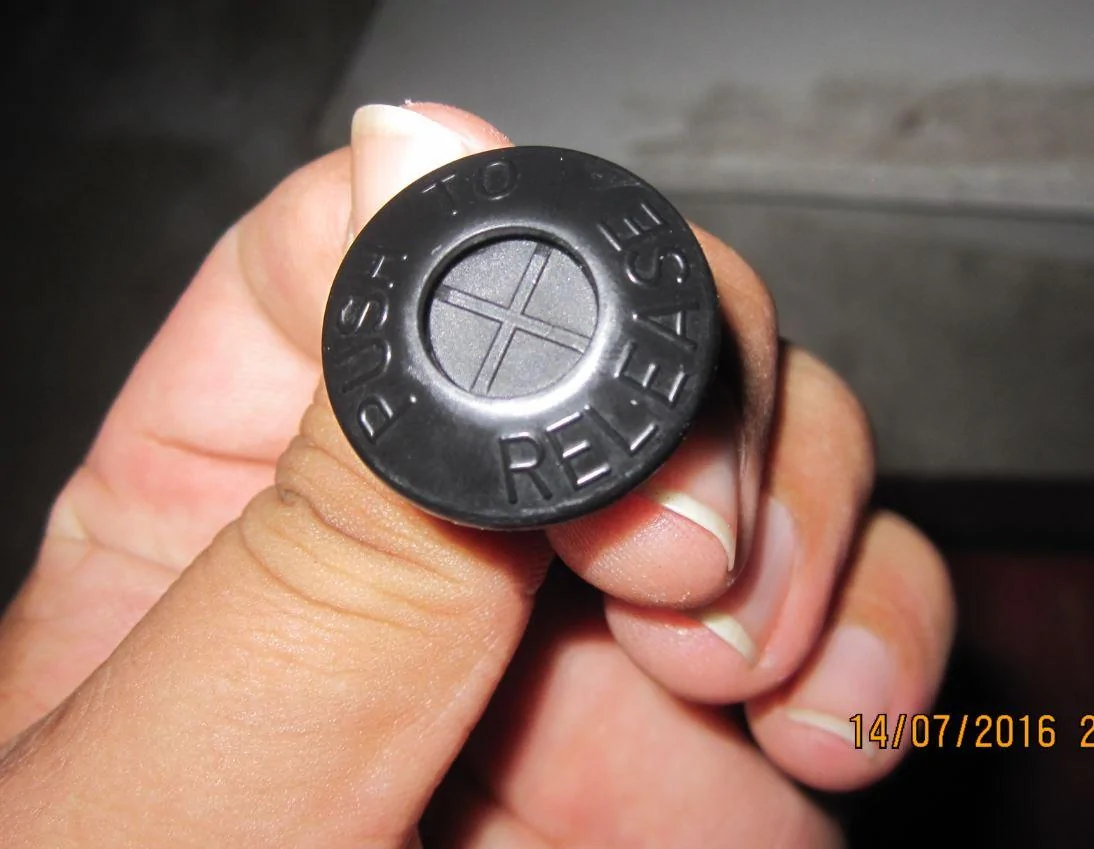
You get to them via the wheel arch, park with full lock in opposite direction to the side you're working on. Take the pop fasteners out of the wheel arch tub ( three of them) and pull it towards the wheel at the bottom (in case you have GT, The front chin splitter is wider in GT and the Plastic wheel arch corner sits behind the edge of the chin splitter). In EB just pull it back. Easy
")
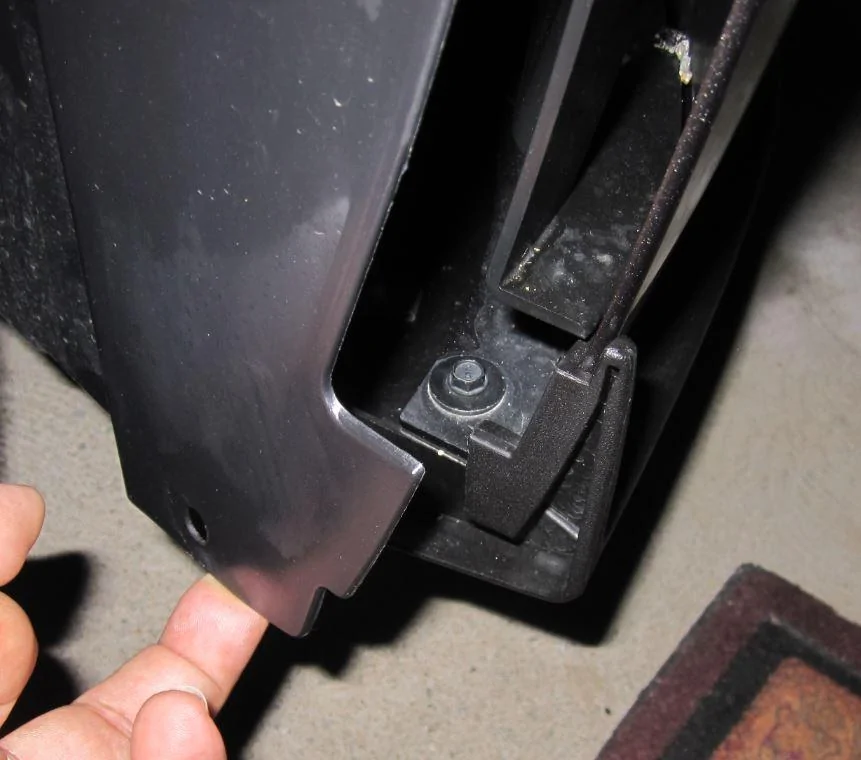
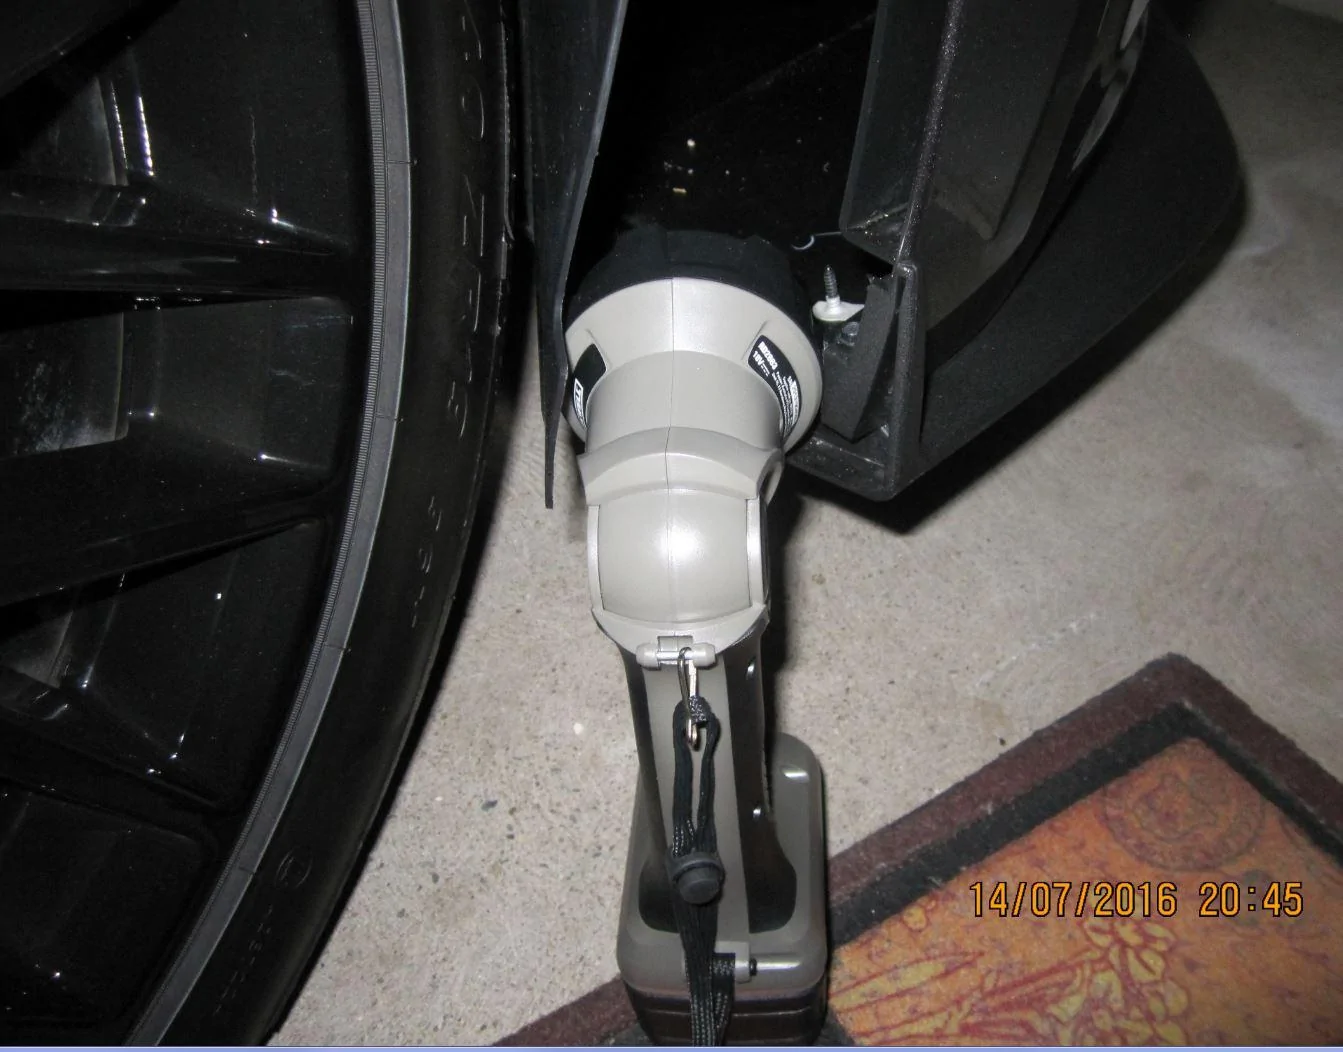
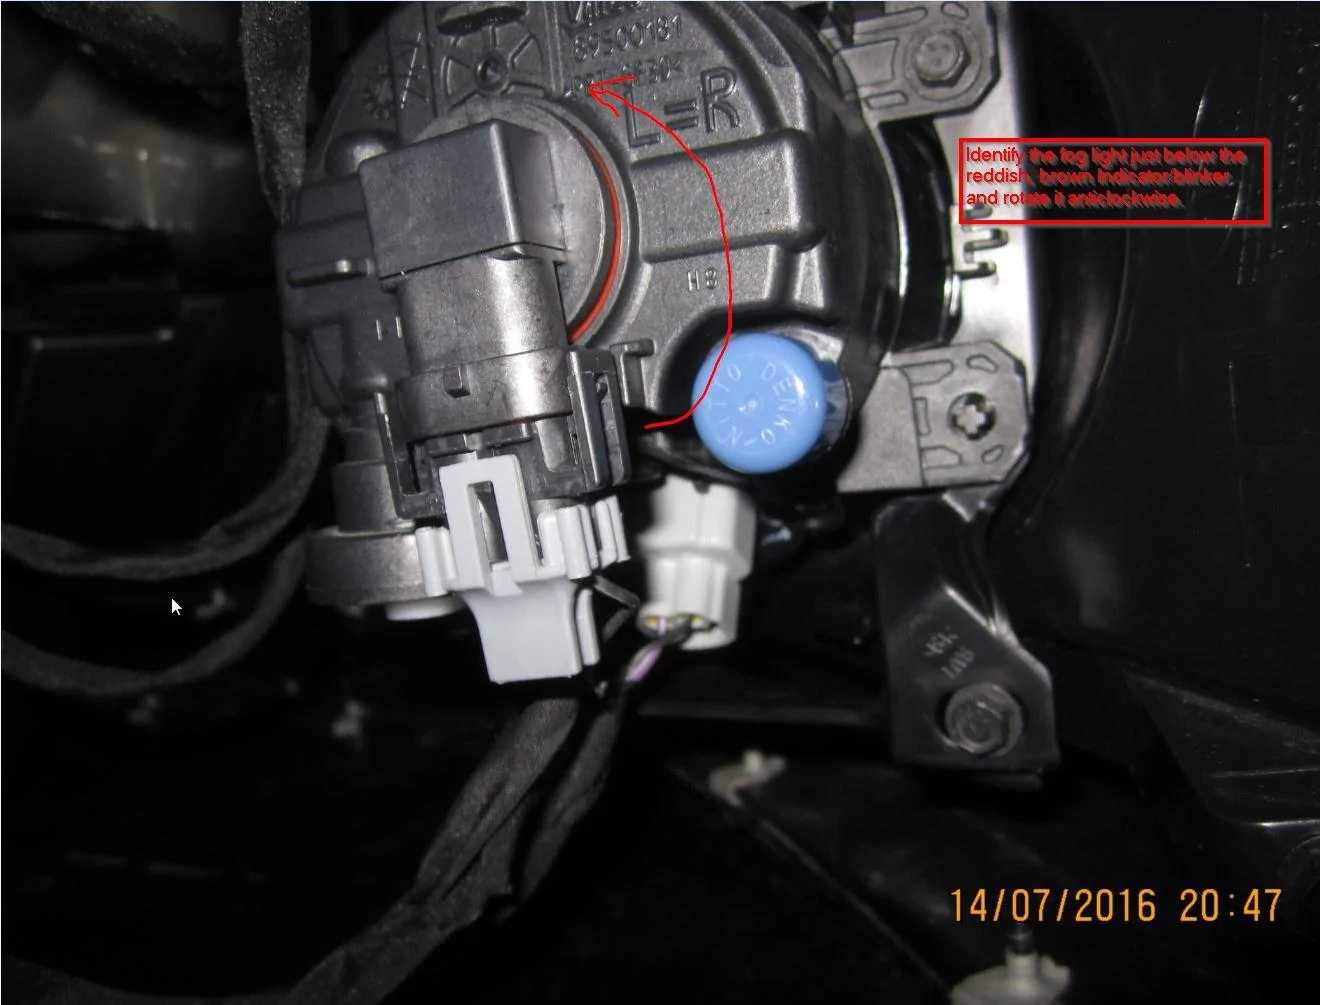
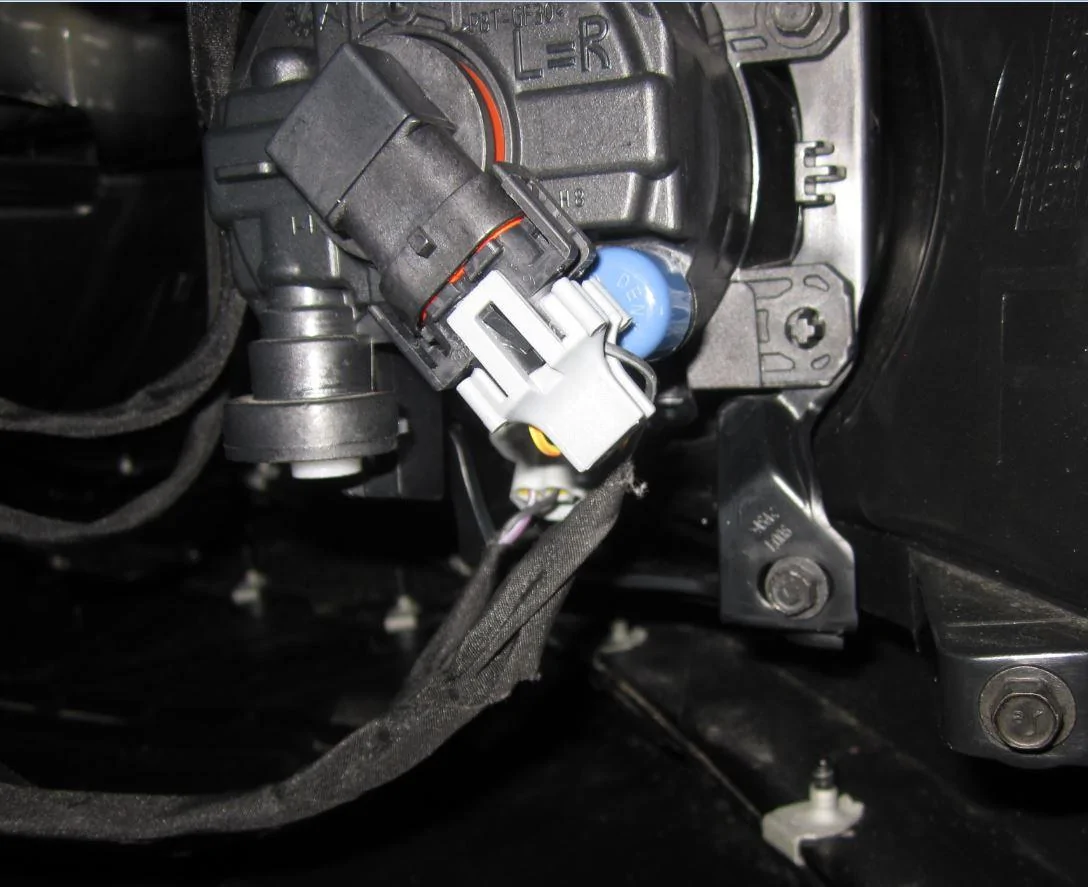
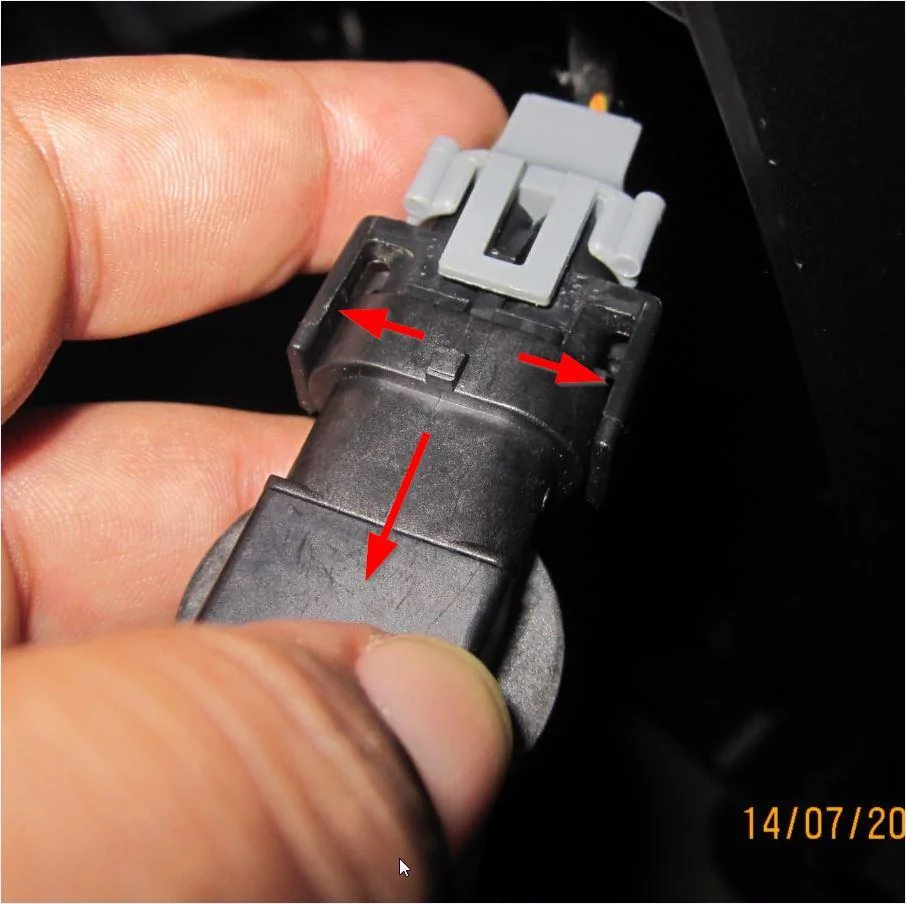
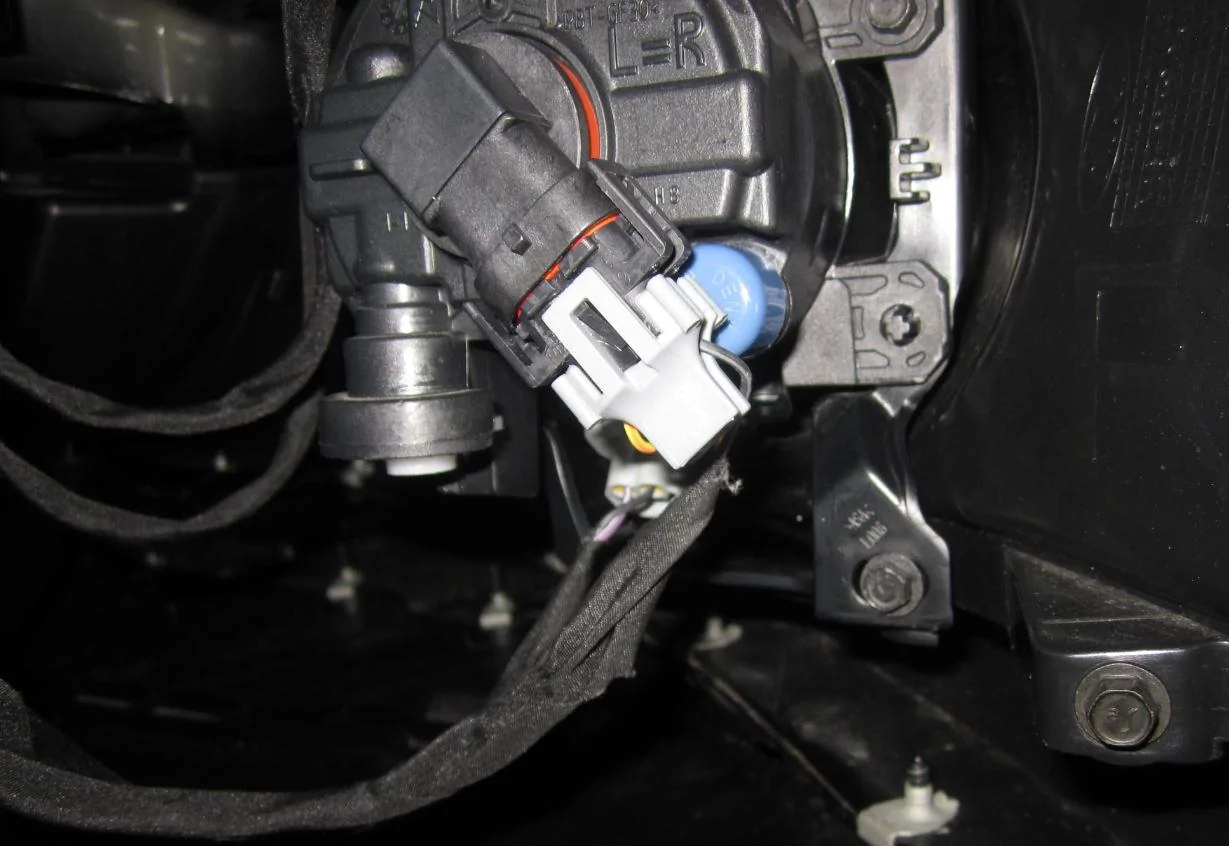
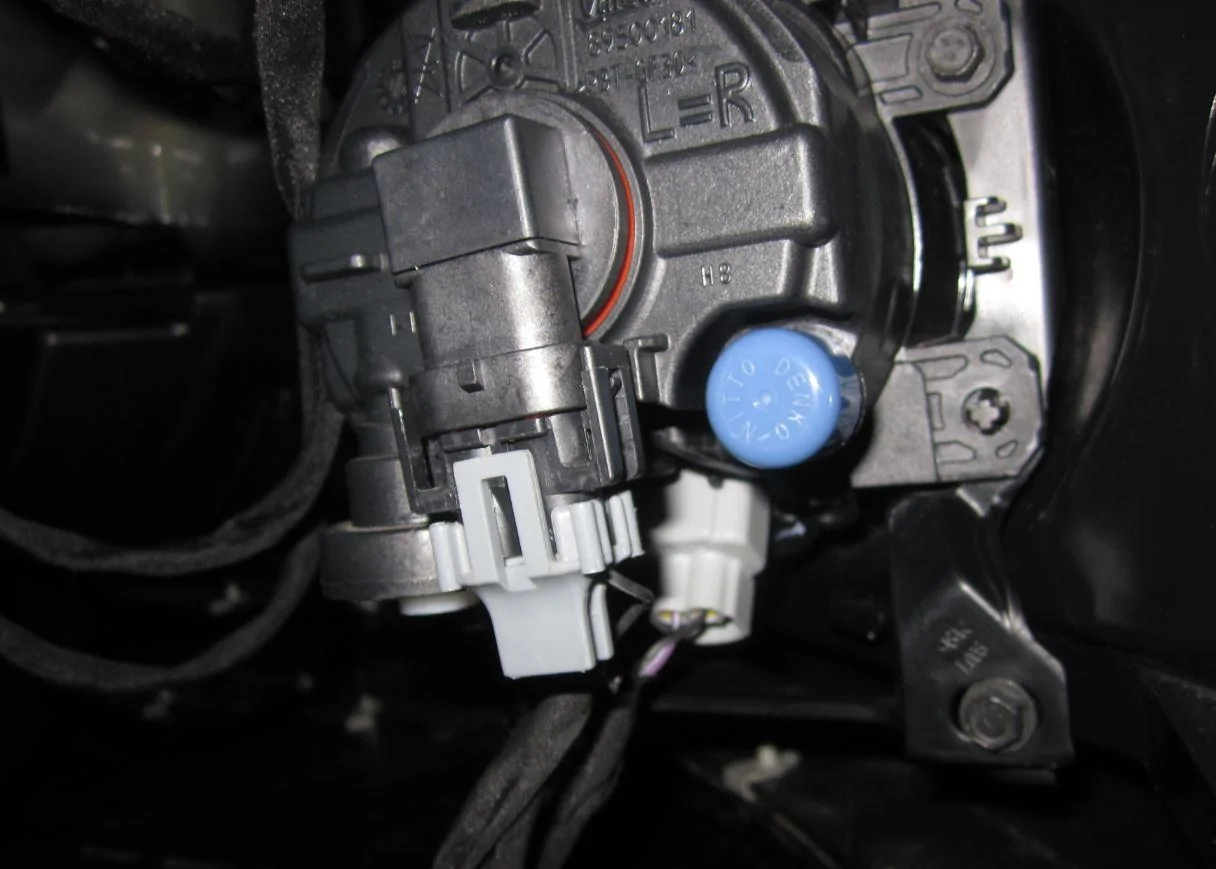
Now reach in the area between wheel arch and bumper. Fog light is the one with connector pointing downwards and so it provides excellent grip while taking it off. hold it and rotate it anticlockwise and it will come off.
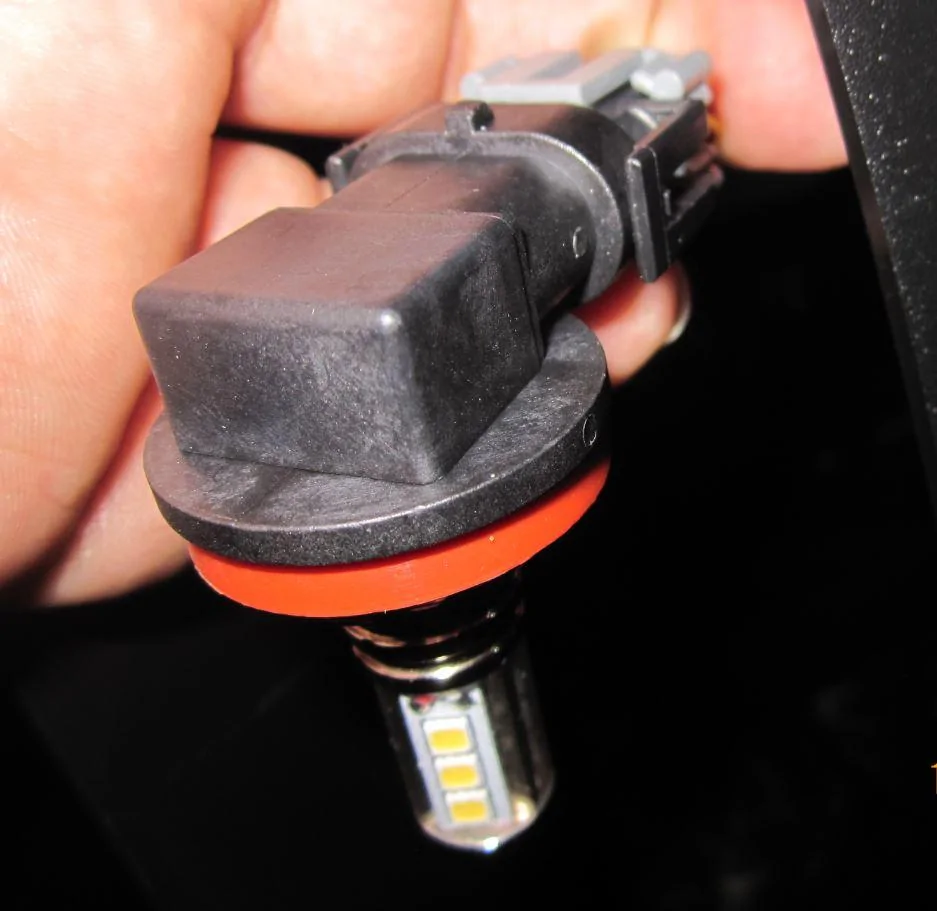
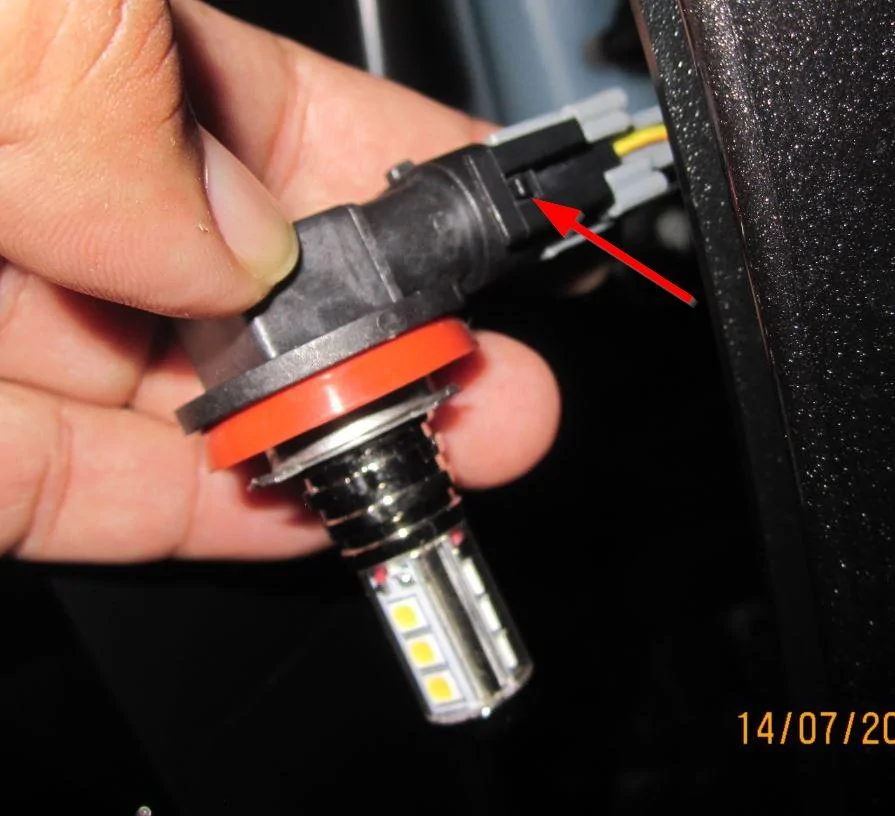
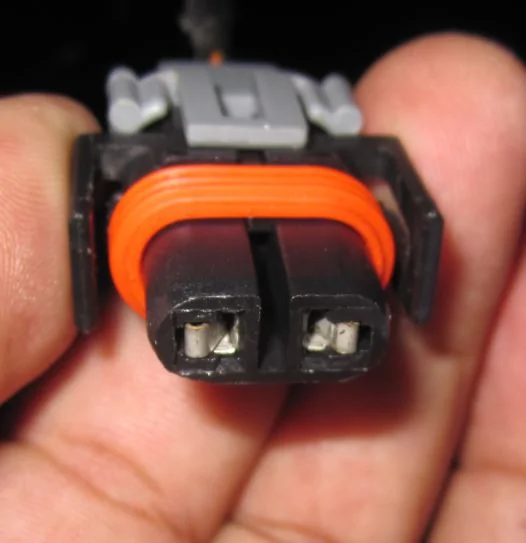
You will see 2 holding tabs, one on each side of the bulb. Pull the holding tabs outwards one by one and slowly pull out the bulb.
Make sure the orange/Red Seal stays there, don't drop it.
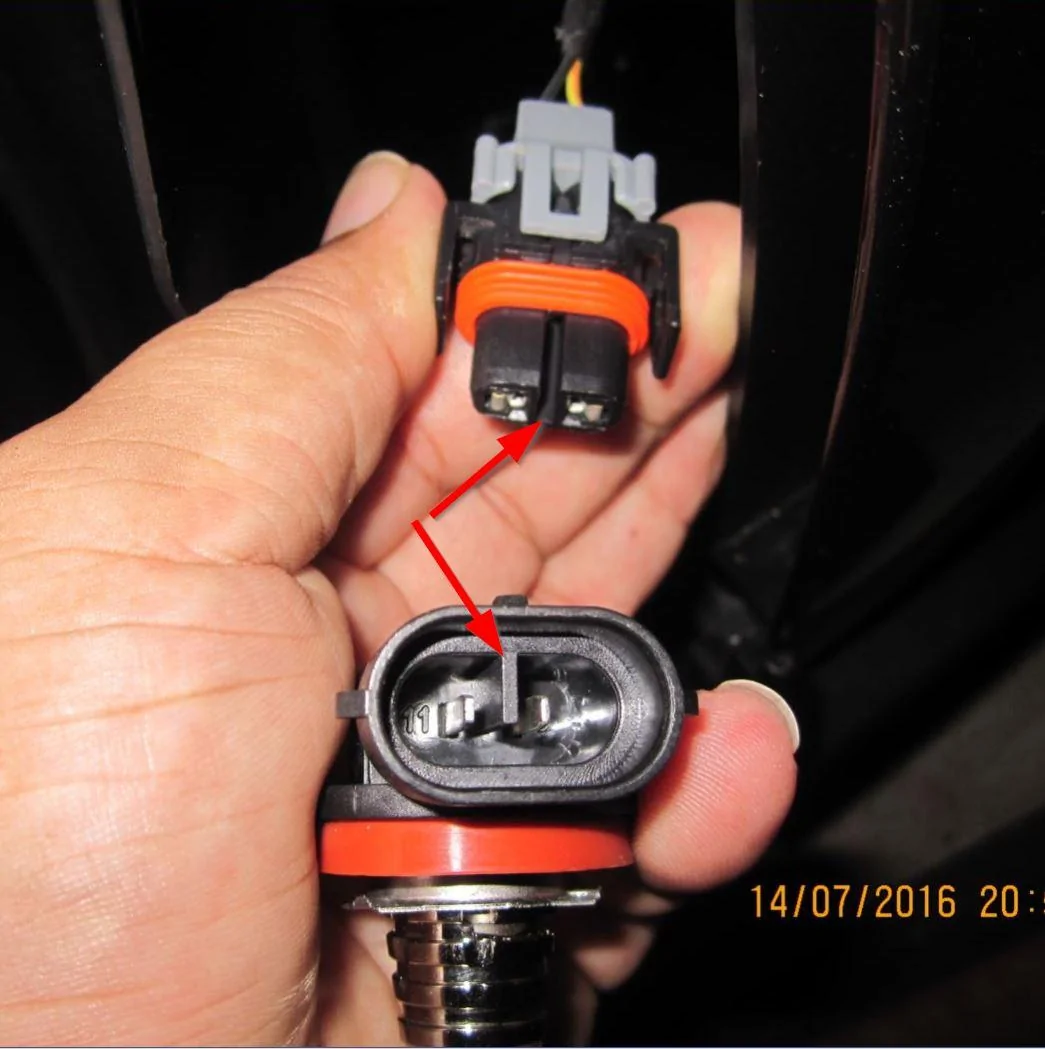
Now put the new bulb in and push it until you hear the holding tabs are locked. Put the fog light holder back in, rotate clockwise and done I will post some picture in the evening, if you are still not comfortable.
Sponsored