Sponsored

Diy Illuminated grill

Project Whitemare

GTFO Squad
Joined
Nov 12, 2014
Threads
43
Messages
1,307
Reaction score
1,011
Location
Bay Area
Website
www.instagram.com
First Name
Nick
Vehicle(s)
2015 Mustang GT/PP
DIY...do it yourself. Are we gonna get a writeup here?
 
OP
OP
arrow94

arrow94

Well-Known Member
Joined
Mar 17, 2015
Threads
16
Messages
275
Reaction score
50
Location
san diego, california
First Name
James
Vehicle(s)
black 15' GT
Hi there guys. So first off, if you want manual operation of the lights, you will have to run wiring to a switch, which i did not do.
I started with a 30 dollar set of led strip lights from walmart. Autozone has them for 35 with more colors available.
It is a set of 2 flexible strips.
 
OP
OP
arrow94

arrow94

Well-Known Member
Joined
Mar 17, 2015
Threads
16
Messages
275
Reaction score
50
Location
san diego, california
First Name
James
Vehicle(s)
black 15' GT
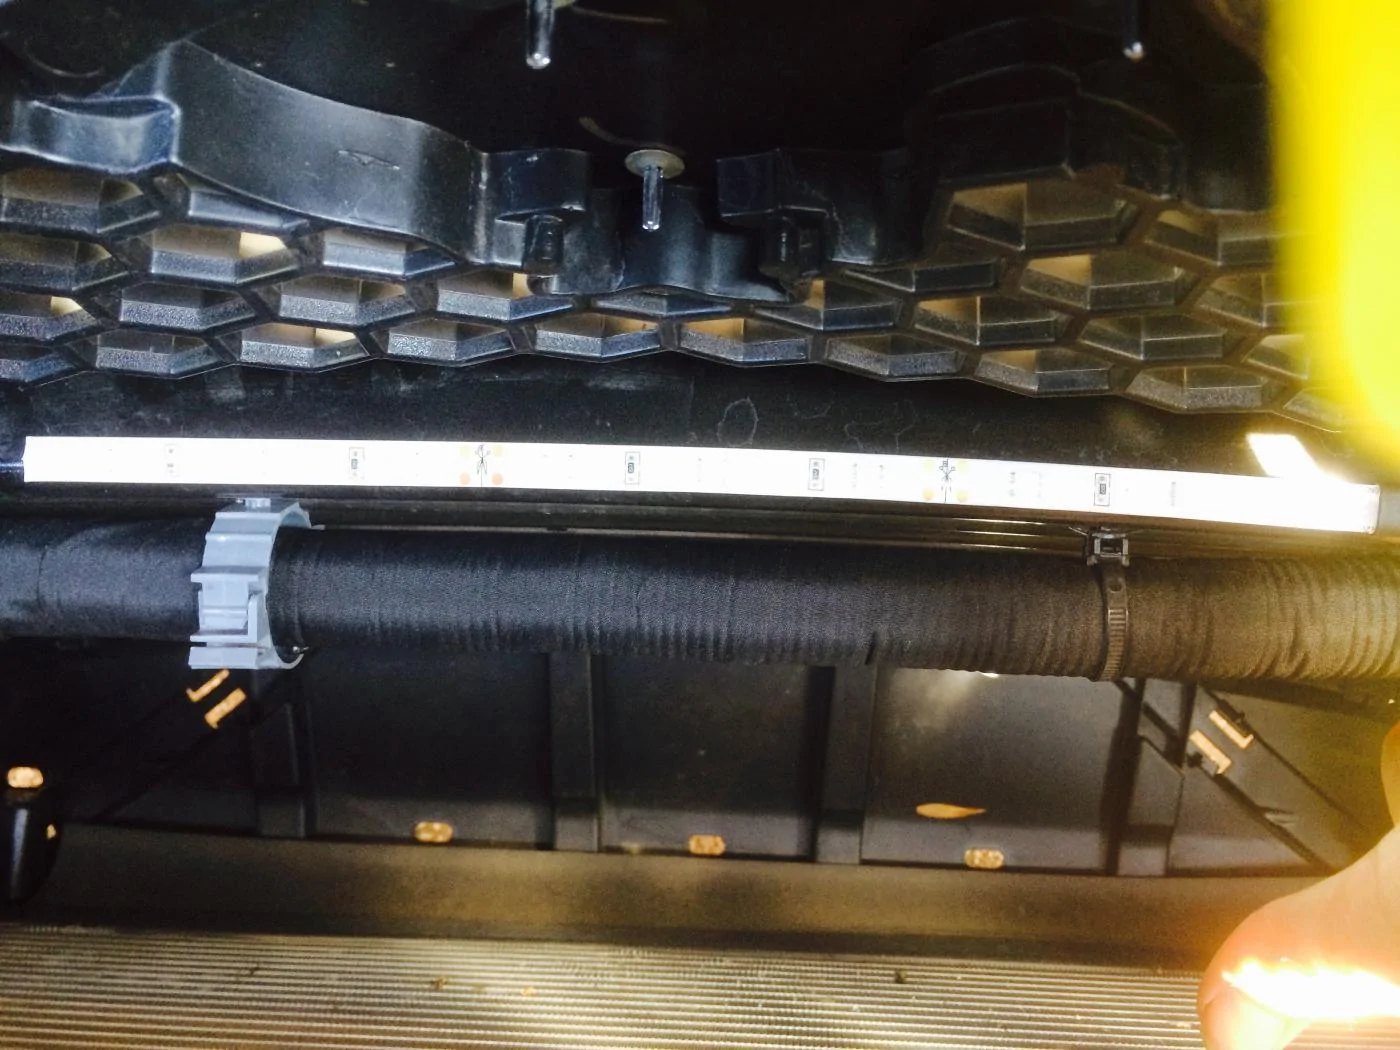
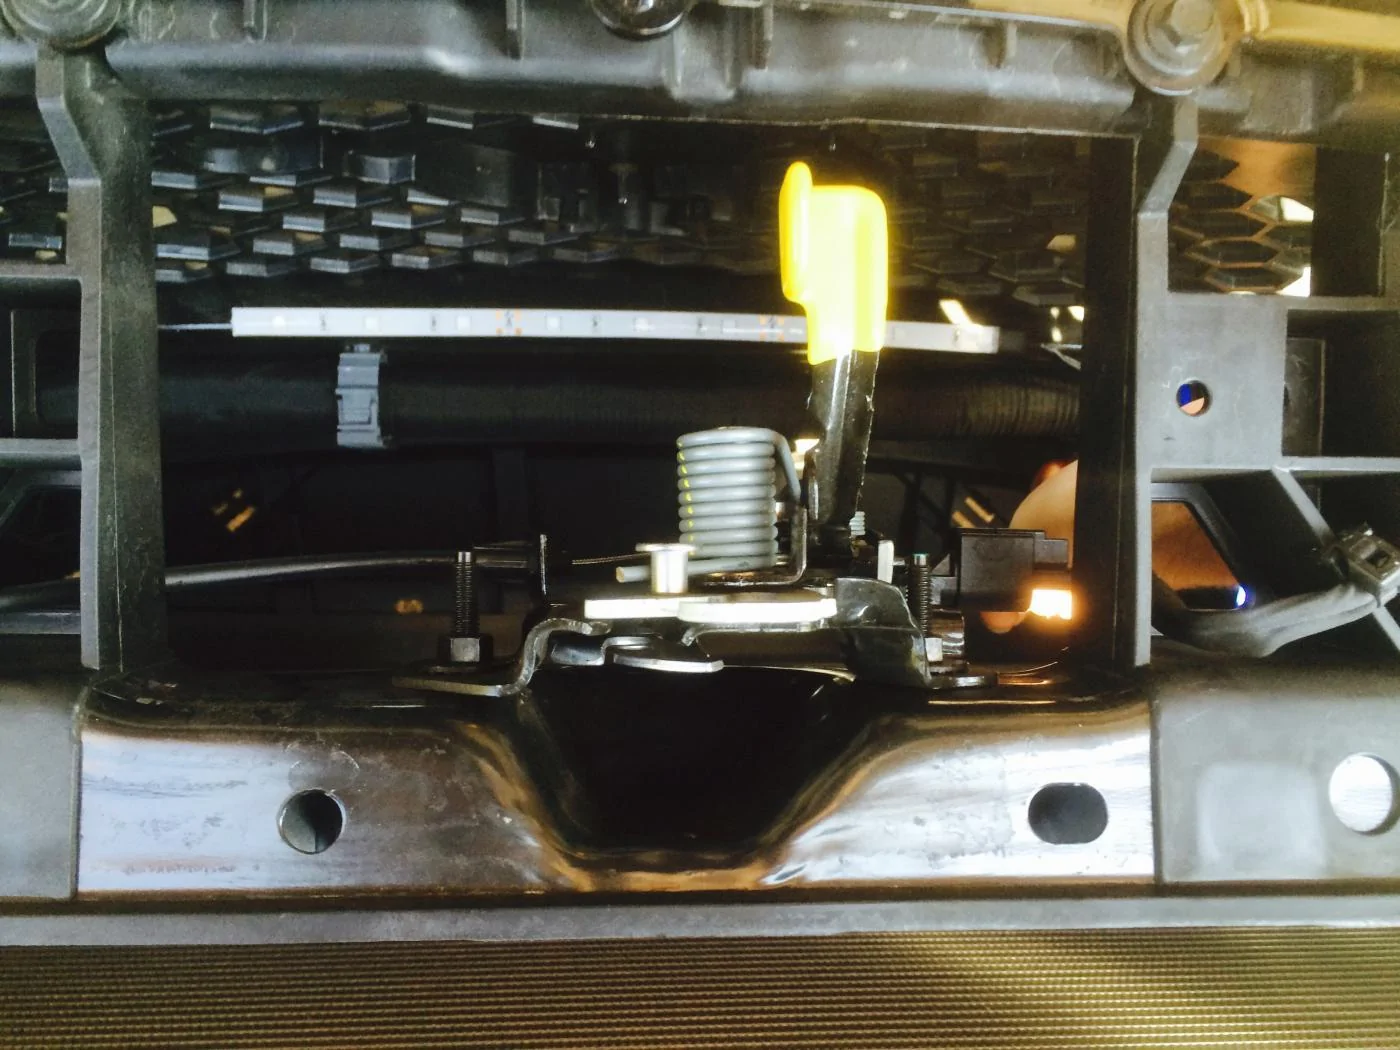
First you must pop the radiator cover off to allow access to the inner grill area. Pull up the 8 pins then pop the tabs out holding the cover on. You may need thin tools for this, as i used my nails and it wasnt pleasant.
 

Sponsored

OP
OP
arrow94

arrow94

Well-Known Member
Joined
Mar 17, 2015
Threads
16
Messages
275
Reaction score
50
Location
san diego, california
First Name
James
Vehicle(s)
black 15' GT
Its hard to see in the picture but there is a metal bar on the front that the wiring harness is clipped to.
I put one strip on the top in the center facing up, and one on the bottom in the center facing down, secured with the supplied 3m double stick tape.

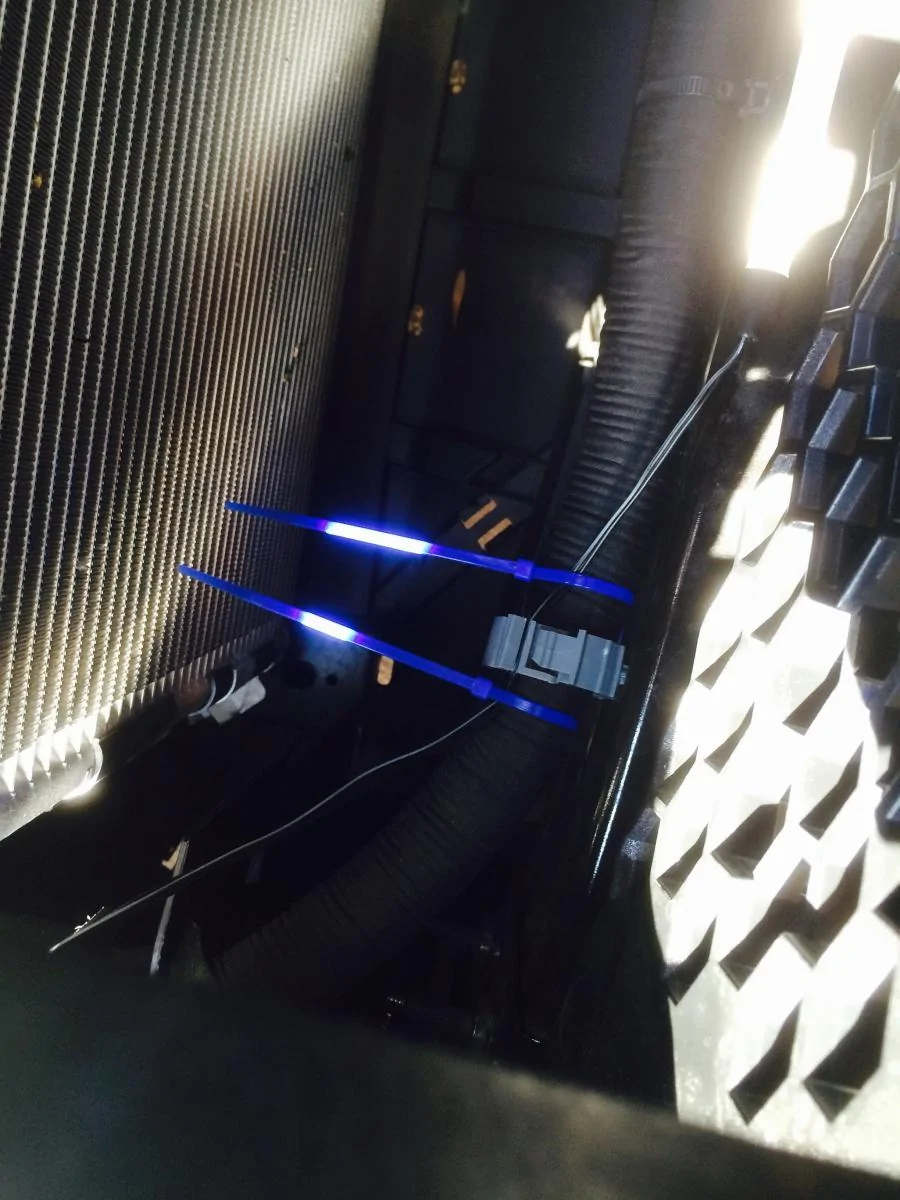
The wiring was then ran along the wiring harnes and secured in place with zip ties.
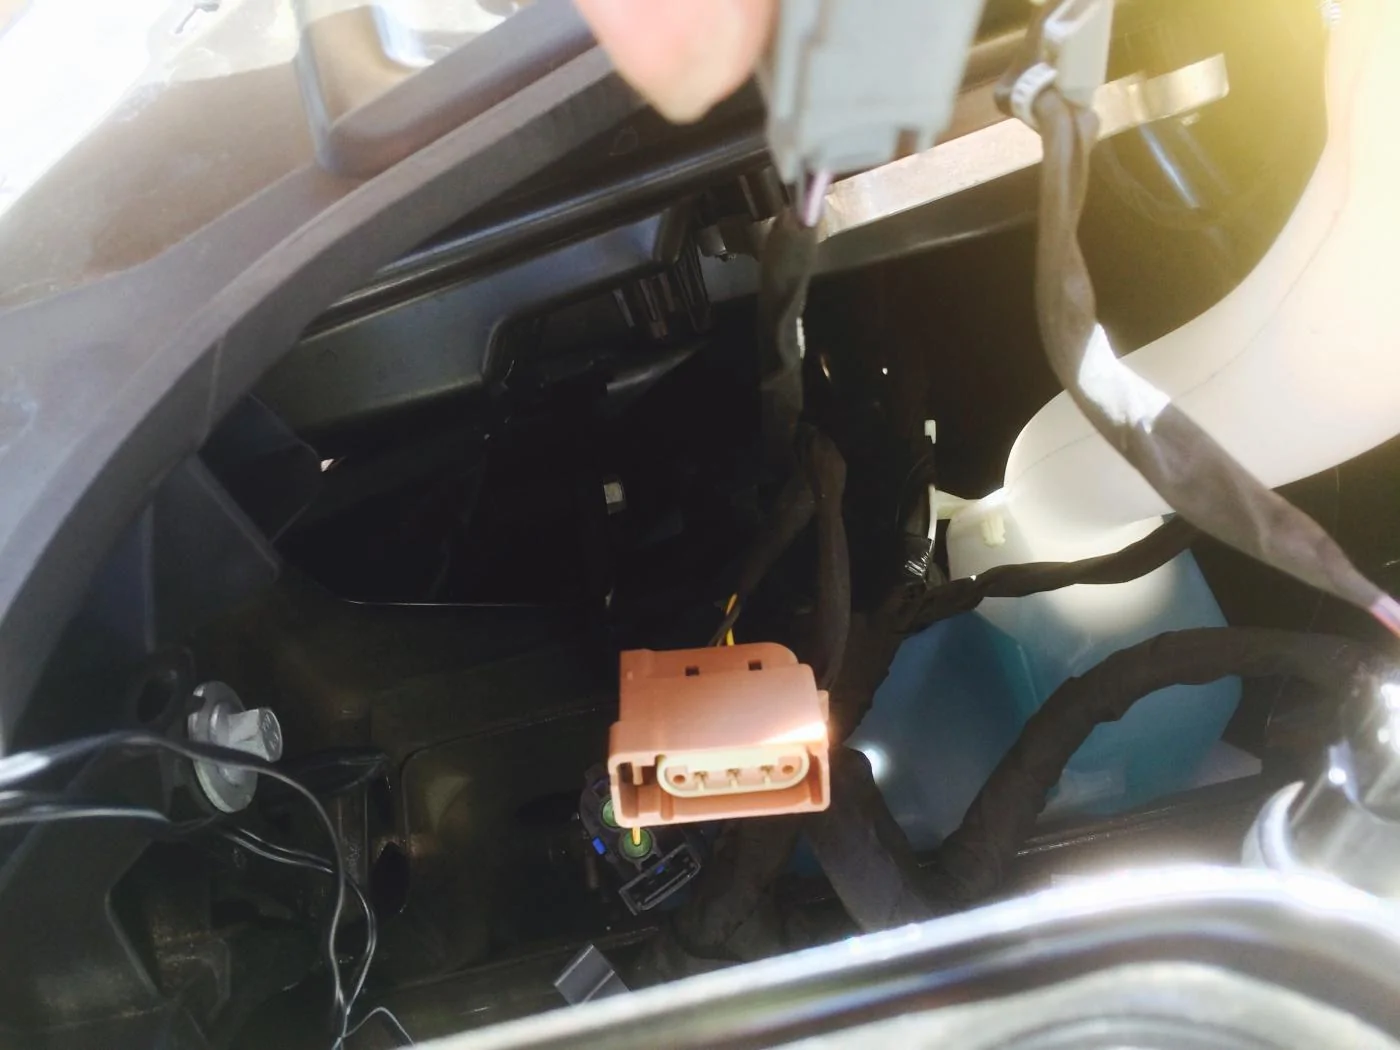
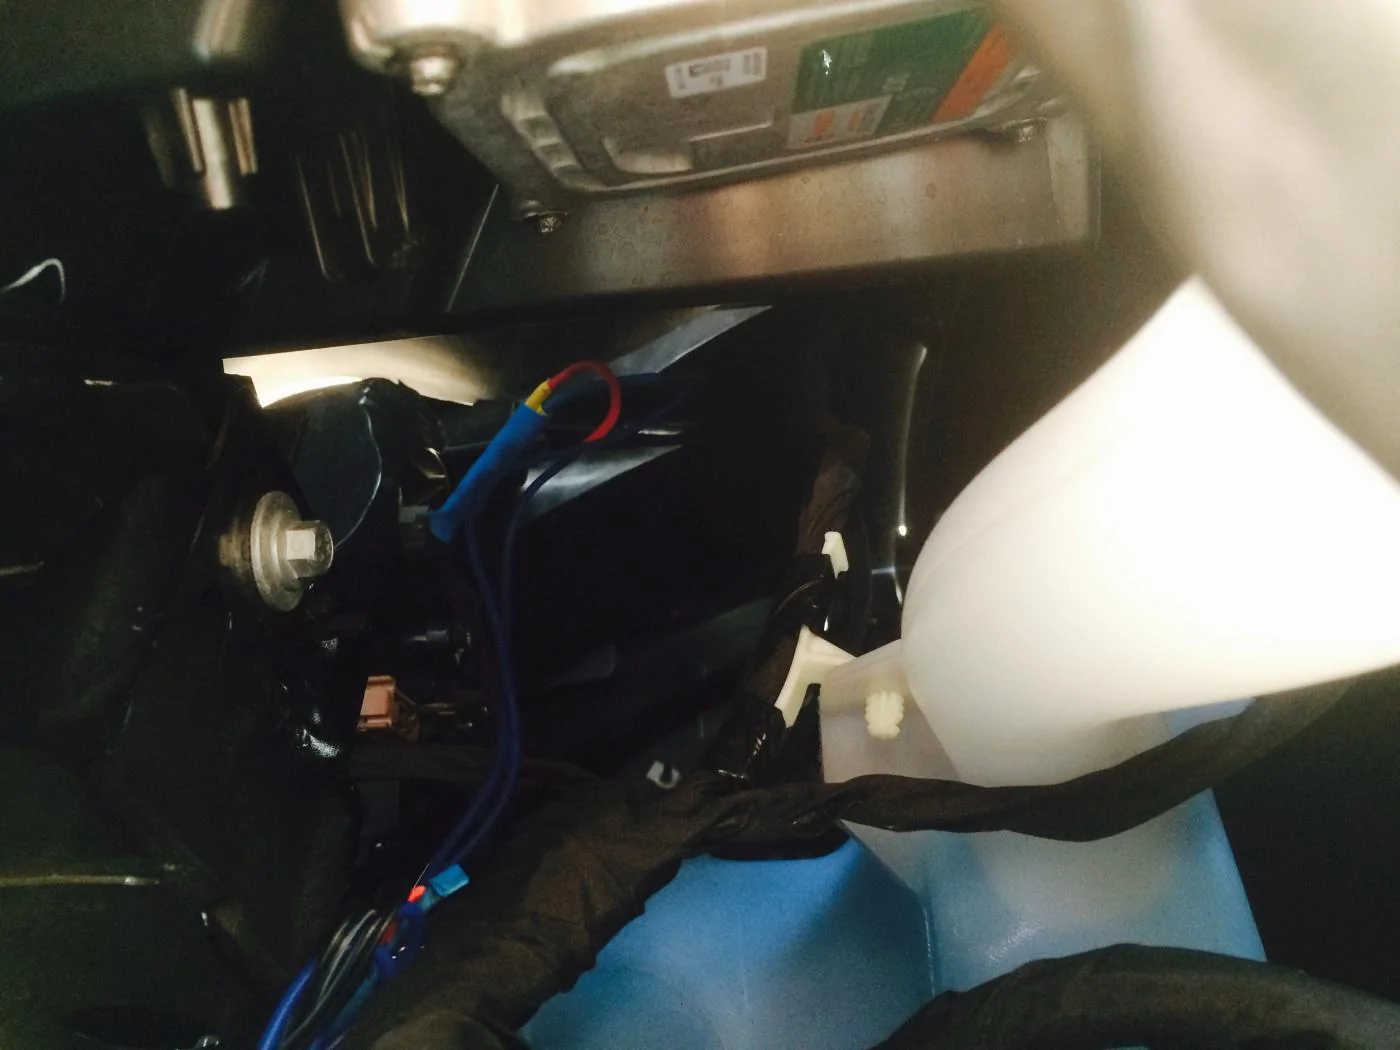
I tapped power off of the passenger side parking light.
 
OP
OP
arrow94

arrow94

Well-Known Member
Joined
Mar 17, 2015
Threads
16
Messages
275
Reaction score
50
Location
san diego, california
First Name
James
Vehicle(s)
black 15' GT
image.webp


The light strip on top of the bar.

I couldnt get a good shot of the bottom strip.
 
OP
OP
arrow94

arrow94

Well-Known Member
Joined
Mar 17, 2015
Threads
16
Messages
275
Reaction score
50
Location
san diego, california
First Name
James
Vehicle(s)
black 15' GT
image.webp


More zipties were used then shown here. Use enough to secure the wire snug along the harness
 
OP
OP
arrow94

arrow94

Well-Known Member
Joined
Mar 17, 2015
Threads
16
Messages
275
Reaction score
50
Location
san diego, california
First Name
James
Vehicle(s)
black 15' GT
image.webp


All three connectors were removed along with the clip securing it to the washer fluid jug were removed to get the connector and wires up far enough to tap into.
 

Sponsored
OP
OP
arrow94

arrow94

Well-Known Member
Joined
Mar 17, 2015
Threads
16
Messages
275
Reaction score
50
Location
san diego, california
First Name
James
Vehicle(s)
black 15' GT
image.webp


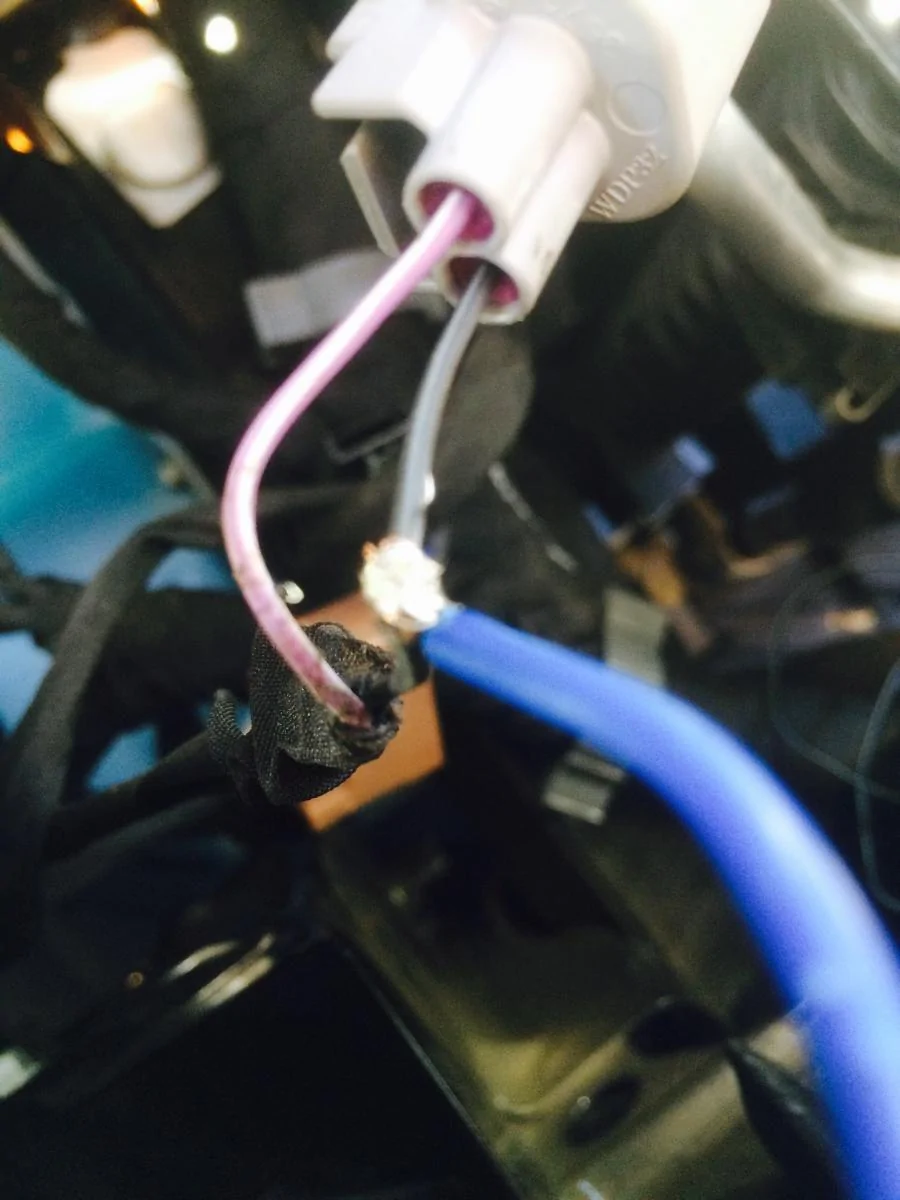
I soldered two extention wires from the parking light wiring (gray connector with 2 wires). Black is negative/pink with white stripe is positive.

I used heat shrink tubing to ensure a good seal around my connections.
I then soldered my extensions to the wiring from the lights and heat shrink tubed those connections as well.
 
OP
OP
arrow94

arrow94

Well-Known Member
Joined
Mar 17, 2015
Threads
16
Messages
275
Reaction score
50
Location
san diego, california
First Name
James
Vehicle(s)
black 15' GT
image.webp


I then reconnected everything, and took up the slack in my wires using a ziptie.
I then secured the wires with a ziptie to the wiring harness.
 
OP
OP
arrow94

arrow94

Well-Known Member
Joined
Mar 17, 2015
Threads
16
Messages
275
Reaction score
50
Location
san diego, california
First Name
James
Vehicle(s)
black 15' GT
And thats it. Put the cover back on with the 8 plastic pin locks and enjoy your lights :thumbsup:
 

krahooligan

Well-Known Member
Joined
Mar 12, 2015
Threads
89
Messages
1,703
Reaction score
361
Location
.
Vehicle(s)
.
nice James! would look even better with a race mesh grill or grill delete. IMO
Sponsored


Top