TBLGT350
Well-Known Member
- Joined
- May 9, 2020
- Threads
- 4
- Messages
- 104
- Reaction score
- 33
- Location
- Massachusetts
- First Name
- Kevin
- Vehicle(s)
- 22 Explorer ST and 22 GT500
- Thread starter
- #1
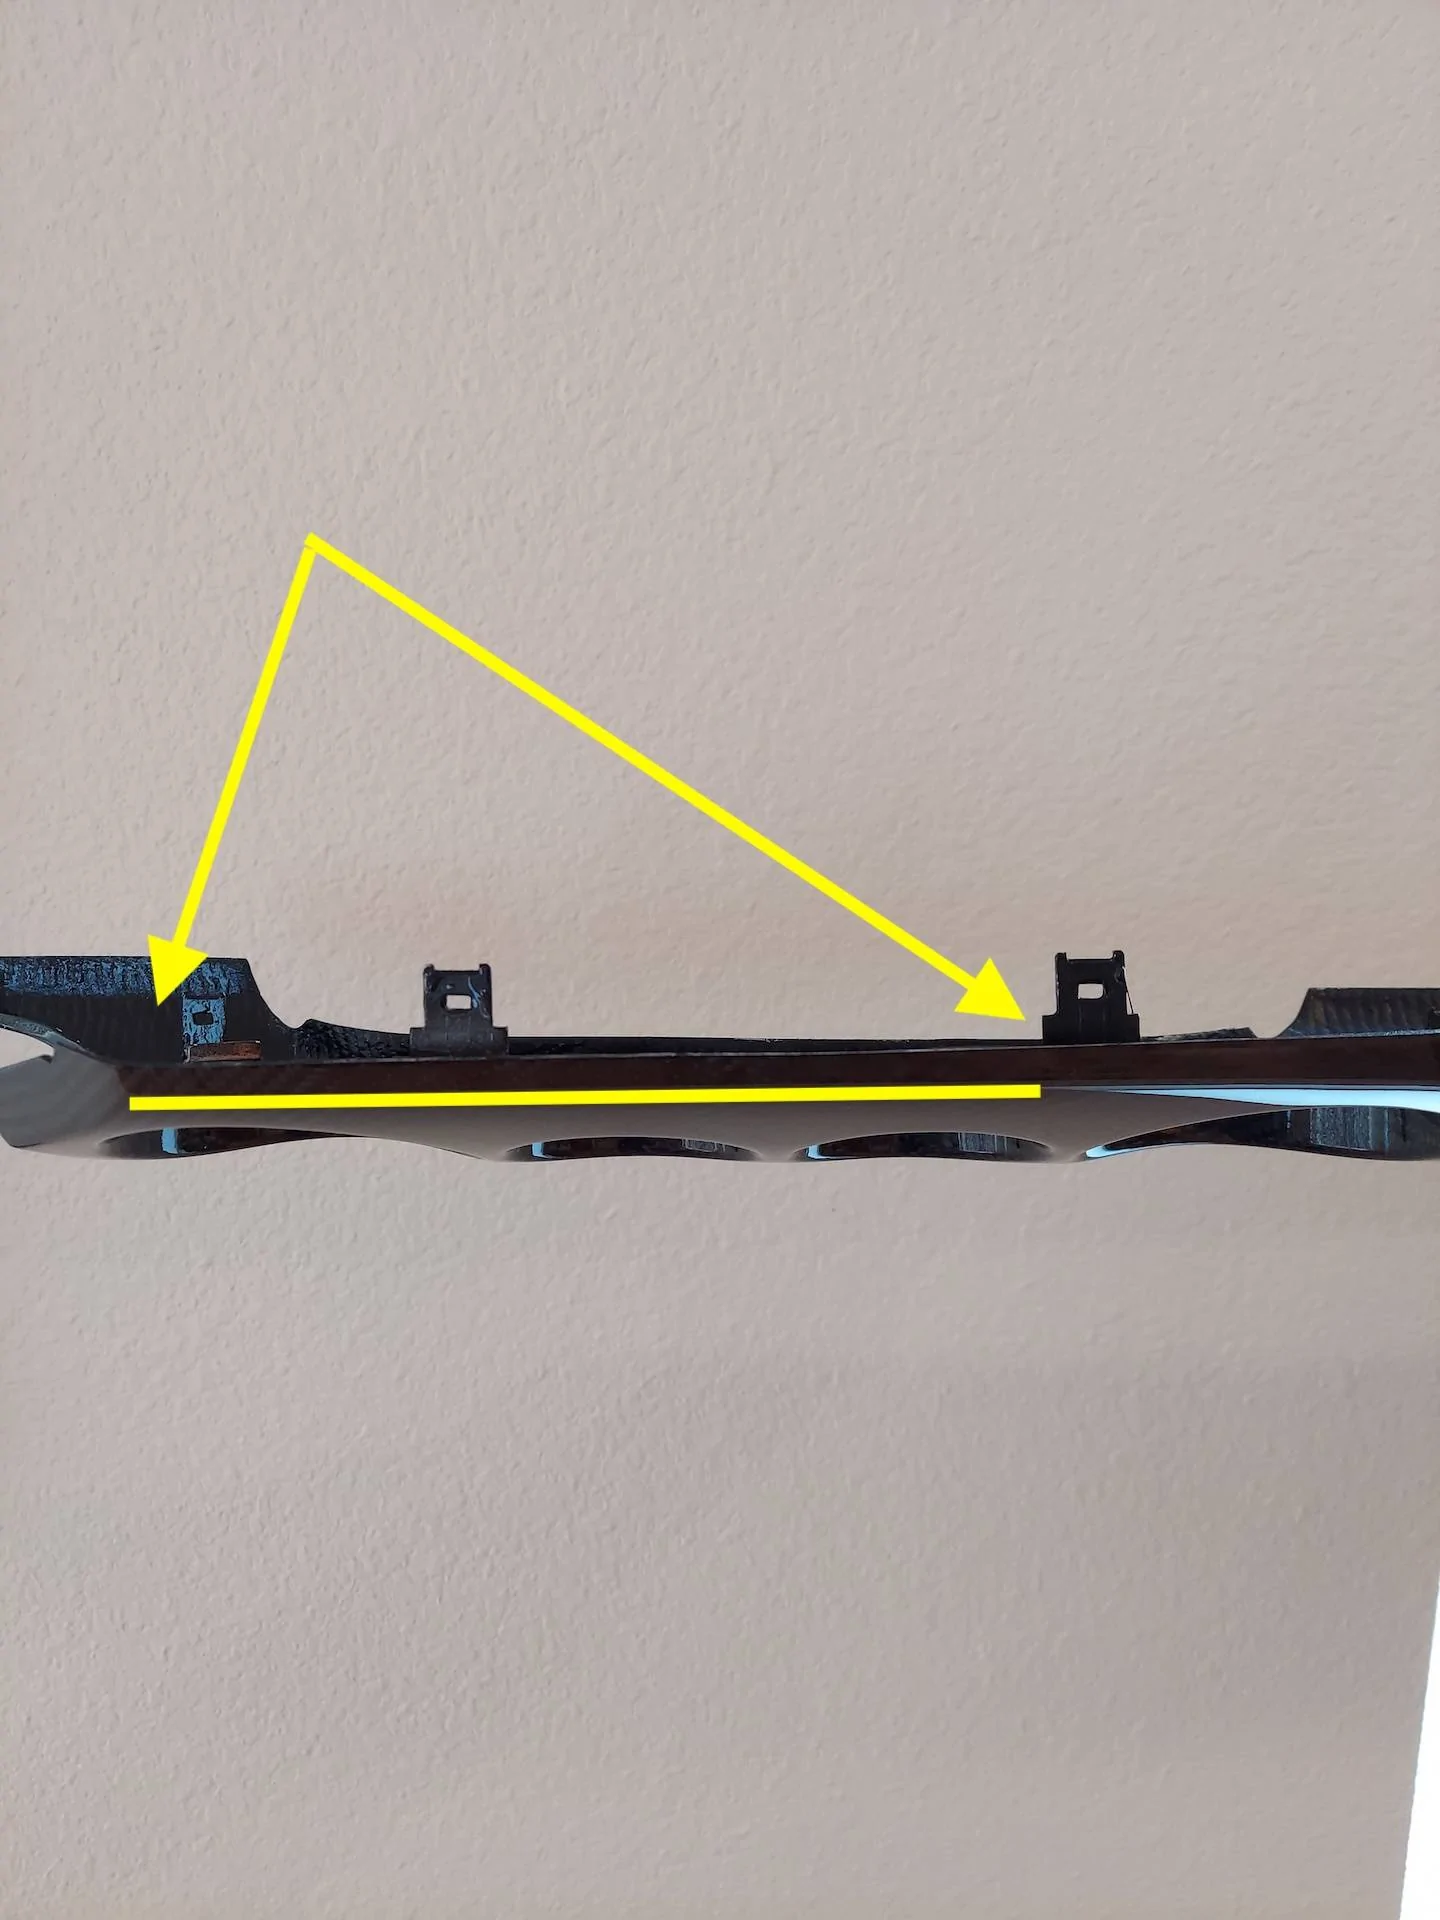
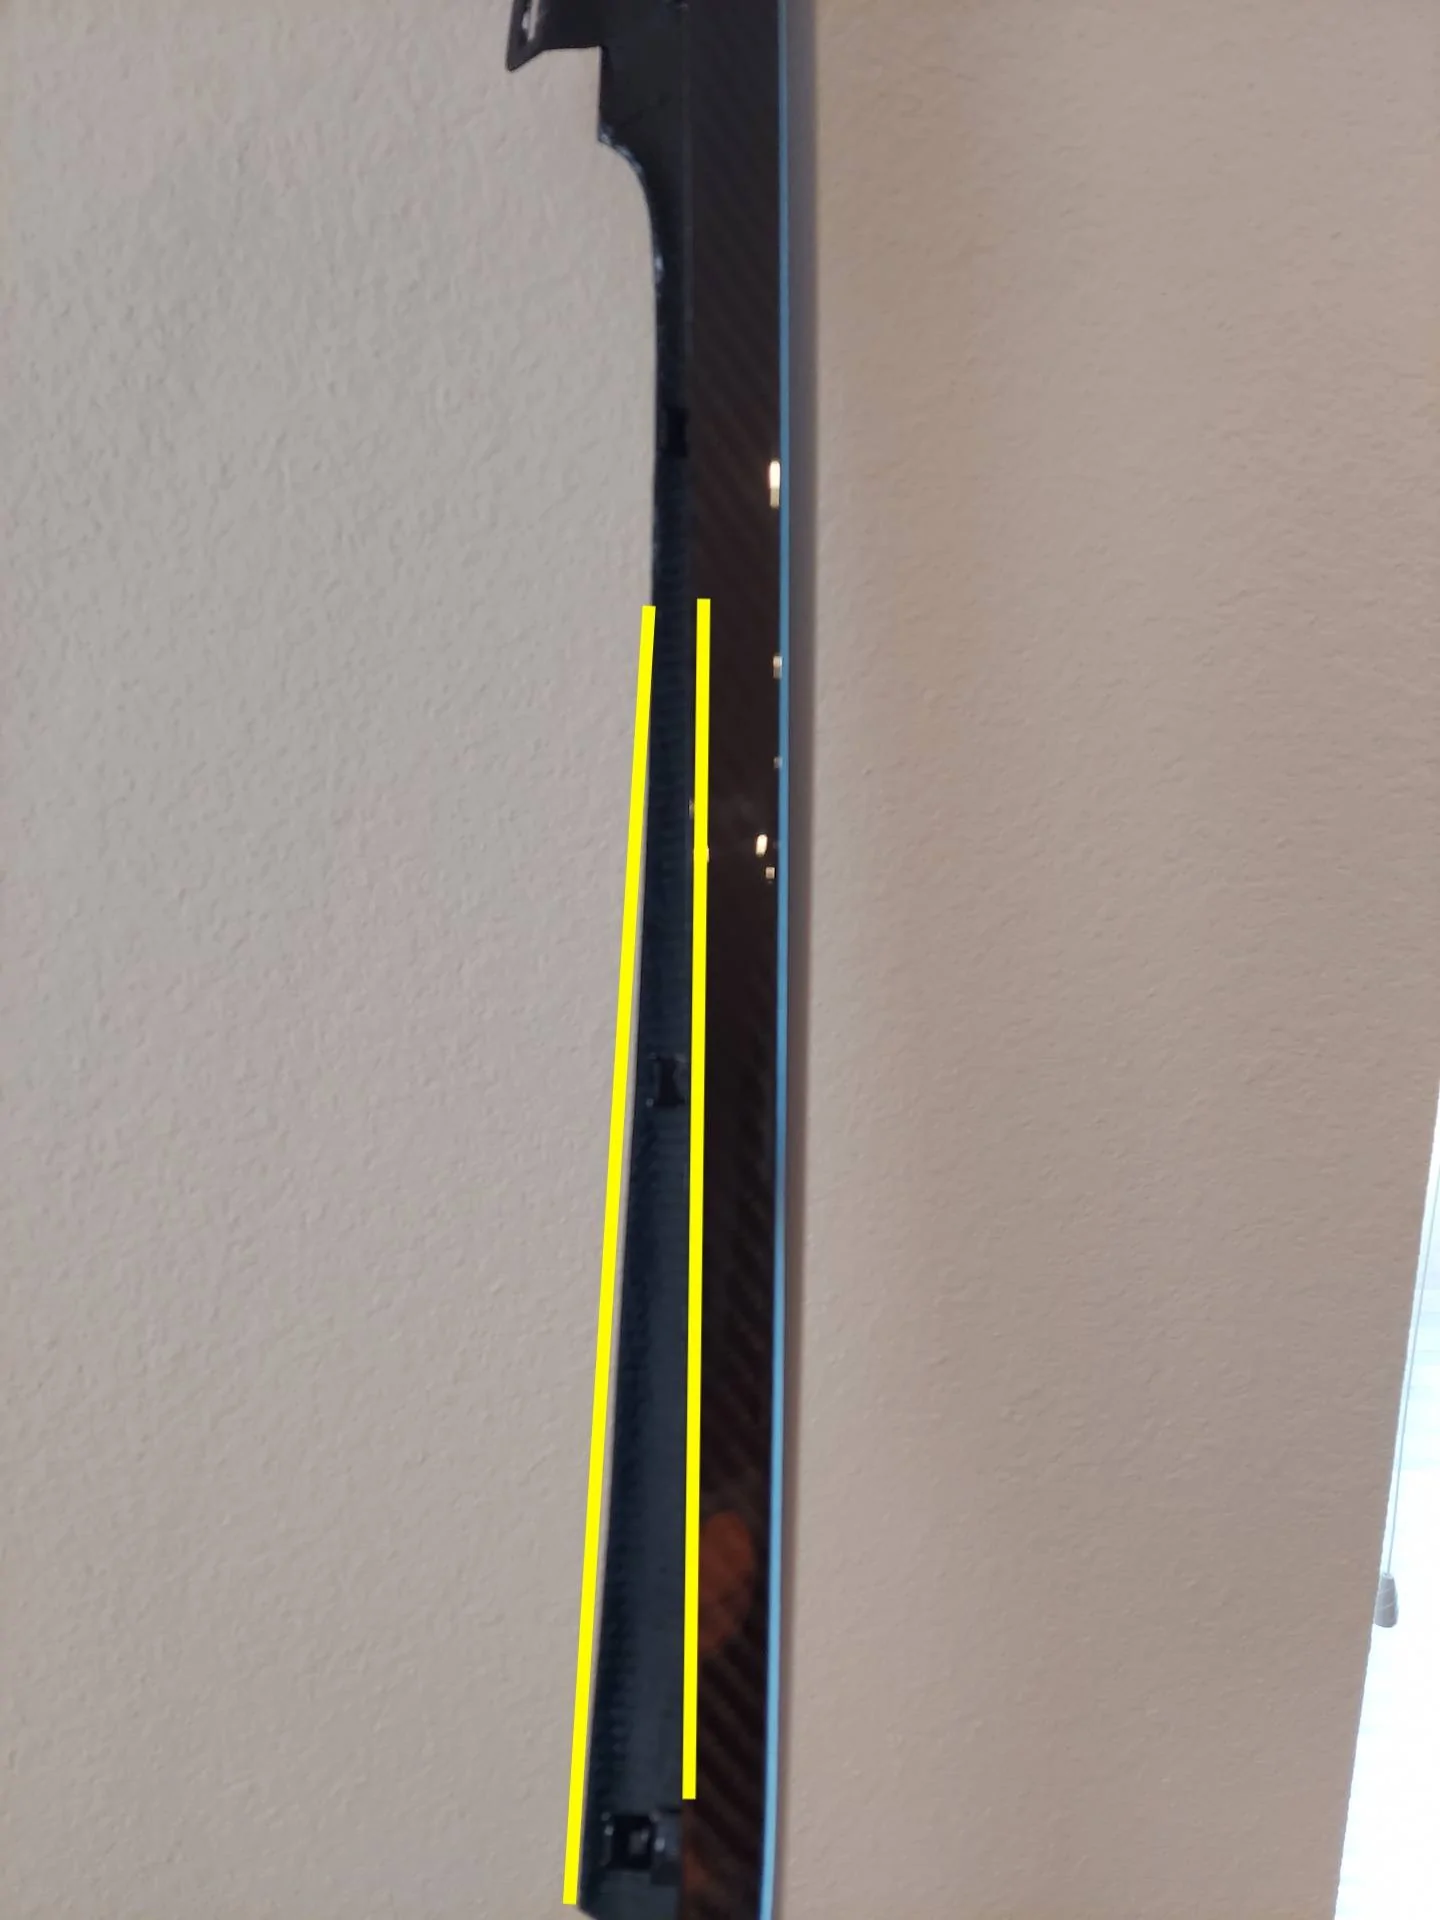
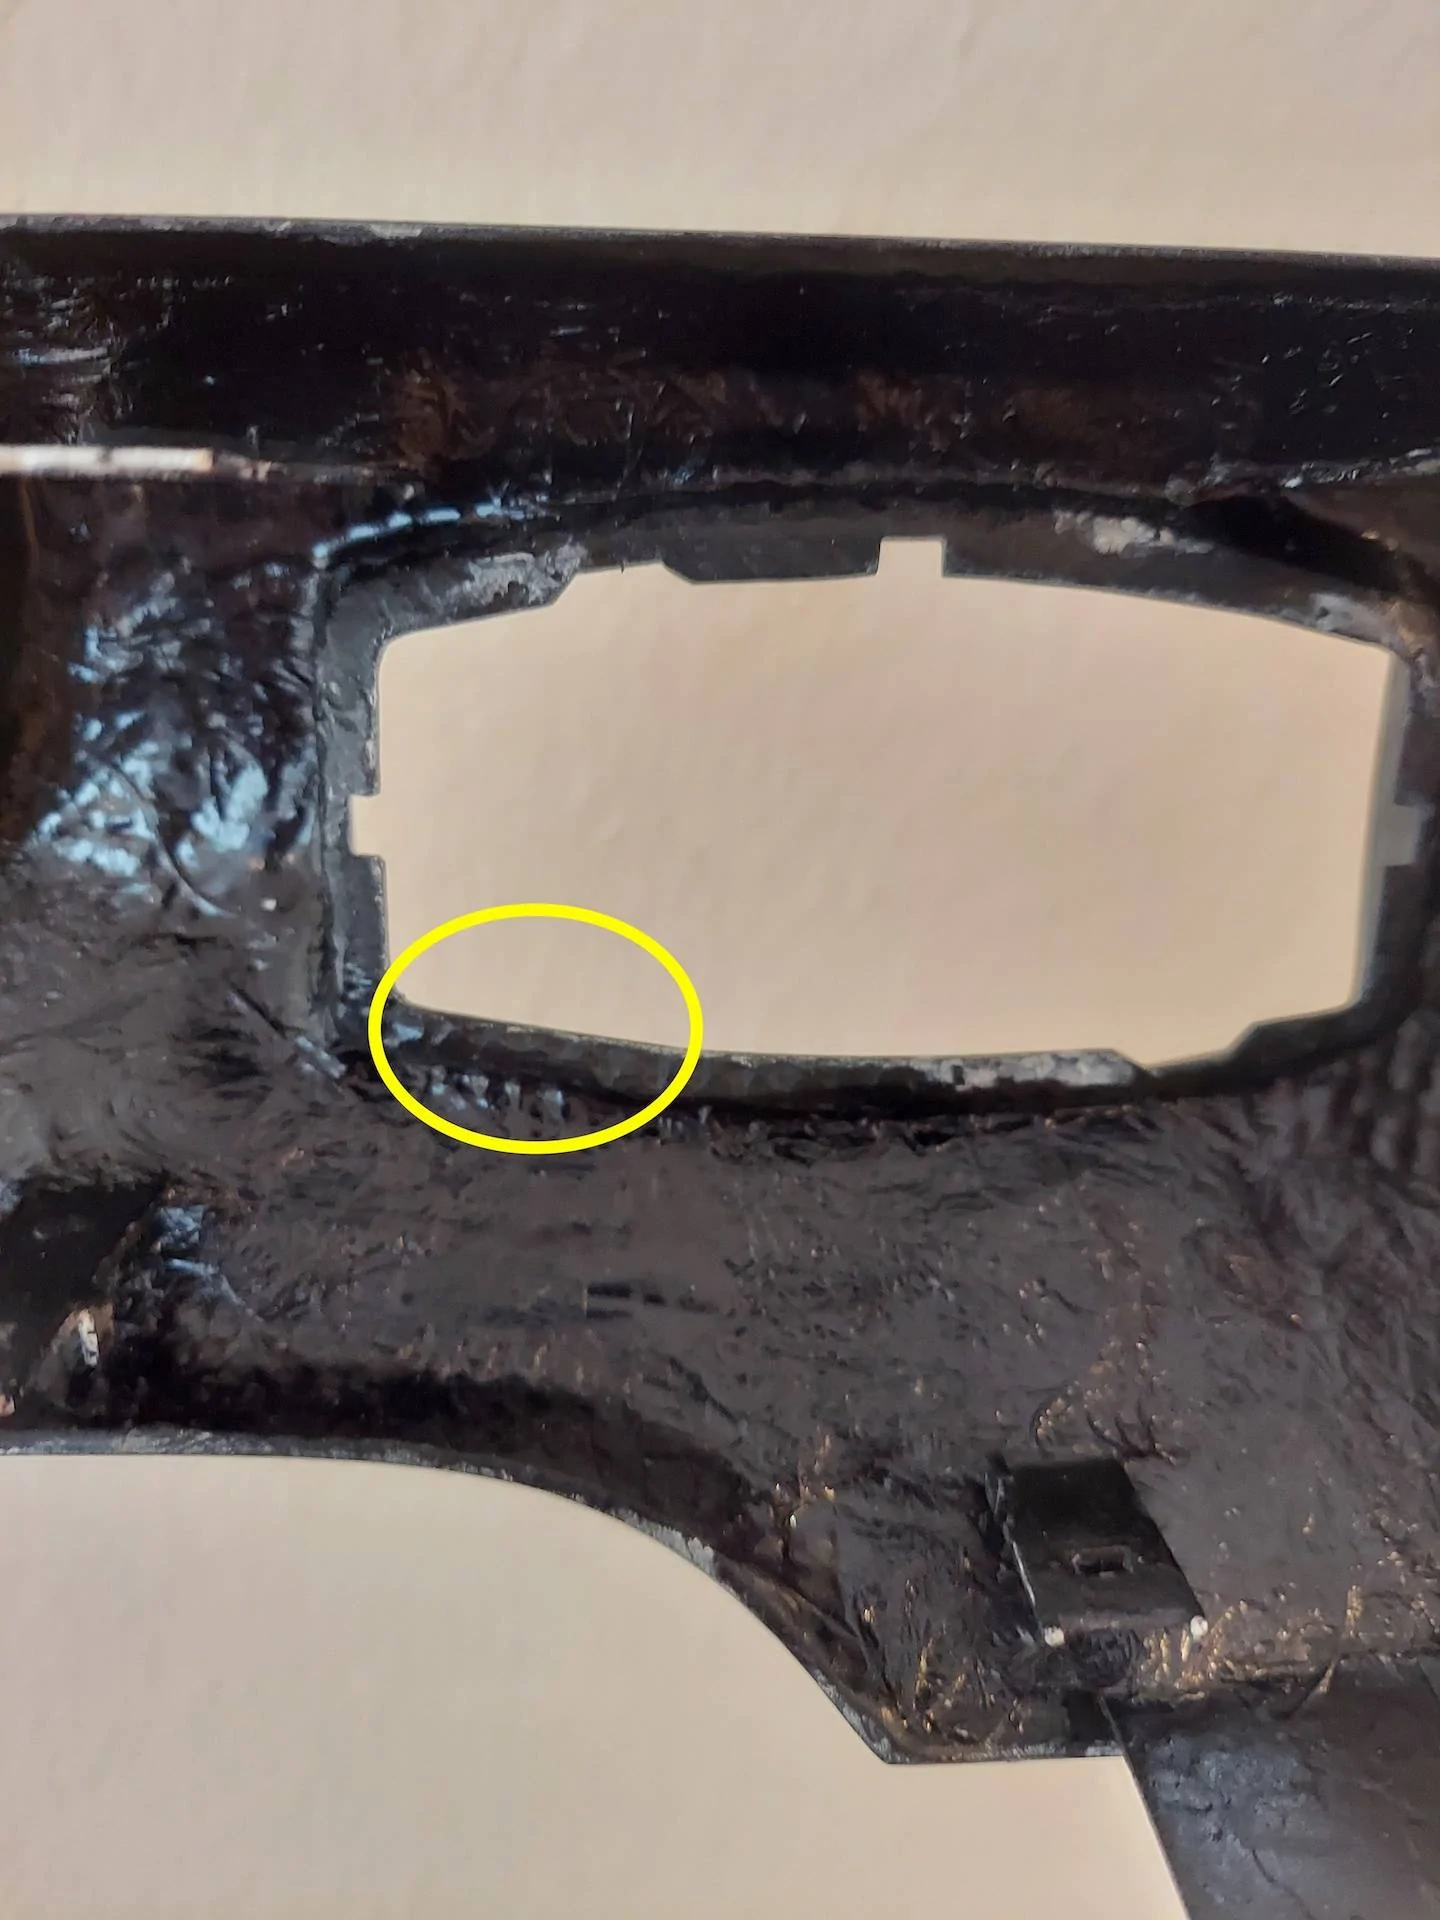
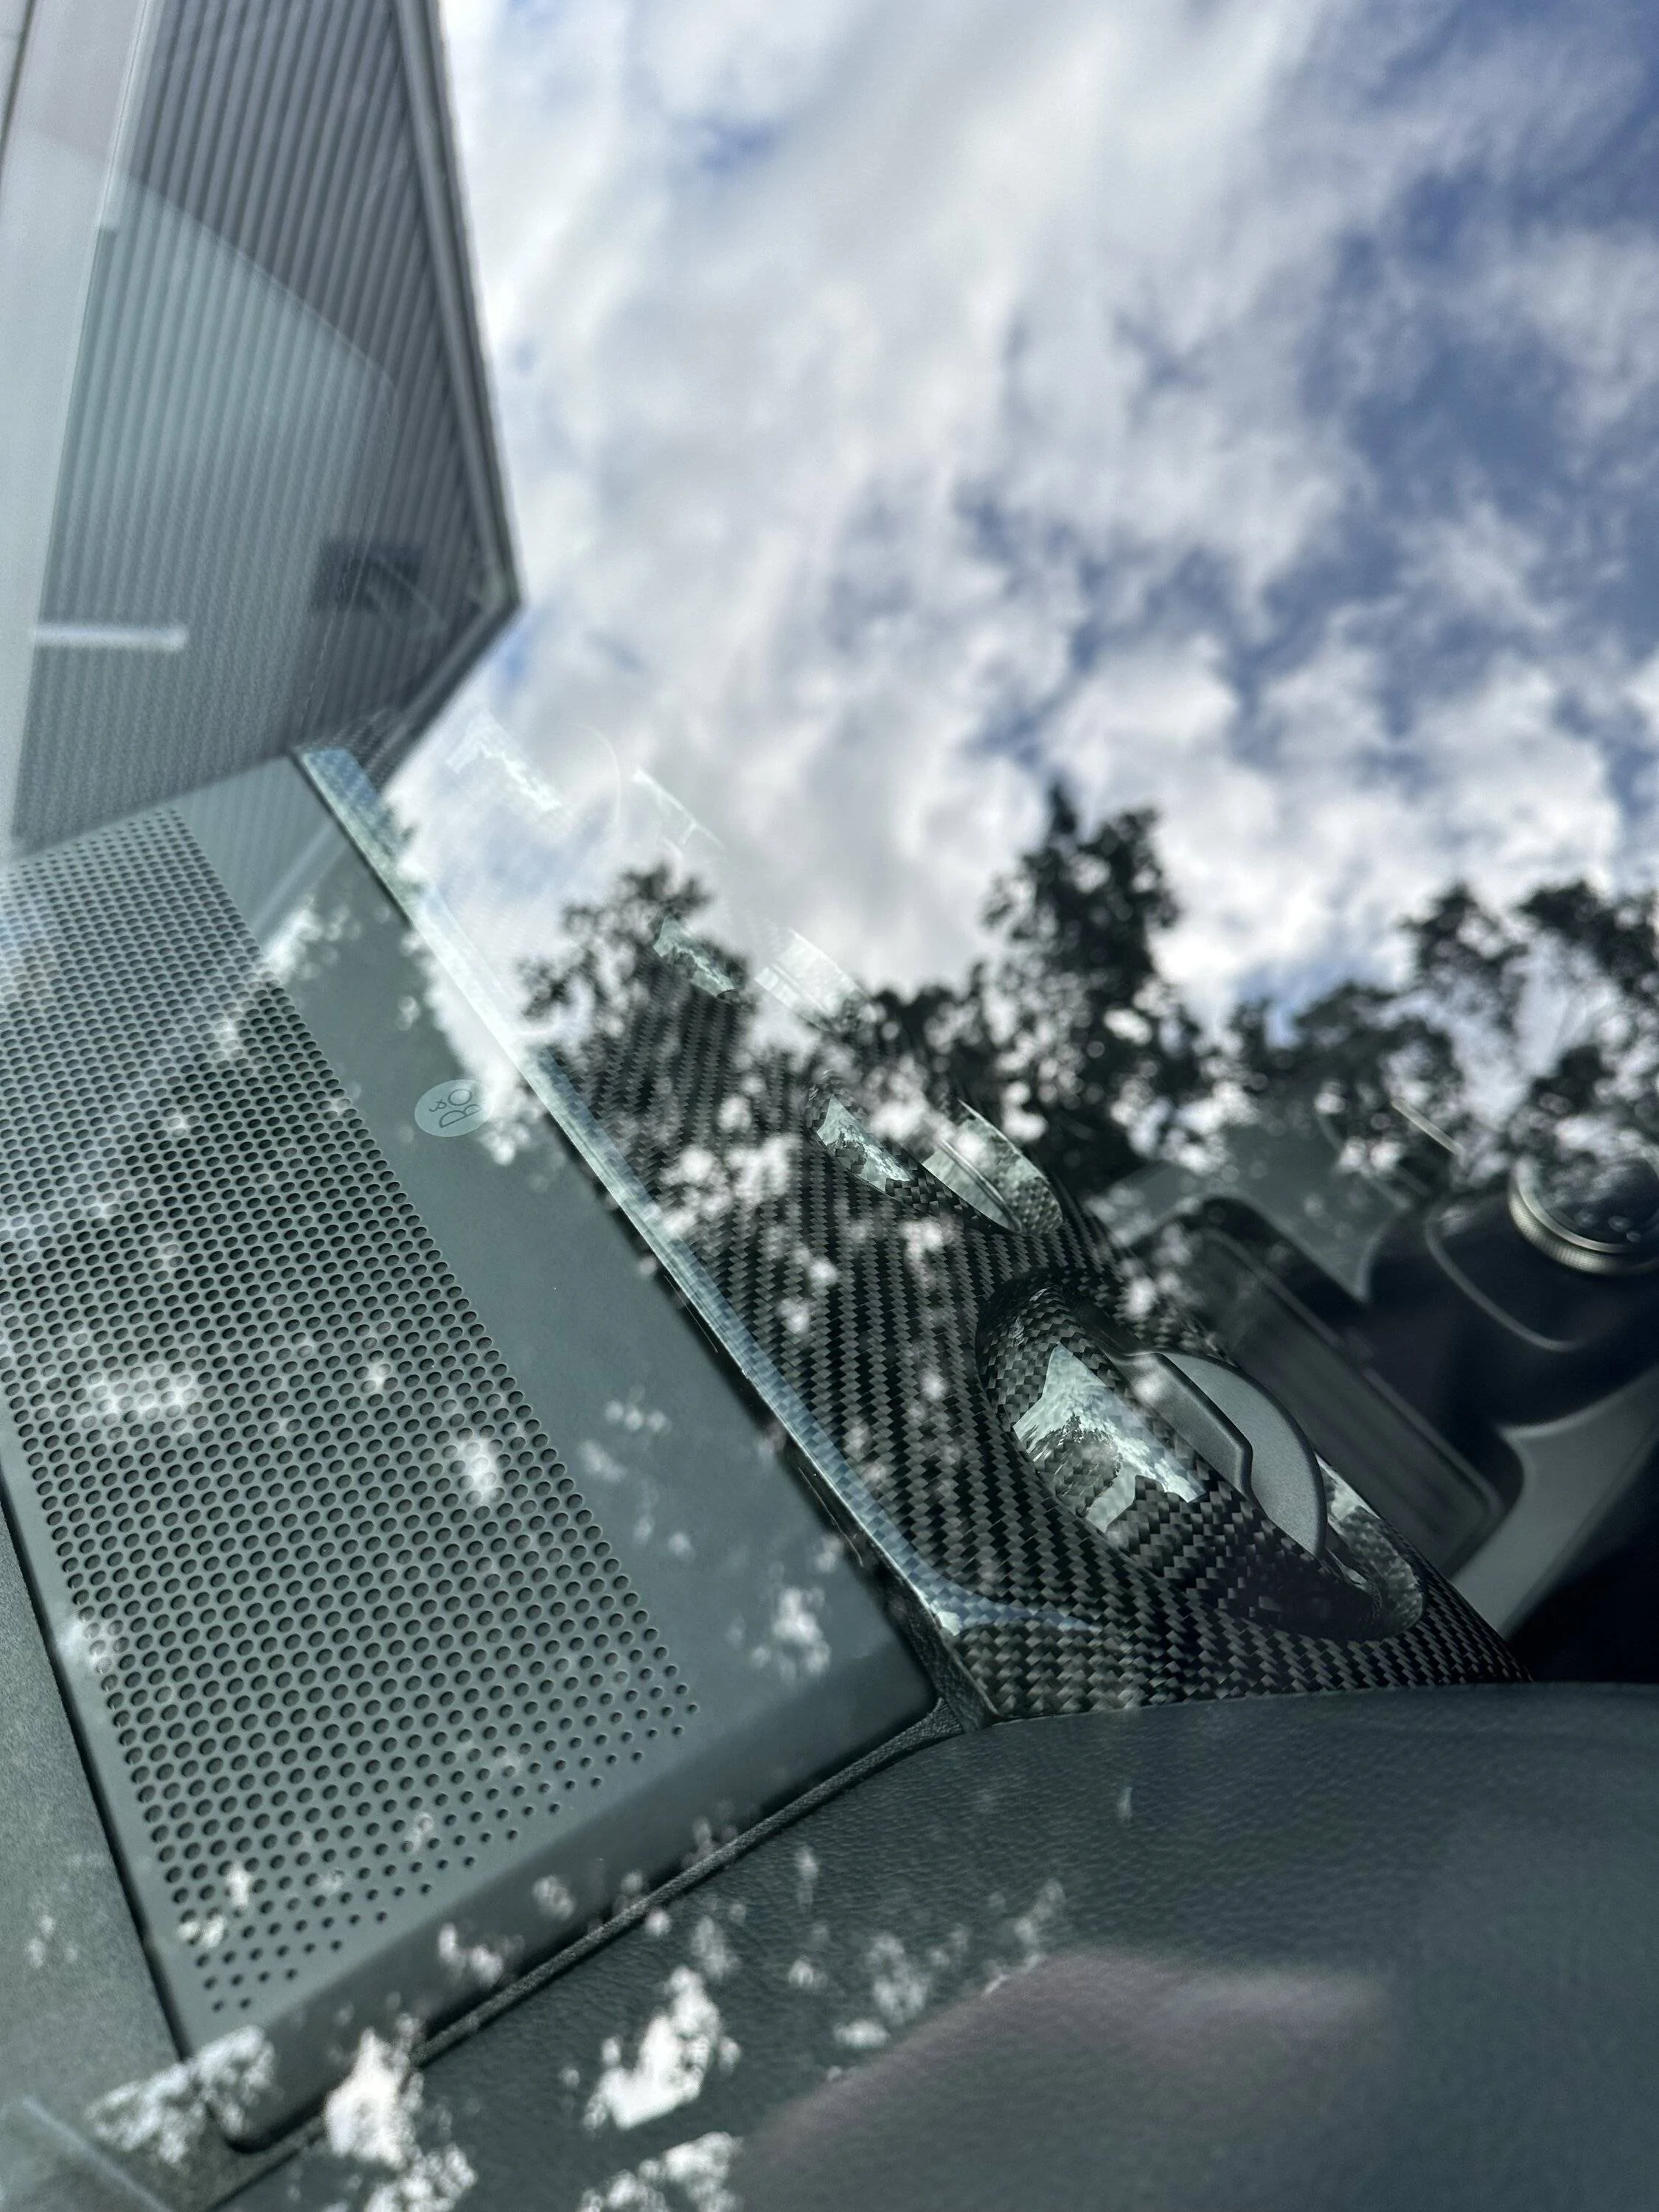
I have a 22 GT500 and have tried a few different carbon fiber dash kits. My issue right now is fitment with a gap on the top left corner. This is an oem dash piece with carbon laid over and cleared, not an overlay. All tabs are attached and in place. The corner just won’t stay and leaves a gap. I’ve also tried trimming the dash but that didn’t help.


Sponsored