Sponsored

Angela III - Daily Driver Build Thread

OP
OP
2017GBGTPP

2017GBGTPP

Well-Known Member
Joined
Jul 2, 2016
Threads
14
Messages
574
Reaction score
734
Location
Albuquerque, NM
First Name
Dan
Vehicle(s)
2017 Grabber Blue Premium GTPP w/ Recaros
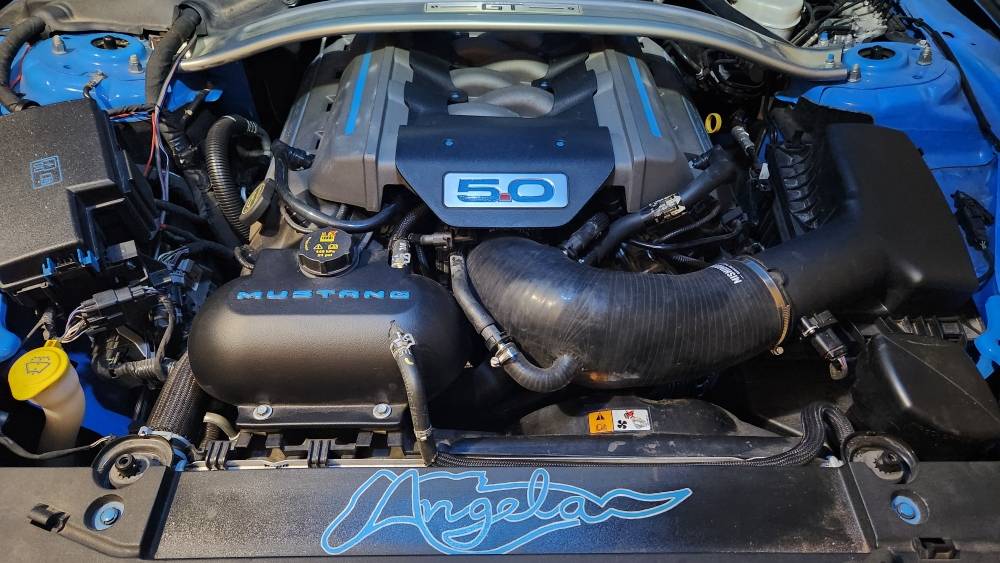
Nobody flakes on Angela

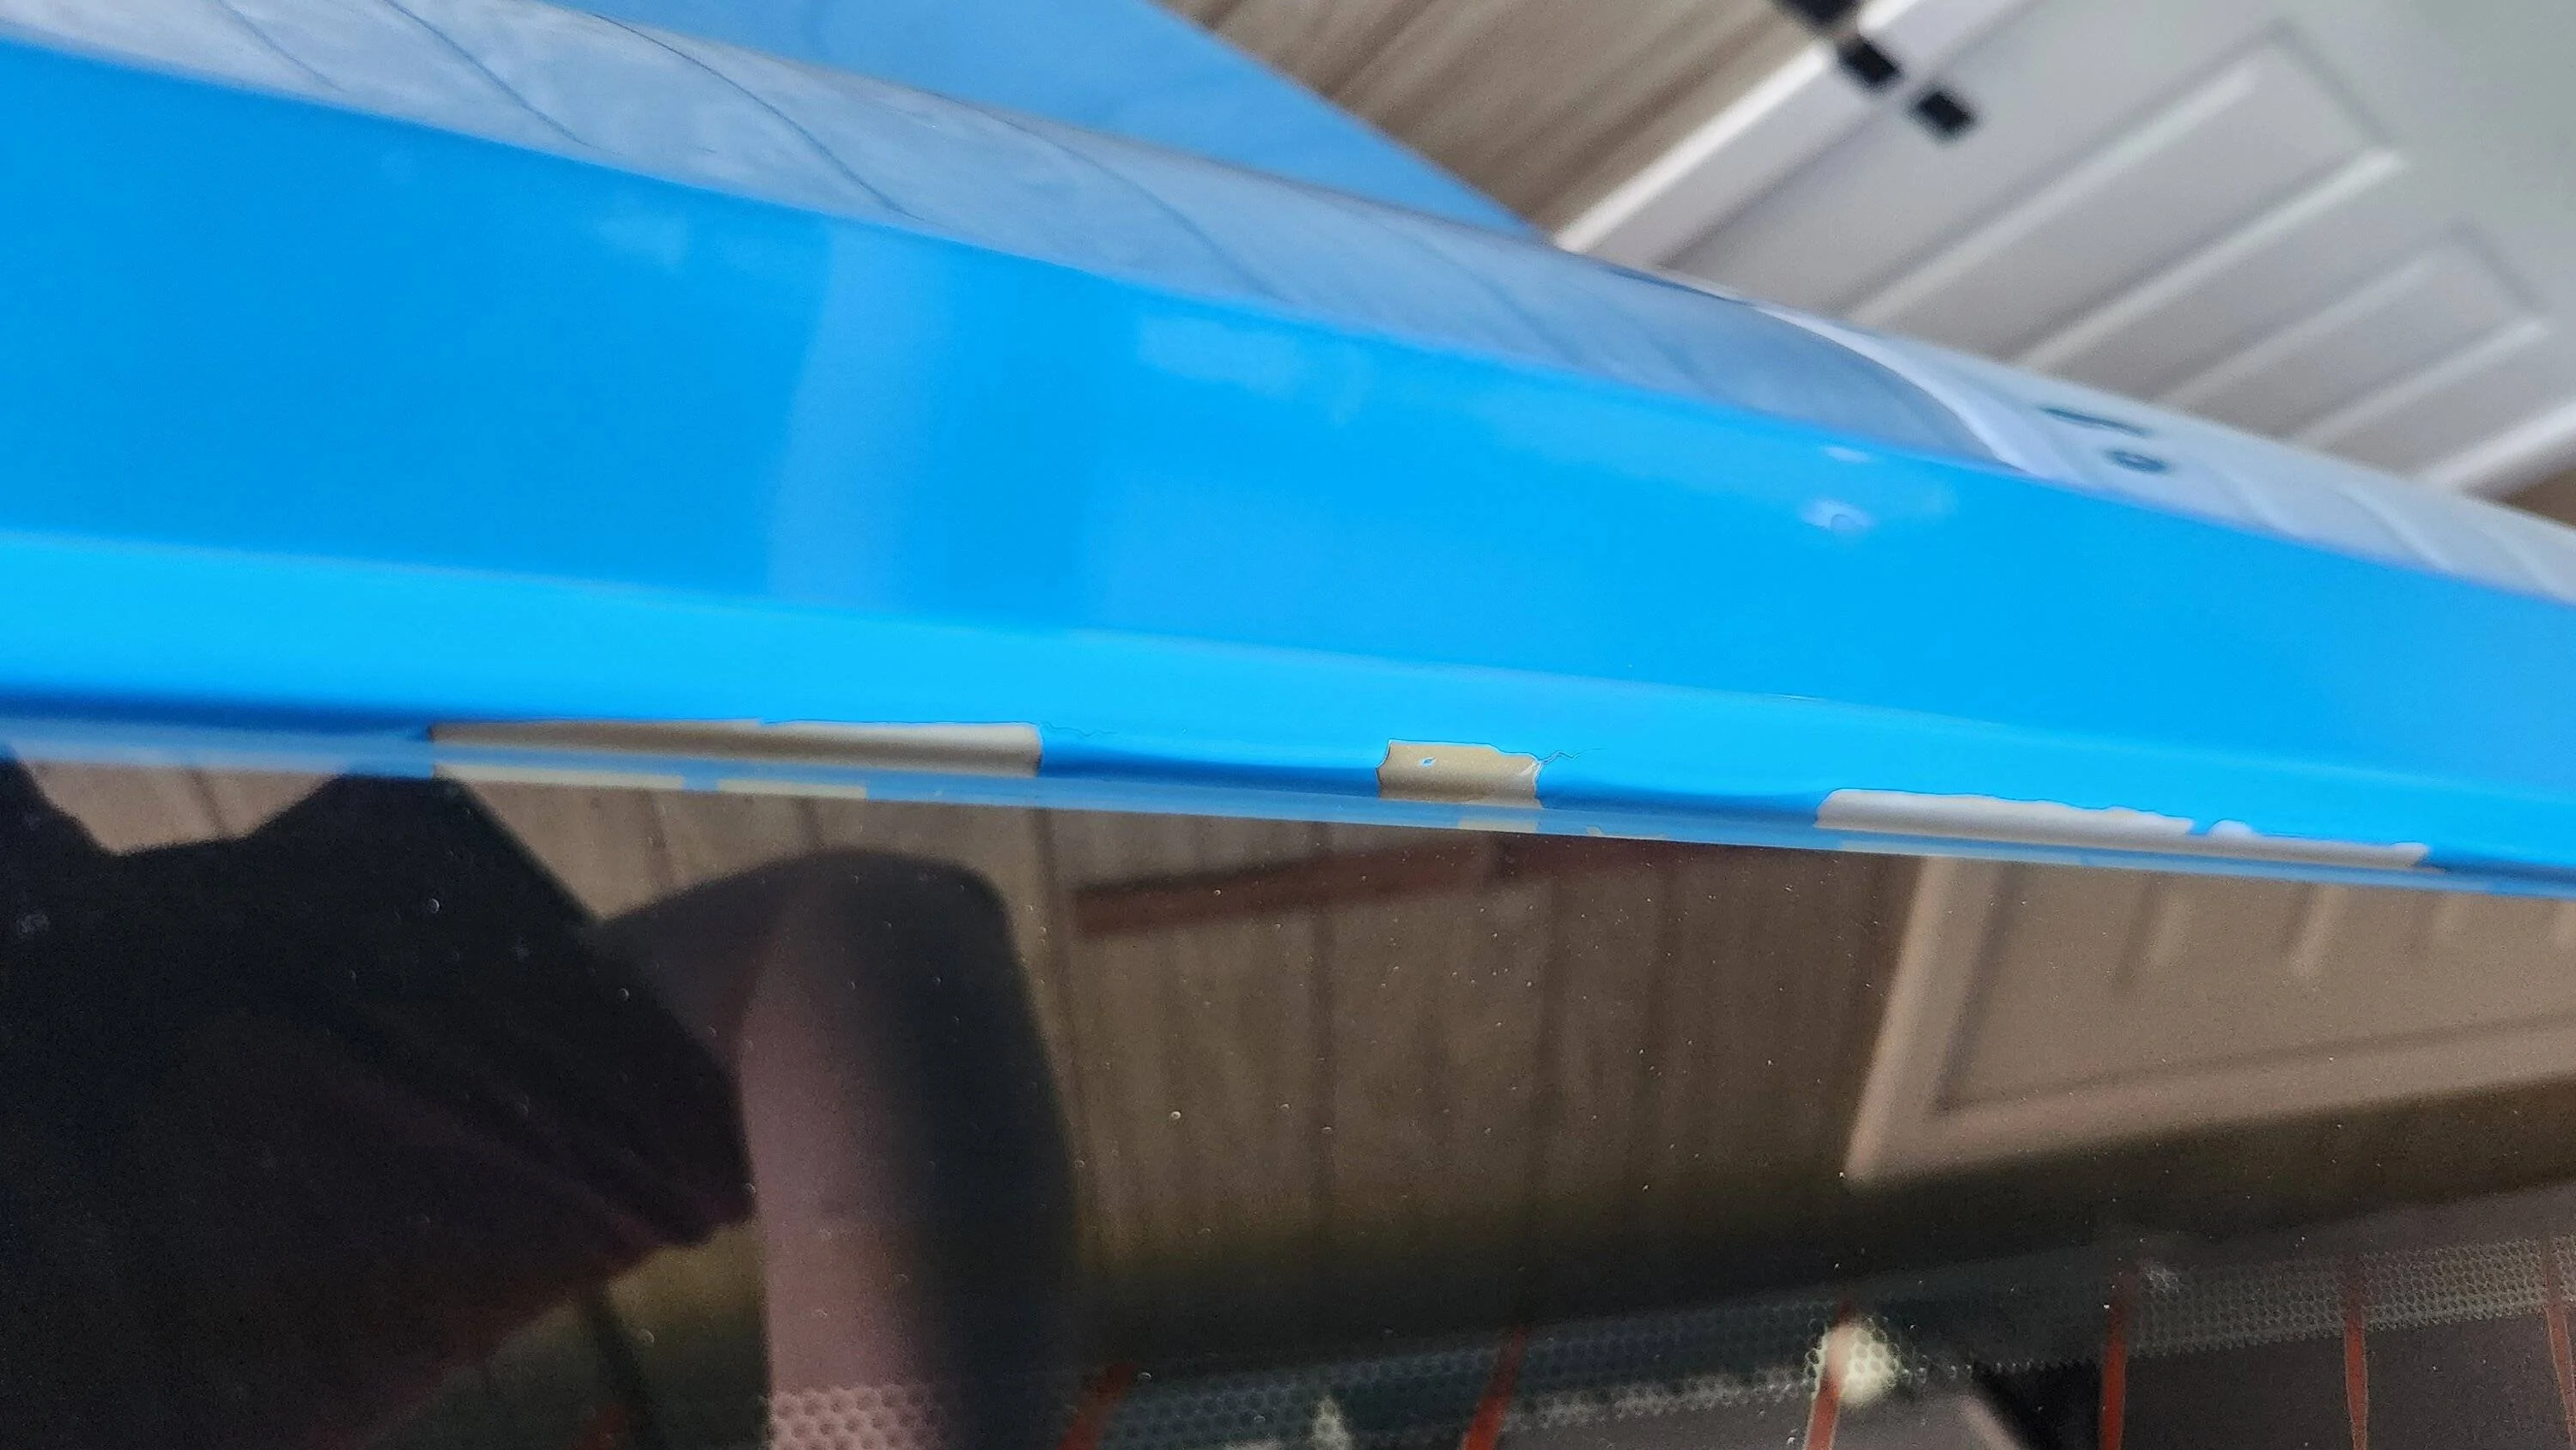
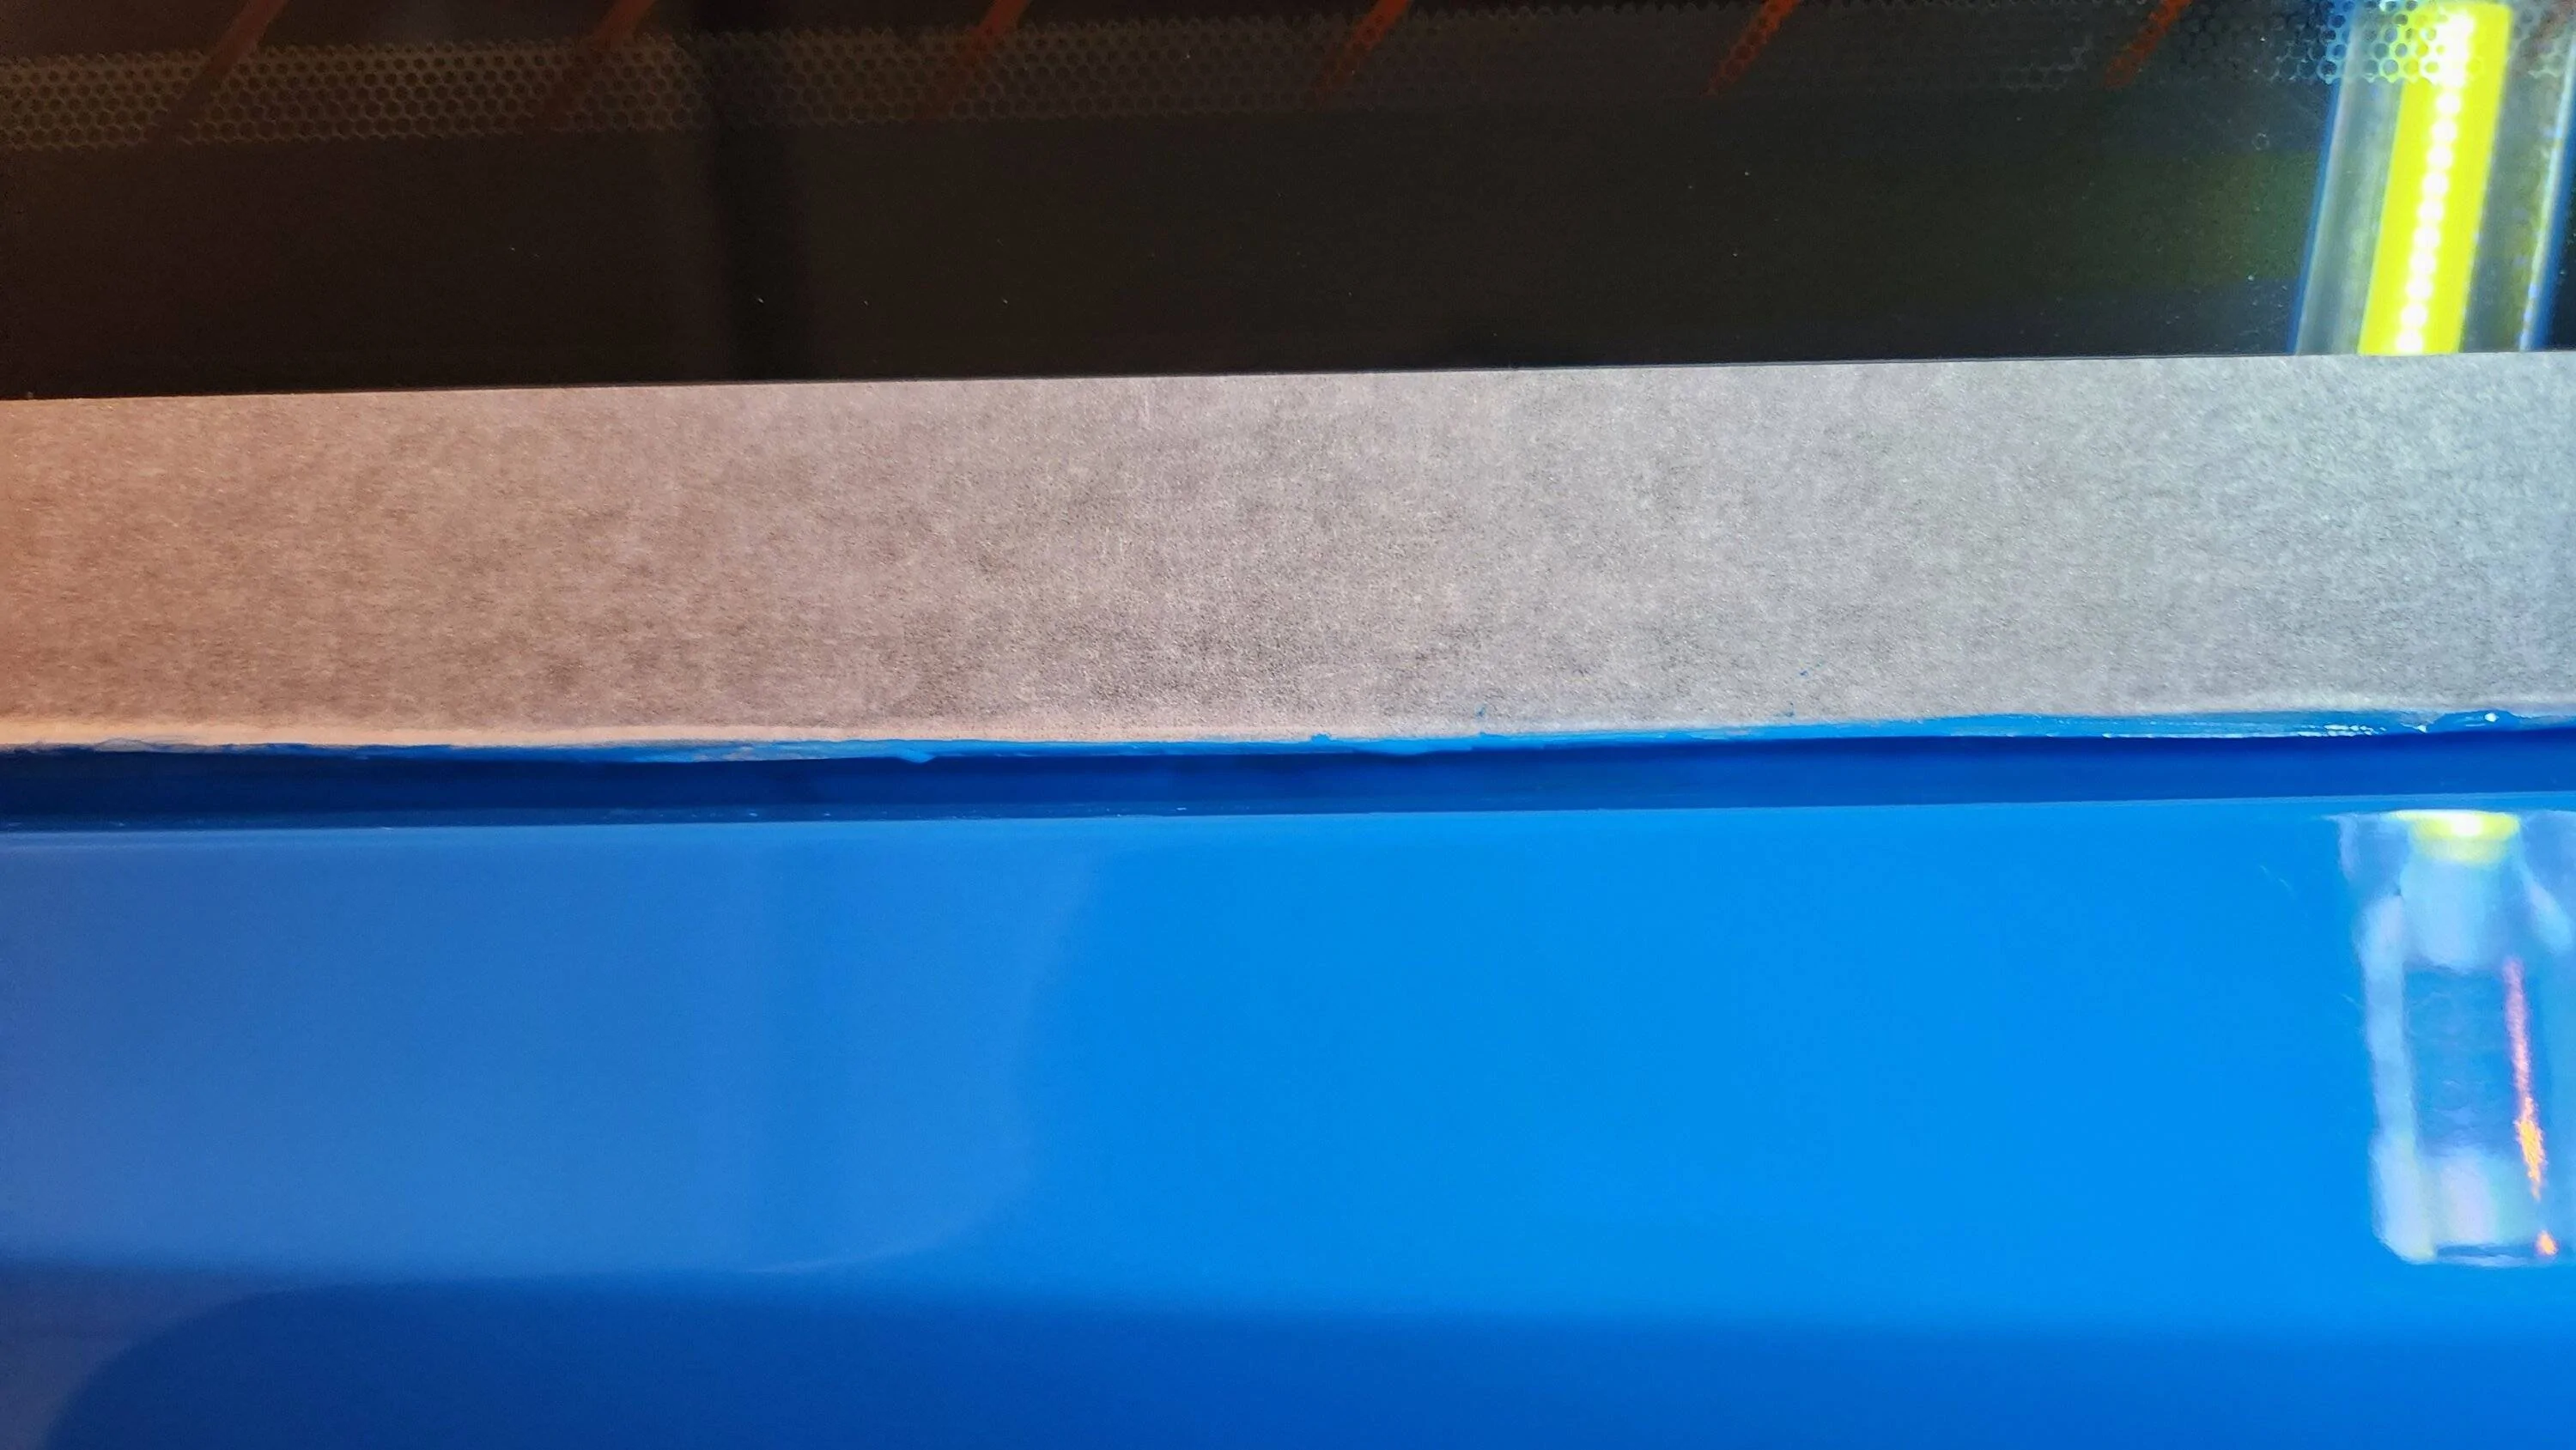
Recently there has been some paint flaking off just under the rear window. I haven't had any paint issues until now, but it looks like this might just be a spot that didn't get a full layer of paint at the factory and is finally starting to wear down.

20230403_175753.jpg


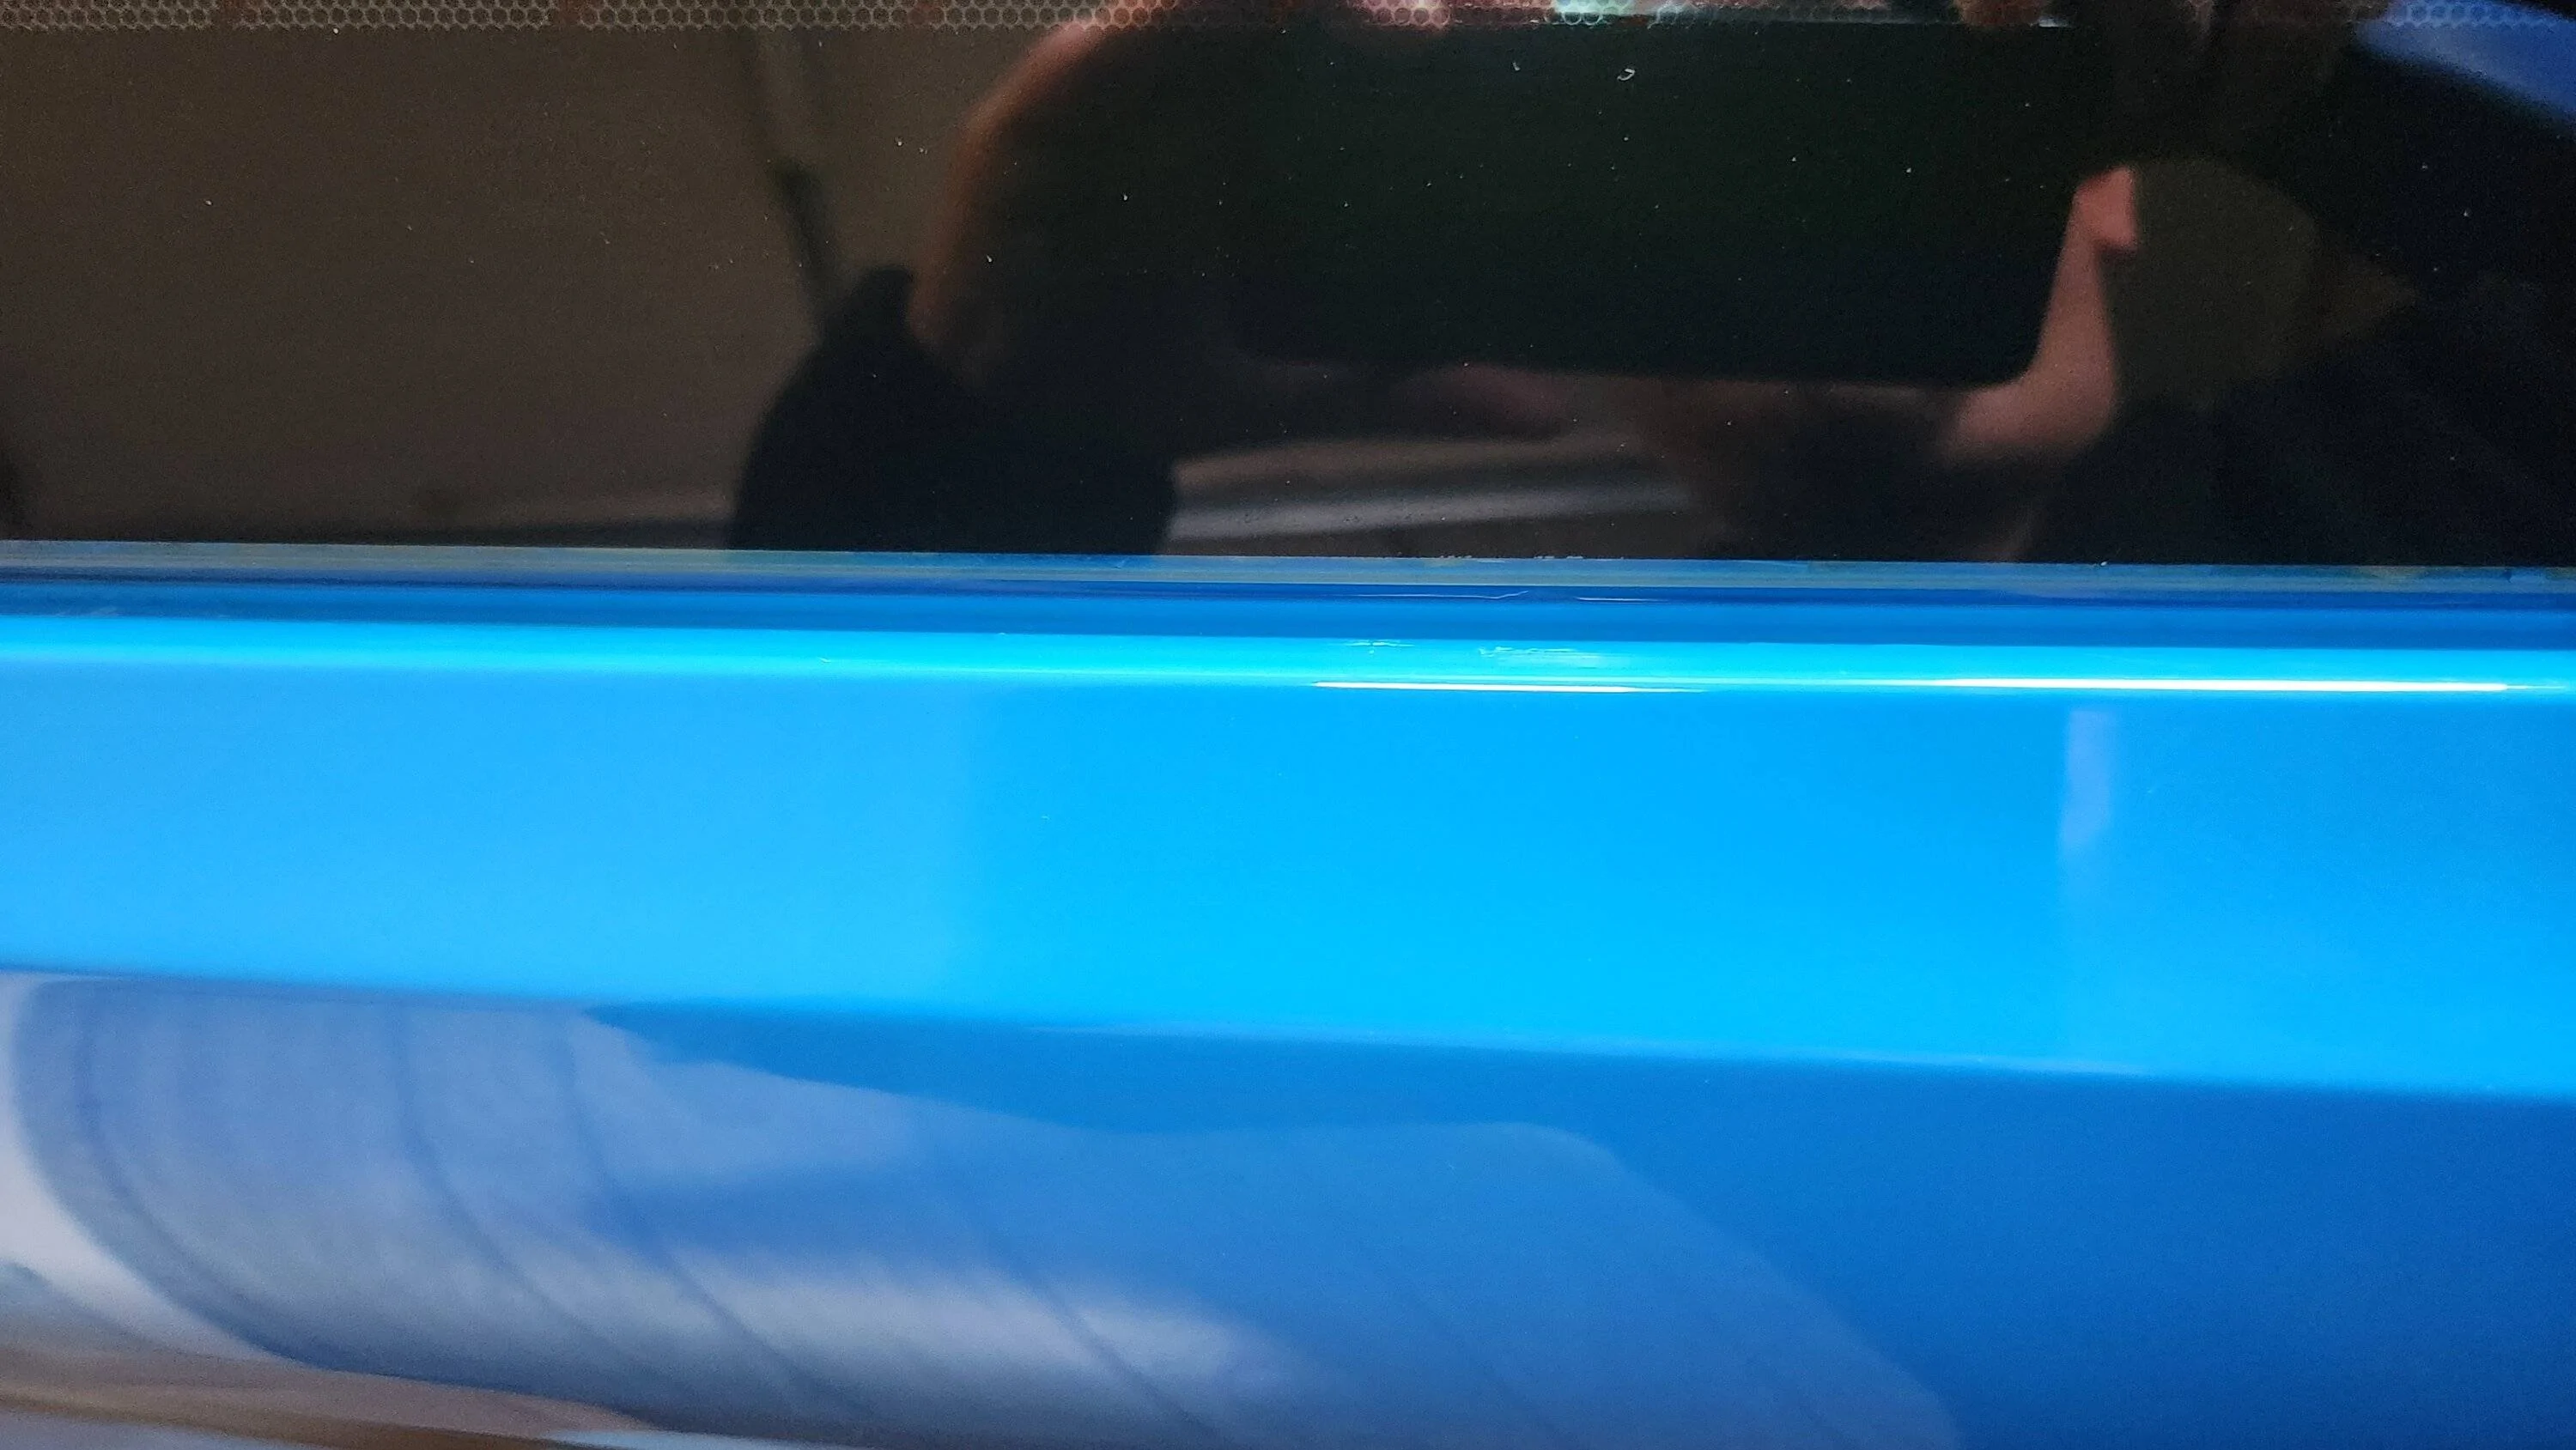
I went at it with a small prybar and scraped off everything that was easily removed. This ended up being a relatively large area, about 3/4 of the length of the glass on that side but only about halfway up the edge. The rest of the area, and all around the rest of the window, had no issues, the paint was secure like it should be. I taped off the window and broke out the touch up pen, hoping that the years since I had bought it had been kind to the paint. It worked perfectly.

20230415_164254.jpg


As I noticed the last time I used the pen, the color match is excellent, so I decided not to add the clear topcoat since that changes the color and reflection, making it more noticeable. I can barely tell where the paint was flaking now.

20230415_180307.jpg
Sponsored

 
OP
OP
2017GBGTPP

2017GBGTPP

Well-Known Member
Joined
Jul 2, 2016
Threads
14
Messages
574
Reaction score
734
Location
Albuquerque, NM
First Name
Dan
Vehicle(s)
2017 Grabber Blue Premium GTPP w/ Recaros
Going straight

Over the last few weeks I have been bit by bit messing with my alignment to try and get it as perfect as I can with hand tools and measurements. You can look here for how I measured toe and camber, the following is how I adjusted them.

TL;DR- If you don't have enough patience to read this post, you don't have enough patience to adjust your own alignment. $100 or so is an excellent deal for a pro to do it.

Since my front alignment is pretty good and I plan to put in a K-brace soon, I have only messed with the rear so far.

For the rear camber, you need to adjust the Upper Rear Control Arms. This is technically accessible from under the car with the right tools, but i was unable to get enough leverage with my tools to loosen the bolt since it's a pretty tight space, so I took the wheels off.

20230402_155600.jpg


There is one 18mm bolt that needs to be loosened to be able to push the arm back and forth along a slot, tilting the wheel foward or backwards as needed. On the driver's side there is a fuel hose that is in the way, but removing two 10mm bolts will allow you to push it to the side as needed to give you more space.

20200830_133711.jpg


Loosen the 18mm bolt until the arm moves easily (I just did it until it actually slid outward on its own), then you can adjust it as needed. Some grease will likely help, but as you have to basically lift the whole hub area to slide it in, I used a floor jack to help get that leverage.

20230430_142342.jpg


Once you have it where you think you want it, tighten that bolt back up to 85 lb ft.

I saved some time by doing some math to figure out how much I needed to adjust while the car was in the air so that I wouldn't have to put the wheels on and measure only to find I was still off. Once the car was up (before adjustment), I measured the camber of the brake disc which is going to be different than the camber of the wheel under full load. I then basically added the amount that I wanted to adjust. I.e. if I had -2 degrees and I wanted -1.25 degrees, then the difference I wanted was +0.75 degrees. Lifted, if my camber was -1 degrees then I want to adjust until it is -0.25 degrees. Obviously, this is while hanging in the air without the jack under it. This worked very nicely as my camber was typically within a tenth of a degree or so when I was done.

I did camber first as the adjustments I needed made were several tenths of a degree, whereas the toe adjustments are much smaller. Adjusting camber actually changes the toe a bit and vice versa, so there can be a bit of back and forth to get it just right.

Toe can be more easily reached under the car without removing the wheels, but is much more finicky as the adjustments that are needed are so small that it can be difficult to get it where you want it. To compare the adjustment I strung a string from my garage door to the car and measured off of that.

20230402_154100.jpg


There is a 21mm nut on the lower control arm that gets loosened until you can turn the 18mm bolt head on the other side of it. Turning the latter bolt will push the wheel in and out, then torque the 21mm nut back to 129 lb ft and recheck the lifted toe to see if you got it where you need it.

20200907_233921.jpg


I feel like my description above makes it all sound very easy, and while not physically difficult, there was a lot of trial error and back and forth before I really figured it all out. I think I can definitely do it quicker than before, but it still takes time and patience.

When I see the cost for a dealership or mechanic to do a typical repair, I'm very inclined to just do it myself. Several hundred dollars for labor? Not worth it, I can do that in a few hours myself. But with the time and difficulty of doing an alignment, $100 or so seems like an absolute steal. I'm going to continue to do it on my own just because I want to, but if you aren't crazy like me, just pay a pro to do it.
 

Bullit69

Well-Known Member
Joined
Jul 29, 2020
Threads
0
Messages
91
Reaction score
47
Location
Texas
First Name
Manny
Vehicle(s)
19 Mustang GT Premium Convertible
Keep up the great work!! Excellent read. I just had to read the entire thread, I really enjoyed it. Excellent write ups and picture illustrations.
I’m the same way with my Mustang, just did the entire cooking system with Moshimoto hoses, radiator all belts and tensioners as well. Waiting on some stupid o ring that goes in one of the coolant pipes. Oh and also a Ford Performance water pump and Steeda pullies.

I’m also replacing brakes pads and rotors on all four Conor’s with Hawk pads and Stop tech rotors.
I have the GT 500 conversion kit on my Mustang, so I am replacing the winglets and front lip as they got damaged after years of highway driving.
Didn’t mean to detract your thread just wanted to share with you.
IMG_1697.jpeg


IMG_1697.jpeg


IMG_1698.jpeg


IMG_1700.jpeg
Sponsored


Top