Sponsored

2018 Gen 3 Speed Engineering LongTube Header install

calderong242

New Member
Joined
Jan 15, 2026
Threads
1
Messages
4
Reaction score
0
Location
Albuquerque
First Name
Gabriel
Vehicle(s)
2014 Ford Mustang GT
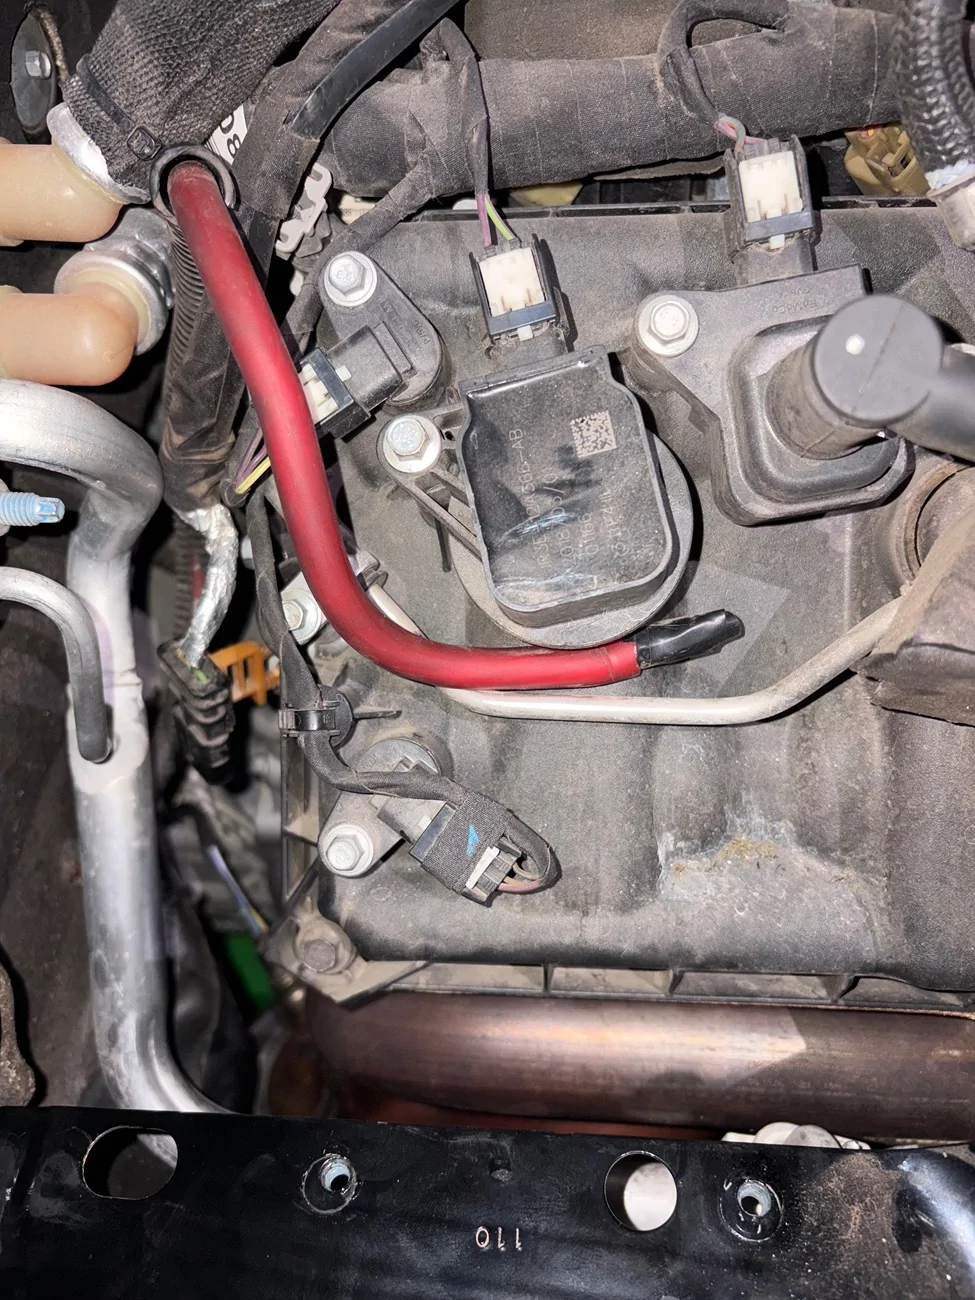
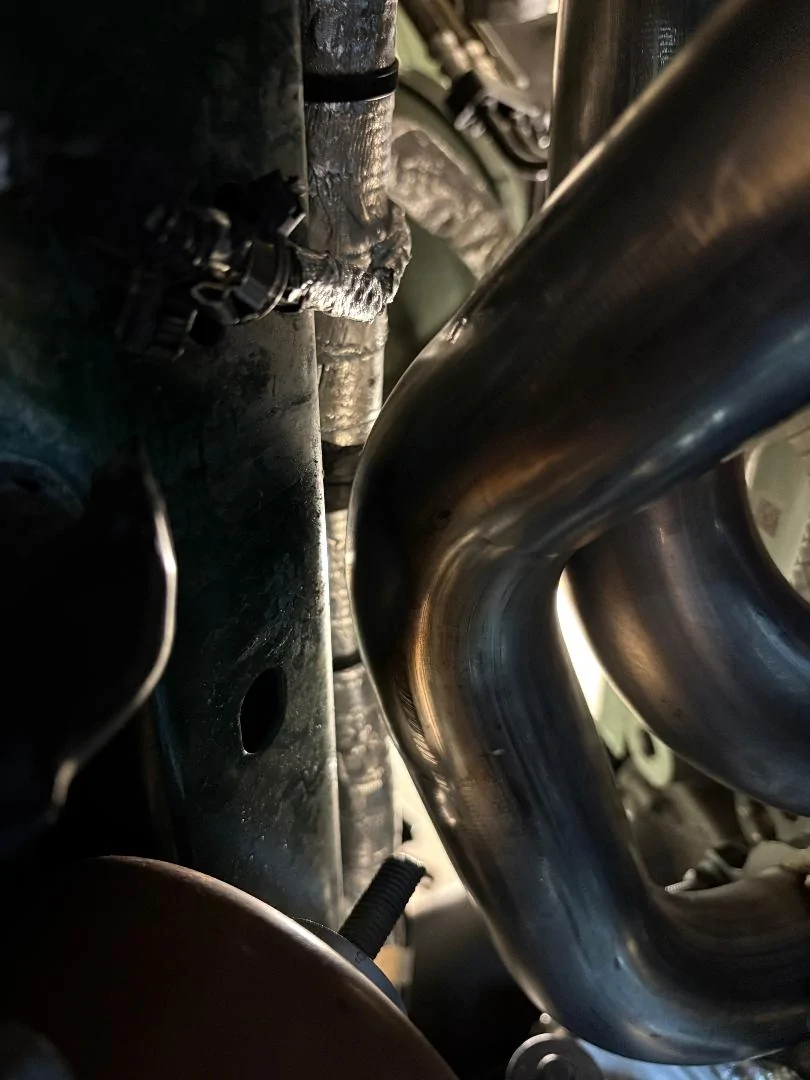
Hey guys I’m currently working on this 2018 gen 3 and I’m struggling on the passenger side manifolds with taking off the rear top stud the one closest to the valve cover towards the firewall
Anyone have any tips or tricks?
I’ve tried getting it from the bottom and from the top and nothing

IMG_8318.webp
Sponsored


John S

Well-Known Member
Joined
Jul 26, 2022
Threads
47
Messages
741
Reaction score
559
Location
Novi, Michigan
First Name
John
Vehicle(s)
2022 Mach 1 HP
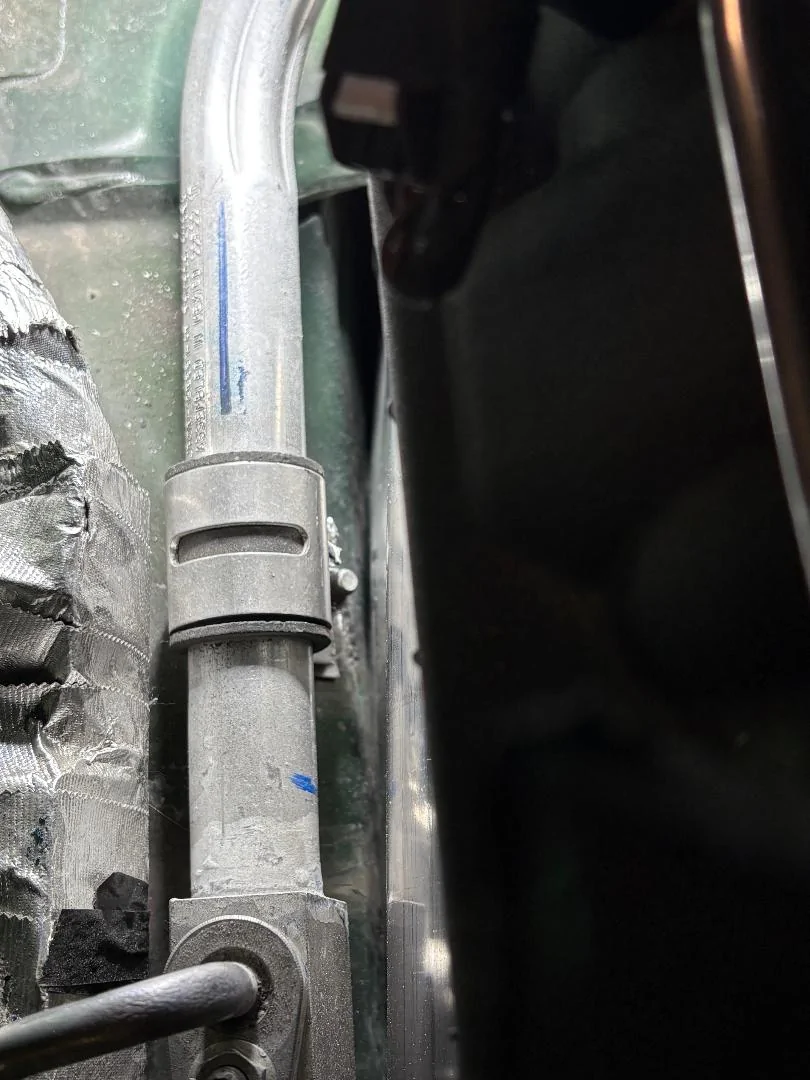
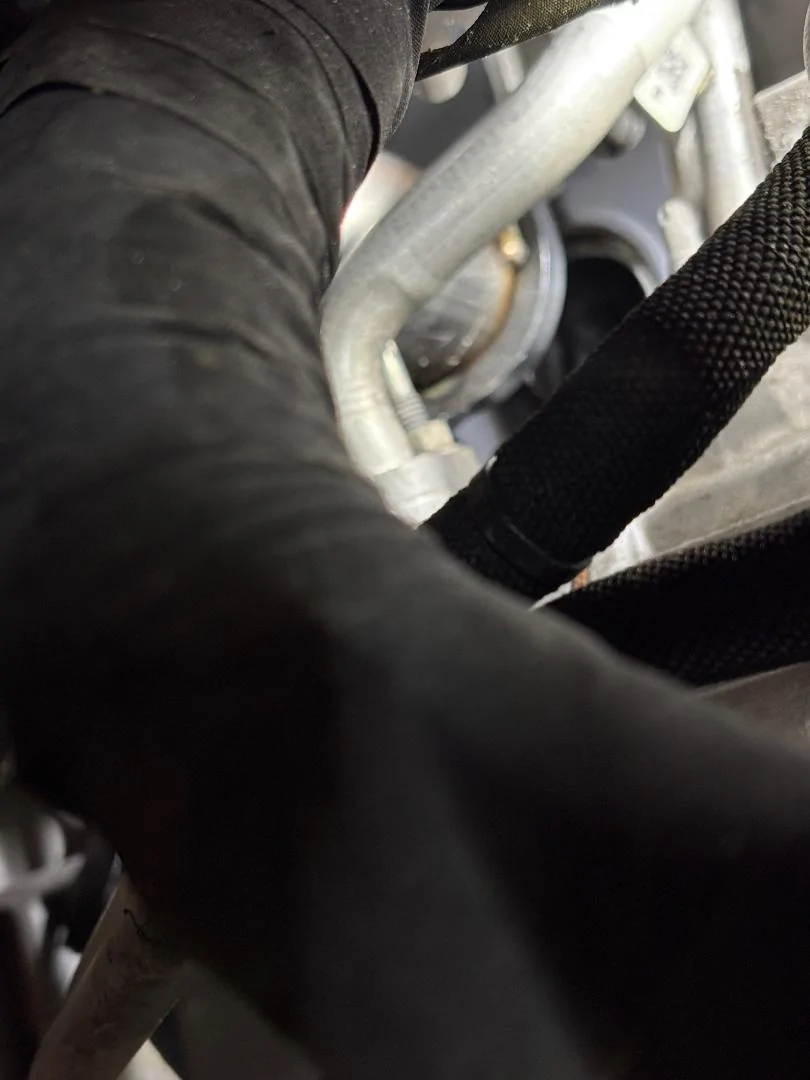
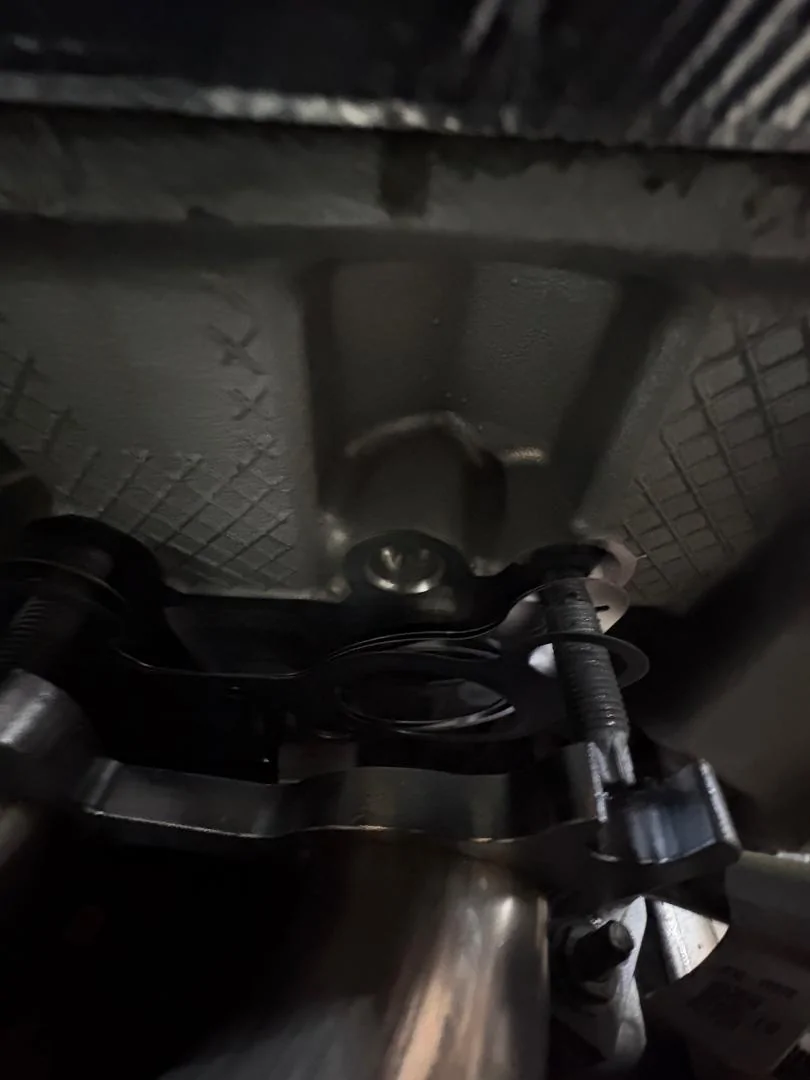
Sorry I don't remember all the details of installing Speed Engineering headers on my son's car, but that stud was not a problem. (I used new OEM studs, lock nuts, and gaskets for a leak-free and secure mounting.) I removed the battery tray, body bracing, fender liners, etc for maximum accessibility and that stud shouldn't be a problem. It's the front stud behind the A/C compressor I couldn't remove unless I moved the compressor manifold out of the way. Before you install the headers, trim the A/C line clamp tab or remove it all together and relocate it. Also, add a flat to the tubing where it hits the A/C compressor manifold to aid installation. On the driver's side, trim the motor mount stud and add a flat to the tubing to clear the frame rail as needed. Jocky the engine to optimize frame rail clearances on both sides before torquing the motor mounts. Don't you just love header installations....

1788073487095-23.webp
1788073650129-i9.webp
1788073694637-st.webp
1788073771222-k7.webp
 
OP
OP

calderong242

New Member
Joined
Jan 15, 2026
Threads
1
Messages
4
Reaction score
0
Location
Albuquerque
First Name
Gabriel
Vehicle(s)
2014 Ford Mustang GT
Sorry I don't remember all the details of installing Speed Engineering headers on my son's car, but that stud was not a problem. (I used new OEM studs, lock nuts, and gaskets for a leak-free and secure mounting.) I removed the battery tray, body bracing, fender liners, etc for maximum accessibility and that stud shouldn't be a problem. It's the front stud behind the A/C compressor I couldn't remove unless I moved the compressor manifold out of the way. Before you install the headers, trim the A/C line clamp tab or remove it all together and relocate it. Also, add a flat to the tubing where it hits the A/C compressor manifold to aid installation. On the driver's side, trim the motor mount stud and add a flat to the tubing to clear the frame rail as needed. Jocky the engine to optimize frame rail clearances on both sides before torquing the motor mounts. Don't you just love header installations....

1788073487095-23.webp
1788073650129-i9.webp
1788073694637-st.webp
1788073771222-k7.webp
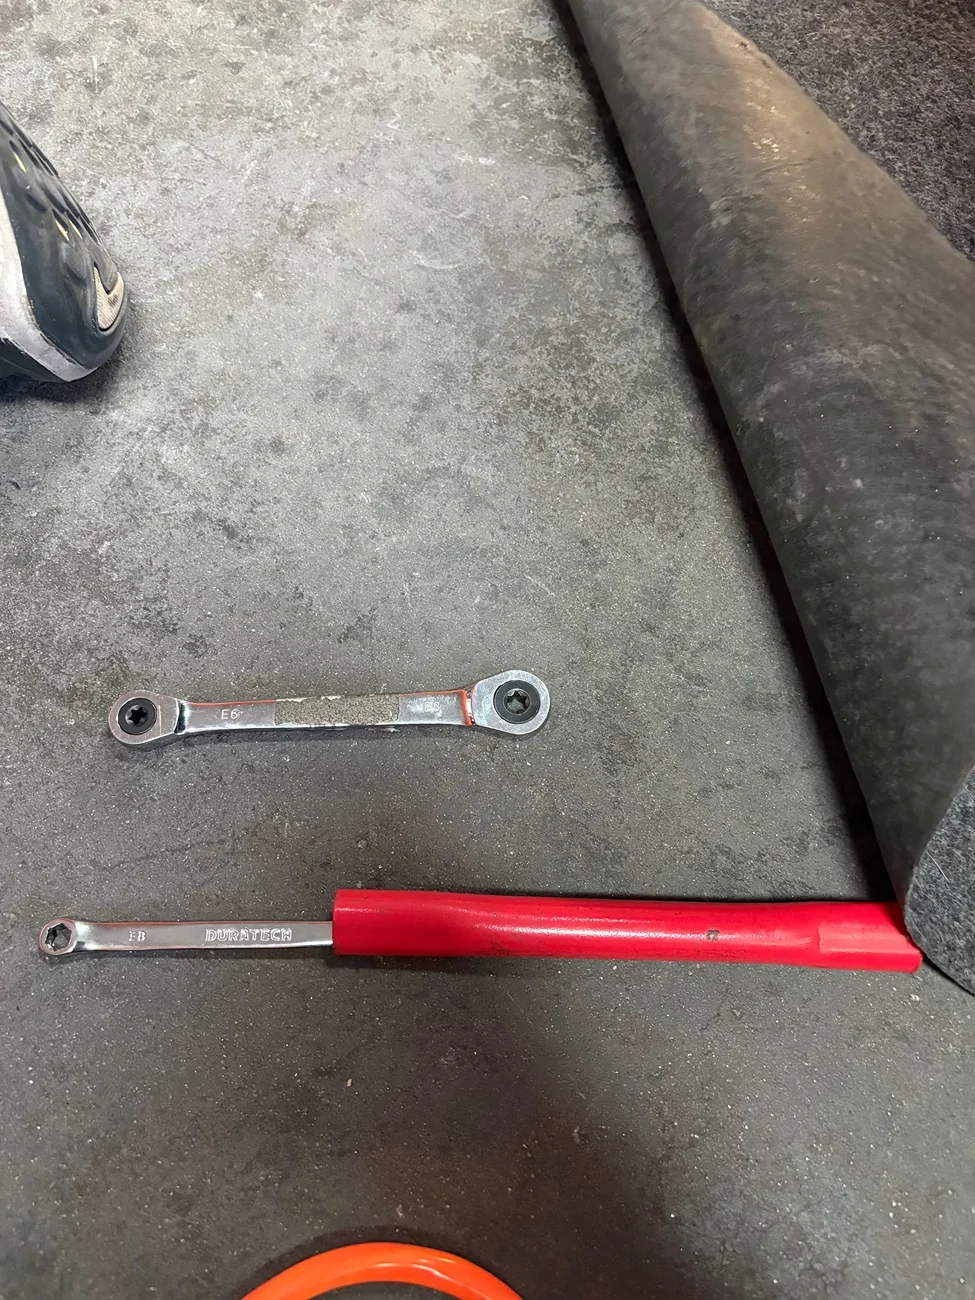
Looks like I just needed to walk away from it and I got it out like nothing this morning lol ! I didn’t have to remove the compressor to get that 1 stud out I used a Torx wrench and a little cheater bar to break it loose and then use a ratcheting Torx wrench
These are your best friend
IMG_8322.webp
IMG_8322.webp
 

John S

Well-Known Member
Joined
Jul 26, 2022
Threads
47
Messages
741
Reaction score
559
Location
Novi, Michigan
First Name
John
Vehicle(s)
2022 Mach 1 HP
Great news, yep those ratcheting torx wrenches are a life saver. Glad your A/C compressor system wasn't as bad for clearance as my son's.
 
OP
OP

calderong242

New Member
Joined
Jan 15, 2026
Threads
1
Messages
4
Reaction score
0
Location
Albuquerque
First Name
Gabriel
Vehicle(s)
2014 Ford Mustang GT
Great news, yep those ratcheting torx wrenches are a life saver. Glad your A/C compressor system wasn't as bad for clearance as my son's
Great news, yep those ratcheting torx wrenches are a life saver. Glad your A/C compressor system wasn't as bad for clearance as my son's.
They sure are life savers ! Did you have to trim both motor mount studs and did you reuse all of the studs for the new long tubes ? The supplied bolts wouldn’t work ?
I’m just asking because I had read your old post about it
 

Sponsored

John S

Well-Known Member
Joined
Jul 26, 2022
Threads
47
Messages
741
Reaction score
559
Location
Novi, Michigan
First Name
John
Vehicle(s)
2022 Mach 1 HP
I did a trial fit by mounting both headers with a few conventional nuts on a few studs with the old OEM gaskets to find where interference concerns were before the final mounting with new studs, gaskets and lock nuts. Bolts would have been easier to assemble but I've had better results with fresh studs and lock nuts staying put and not risk stripping the aluminum heads on other installations so that's what I use whenever possible. (Ford Performance markets a complete kit of studs, nuts, and gaskets for F150 Coyote) Only the driver's side motor mount stud needed minor trimming. Heating and pounding a slight flat into the large radius tube where it was close to the driver's side frame rail was a breeze off the car instead of trying to do anything, after the fact, on the mounted header. Verify proper fitment of your gasket and header flange as you mount that corner of the header, I had interference issues. Doing the installation with the A/C compressor in the way is a challenge and there's no way I was going to remove the compressor like the Ford shop manual recommends for a simple exhaust manifold removal. Good luck.
 
OP
OP

calderong242

New Member
Joined
Jan 15, 2026
Threads
1
Messages
4
Reaction score
0
Location
Albuquerque
First Name
Gabriel
Vehicle(s)
2014 Ford Mustang GT
I did a trial fit by mounting both headers with a few conventional nuts on a few studs with the old OEM gaskets to find where interference concerns were before the final mounting with new studs, gaskets and lock nuts. Bolts would have been easier to assemble but I've had better results with fresh studs and lock nuts staying put and not risk stripping the aluminum heads on other installations so that's what I use whenever possible. (Ford Performance markets a complete kit of studs, nuts, and gaskets for F150 Coyote) Only the driver's side motor mount stud needed minor trimming. Heating and pounding a slight flat into the large radius tube where it was close to the driver's side frame rail was a breeze off the car instead of trying to do anything, after the fact, on the mounted header. Verify proper fitment of your gasket and header flange as you mount that corner of the header, I had interference issues. Doing the installation with the A/C compressor in the way is a challenge and there's no way I was going to remove the compressor like the Ford shop manual recommends for a simple exhaust manifold removal. Good luck.
Did you have issues fitting the left side ? I trimmed the motor mount stud but I however did not put a flat into the pipe that runs along the frame rail not sure if that’s what’s causing me an issue I couldn’t see very well I didn’t have a second pair of hands helping me so it’s hard for me to see what’s going on up top
Sponsored


Top