masonhoare9
Well-Known Member
- Joined
- Nov 11, 2025
- Threads
- 1
- Messages
- 51
- Reaction score
- 200
- Location
- united states
- First Name
- mason
- Vehicle(s)
- 2015 mustang gt
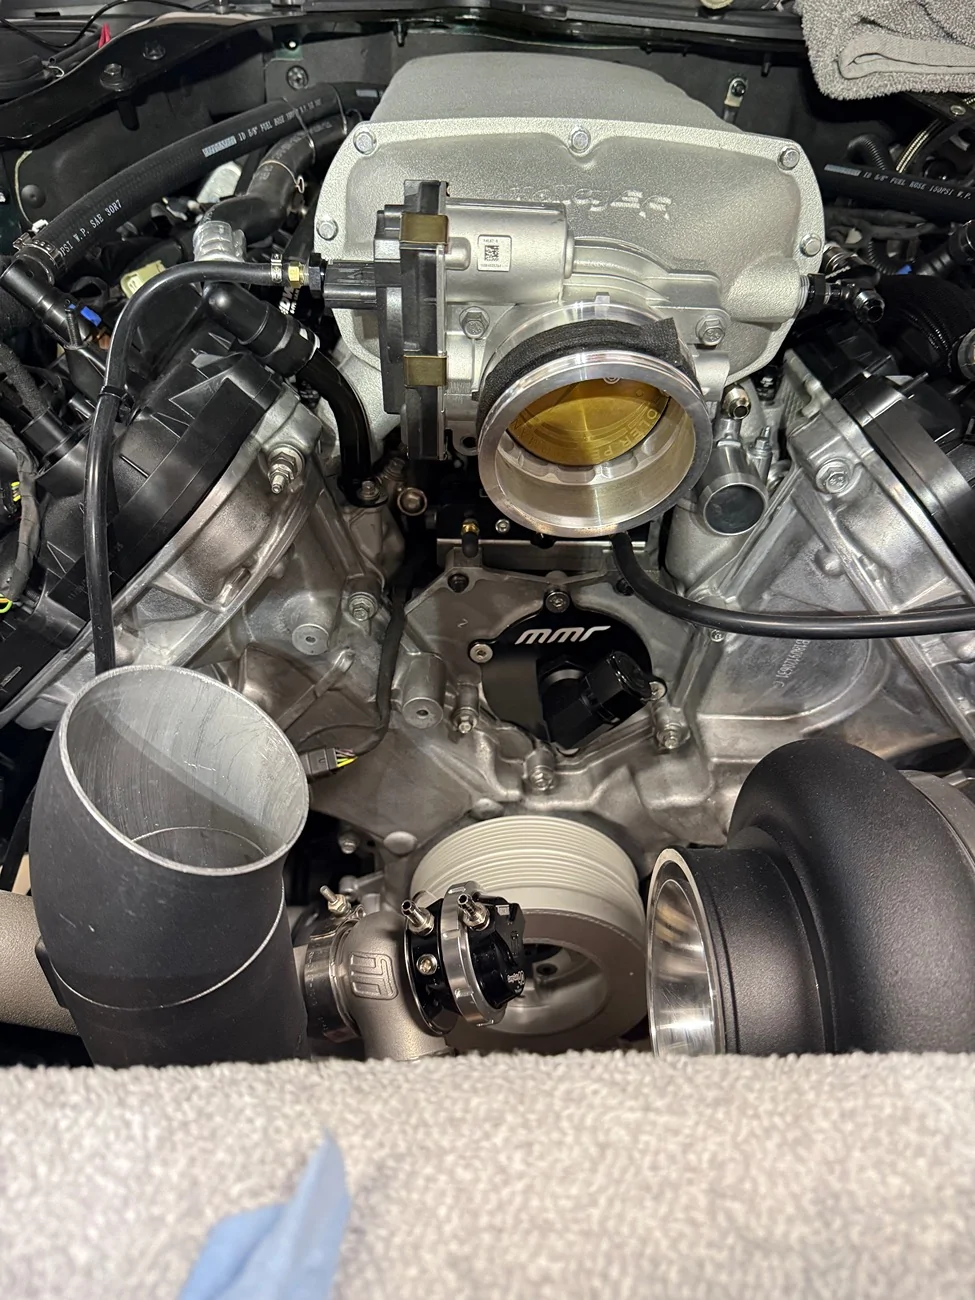
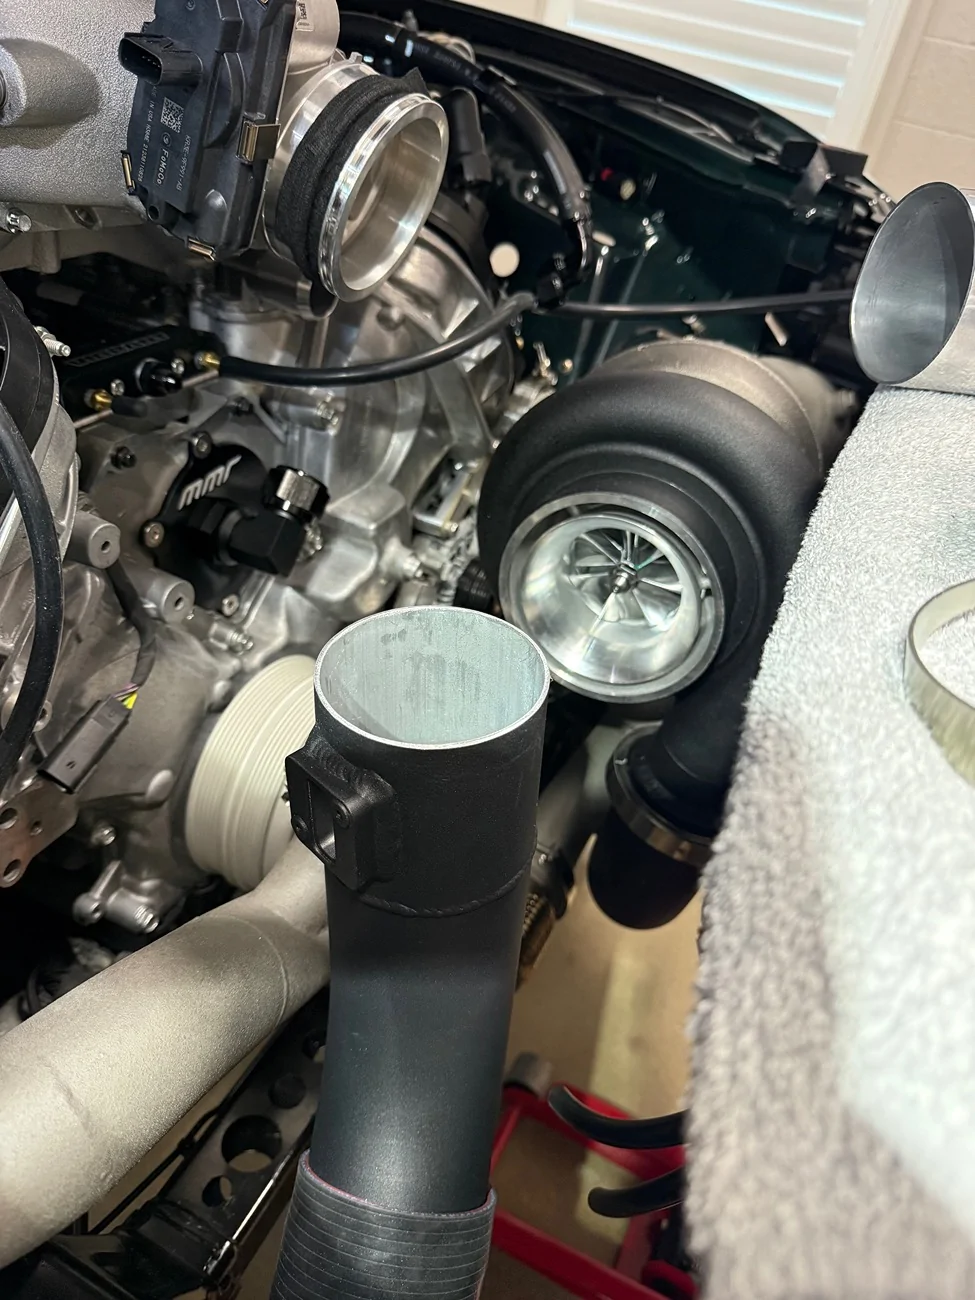
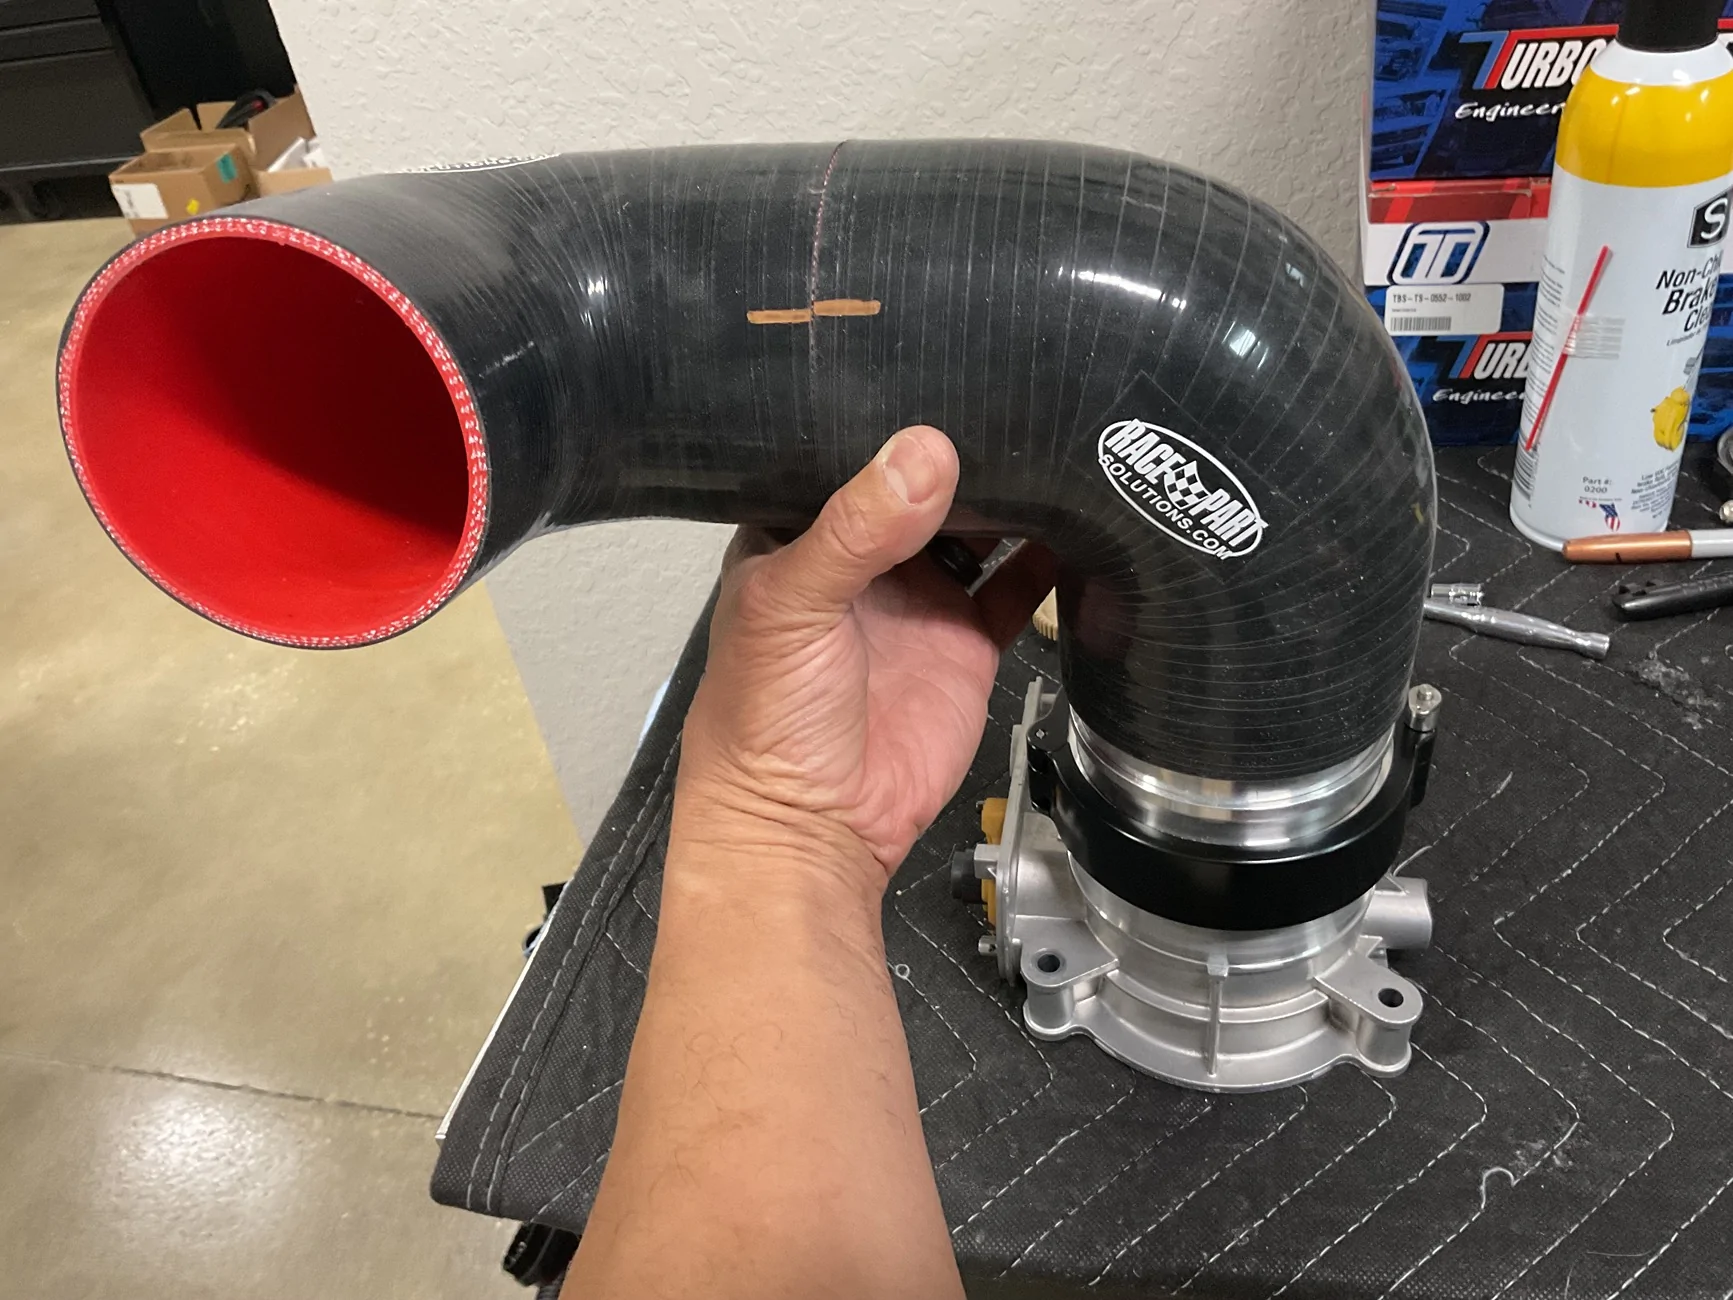
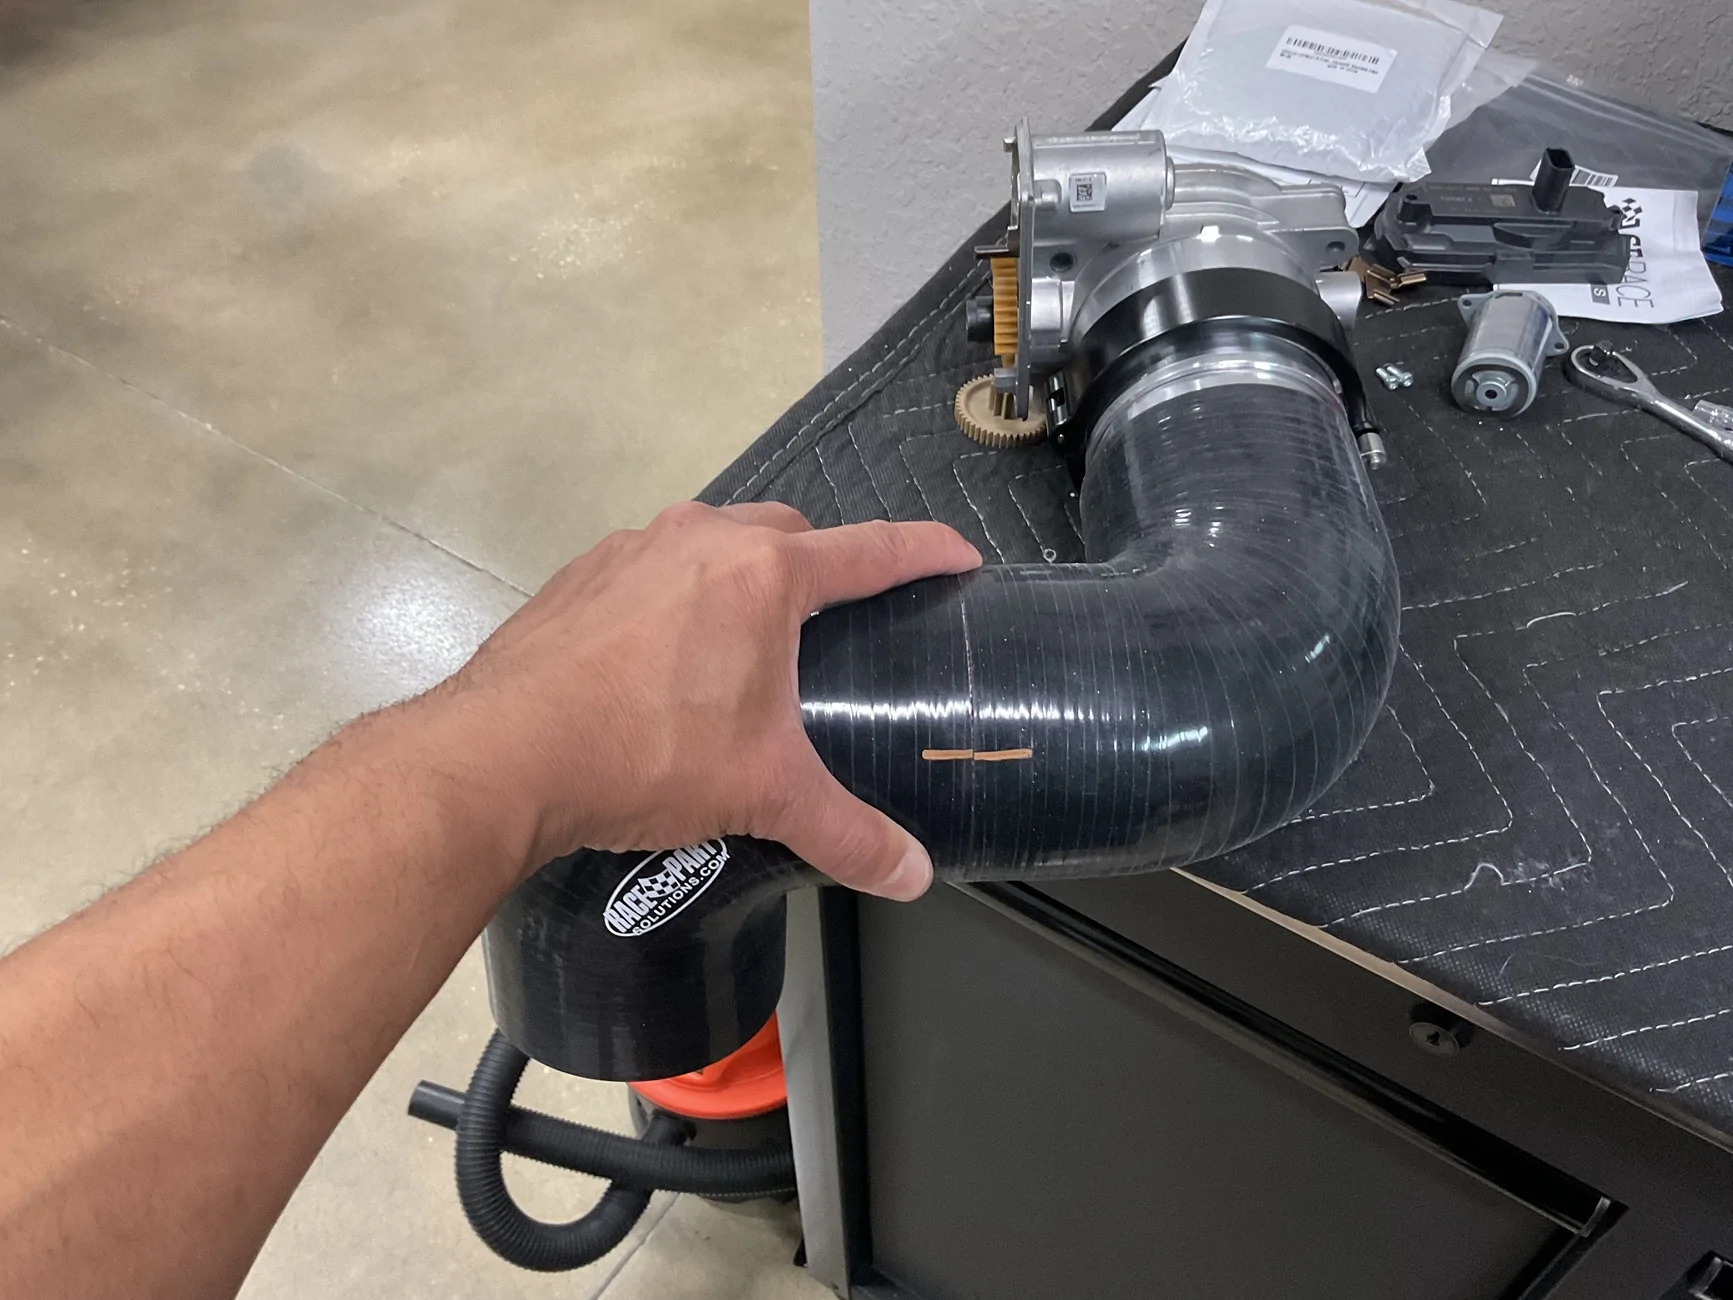
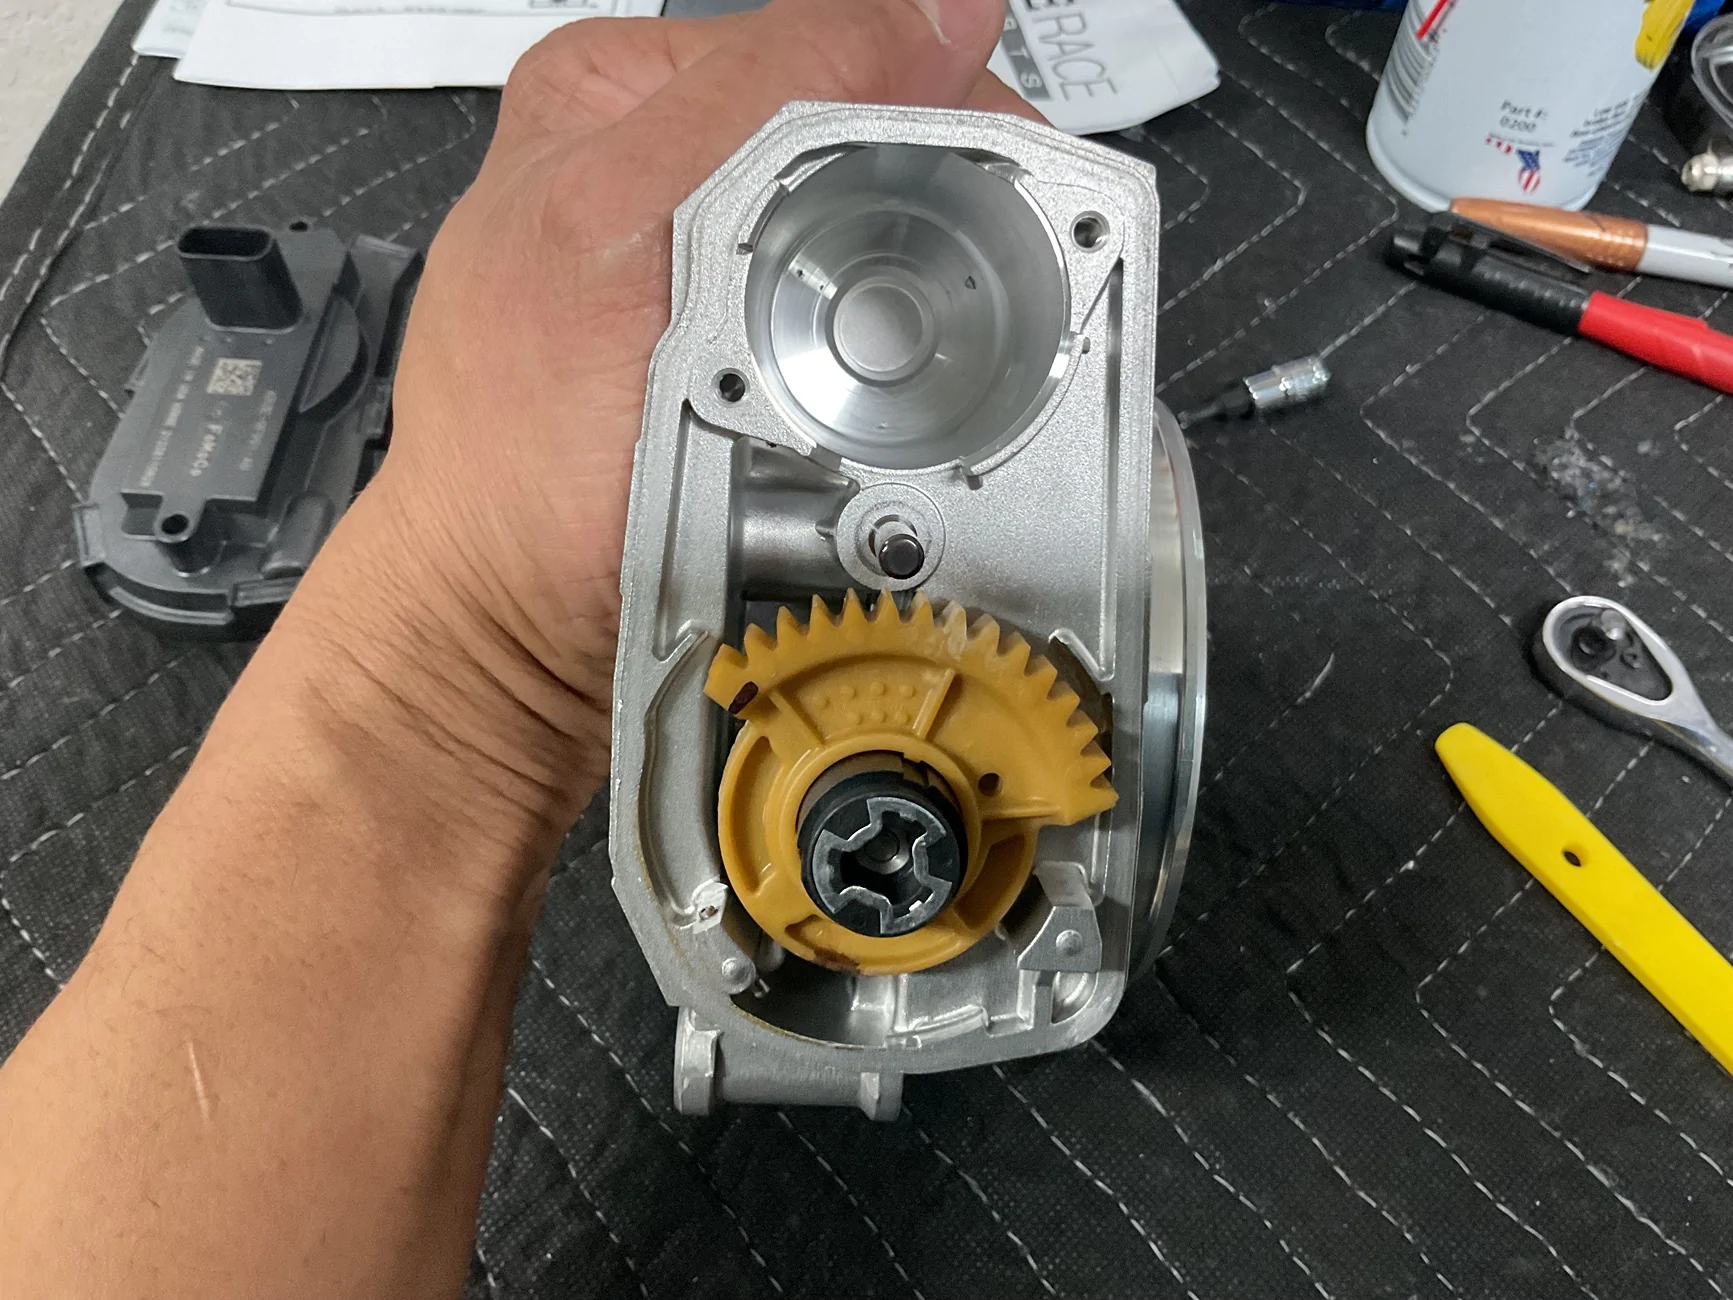
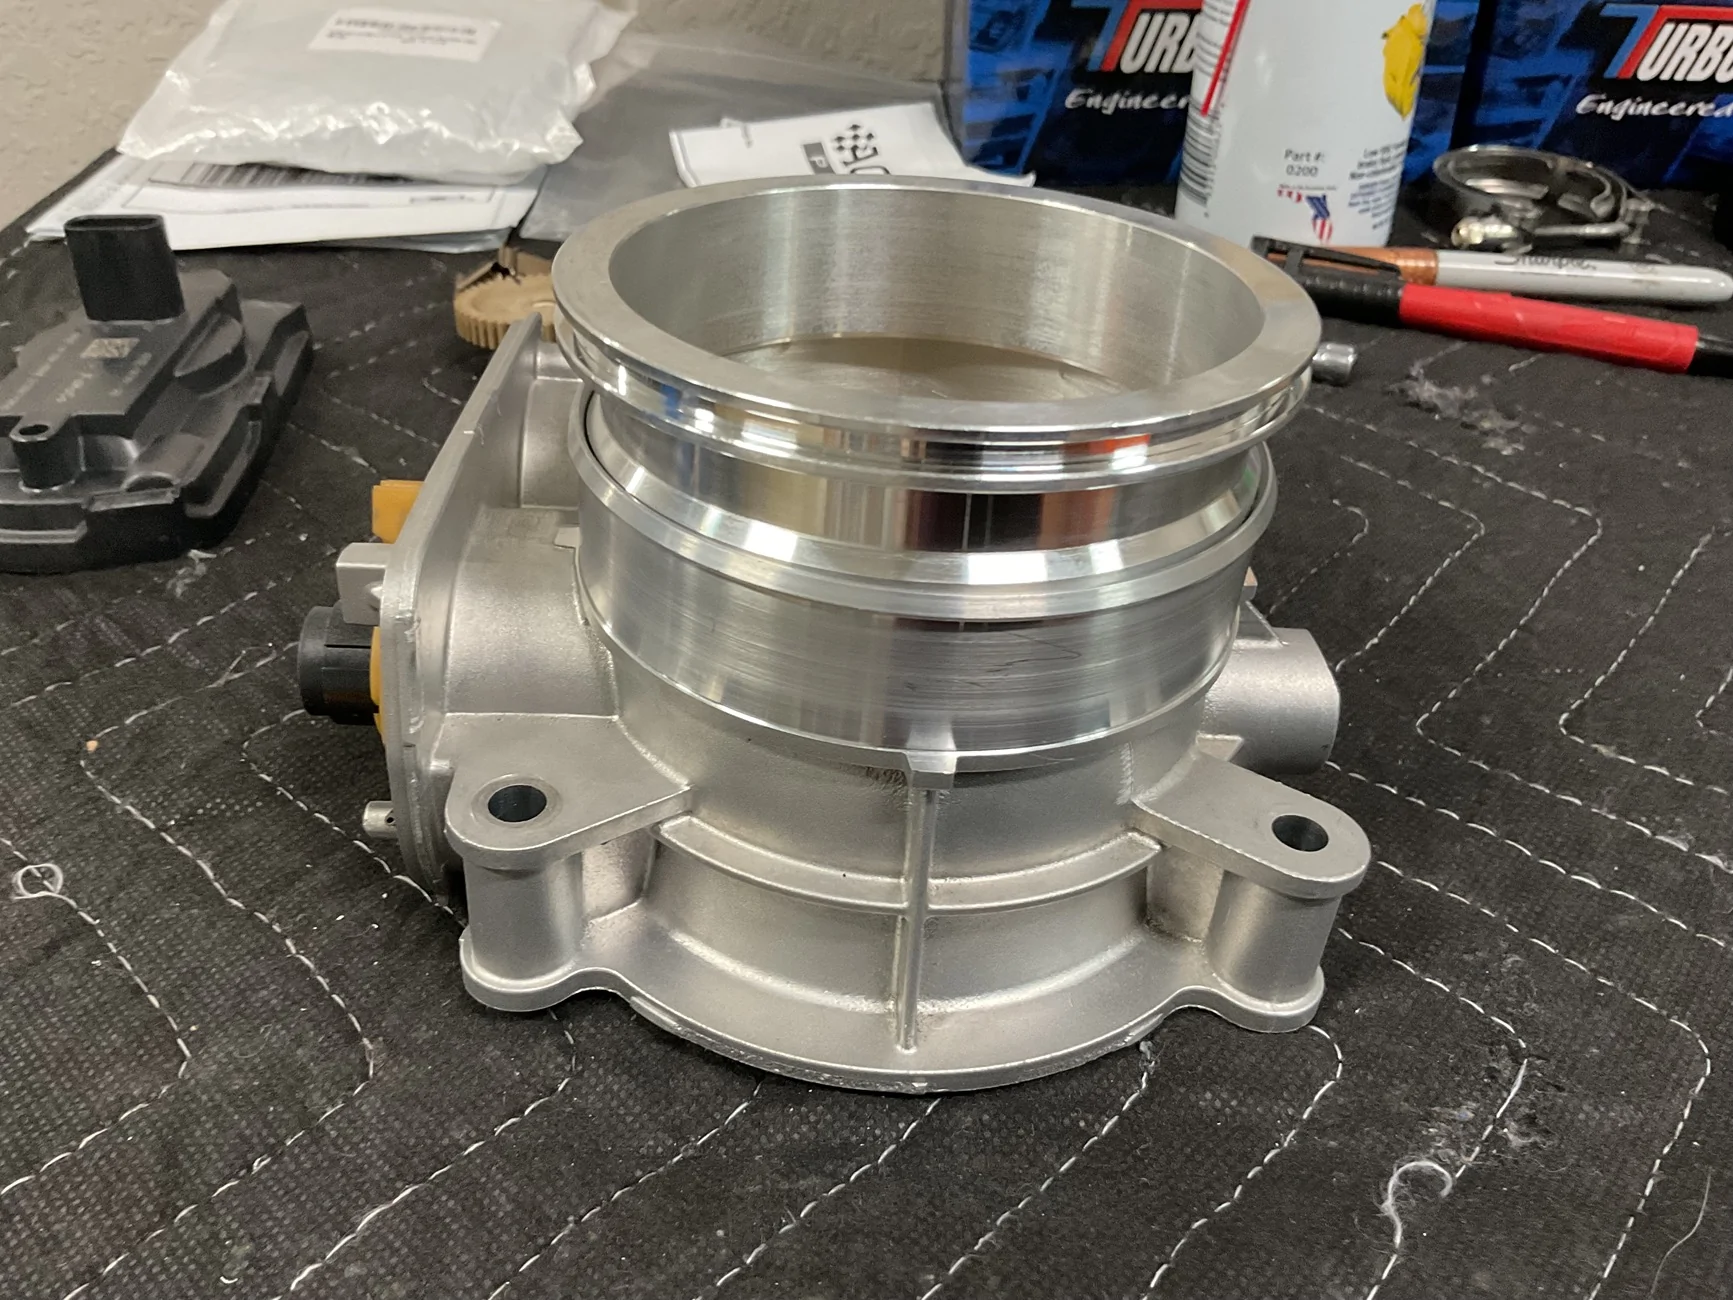
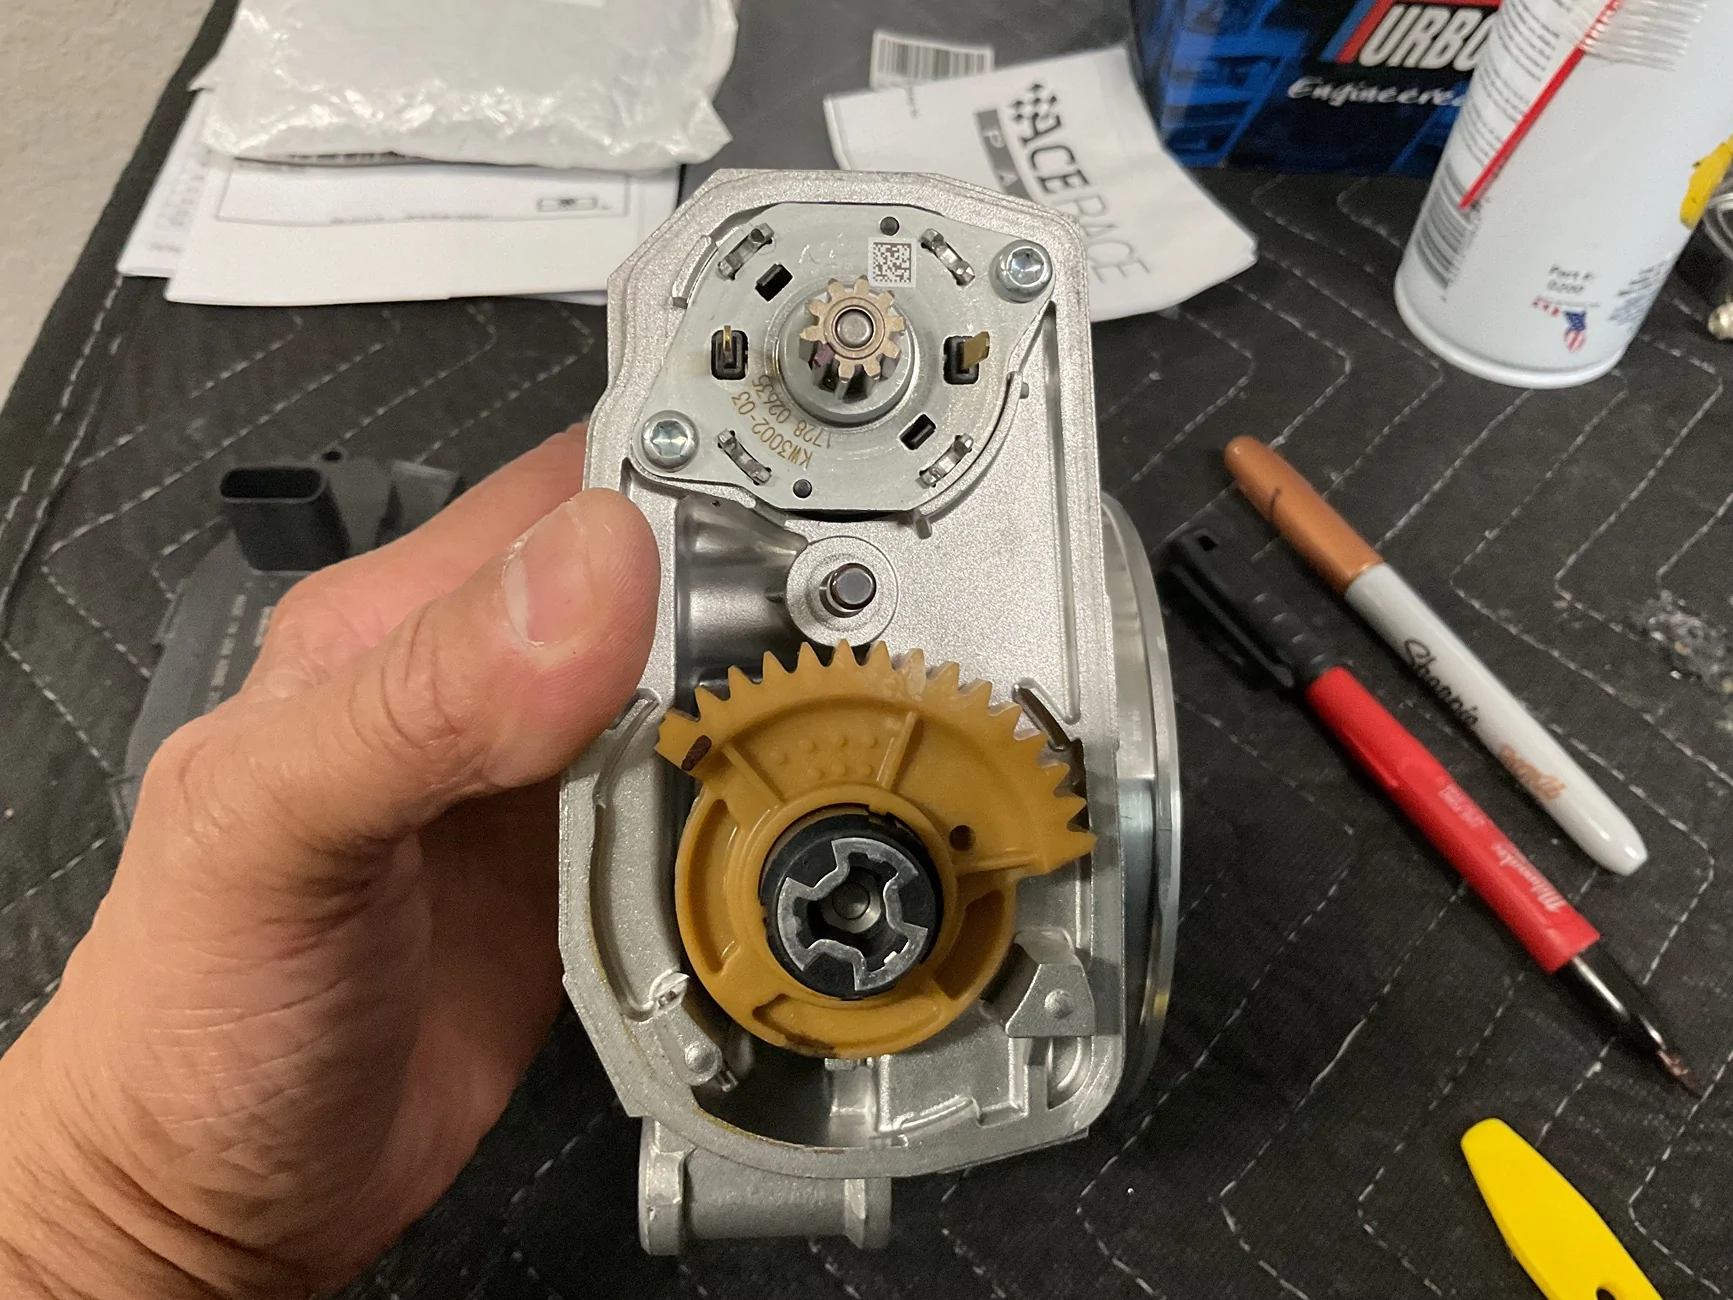
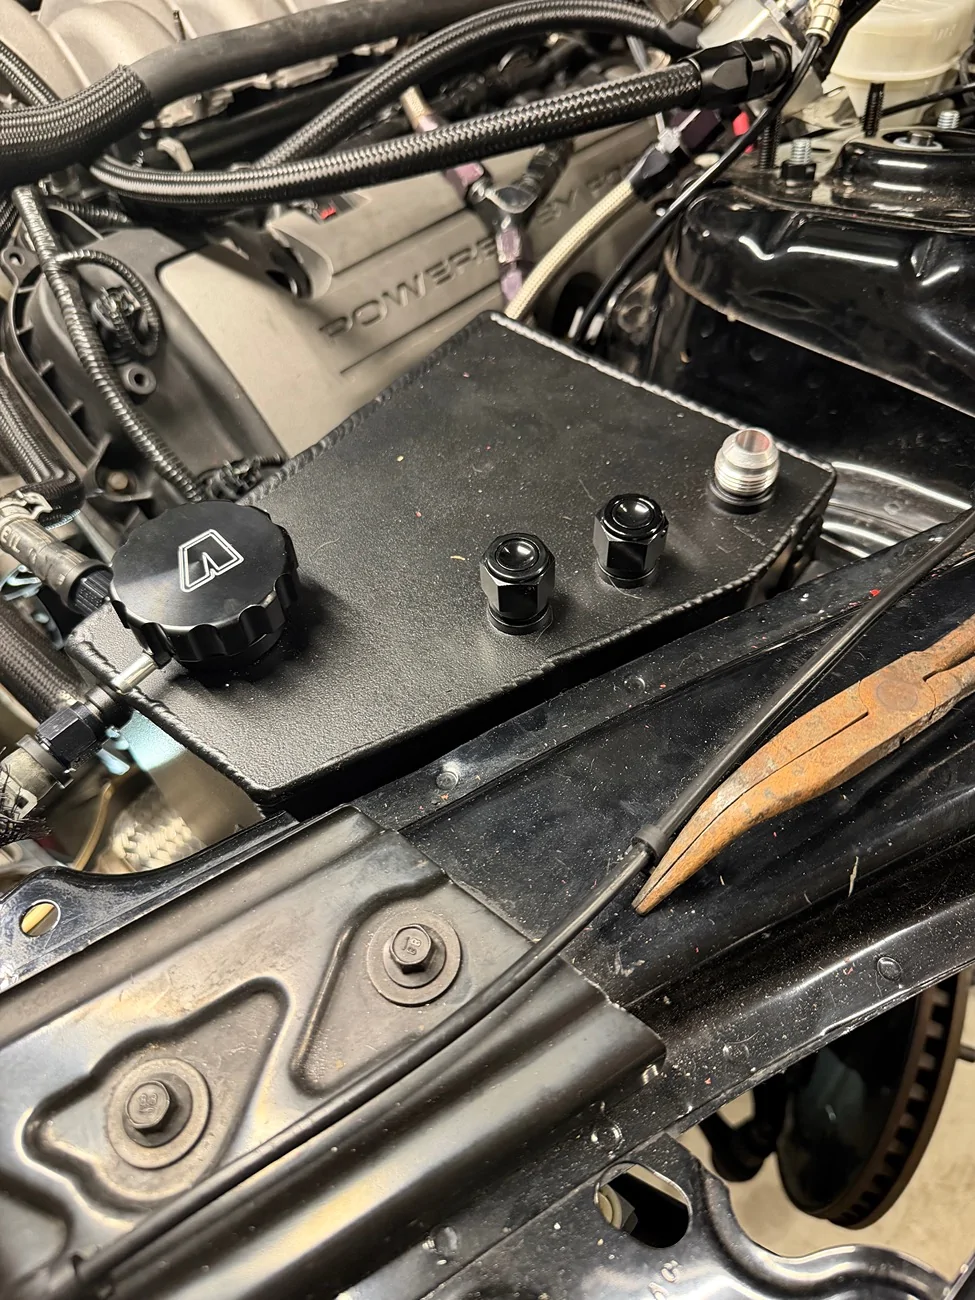
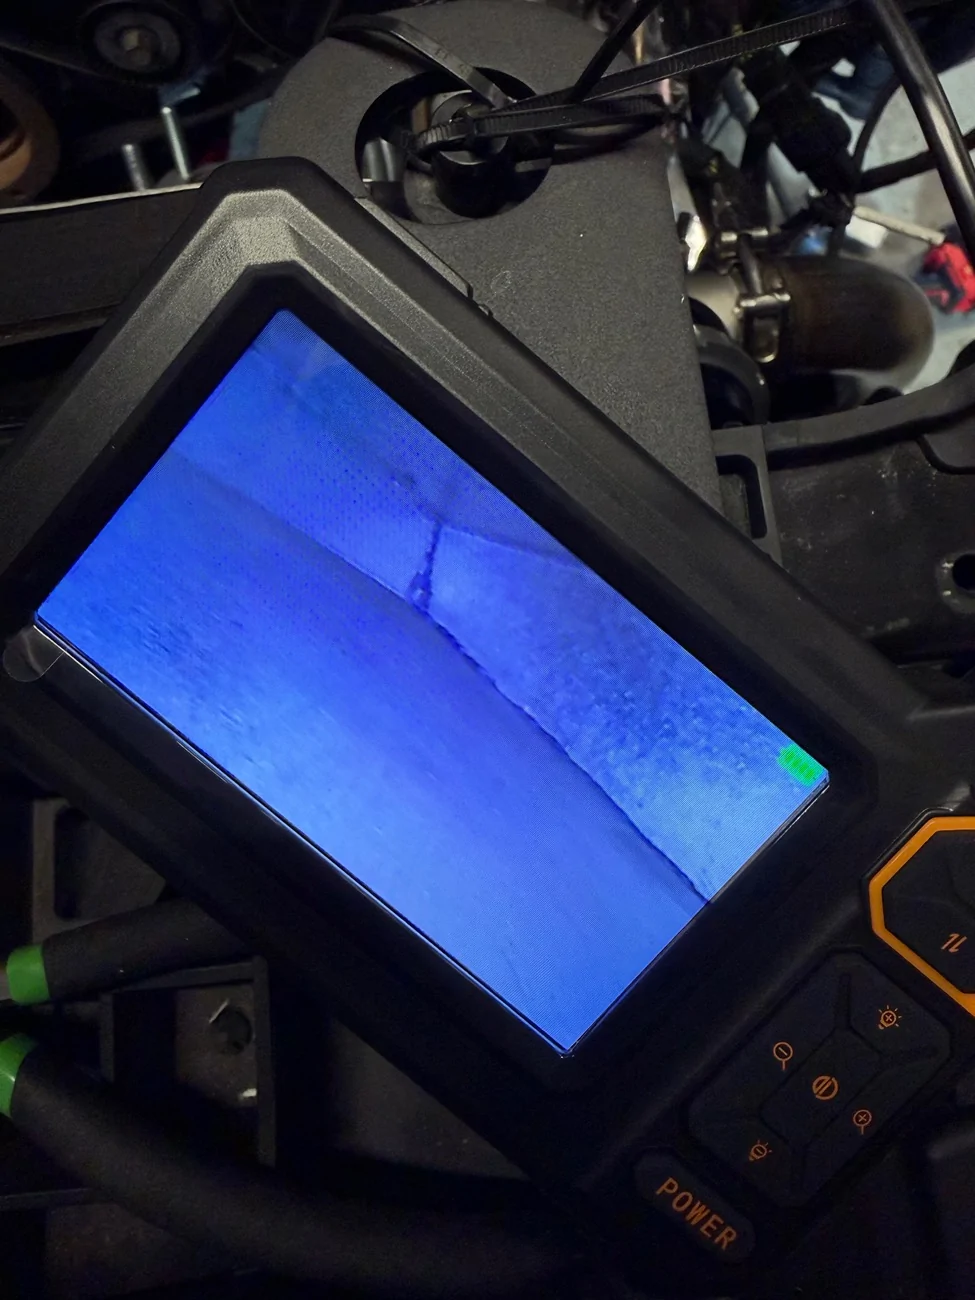
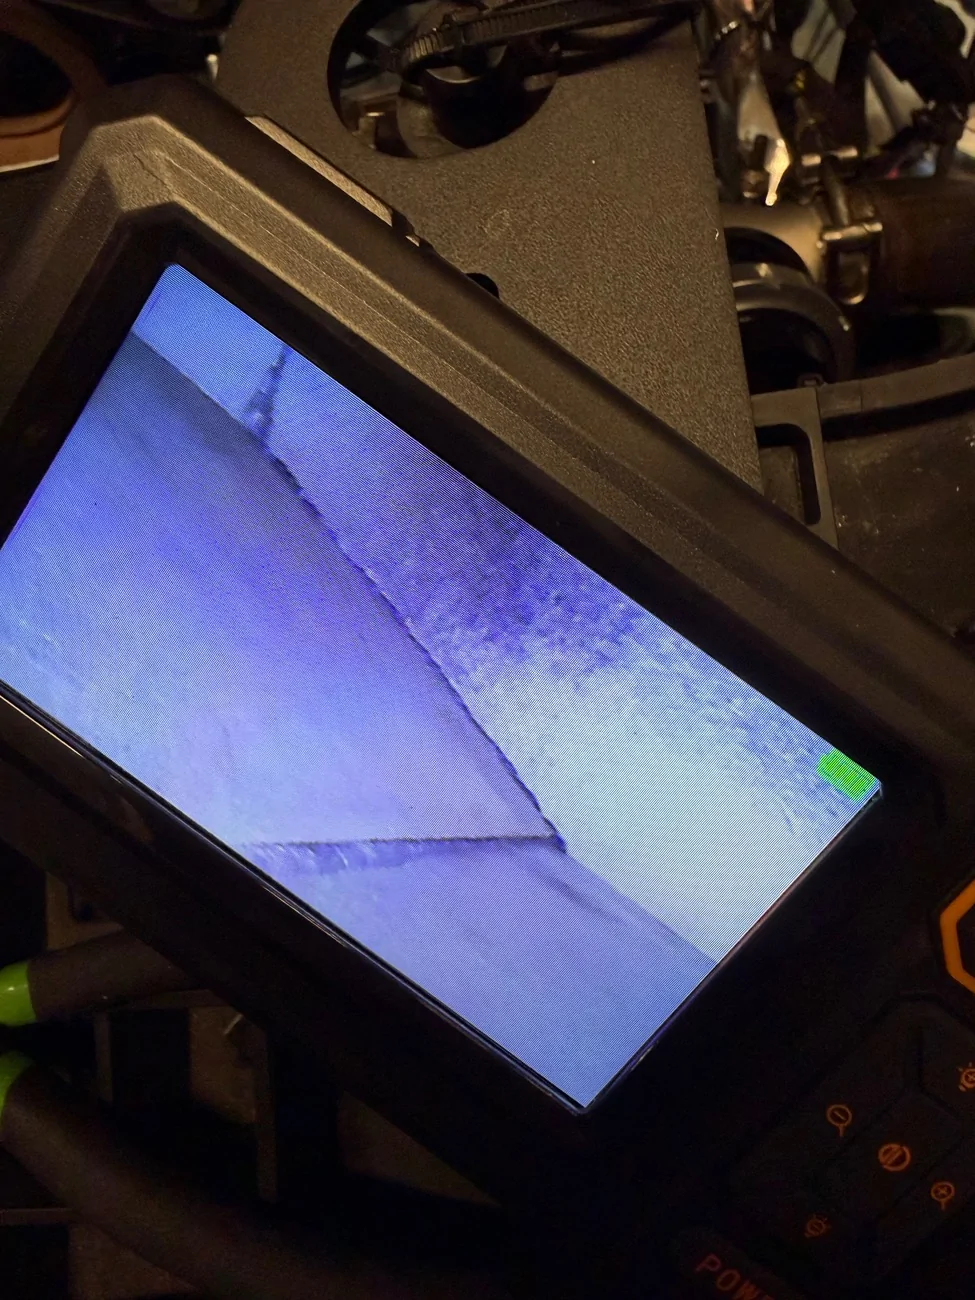
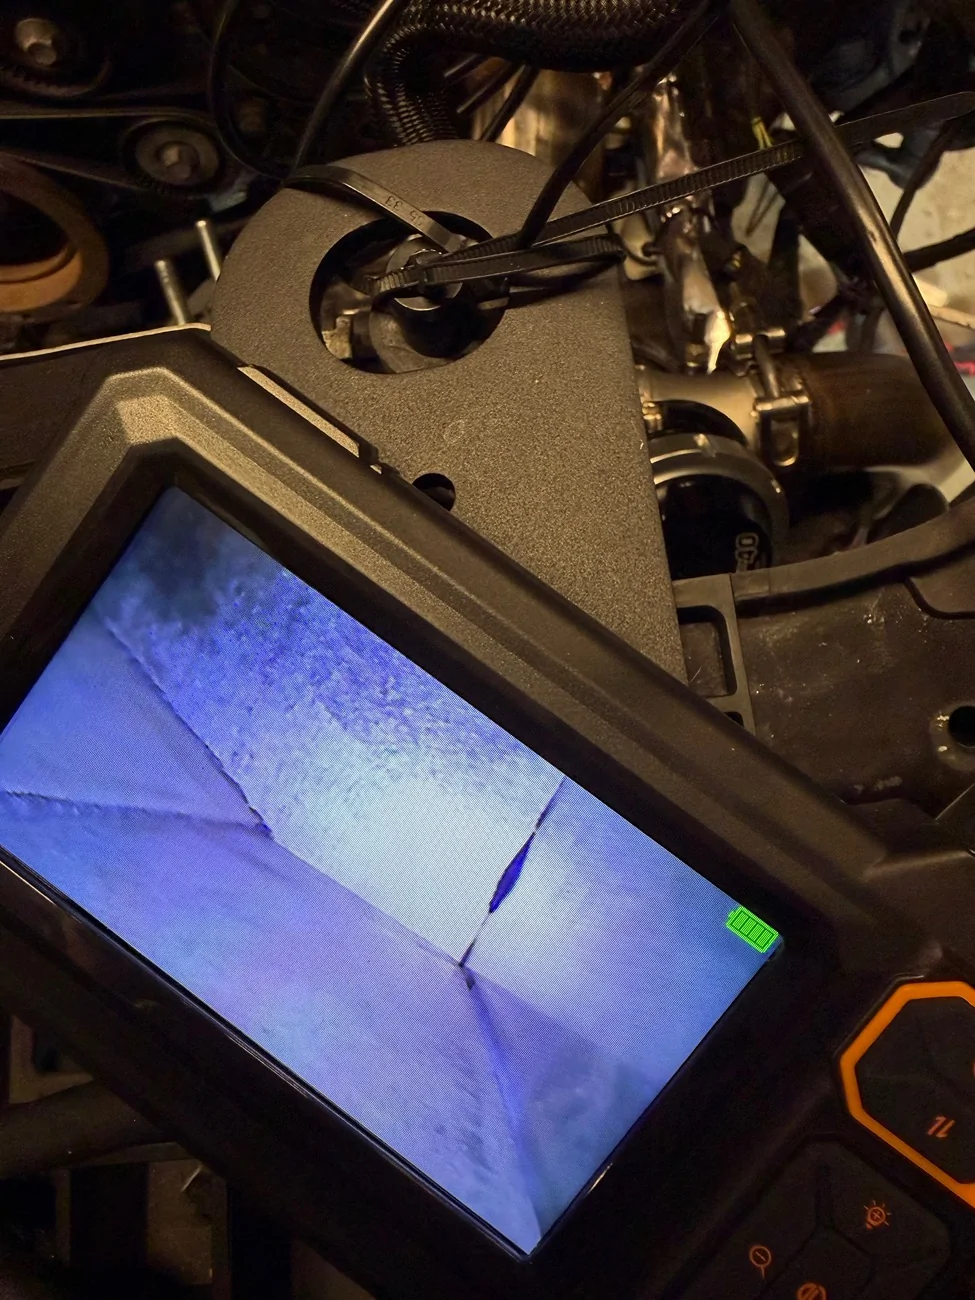
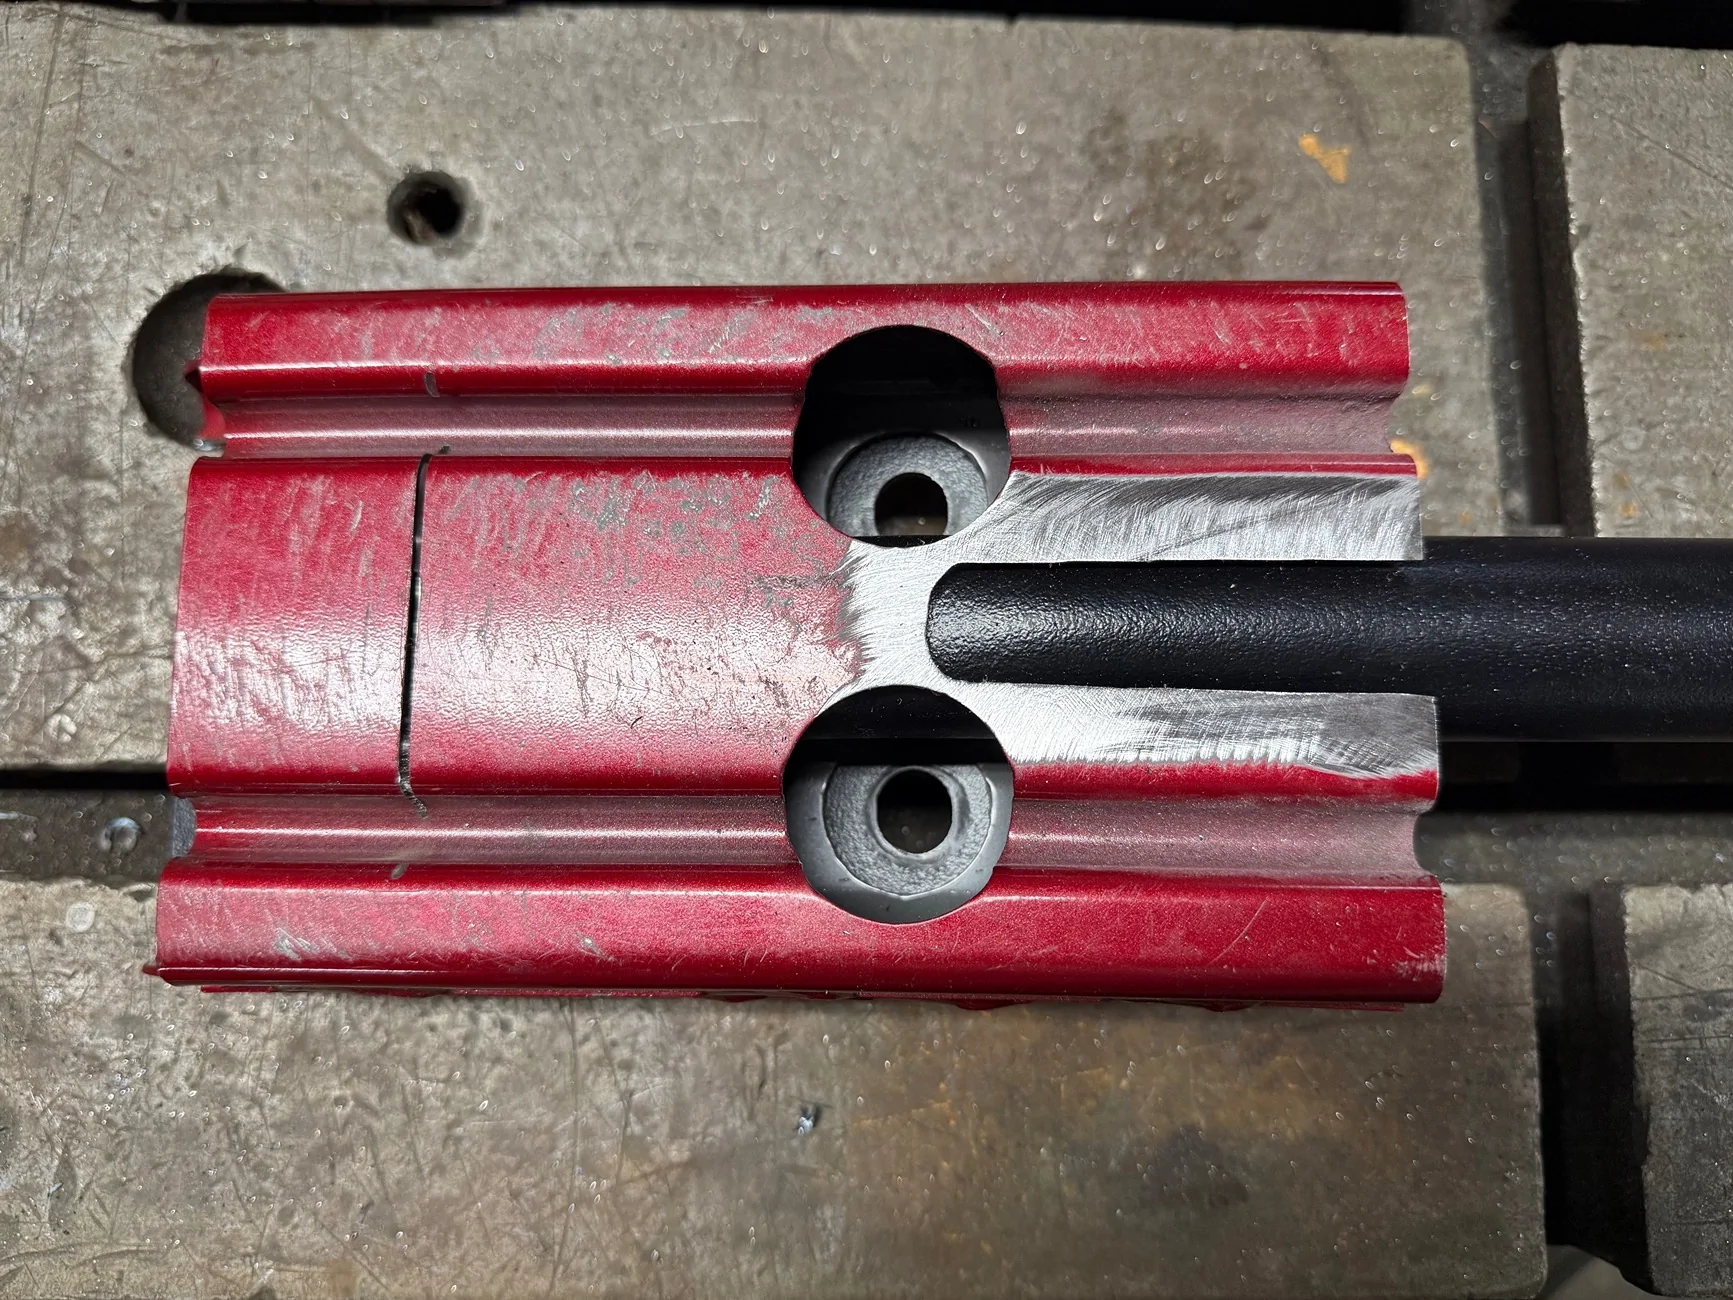
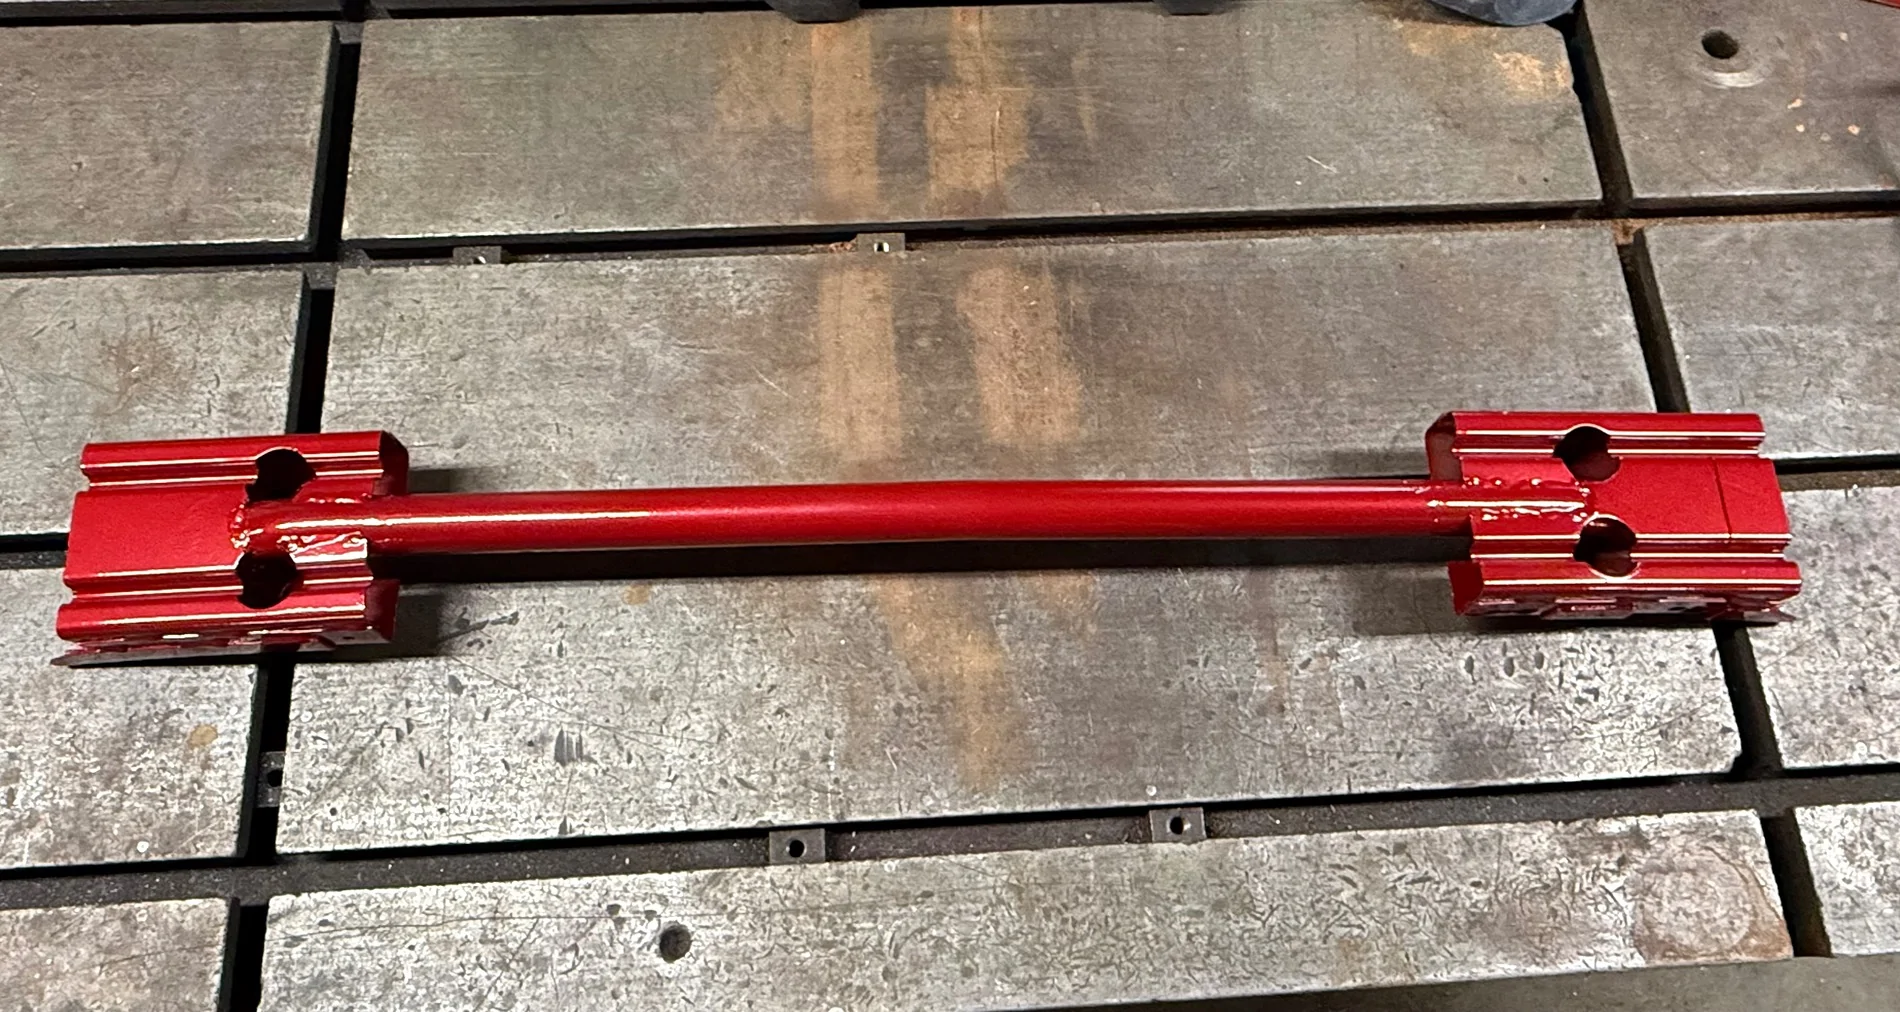
I also tapped a hole on the compressor for boost reference since this turbo does not come with one.


Sponsored


 .
.