Sponsored

OP
OP
NGOT8R
Well-Known Member
- Thread starter
- #287
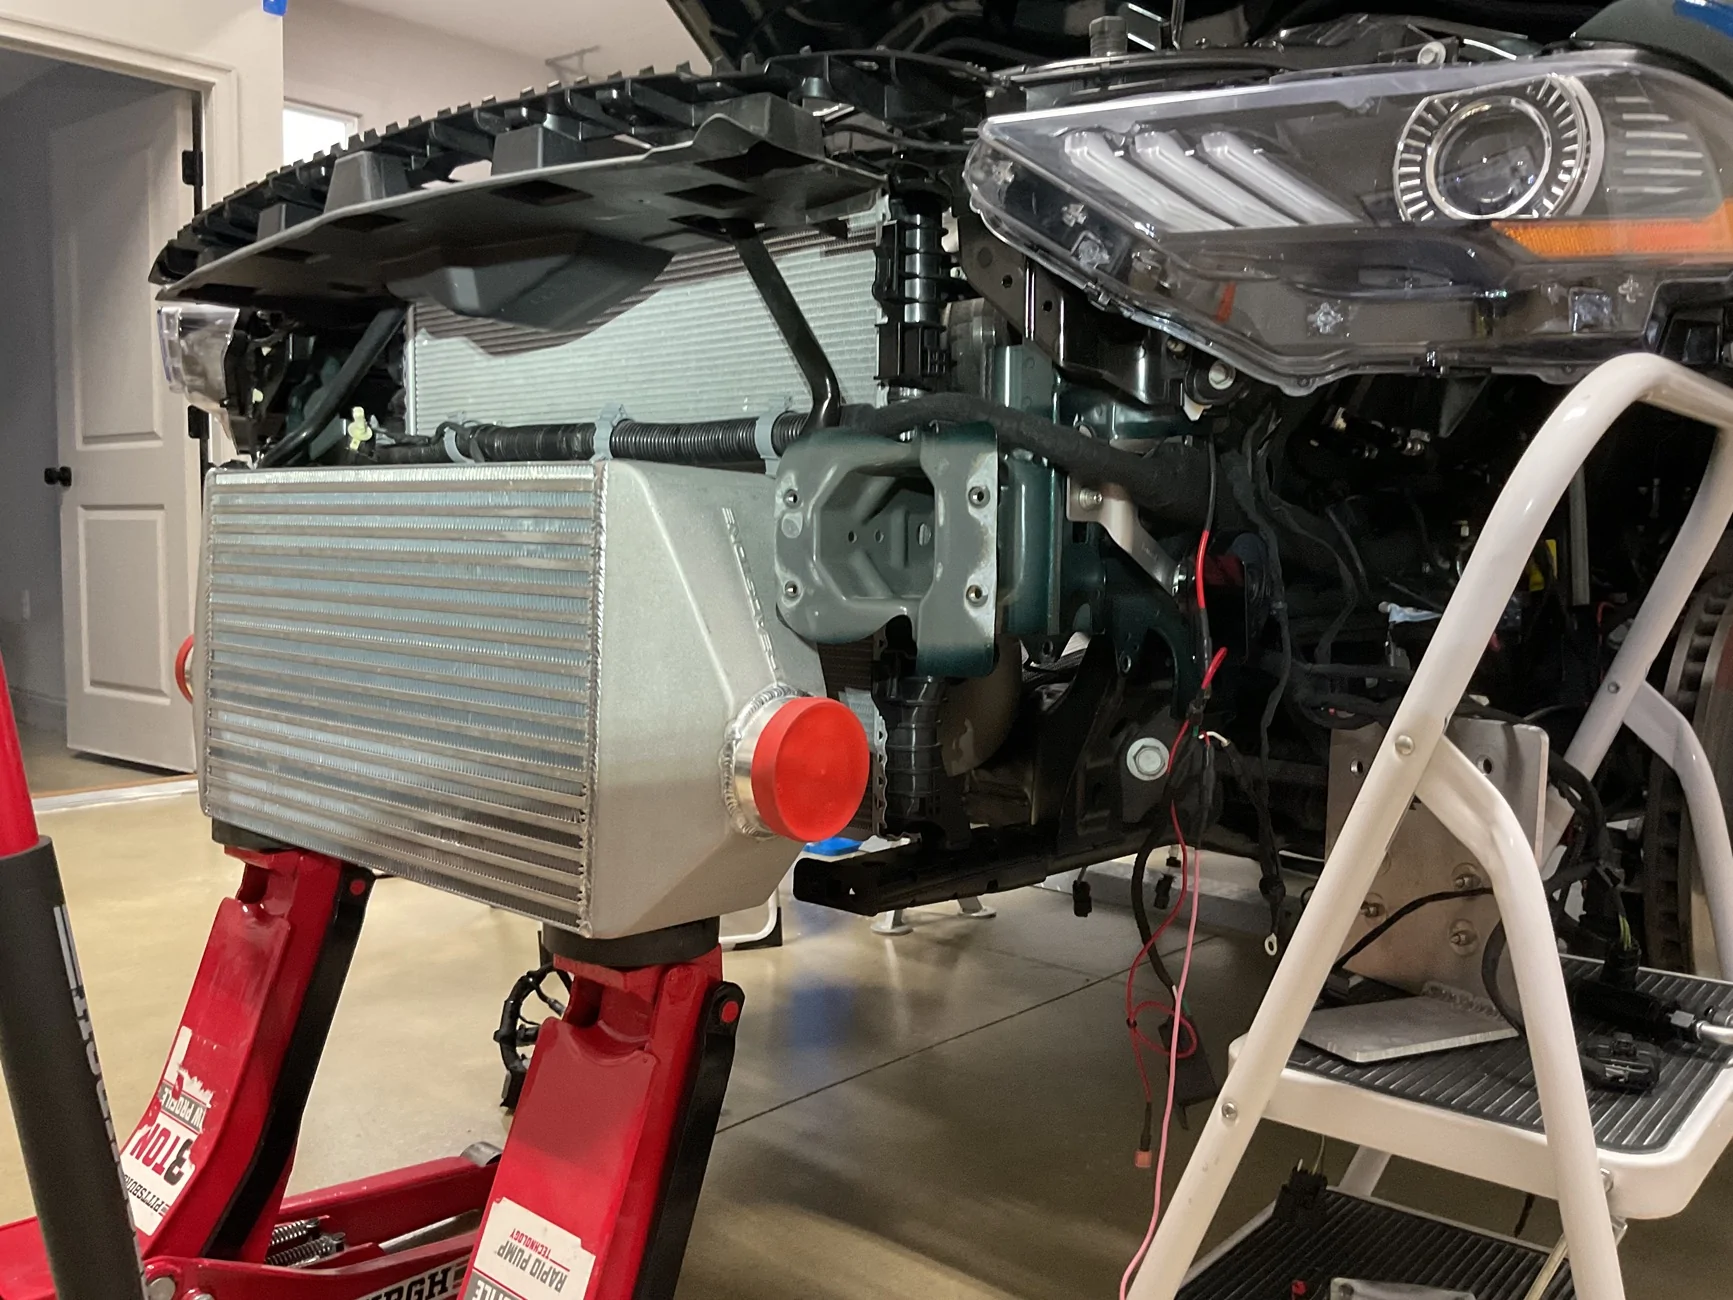
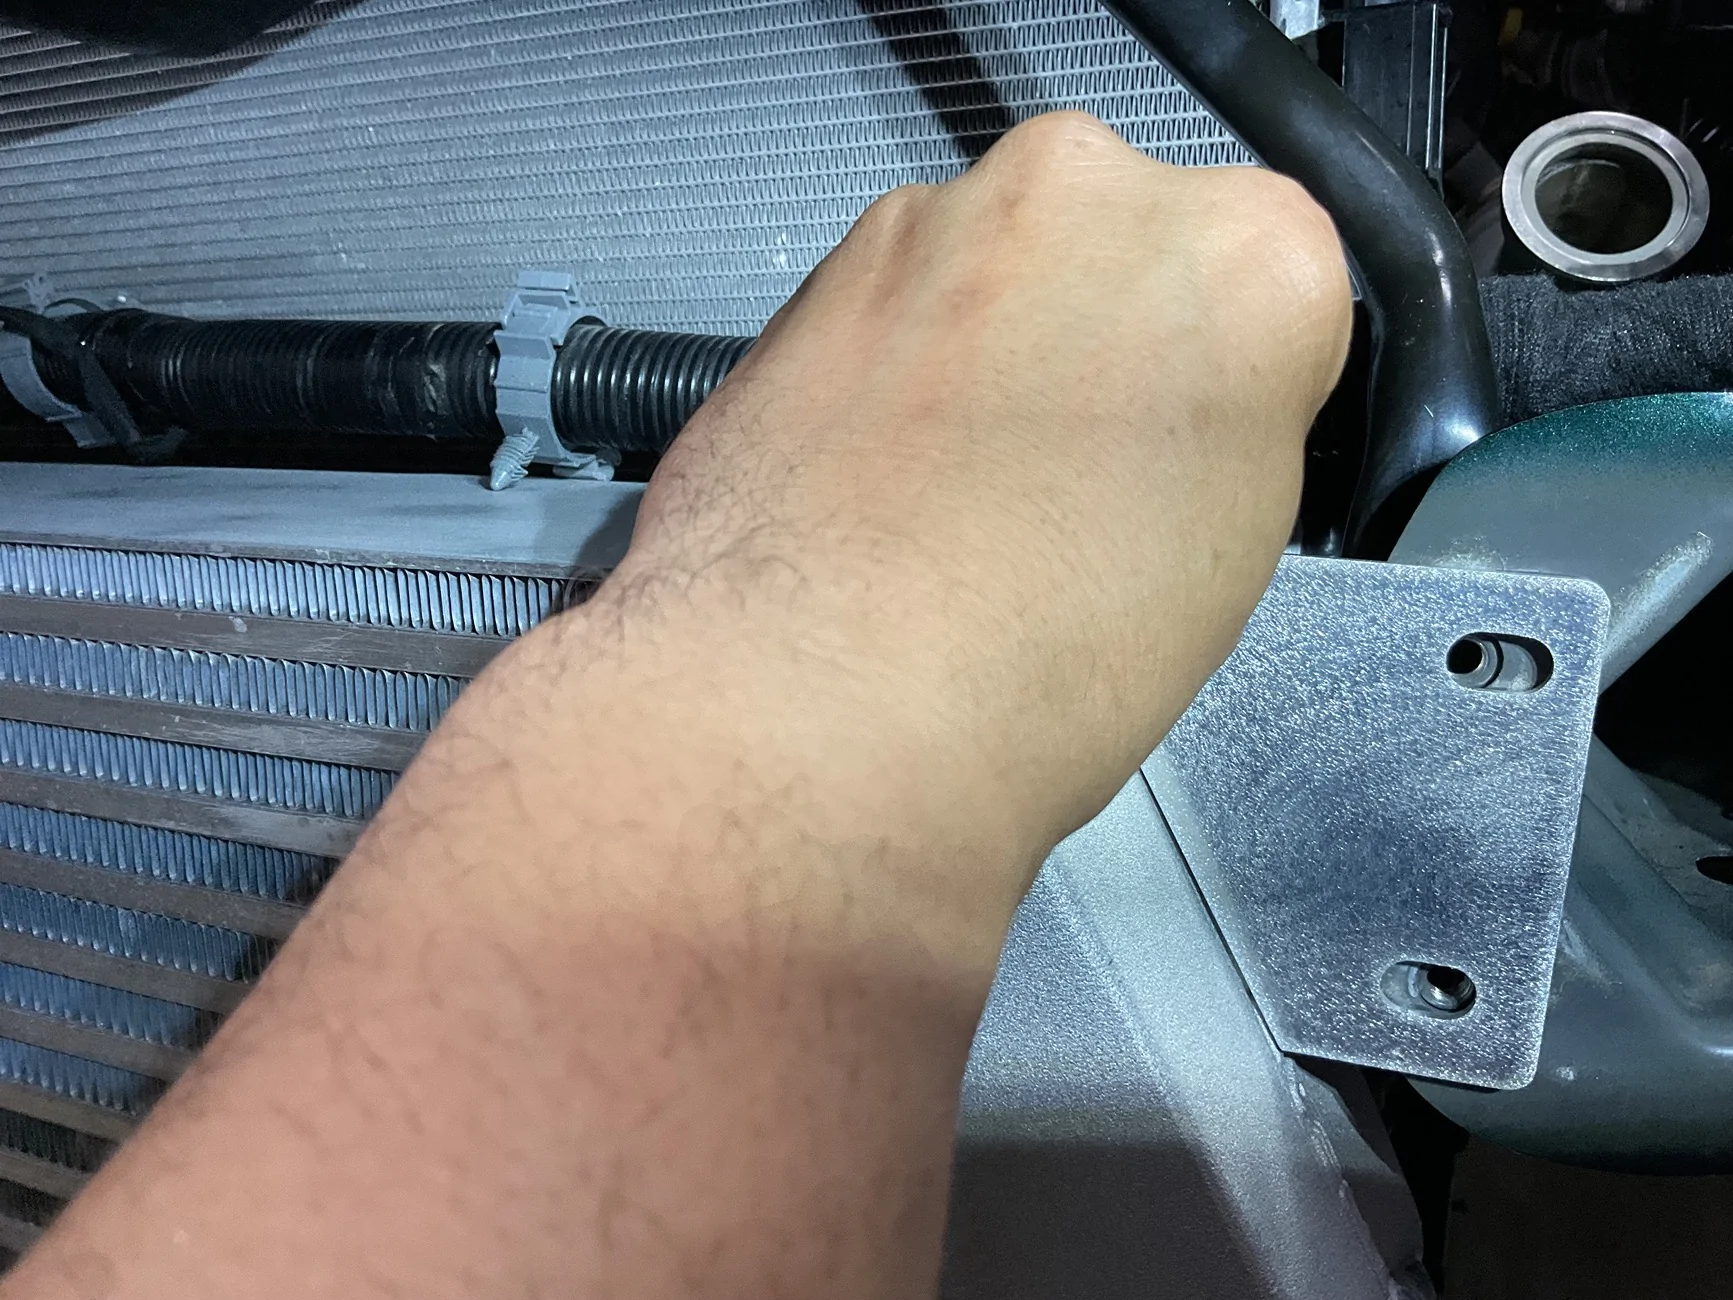
I feel like I will need additional bracing on the intercooler to properly support the weight.. I don’t know that I can trust the two ear brackets alone.
@AcceptableNebula do you have any ideas on how you would go about adding additional bracing and where with the factory k-member?
Beefcake had some threaded bosses welded into his, but he has an aftermarket k-member too.
https://www.mustang6g.com/forums/th...l-fabrication-install-2018-mustang-gt.156365/
wingnutt
Well-Known Member
Of course you have the fat girl version of the intercooler…but if it helps, ProCharger uses brackets that go right I the crash bar mount 

AcceptableNebula
Well-Known Member
- Joined
- Apr 5, 2023
- Threads
- 19
- Messages
- 335
- Reaction score
- 927
- Location
- Massachusetts
- First Name
- Jake
- Vehicle(s)
- 2023 Ford Mustang GT Premium
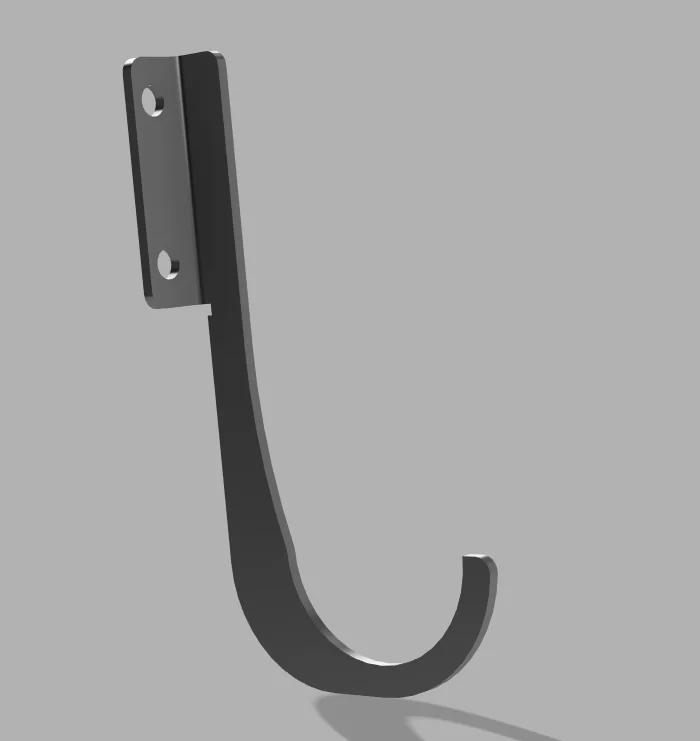
I'd probably make something like this that would take the vertical weight as close to that weld as possible, and then extend material from along the side of the factory K-member straight forward to keep the rotational load and offer more support from the bottom. 5052 is bent easily and could take a few stitches of weld to secure them.

OP
OP
NGOT8R
Well-Known Member
- Thread starter
- #290
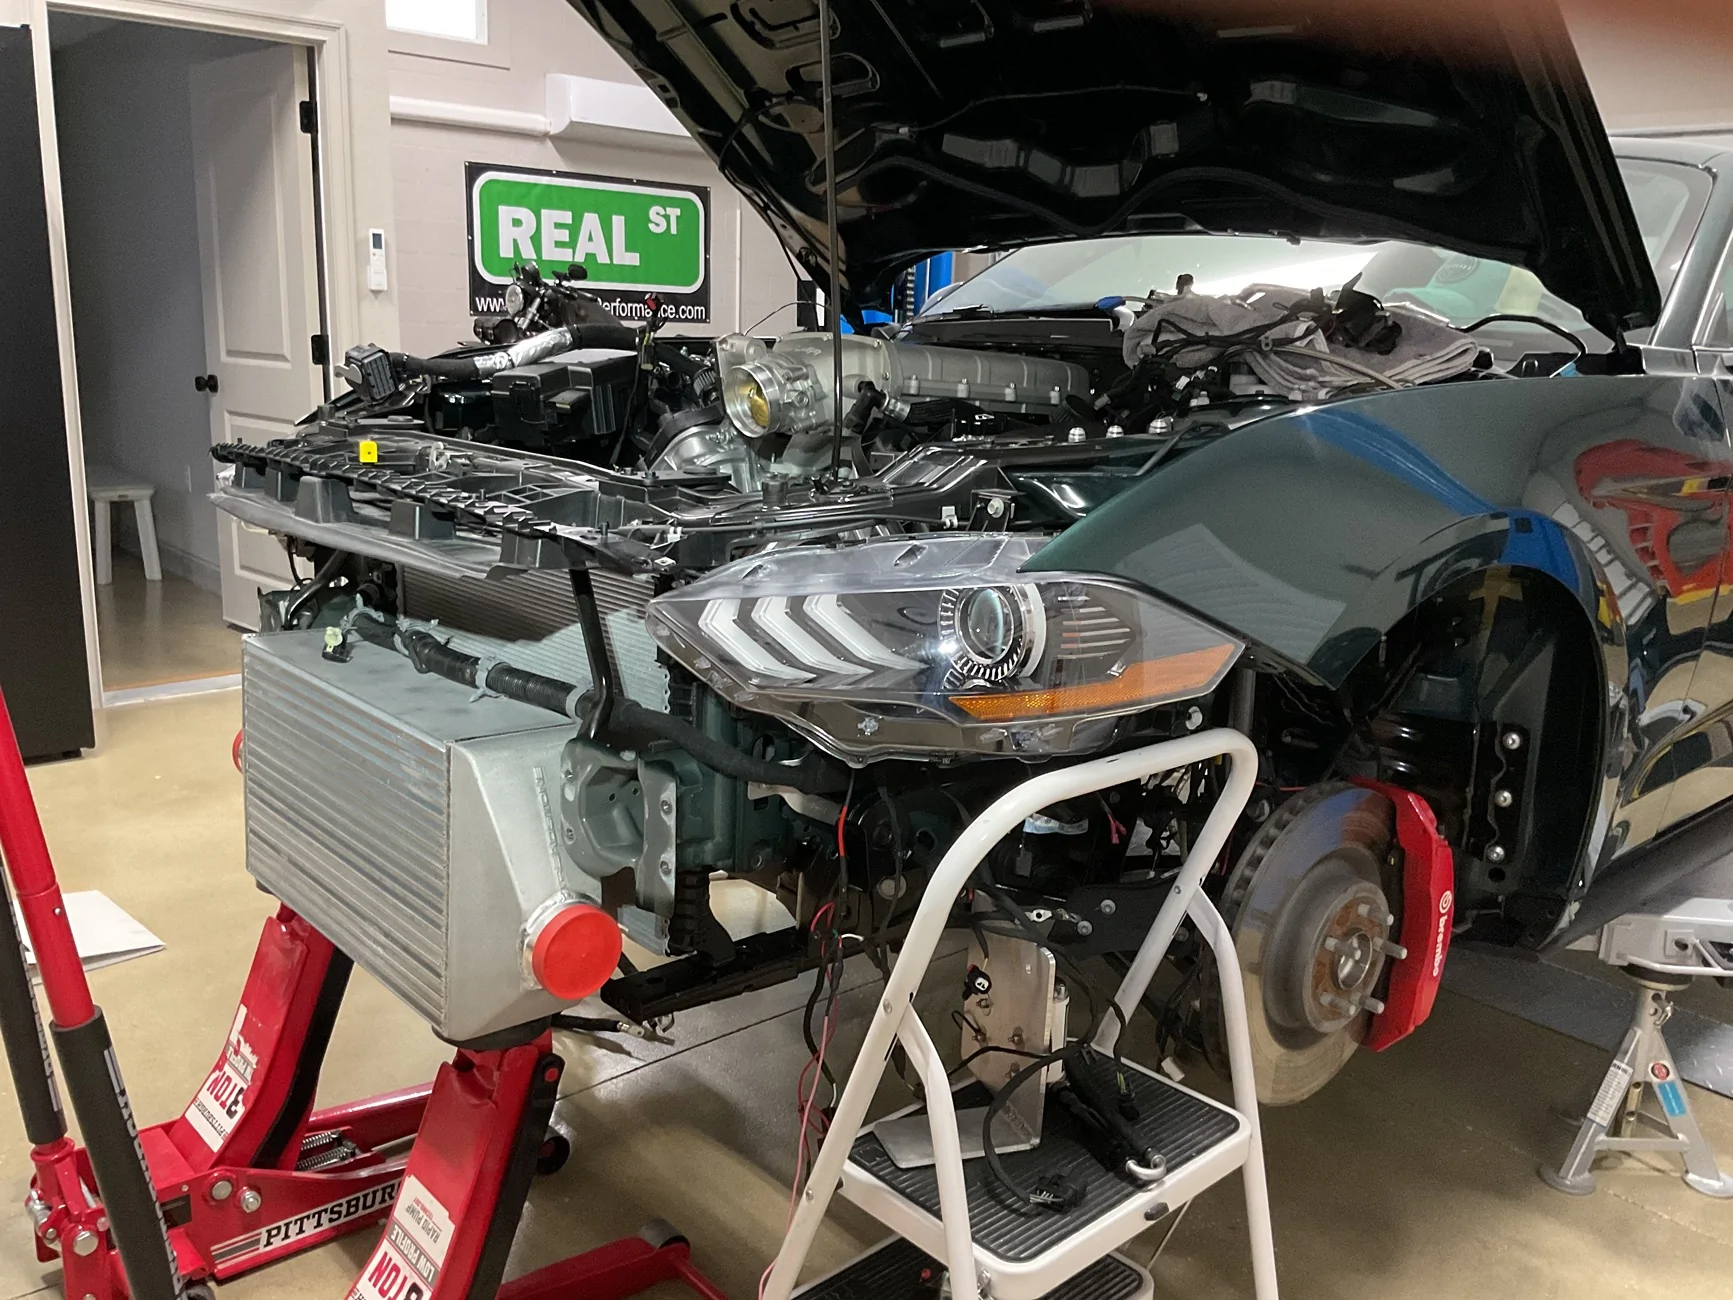
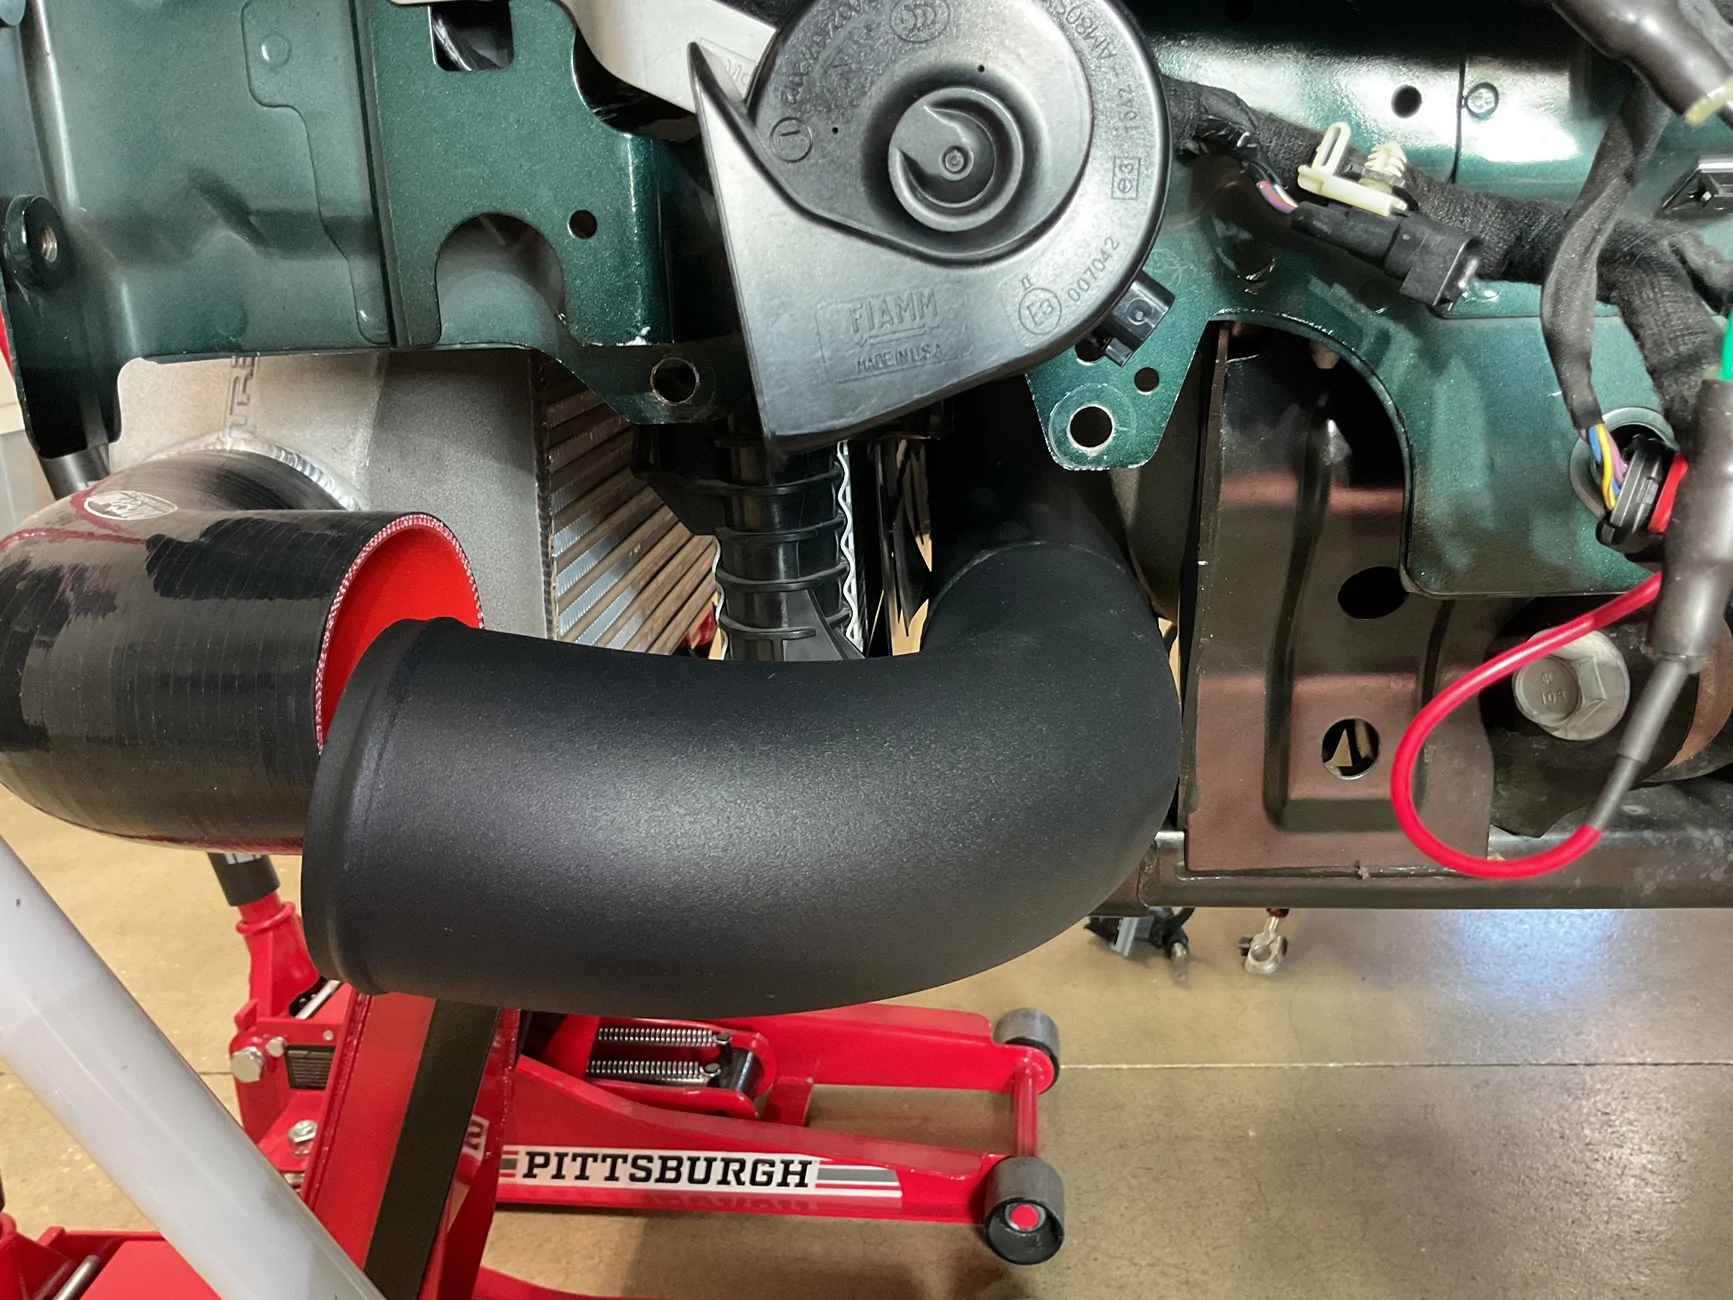
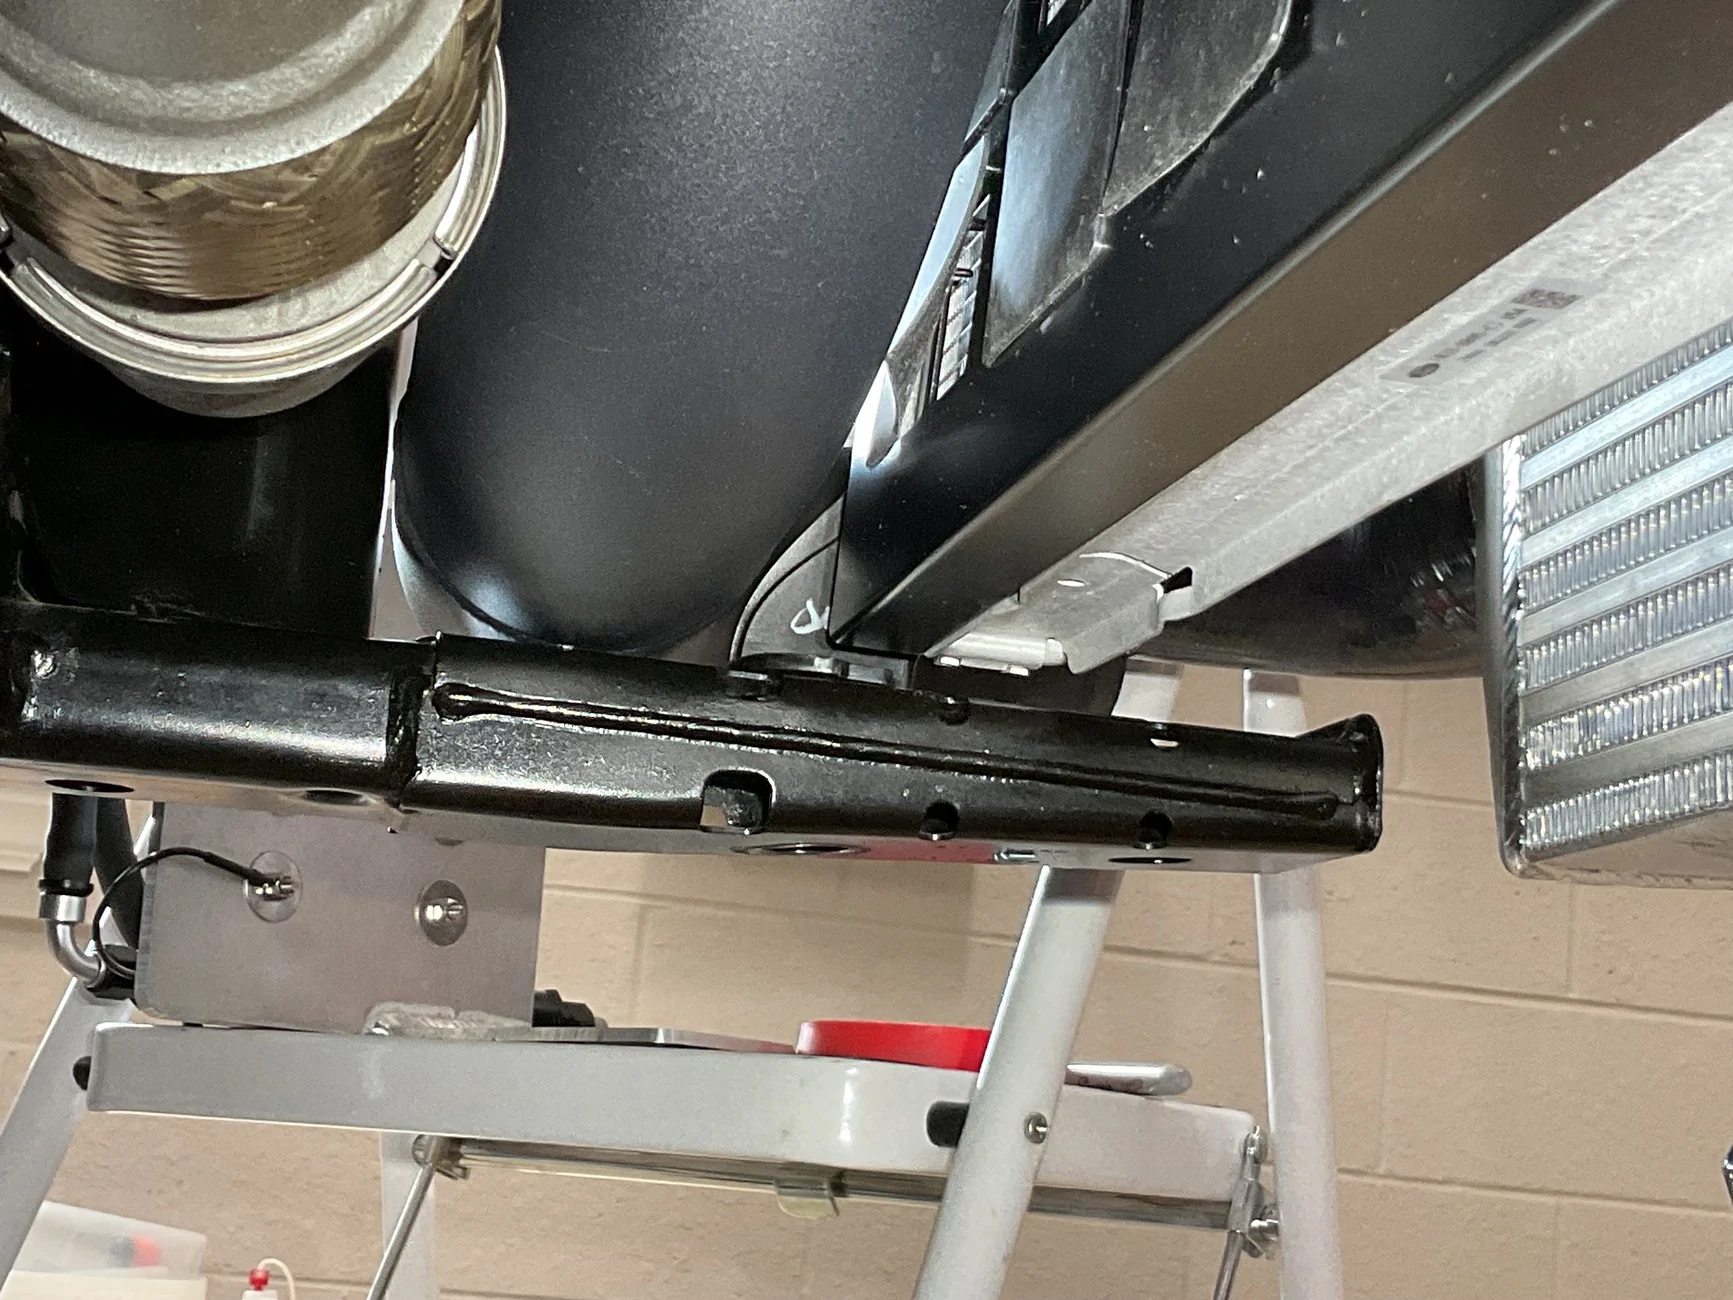
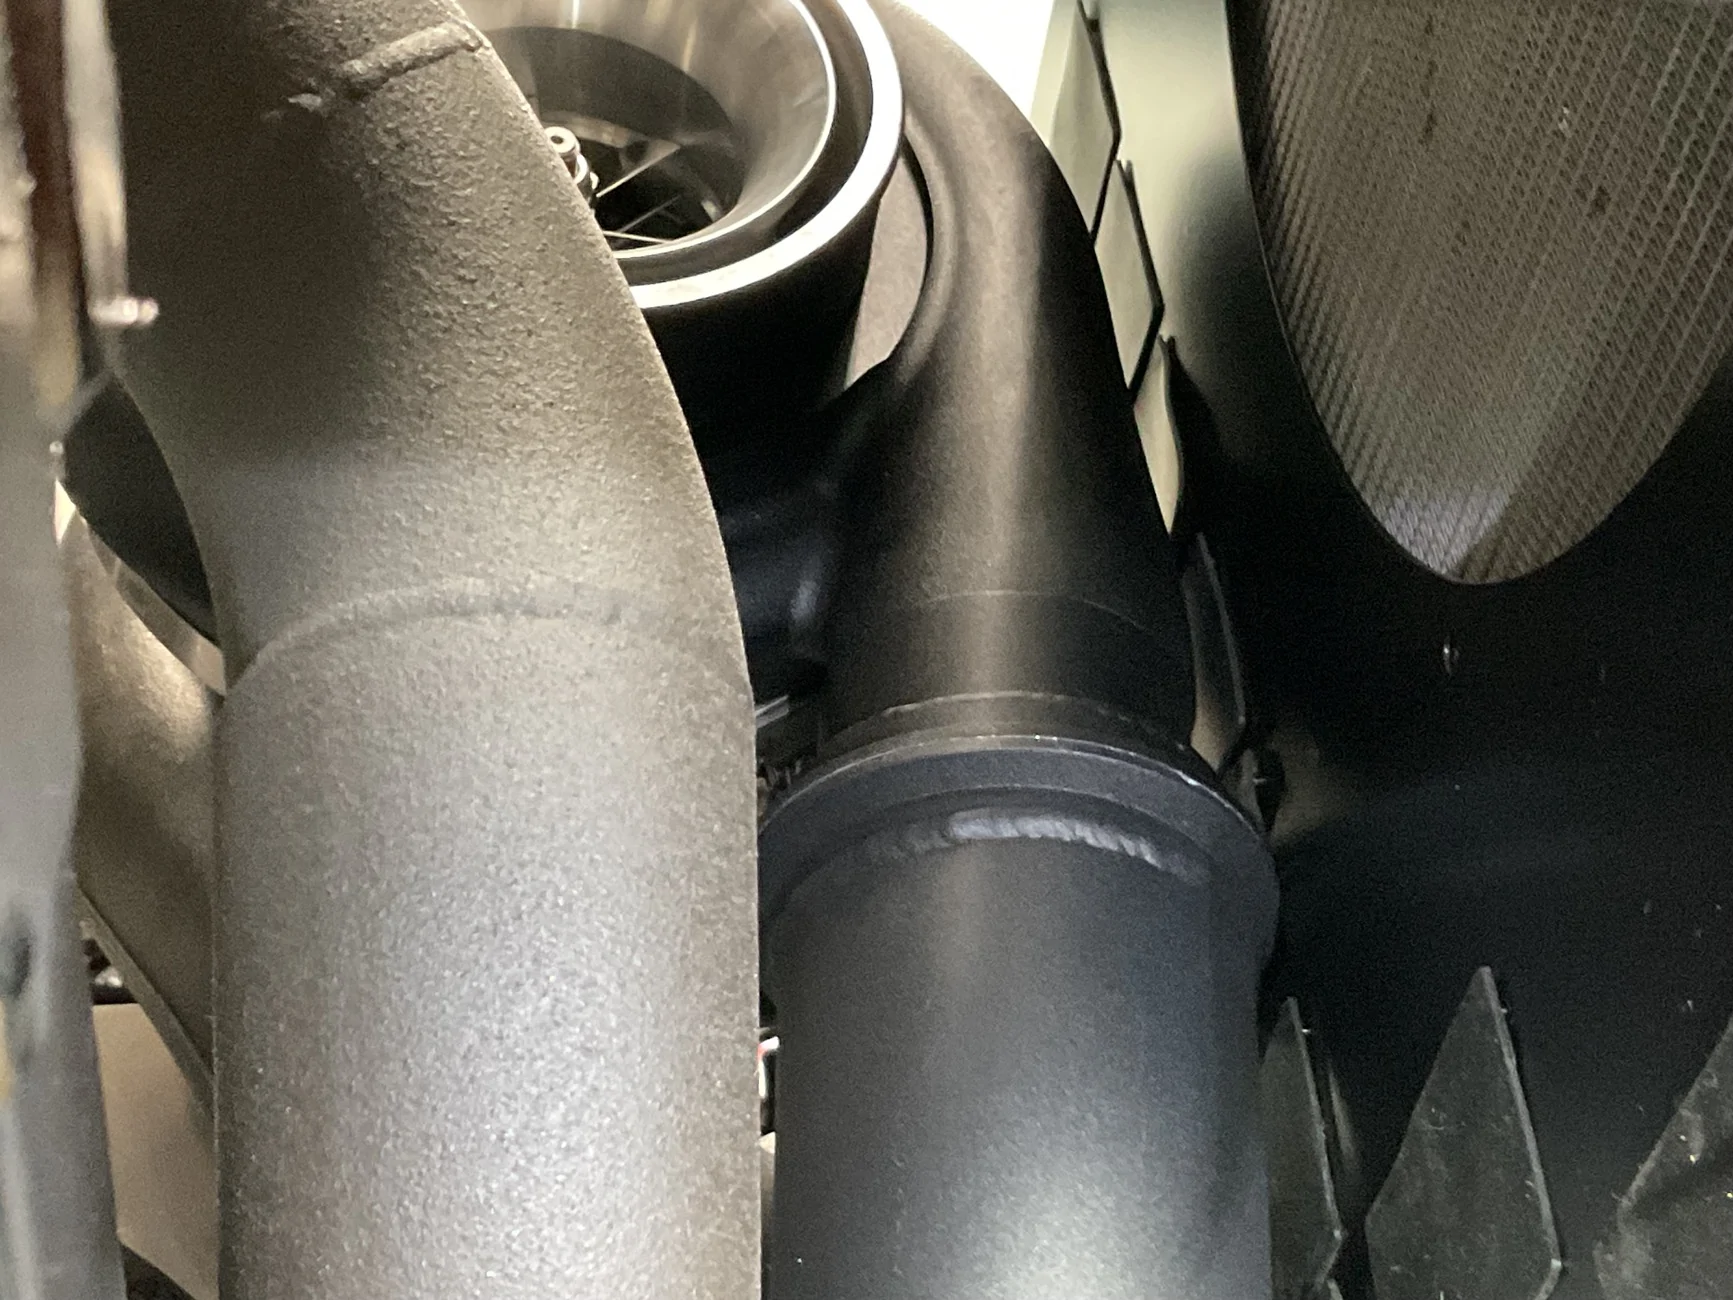
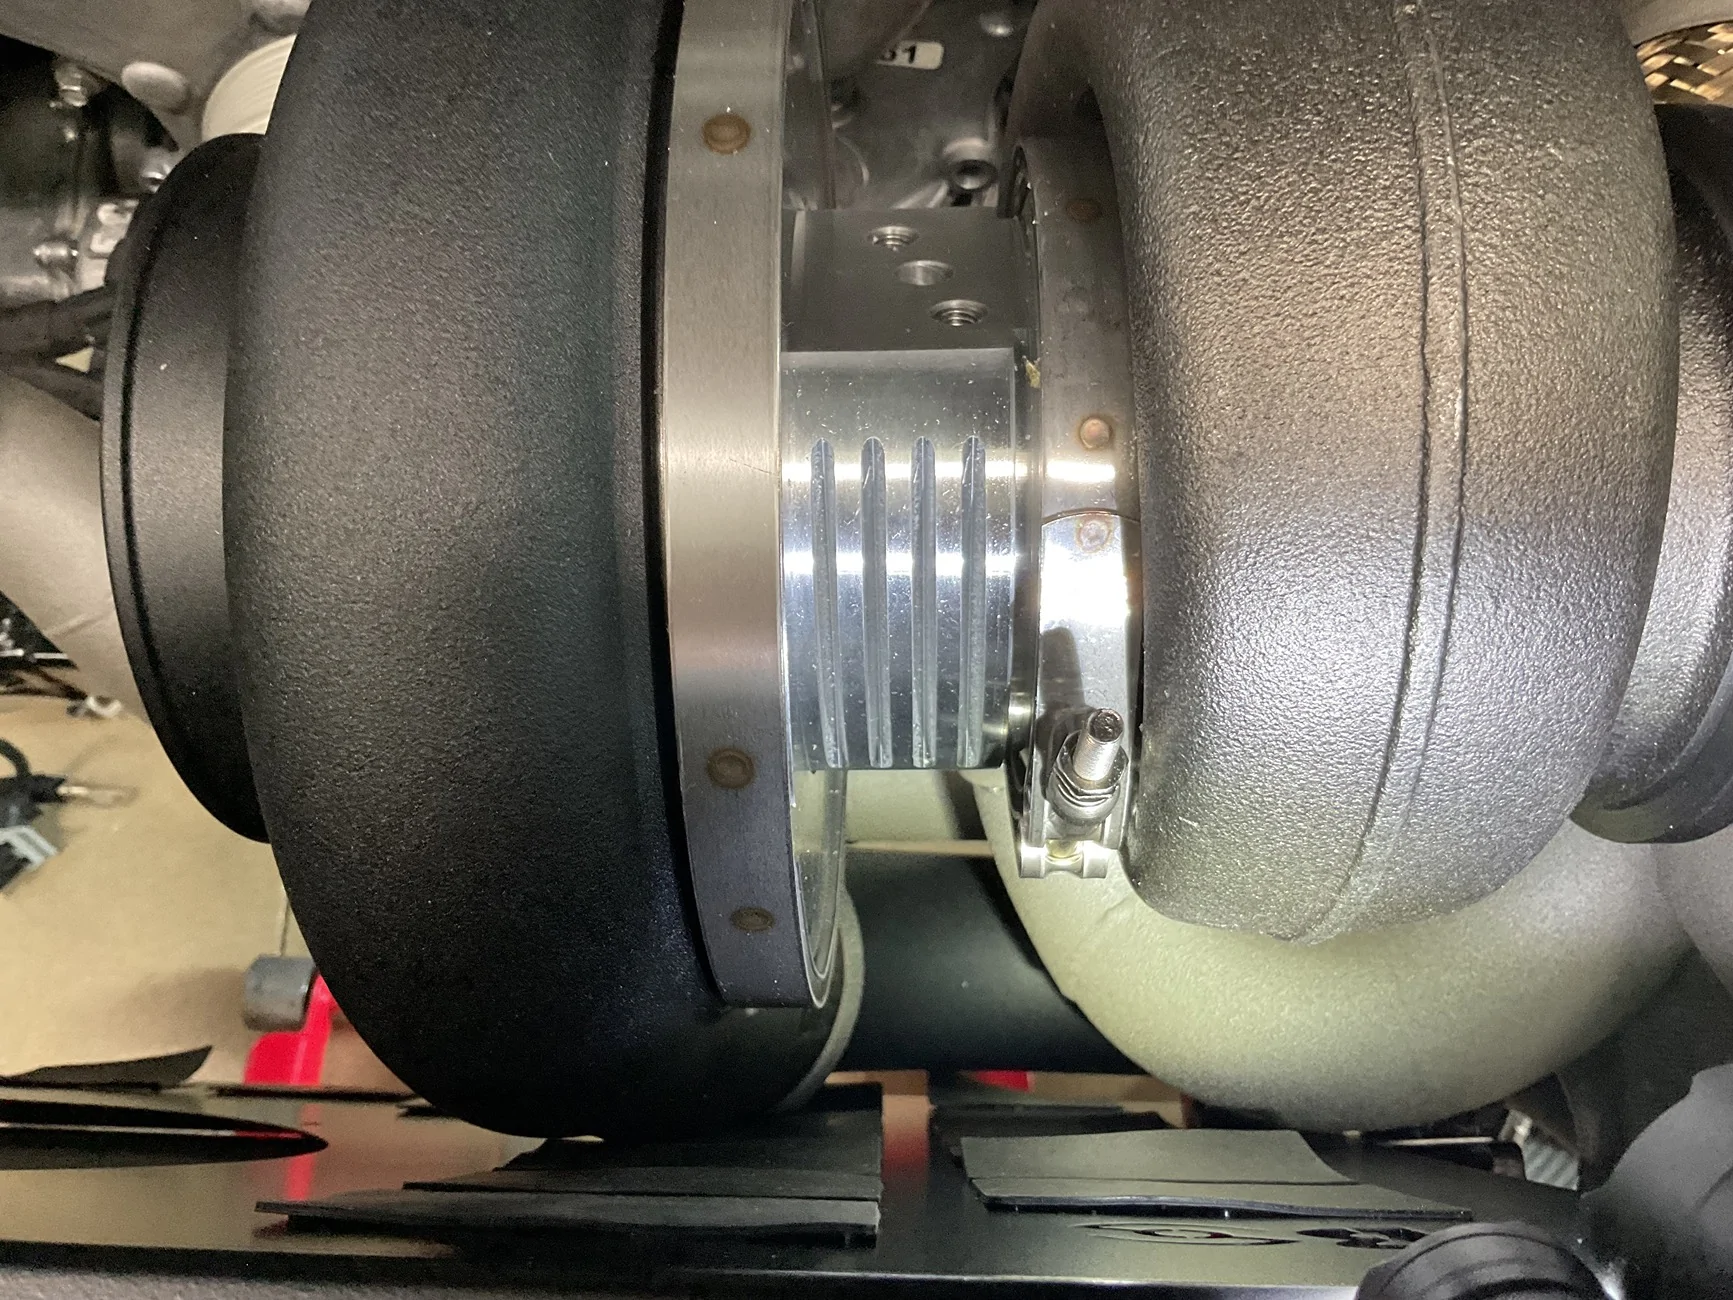
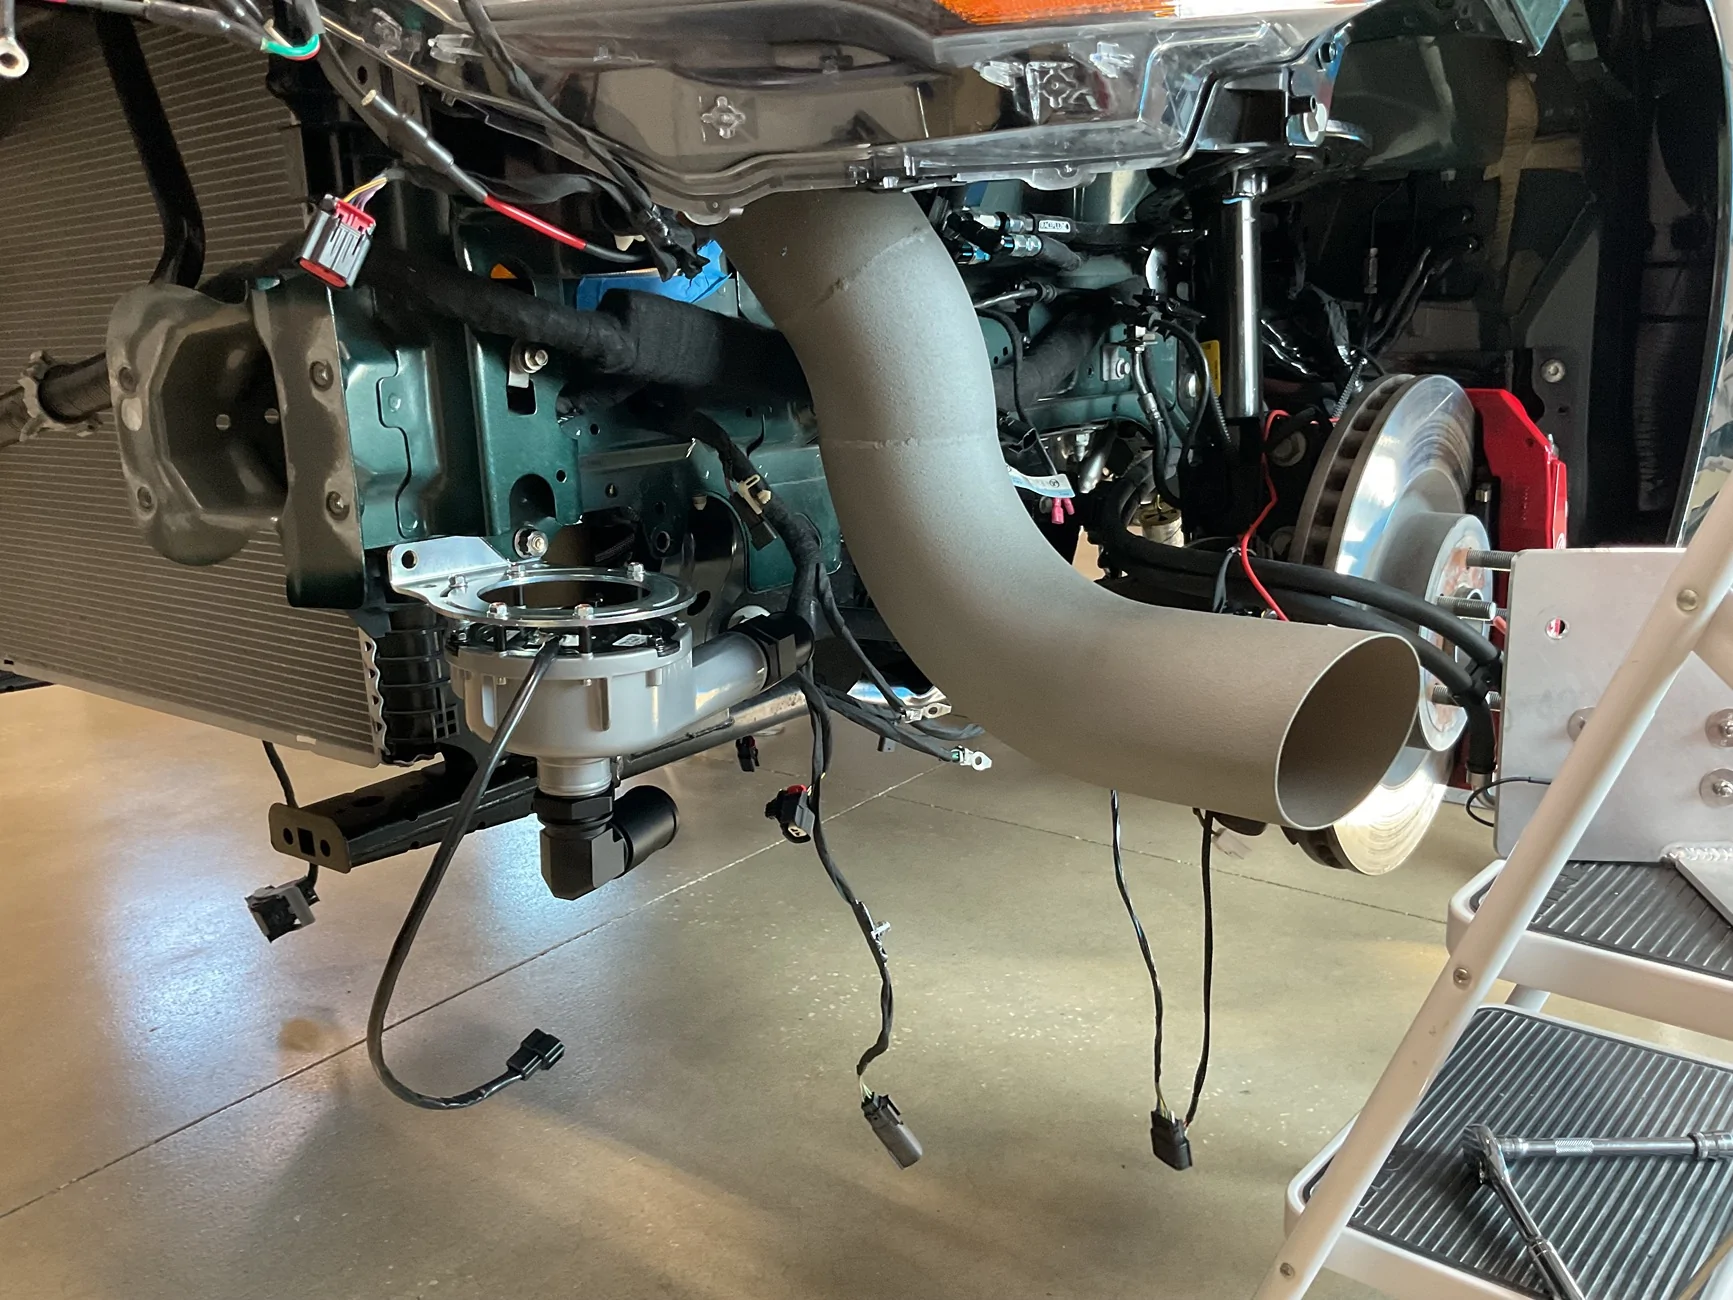
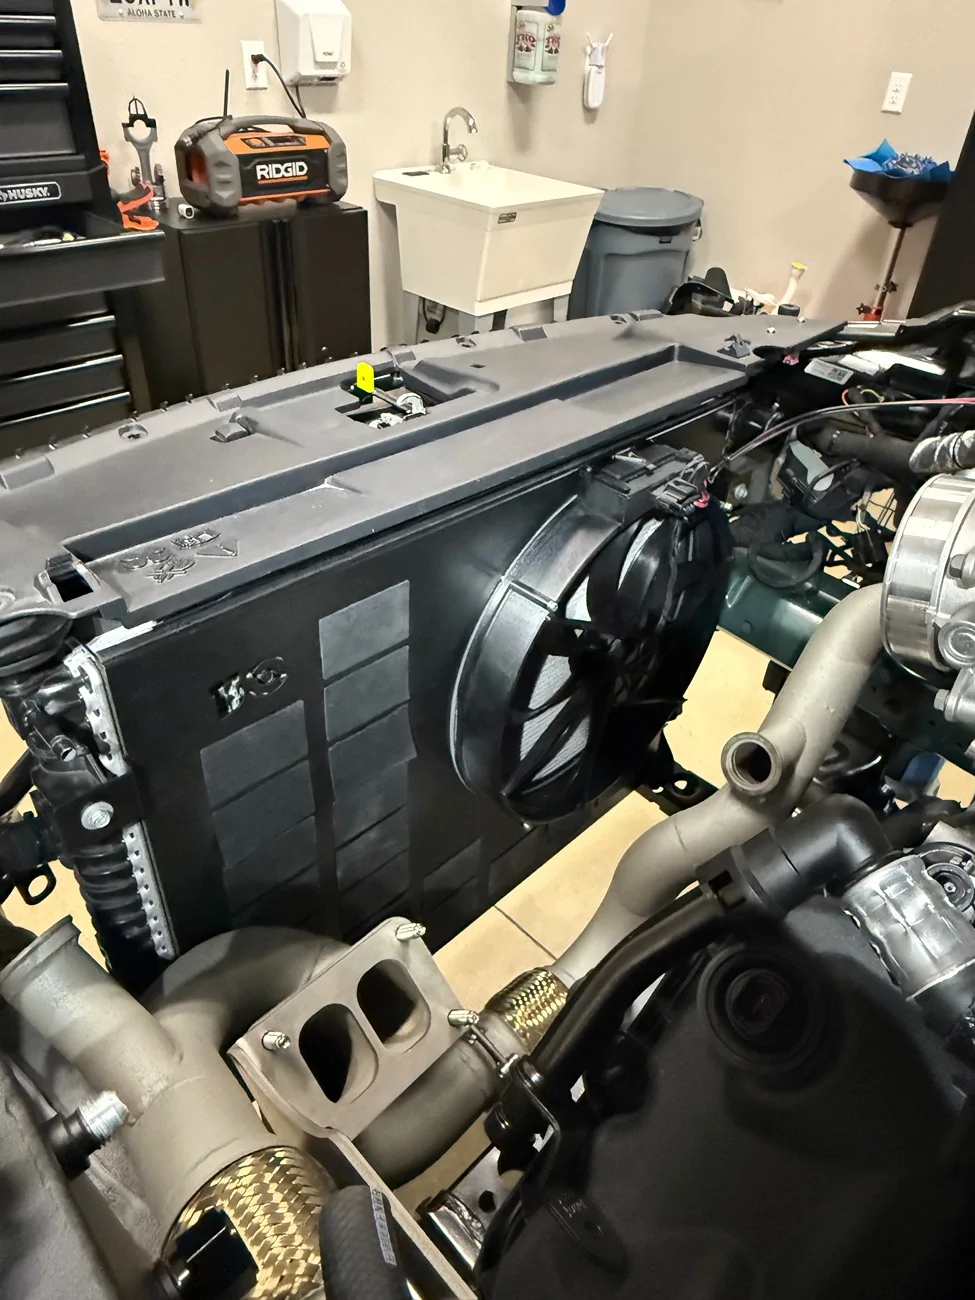
Still more clearance issues. Here is what I am thinking should be done, but I’m certainly open to better suggestions, so please let me know what you folks think. Thanks
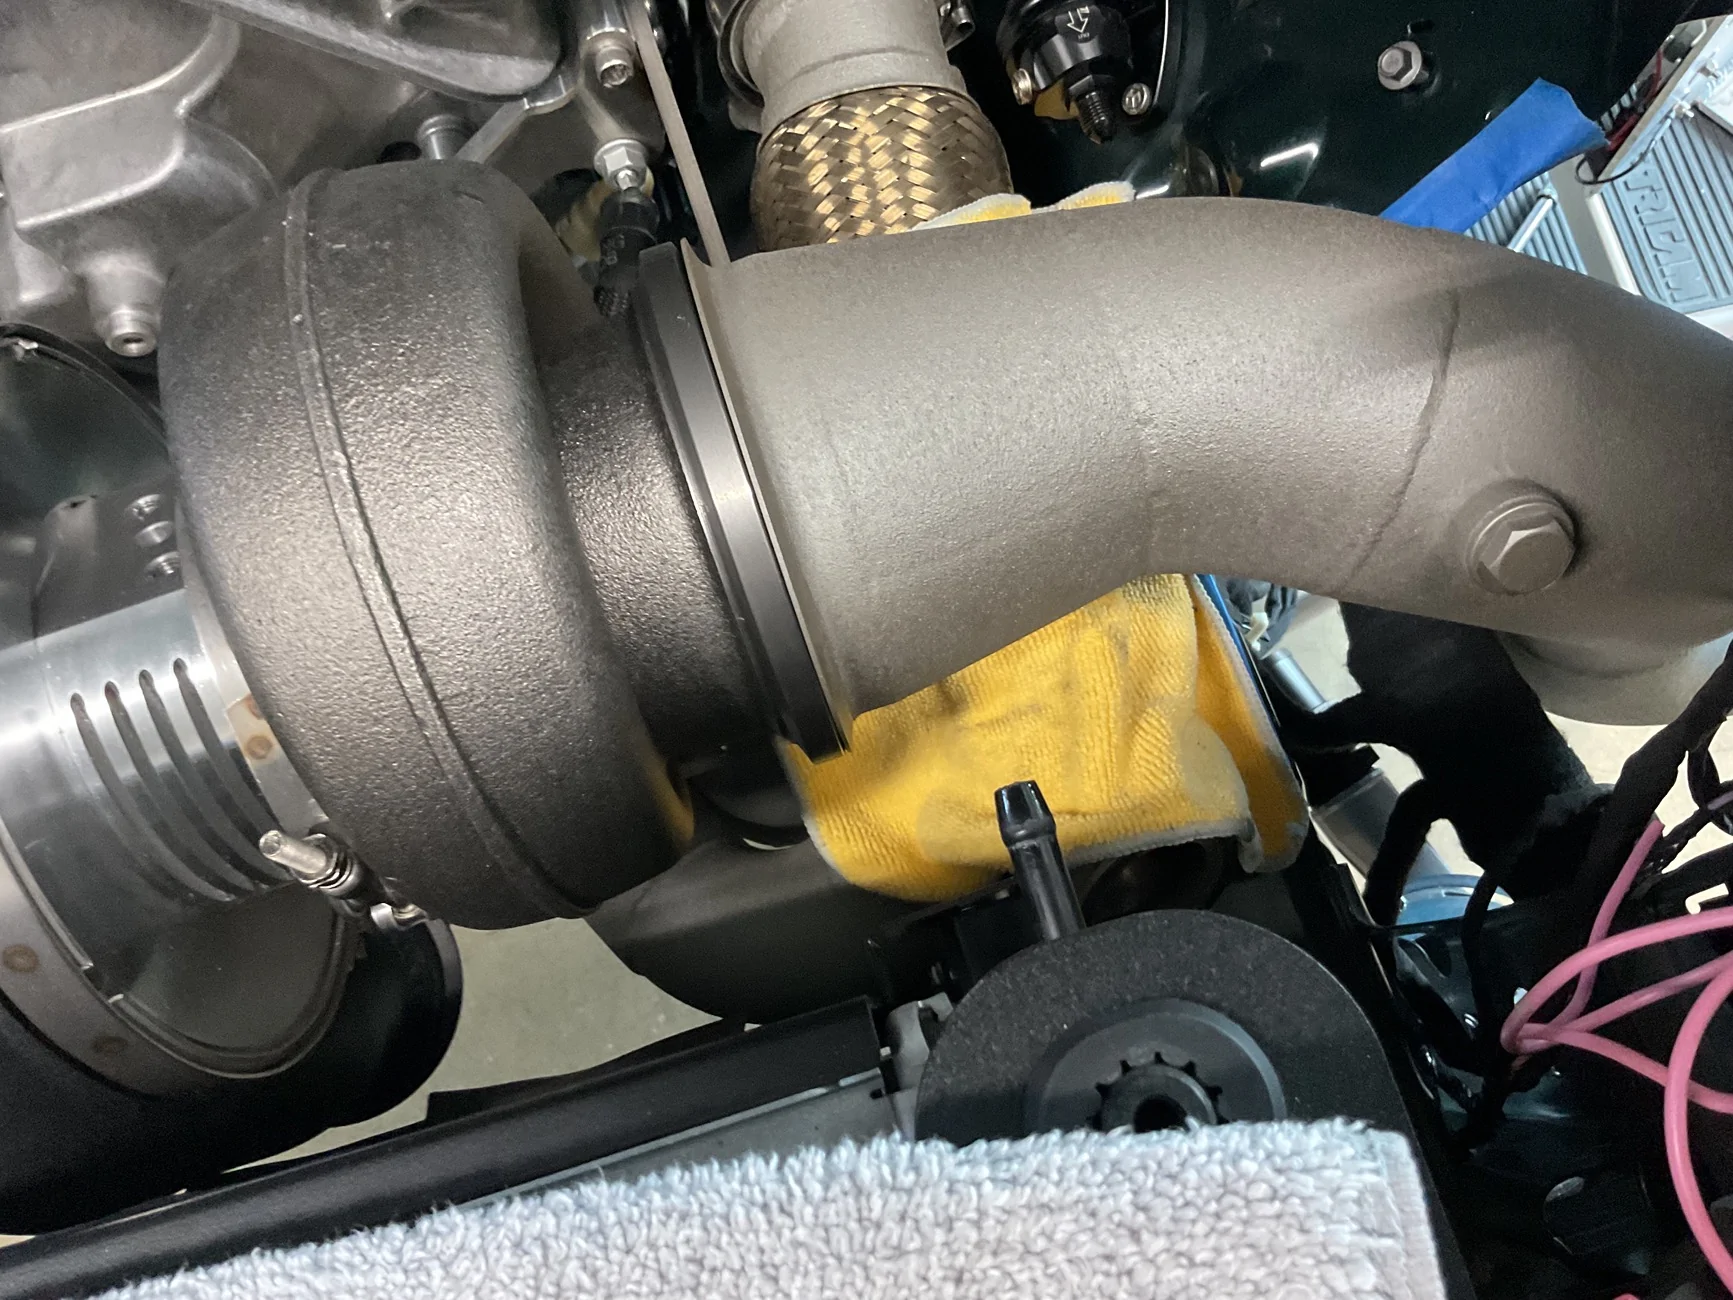
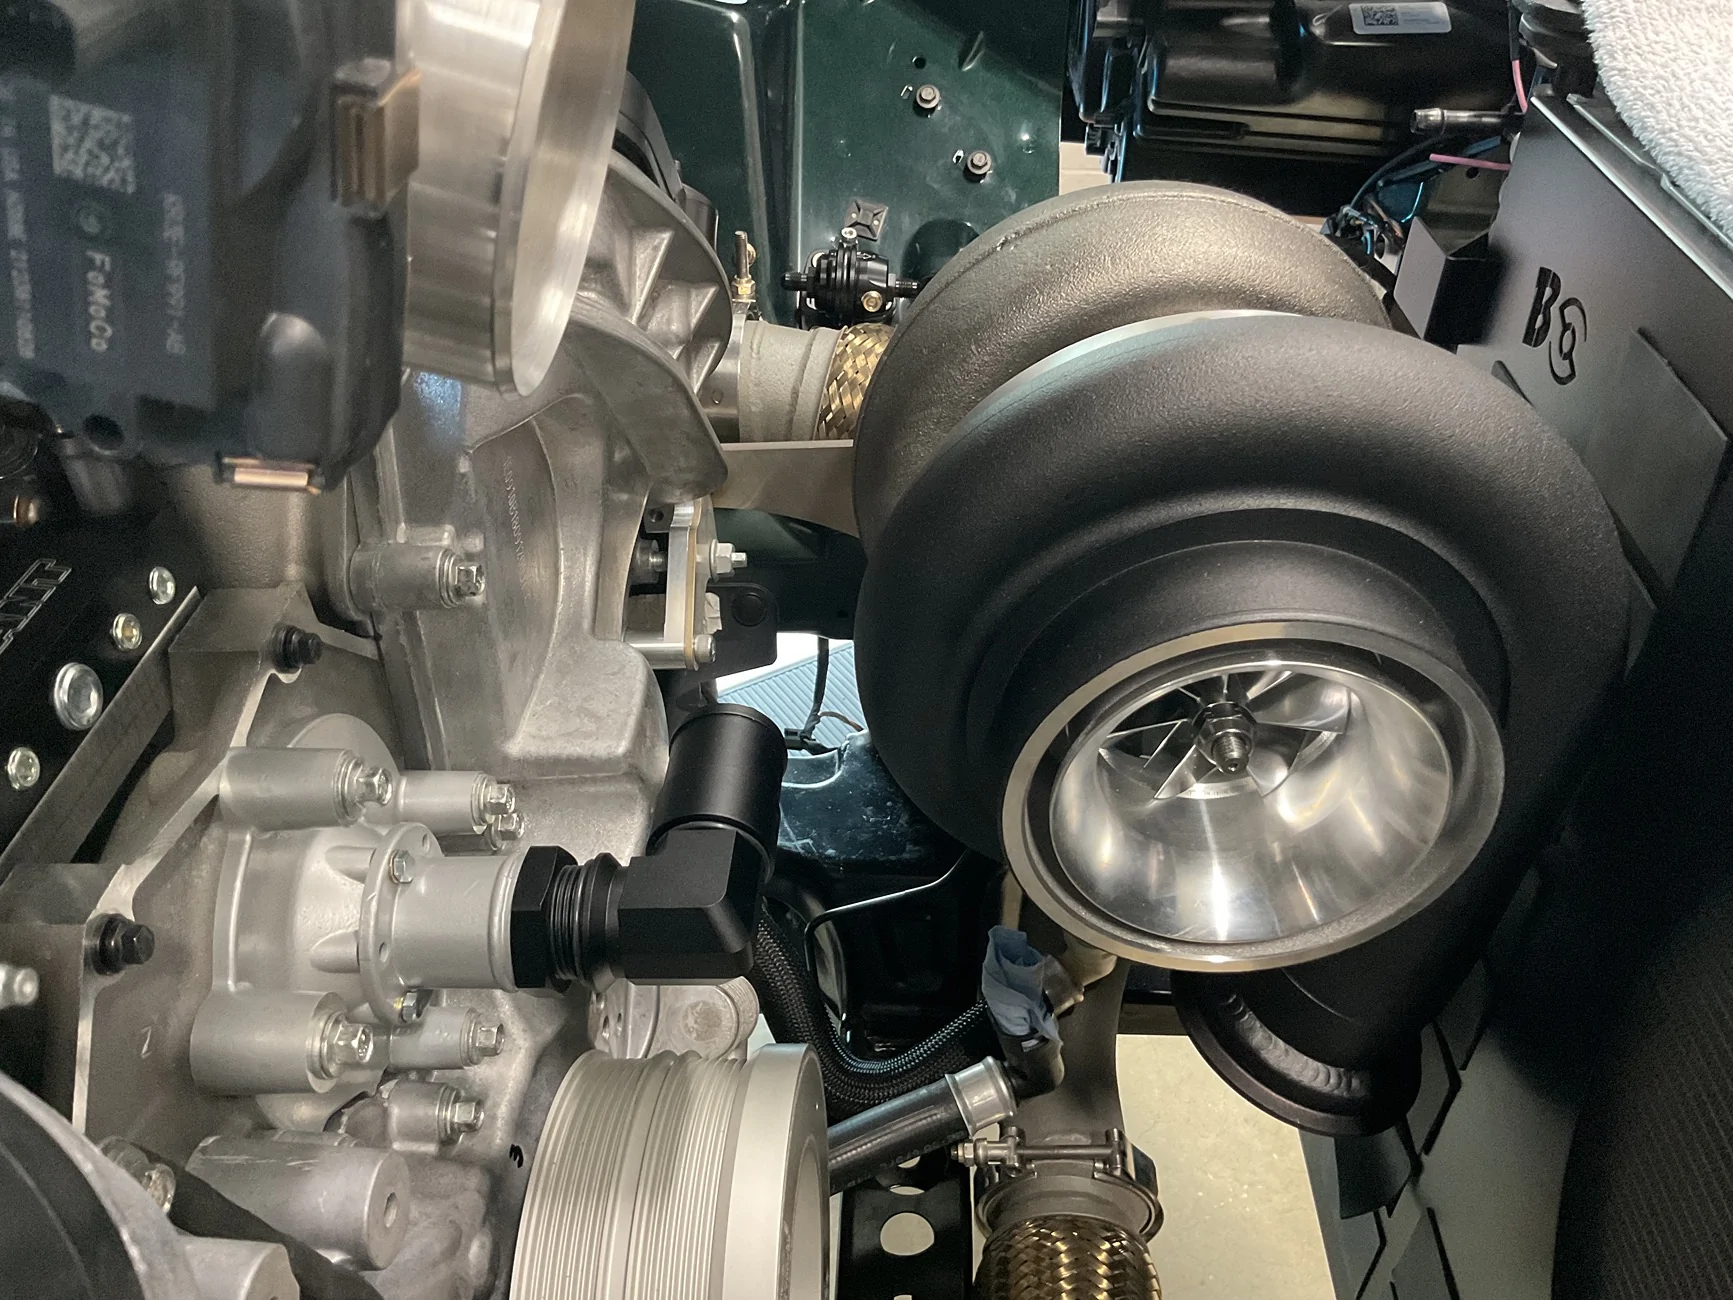
Proposed plan: Dang! The hits just keep on coming . The left side piping coming off of the intercooler is way off (as you can see in the pics). It needs a lot of work and since it does, I might as well try and gain extra clearance in certain areas, such as above the k-member leg and between the hot side (lower piping where the flex joint is). My thought is to cut out the section of pipe that I drew out in gold Sharpie (following the pattern as precisely as possible) and flip it over, so that it is concave. That should give me clearance there and hopefully allow me to rotate the piping and inlet for the turbo compressor back a bit, so that they’re not touching the fan shroud.

Proposed plan: Dang! The hits just keep on coming
. The left side piping coming off of the intercooler is way off (as you can see in the pics). It needs a lot of work and since it does, I might as well try and gain extra clearance in certain areas, such as above the k-member leg and between the hot side (lower piping where the flex joint is). My thought is to cut out the section of pipe that I drew out in gold Sharpie (following the pattern as precisely as possible) and flip it over, so that it is concave. That should give me clearance there and hopefully allow me to rotate the piping and inlet for the turbo compressor back a bit, so that they’re not touching the fan shroud.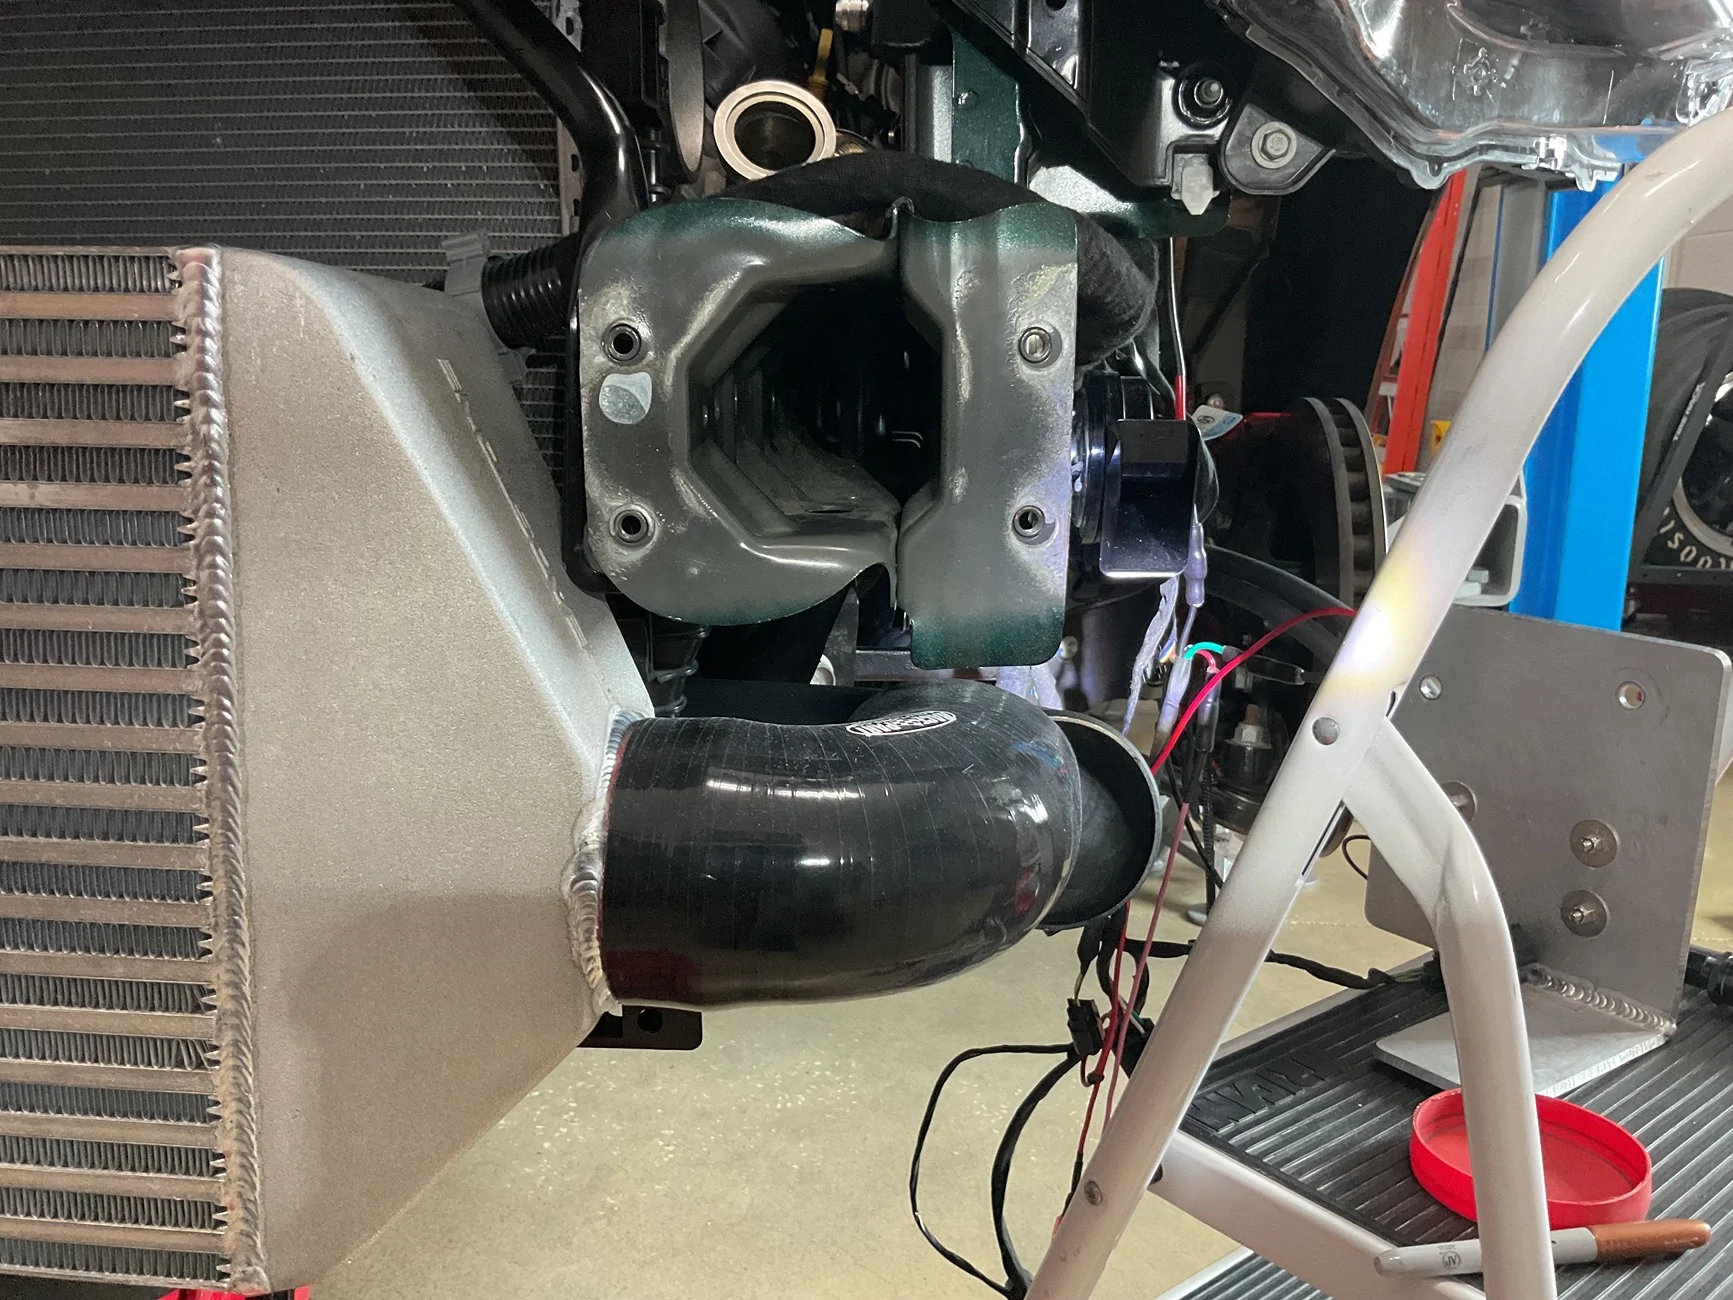


Sponsored
gimmie11s
Well-Known Member
Yep. nothing ever fits correctly. A project like this is just as much (or more) fabrication as it is installation.
I dont miss my turbo install! lol
Take day off and let you mind reset.
I dont miss my turbo install! lol
Take day off and let you mind reset.
wingnutt
Well-Known Member
on this situation…wiser words have not yet been spokenTake day off and let you mind reset.


OP
OP
NGOT8R
Well-Known Member
- Thread starter
- #293
Great advice and that’s exactly what I did on Saturday and Sunday.Yep. nothing ever fits correctly. A project like this is just as much (or more) fabrication as it is installation.
I dont miss my turbo install! lol
Take day off and let you mind reset.
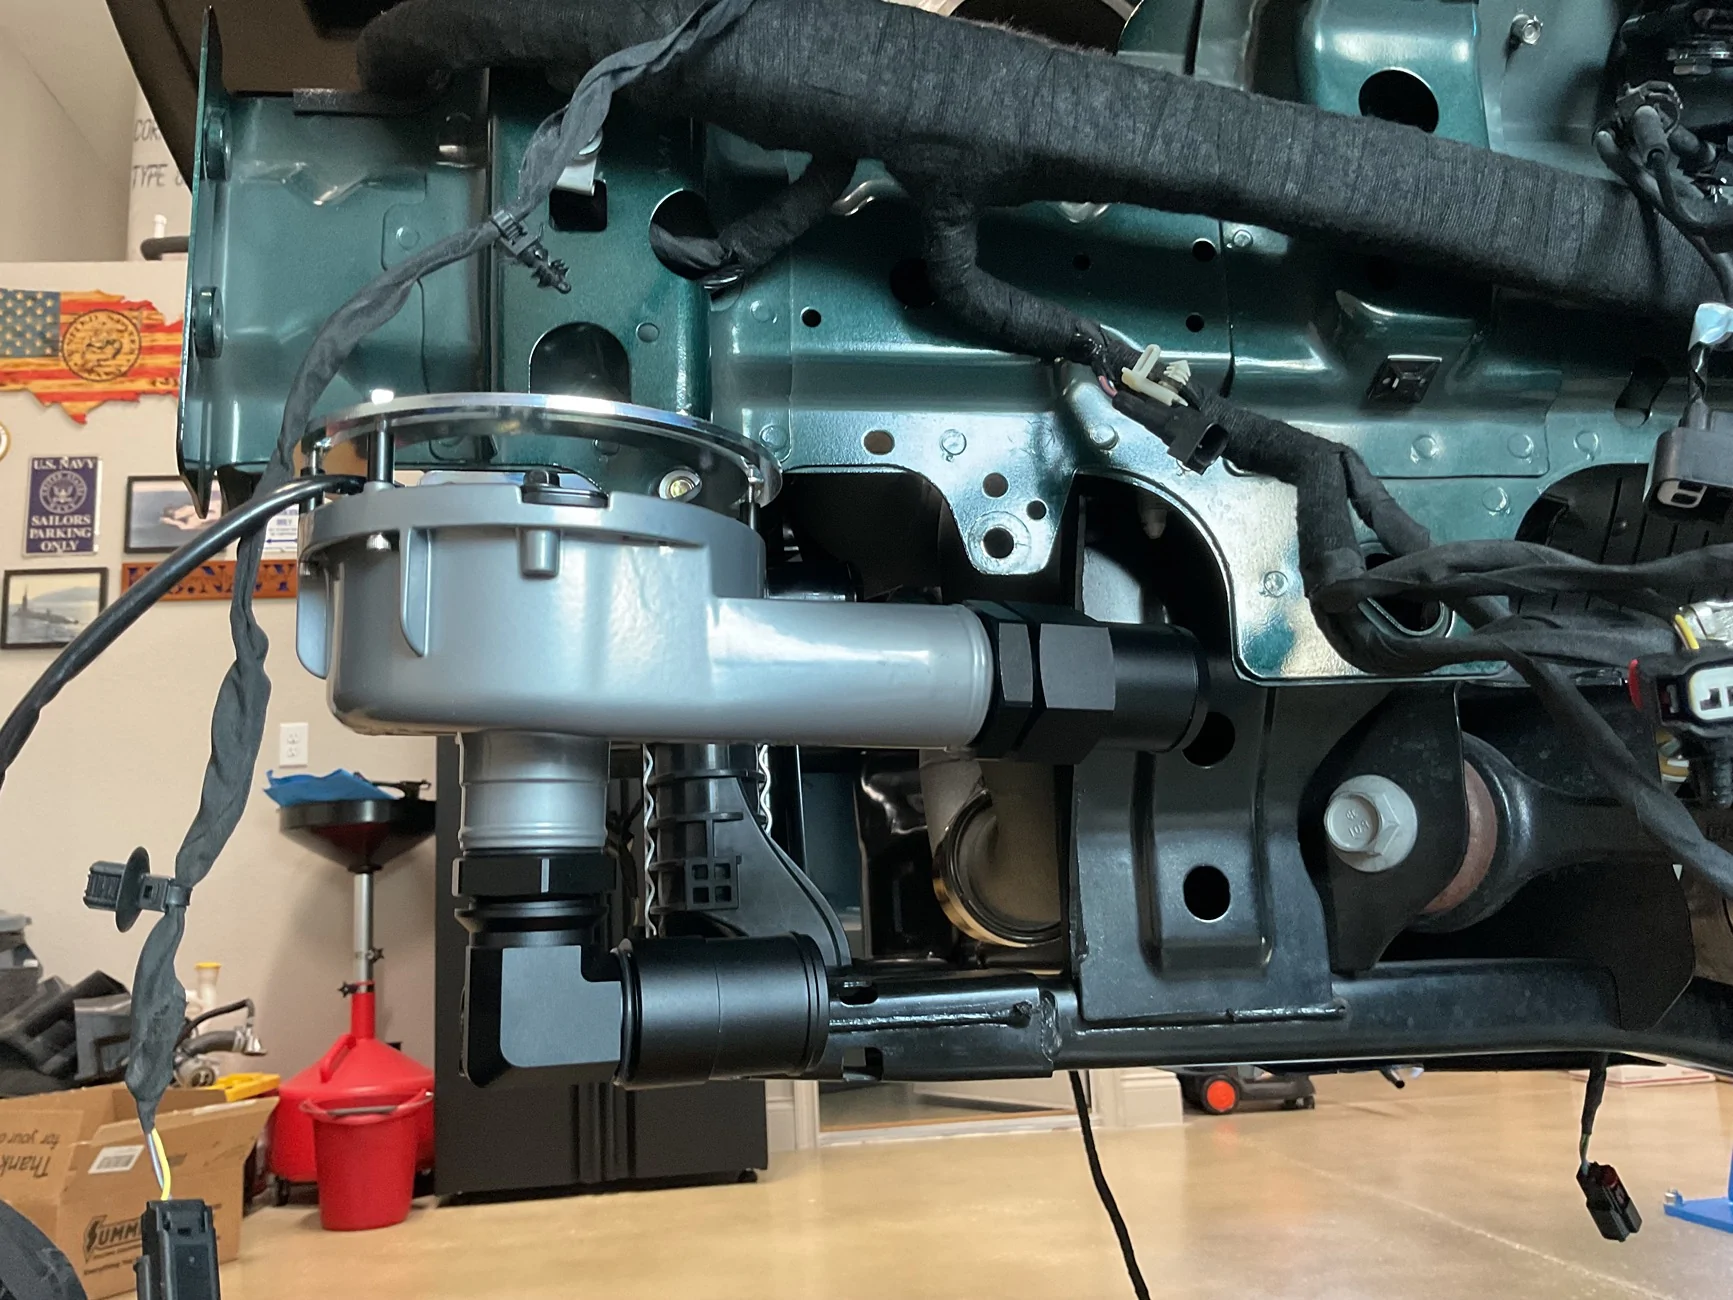
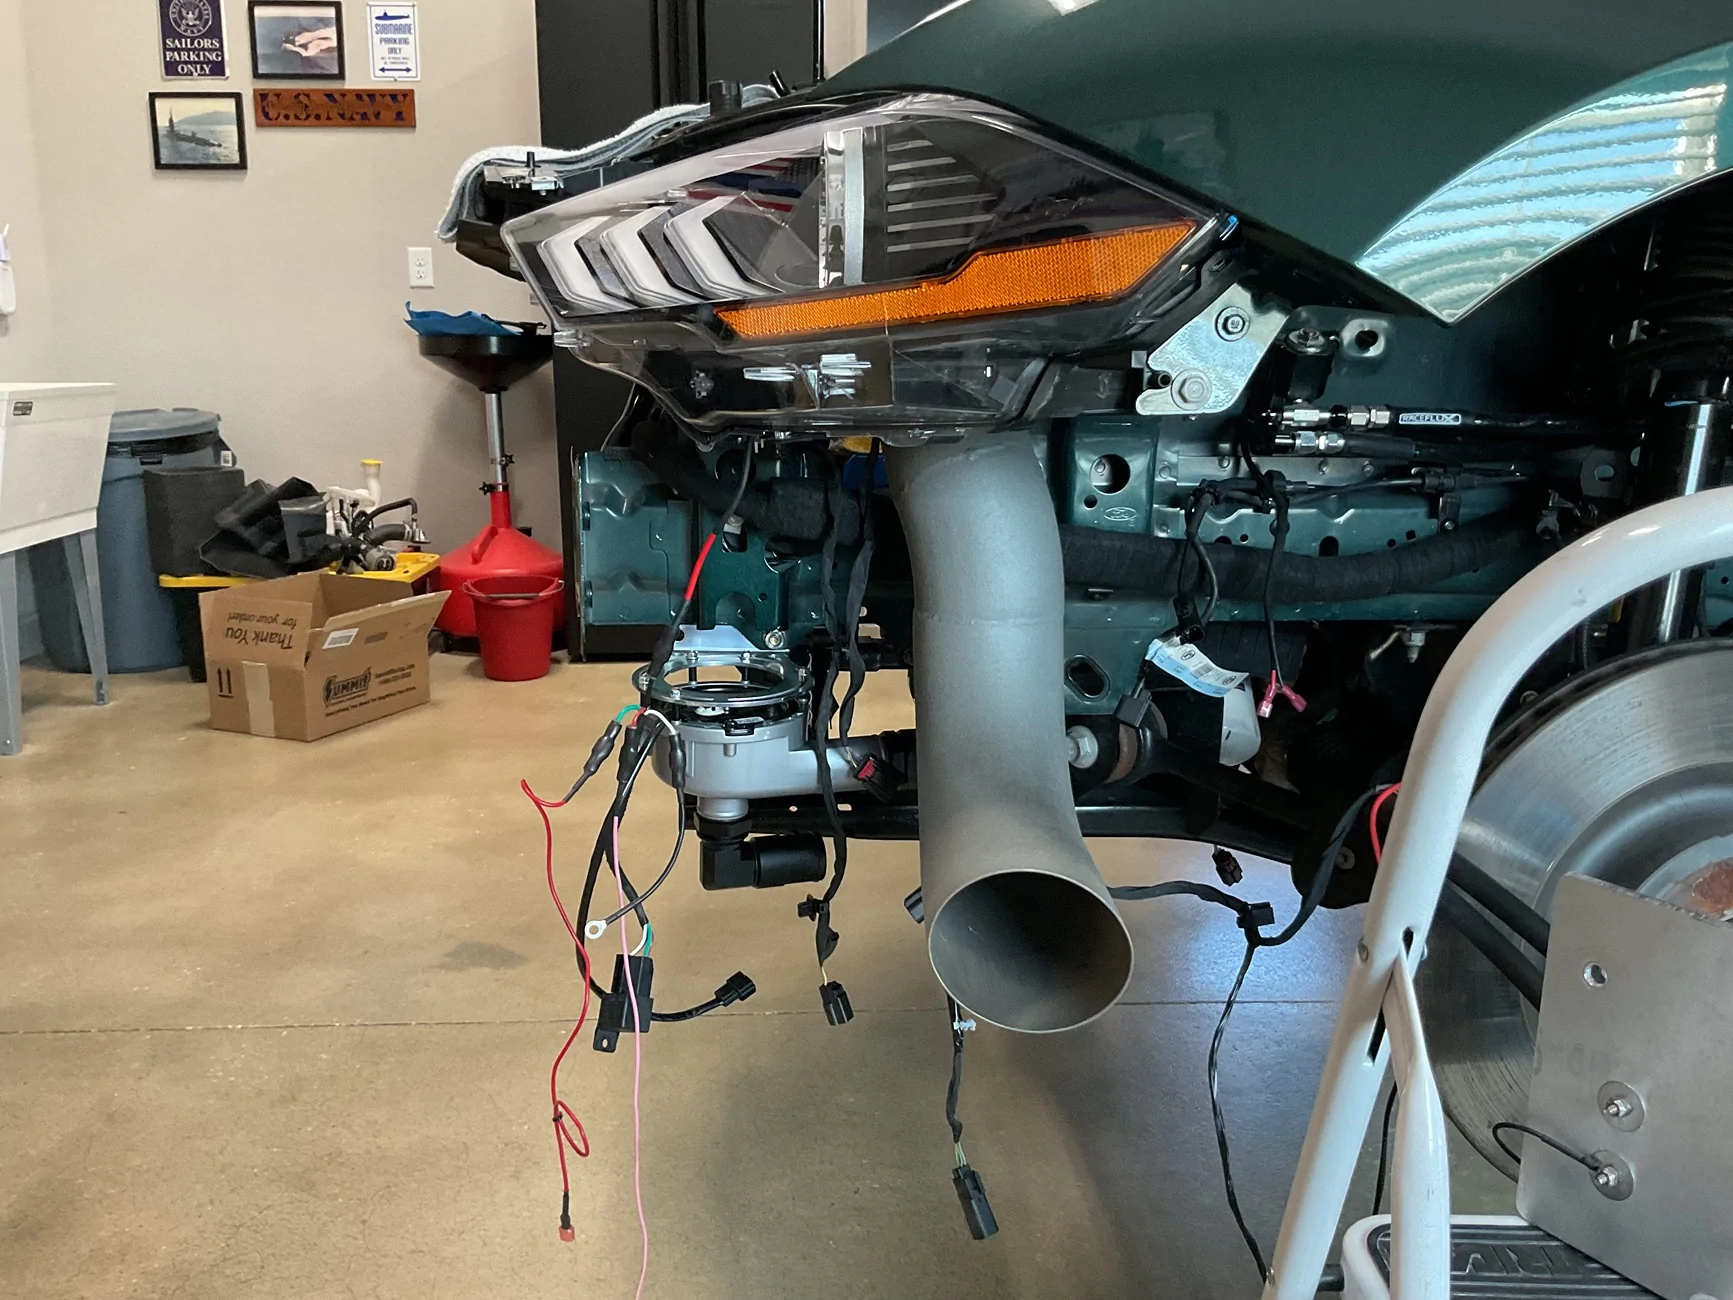
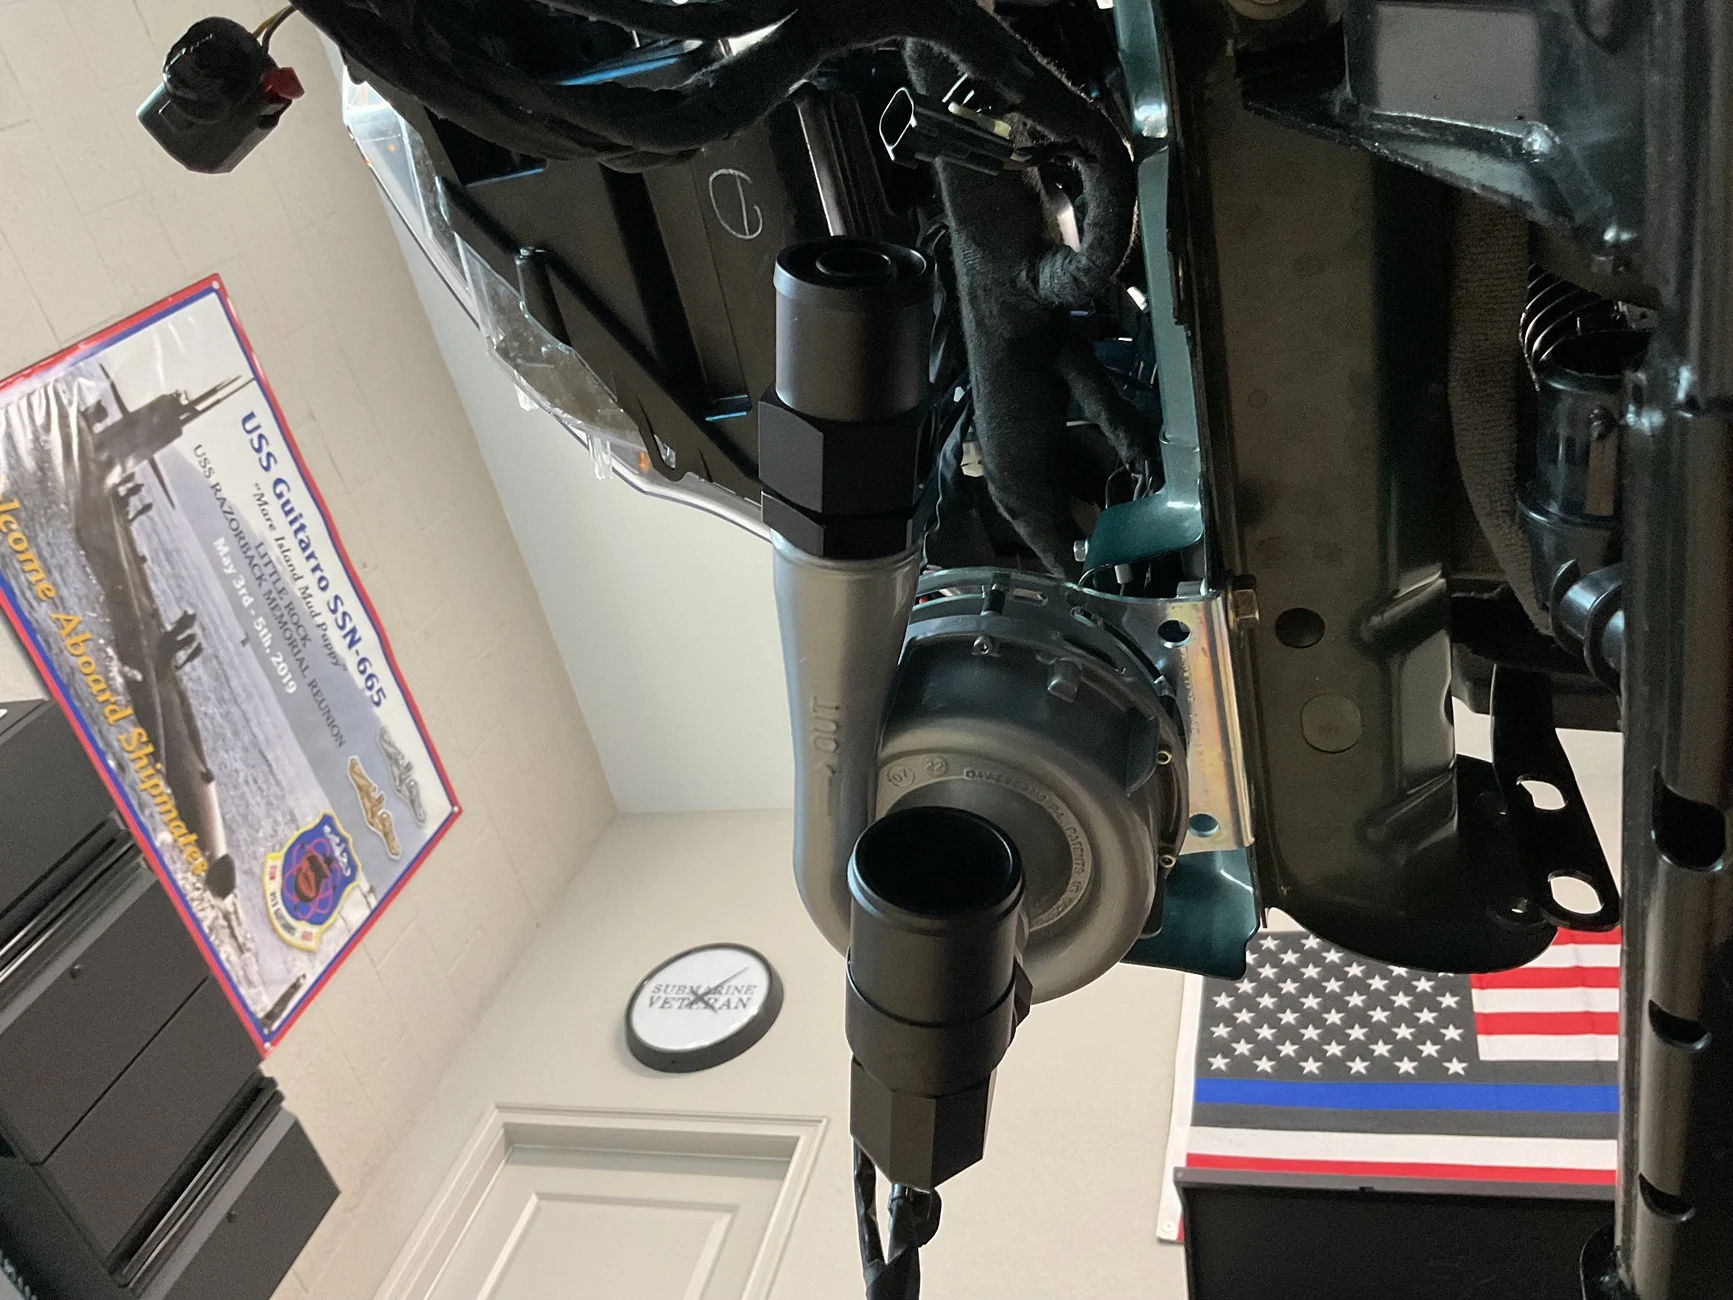
I got back to it today and spent the entire day trying different combinations and locations for where to mount the electric water pump. I think I have the perfect spot for it.
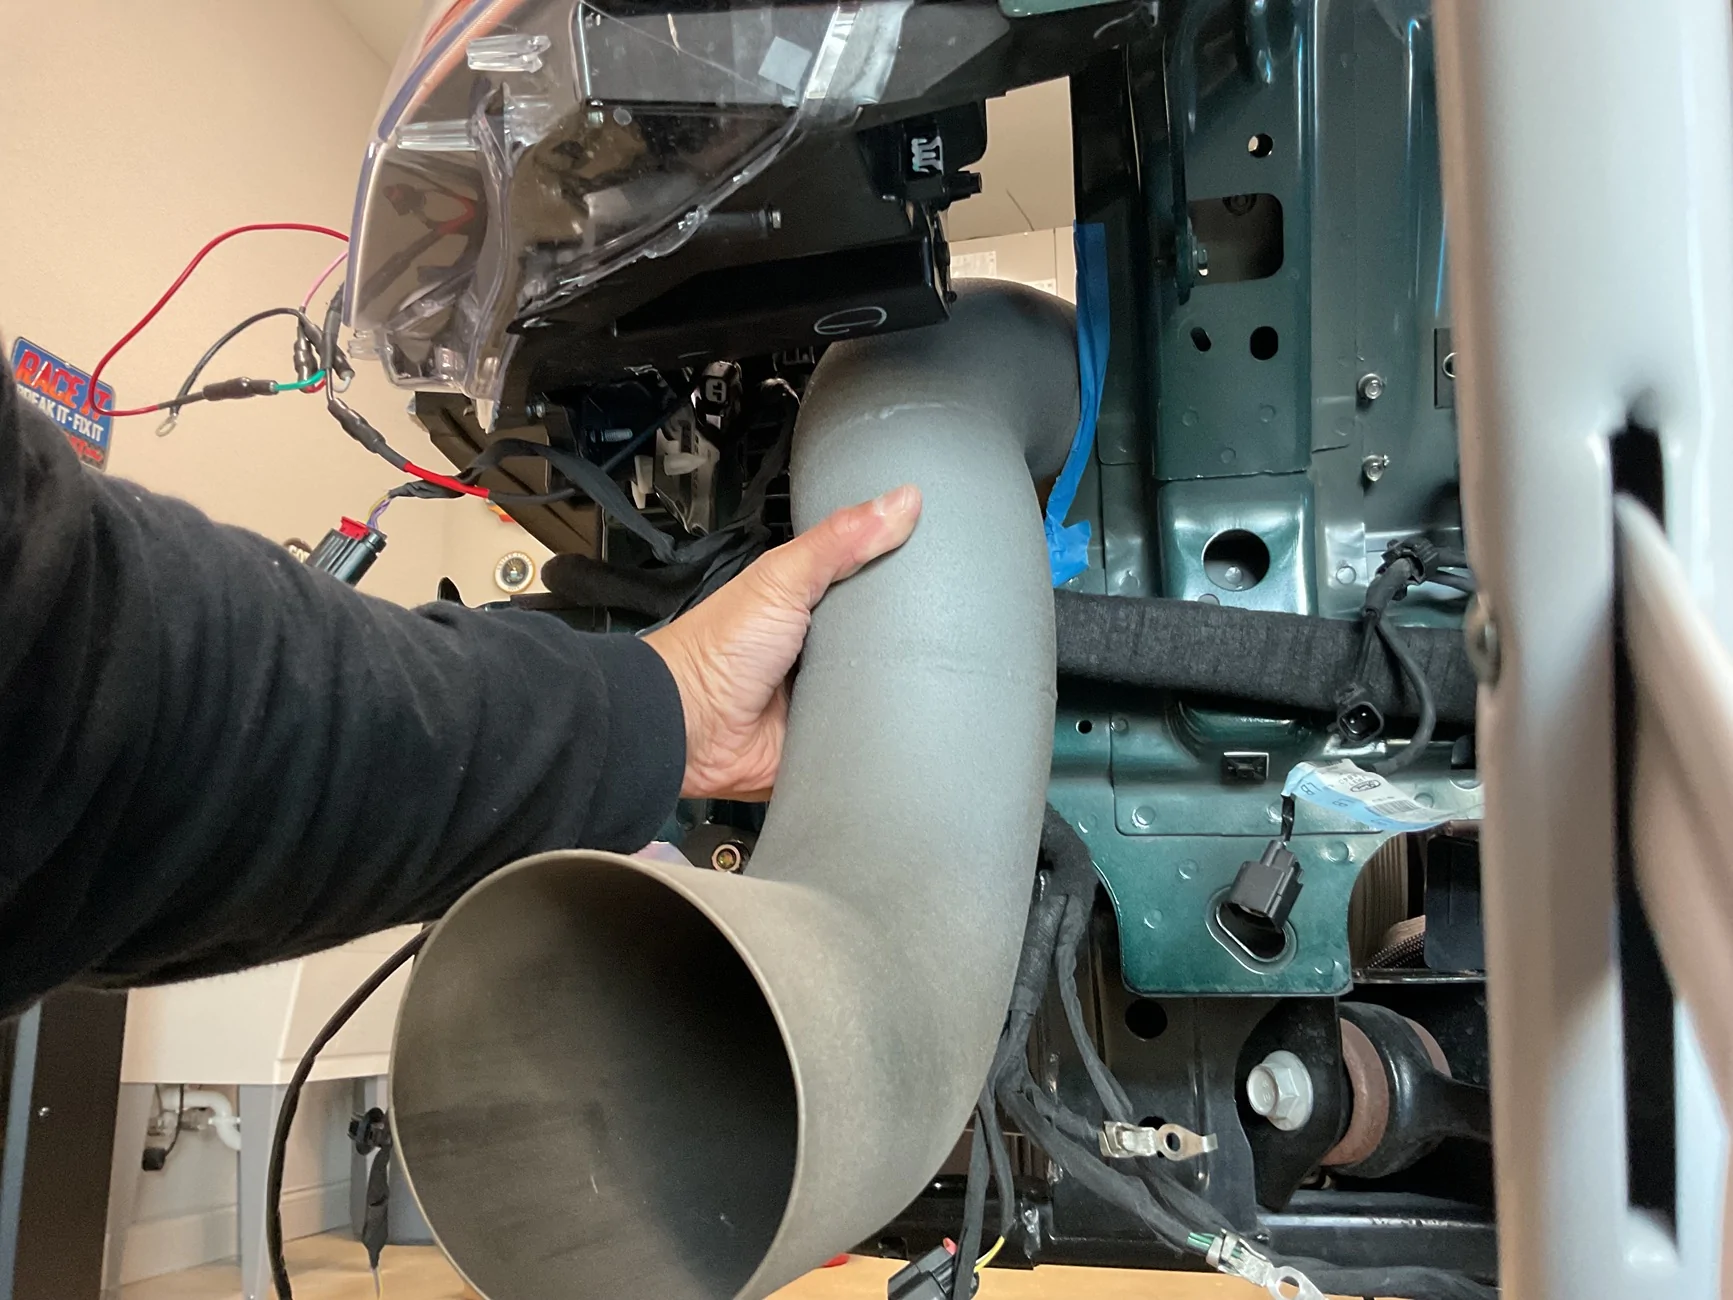
I also test fit the exhaust pipe for the first time and surprisingly, it fits very well. Only minor trimming of the inner fender will be necessary. It even clears the wiring harness that was relocated to the fender well.
Tomorrow I will cut the cold side piping and adjust it for better fitment.

OP
OP
NGOT8R
Well-Known Member
- Thread starter
- #294
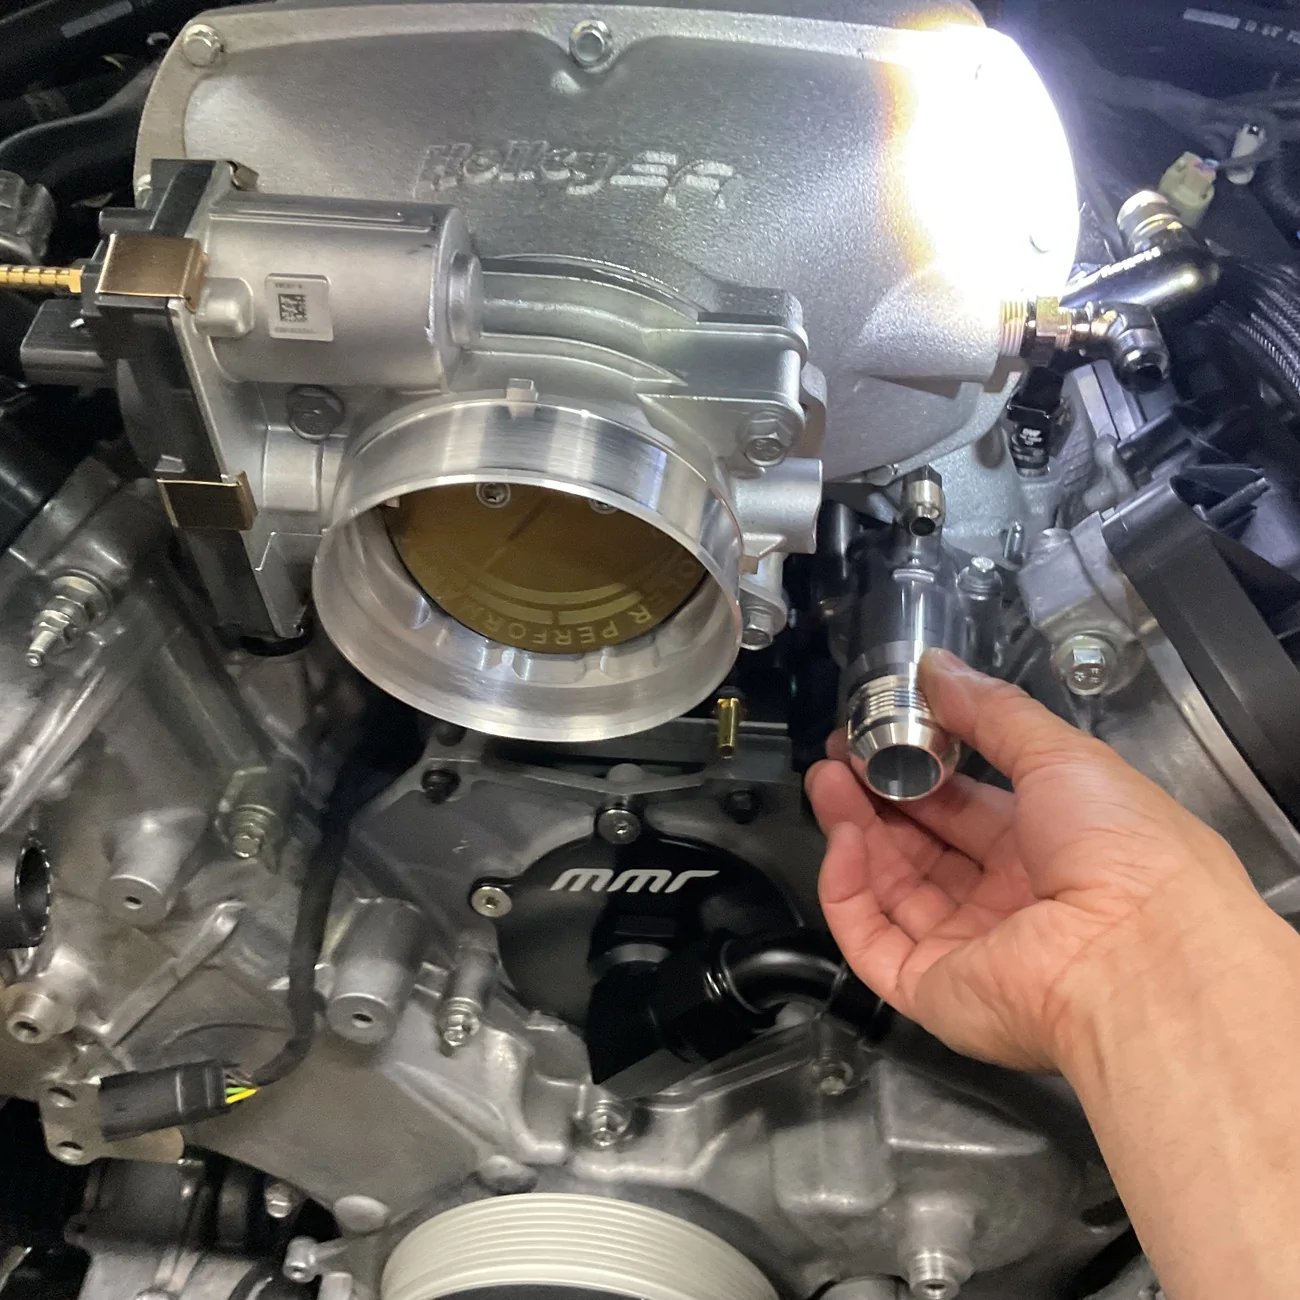
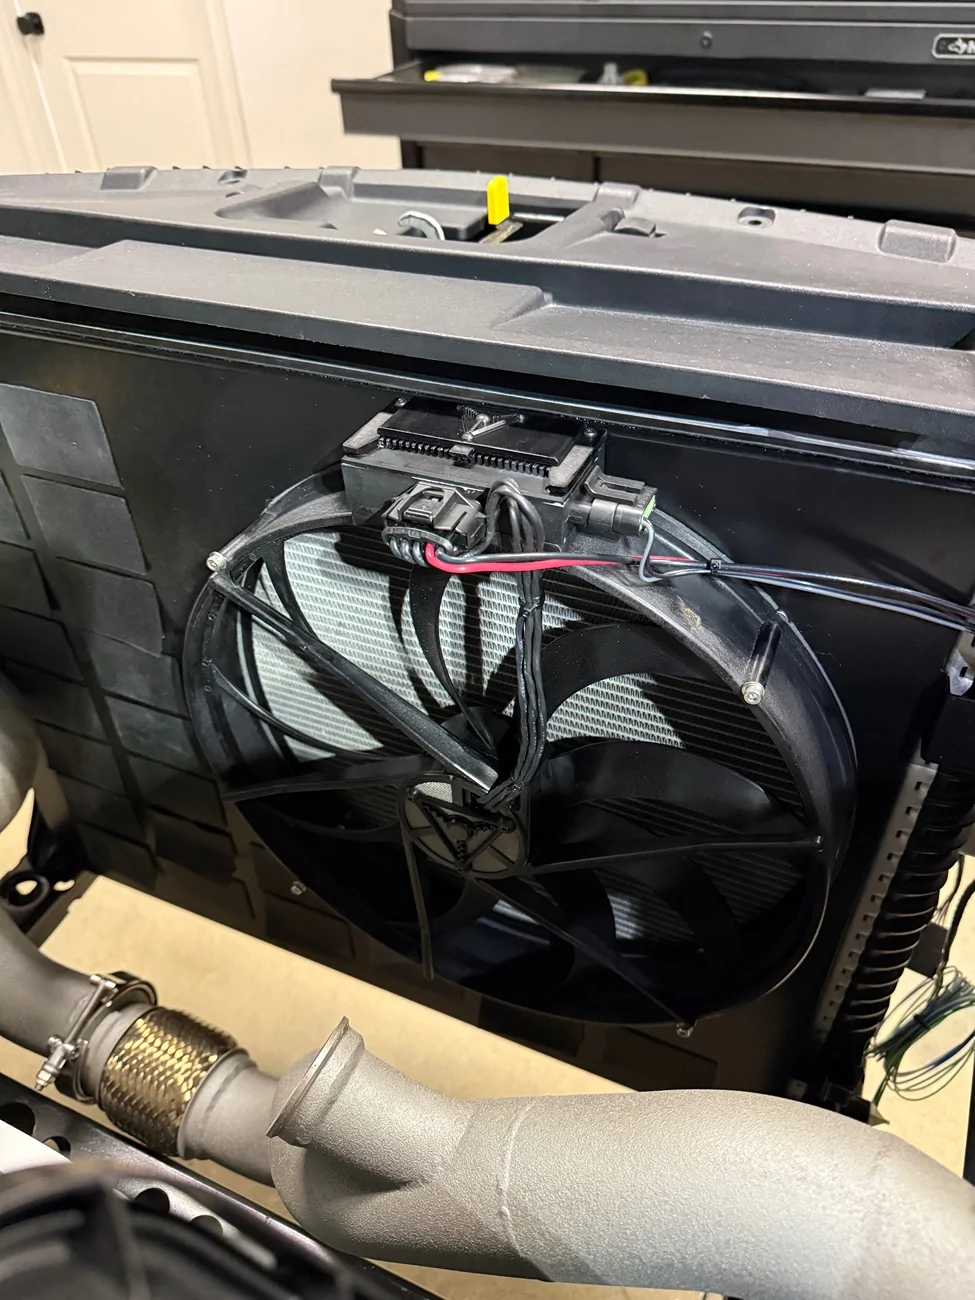
I’ve been moving on the the project, but I have made some progress. I made wiring harnesses for the Davies Craig EWP, eboost2 and Delta PAG fan and drilled the firewall to add more passthrough grommets.
I mounted the fan itself, which wasn’t as straight forward as one would think. The mounting holes for the fan in my custom shroud were approximately 7MM and the holes in the fan cage were 4MM. To combat this, I installed M4 rivnuts in the shroud and unfortunately, three held, but one didn’t, so I removed all four and stepped up to M5 rivnuts to fill the holes and used nyloc nuts in the backside. This worked out very well.
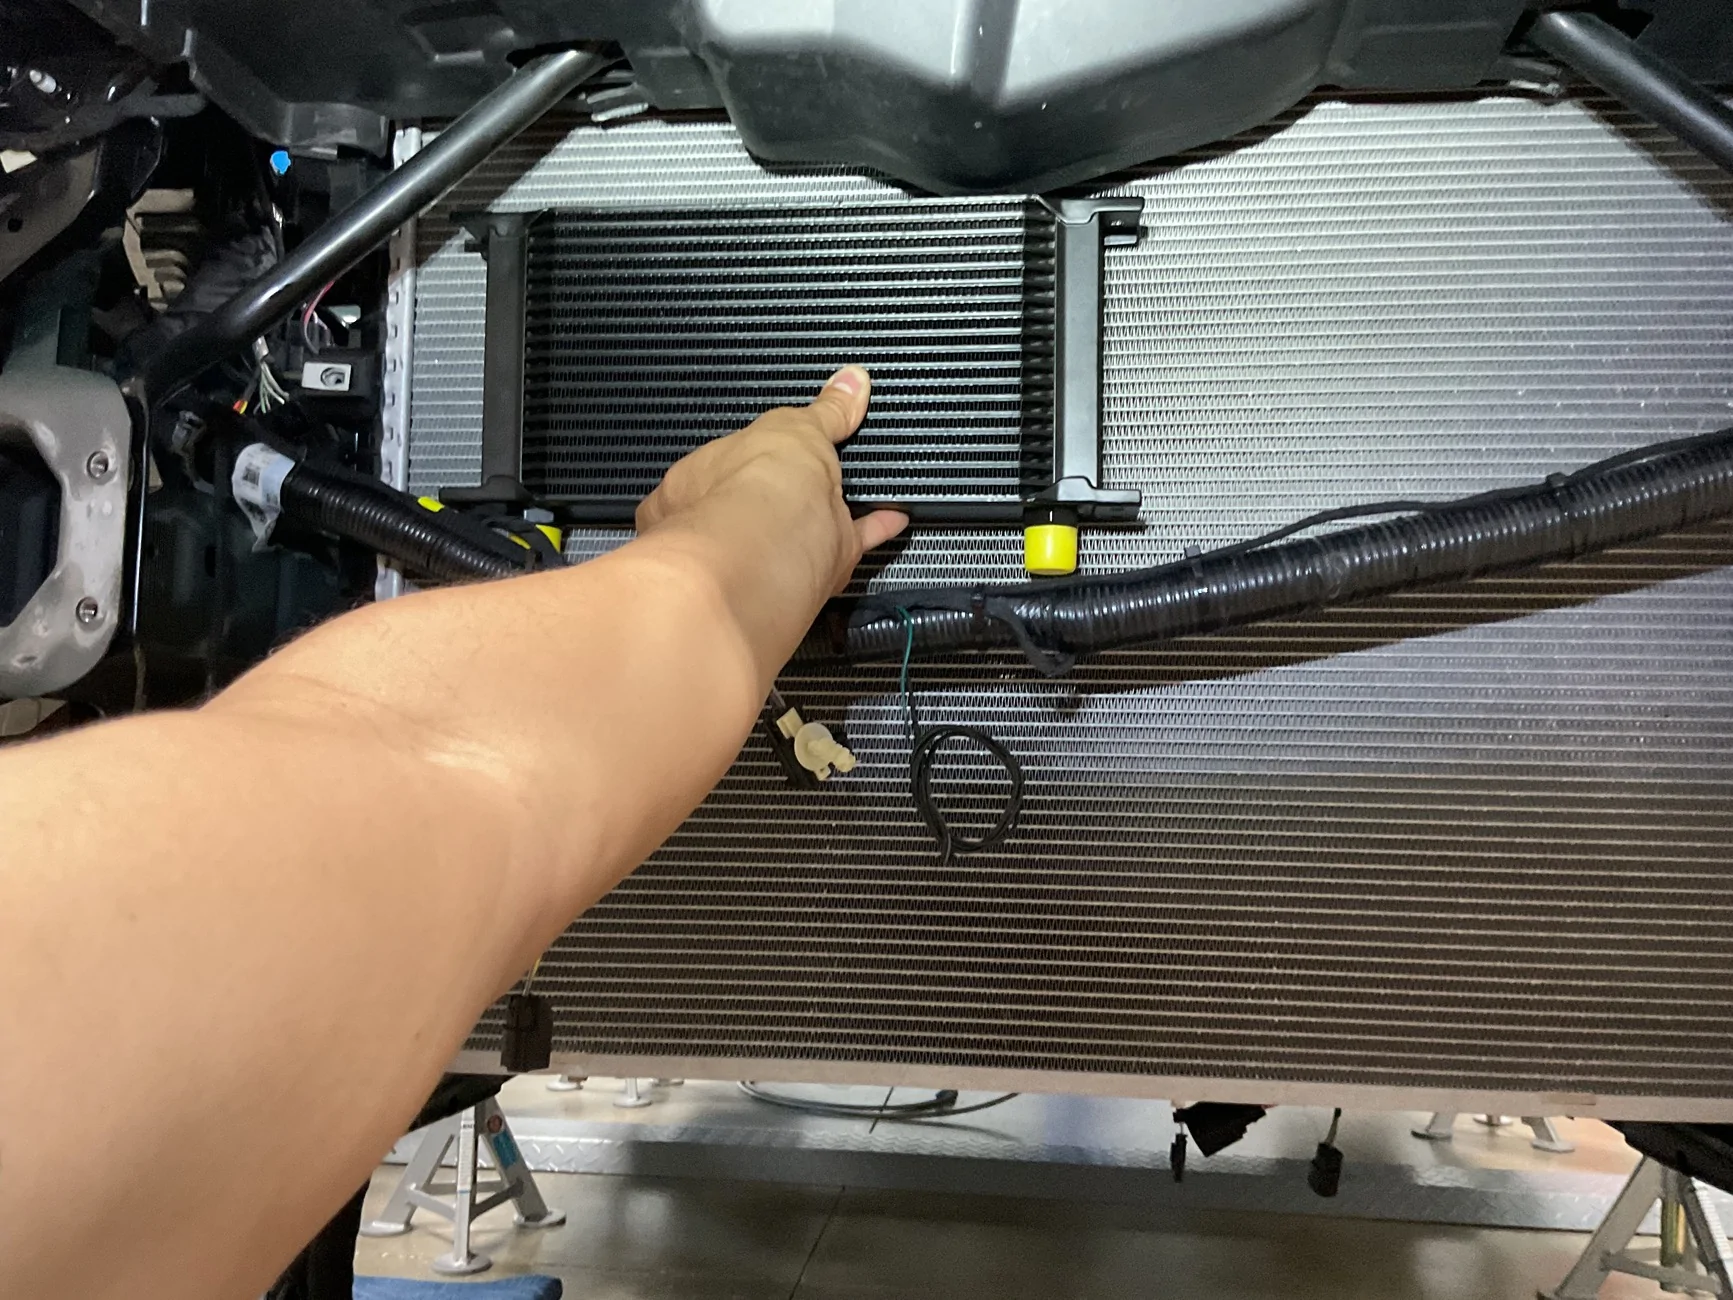
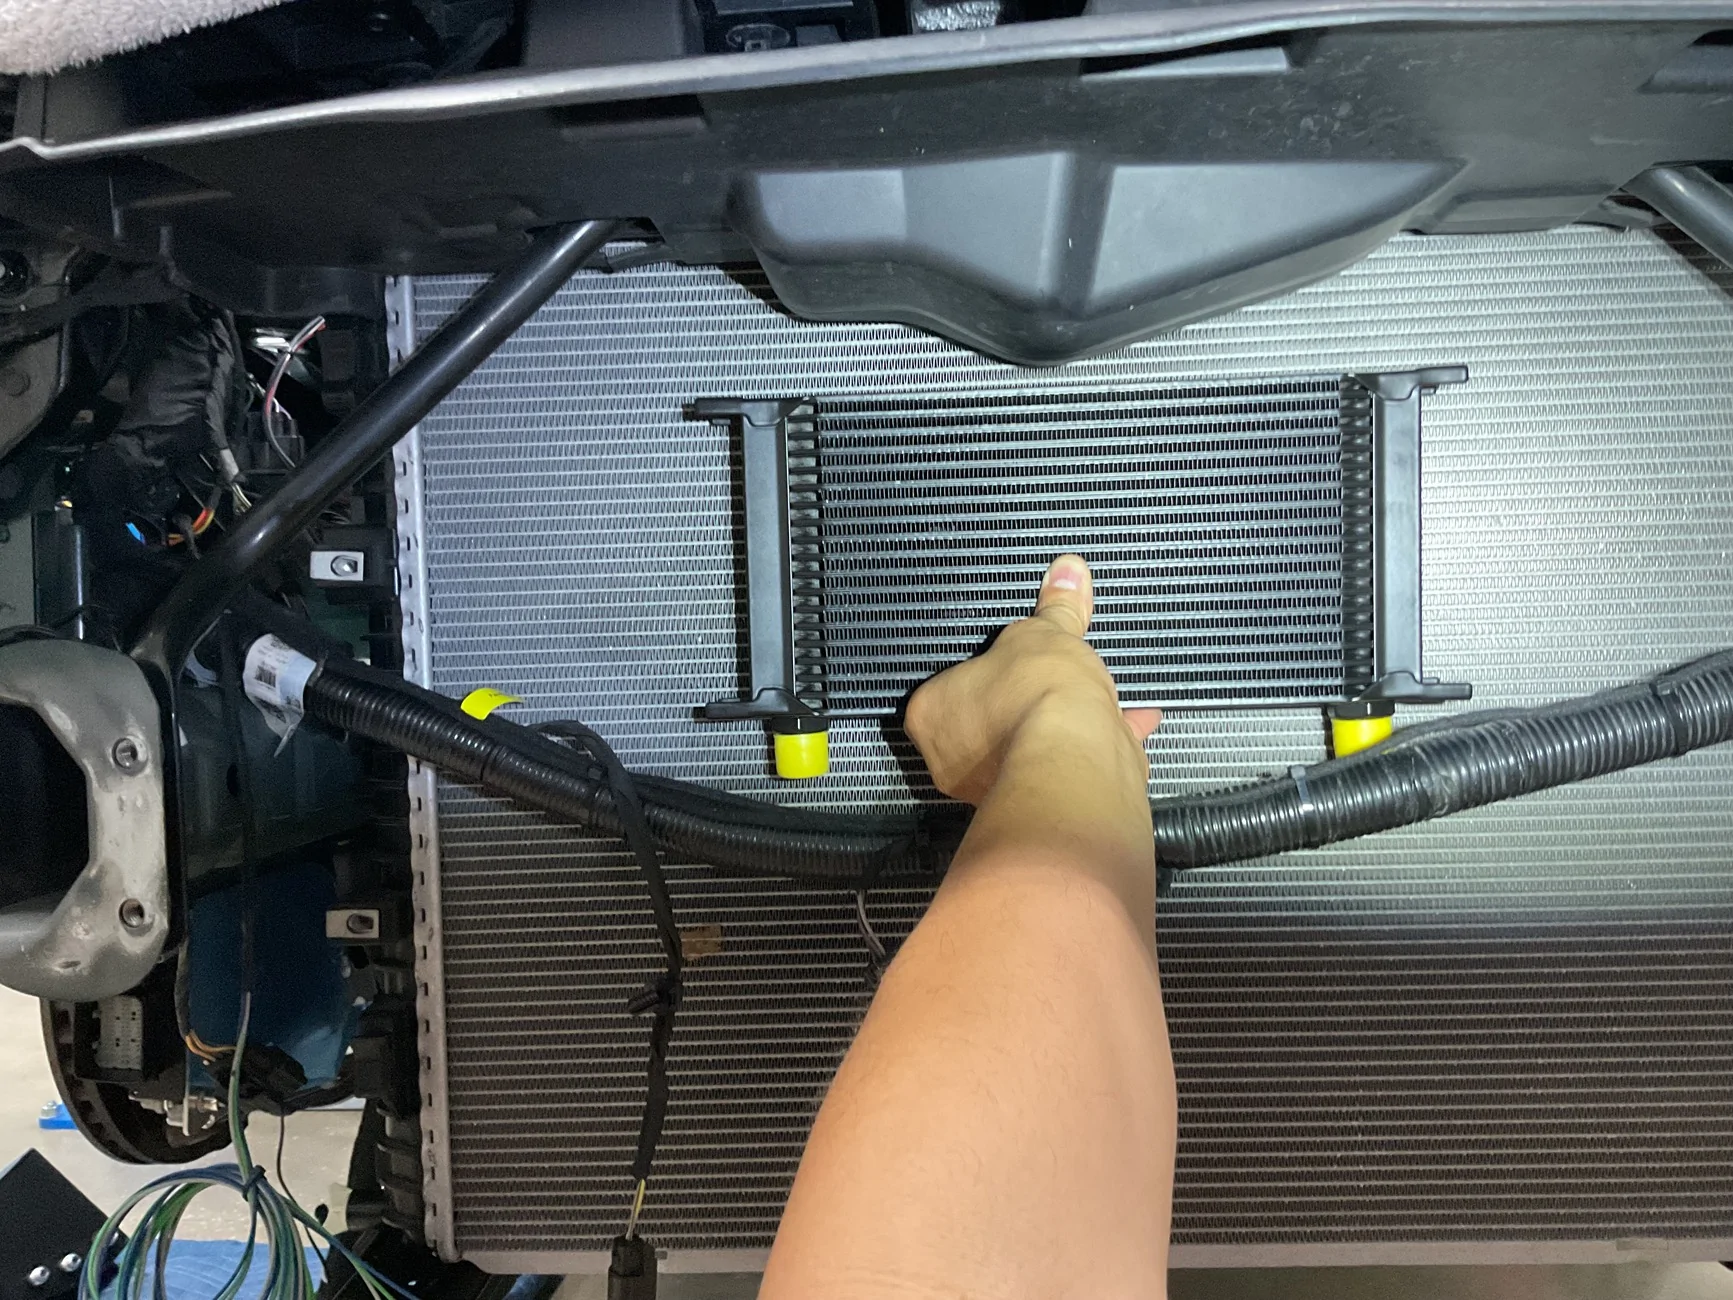
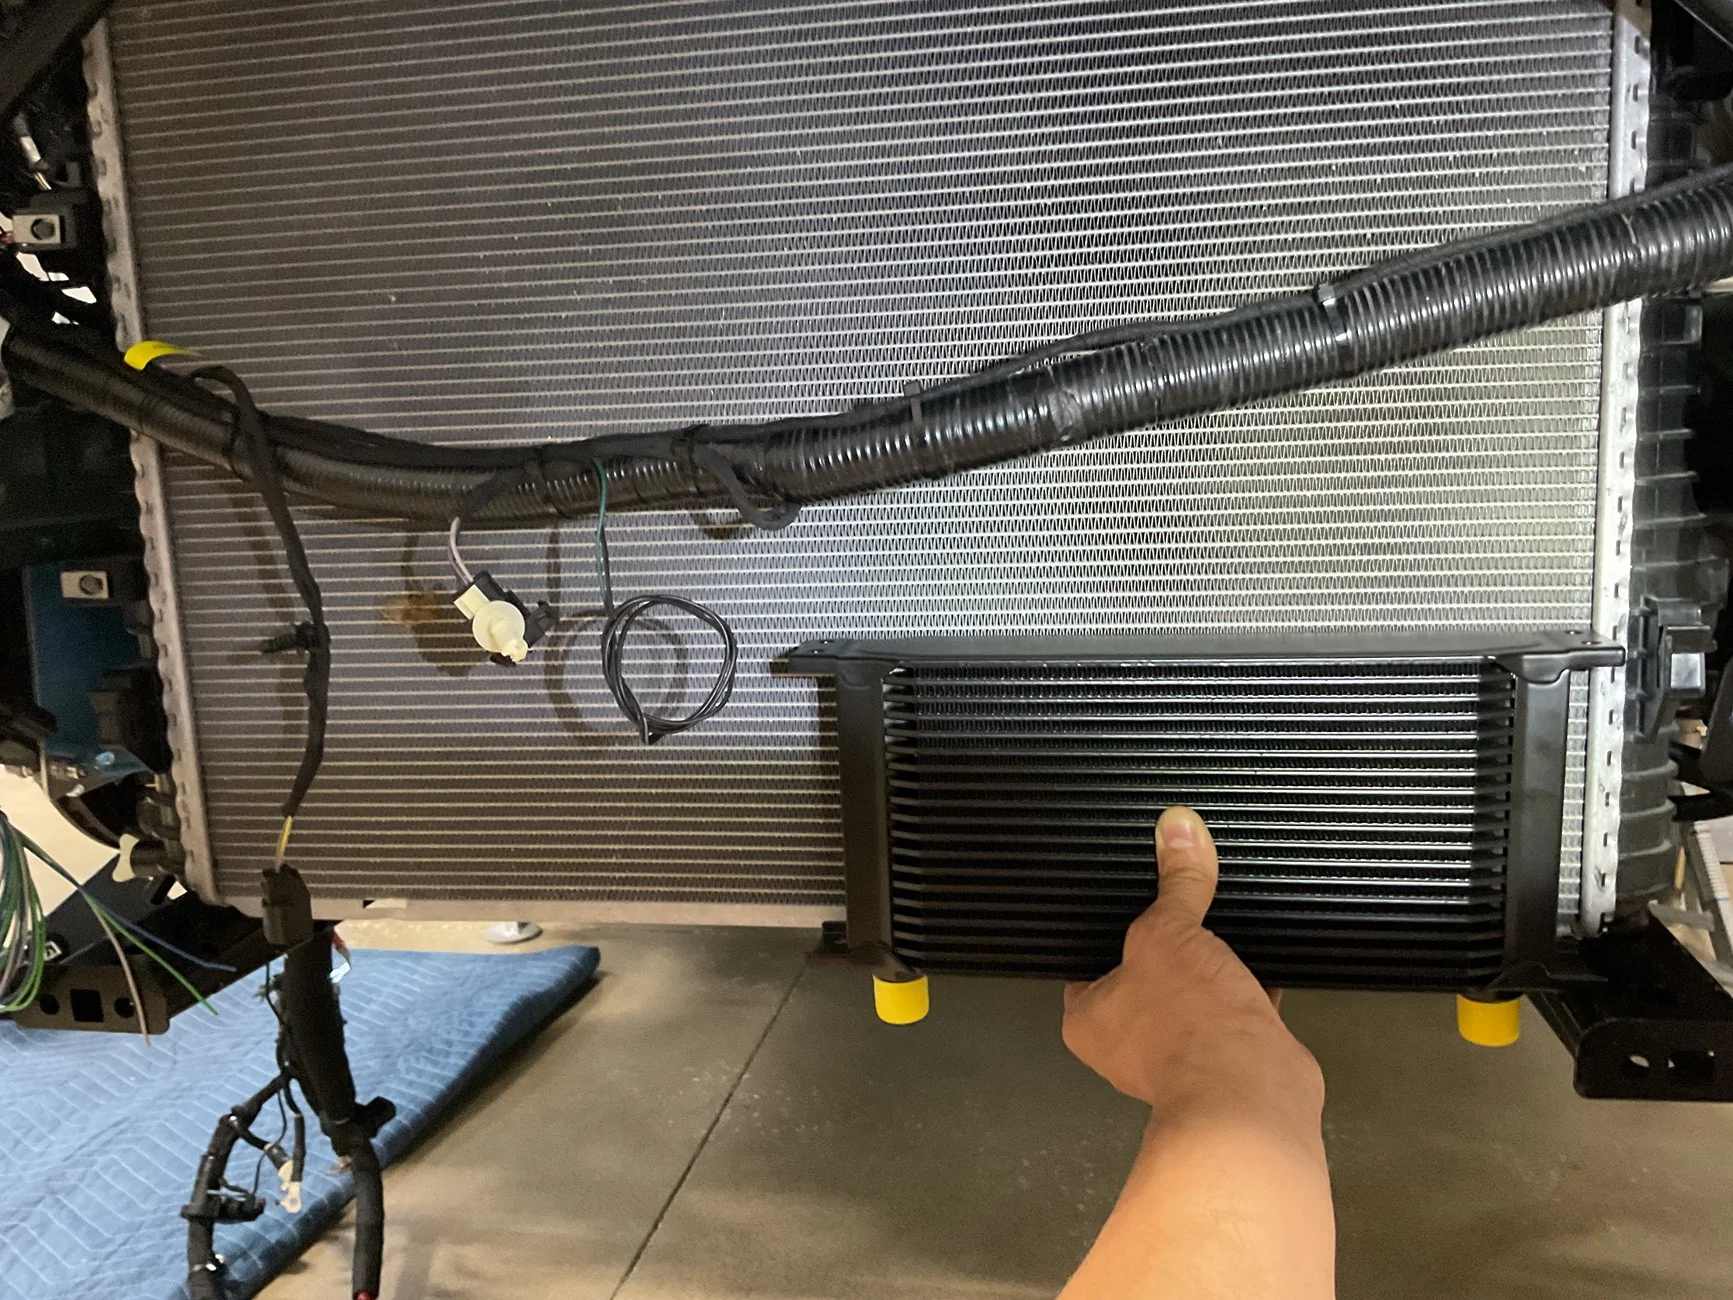
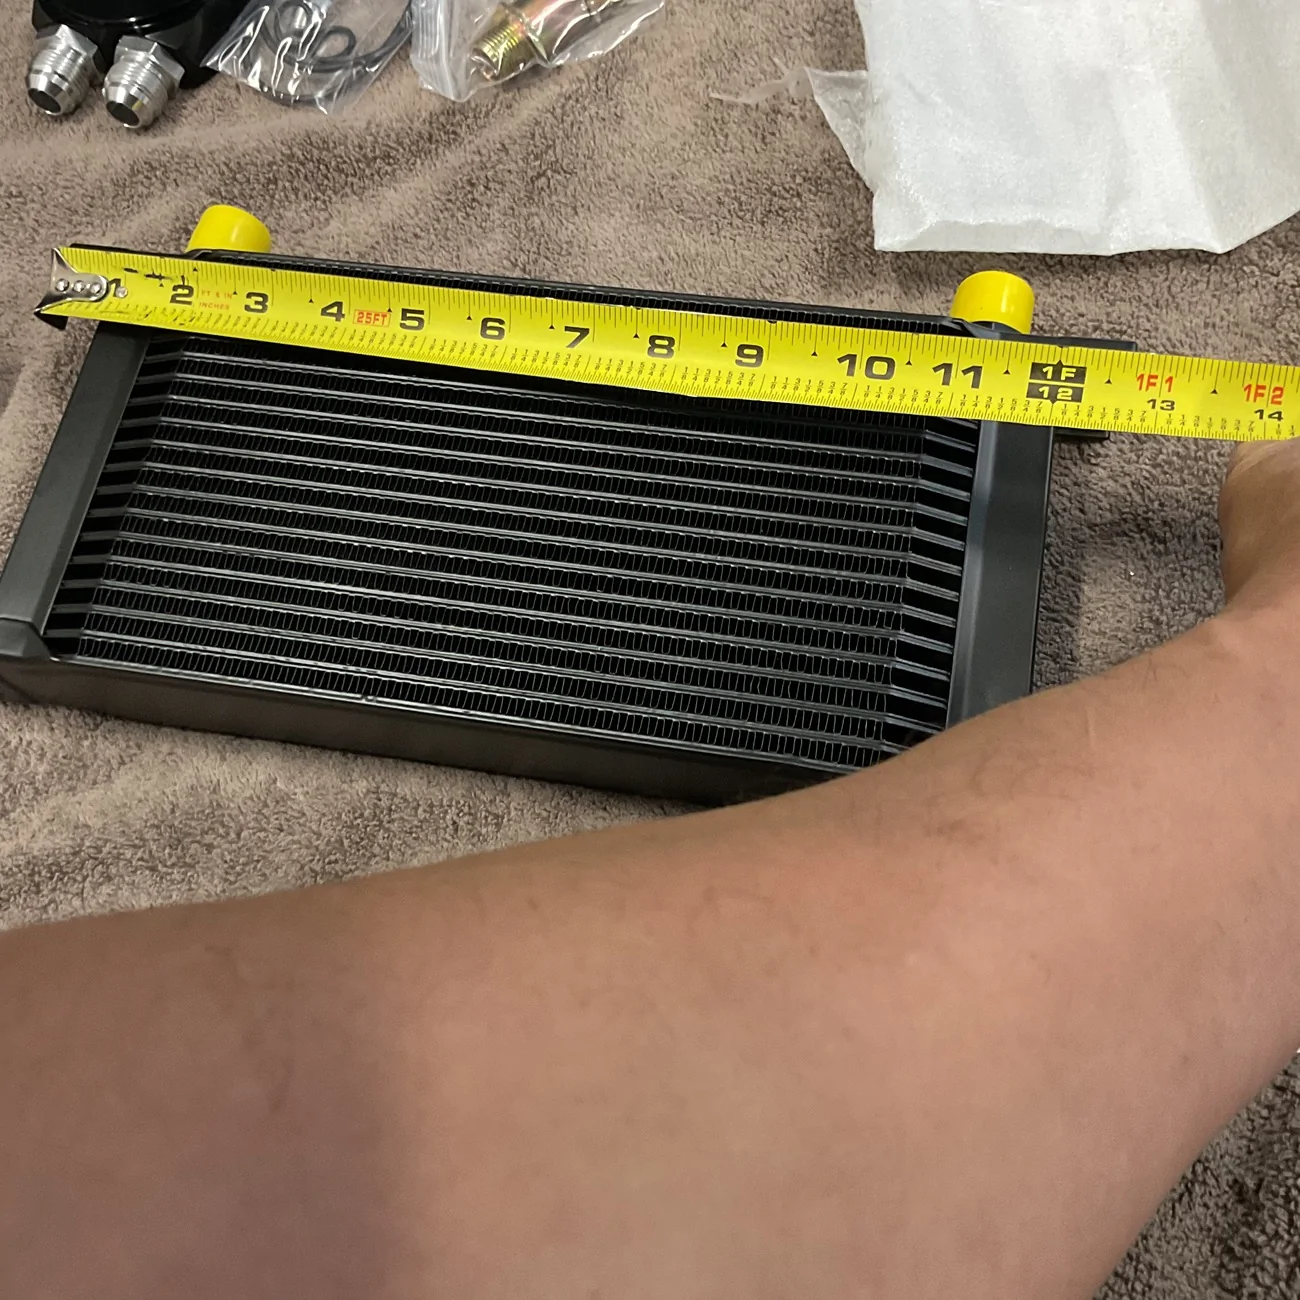
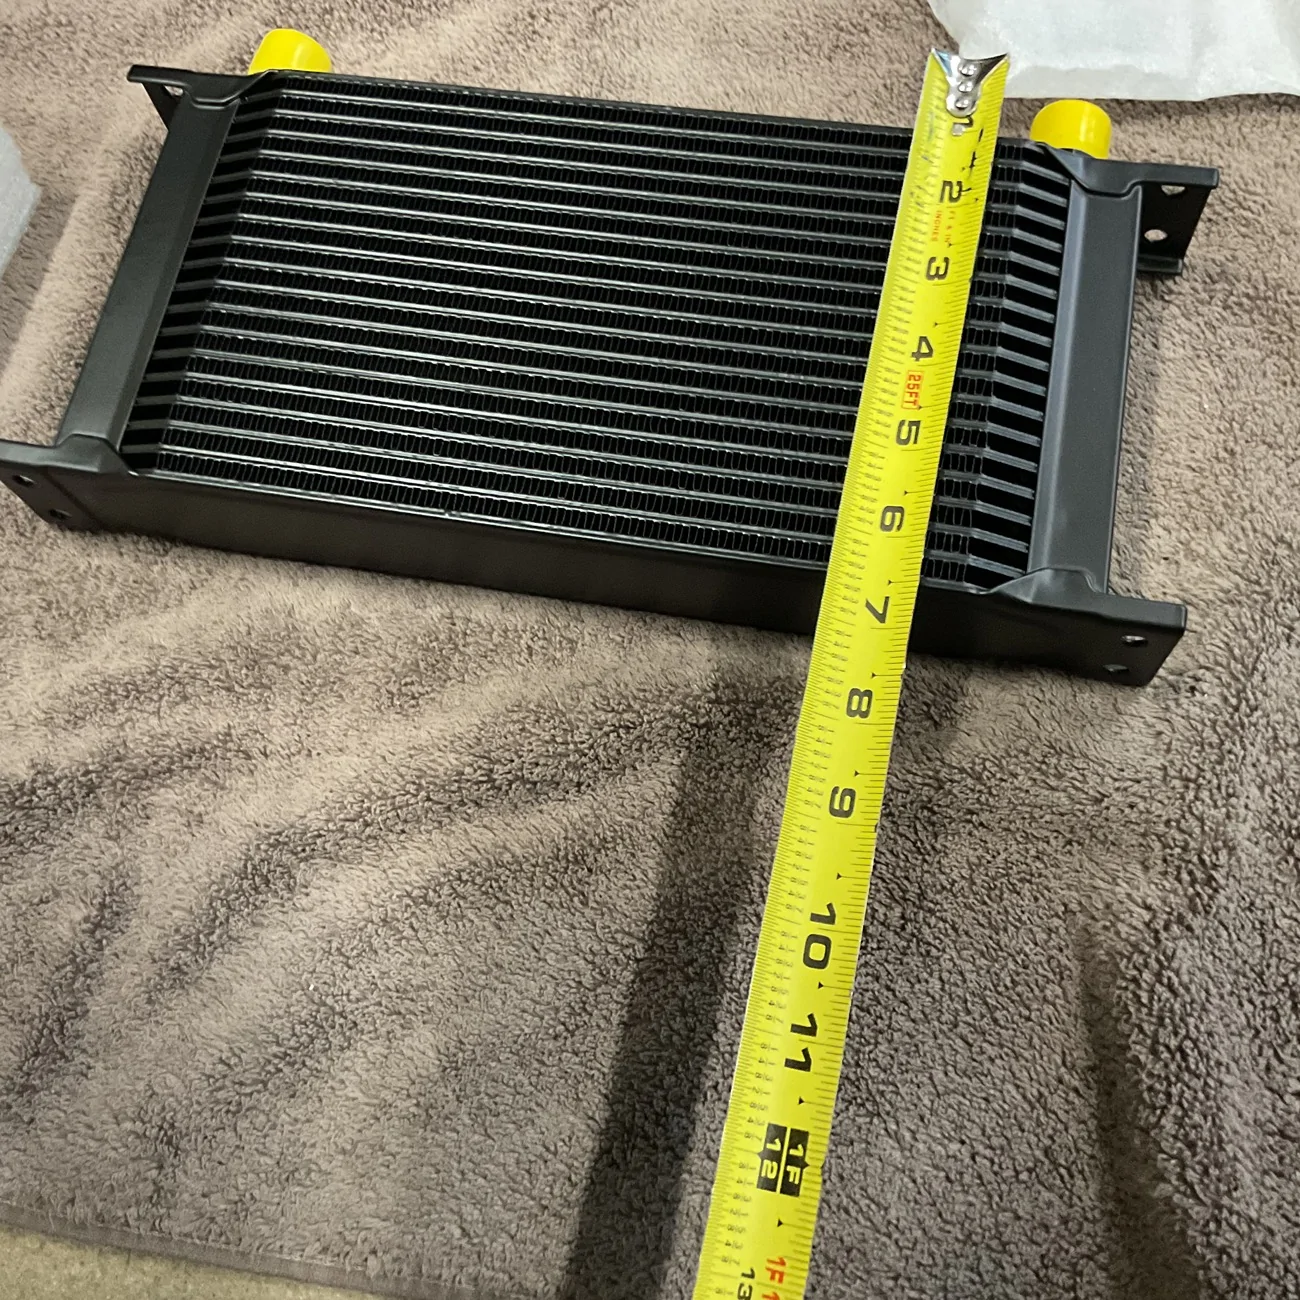
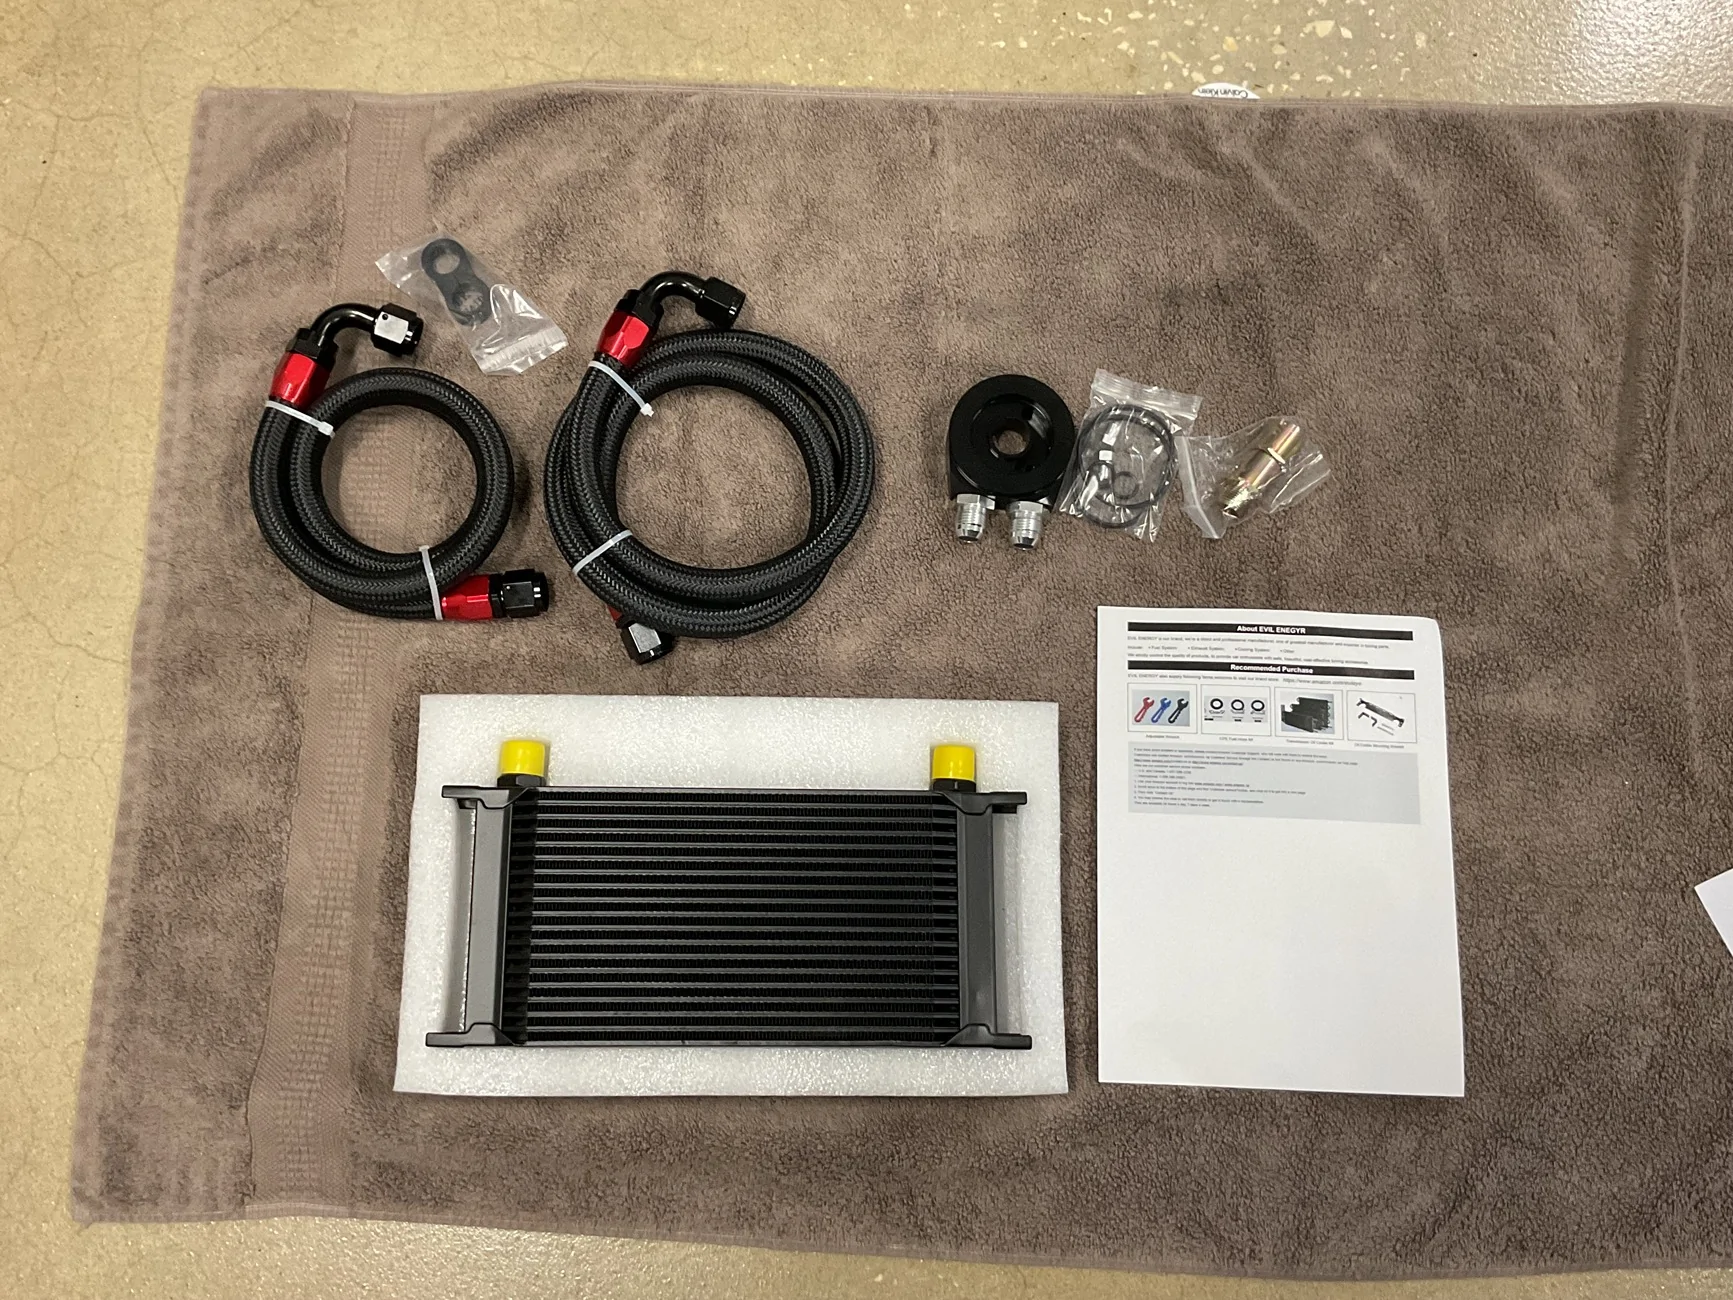
Moving on, I purchased an Evil Energy air to oil cooler and I’m toying with ideas on how to mount it. I think I have a plan, we’ll see.
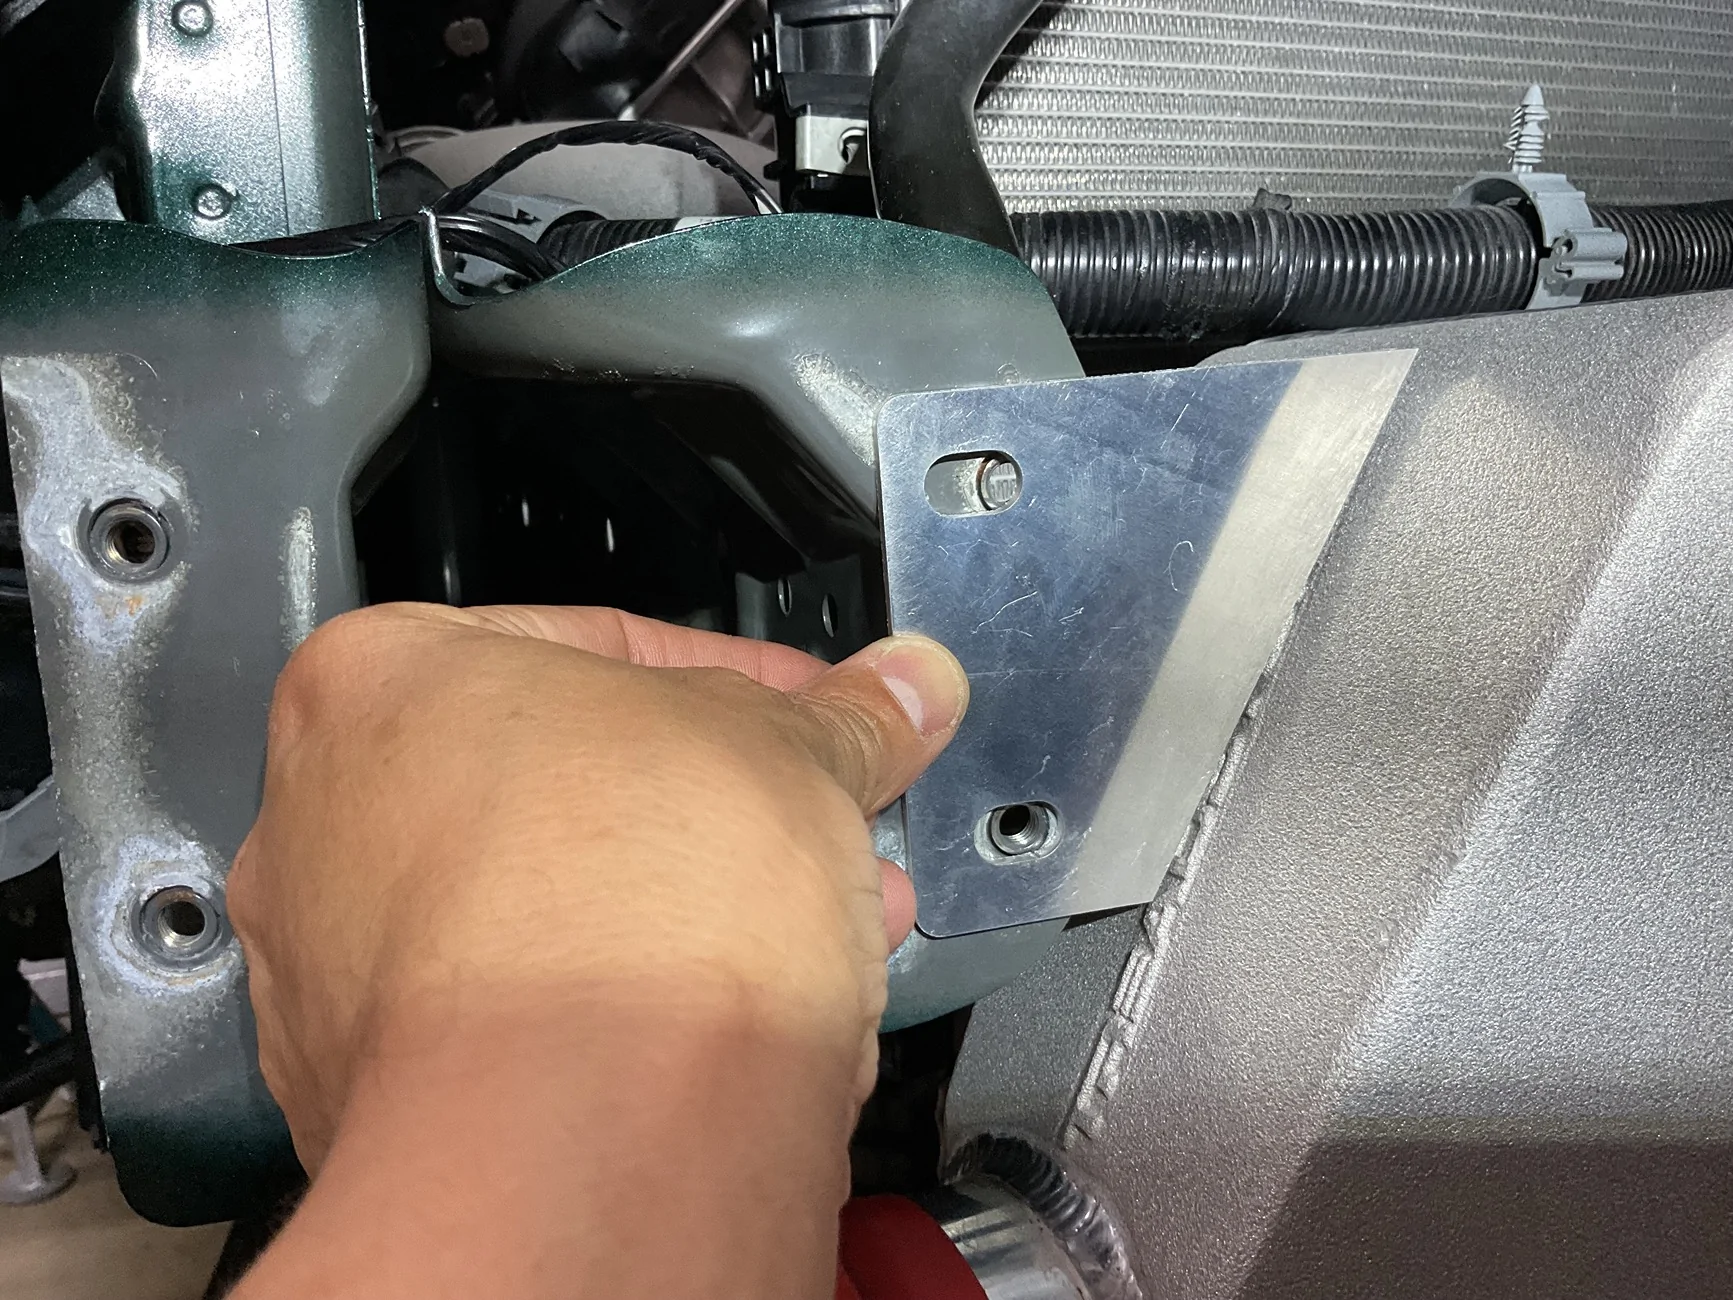
Lastly, I made up several of the vacuum lines and started on the coolant lines, as well as installed the MMR water pump delete adapter plate.
Oh yeah, and the Davies Craig supplied serpentine belt is too short. This may be because the Fluidampr and tensioner pulleys are aftermarket, although research says they are the made to the same specs as the factory ones. I’ll have to try and find my factory tensioner pulley and compare sizes. Worst case scenario, I can go up a bit in belt size to solve the issue.


I mounted the fan itself, which wasn’t as straight forward as one would think. The mounting holes for the fan in my custom shroud were approximately 7MM and the holes in the fan cage were 4MM. To combat this, I installed M4 rivnuts in the shroud and unfortunately, three held, but one didn’t, so I removed all four and stepped up to M5 rivnuts to fill the holes and used nyloc nuts in the backside. This worked out very well.
Moving on, I purchased an Evil Energy air to oil cooler and I’m toying with ideas on how to mount it. I think I have a plan, we’ll see.
Lastly, I made up several of the vacuum lines and started on the coolant lines, as well as installed the MMR water pump delete adapter plate.
Oh yeah, and the Davies Craig supplied serpentine belt is too short. This may be because the Fluidampr and tensioner pulleys are aftermarket, although research says they are the made to the same specs as the factory ones. I’ll have to try and find my factory tensioner pulley and compare sizes. Worst case scenario, I can go up a bit in belt size to solve the issue.


AcceptableNebula
Well-Known Member
- Joined
- Apr 5, 2023
- Threads
- 19
- Messages
- 335
- Reaction score
- 927
- Location
- Massachusetts
- First Name
- Jake
- Vehicle(s)
- 2023 Ford Mustang GT Premium
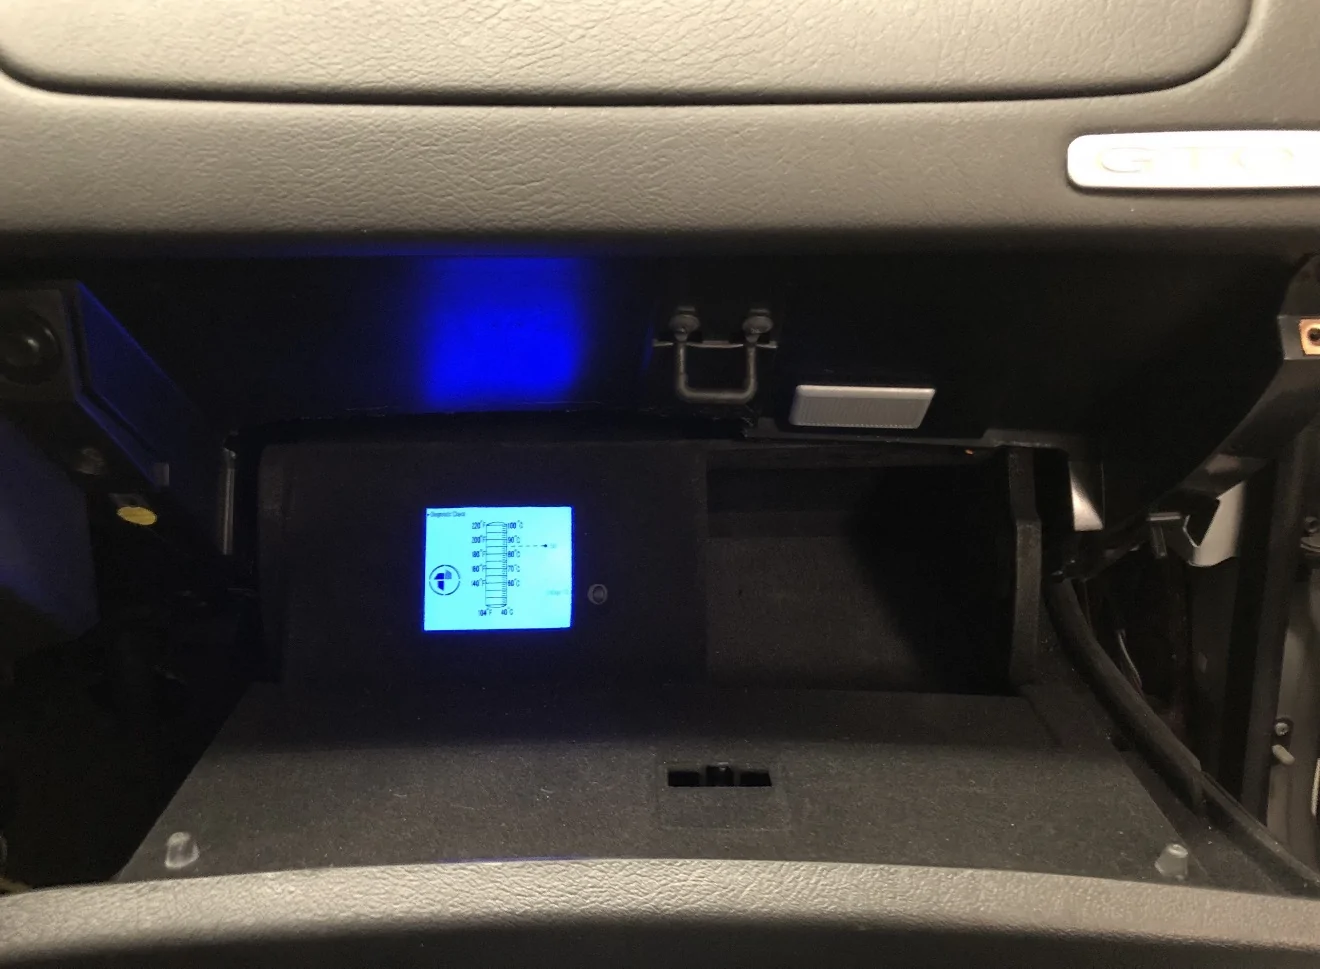
Here’s an idea for your EWP Controller. This is what I did with mine in my GTO back in 2015. Bonded a panel over half-ish of the glove box and then flocked it again.


Sponsored
OP
OP
NGOT8R
Well-Known Member
- Thread starter
- #296
I like that! You read my mind. I‘ve been trying to figure out a good mounting solution for the EWP and Delta PAG controllers. How did you bond it?Here’s an idea for your EWP Controller. This is what I did with mine in my GTO back in 2015. Bonded a panel over half-ish of the glove box and then flocked it again.
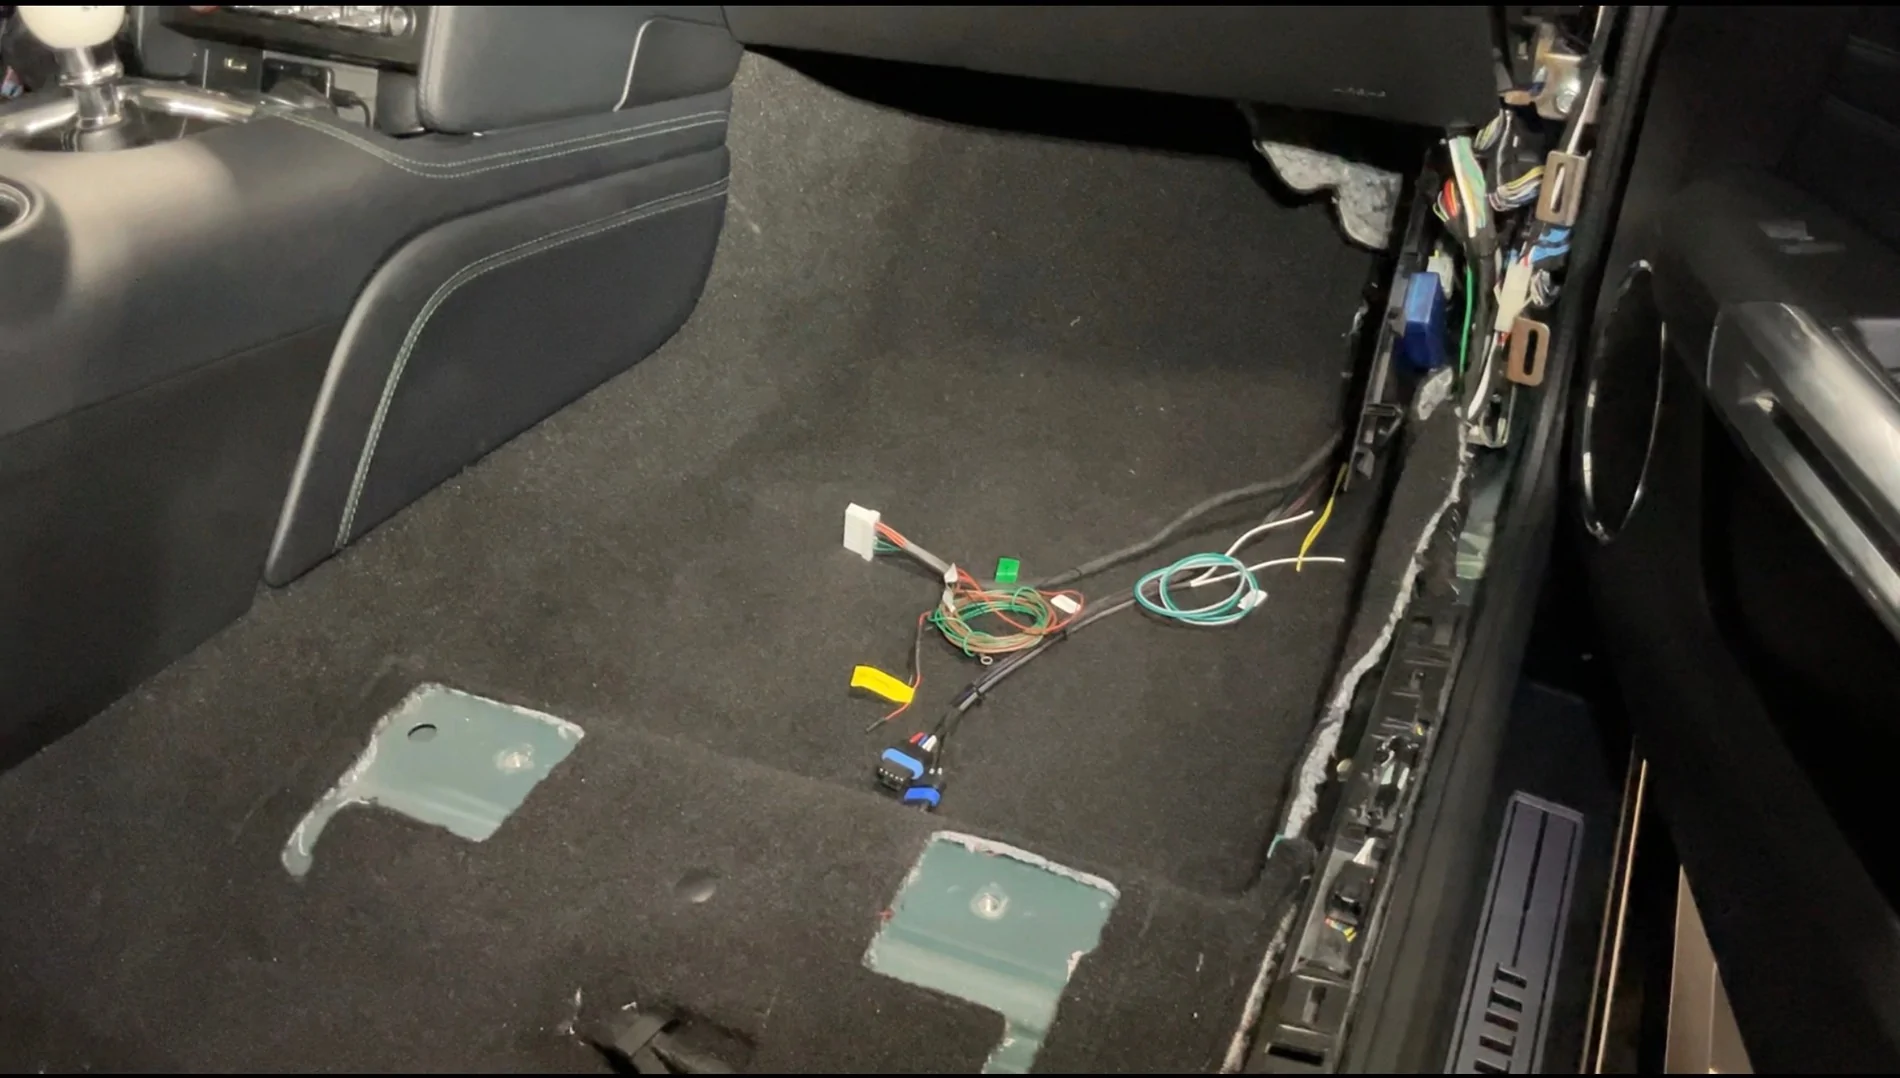
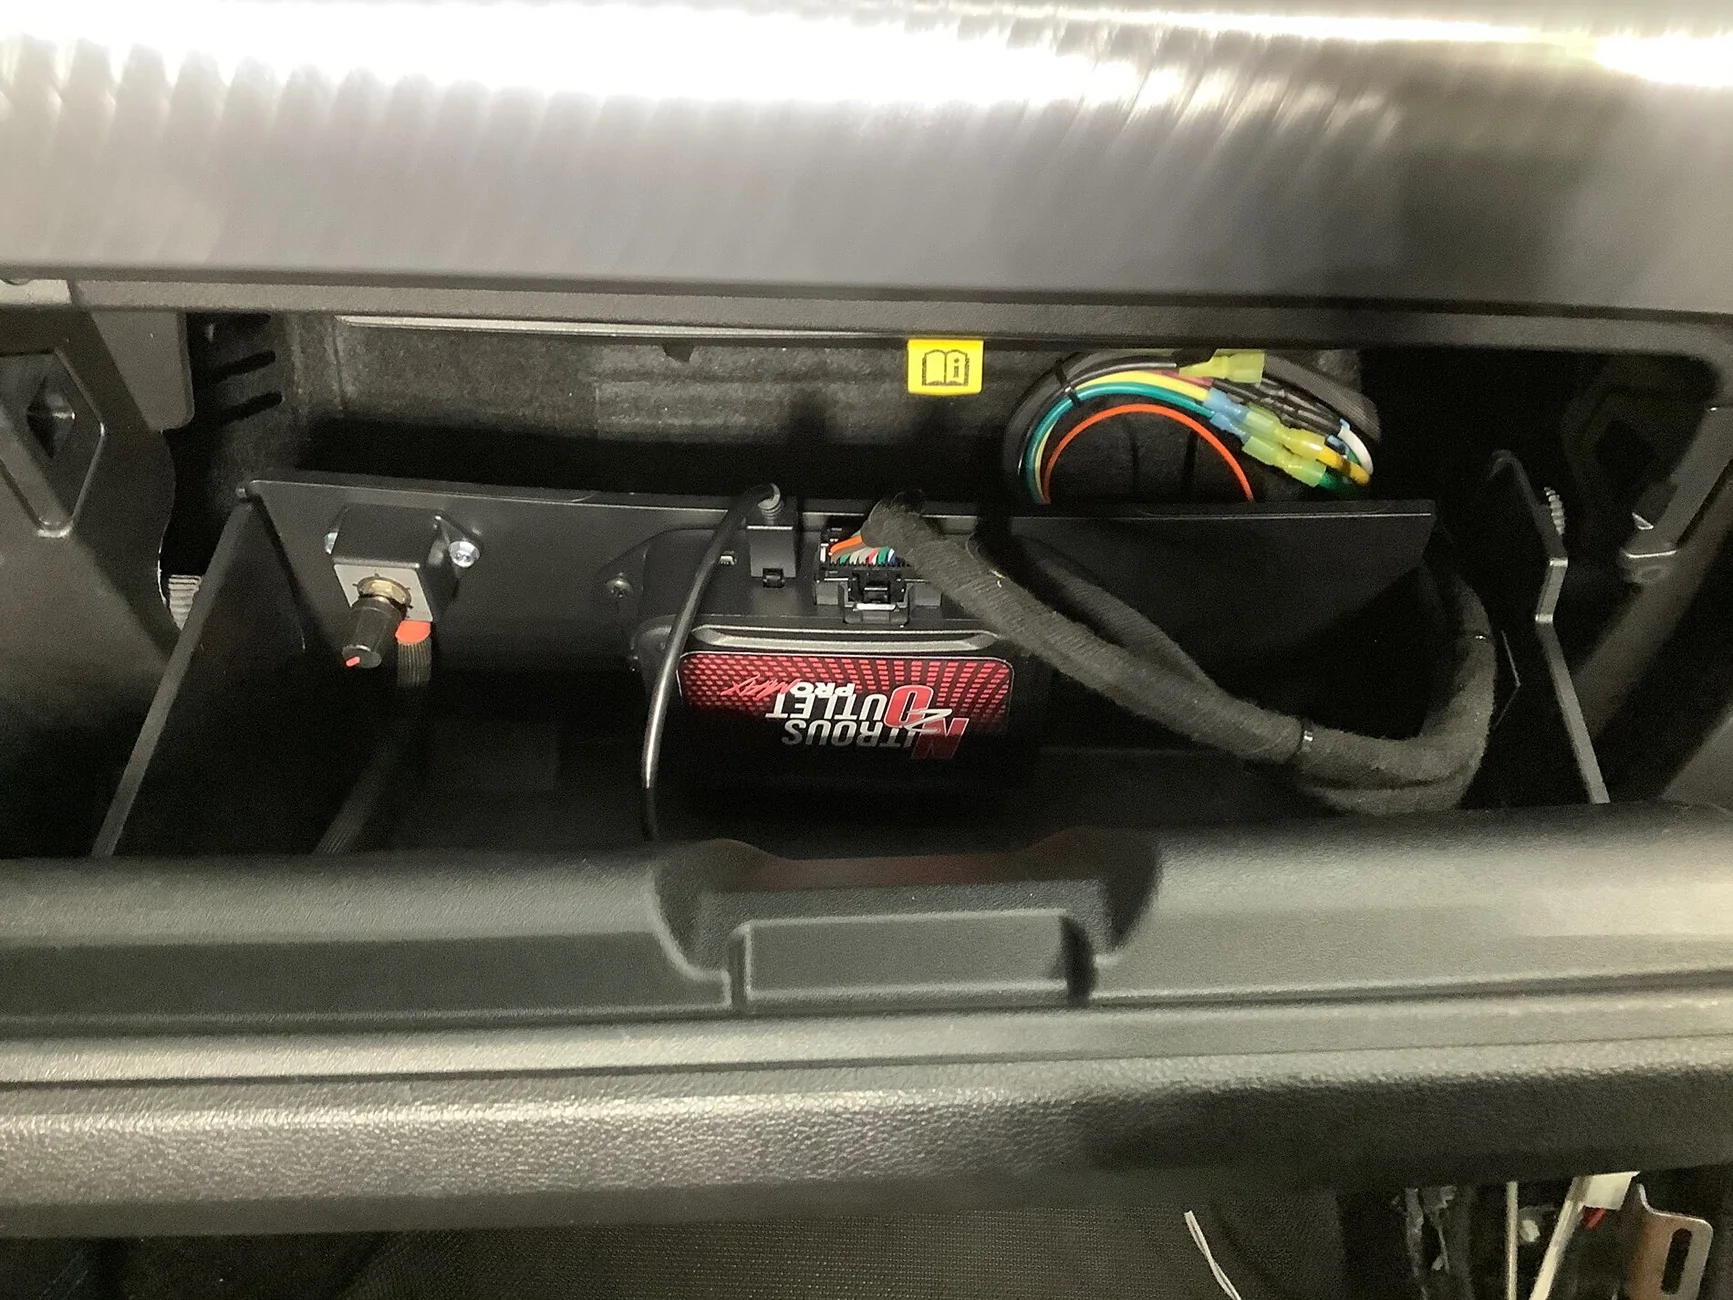
My glovebox is currently being used for my nitrous system‘s controller, but I’d like to somehow mount them in that same vicinity. Here’s a pic. Any ideas on how to keep what I have in there and add the two controllers on a panel like you did?
AcceptableNebula
Well-Known Member
- Joined
- Apr 5, 2023
- Threads
- 19
- Messages
- 335
- Reaction score
- 927
- Location
- Massachusetts
- First Name
- Jake
- Vehicle(s)
- 2023 Ford Mustang GT Premium
I secured the plastic sheet with one of those plastic staplers that melt stainless staples in, and used a plastic epoxy. Then used a plastic sandable filler over it to shape it. You probably have a bit less real estate to start with than I did. I made a template out of cardboard so I could get an idea of how it would look before I fully committed. By panning it off, I also was able to still have room behind it so the glovebox was still technically functional for registration etc.I like that! You read my mind. I‘ve been trying to figure out a good mounting solution for the EWP and Delta PAG controllers. How did you bond it?
My glovebox is currently being used for my nitrous system‘s controller, but I’d like to somehow mount them in that same vicinity. Here’s a pic. Any ideas on how to keep what I have in there and add the two controllers on a panel like you did?
OP
OP
NGOT8R
Well-Known Member
- Thread starter
- #298
Excellent idea! I’ll put this info. to use and see if I can come up with something similar. ThanksI secured the plastic sheet with one of those plastic staplers that melt stainless staples in, and used a plastic epoxy. Then used a plastic sandable filler over it to shape it. You probably have a bit less real estate to start with than I did. I made a template out of cardboard so I could get an idea of how it would look before I fully committed. By panning it off, I also was able to still have room behind it so the glovebox was still technically functional for registration etc.

Nightmonkey
Well-Known Member
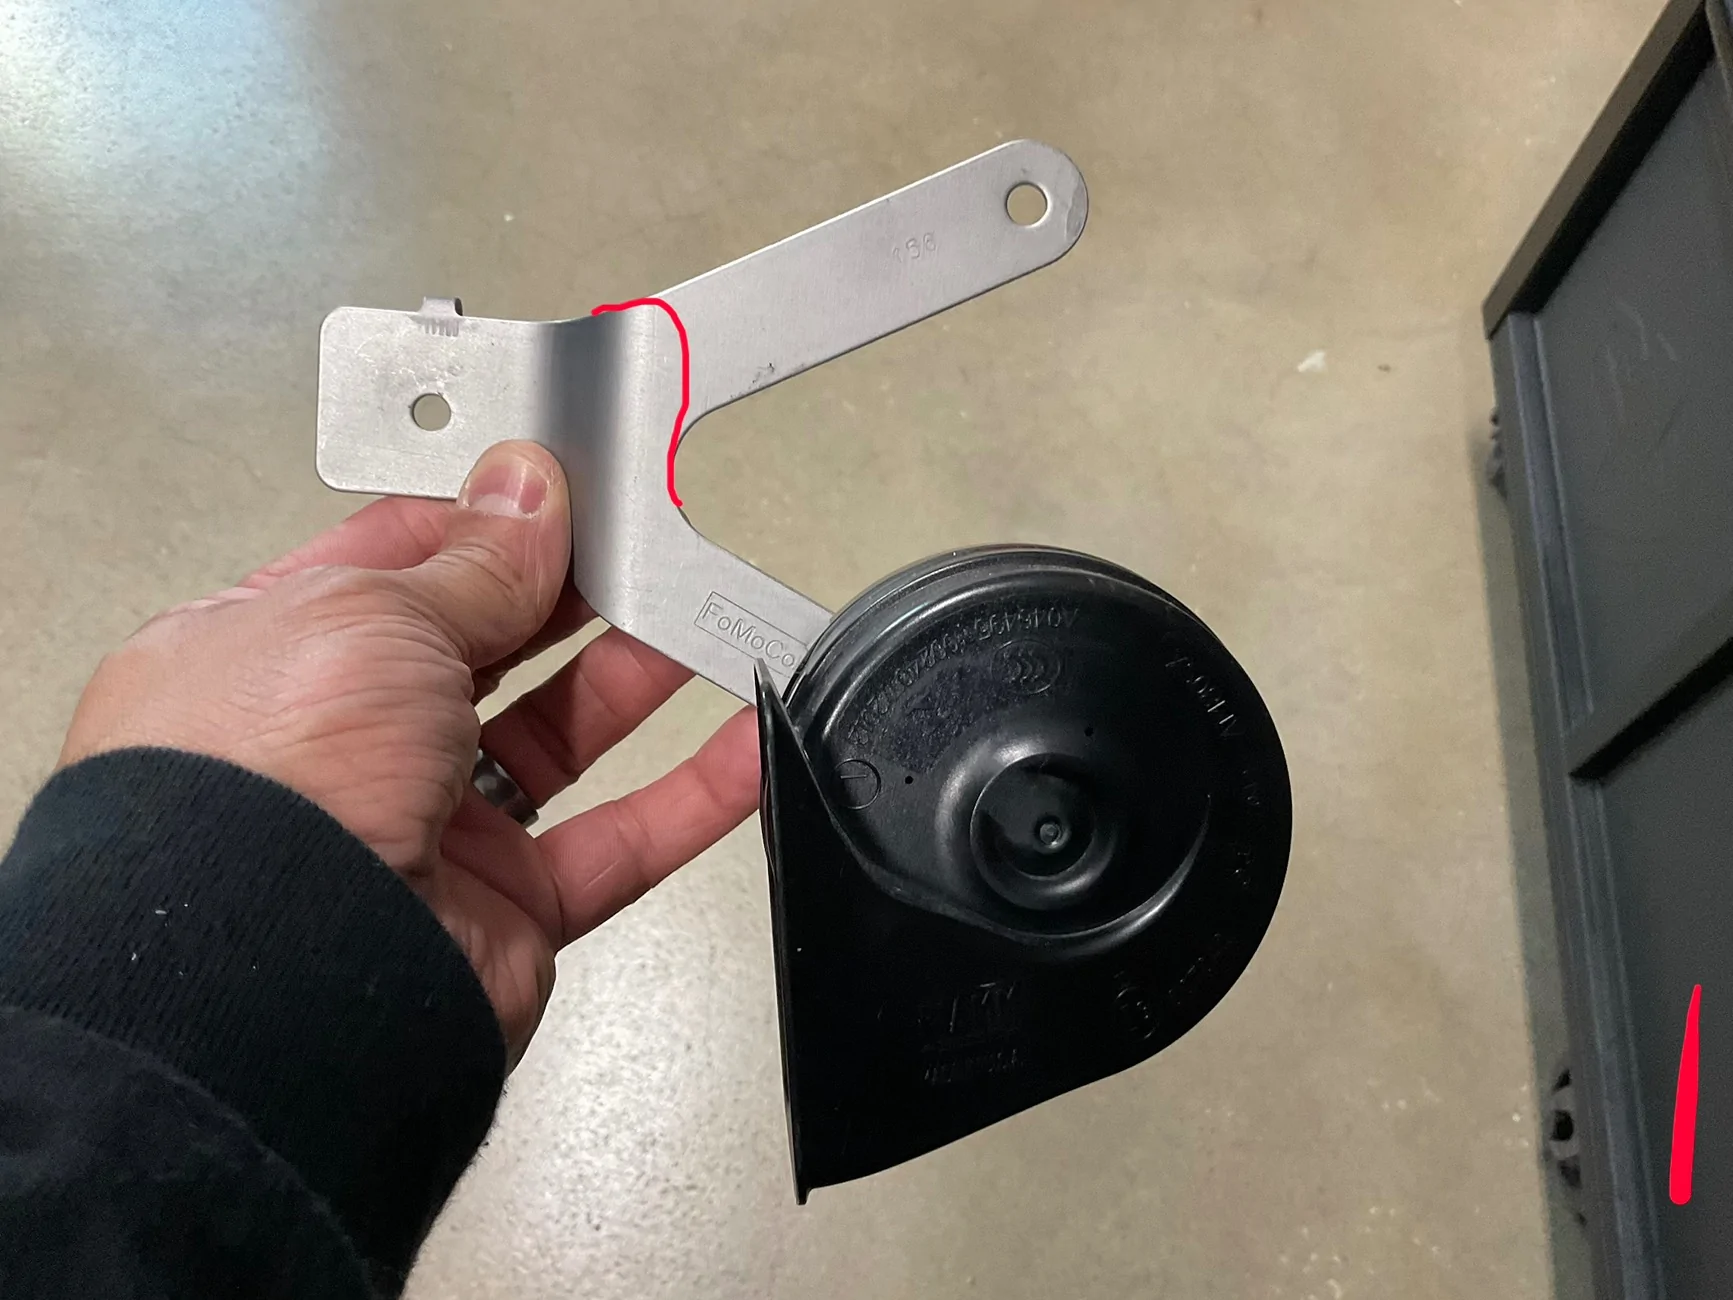
While you're at it, install the dual-tone horn (FR3Z-13832-G) on a custom braket as a little side quest.
I don't unterstand why USDM Bullitts do not have it.
It is plug&play, it connects internally to the second horn.
I don't unterstand why USDM Bullitts do not have it.
It is plug&play, it connects internally to the second horn.
Last edited:
OP
OP
NGOT8R
Well-Known Member
- Thread starter
- #300
I’ve considered this, but I’ll have to wait and see if there will be room left for it once everything else is installed in that area. I actually cut the second ear off of the factory bracket that’s used to mount the second. I did this to gain clearance for the exhaust pipe that runs through the opening in the inner fender.While you're at it, install the dual-tone horn (FR3Z-13832-G) on a custom braket as a little side quest.
I don't unterstand why USDM Bullitts do not have it.
It is plug&play, it connects internally to the second horn.
Sponsored