Sponsored

What did you do to your S550 Mustang today?!

Mustang_Lou

Well-Known Member
Joined
May 1, 2016
Threads
13
Messages
1,843
Reaction score
822
Location
Toronto, Canada
Vehicle(s)
2020 Mustang Bullitt
I had it originally connected directly to the battery ..... I was using alligator clips .... with the hood open.
Exactly what I'm doing in the garage but I know those alligator clips aren't the sturdiest-looking at staying put but as long as the tender is green I know I'm good.
Sponsored


StangTime

Well-Known Member
Joined
Apr 16, 2019
Threads
81
Messages
3,594
Reaction score
4,092
Location
Ontario 🇨🇦
First Name
Todd
Vehicle(s)
19' GT PP1 Manual
Exactly what I'm doing in the garage but I know those alligator clips aren't the sturdiest-looking at staying put but as long as the tender is green I know I'm good.
Yup. They popped off a few times. Had enough of that! Now have a more permanent and user friendly connection.
 

therod785

Well-Known Member
Joined
Mar 10, 2019
Threads
29
Messages
123
Reaction score
71
Location
McAllen
First Name
Erik
Vehicle(s)
2015 Mustang GT
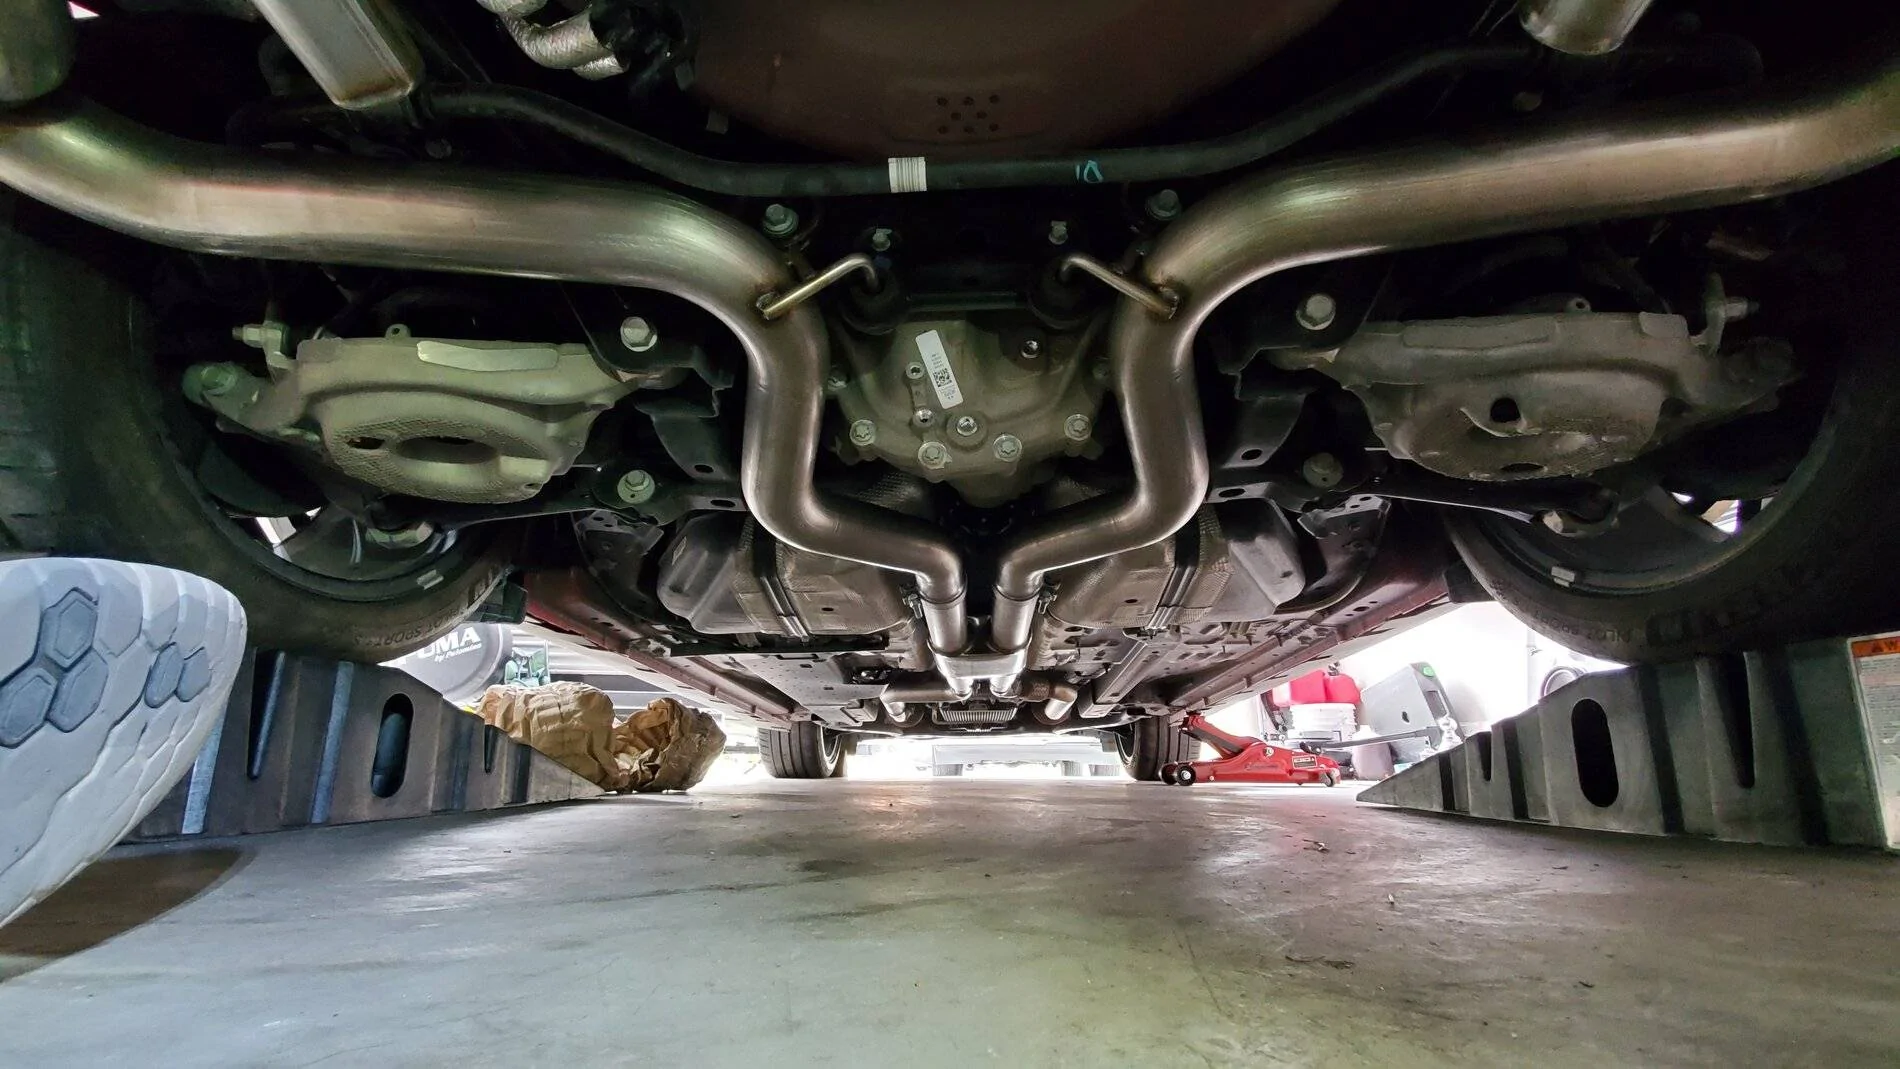
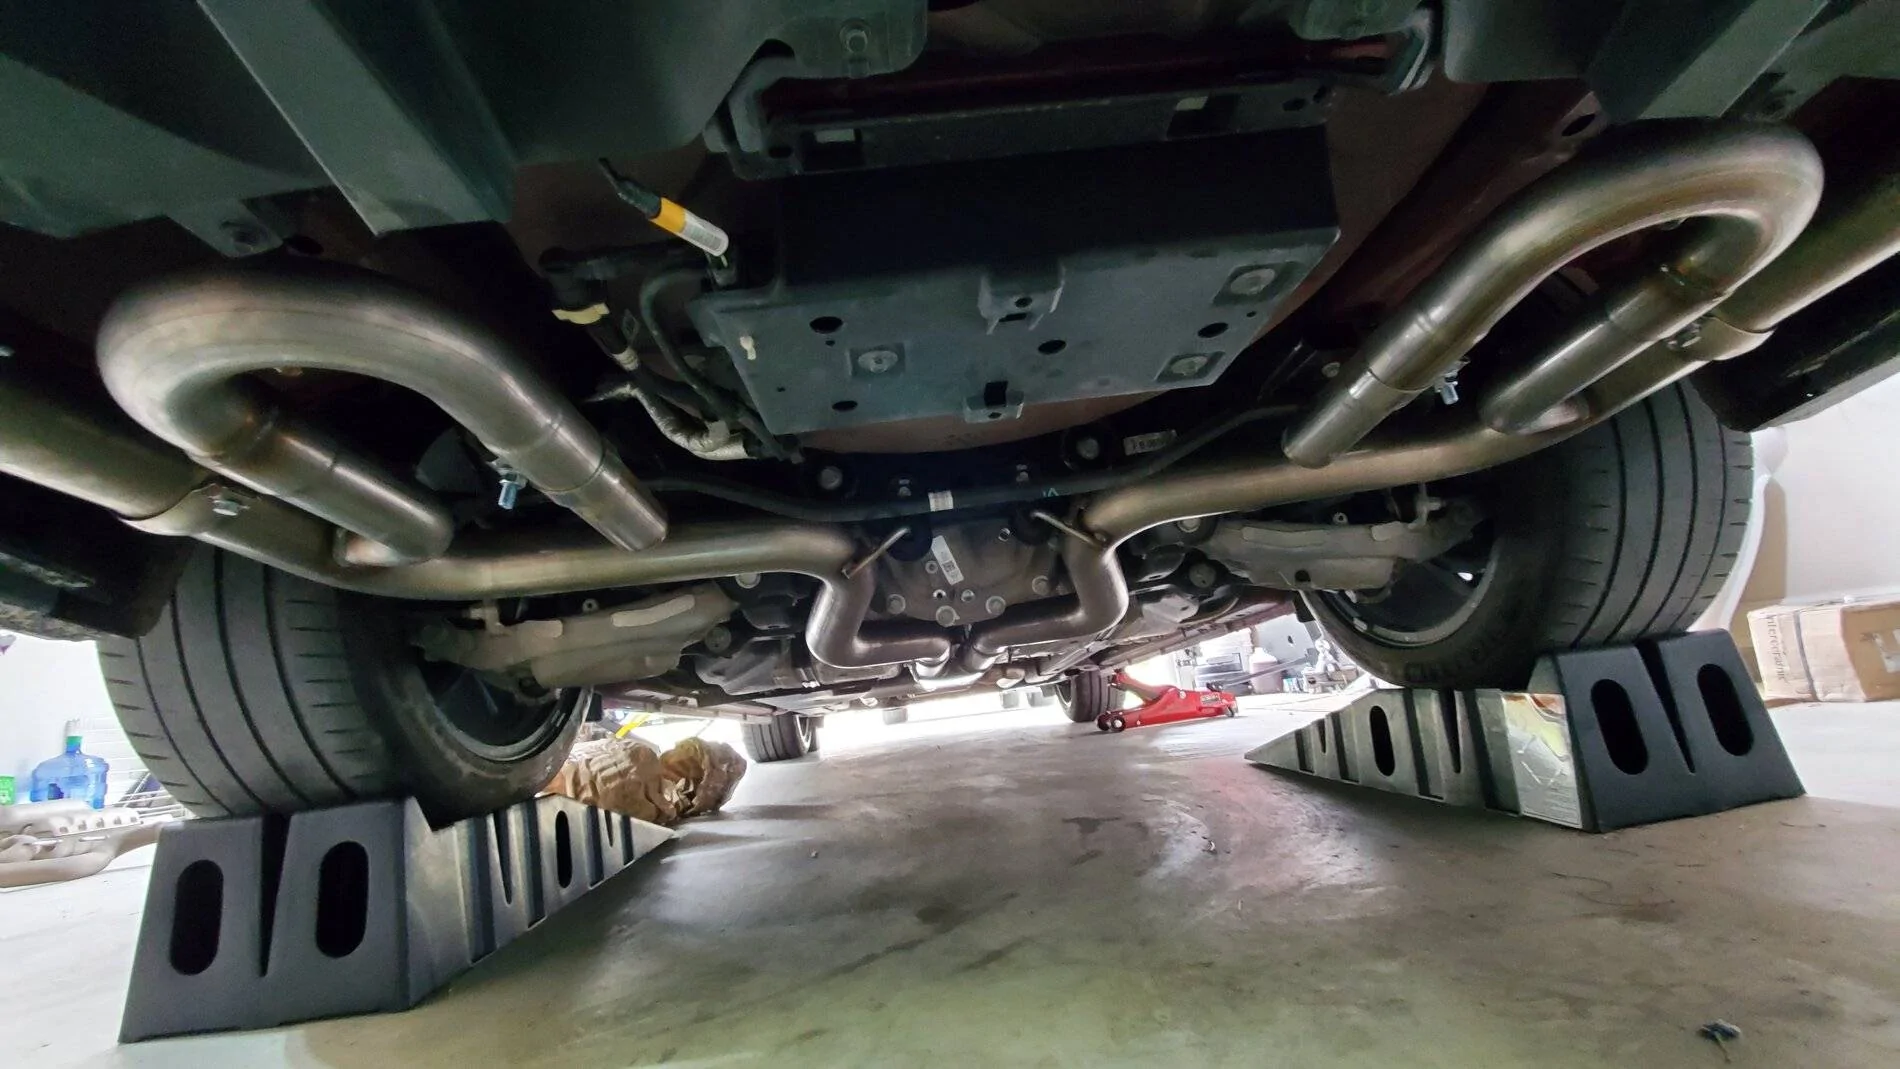
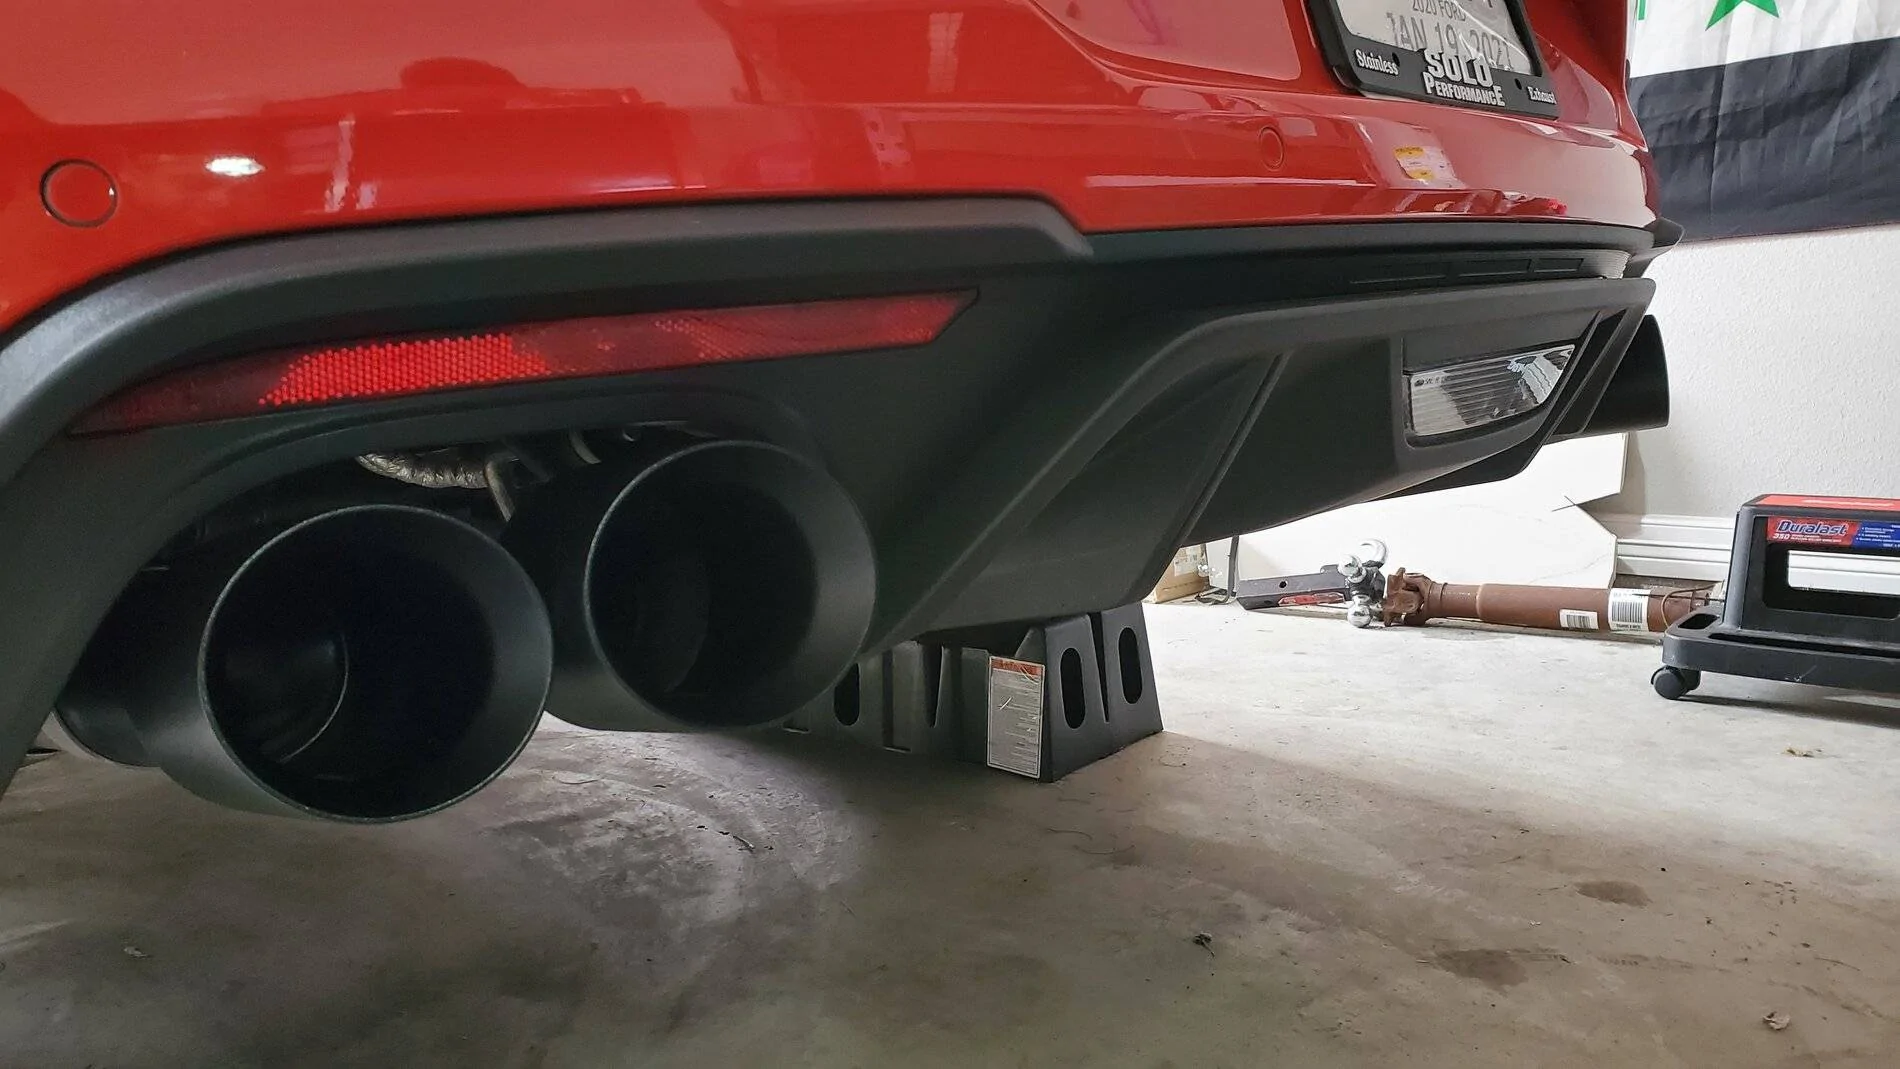
Traded my 2015 for 2020 GT. My solo performance catback was a direct fit. Ordered the matching tips. Had time today to install.

20201130_093747.webp


20201130_093742.webp


20201130_093730.webp
 

Dr. Norts

Banned
Banned
Banned
Joined
Nov 3, 2016
Threads
27
Messages
1,238
Reaction score
993
Location
Ontario, Canada
Vehicle(s)
2015 Race Red Mustang GT
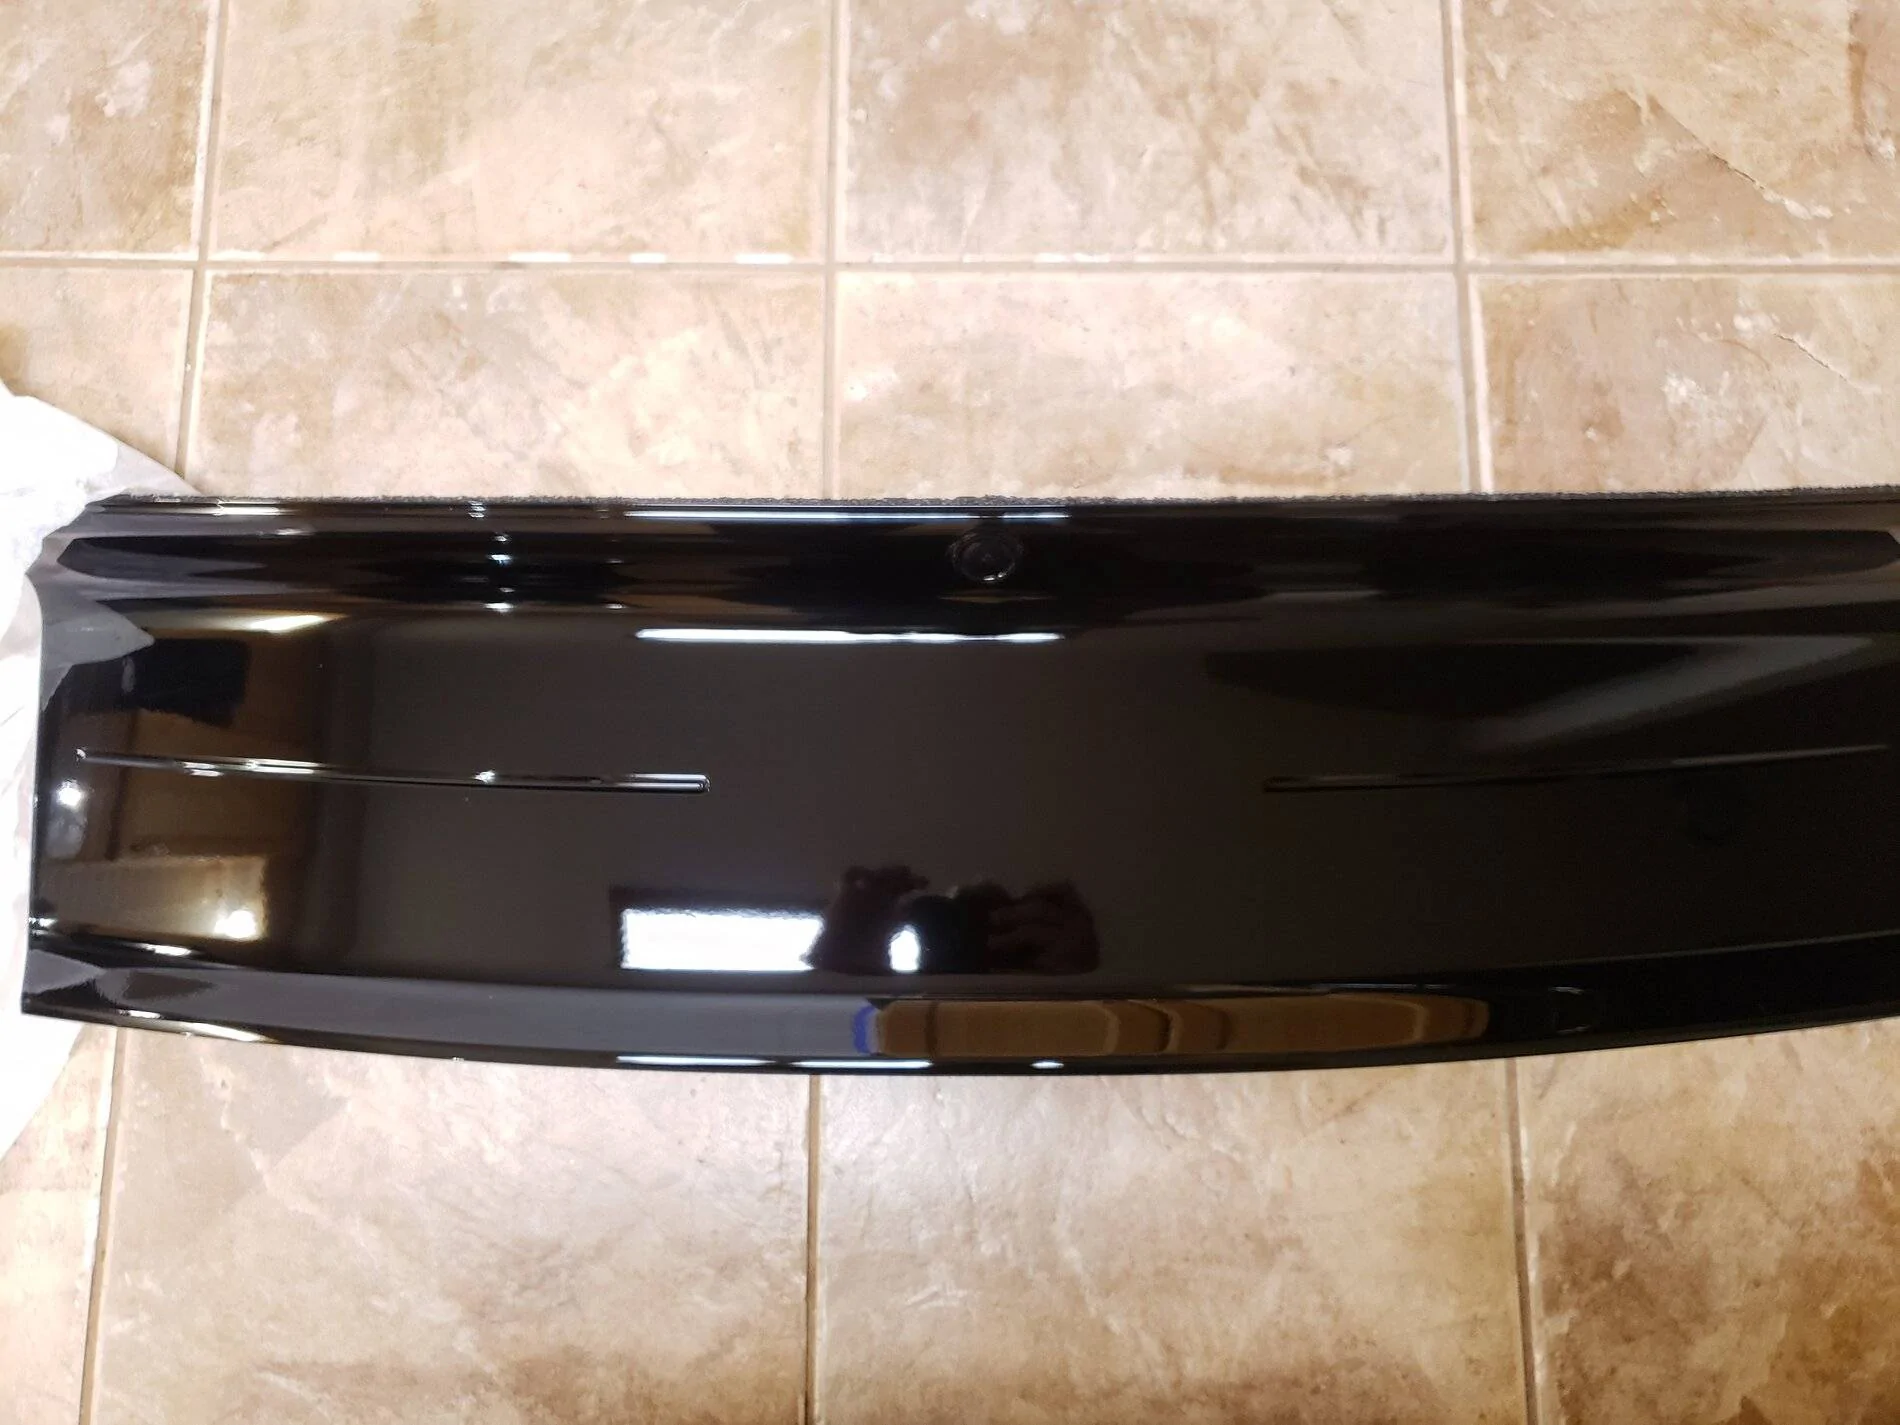
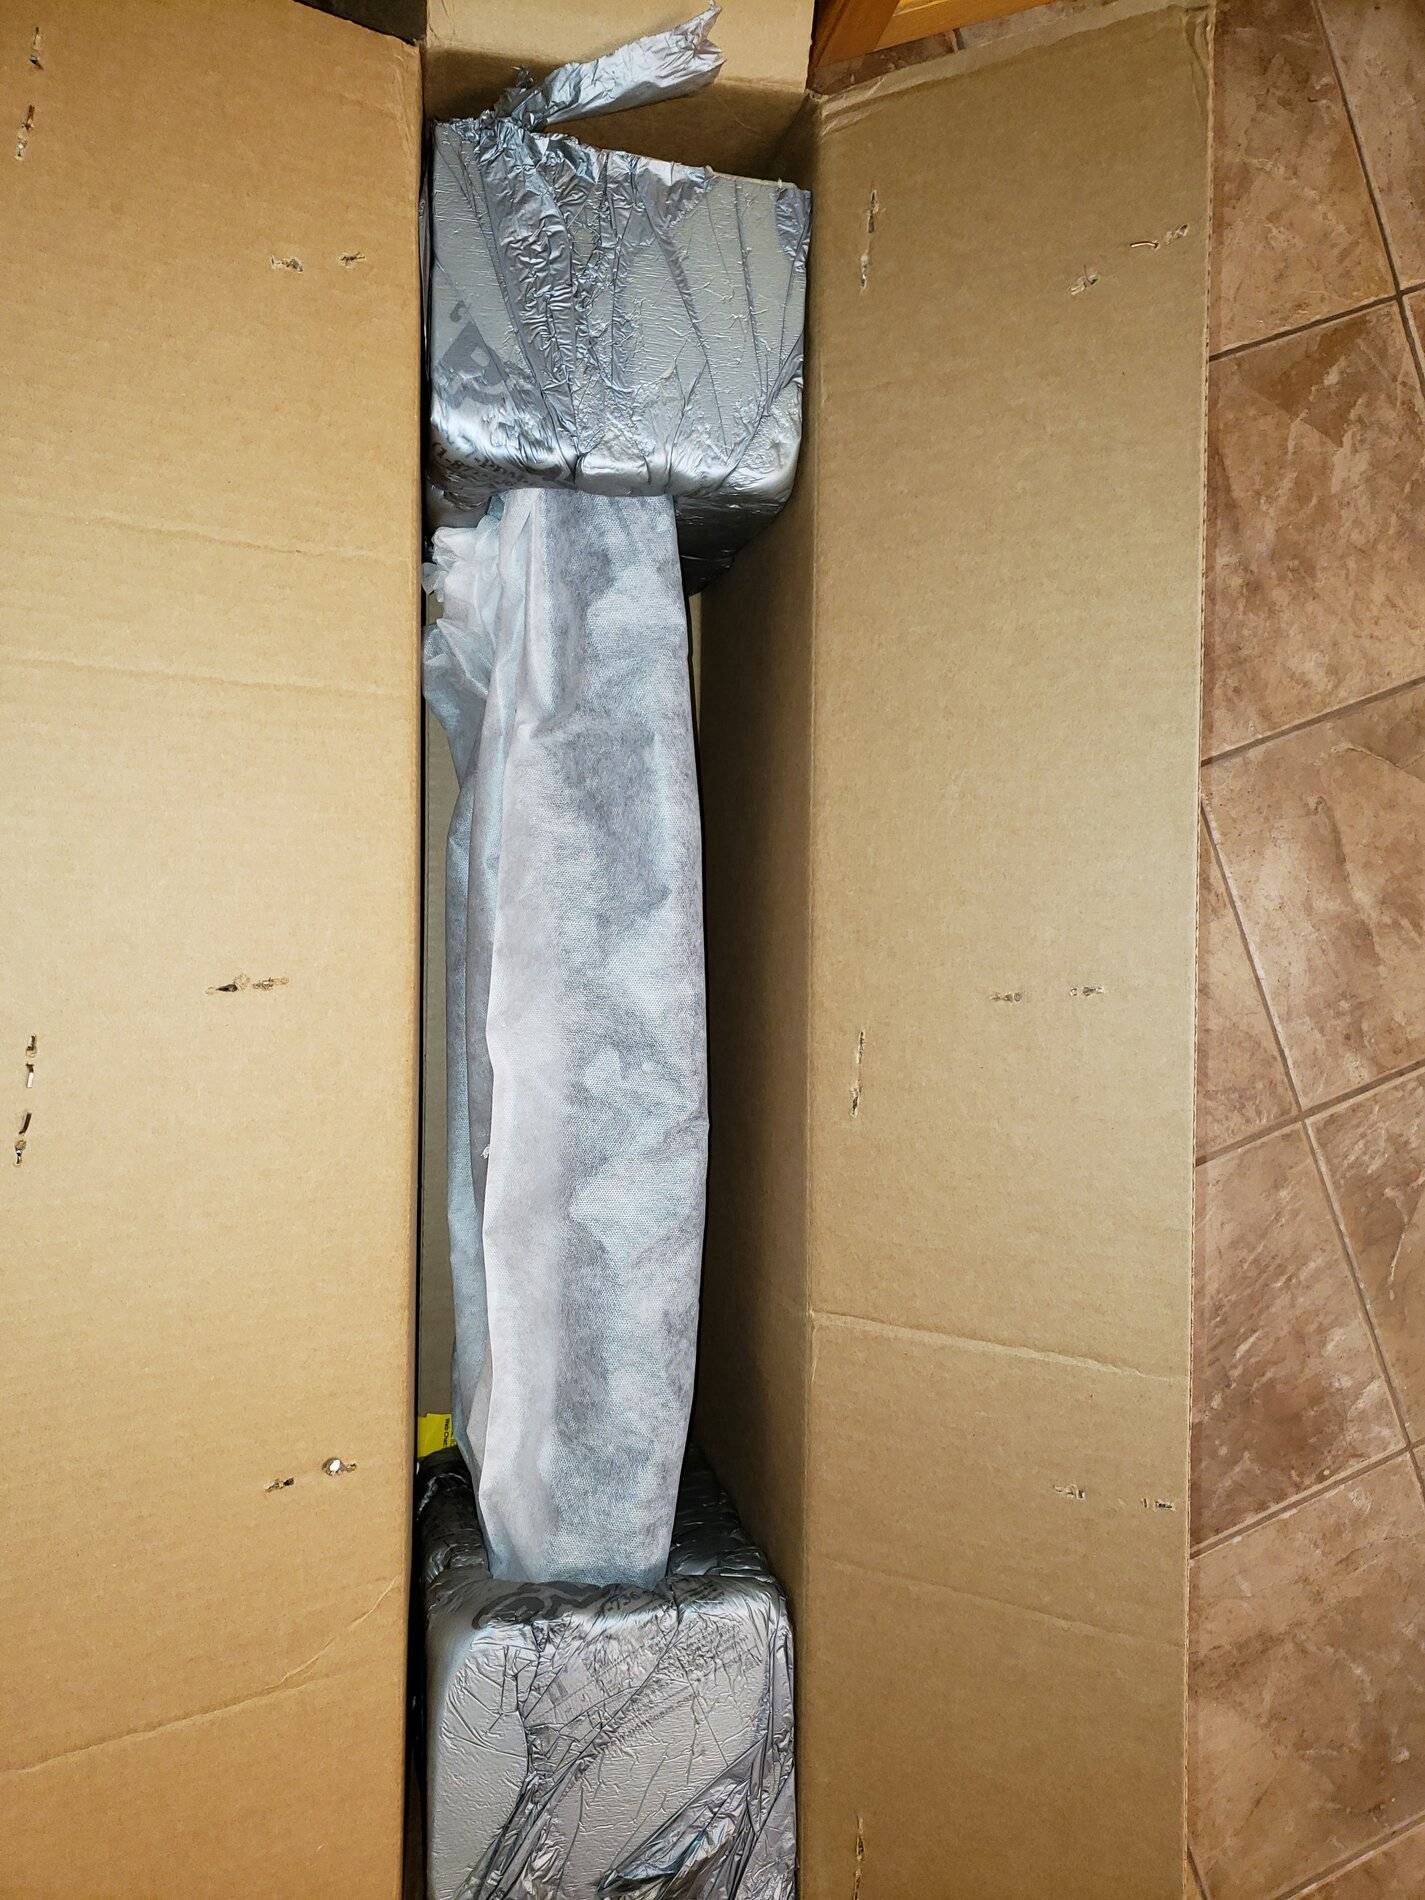
Checked out my tail light panel to make sure it survived shipping. Arrived mint and well packed. Hood struts were packed in the same box.

I wish they packed the GT350 track pack spoiler like that. I've had to send two back already and I'm waiting on my third. They whip it in a plastic bag and throw it in a box.

$500+ painted part packaged like shit and arrived like it went through a war.

$175$ part packed properly and arrived mint. Wtf ford. They must just love warrantying the spoilers.

20201130_192725.webp


20201130_193014.jpg


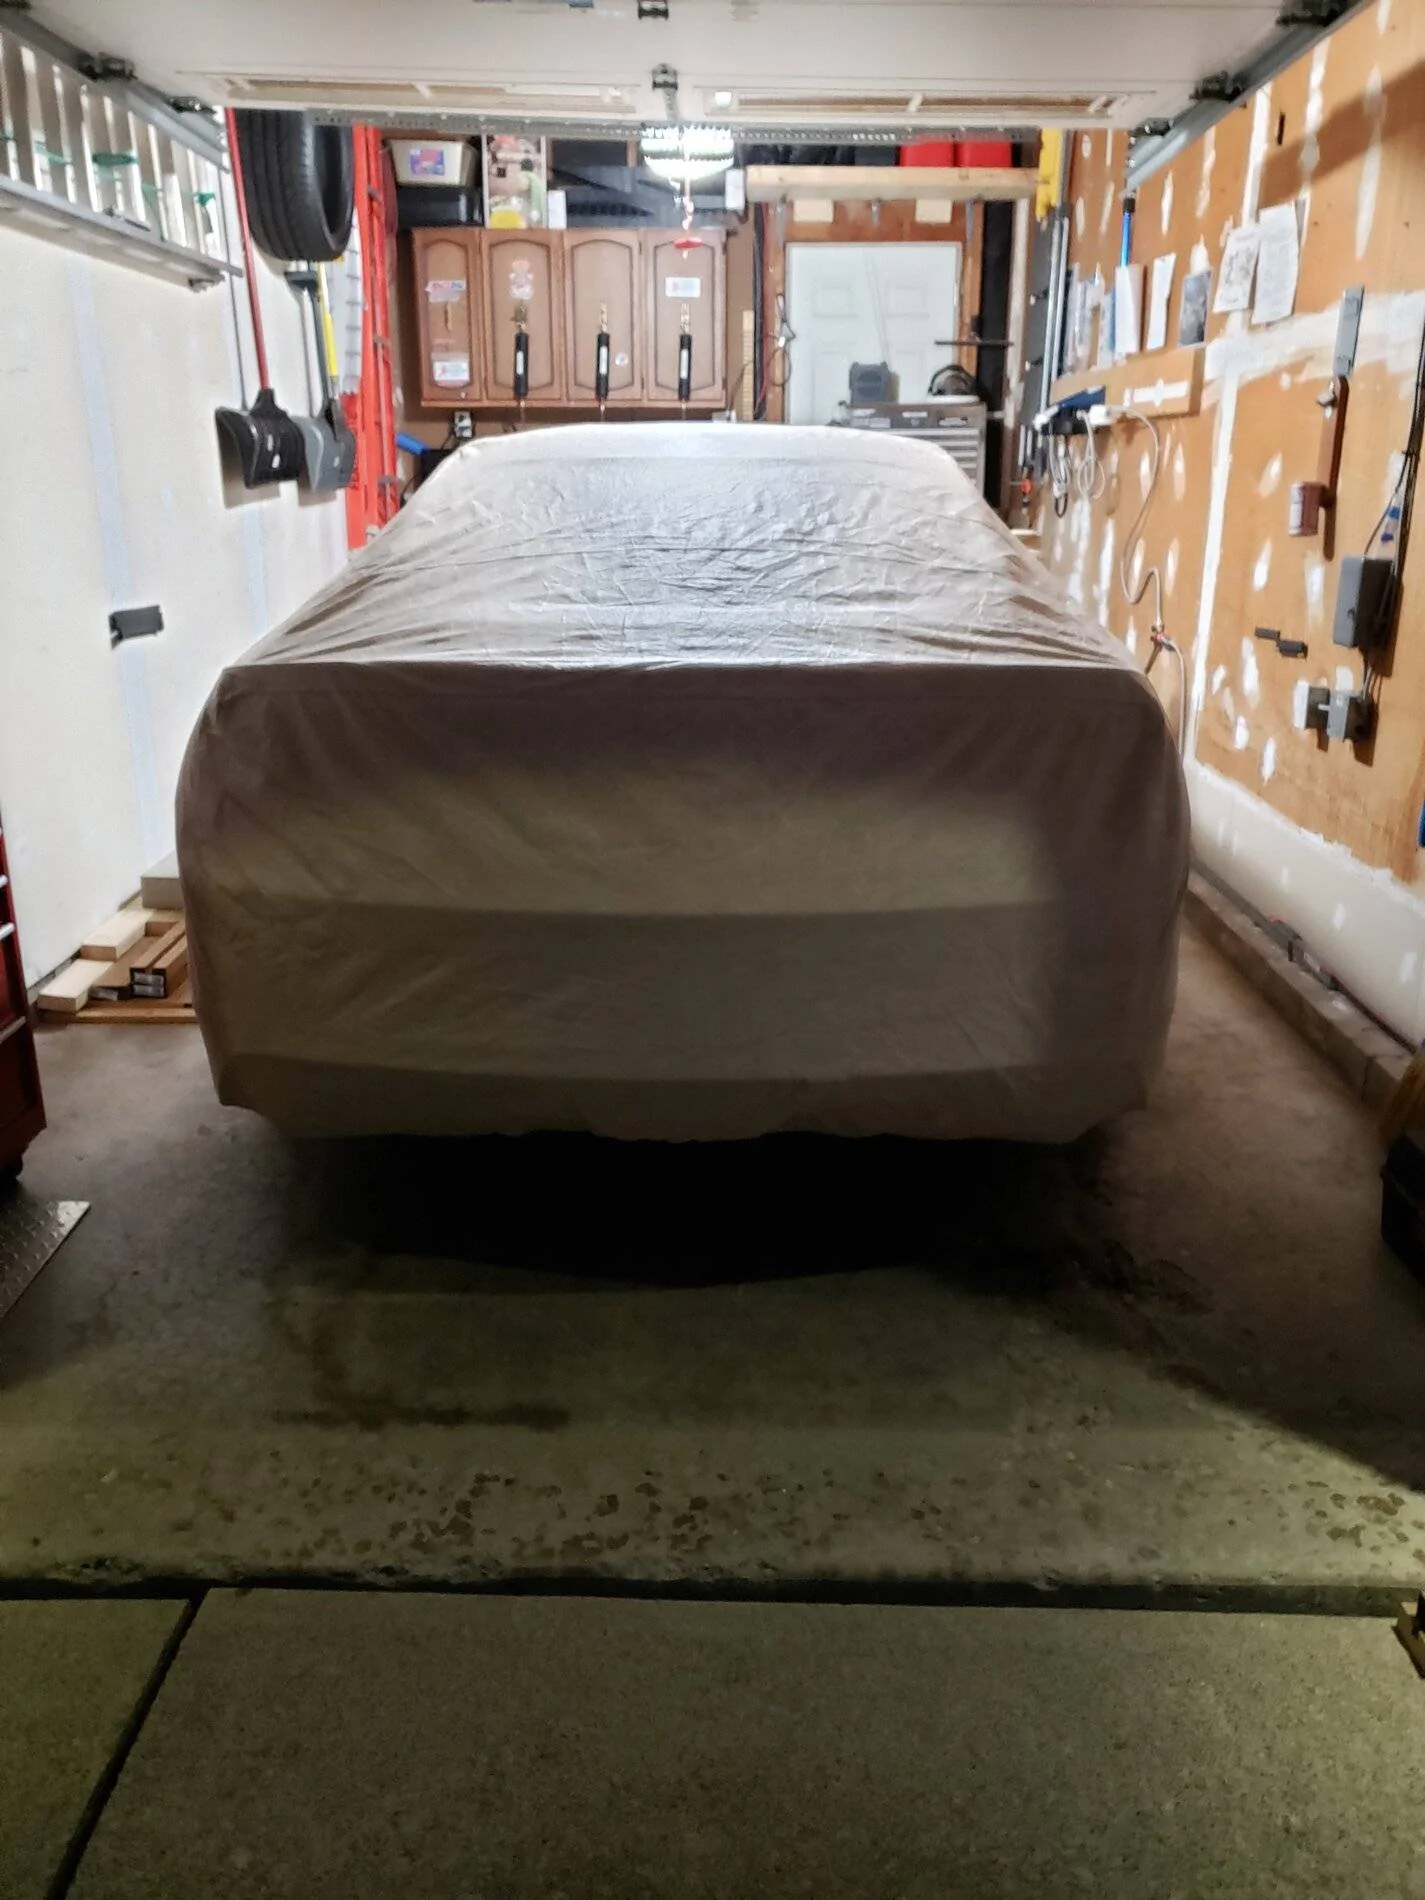
Also washed it, changed the oil and put it to bed for the winter.

20201129_172858.webp
 

Sponsored

Solteka

Well-Known Member
Joined
May 17, 2019
Threads
14
Messages
156
Reaction score
225
Location
Windermere, FL
First Name
Wai
Vehicle(s)
2018 Ford Mustang Ecoboost 10A
I changed out the oem spark plugs on my Ecoboost Mustang today and installed pre-gapped one step colder plugs that was bought from Tune Plus website about two months ago.

At around 19,110 miles, the oem spark plugs looked alright but I did notice that the cylinder 2 oem plug gap is noticeably wider than all others. None of the oem plugs' gap were even, they all noticeably different.


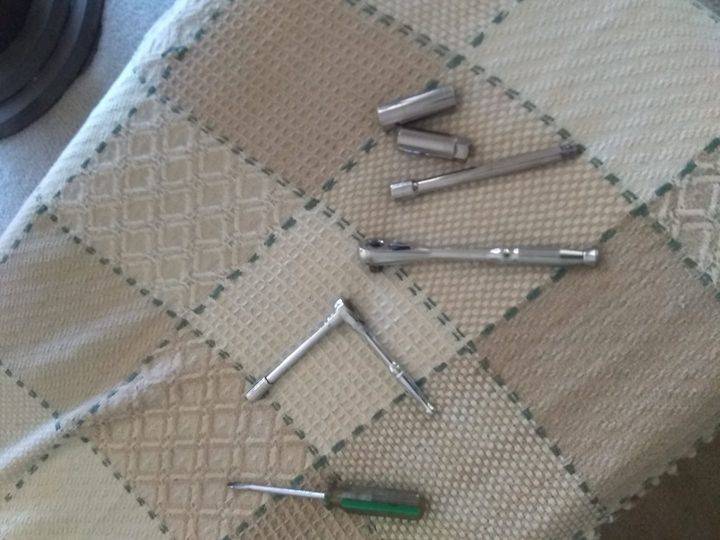
Tools I used to change from oem spark plugs to ngk pre-gapped one step colder plugs (5/8 spark plug socket, 16mm long socket, extension, ratchet, 8mm long socket and ratchet with extension, screwdriver).

I found out that the easiest way to get the spark plugs out is to first use a ratchet with extension and regular 16mm long socket to loosen the spark plug before using the 5/8 spark plug socket to take out the spark plug.

Before installing the NGK pre-gapped colder plugs, I attached the spark plug to the 5/8 spark plug socket and added small amounts of anti-seize on the threads. Holding the socket extension that is attached to the 5/8 spark plug socket that is holding the plug I carefully installed the new plug onto the hole and started on it before tightening it until snug using the 16mm socket and ratchet with extension.

I know others say not to use anti-seize on the pregapped NGK one step colder plugs, why I do not know because I would rather not have them seize up and get stuck onto the engine. I also did not use a torque wrench since 10-13 lbs force is just snug tight.

The entire spark plug swap process took me around 30 minutes and I took my time.
nc_ohc=oTq9OvI9fL4AX9_v_8l&_nc_ht=scontent.ftpa1-1.jpg
 
Last edited:

GT Pony

Well-Known Member
Joined
Mar 13, 2015
Threads
77
Messages
9,402
Reaction score
4,839
Location
Pacific NW
Vehicle(s)
2015 GT Premium, Black w/Saddle, 19s, NAV
^^^ I've always used anti-sieze for aluminum heads on the spark plugs - never had any issues doing so. Last thing you want is a seized up spark plug !!
 

GT Pony

Well-Known Member
Joined
Mar 13, 2015
Threads
77
Messages
9,402
Reaction score
4,839
Location
Pacific NW
Vehicle(s)
2015 GT Premium, Black w/Saddle, 19s, NAV
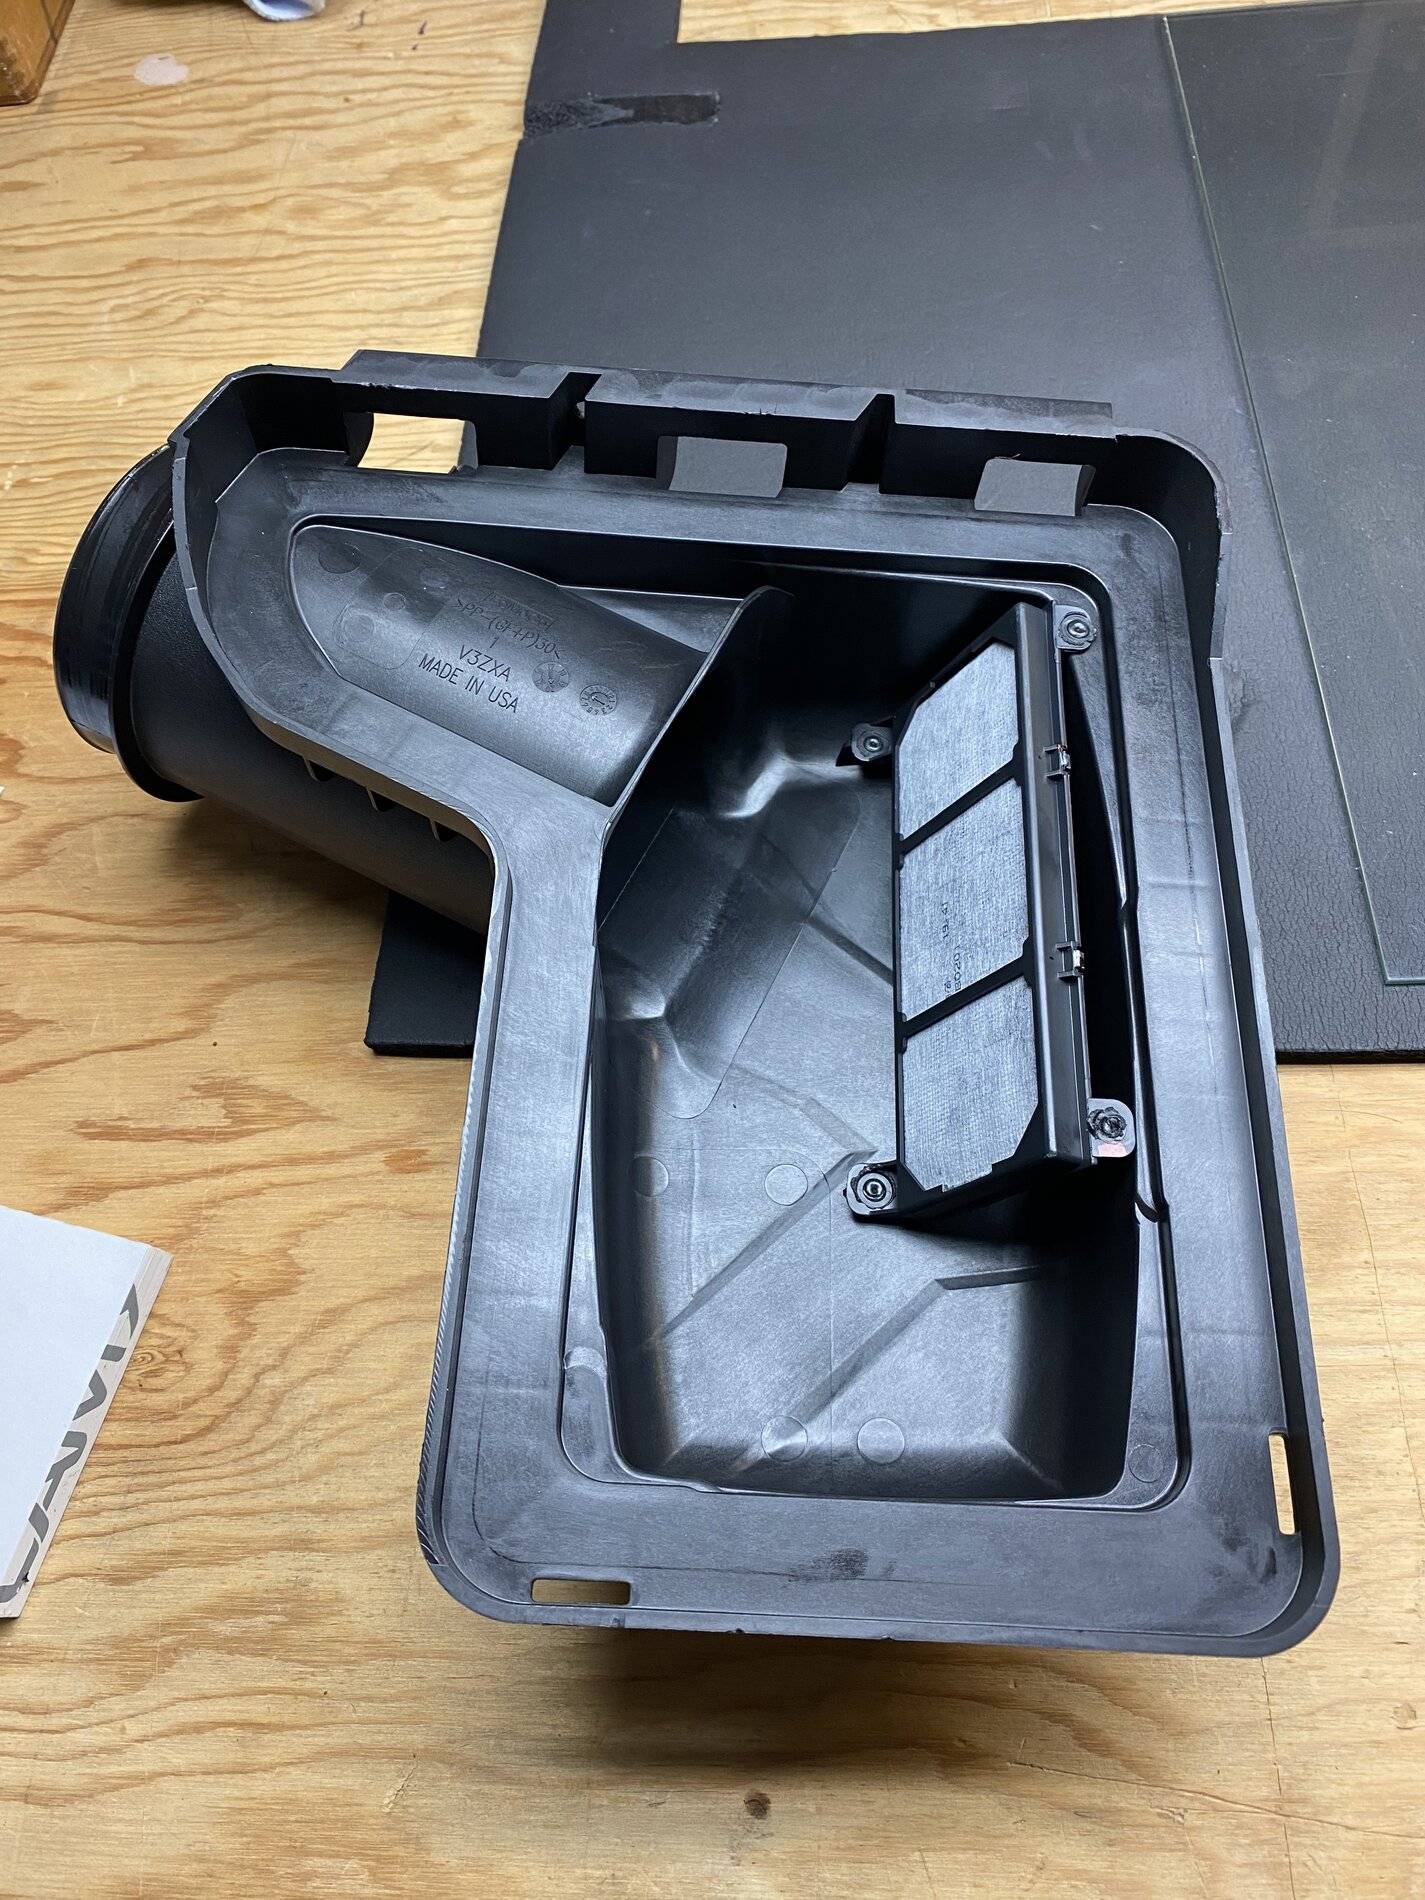
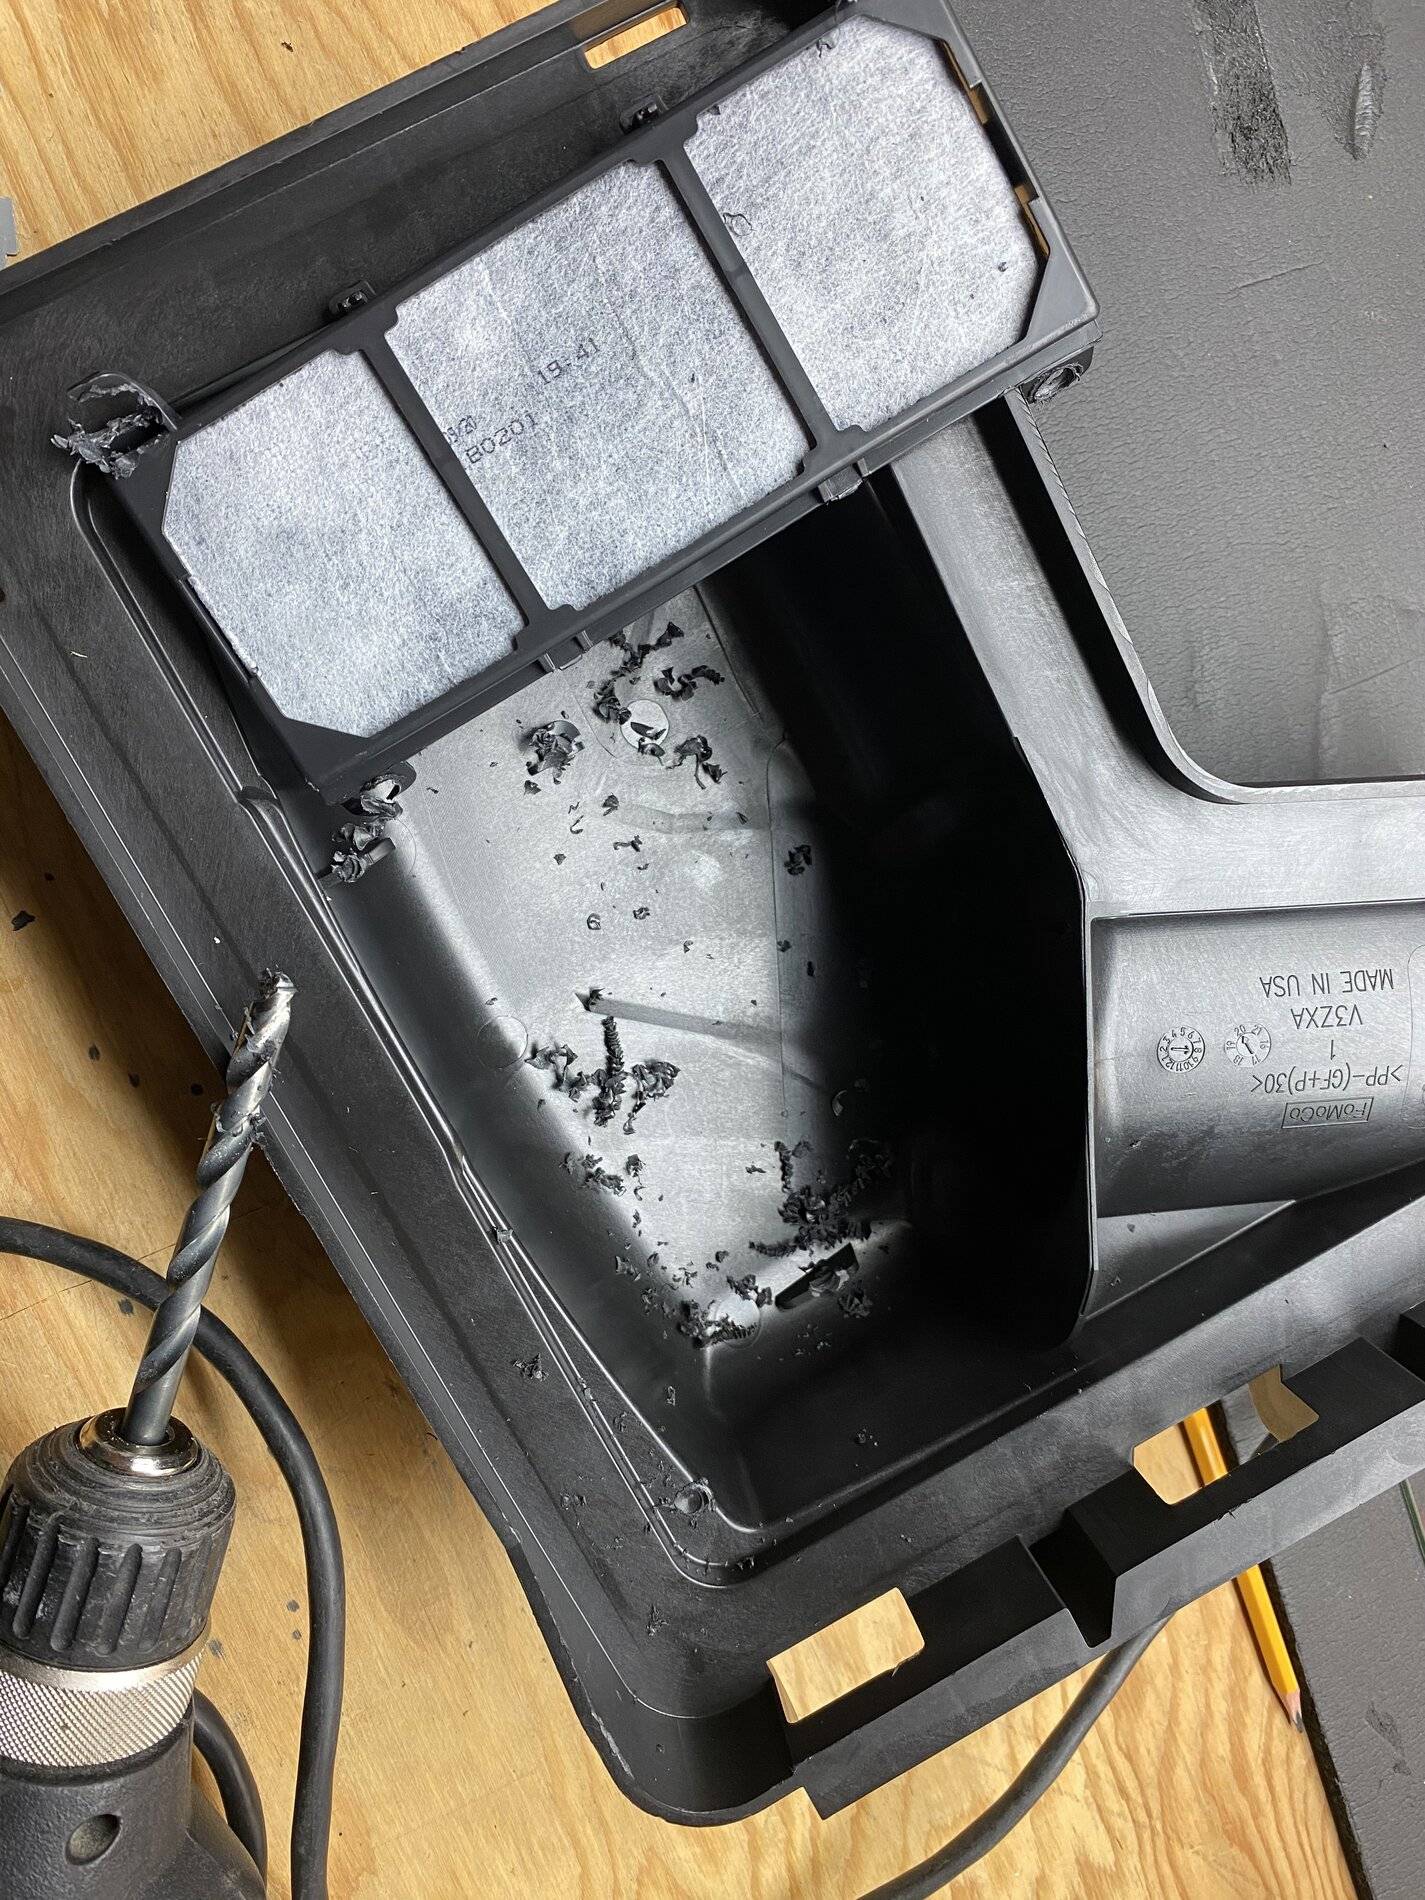
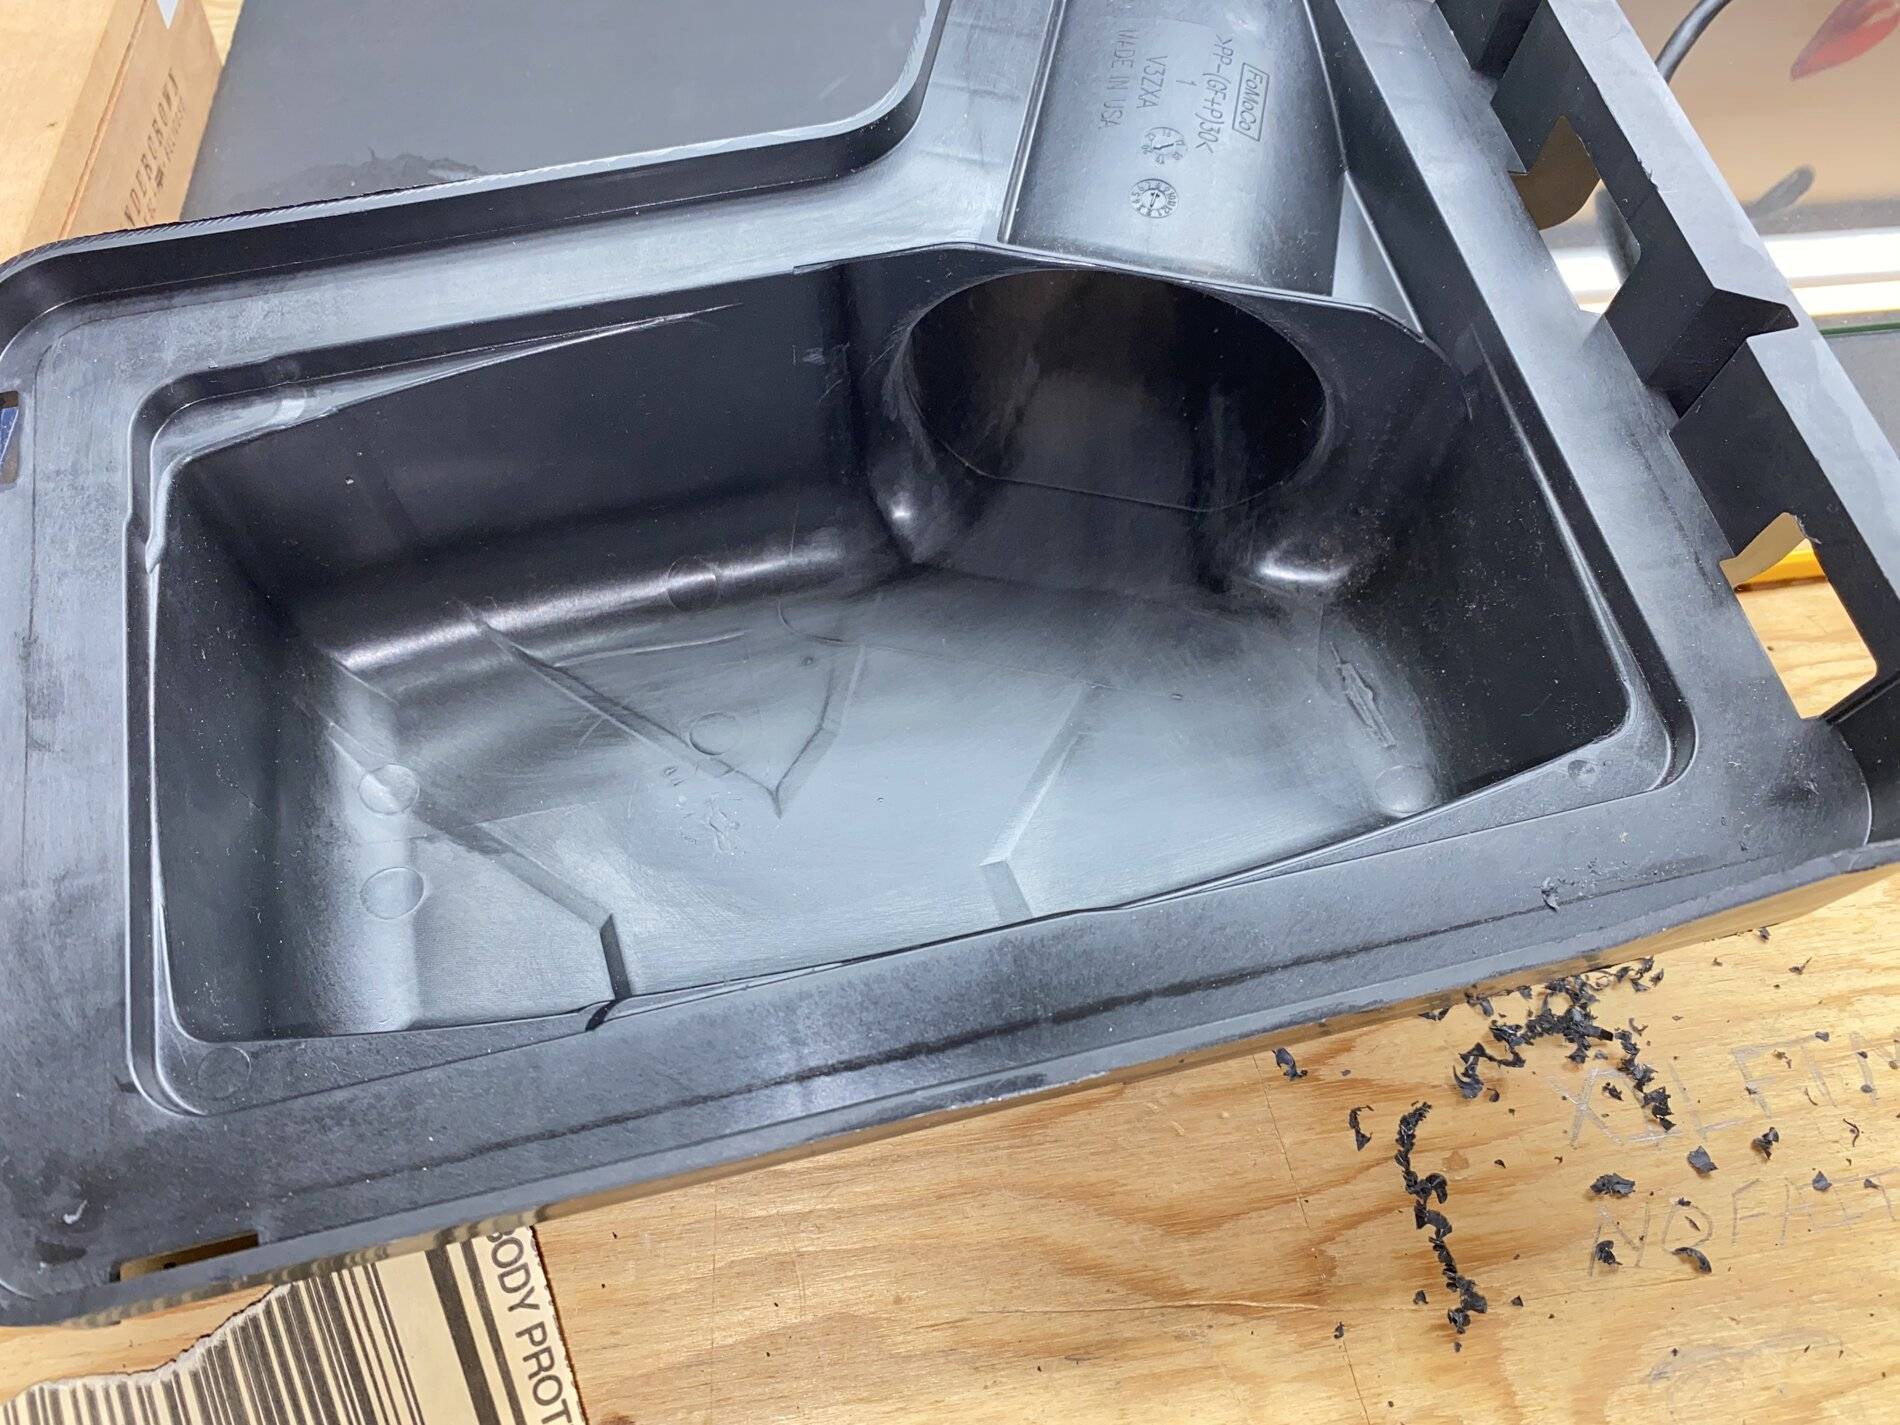
Deleted the weird filter in the intake.
7A297BB3-B9C8-43B6-BABE-FE20526D565F.jpeg
Looks like a gas fume charcoal absorbing panel. It adds 10 HP when you go WOT and all those extra gas fumes get sucked off the panel, lol.
 

Sponsored

Solteka

Well-Known Member
Joined
May 17, 2019
Threads
14
Messages
156
Reaction score
225
Location
Windermere, FL
First Name
Wai
Vehicle(s)
2018 Ford Mustang Ecoboost 10A
Just curious, why change them so early? My manual says every 60k miles.

The reason is because my full bolt on car has a custom 93 octane tune along with a 10r80 transmission tune, both tunes bought from Purple Drank. I also drive my car hard.

In addition, the oem spark plug gaps were uneven and the one from cylinder 2 has such a large gap compared to the others that you could tell without measurement.
 

ice445

Well-Known Member
Joined
Apr 13, 2020
Threads
40
Messages
6,798
Reaction score
8,247
Location
Salt Lake City, UT
First Name
Ryan
Vehicle(s)
2020 Mustang GT 6MT
I changed out the oem spark plugs on my Ecoboost Mustang today and installed pre-gapped one step colder plugs that was bought from Tune Plus website about two months ago.

At around 19,110 miles, the oem spark plugs looked alright but I did notice that the cylinder 2 oem plug gap is noticeably wider than all others. None of the oem plugs' gap were even, they all noticeably different.


Tools I used to change from oem spark plugs to ngk pre-gapped one step colder plugs (5/8 spark plug socket, 16mm long socket, extension, ratchet, 8mm long socket and ratchet with extension, screwdriver).

I found out that the easiest way to get the spark plugs out is to first use a ratchet with extension and regular 16mm long socket to loosen the spark plug before using the 5/8 spark plug socket to take out the spark plug.

Before installing the NGK pre-gapped colder plugs, I attached the spark plug to the 5/8 spark plug socket and added small amounts of anti-seize on the threads. Holding the socket extension that is attached to the 5/8 spark plug socket that is holding the plug I carefully installed the new plug onto the hole and started on it before tightening it until snug using the 16mm socket and ratchet with extension.

I know others say not to use anti-seize on the pregapped NGK one step colder plugs, why I do not know because I would rather not have them seize up and get stuck onto the engine. I also did not use a torque wrench since 10-13 lbs force is just snug tight.

The entire spark plug swap process took me around 30 minutes and I took my time.
nc_ohc=oTq9OvI9fL4AX9_v_8l&_nc_ht=scontent.ftpa1-1.jpg
NGK plugs use nickel plated threads, there is absolutely no need to use anti seize on install. It's not gonna hurt anything, but the chances of having a seized spark plug in a modern engine with quality plugs is about 0.1%.
 

CJJon

Well-Known Member
Joined
Nov 18, 2020
Threads
34
Messages
3,508
Reaction score
3,788
Location
Port Orchard
Vehicle(s)
2020 Mustang GT/CS Convertible - Race Red
Installed license plate bracket. Almost got killed (and the car almost got buggered up!).

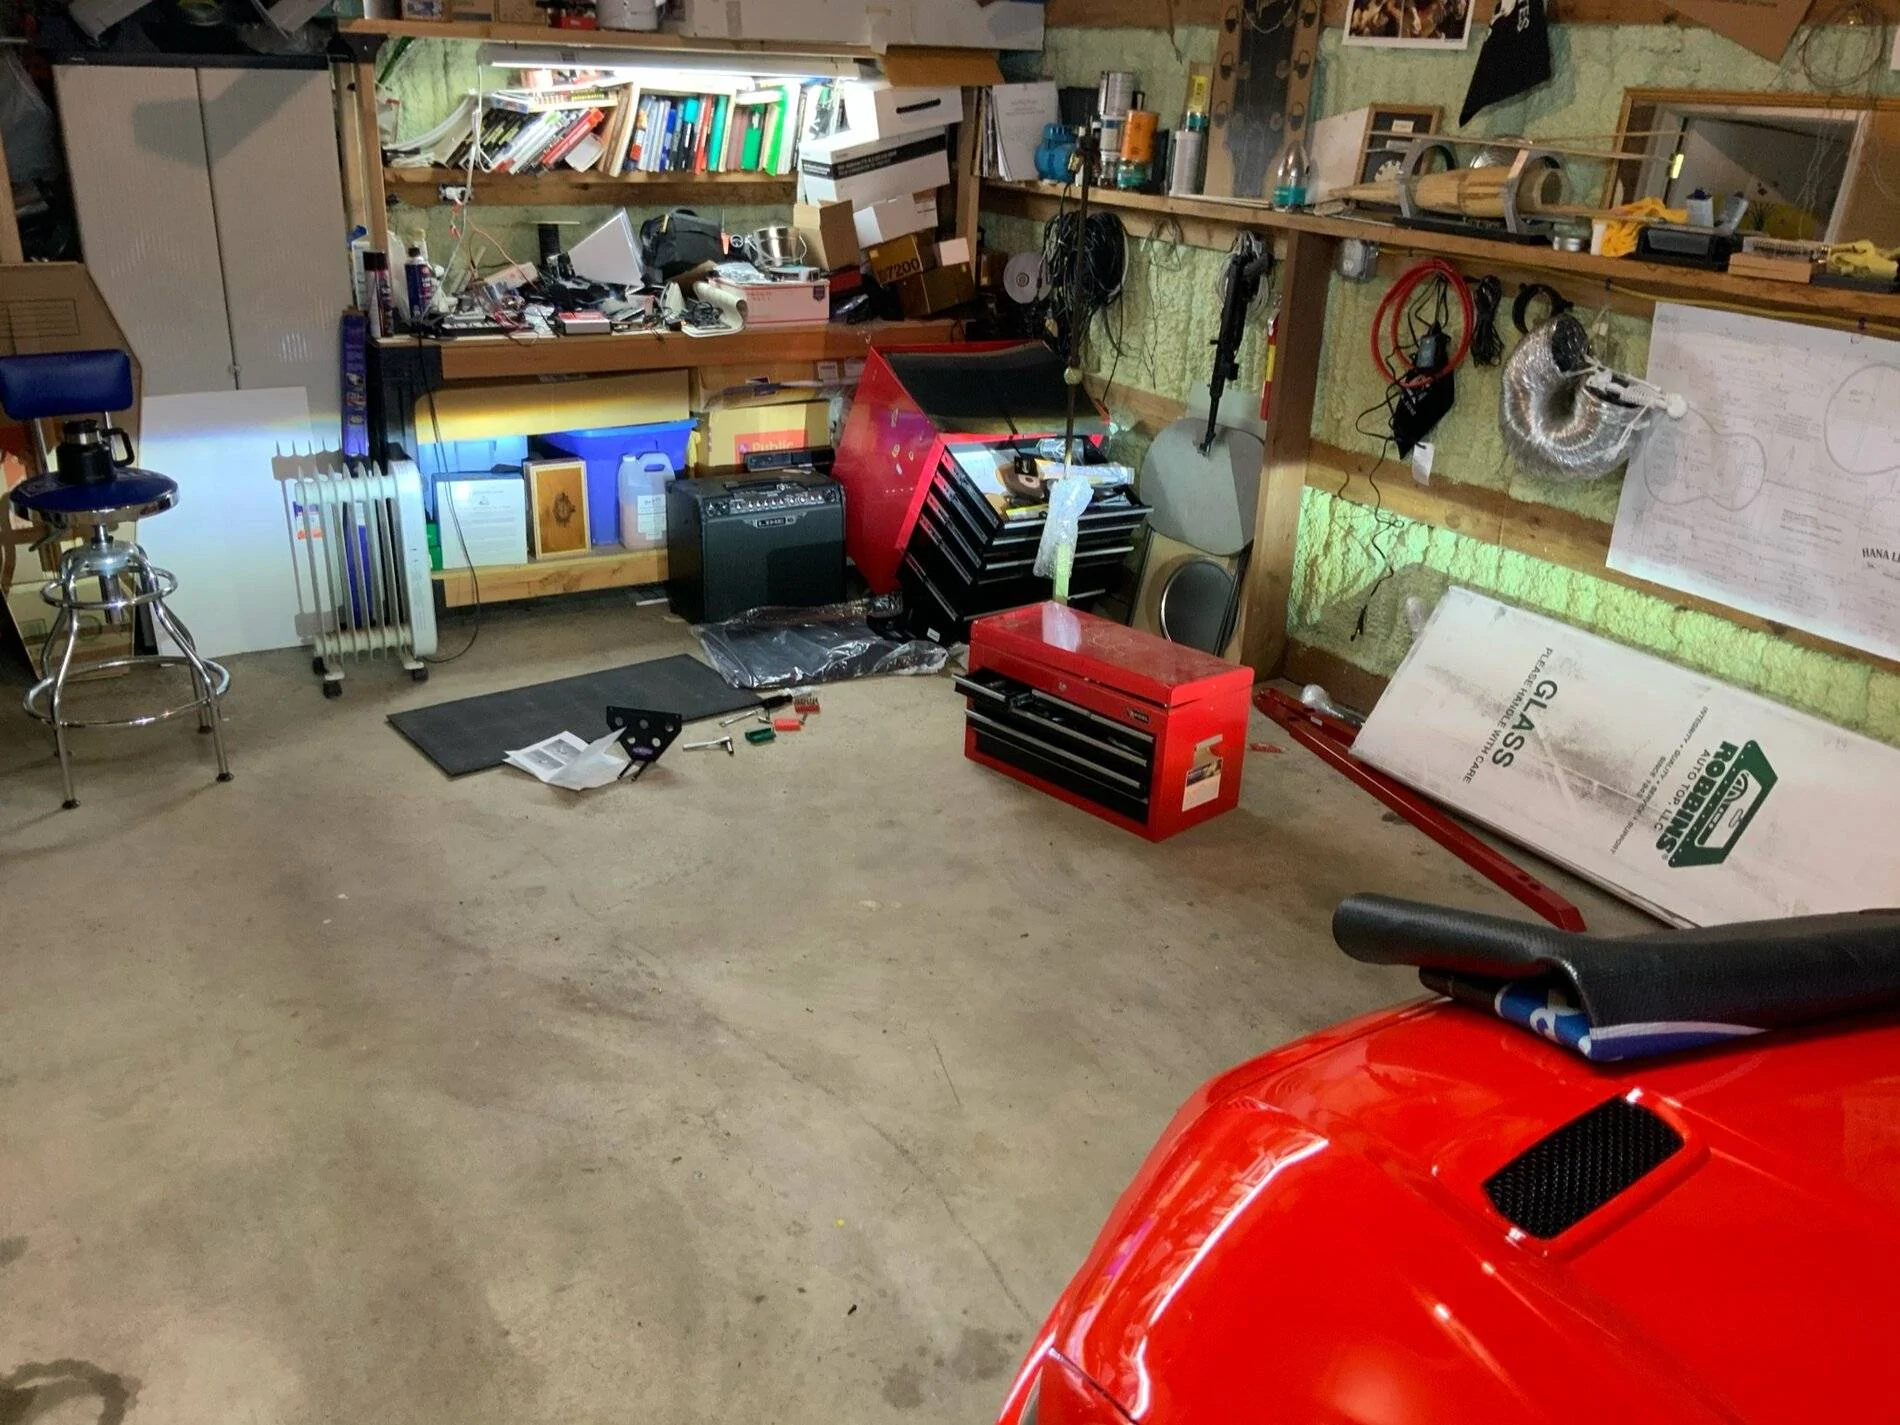
Was on the ground working a Stow-N-Show install when this happened:

016479e7d6af9f0bc41f360a332e3dd86b18d266c5.jpg


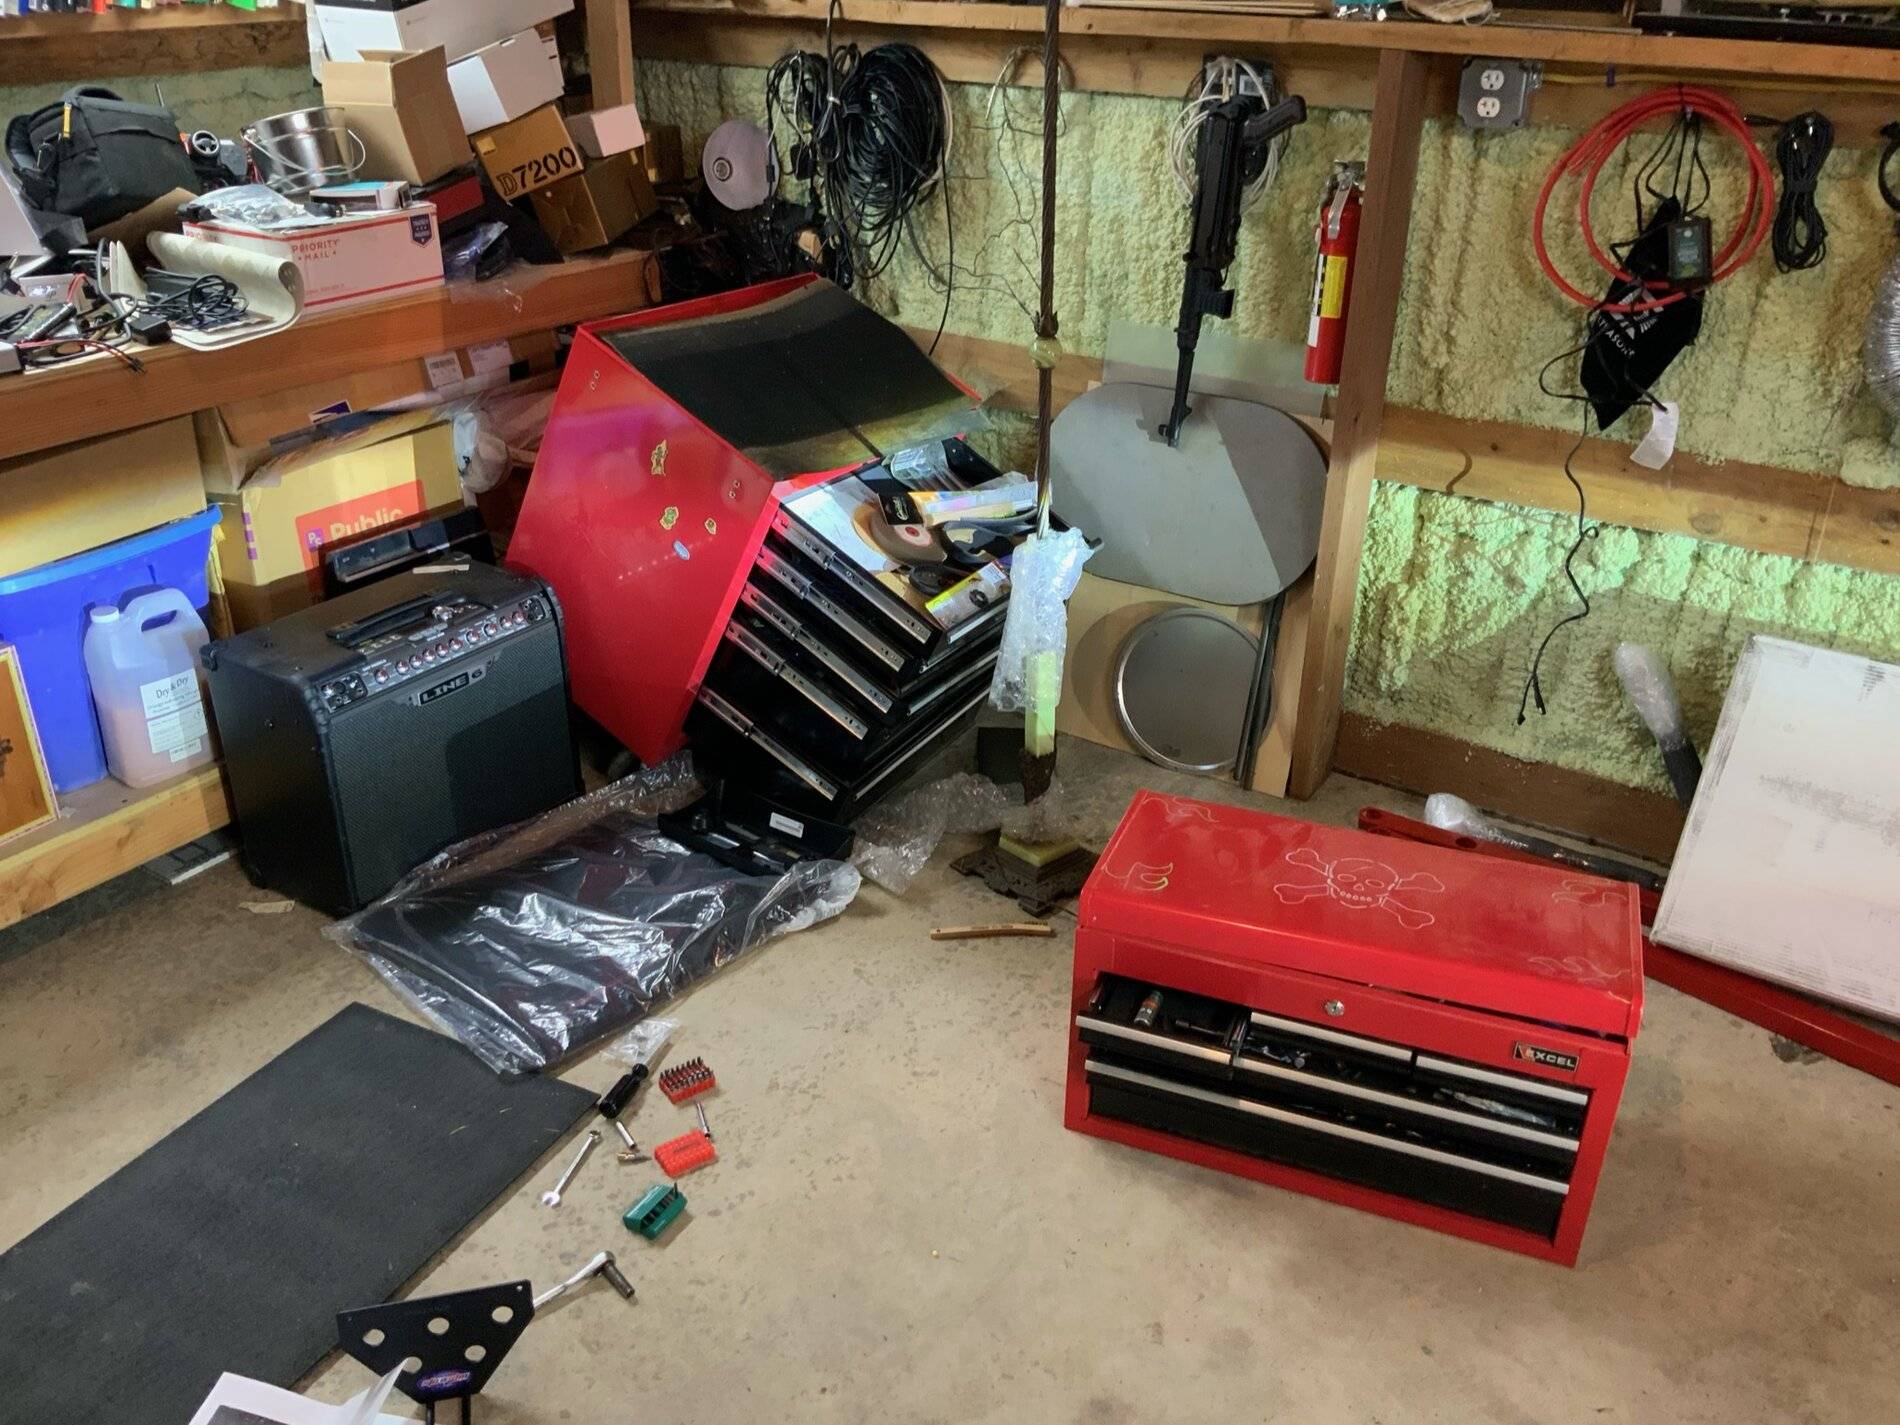
The front of the car was right where the top box is. I was laying on the black mat with my head toward the tool boxes. As I was installing I could hear some *tink* - *tink* - *tink* sounds. I thought it was just my ears acting up and was not really paying too much attention. Then I heard the first of the drawers sliding out as the bottom box started to collapse! Now mind you, the car is inches away from the tool boxes. I managed to swing around and grab the bottom box in a bear hug and used my face to keep the top box from slipping all the way off the bottom and having it all crash onto me and the car!

So there I am, a lap full of heavy tools, my face pressed up against the top box trying to keep it from crashing, and no one for miles. Even if anyone was around to hear, the actual act of screaming would have sent it all crashing down. Oy! It took a good 15 minutes for me to get things stabilized. It was hairy to say the least! I was able to finagle the old floor lamp in place to sort of prop everything up. I also used a big box that has a new rag top in it (that I want to sell BTW, fits a 2014) to shore things up.

After I stabilized things I was then able to quickly jump in the car an pull it out of the way. As I pulled away it all came skittering down! You can see the top box was a bit tweaked, the bottom roller is trash. (You can also see the big box from the top in this shot.)

01a9cea2990480488497d0273efcee09b02dbc65f3.webp


Post mortem showed the front wheels just folded over. Everything was tight. The drawers were all closed. The sheet metal on the bottom just gave out. That was the *tink* sound I was hearing.

Who would have thought a license plate bracket install would be so scary!
 

StangTime

Well-Known Member
Joined
Apr 16, 2019
Threads
81
Messages
3,594
Reaction score
4,092
Location
Ontario 🇨🇦
First Name
Todd
Vehicle(s)
19' GT PP1 Manual
Installed license plate bracket. Almost got killed (and the car almost got buggered up!).

Was on the ground working a Stow-N-Show install when this happened:

016479e7d6af9f0bc41f360a332e3dd86b18d266c5.jpg


The front of the car was right where the top box is. I was laying on the black mat with my head toward the tool boxes. As I was installing I could hear some *tink* - *tink* - *tink* sounds. I thought it was just my ears acting up and was not really paying too much attention. Then I heard the first of the drawers sliding out as the bottom box started to collapse! Now mind you, the car is inches away from the tool boxes. I managed to swing around and grab the bottom box in a bear hug and used my face to keep the top box from slipping all the way off the bottom and having it all crash onto me and the car!

So there I am, a lap full of heavy tools, my face pressed up against the top box trying to keep it from crashing, and no one for miles. Even if anyone was around to hear, the actual act of screaming would have sent it all crashing down. Oy! It took a good 15 minutes for me to get things stabilized. It was hairy to say the least! I was able to finagle the old floor lamp in place to sort of prop everything up. I also used a big box that has a new rag top in it (that I want to sell BTW, fits a 2014) to shore things up.

After I stabilized things I was then able to quickly jump in the car an pull it out of the way. As I pulled away it all came skittering down! You can see the top box was a bit tweaked, the bottom roller is trash. (You can also see the big box from the top in this shot.)

01a9cea2990480488497d0273efcee09b02dbc65f3.jpg


Post mortem showed the front wheels just folded over. Everything was tight. The drawers were all closed. The sheet metal on the bottom just gave out. That was the *tink* sound I was hearing.

Who would have thought a license plate bracket install would be so scary!
Wow! Glad you saved both yourself and the car. Cheap Chinese made toolbox? The skull and crossbones should have told you it was dangerous. :crazy:
Sponsored


Top