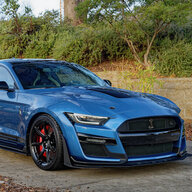
1st Mods on 2020 GT500

marklboris

Well-Known Member
Joined
Jul 16, 2019
Threads
3
Messages
670
Reaction score
1,020
Location
Sonora, CA
First Name
Mark
Vehicle(s)
______ '20 Shelby GT500 FPB '24 Mach-E GTP GGM
Vehicle Showcase
1
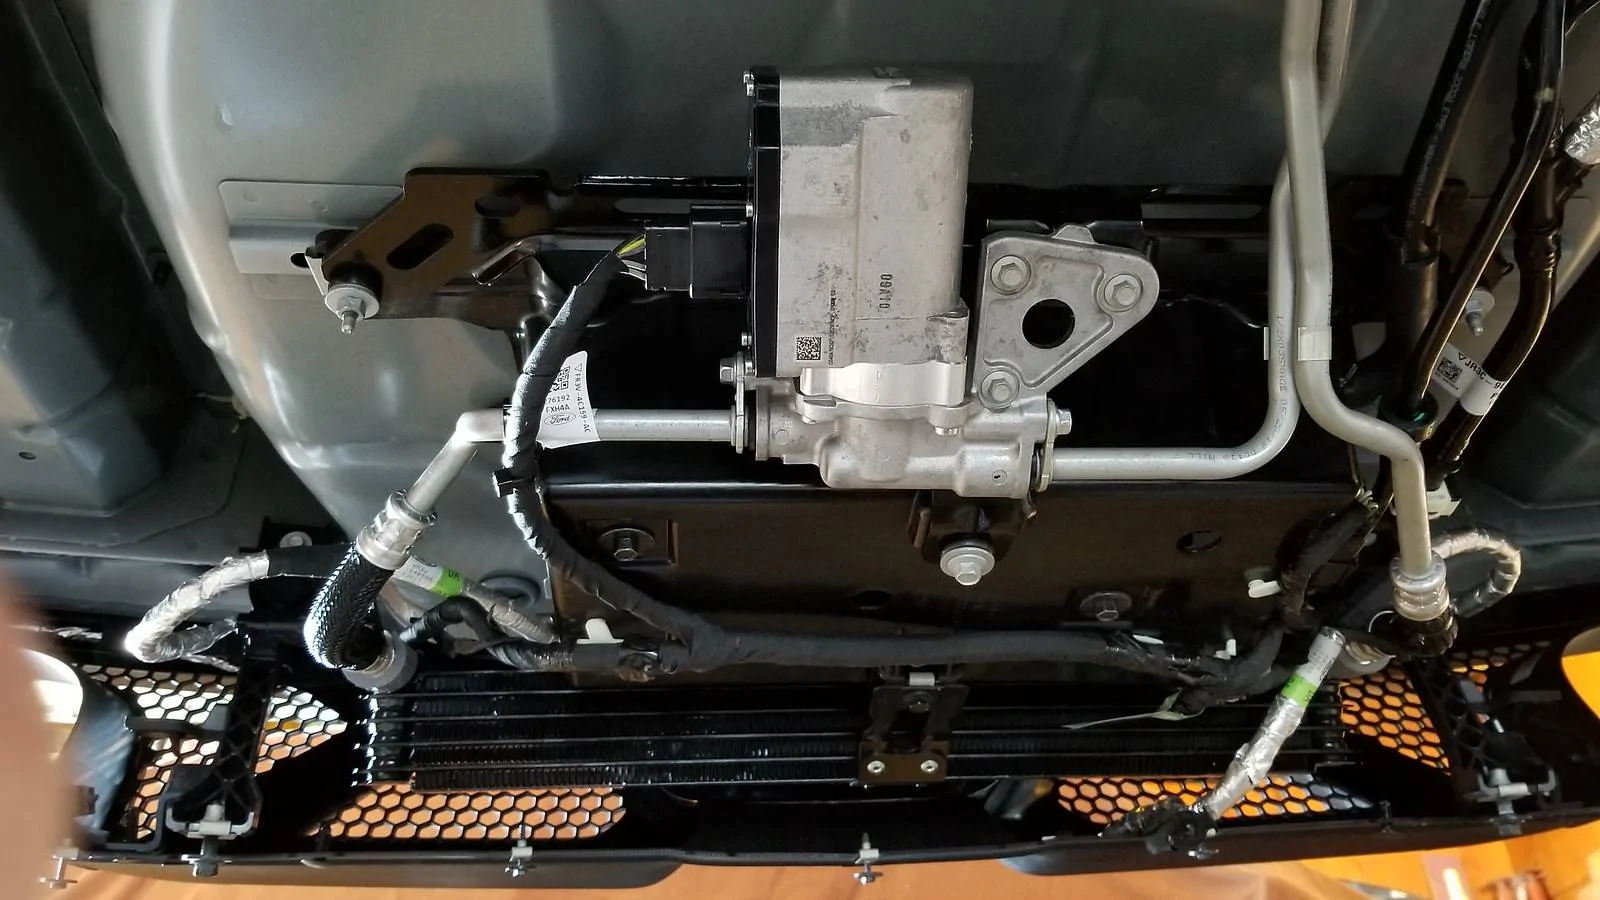
I like the idea of painting those little heat exchangers, Mark but I'm thinkin' it's a lot of work, yes? No?
If I told you how I did it, you probably would not believe me. You can do it the hard way or the easy way. One hard way: When I replaced the headlights and parking lights, I did not remove the bumper cover. I did not want to remove that damn splitter which was a pain to put on so I took off both front wheels, removed both inner fender liners and pulled the headlights and parking lights out from the rear. Not the easiest thing to do but I wanted to remove the fender liners anyway to mount the supports for the upper mount of the mud flaps and check things out. I did remove the supports for both heat exchangers (each have two bolts top and bottom) to allow better access to the parking lights. Now, you can paint them once you have gotten this far but you cannot turn the entire exchanger completely around towards you without disconnecting the hoses going to them and I wasn't going to do that. Besides the paint mist and dust might go places you don't want it to. So that would be the hardest way.

Another not so easy way would be removing the front bumper cover and you have to take the splitter off and the lower panel under the engine. You also still have to remove both inner fender liners to get to two bolts that hold the fender to the bumper cover.

The easy way and don't laugh... I have done this before on other cars, my Focus RS was the most recent. I taped off all around the grill area where each heat exchanger is. I then took a small rag and soaked it with paint thinner and wiped down the grill in front of each exchanger so that the paint will not stick. I used Rustoleum Satin Black and sprayed each exchanger through the grill. While I was doing this, which does not take long at all, I had my shop vac right there sucking any mist or dust. When I was done, I took some paper towels, soaked them with paint thinner and wiped off the grill. Then removed the tape and wiped the entire area around it with slightly damp paint thiner towel (won't hurt the paint) and then washed it off with soap and water. The entire process probably took about 30 min from start to finish. Everything looks perfect.
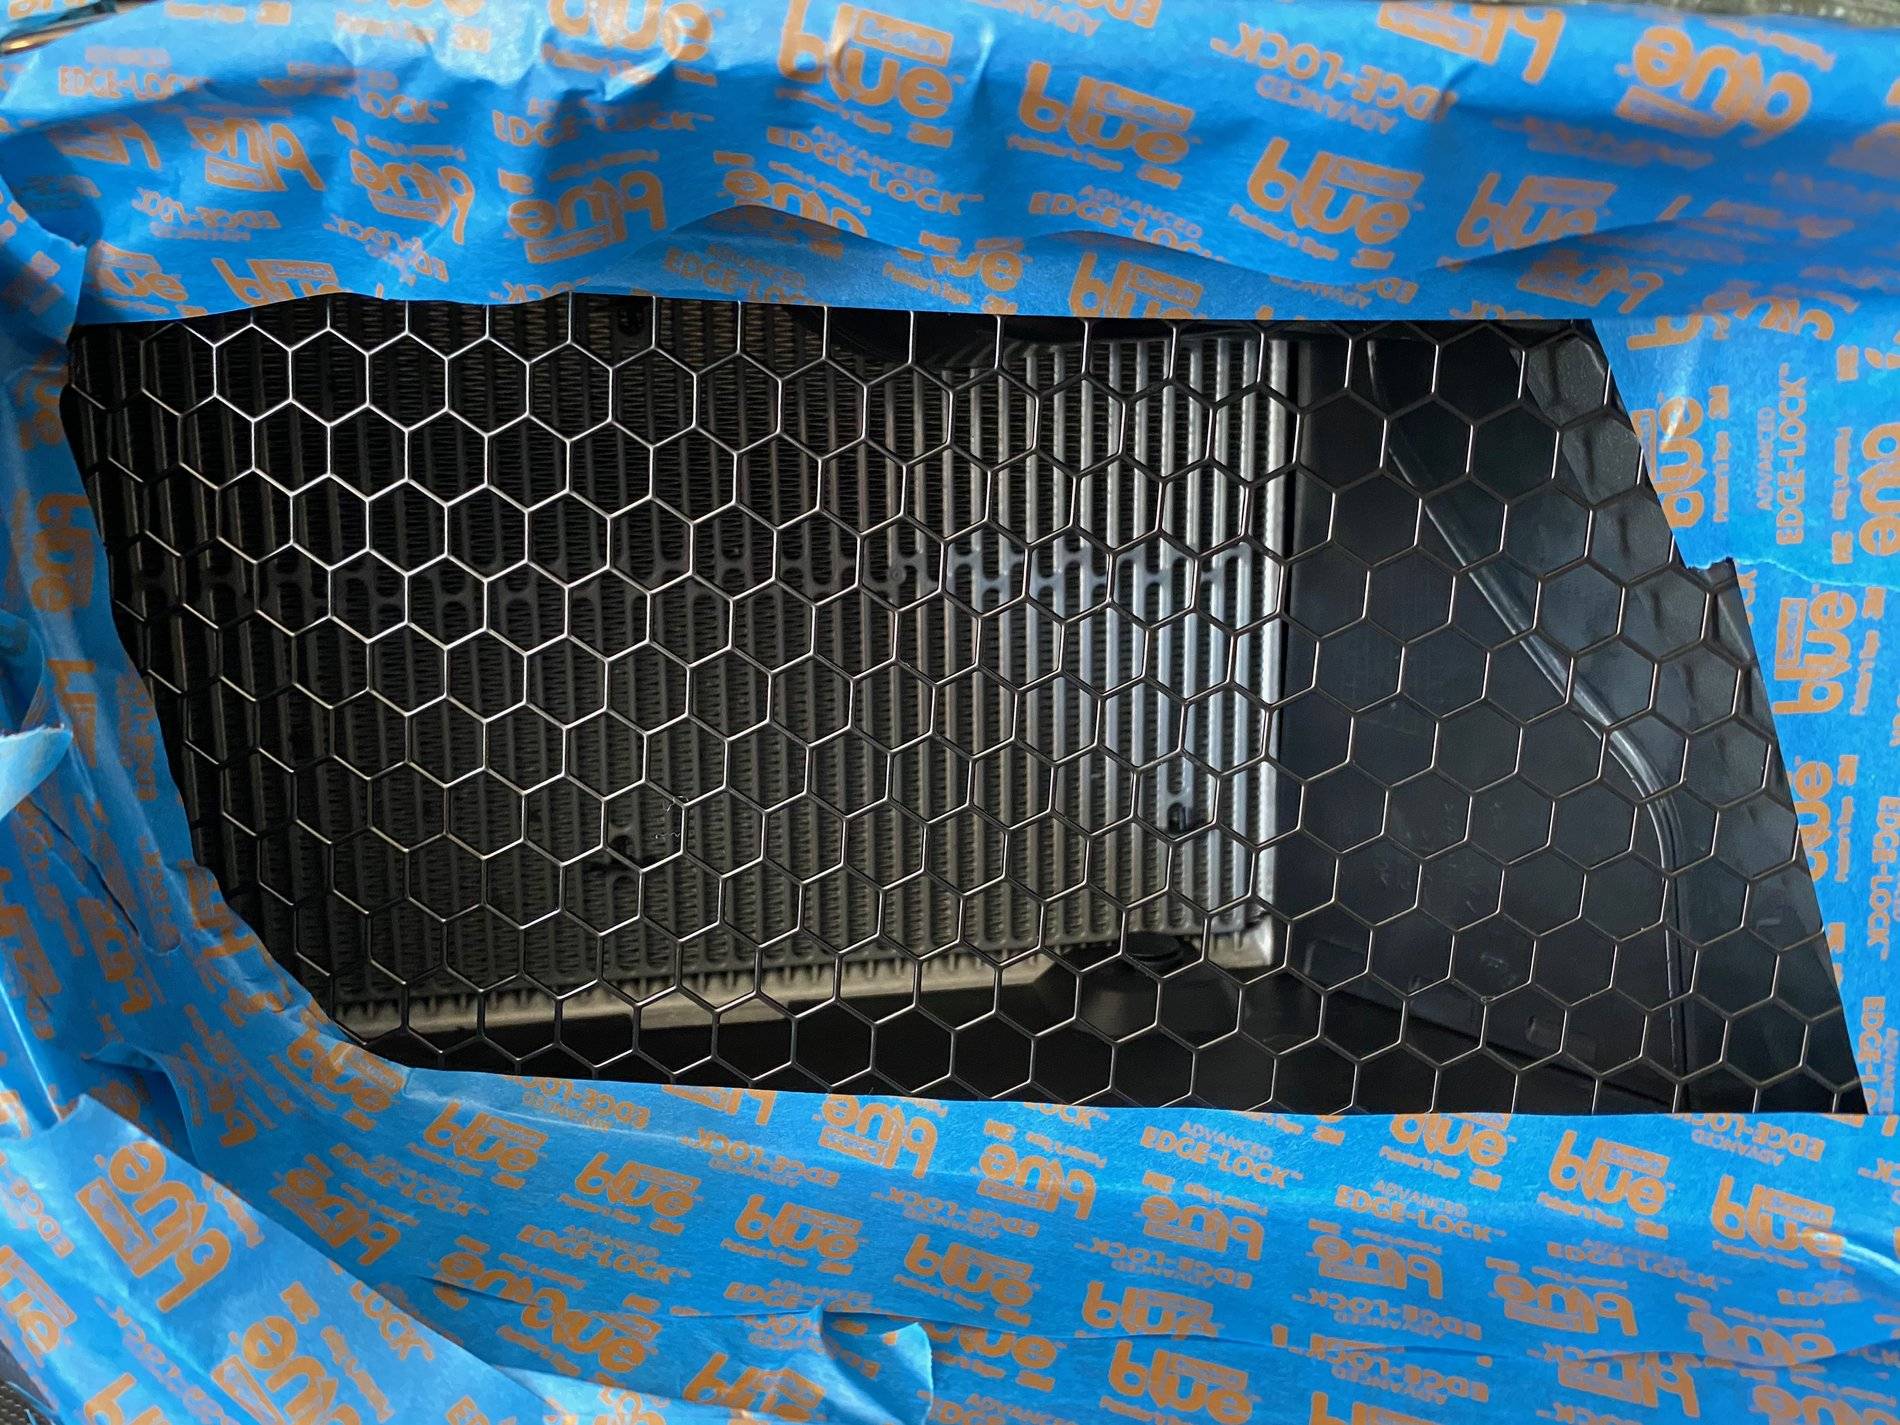

IMG_0833.jpeg
 

AMBJR

Well-Known Member
Joined
Jul 9, 2019
Threads
4
Messages
356
Reaction score
223
Location
92124
First Name
ALLEN
Vehicle(s)
03 Mustang Cobra-20 GT500
If I told you how I did it, you probably would not believe me. You can do it the hard way or the easy way. One hard way: When I replaced the headlights and parking lights, I did not remove the bumper cover. I did not want to remove that damn splitter which was a pain to put on so I took off both front wheels, removed both inner fender liners and pulled the headlights and parking lights out from the rear. Not the easiest thing to do but I wanted to remove the fender liners anyway to mount the supports for the upper mount of the mud flaps and check things out. I did remove the supports for both heat exchangers (each have two bolts top and bottom) to allow better access to the parking lights. Now, you can paint them once you have gotten this far but you cannot turn the entire exchanger completely around towards you without disconnecting the hoses going to them and I wasn't going to do that. Besides the paint mist and dust might go places you don't want it to. So that would be the hardest way.

Another not so easy way would be removing the front bumper cover and you have to take the splitter off and the lower panel under the engine. You also still have to remove both inner fender liners to get to two bolts that hold the fender to the bumper cover.

The easy way and don't laugh... I have done this before on other cars, my Focus RS was the most recent. I taped off all around the grill area where each heat exchanger is. I then took a small rag and soaked it with paint thinner and wiped down the grill in front of each exchanger so that the paint will not stick. I used Rustoleum Satin Black and sprayed each exchanger through the grill. While I was doing this, which does not take long at all, I had my shop vac right there sucking any mist or dust. When I was done, I took some paper towels, soaked them with paint thinner and wiped off the grill. Then removed the tape and wiped the entire area around it with slightly damp paint thiner towel (won't hurt the paint) and then washed it off with soap and water. The entire process probably took about 30 min from start to finish. Everything looks perfect.

IMG_0833.jpeg
You DO NOT want to PAINT any HEAT EXCHANGER, it will take away from its efficiency!!!!
 

marklboris

Well-Known Member
Joined
Jul 16, 2019
Threads
3
Messages
670
Reaction score
1,020
Location
Sonora, CA
First Name
Mark
Vehicle(s)
______ '20 Shelby GT500 FPB '24 Mach-E GTP GGM
Vehicle Showcase
1
I had that thought years ago but after painting many radiators, heat exchangers, intercoolers, I have not had one issue with any of them. Now maybe someone paints them with very heavy coats of paint and also runs their cars to the max but I don't do either. I put on a very thin, light, one coat of paint and I have no intention of tracking this car. With that said, prior to painting I called two service tech friends of mine. One that is a Parts and Service manager at a Ford dealership (for over 30 years) and another that owns his own shop which builds race cars. The Ford tech told me it would not void the warranty in any way and the other told me I would have no issues. So for my car I am fine with painting them.
 

AMBJR

Well-Known Member
Joined
Jul 9, 2019
Threads
4
Messages
356
Reaction score
223
Location
92124
First Name
ALLEN
Vehicle(s)
03 Mustang Cobra-20 GT500
I had that thought years ago but after painting many radiators, heat exchangers, intercoolers, I have not had one issue with any of them. Now maybe someone paints them with very heavy coats of paint and also runs their cars to the max but I don't do either. I put on a very thin, light, one coat of paint and I have no intention of tracking this car. With that said, prior to painting I called two service tech friends of mine. One that is a Parts and Service manager at a Ford dealership (for over 30 years) and another that owns his own shop which builds race cars. The Ford tech told me it would not void the warranty in any way and the other told me I would have no issues. So for my car I am fine with painting them.
The radiators are painted a special black paint by the radiator shops!!!
 

Epiphany

Well-Known Member
Joined
Oct 11, 2015
Threads
78
Messages
7,981
Reaction score
13,634
Location
Global
Vehicle(s)
I like to disassemble things.
You DO NOT want to PAINT any HEAT EXCHANGER, it will take away from its efficiency!!!!
Note the factory GT500 heat exchanger/differential cooler....

20200406_155548-X3.webp
 

Shelby2

Well-Known Member
Joined
Dec 16, 2017
Threads
2
Messages
166
Reaction score
248
Location
New York
First Name
Craig
Vehicle(s)
2015 F150 Whipple 2.9L, 2018 GT350, 2020 GT500 L0240
AMBJR said:

You DO NOT want to PAINT any HEAT EXCHANGER, it will take away from its efficiency!!!!

I work for an OEM heat exchanger manufacturer. Data from performance testing shows no measurable difference between painted and unpainted cores. Some customers request painting for aesthetic purposes and corrosion protection while others do not. The type of paint used is heavily dictated by environmental regulations.
 
Last edited:

Jmeo

You said member ;)
Joined
May 28, 2014
Threads
252
Messages
8,777
Reaction score
9,908
Location
Massachusetts
First Name
Jaime
Vehicle(s)
2020 GT500, 2023 F150 Raptor
Vehicle Showcase
2
AMBJR said:

You DO NOT want to PAINT any HEAT EXCHANGER, it will take away from its efficiency!!!!

I work for an OEM heat exchanger manufacturer. Data from performance testing shows no measurable difference between painted and unpainted cores. Some customers request painting for aesthetic purposes and corrosion protection while others do not. The type of paint used is heavily dictated by environmental regulations.
BAM, there's your answer.
 

marklboris

Well-Known Member
Joined
Jul 16, 2019
Threads
3
Messages
670
Reaction score
1,020
Location
Sonora, CA
First Name
Mark
Vehicle(s)
______ '20 Shelby GT500 FPB '24 Mach-E GTP GGM
Vehicle Showcase
1
Yesterday just before 5 pm, Jon from Lund Racing sent me my tune and went for a drive after installing it. The throttle response in Normal mode is now like it was in Sport mode and Sport mode is even better. Didn't take it to any extremes just yet as I don't have many miles on the car but I will in a couple of weeks when I will do some datalogging that he wants done.

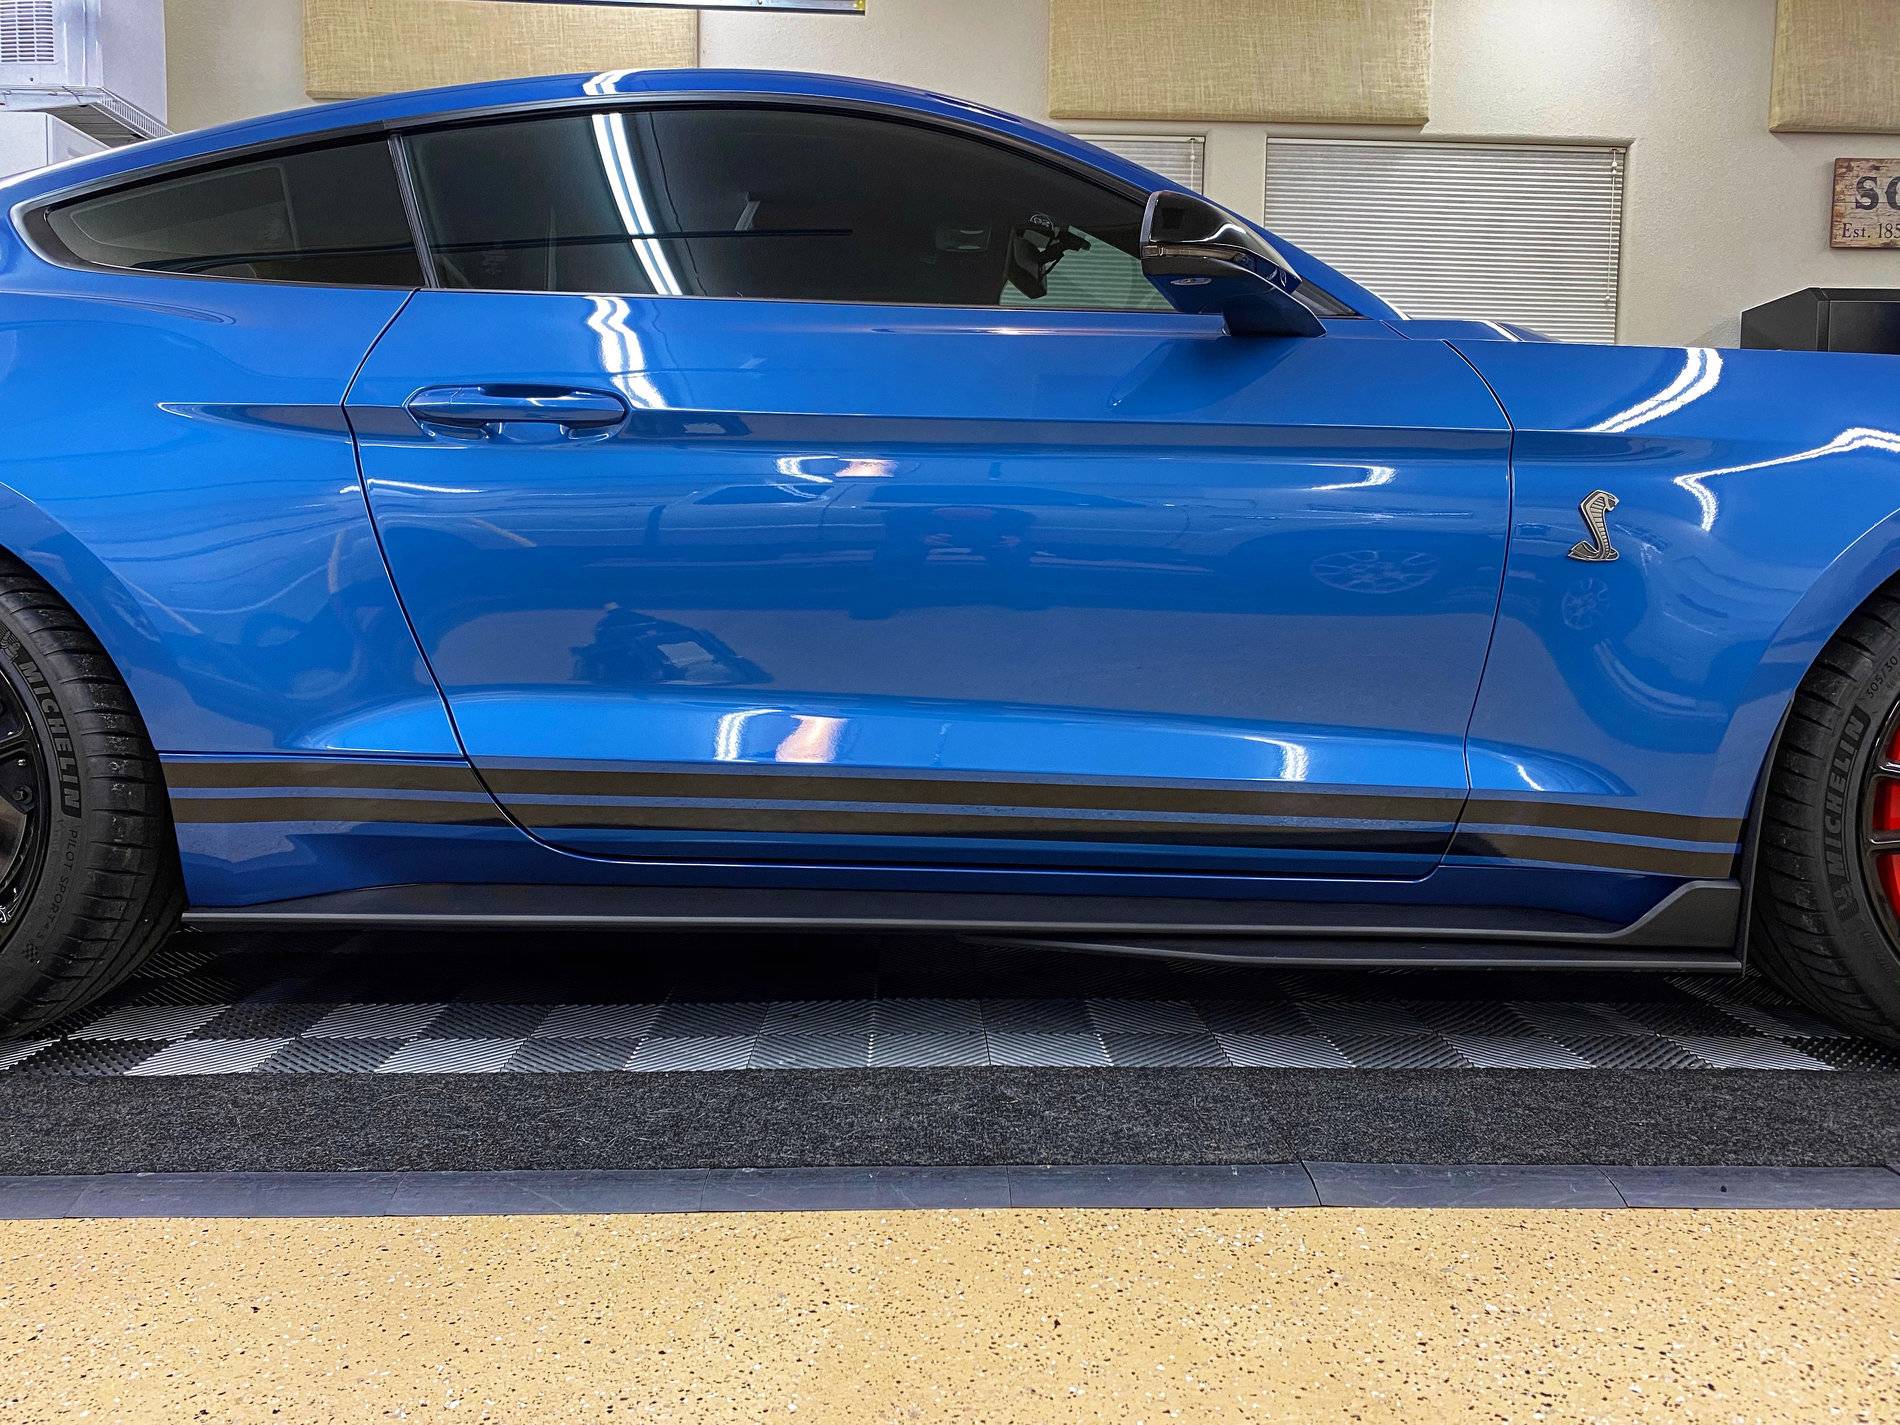
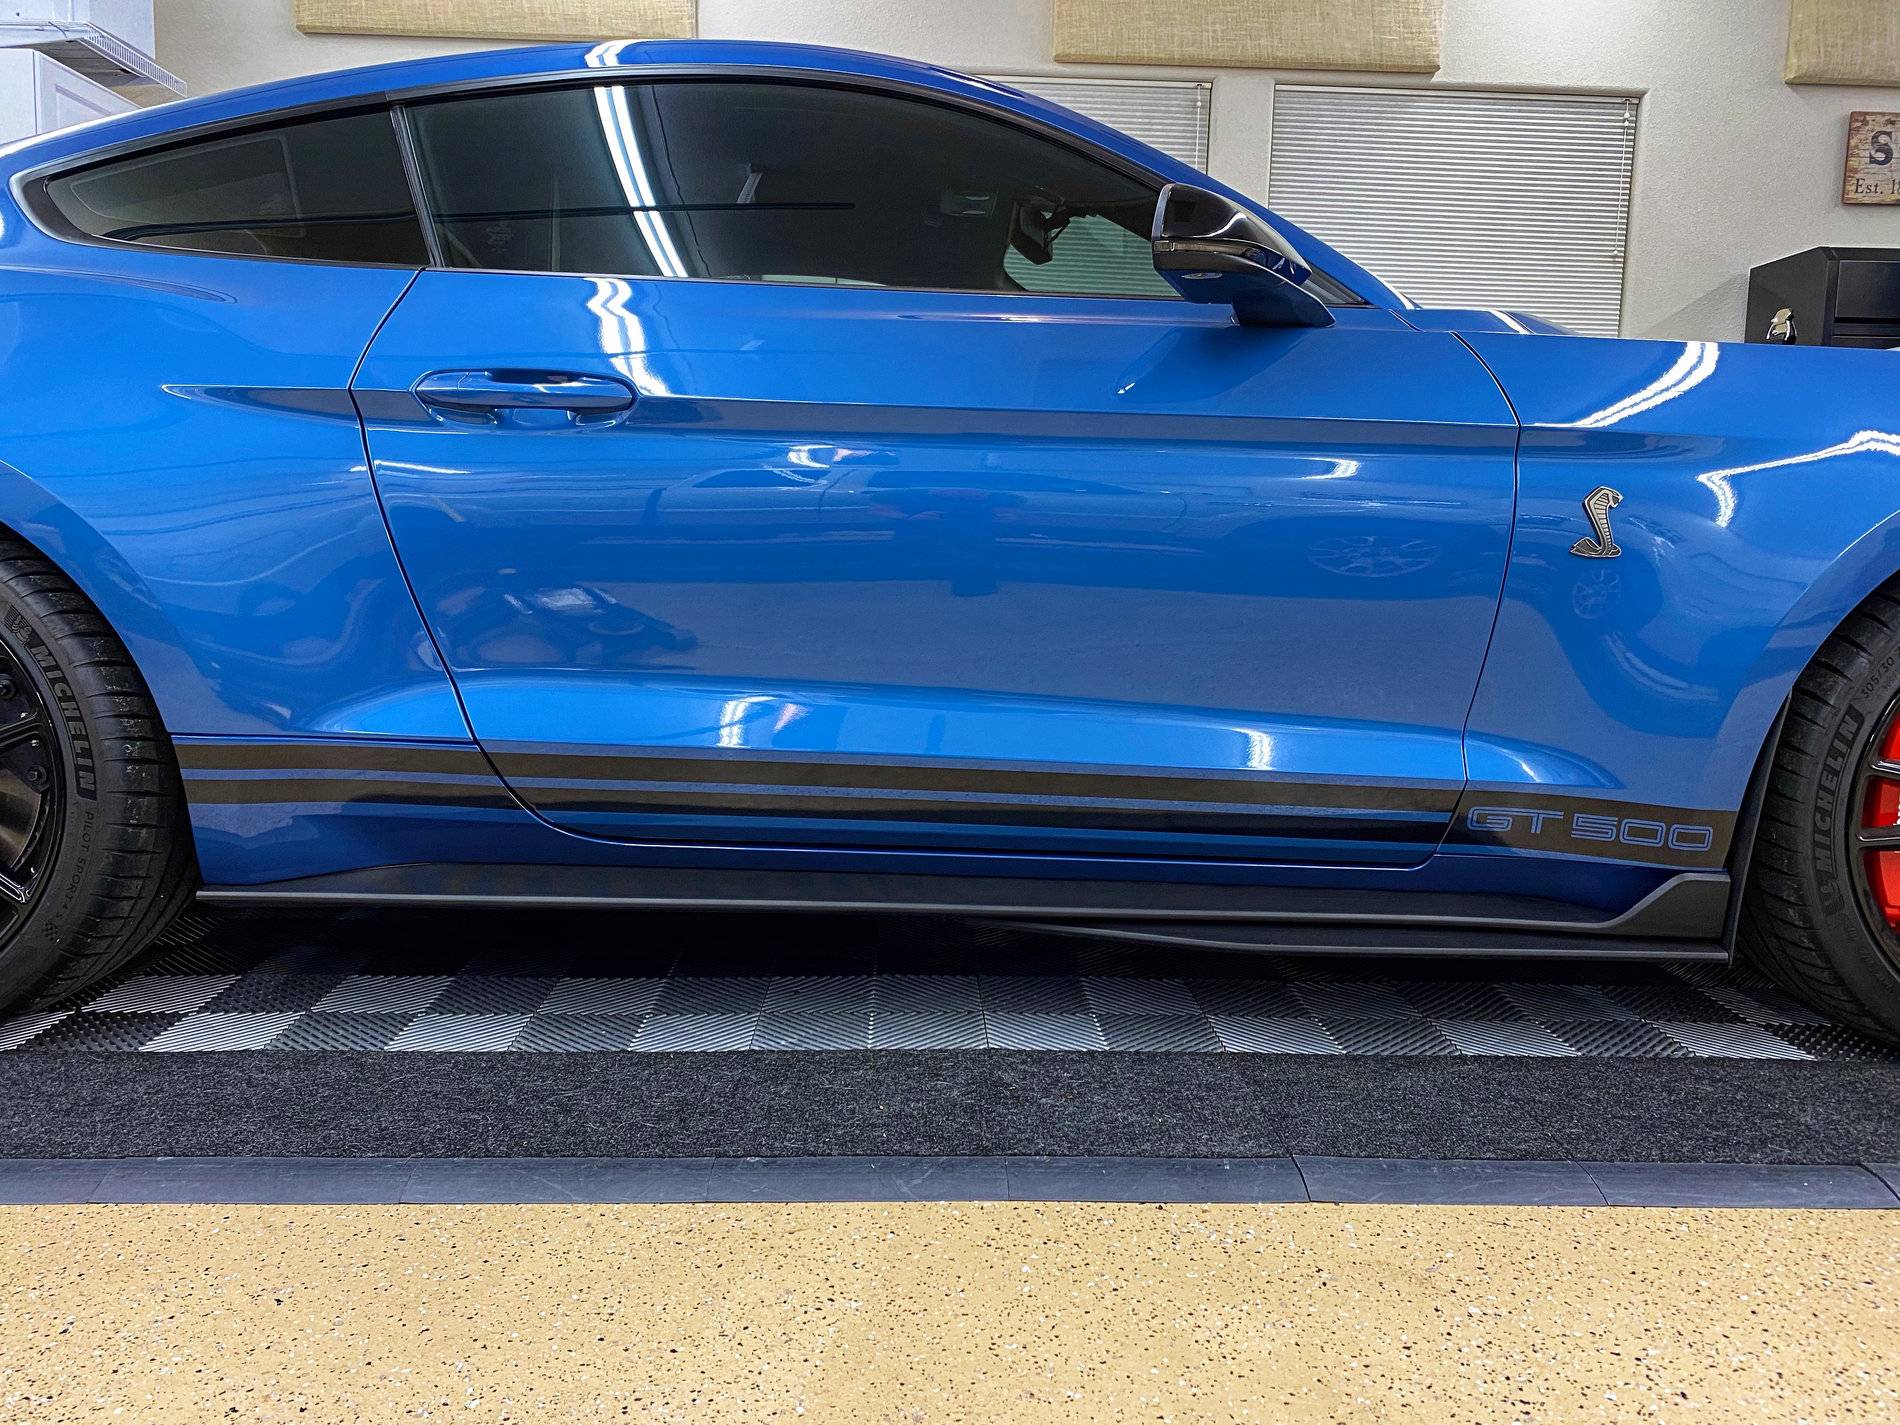
Decided to see what the sides would look like with the GT500 lettering on the front fender instead of stripes. I definitely like it. I didn't apply it very straight but I have extras so I am going to take my time and do both sides properly.

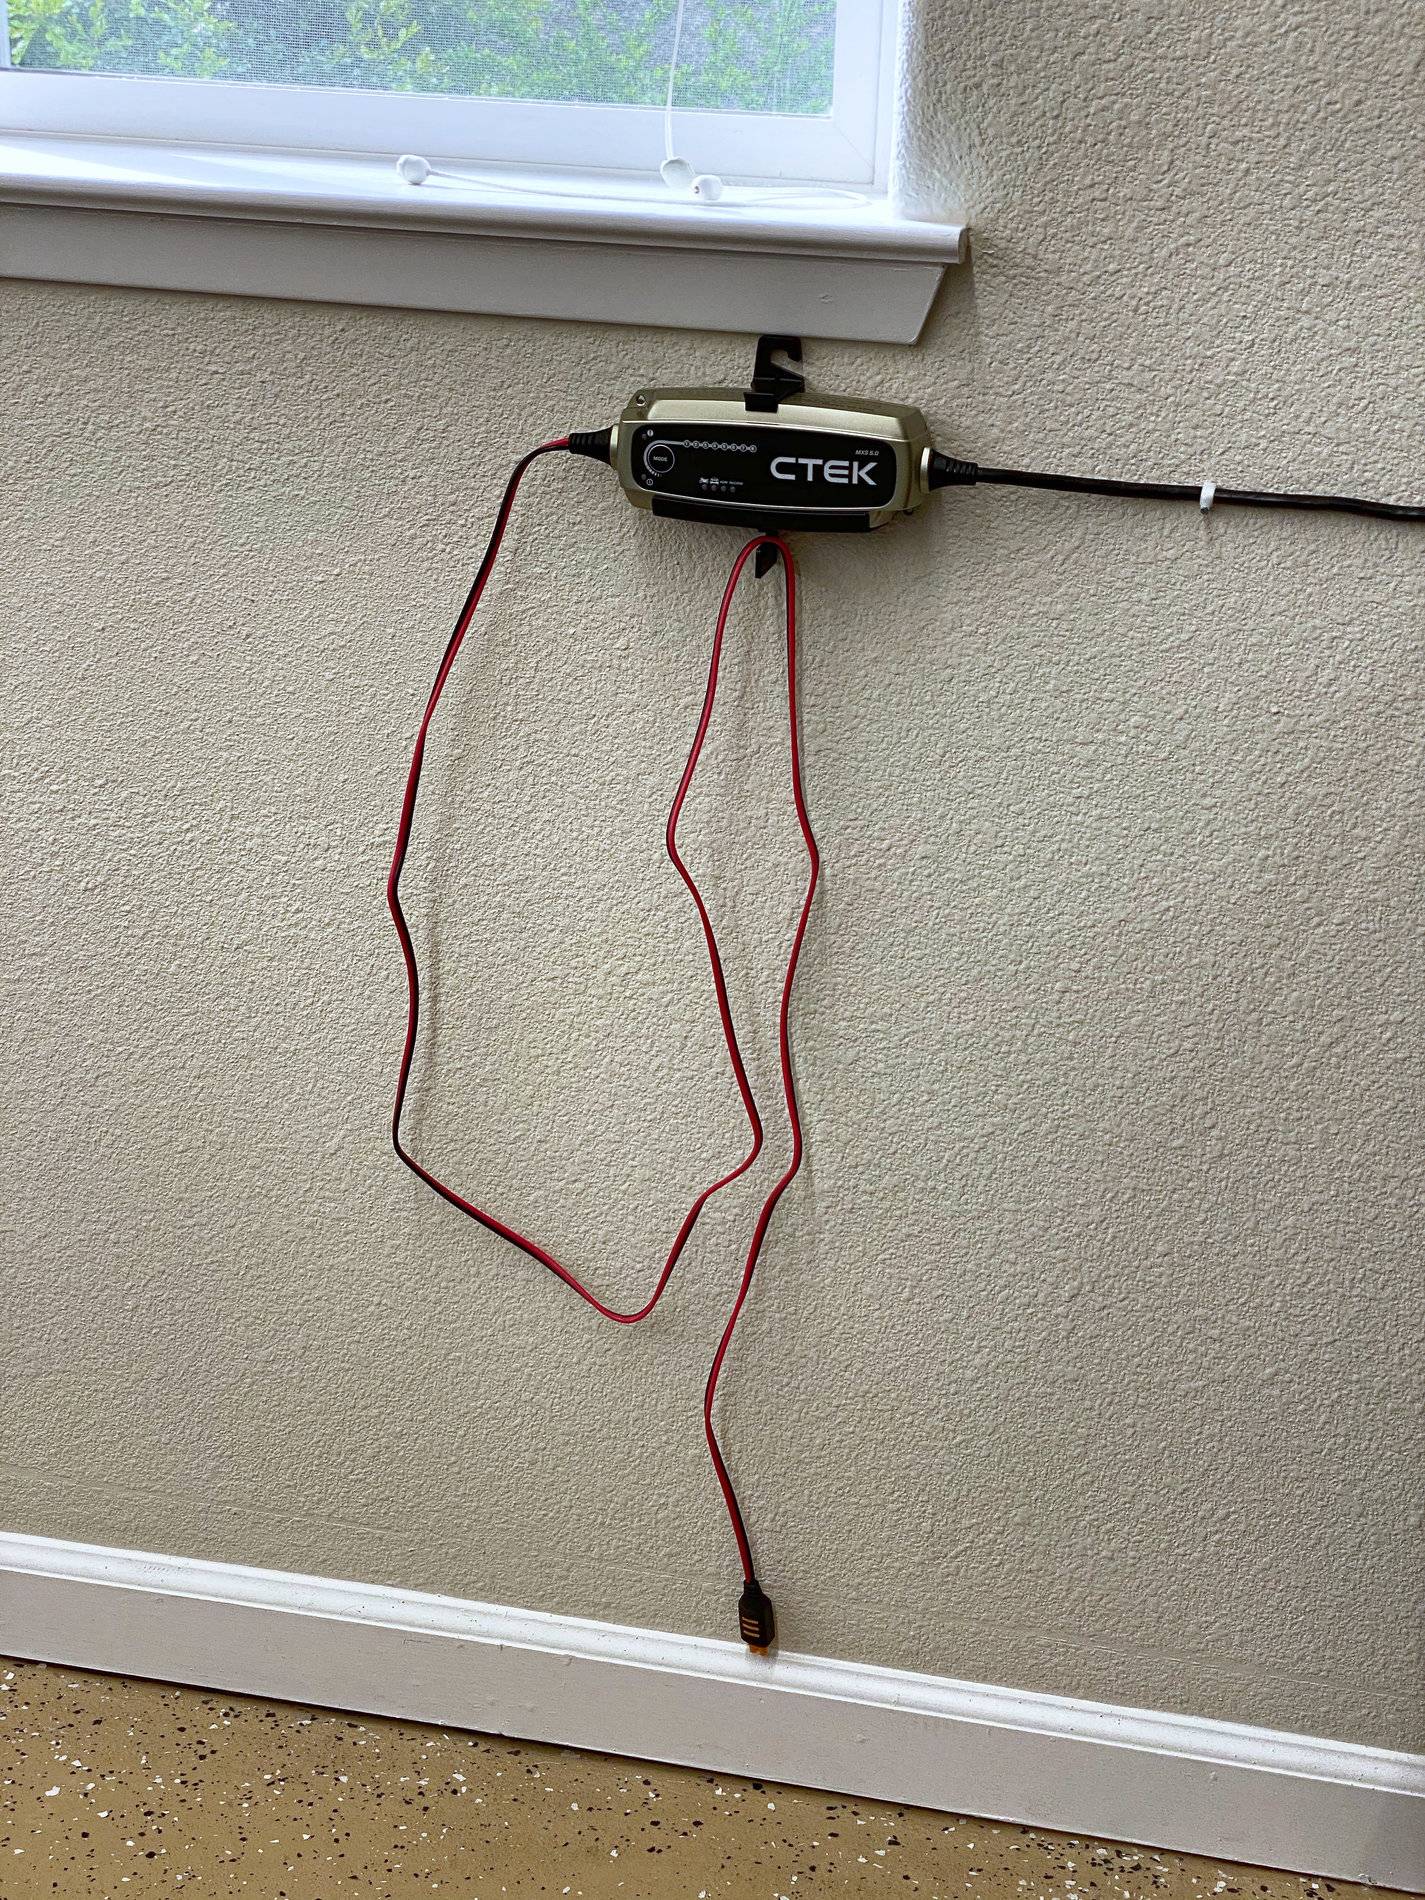
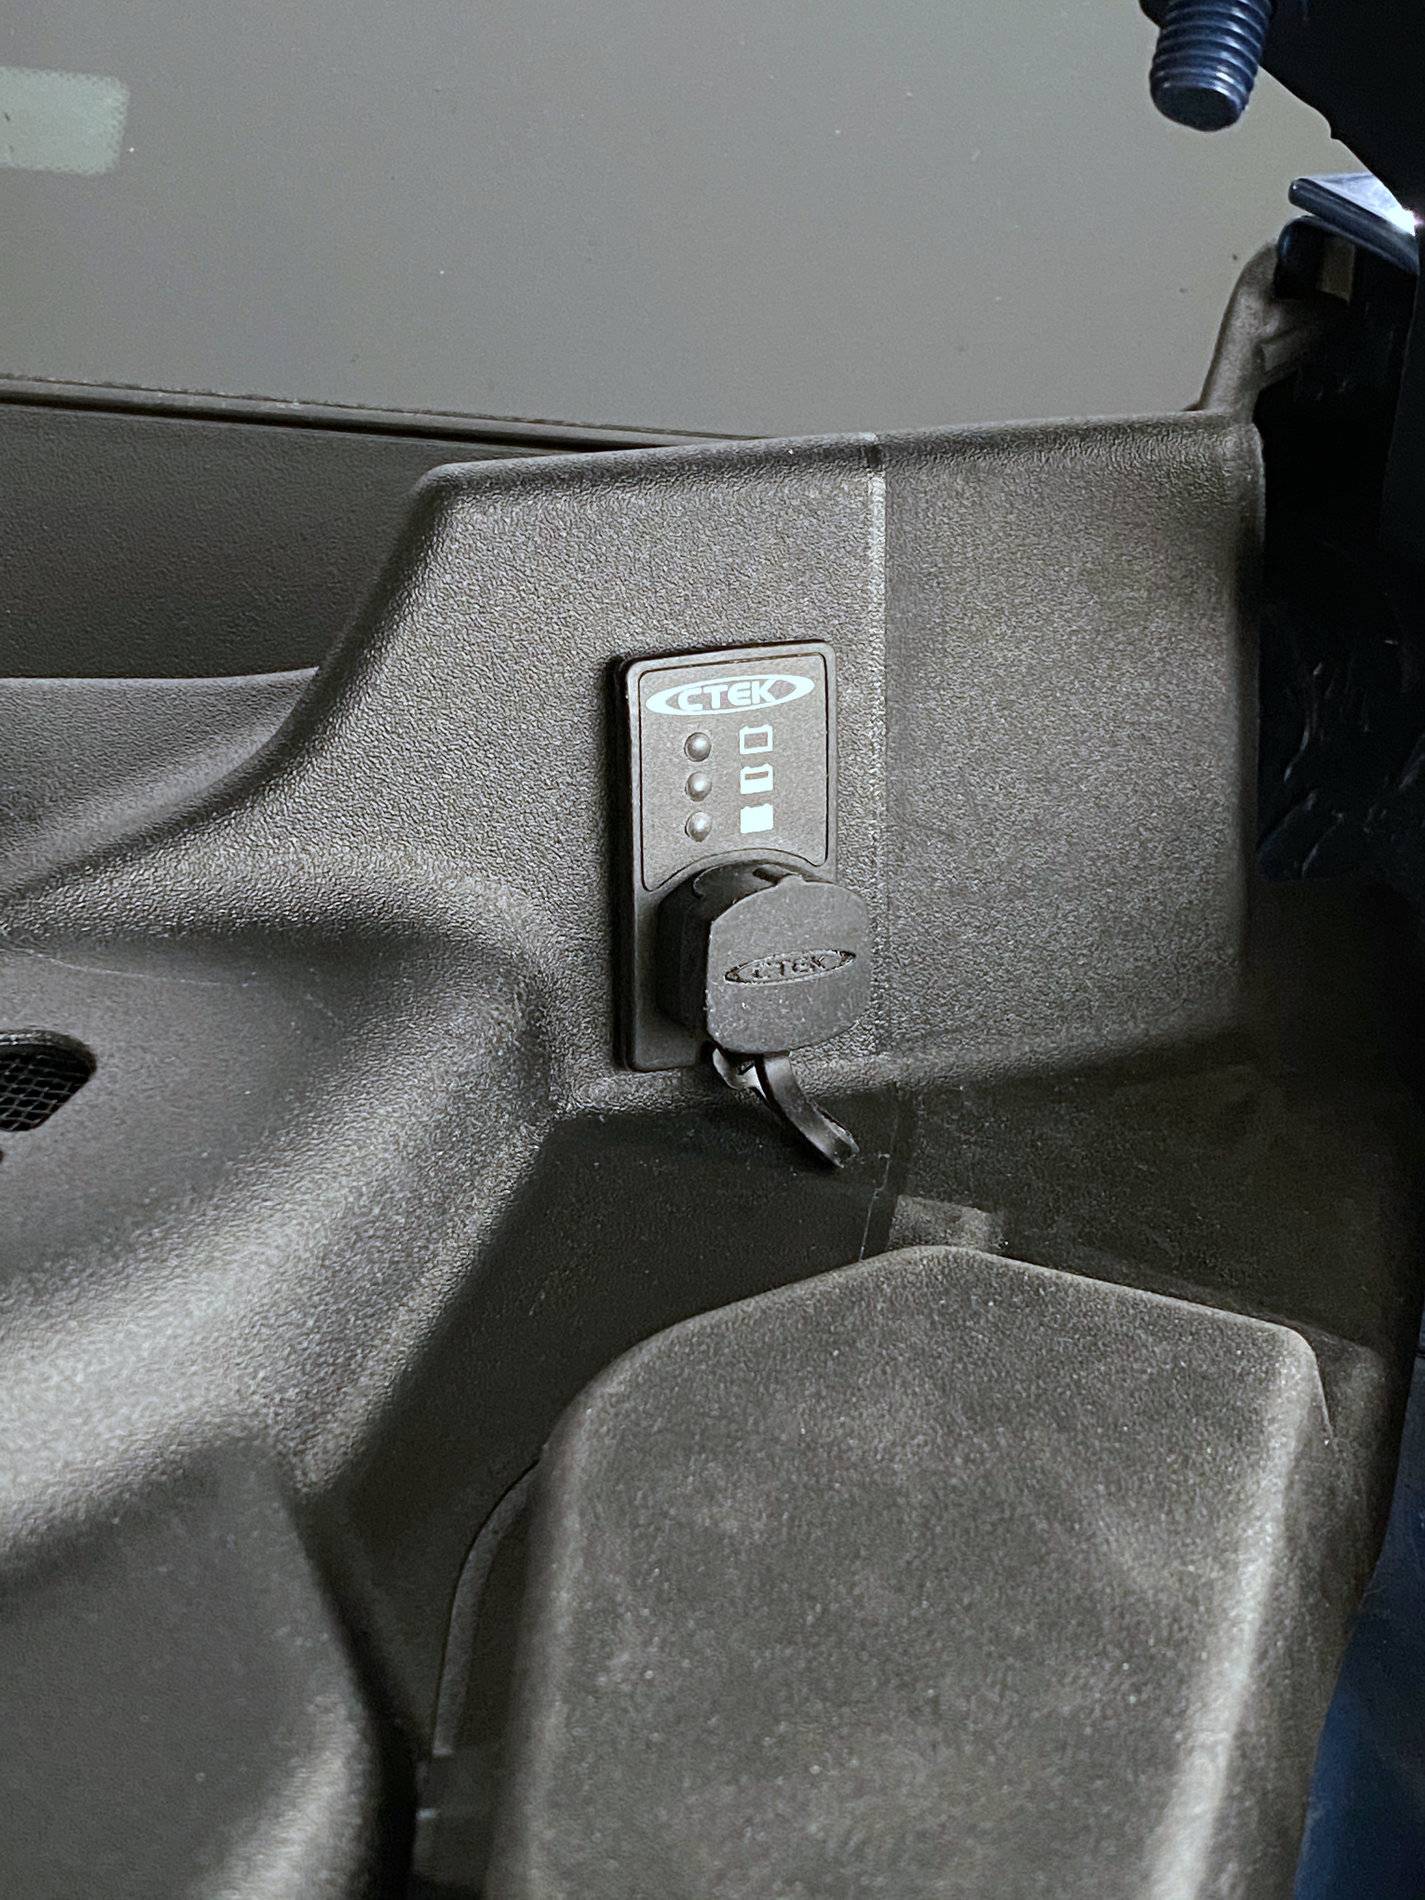
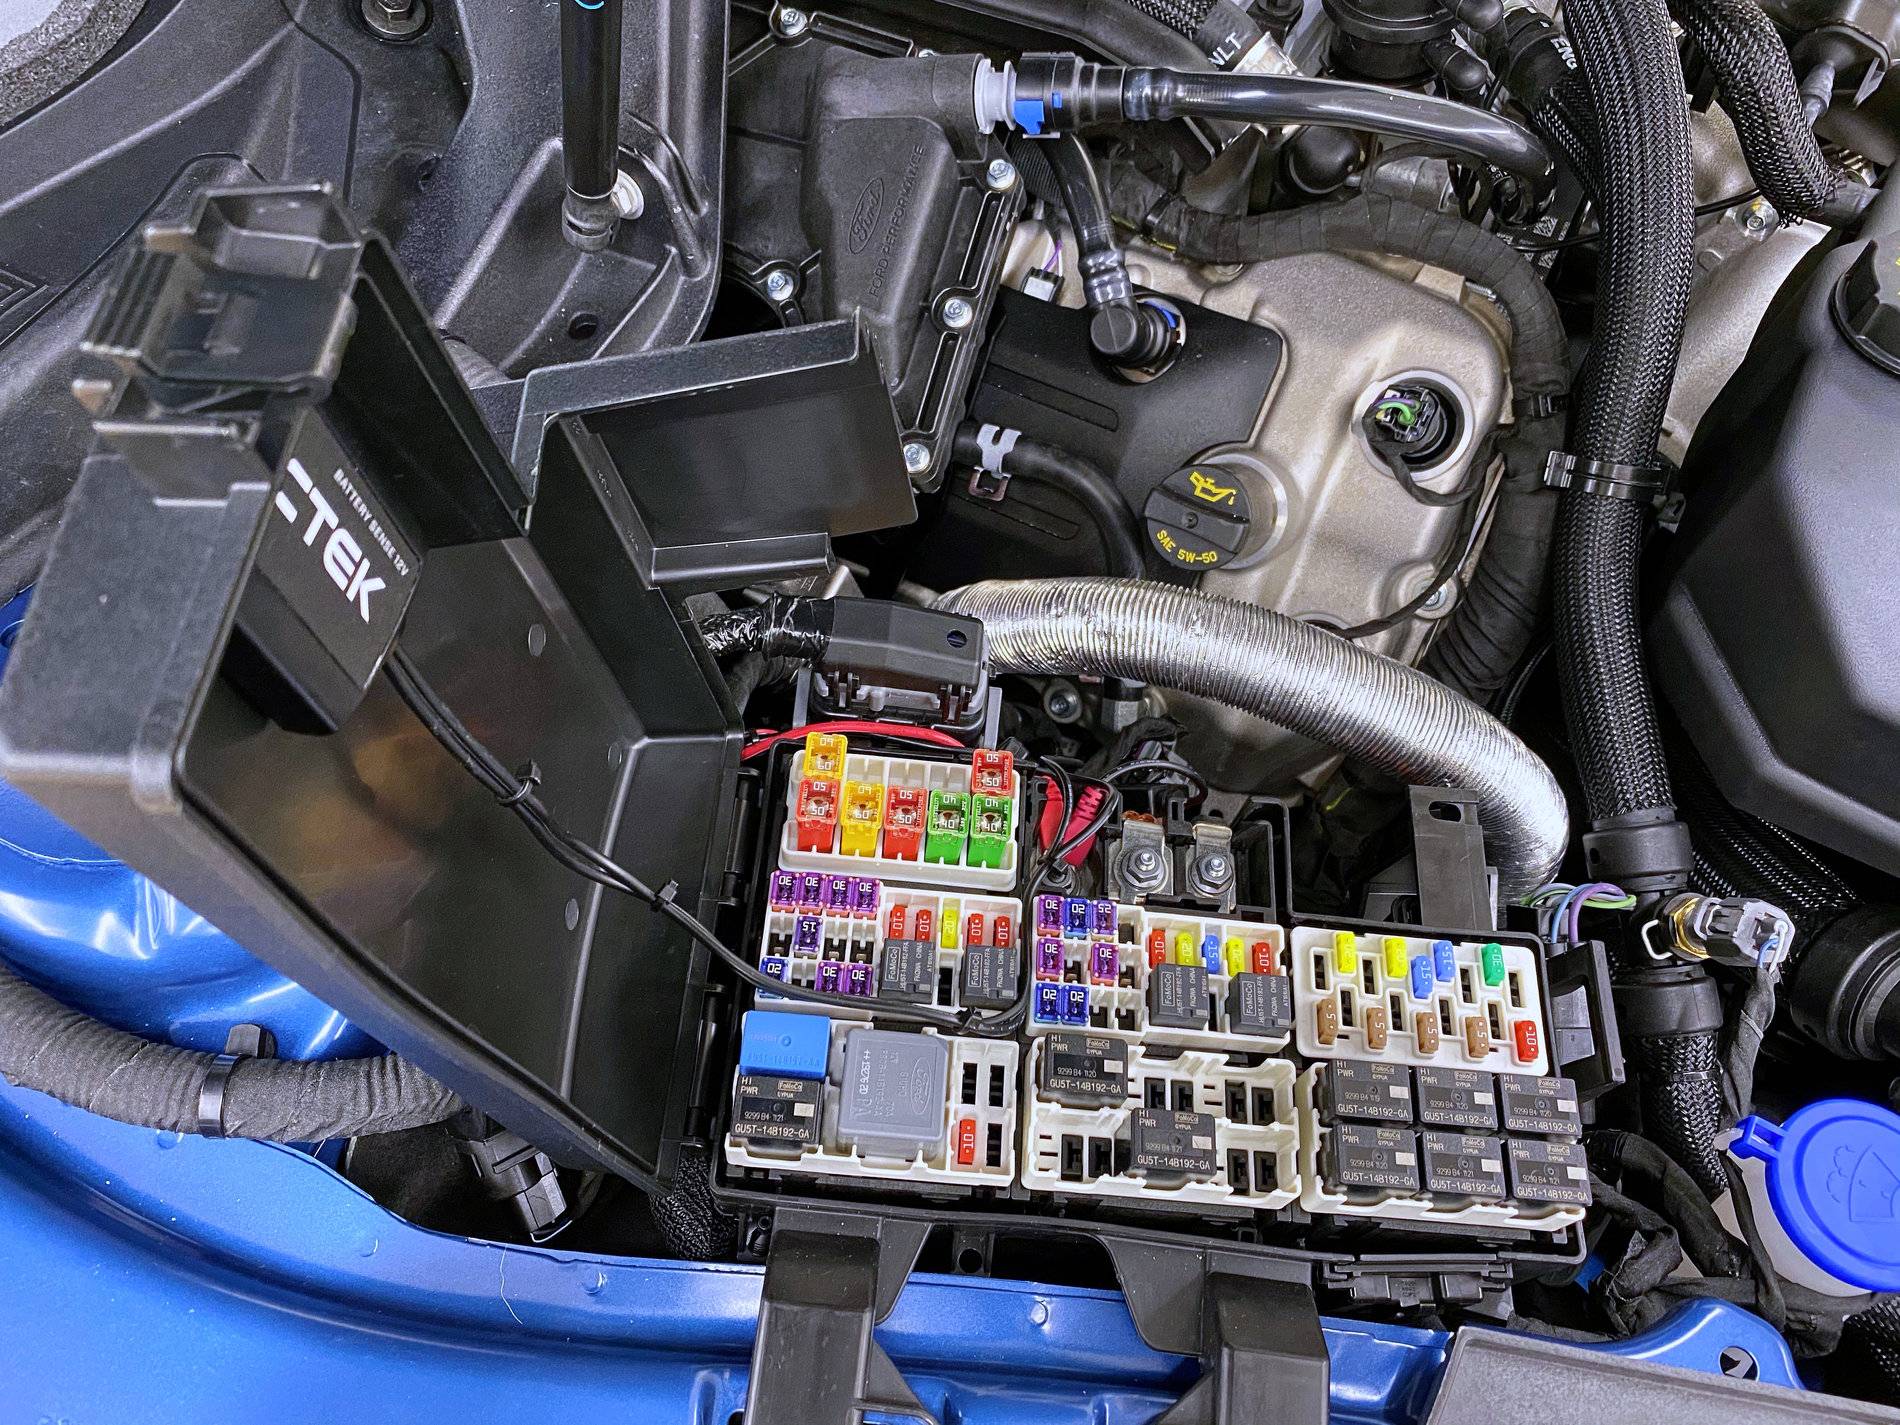
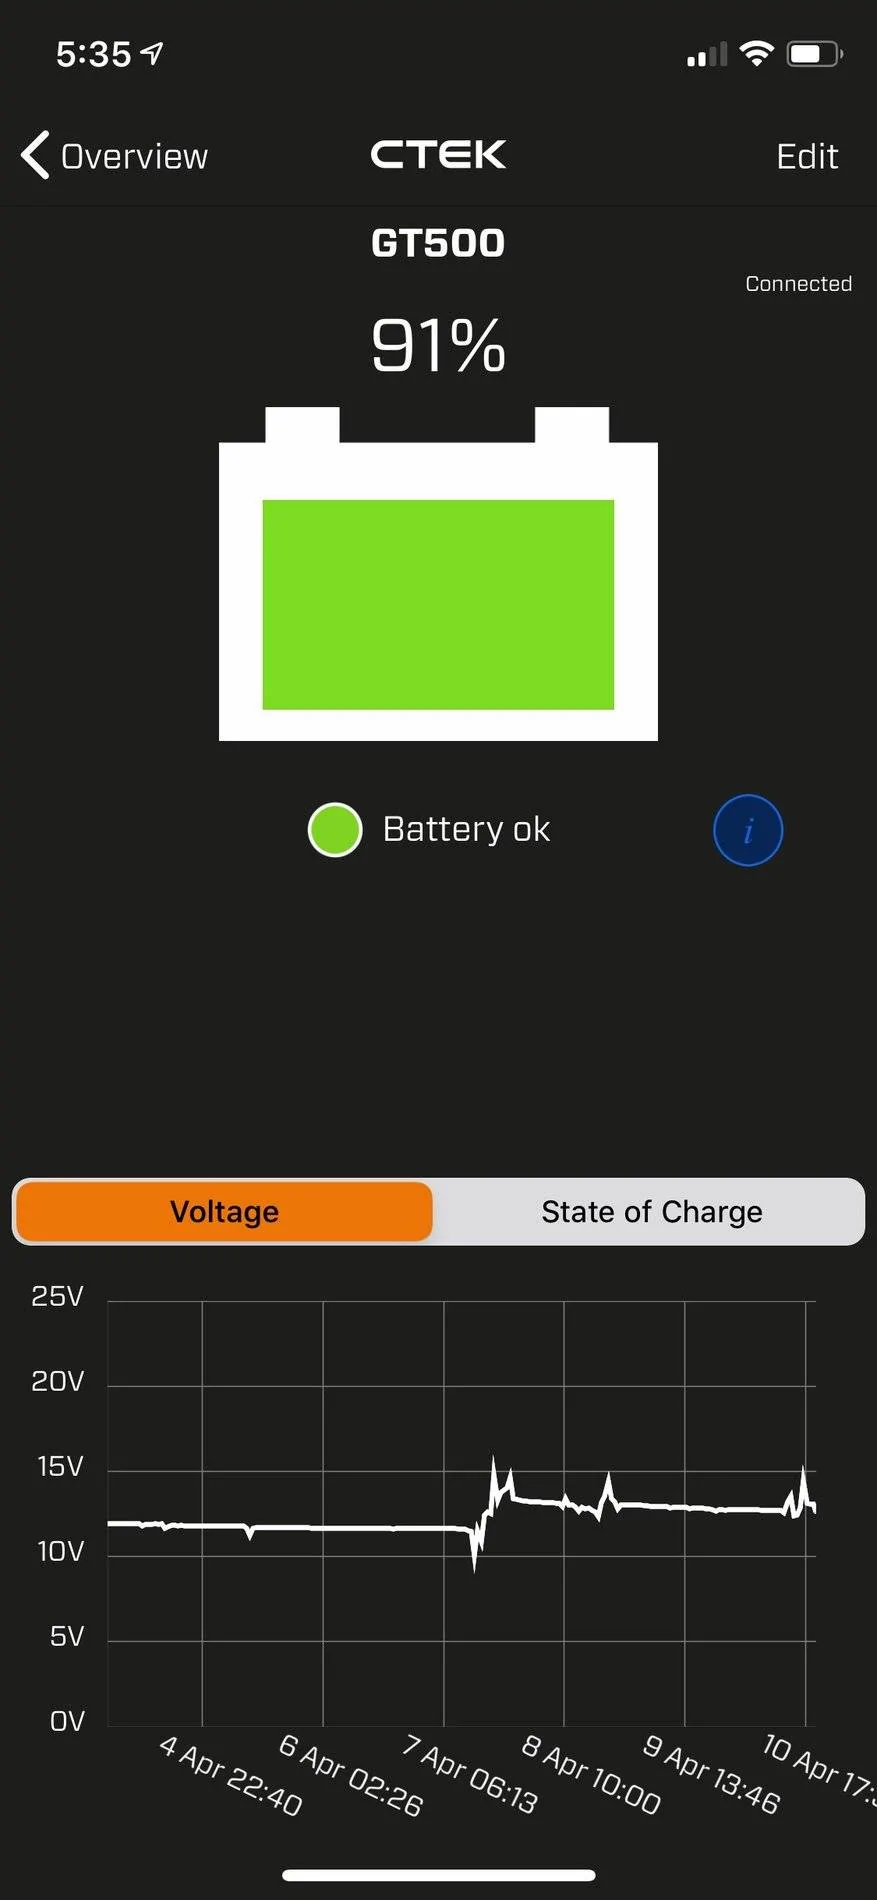
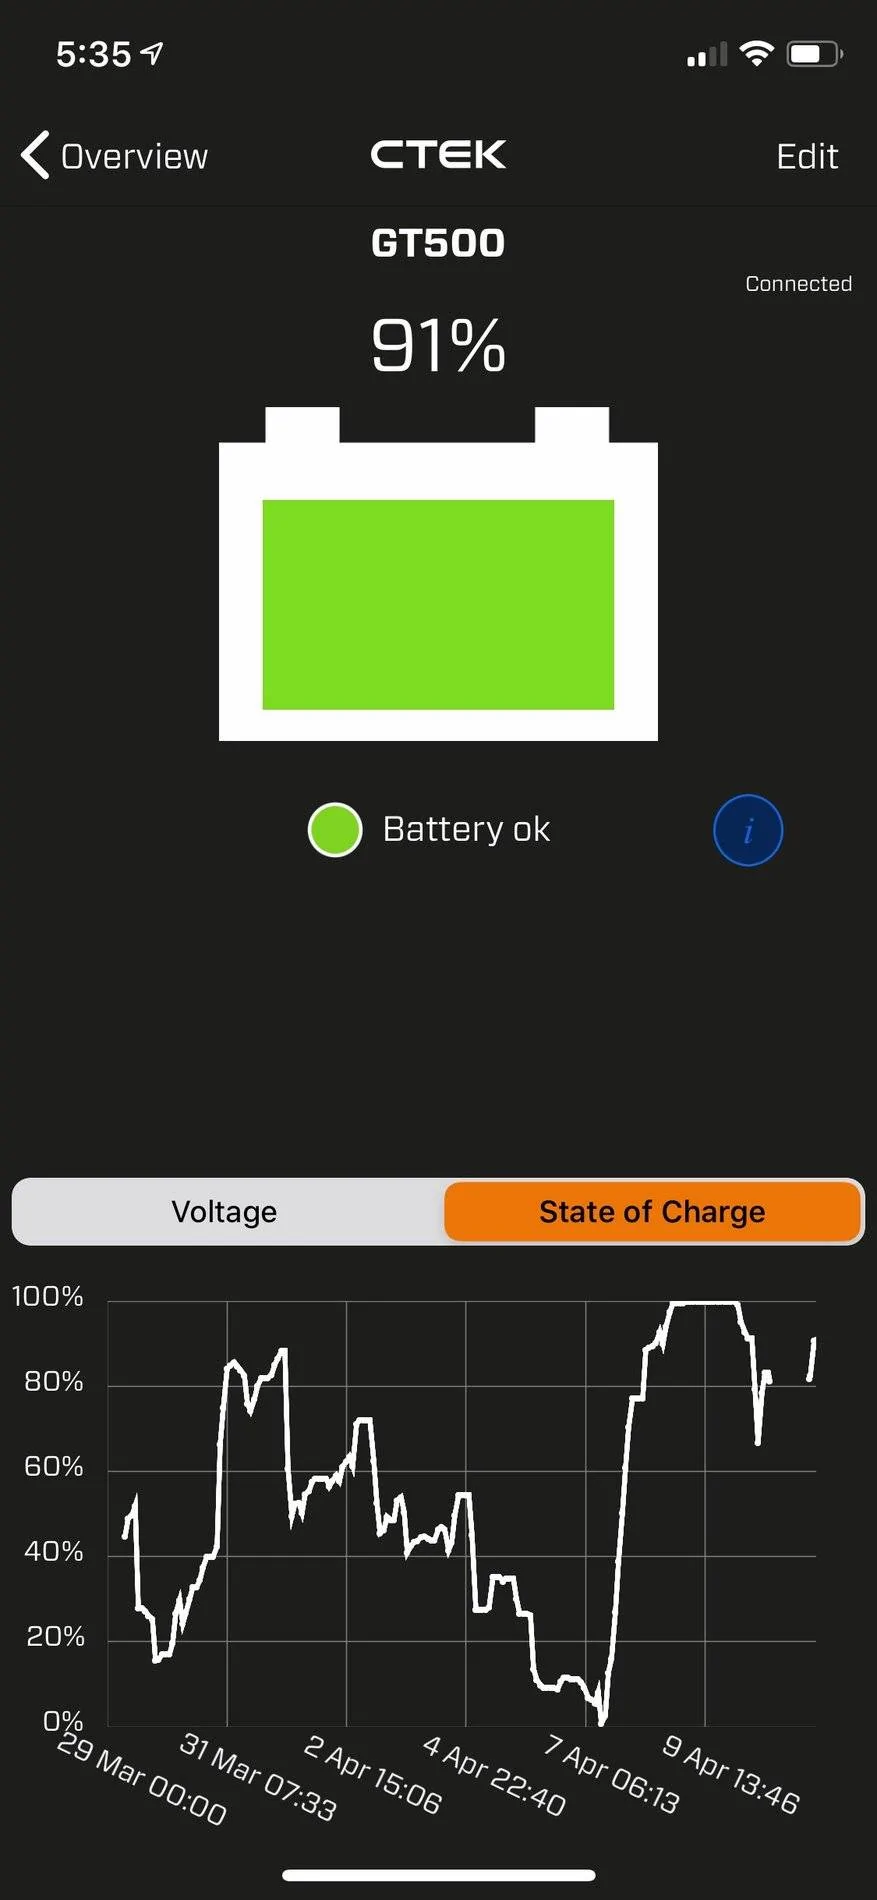
Today I finally got around to mounting the Ctek MXS 5.0 trickle charger on the wall next to the left front of where the car parks in the garage. Then I mounted the Ctek Comfort Indicator Panel in the cowl vent cover on the drivers side so it is close to the trickle charger on the wall. Last week I mounted the Ctek Battery Sense Bluetooth module in the lid of the fuse box. It works really well letting me know the state of the battery on my phone. I have already had it die once because I have been working not the car a lot and forget to disconnect the battery. That won't happen anymore.

IMG_0893GT500.jpg
IMG_0894GT500.jpg
IMG_0942GT500.jpg
IMG_0933GT500.jpg
IMG_0665GT500.jpg
IMG_0943.webp
IMG_0944.webp
 

kilobravo

Well-Known Member
Joined
Aug 10, 2019
Threads
95
Messages
8,734
Reaction score
8,833
Location
Corpus Christi, TX
Website
kilobravo.com
First Name
KB
Vehicle(s)
'16 CT6, '18 SD, '20 GT 500
Mark: I got one phrase beat into my head by Marine DI's at OCS and it was,

"Attention to detail"

What I didn't know at the time was that they were actually trying to get us to be as good at it as YOU!

You are completely amazing, Mark and I gotta get one of those CTEK chingassos. :-)

Beautiful work.
 

marklboris

Well-Known Member
Joined
Jul 16, 2019
Threads
3
Messages
670
Reaction score
1,020
Location
Sonora, CA
First Name
Mark
Vehicle(s)
______ '20 Shelby GT500 FPB '24 Mach-E GTP GGM
Vehicle Showcase
1
Thanks KB, I try. I want things a certain way and I do it. I wanted Alcantara door inserts, dash panel and console, I put that in. I wanted heated Recaro seats so I put them in. I wanted all LED lighting in the car (including headlights) I put them in. One of the next things I am doing is installing ambient lighting (Inside door handle, door pocket, foot wells, cup holders and console storage compartment) when I get the car back from having it ceramic coated.

While I have decided to keep the audio system as is for right now because I have more important things I want to do, I have a problem with the sub in the trunk in that it literally produces no bass and certainly no deep bass. I got the JLAudio Stealhbox 12" sub for the trunk (takes the place of the stock sub and mounts with the same area) and JLAudio mono amp. I have a lot of work to do when I get it back and I still can't wait to see what my SV902's look like on the car :)
 

marklboris

Well-Known Member
Joined
Jul 16, 2019
Threads
3
Messages
670
Reaction score
1,020
Location
Sonora, CA
First Name
Mark
Vehicle(s)
______ '20 Shelby GT500 FPB '24 Mach-E GTP GGM
Vehicle Showcase
1
JLAudio is not cheap stuff and also not the most expensive. I use their subs and mainly their Stealthsubs in every car and truck I have had for over 35 years. You can certainly get better bass and even from JL as the 12" sub they use in that Stealthbox for the Mustang is their thin line series and I am not a huge fan of those but I have one in the Escape in the spare tire area and it is decent. Decent for me might be awesome for others but when you start getting into their upper end series, then you have good, clean, tight bass. Don't get me wrong, this thing does sound pretty good but I am more looking for a box that does not take up any more space than the OEM sub does. I could make a custom box for the spare tire area but I like having that space down there for things if I want and I will be mounting the amp down there anyway.

In my home theater, I have ONE JLAudio sub. It is a 12" powered sub and cost around $2200. That is the LEAST expensive sub because you can go all the way up to $16K+ for one of their home subs. Now, that is expensive.

Mustang Stealthbox:
https://www.jlaudio.com/collections/car-audio/products/sb-f-muscpe-12tw3-car-audio-stealthbox-94617

500 watt mono RD series inexpensive amp that I would recommend for this sub:
https://www.jlaudio.com/collections...roducts/rd500-1-car-audio-rd-amplifiers-98618
 

kilobravo

Well-Known Member
Joined
Aug 10, 2019
Threads
95
Messages
8,734
Reaction score
8,833
Location
Corpus Christi, TX
Website
kilobravo.com
First Name
KB
Vehicle(s)
'16 CT6, '18 SD, '20 GT 500
You bring back a lot of memories, Mark as I was a medium-grade audiophile for years. Always liked to have "good" sound in the vehicles but I've never gone high-end.

Roger on JL and their products, as my dear old Mom used to say,

"You get what you pay for."

And that's MOSTLY true these days so I'm sure that Stealthbox sounds awesome "to me." :-) I'm also well aware that speakers are by far the most important component but nine hundred bones, I dunno. <smile>

I'd also like to go with all LED's on the exterior so I'm gonna have to go back and read your post on that.

The interior lighting sounds like a PITA though but what do I know? :-)

Hoppy Easter
 
 
Top