Meraki Autoworks
Well-Known Member
- Joined
- Mar 15, 2016
- Threads
- 141
- Messages
- 25,941
- Reaction score
- 198
- Location
- Orange County
- Website
- www.merakiautoworks.com
- First Name
- Josh
- Vehicle(s)
- 2018 GT PP
Nice build!
-Josh
-Josh
Sponsored

Thanks Josh. Nothing overly special, but it is mine and I'm having a blast!Nice build!
-Josh


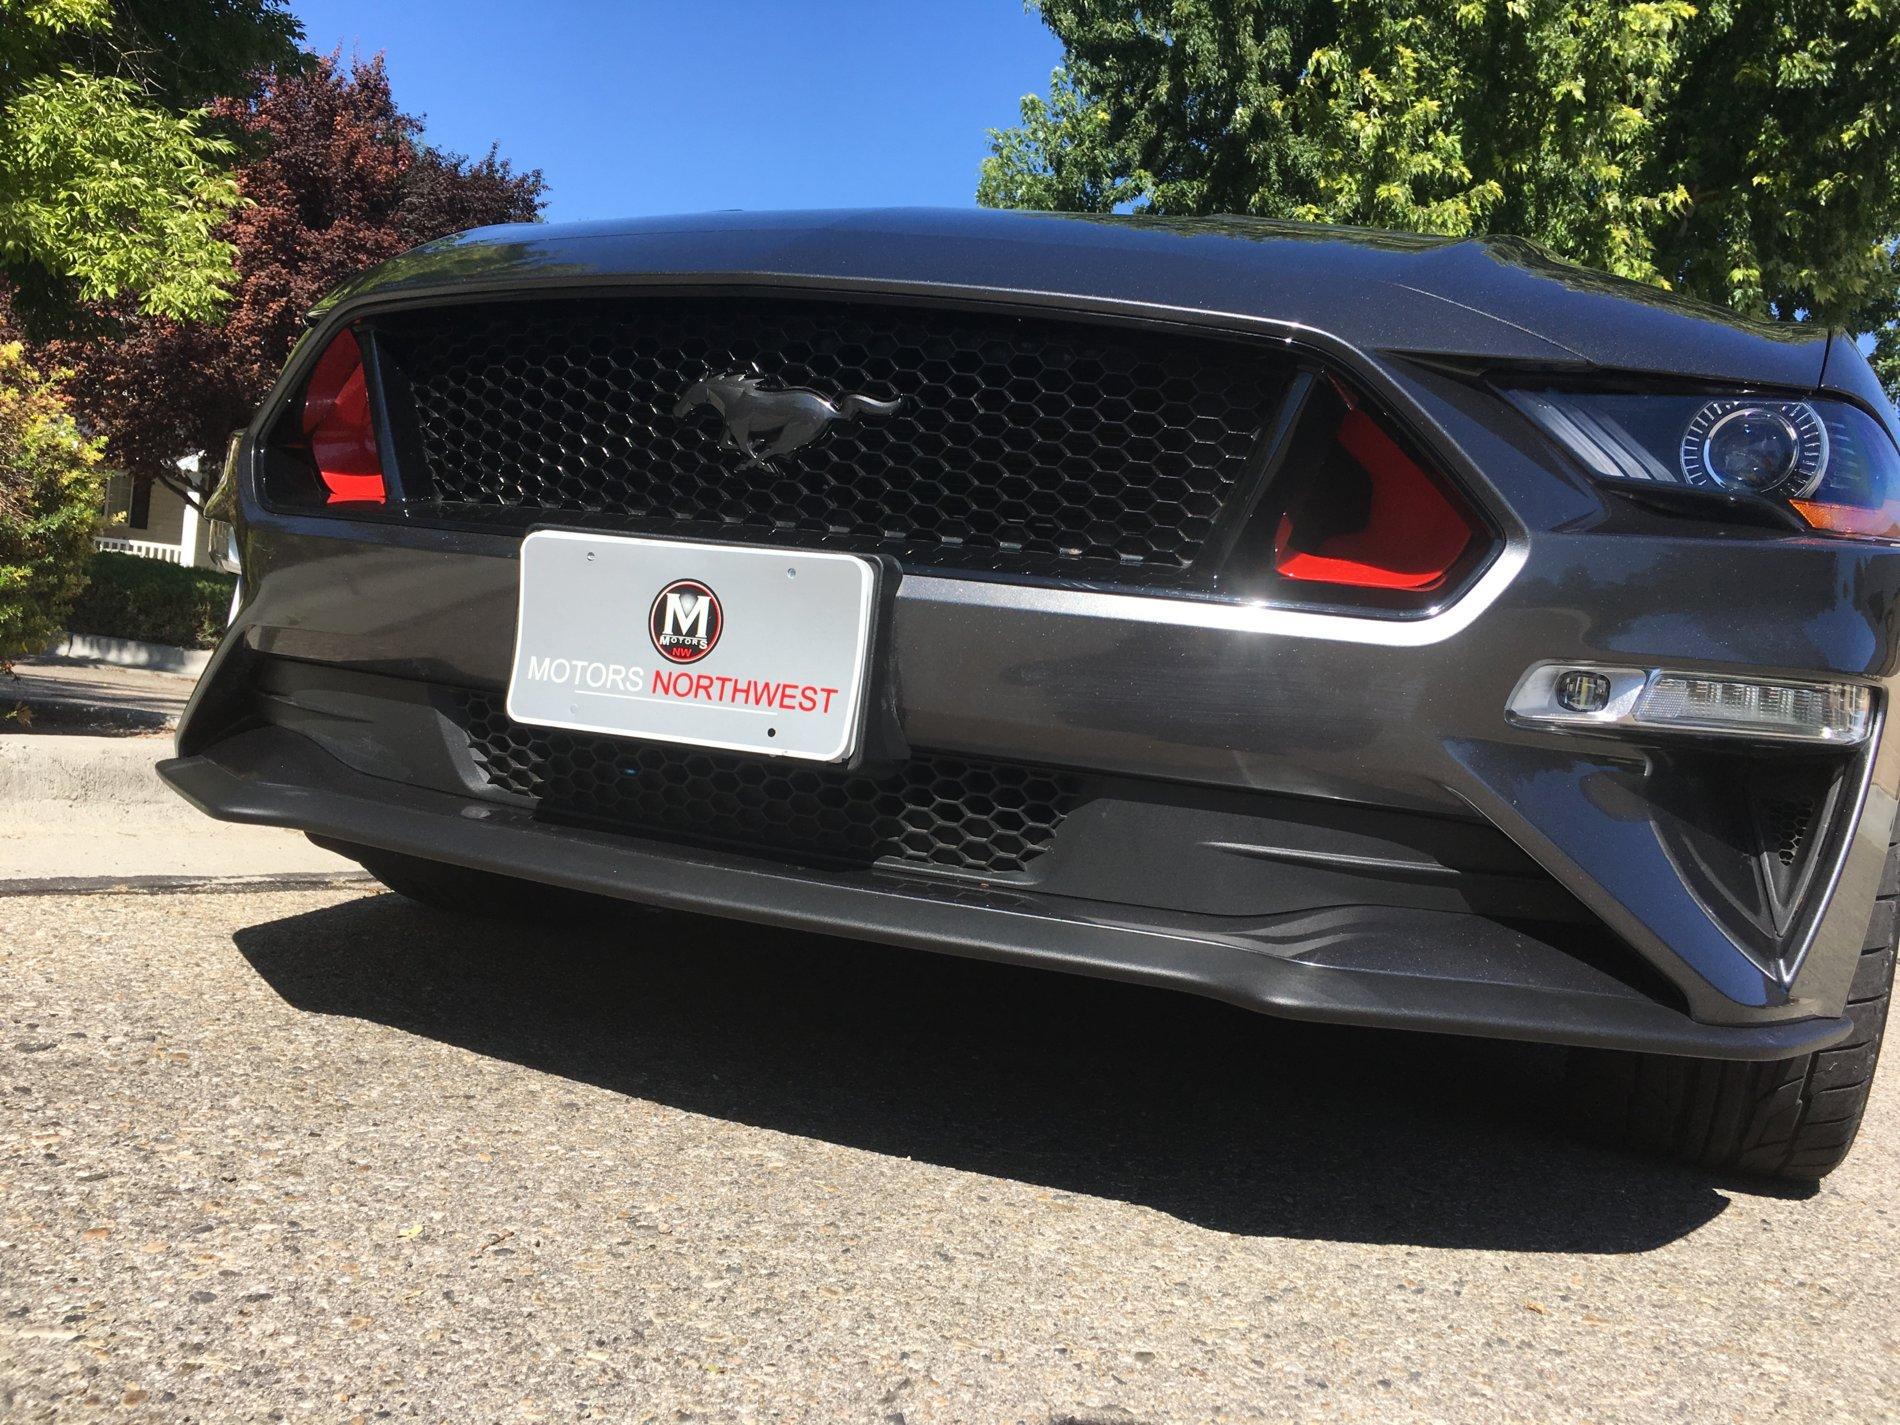
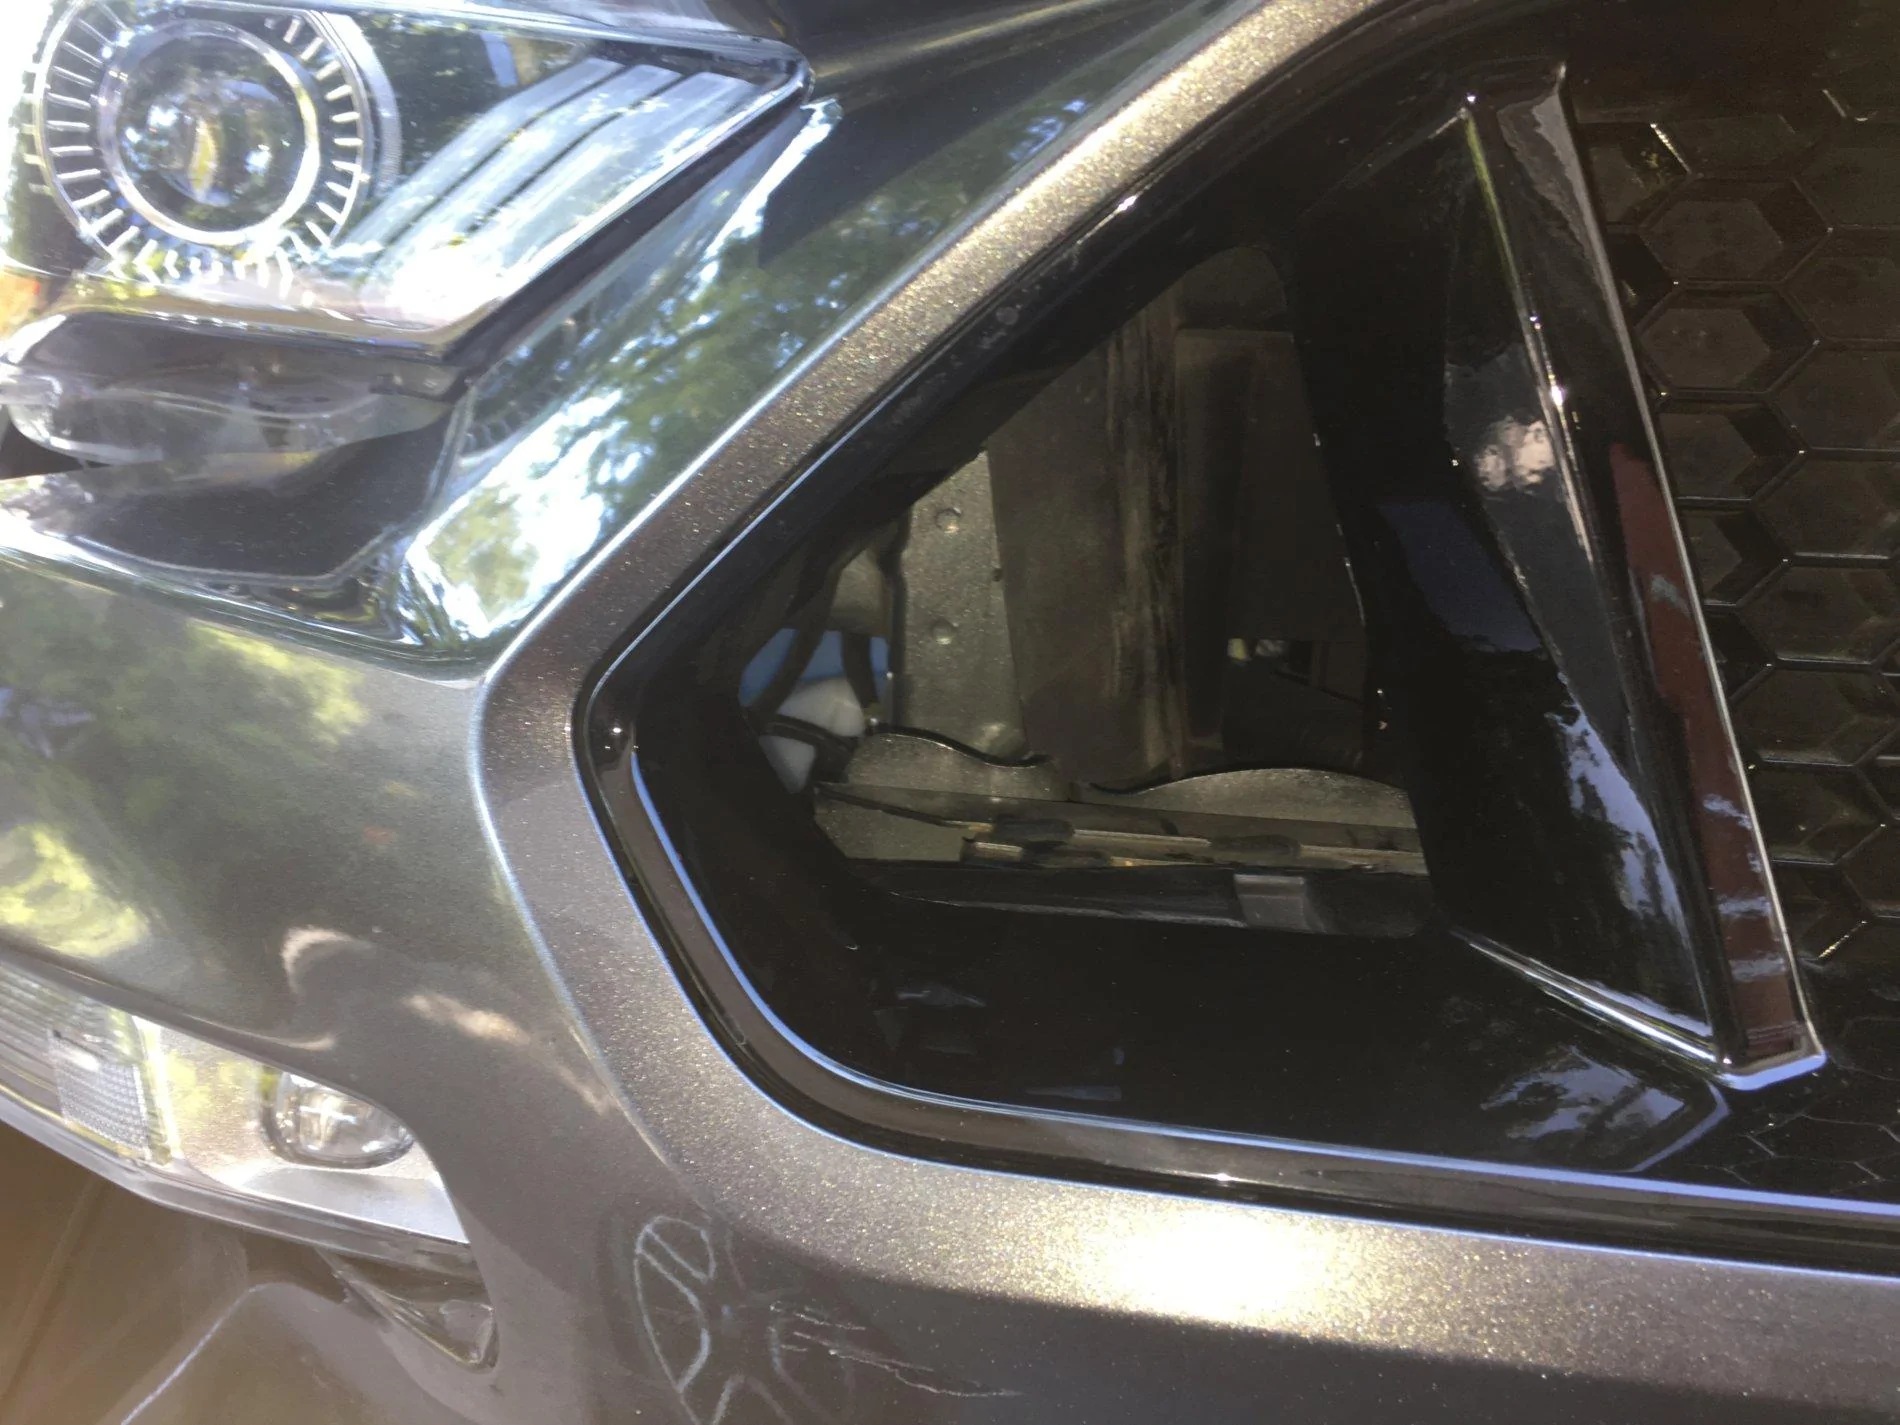
 Yikes! But in Bill's awesome post about his Velossa Big Mouth intakes, Link here, he showed some great photos on how he cut apart his. One of the many lessons I learned from my intimate times with my Dremel and my beautiful grill... I am not as skilled as Bill. LOL But seriously- if you decide to go down this path, I highly recommend checking out his post on this! It will help you a ton! Thanks Bill!
 )
)
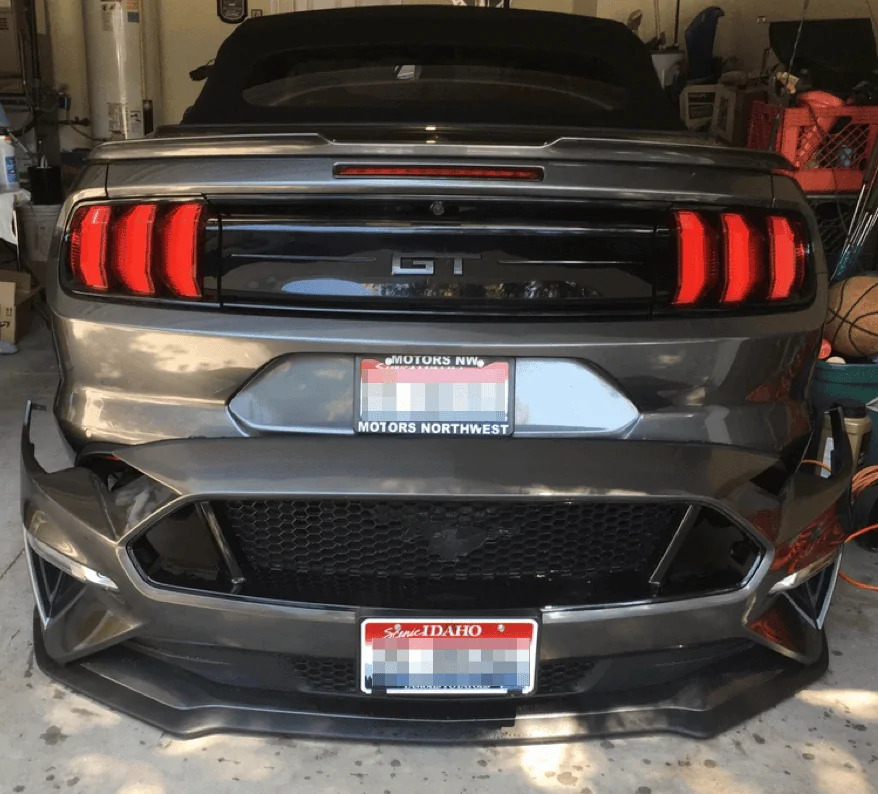


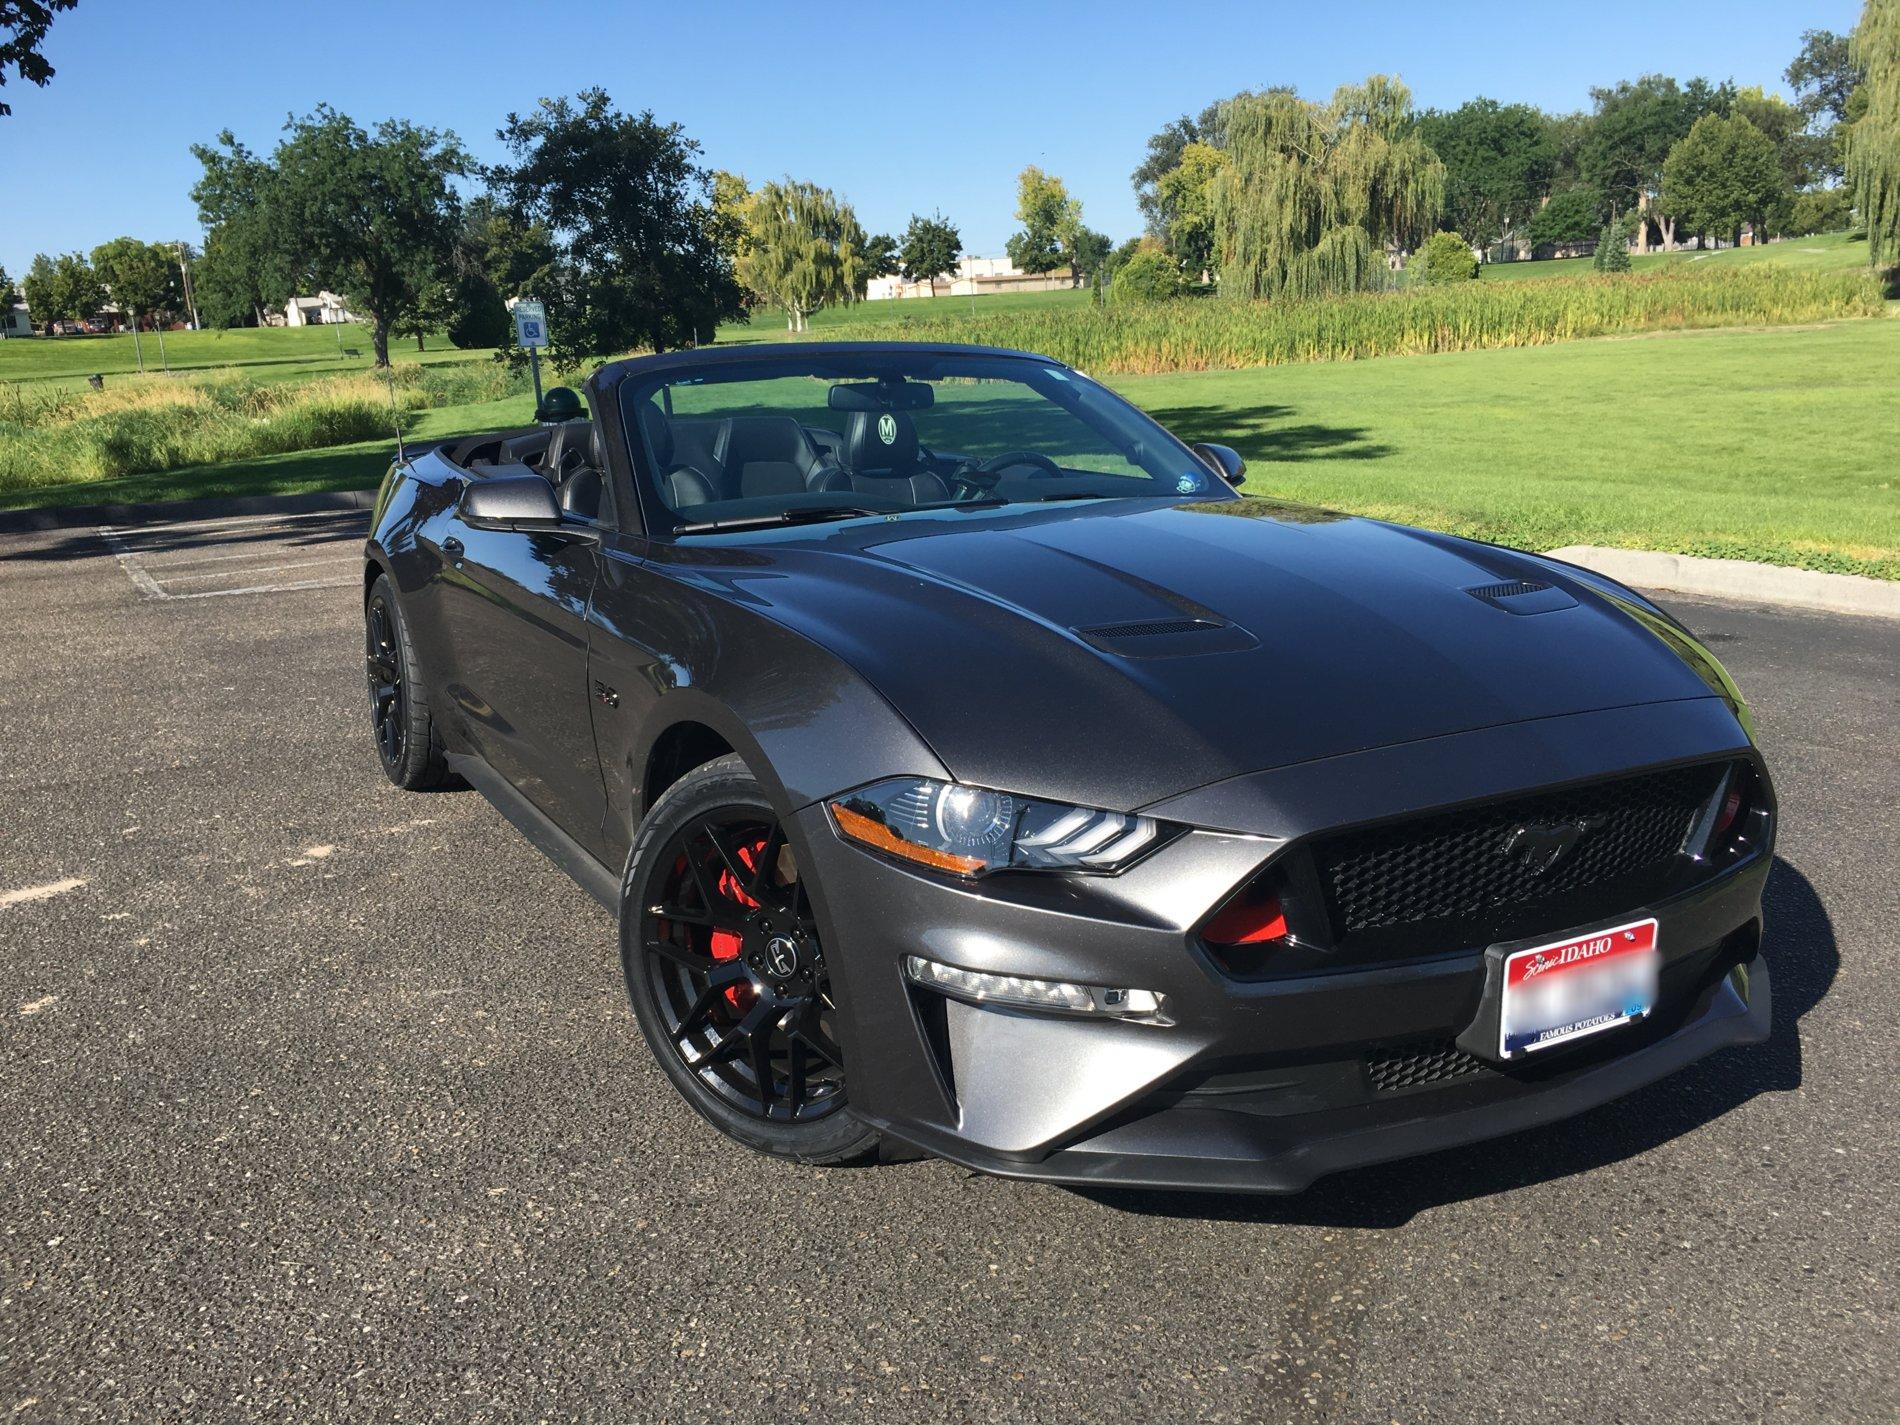
That is hilarious! I am in complete agreement with you on that, Unk! Your new one looks much better. The car is looking damn fine, and I always get a laugh or two from your posts.What the hell is that thing, Ford?!?! (spoiler install) -
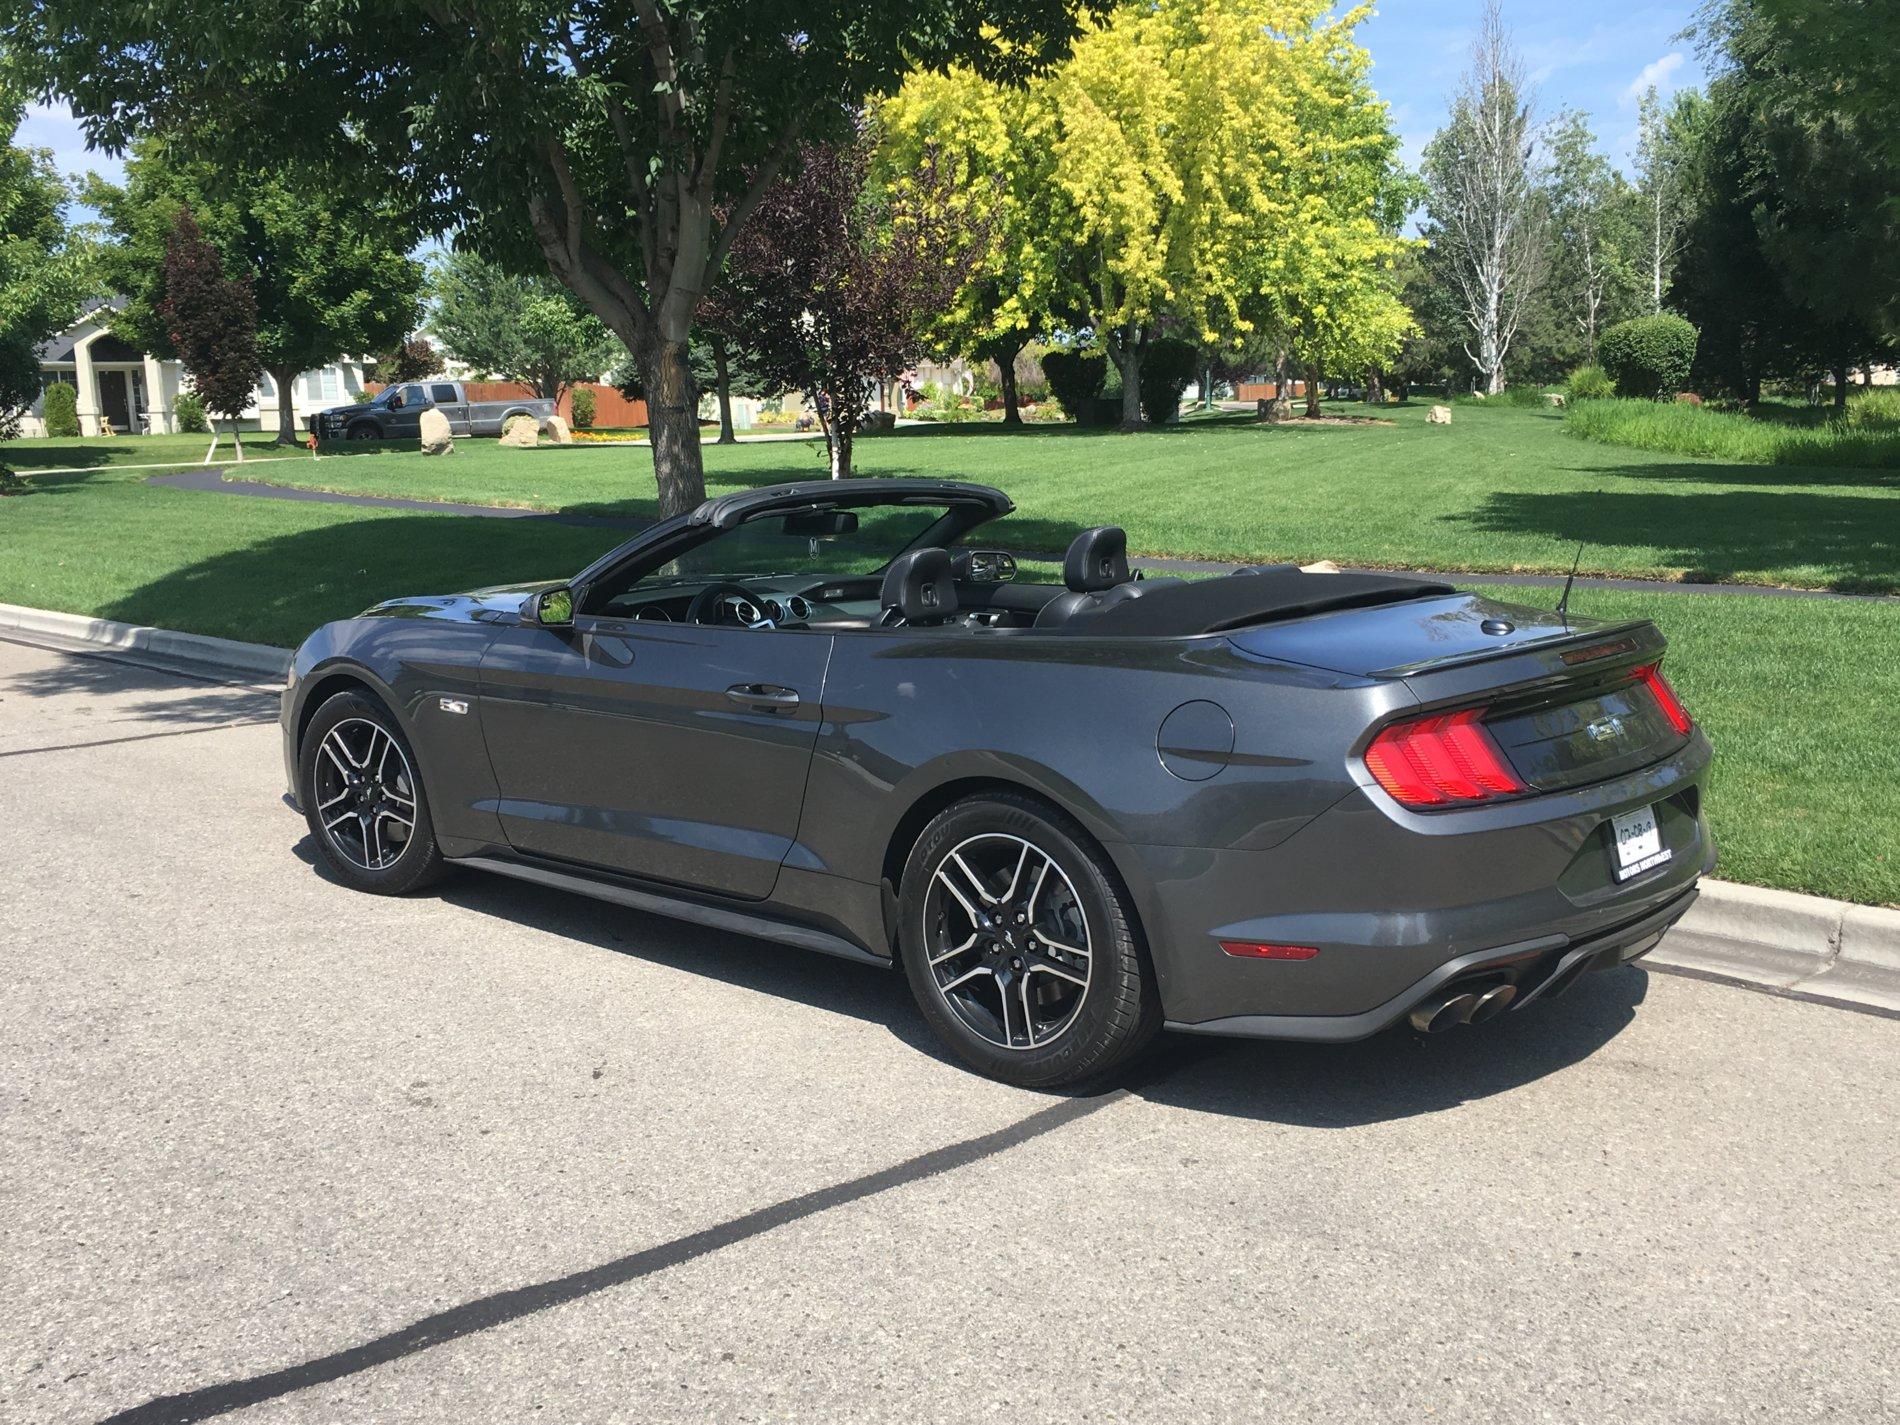
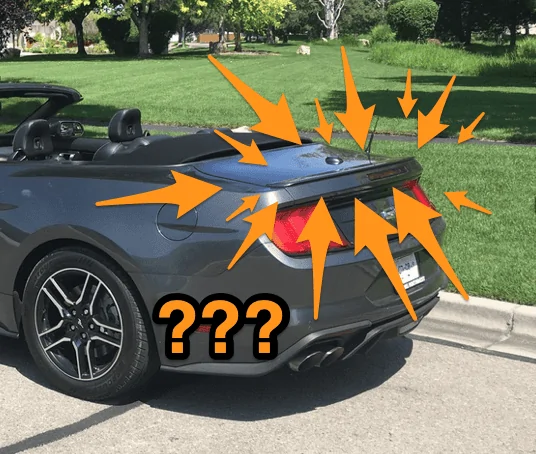
One of the things that made me scratch my head the first time I saw a convertible from this generation of mustang...

... was the "spoiler".

COME ON FORD!!! REALLY?!?! WHAT THE HECK IS THAT THING SUPPOSED TO BE?!?!
I'll tell you what it is... It's a cover for bolt holes for a real spoiler!
Thanks! Glad you are finding my stories humorous!That is hilarious! I am in complete agreement with you on that, Unk! Your new one looks much better. The car is looking damn fine, and I always get a laugh or two from your posts.
)

 .
.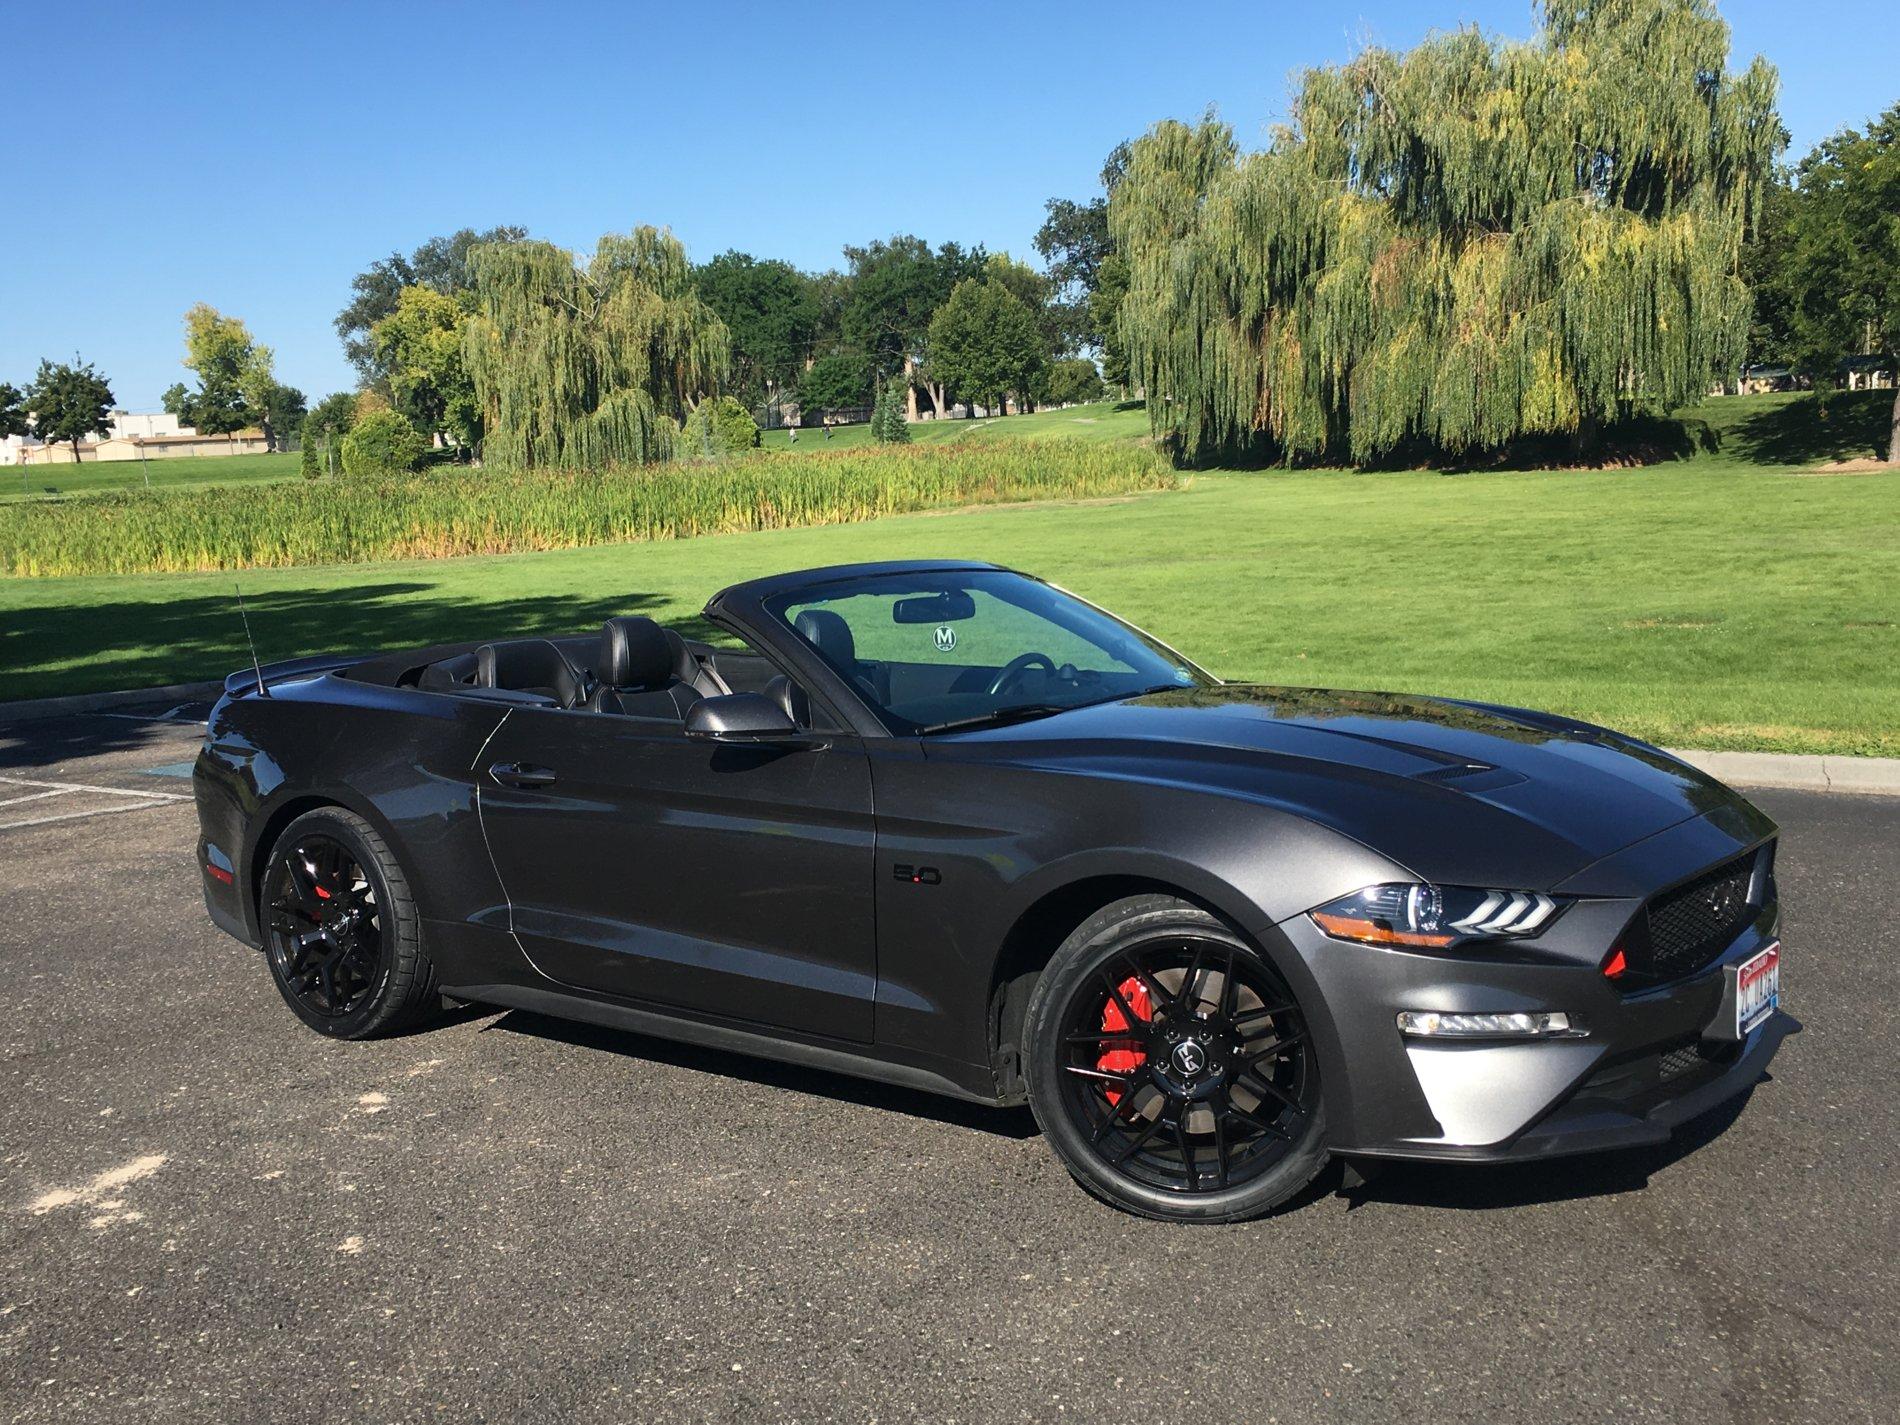
 I've seen the results of painting calipers on TV shows and on the YubeyTubey, but for some reason figured that it took a real spray gun and expensive paint. I started thinking about the process and due to "issues" from my past and overspray, I was thinking about how much "fun" (read into that- pain in the rump) taking off the brake calipers, cleaning and painting them, then reinstalling & bleeding the brakes would be (I'm fine with doing lots of stuff to my cars, but me and brake bleeding have a fairly rocky history) and thought... nah. But then... there it was! This beautiful little box-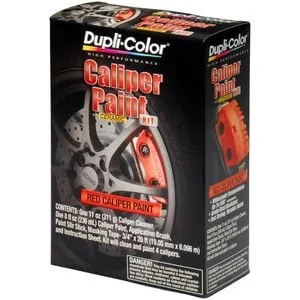
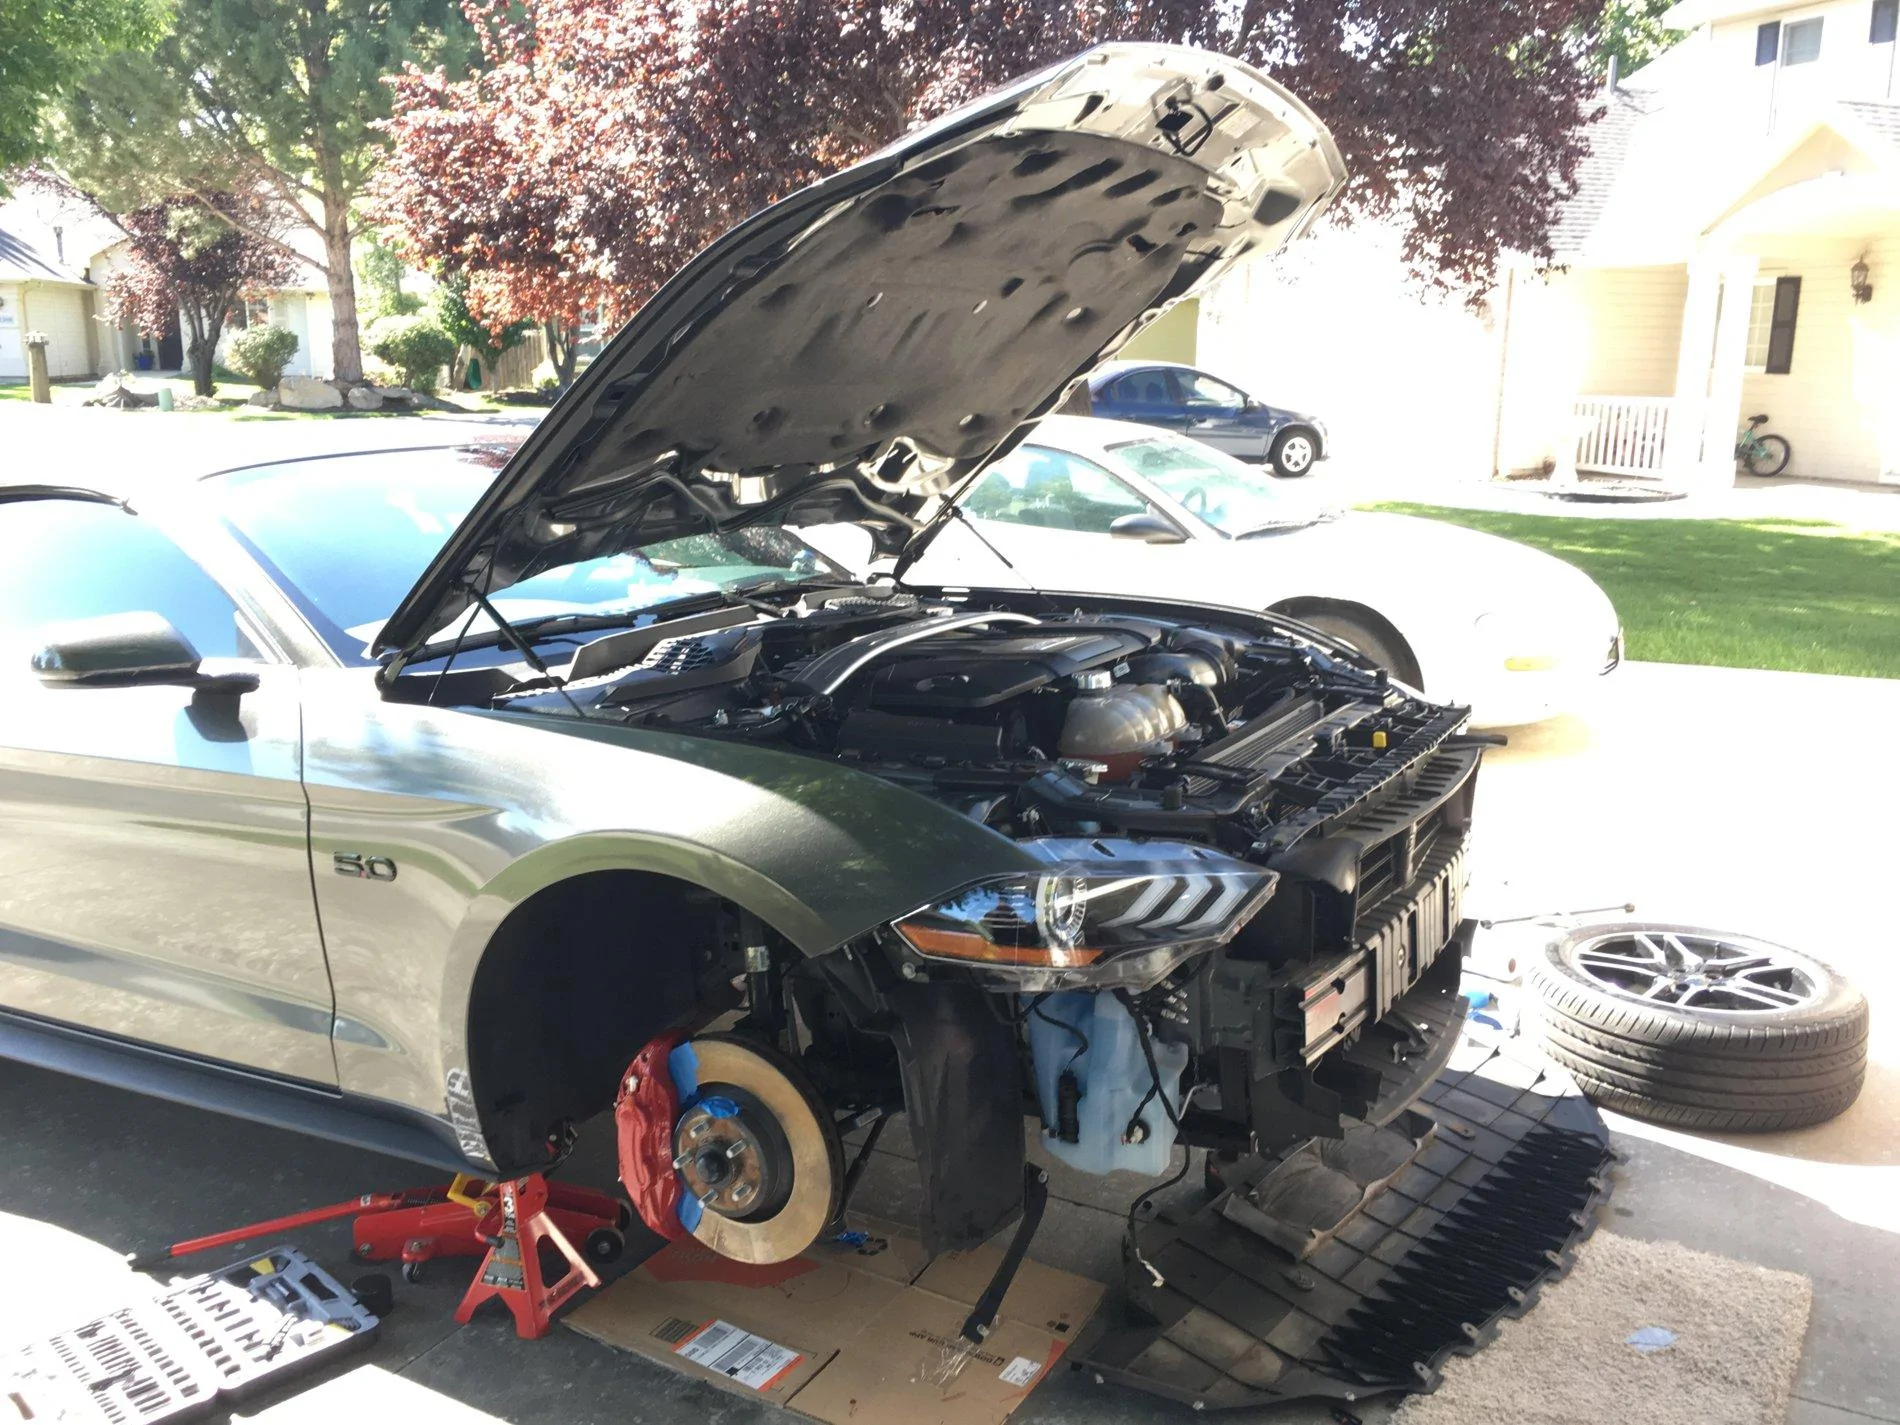
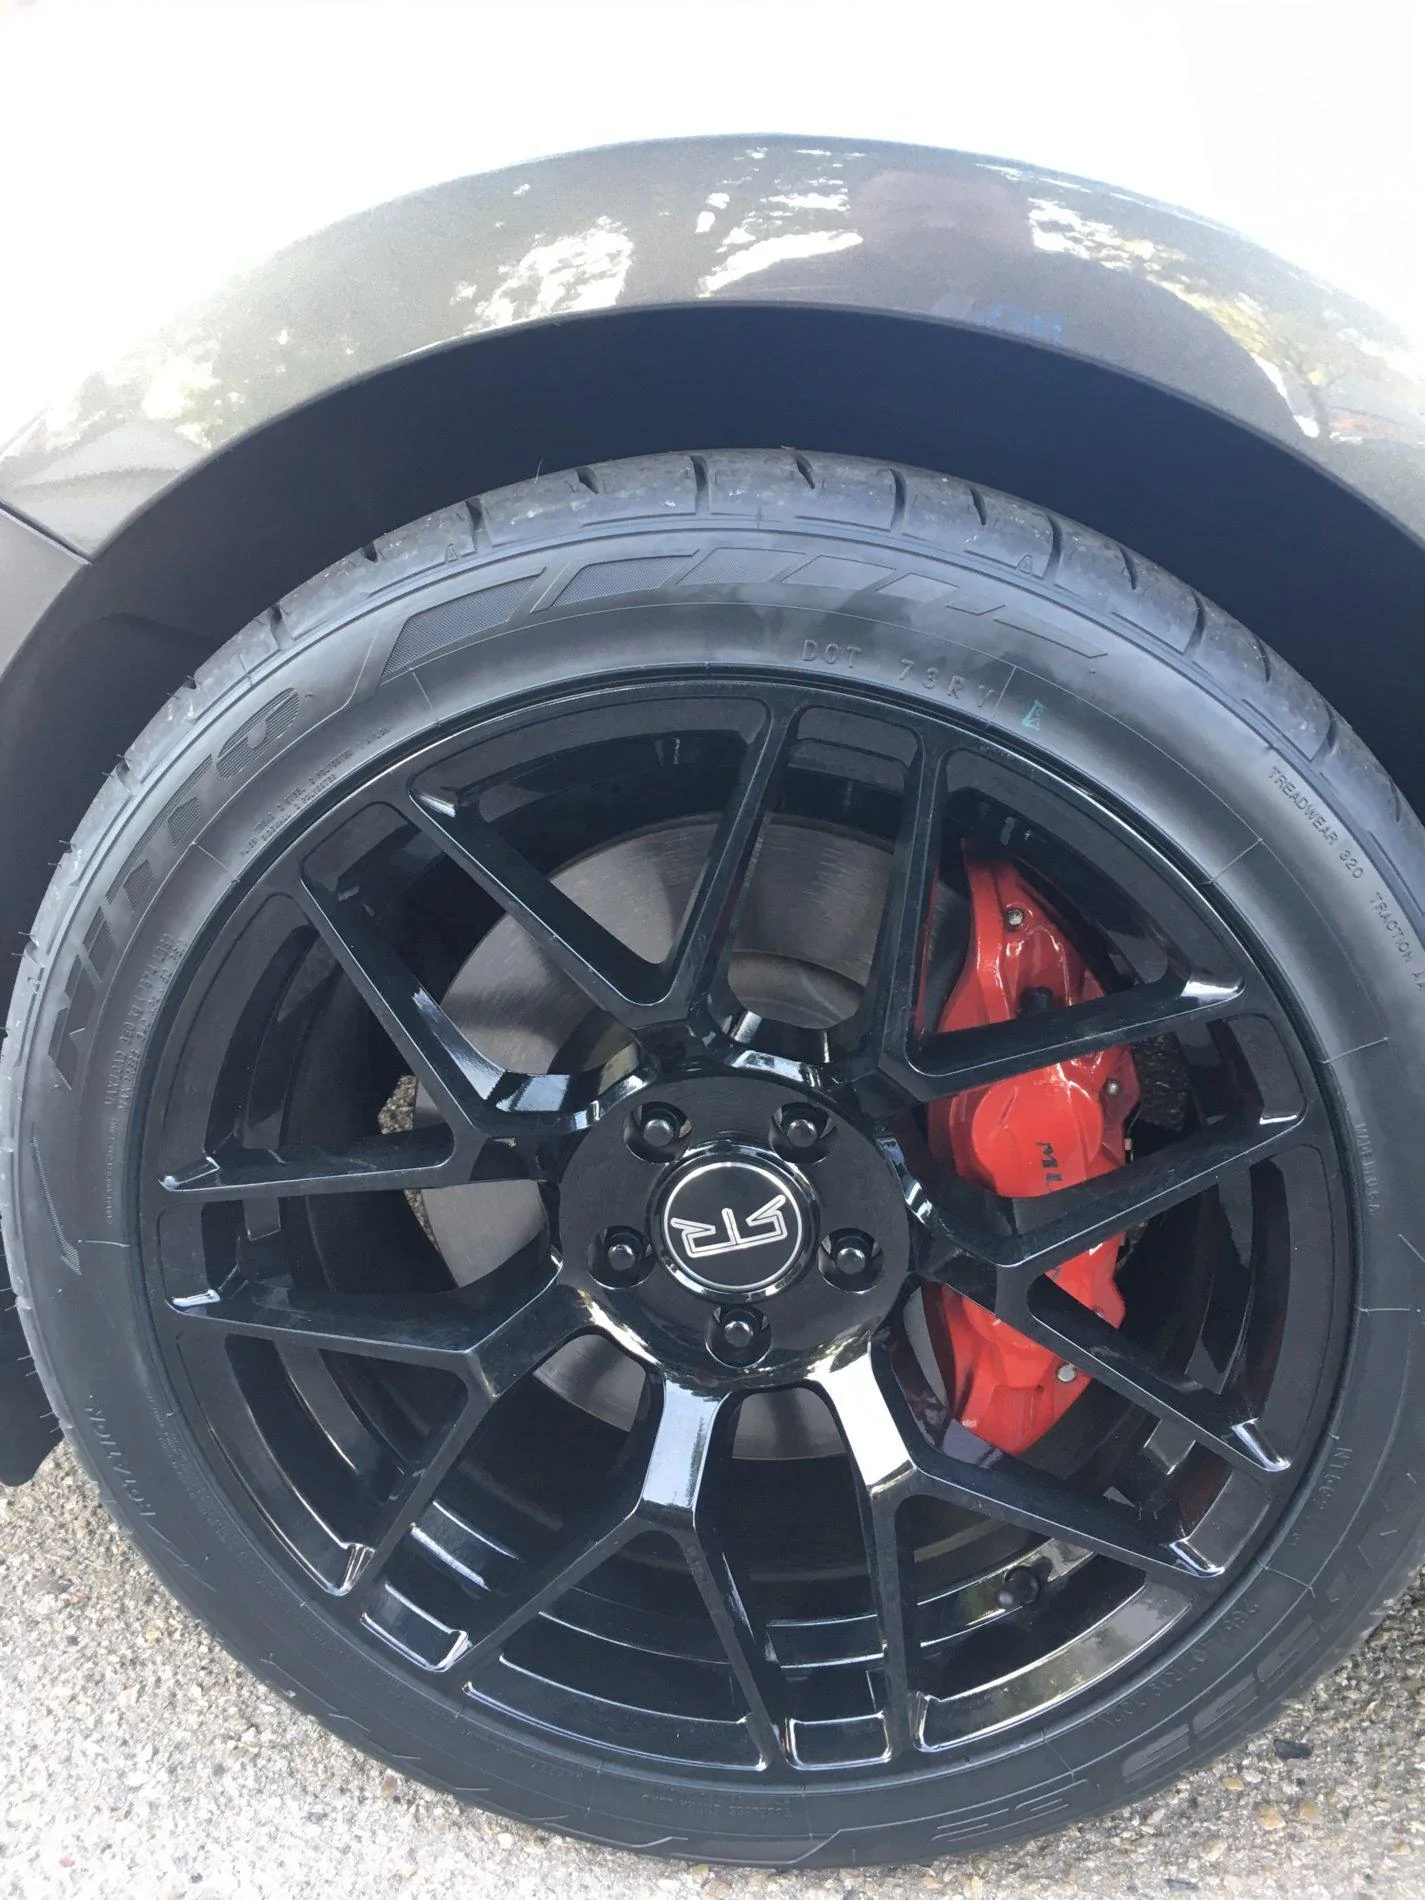
 I'll explain in a bit.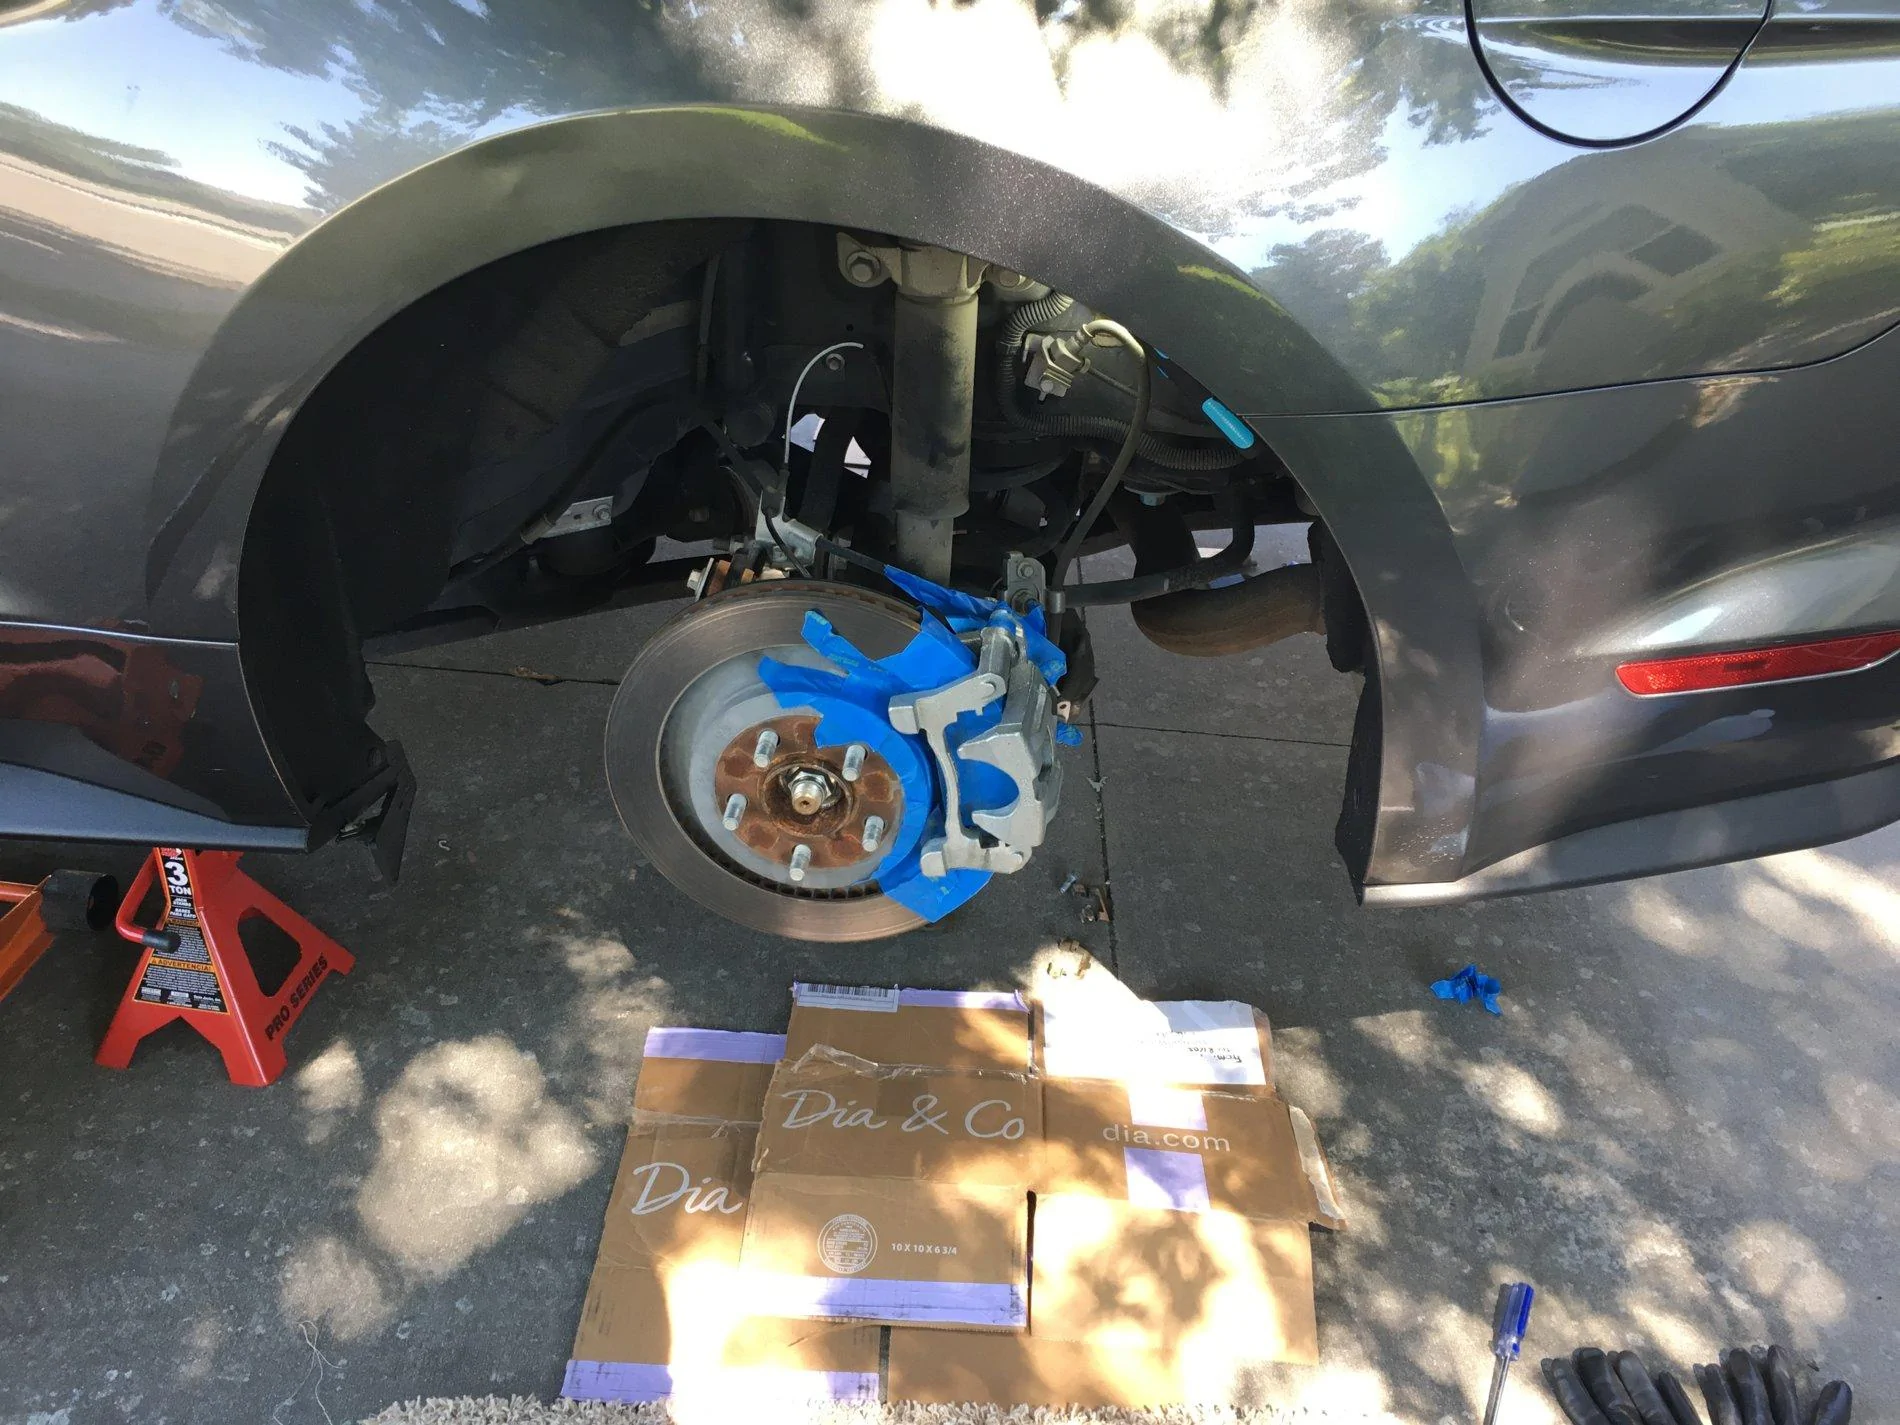
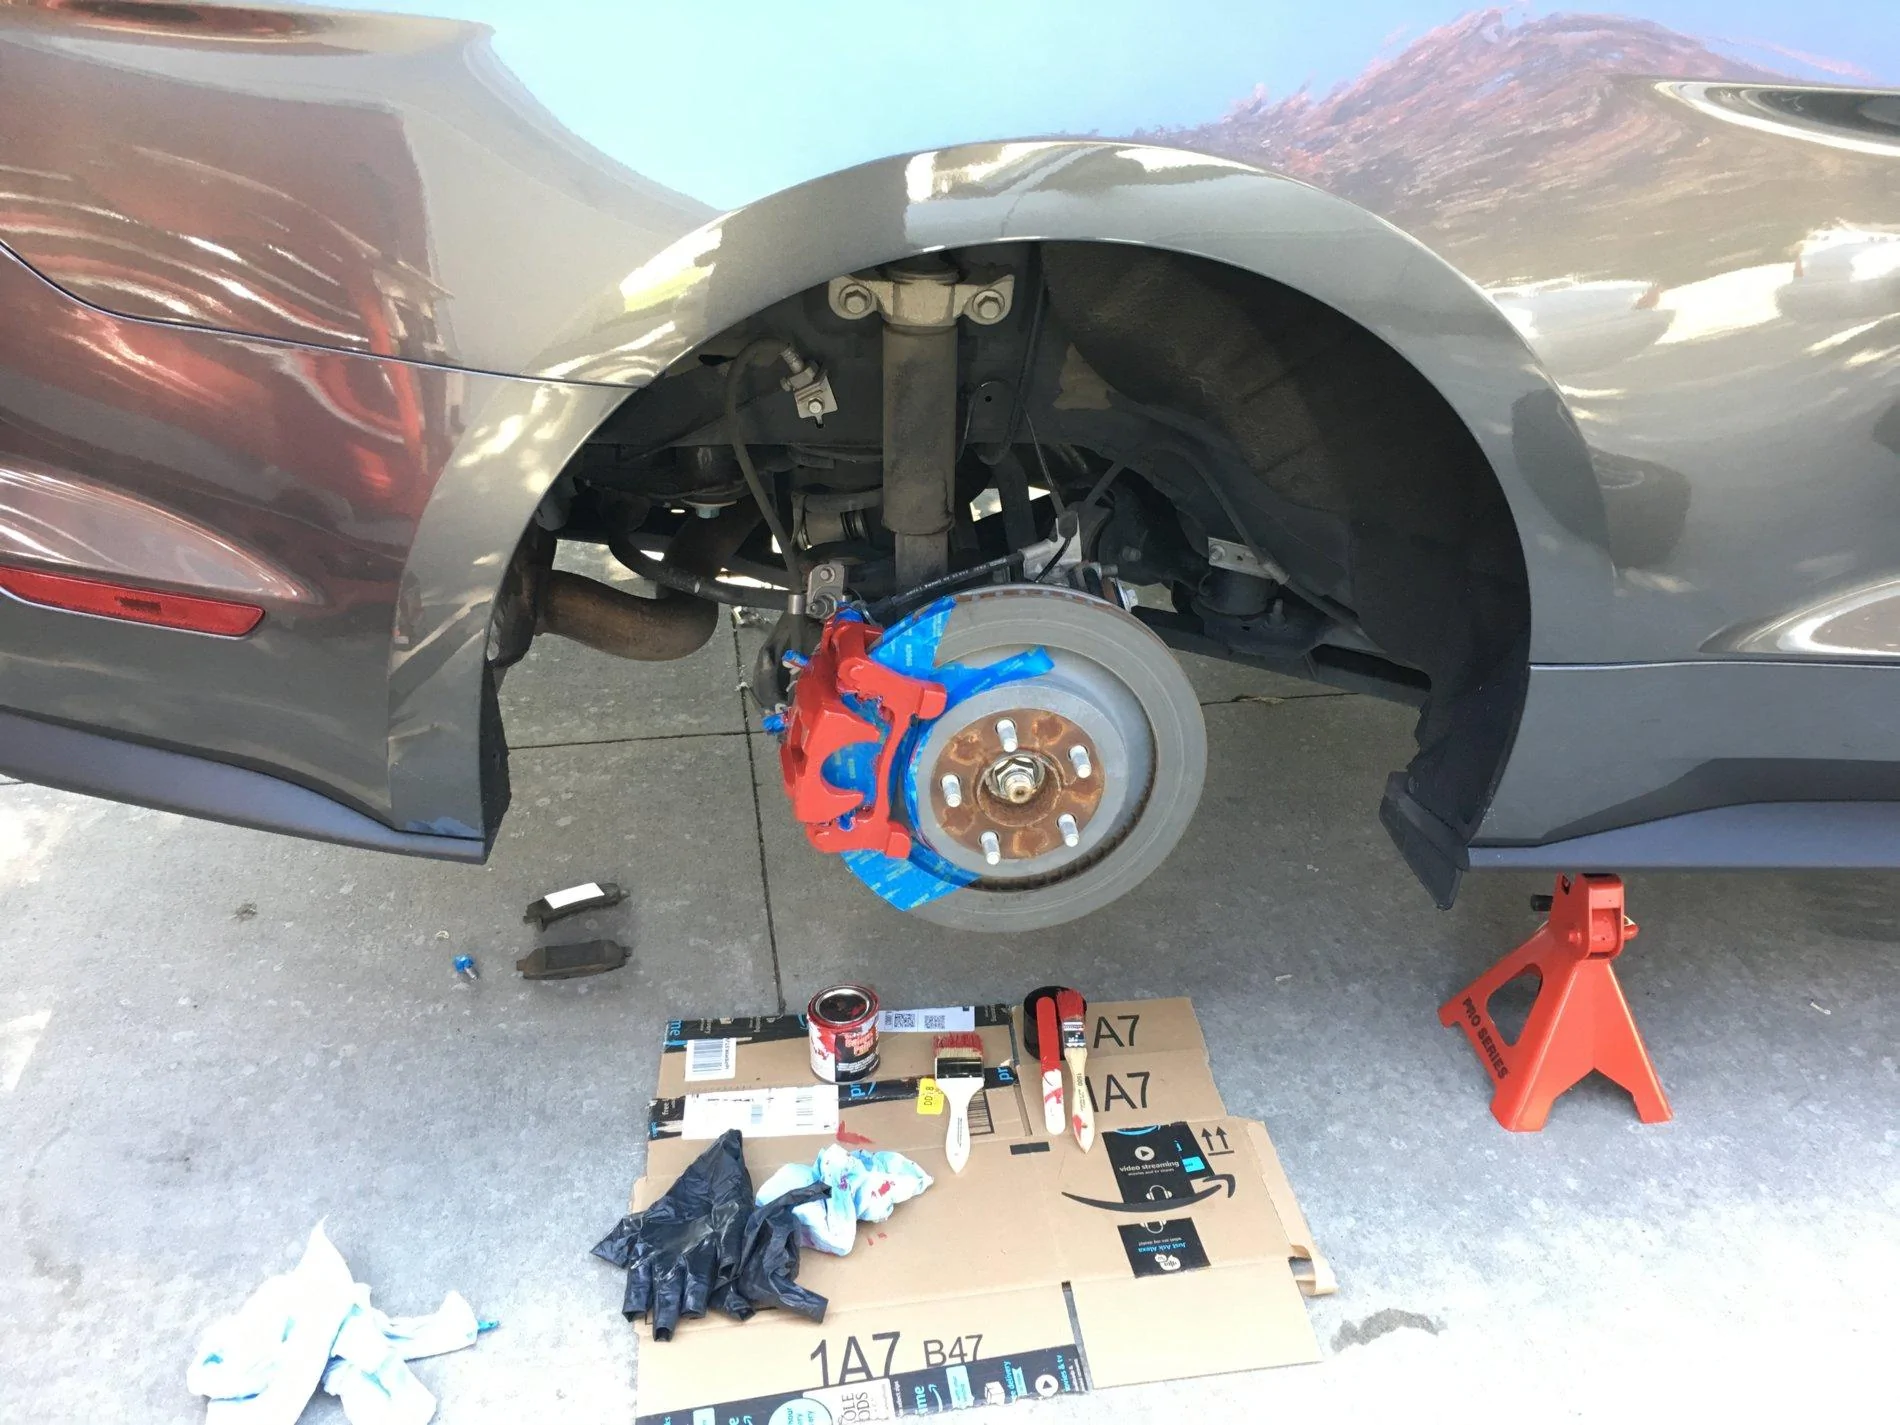 Despite the nice hot day... despite the almost double the recommended dry-time... the paint was still waaaaay too soft. Everywhere I touched while trying to re-assemble the brakes left a fingerprint/smudge. I actually ran out of swear words and starting making up new ones.
  Unfortunately, once again, not having learned my lesson from the front caliper painting project, I didn't start this early enough in the day and it was now starting to get dark, and was time for dinner. I didn't want to leave my car on jack stands, so I just smudged my way through the re-assembly and then put the wheels back on the car.
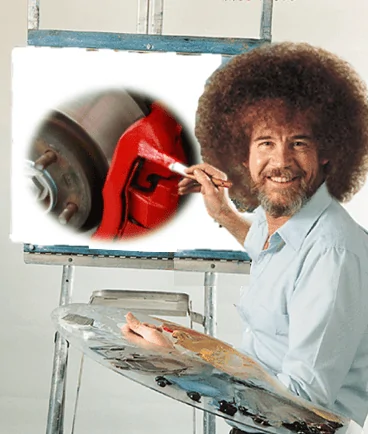
ROFL!My inner Bob Ross was excited with anticipation of painting some beautiful happy little calipers!

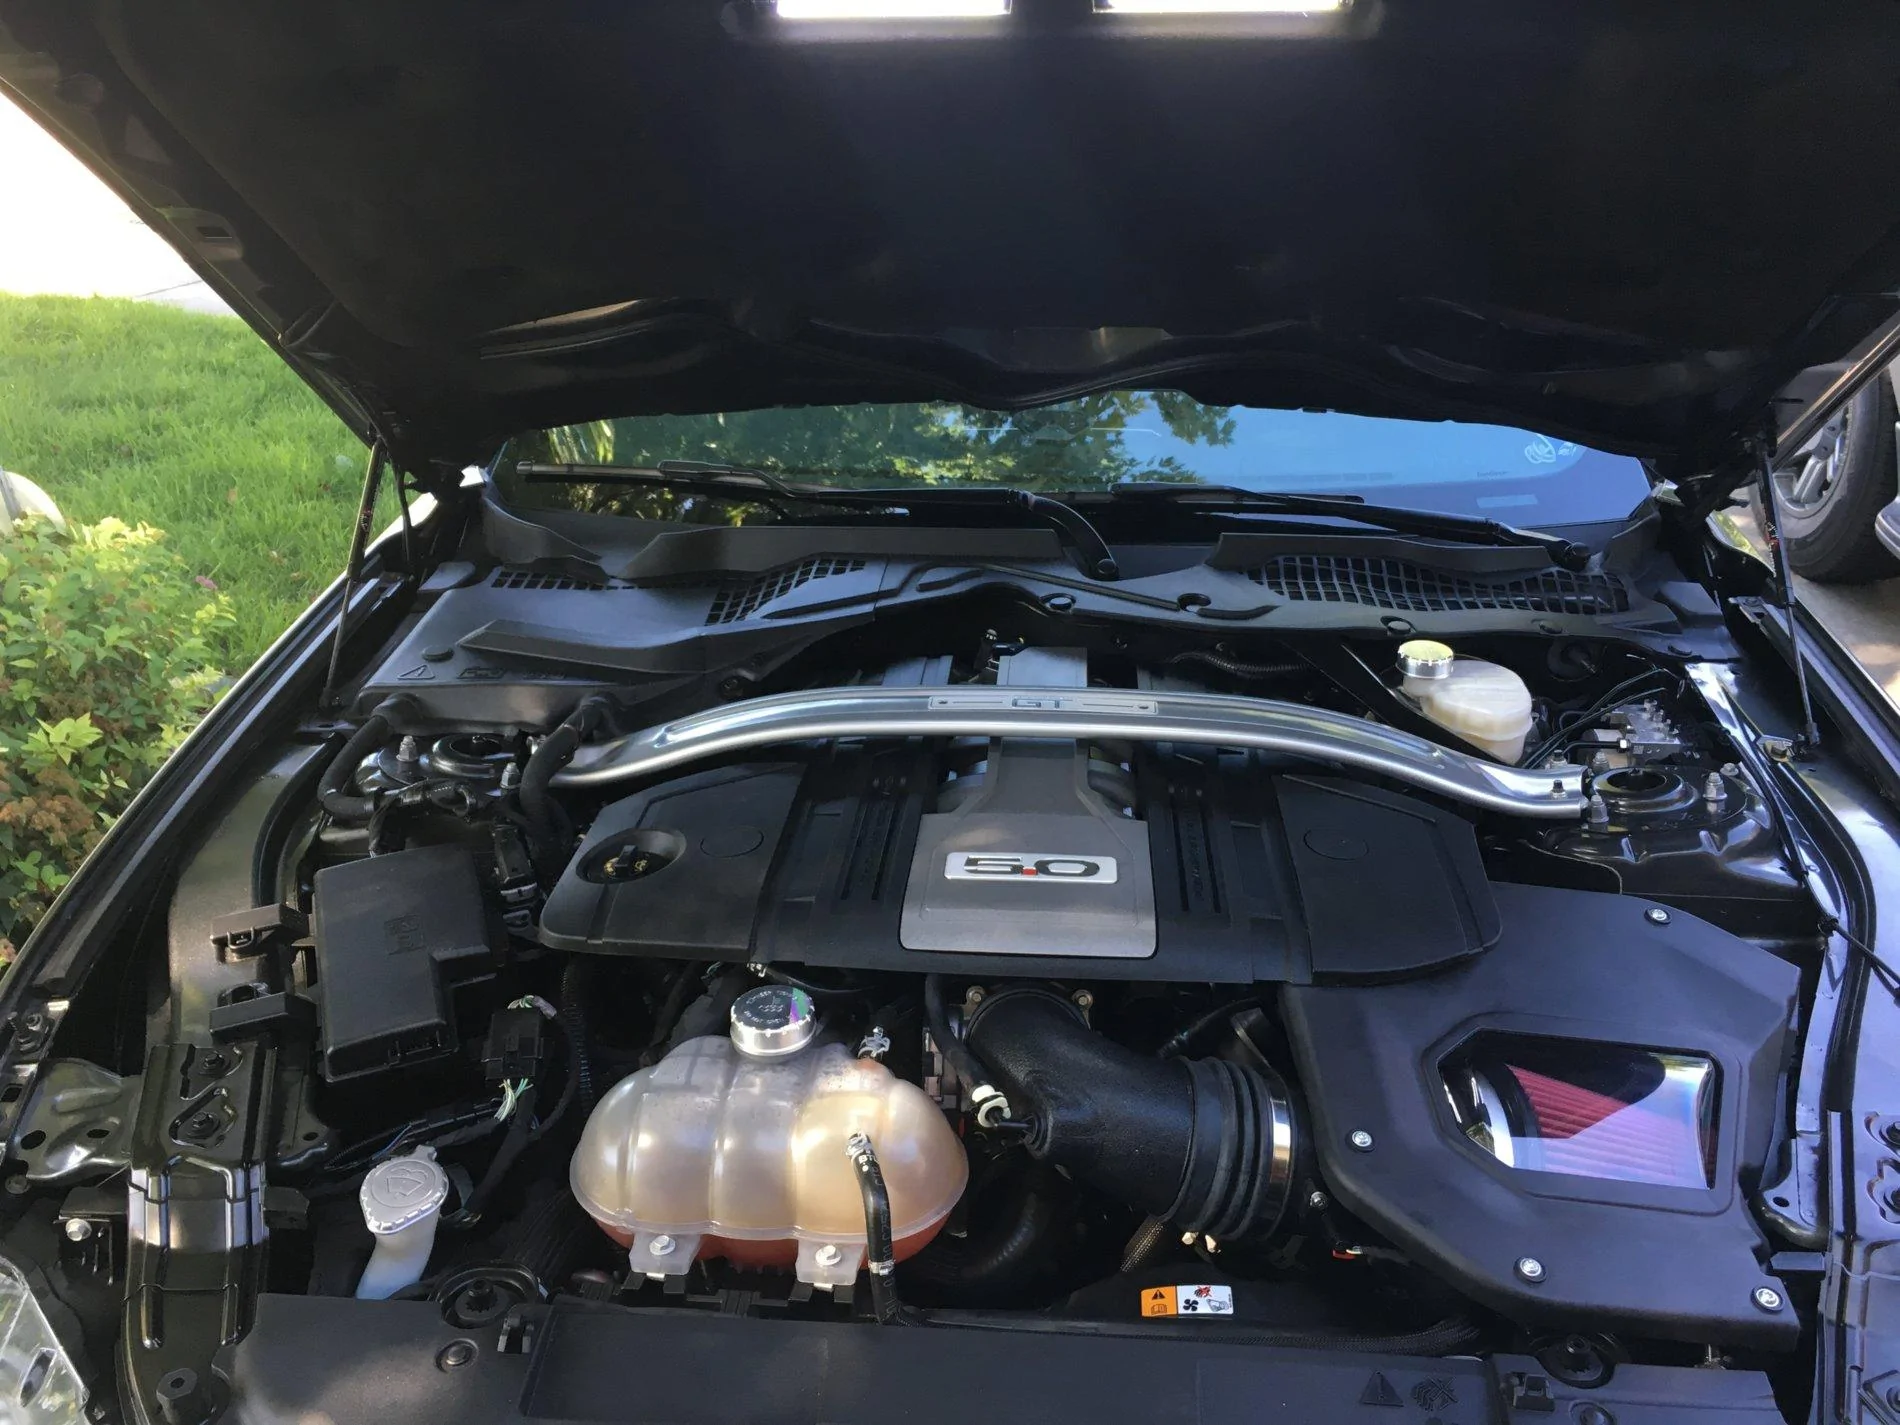
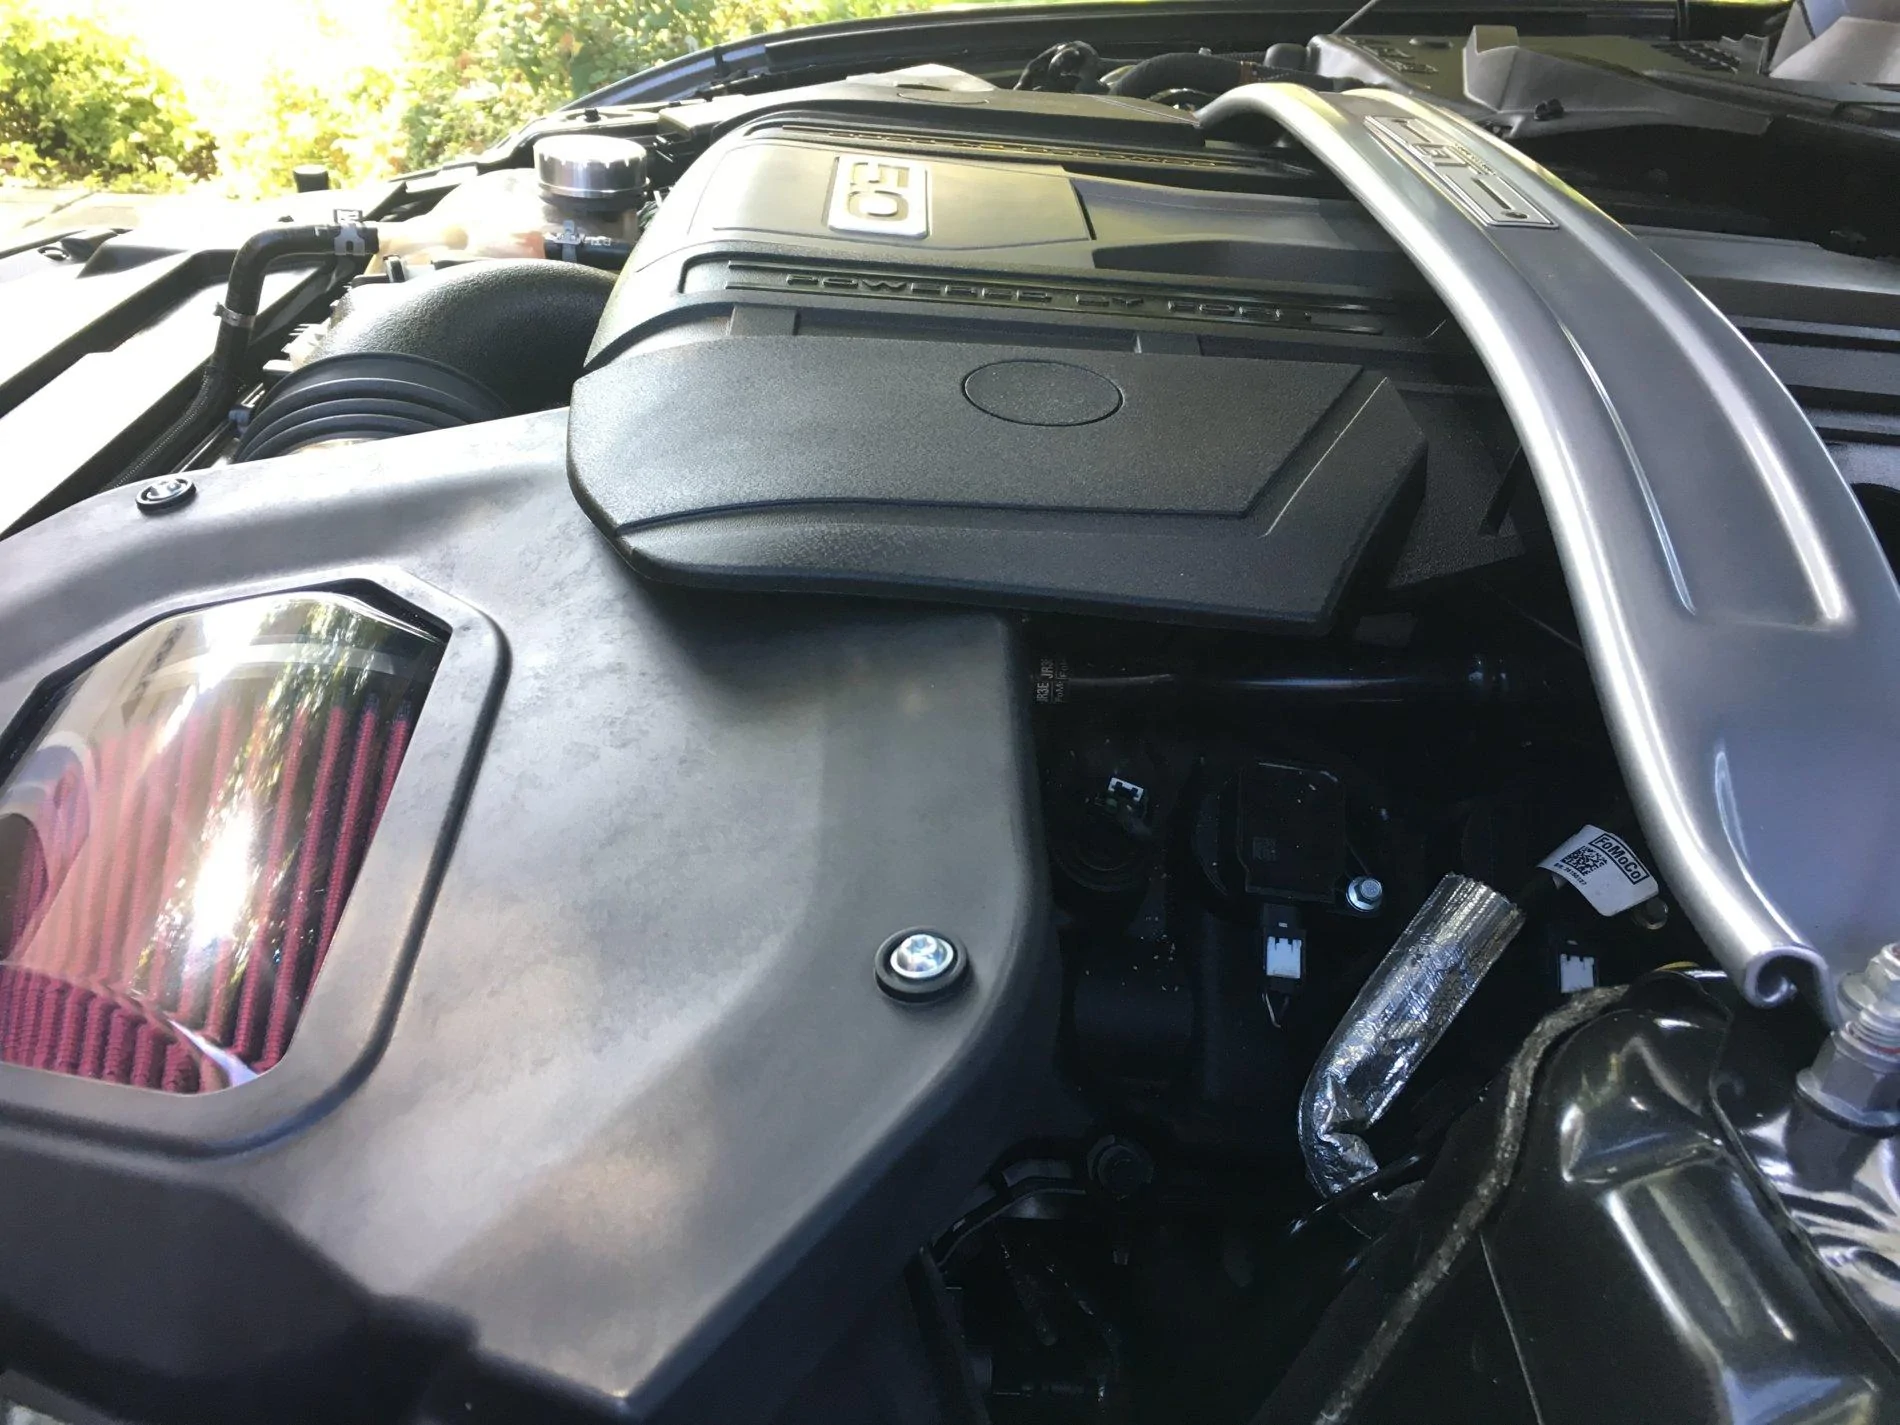
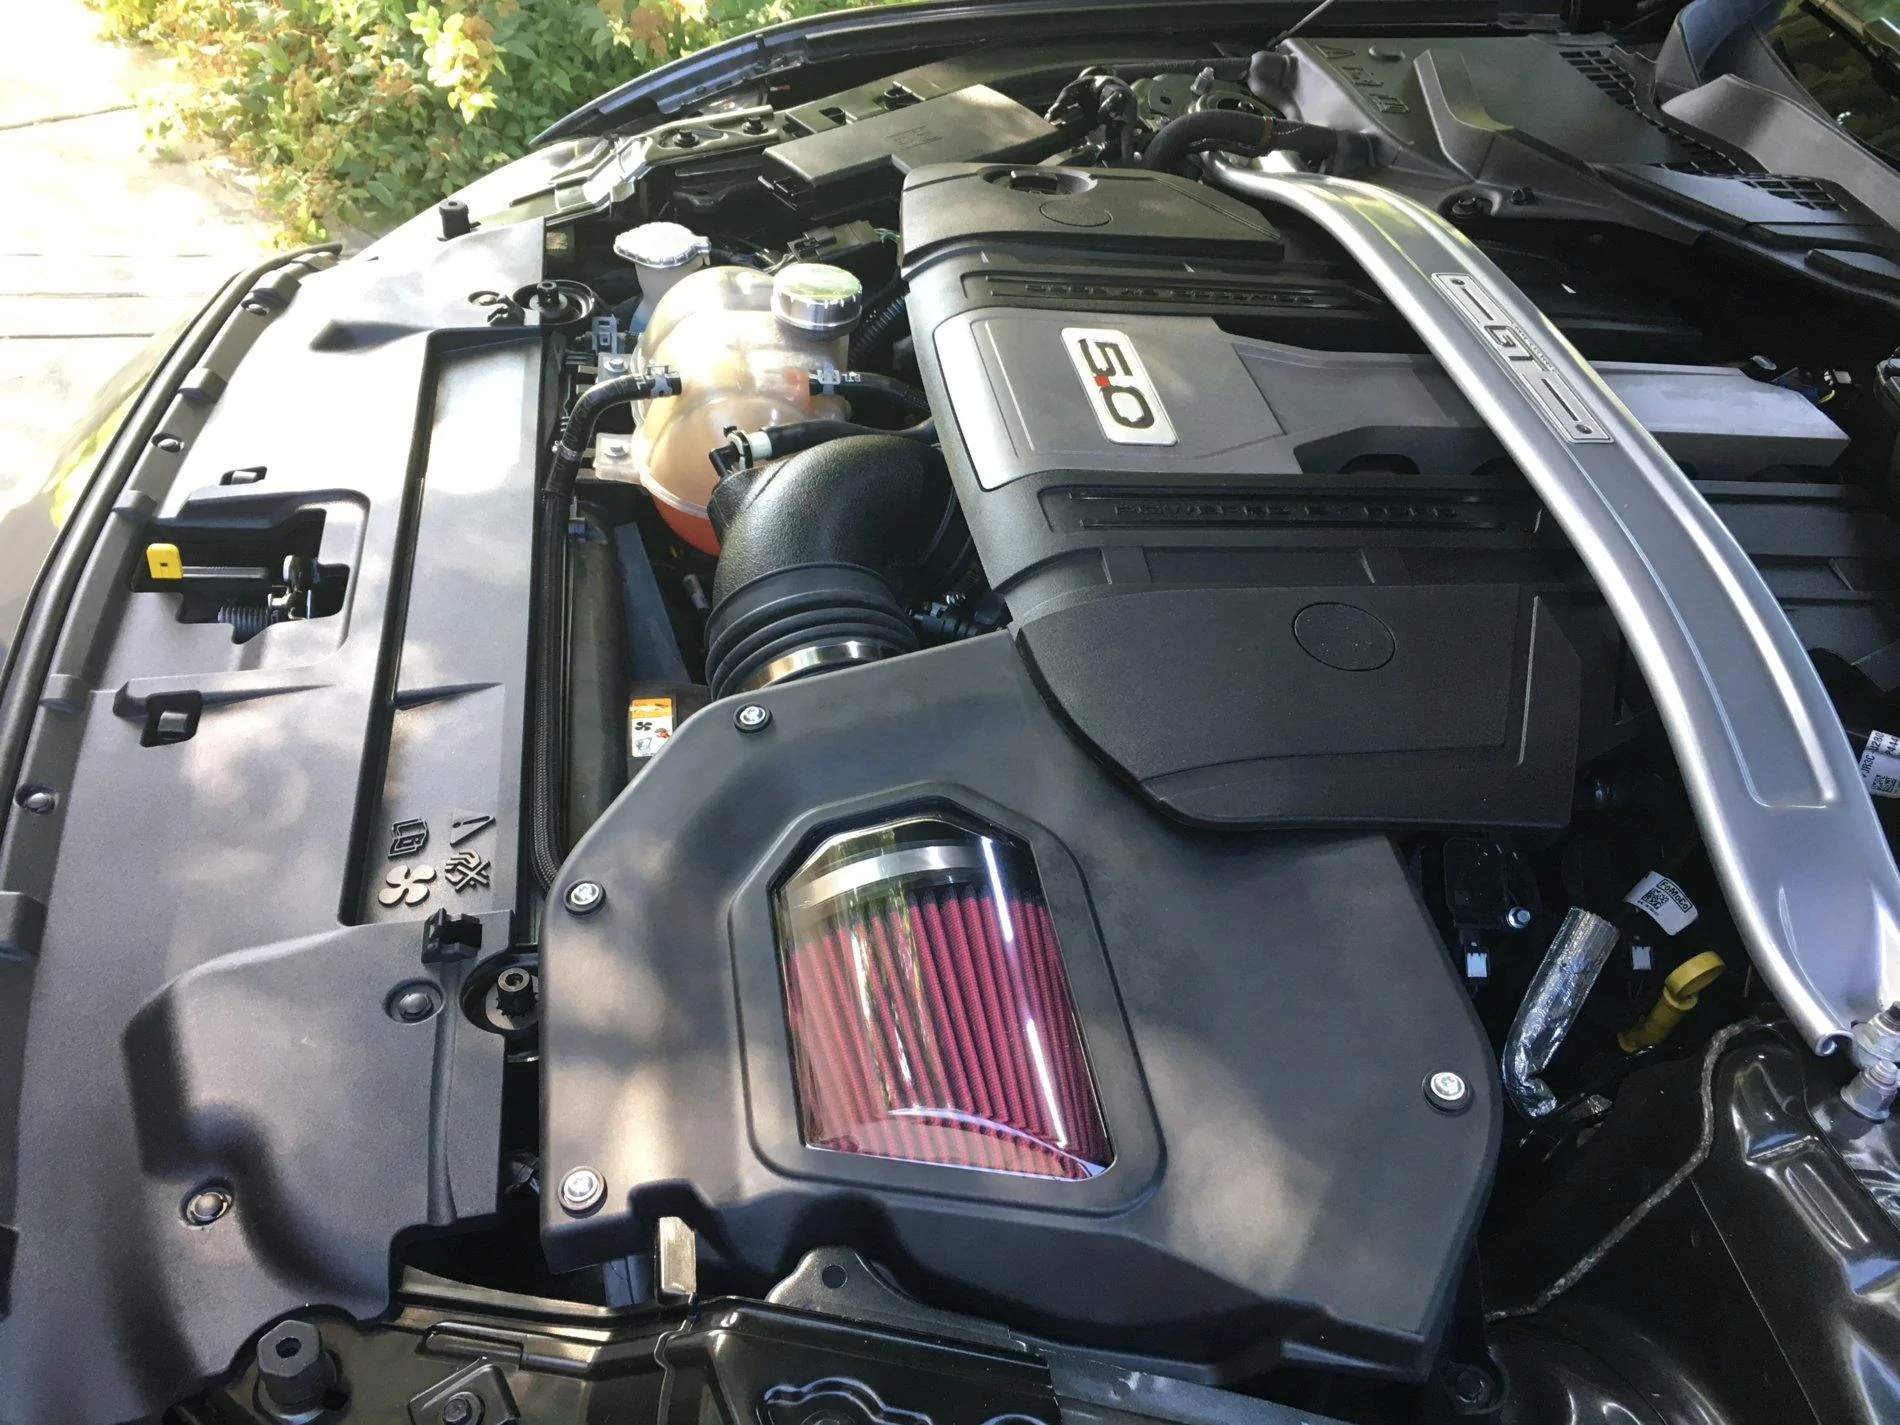
Instant classic! That made my day! Thanks buddy!  So once I saw the 2018 engine layout, and that it actually has a vent connected to the front grill that feeds the standard airbox, I was thinking to myself, "Is there really any point in upgrading the intake on this?” I saw some Cold Air Intakes which used the same method as the brand I used in my 2014 where it has some weather stripping across the top of the air box to try to create a seal with the hood, and I thought, "Meh. Not impressed". My wallet was over-joyed that it was going to get to retain some of its cash!
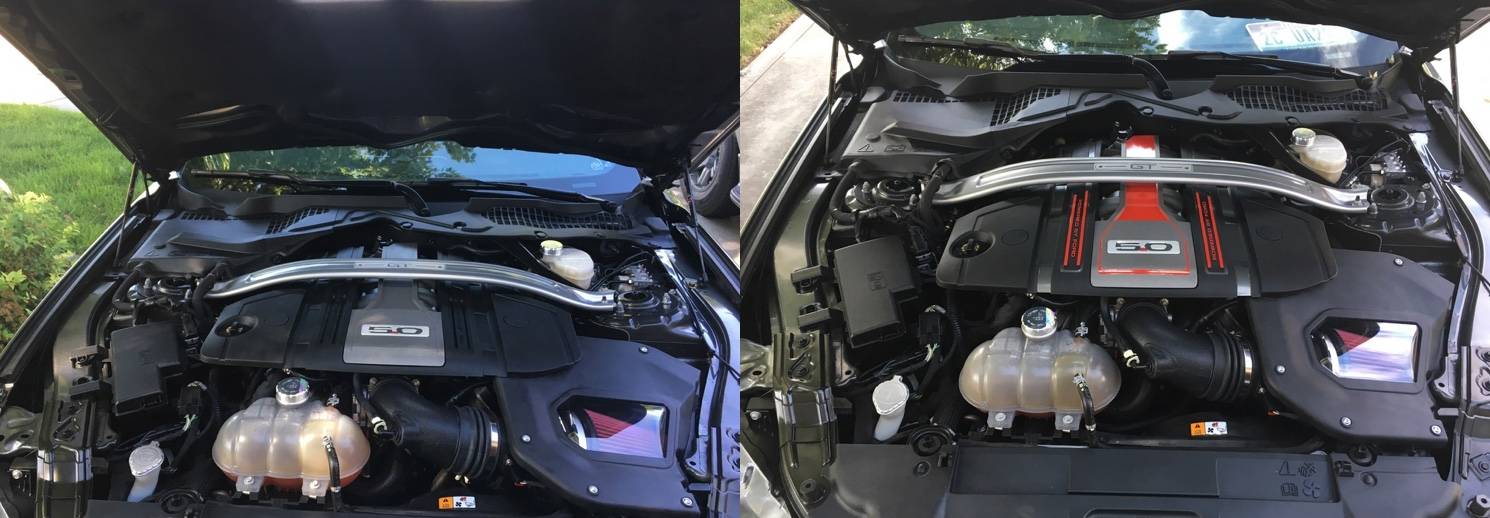
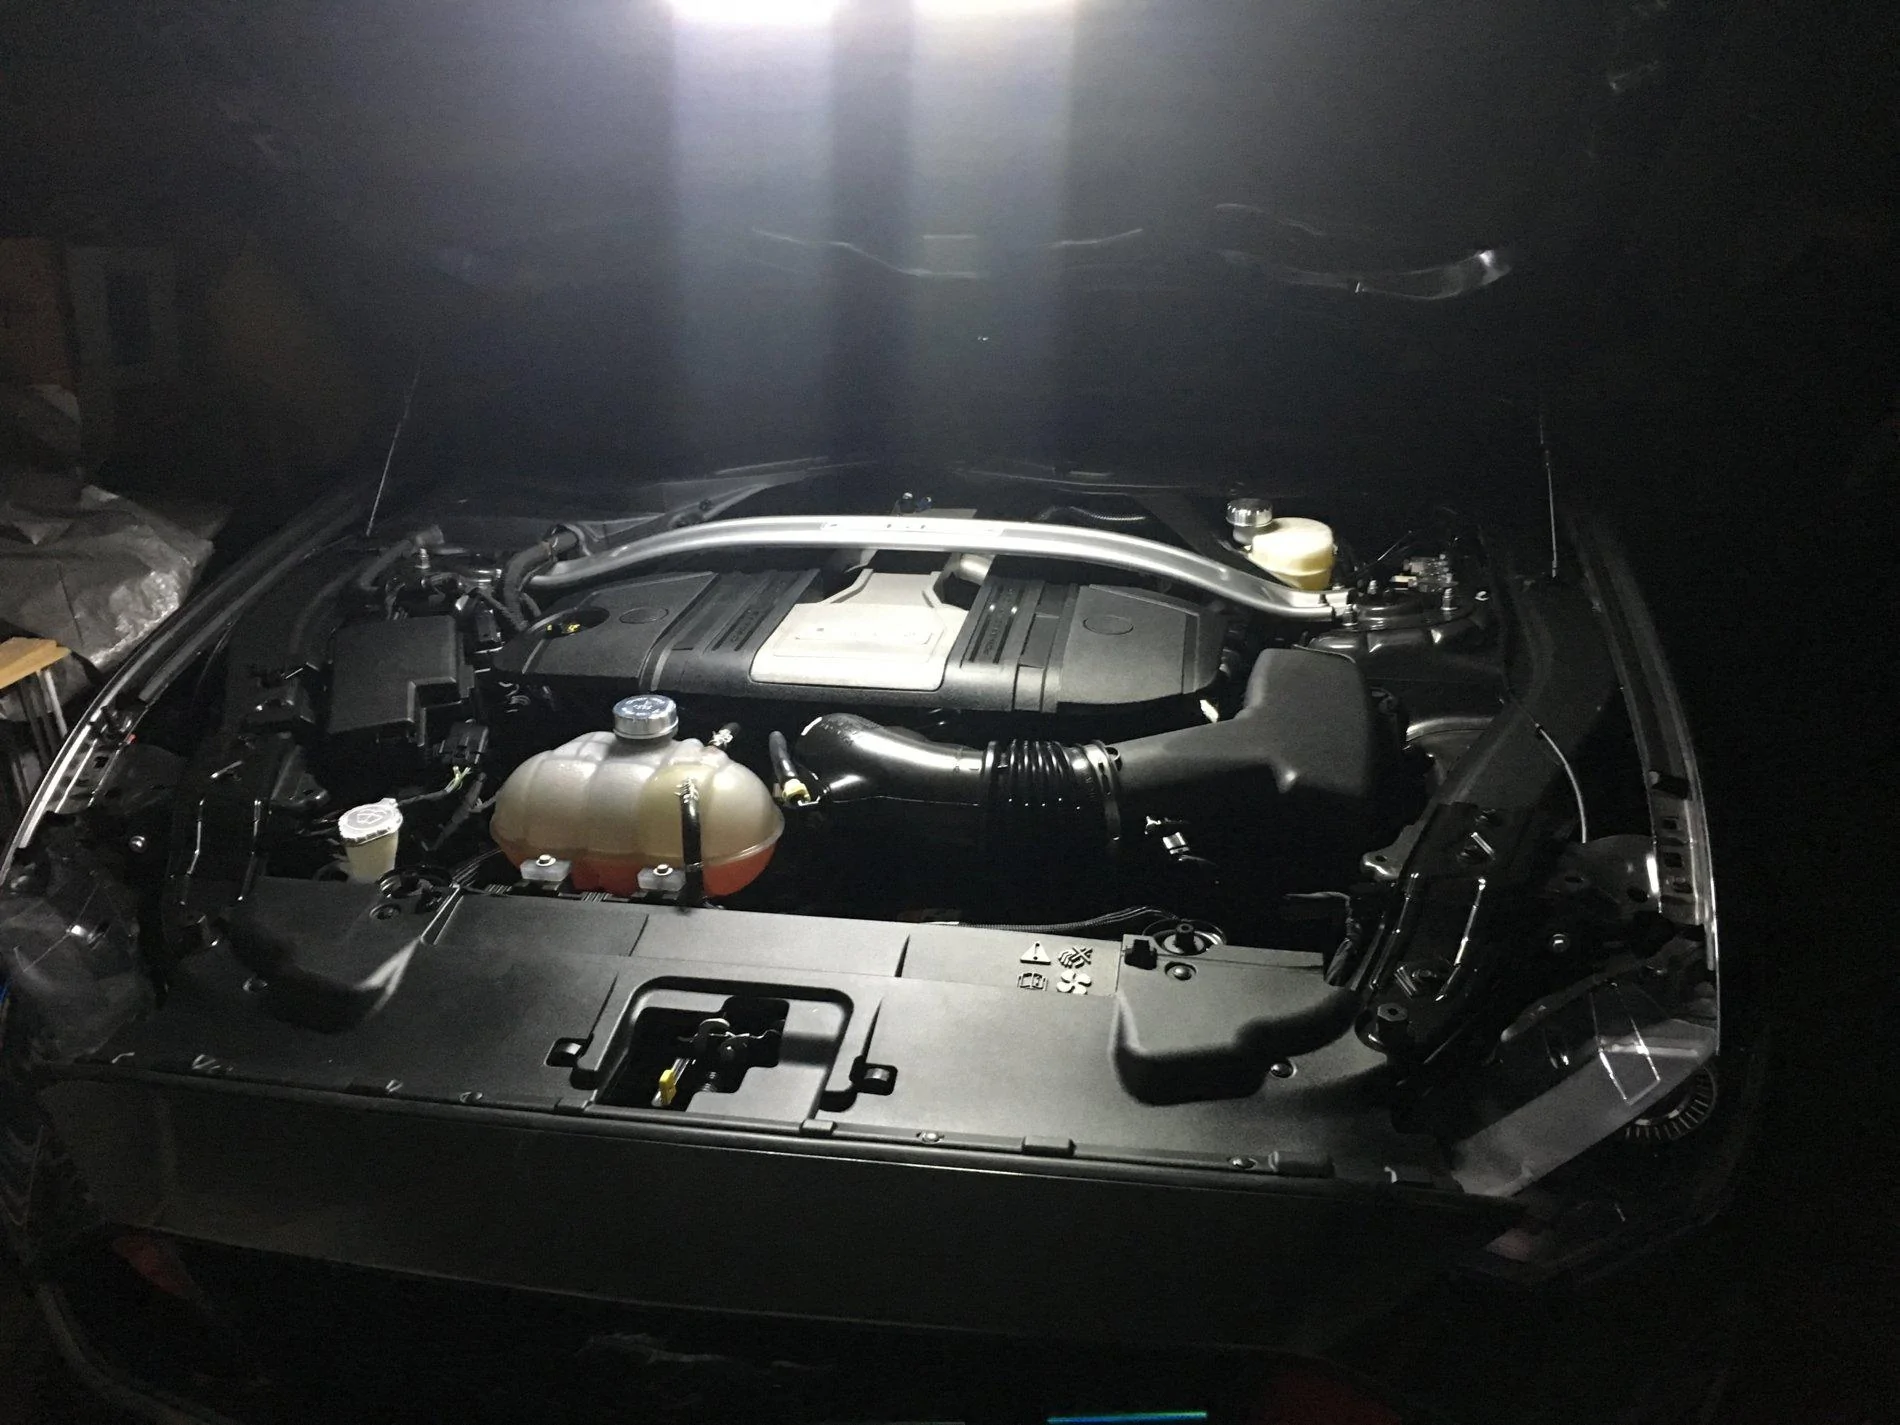
 My wallet smiled meekly as it was given a tiny glimmer of hope. I was thinking that since the clearance was so close, it seems like there should be a work around, and sure enough, their customer "Ivan P." posted a photo with a description saying he added 3/8" spacers and kept the engine cover intact. Sure, you can pull off the engine cover, but it isn't the neatest looking engine under there. I know what would look GREAT as a replacement to that engine cover- A SUPER CHARGER!
  lol Don't worry wallet, there's pretty much zero way you'll be shelling out that kind of money, unless I win the lottery. In which case, it won't matter to you, wallet... Since I'd probably buy a much nicer wallet.
  Other than that, follow the instructions Roush provides, and it really is super easy. For my spacers, I used one M8 washer and nut, which left just enough threads to put the engine cover back and tighten down with the stock nuts. Easy! Plus no hacky hacky job on the engine cover. Looks pretty dang good!
 . So they really weren't very pleased the next morning after I brought the GT home.
  Good news is that I work from home most days, so I usually don't cold start her up every morning. (I do go get coffee at about 7:00 am 2 to 3 times a week, which I'm sure is nice trip down memory lane for my neighbors). My "go-to" for exhaust has been Magnaflow. As a fan of the show Overhauling, I also became a fan of Magnaflow. Alas, I couldn't find an H-Pipe from them, so I started looking at my other options. I knew that I liked the design of the Roush Cold Air Intake, and of course, I trust the Roush brand, so I decided to go with their H-Pipe.
 the prices were ridiculous! $250-ish. One place said they'd like to look at it and put my car up on the lift, but maybe around $150. So I packed up and headed there. Once the car was up on the lift, they looked at the Roush h-pipe, he said $125-150, and would take about an hour. Uh... well... ok. Seemed a bit high, and an hour seemed long, but, hey.... what's $125 to $150 to potentially avoid death. Seemed like a pretty good deal from that perspective.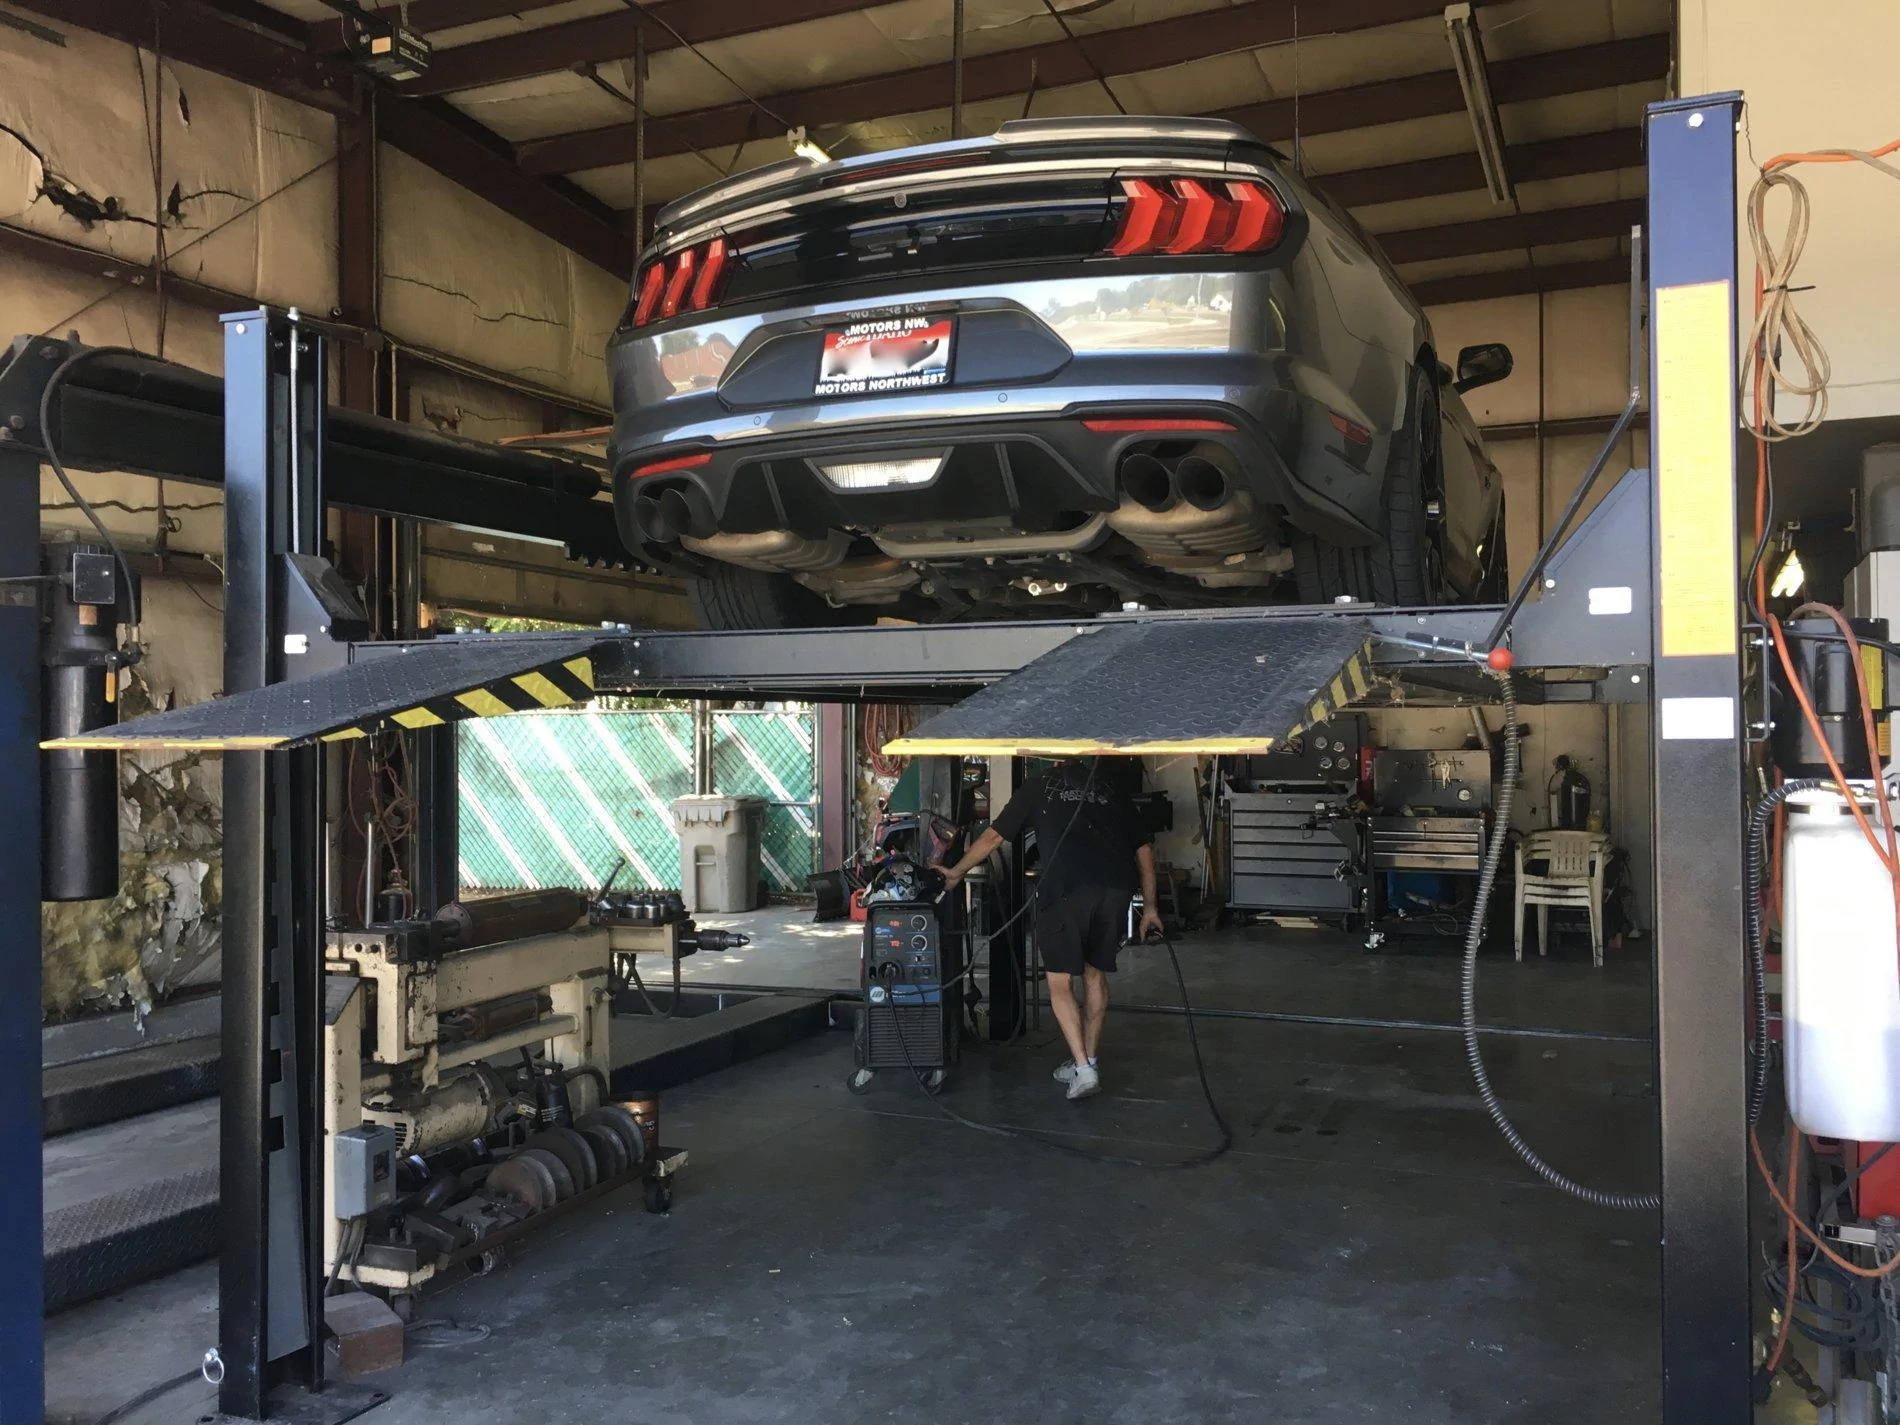
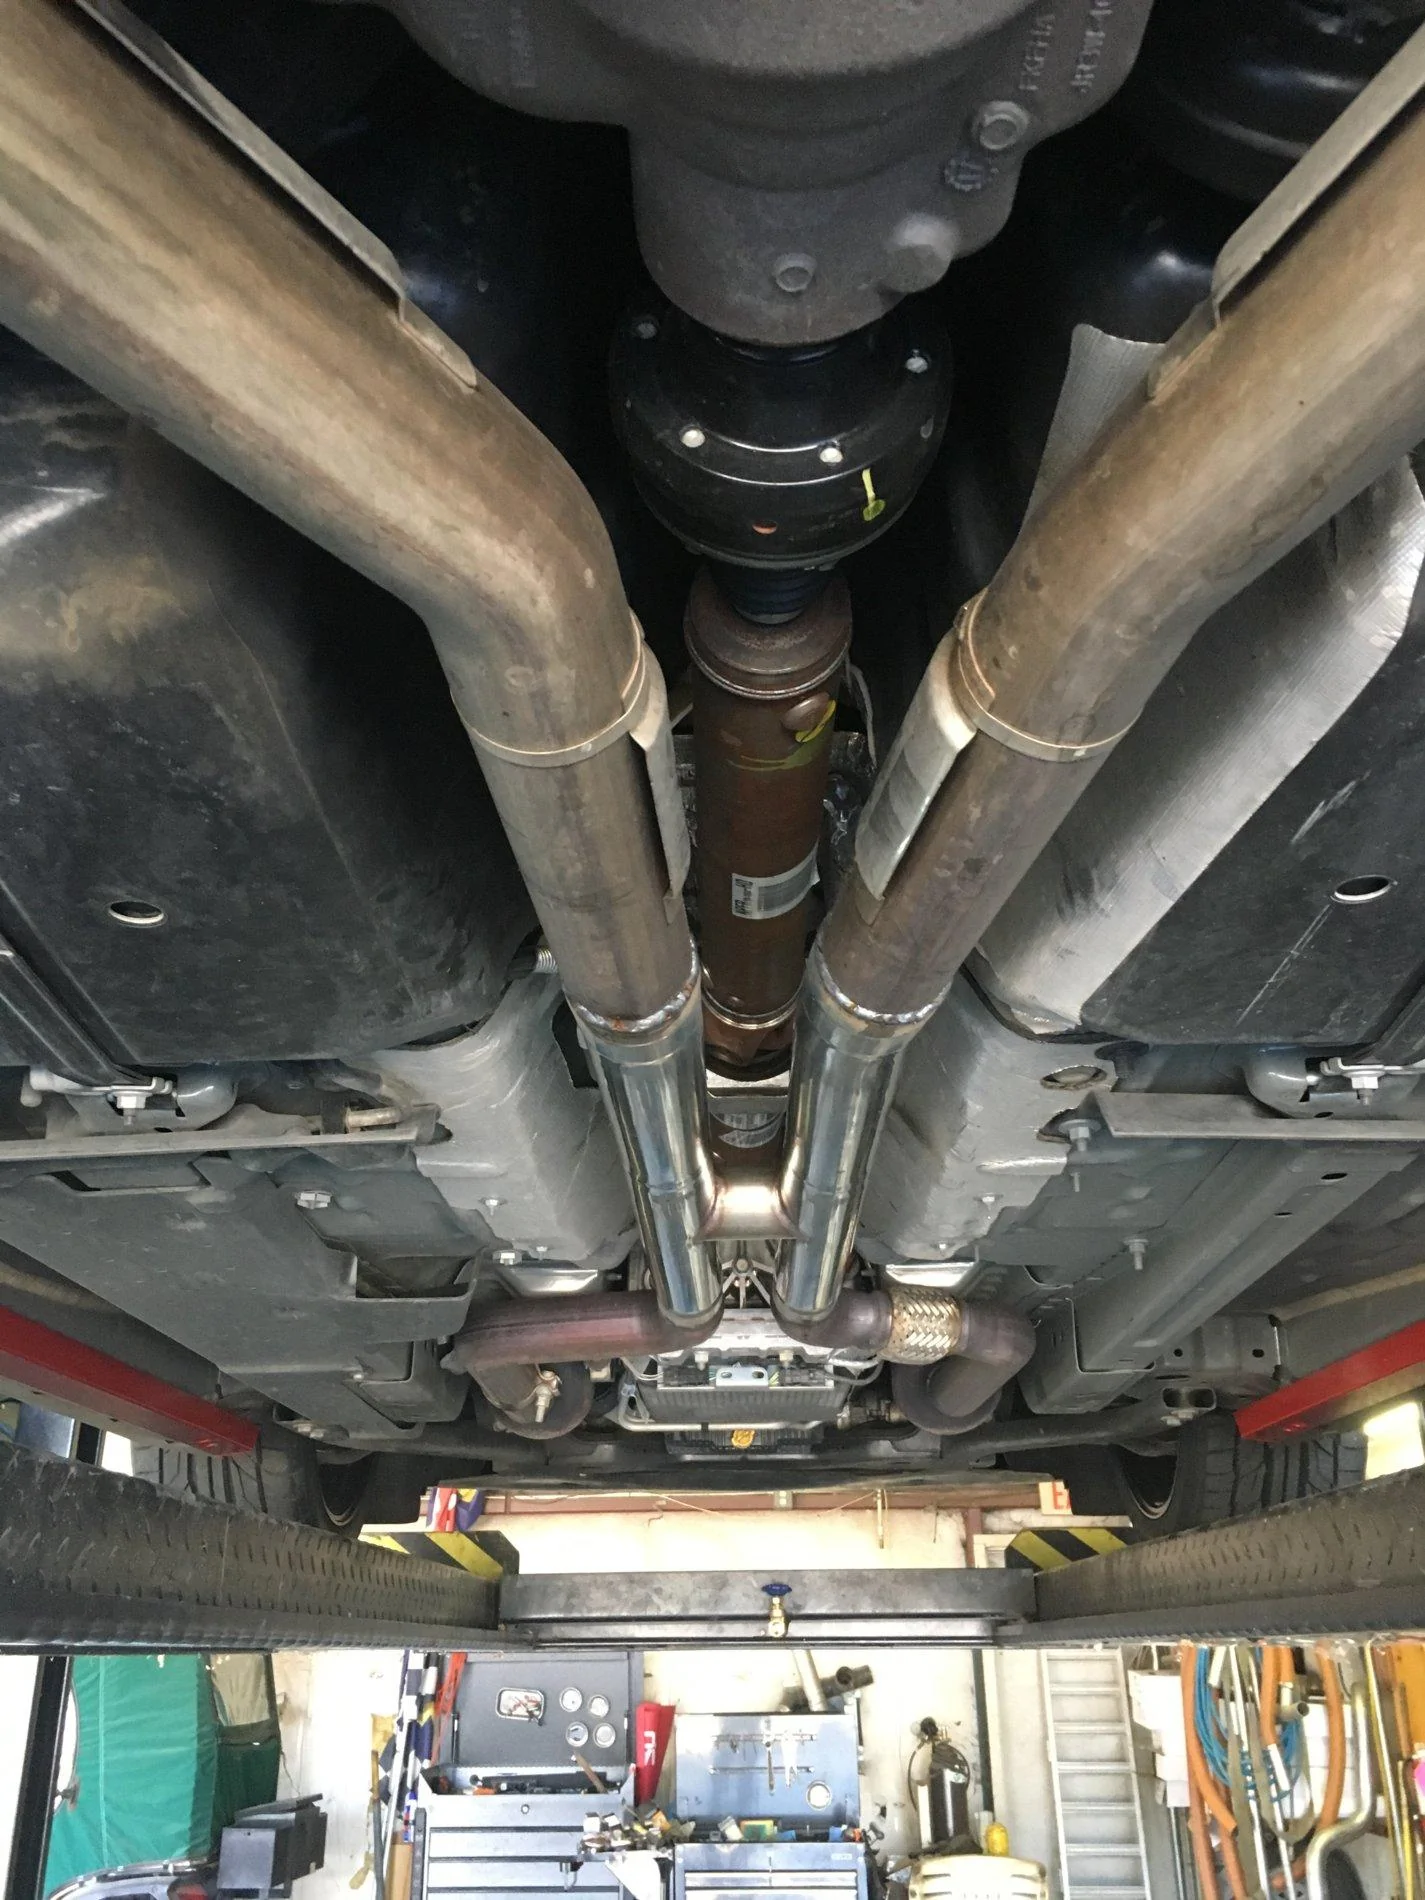
 In their defense, it is a Father and Son team and the son normally does most of the welding, but was injured so the dad was helping out. I guess he was a bit out of practice. They have been great and fit me in right away when I took it back. Still a tiny bit of a leak, so I'll have to take it to them again. (Waiting for abit until the son is hopefully healed up.)

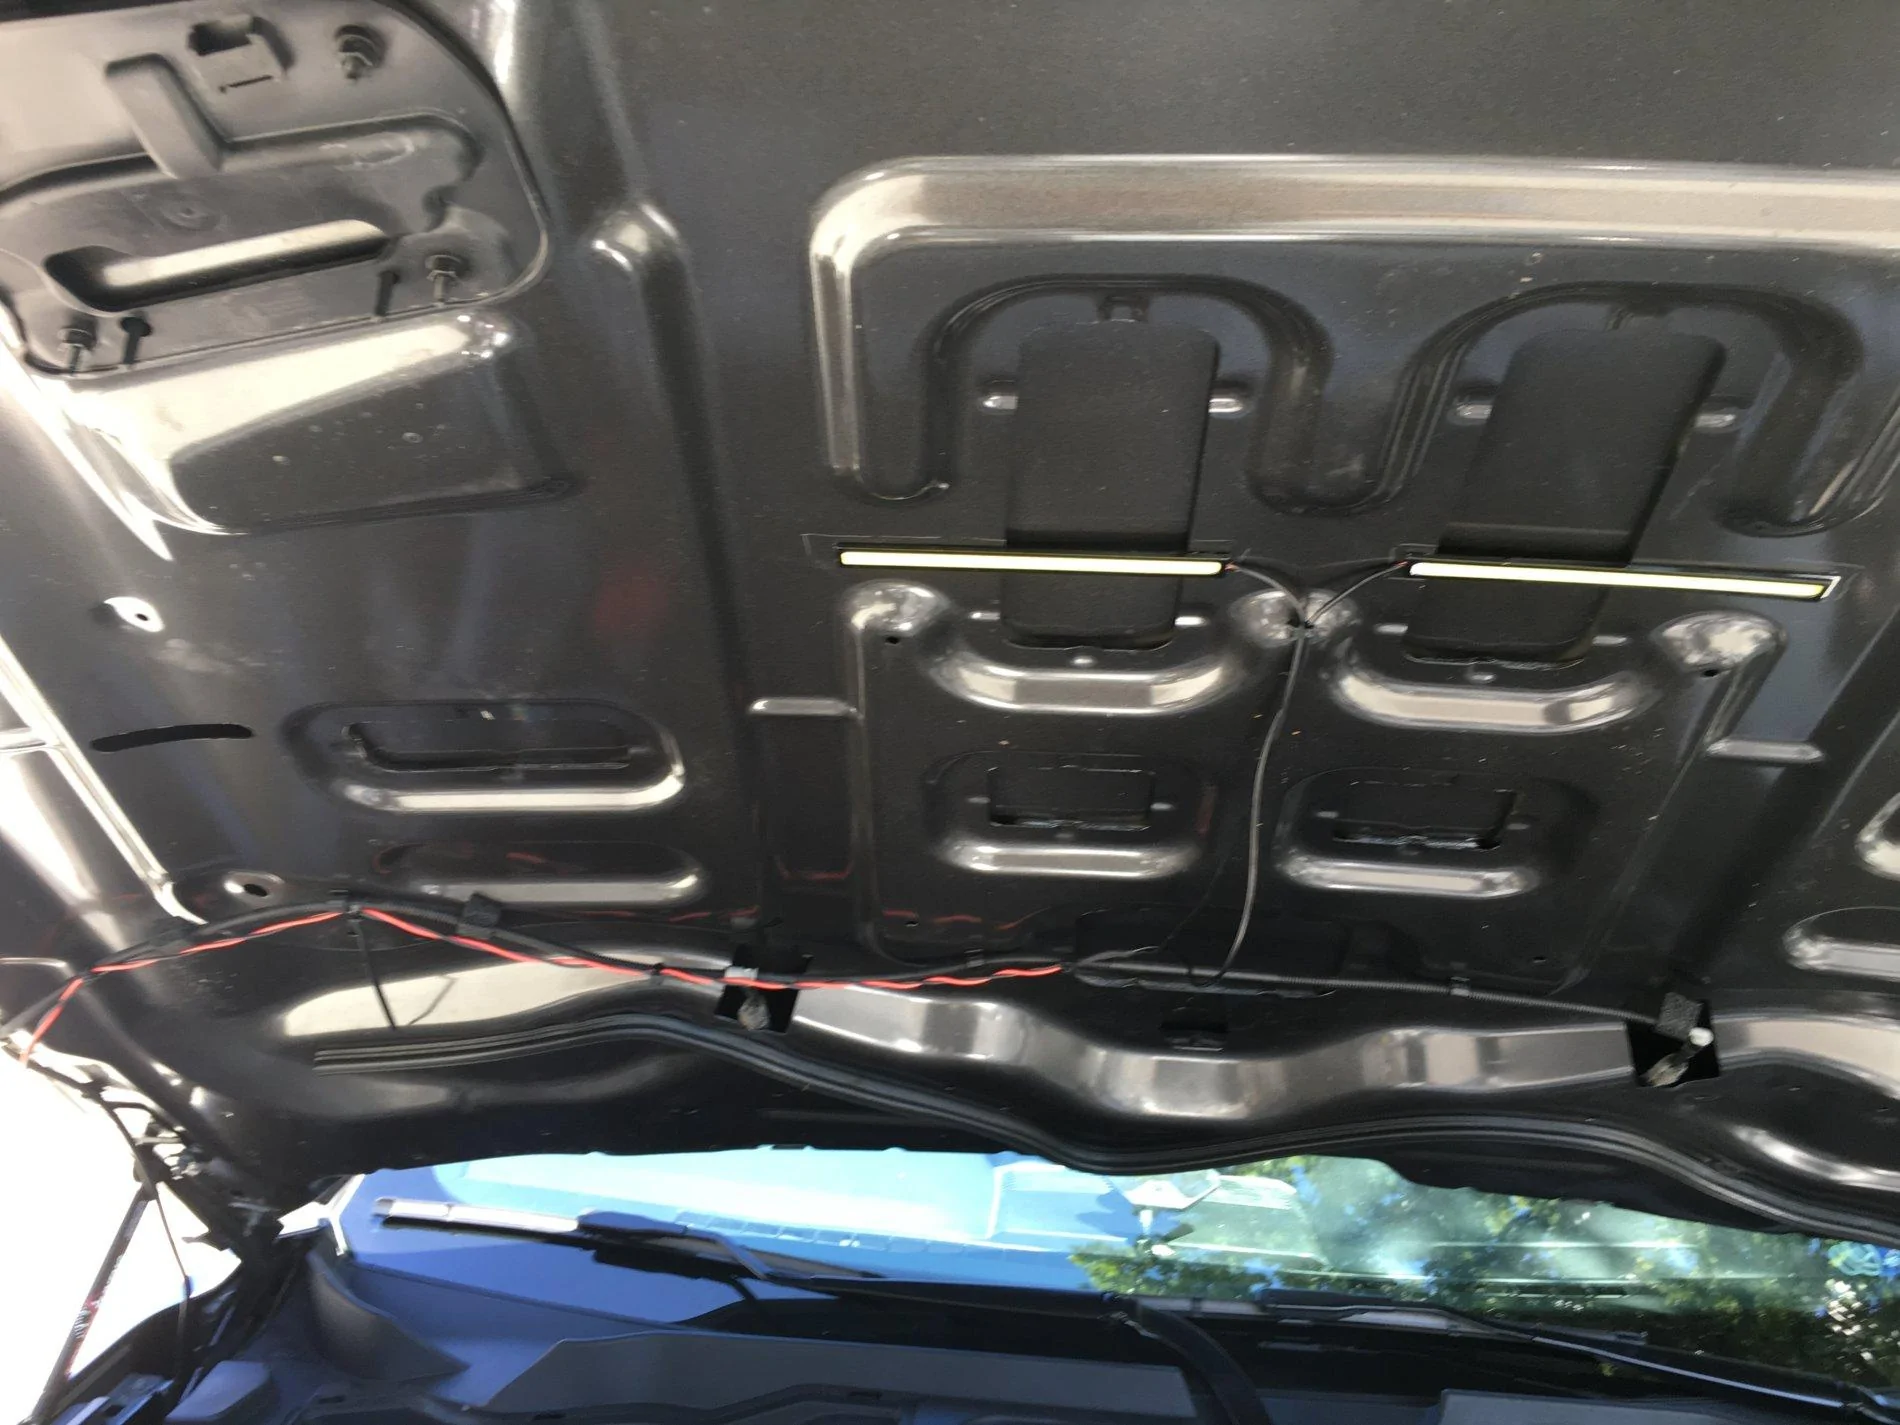
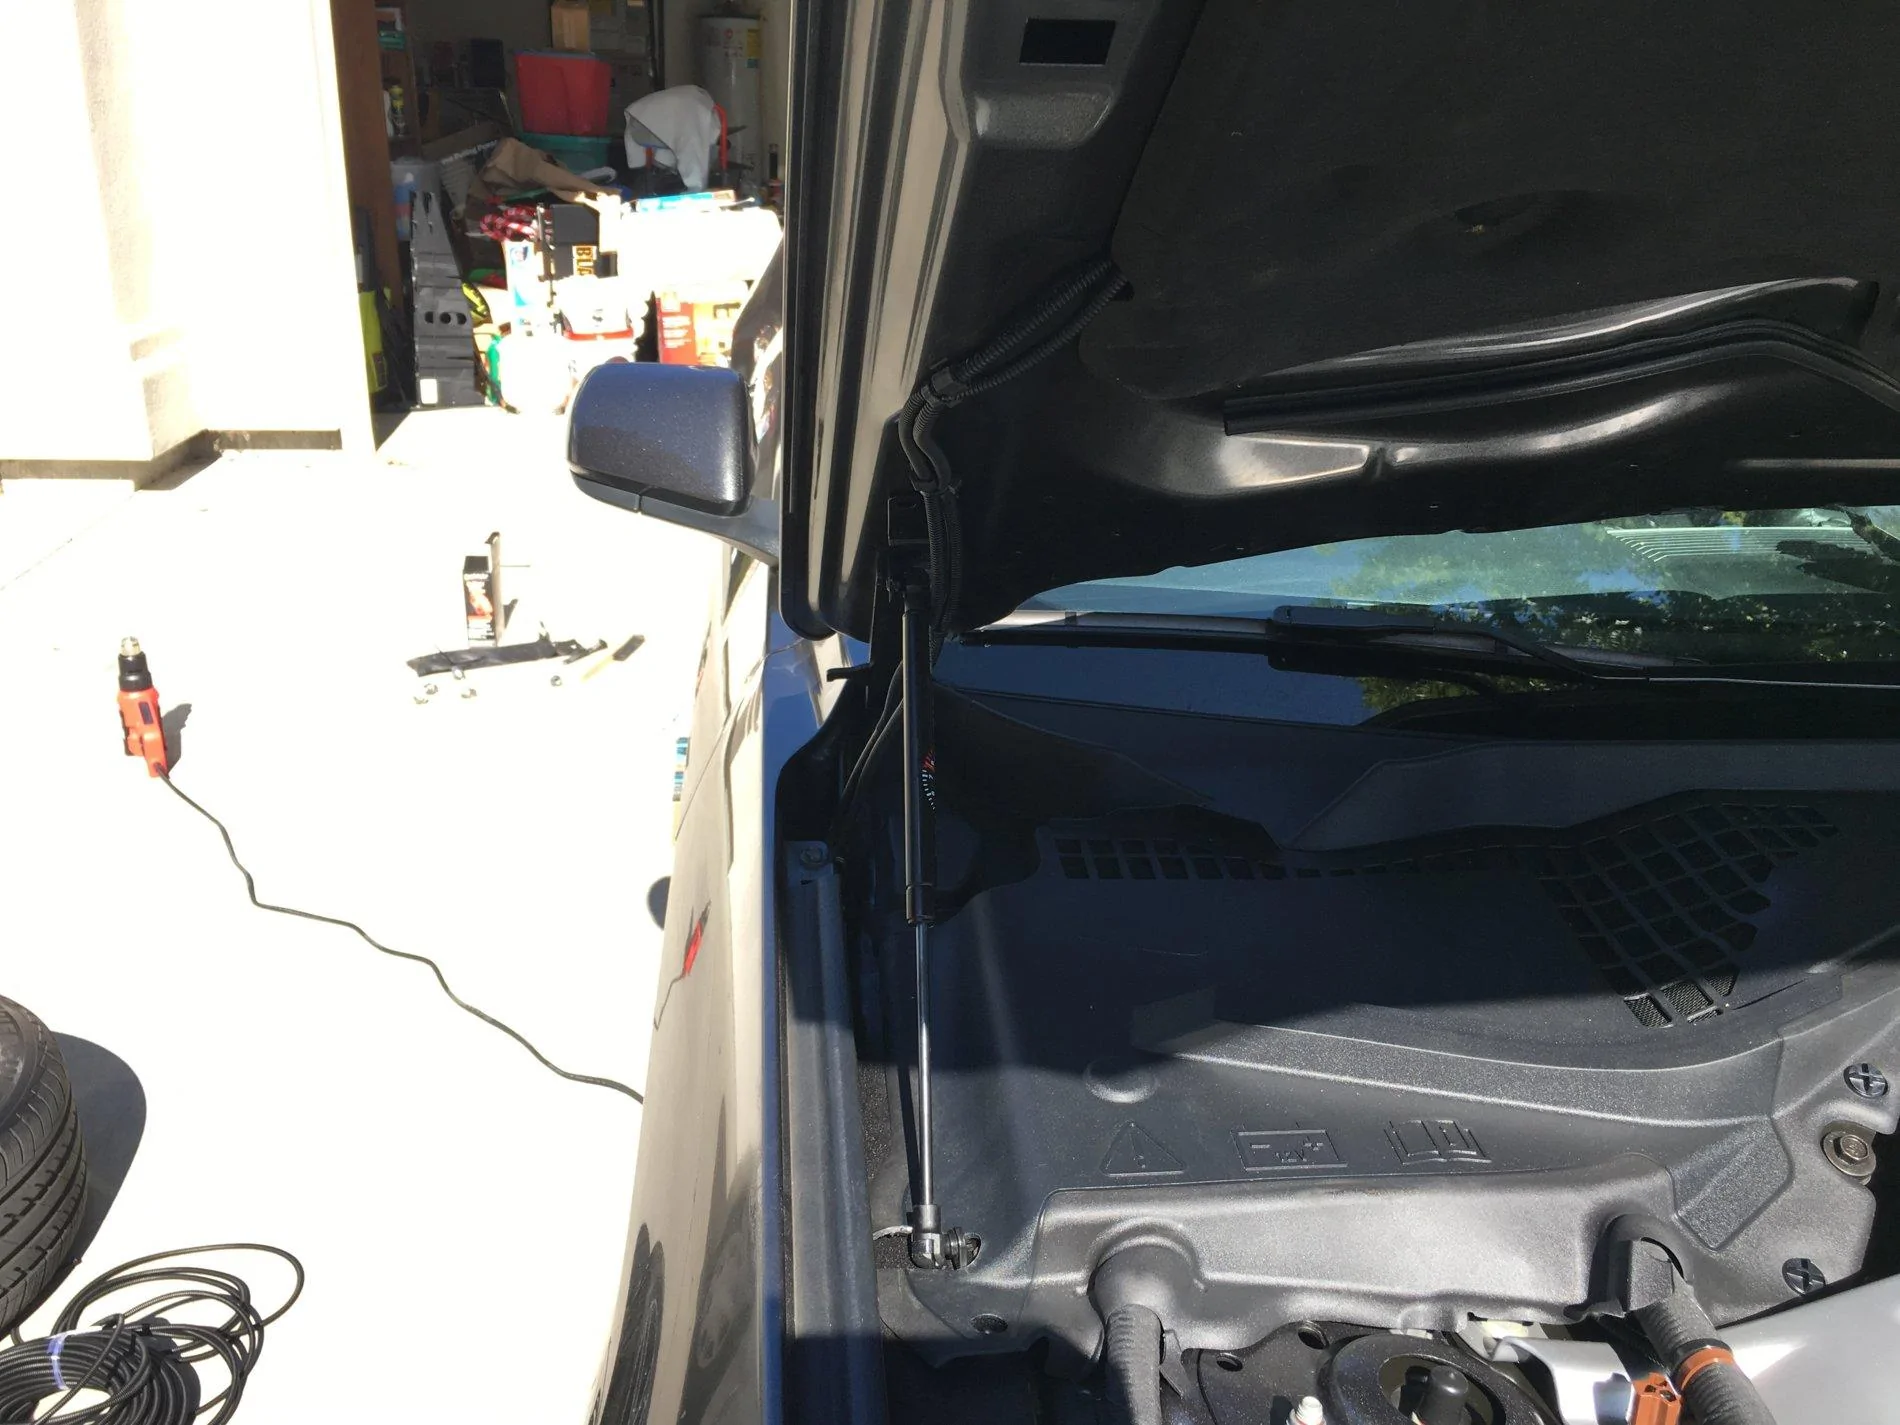
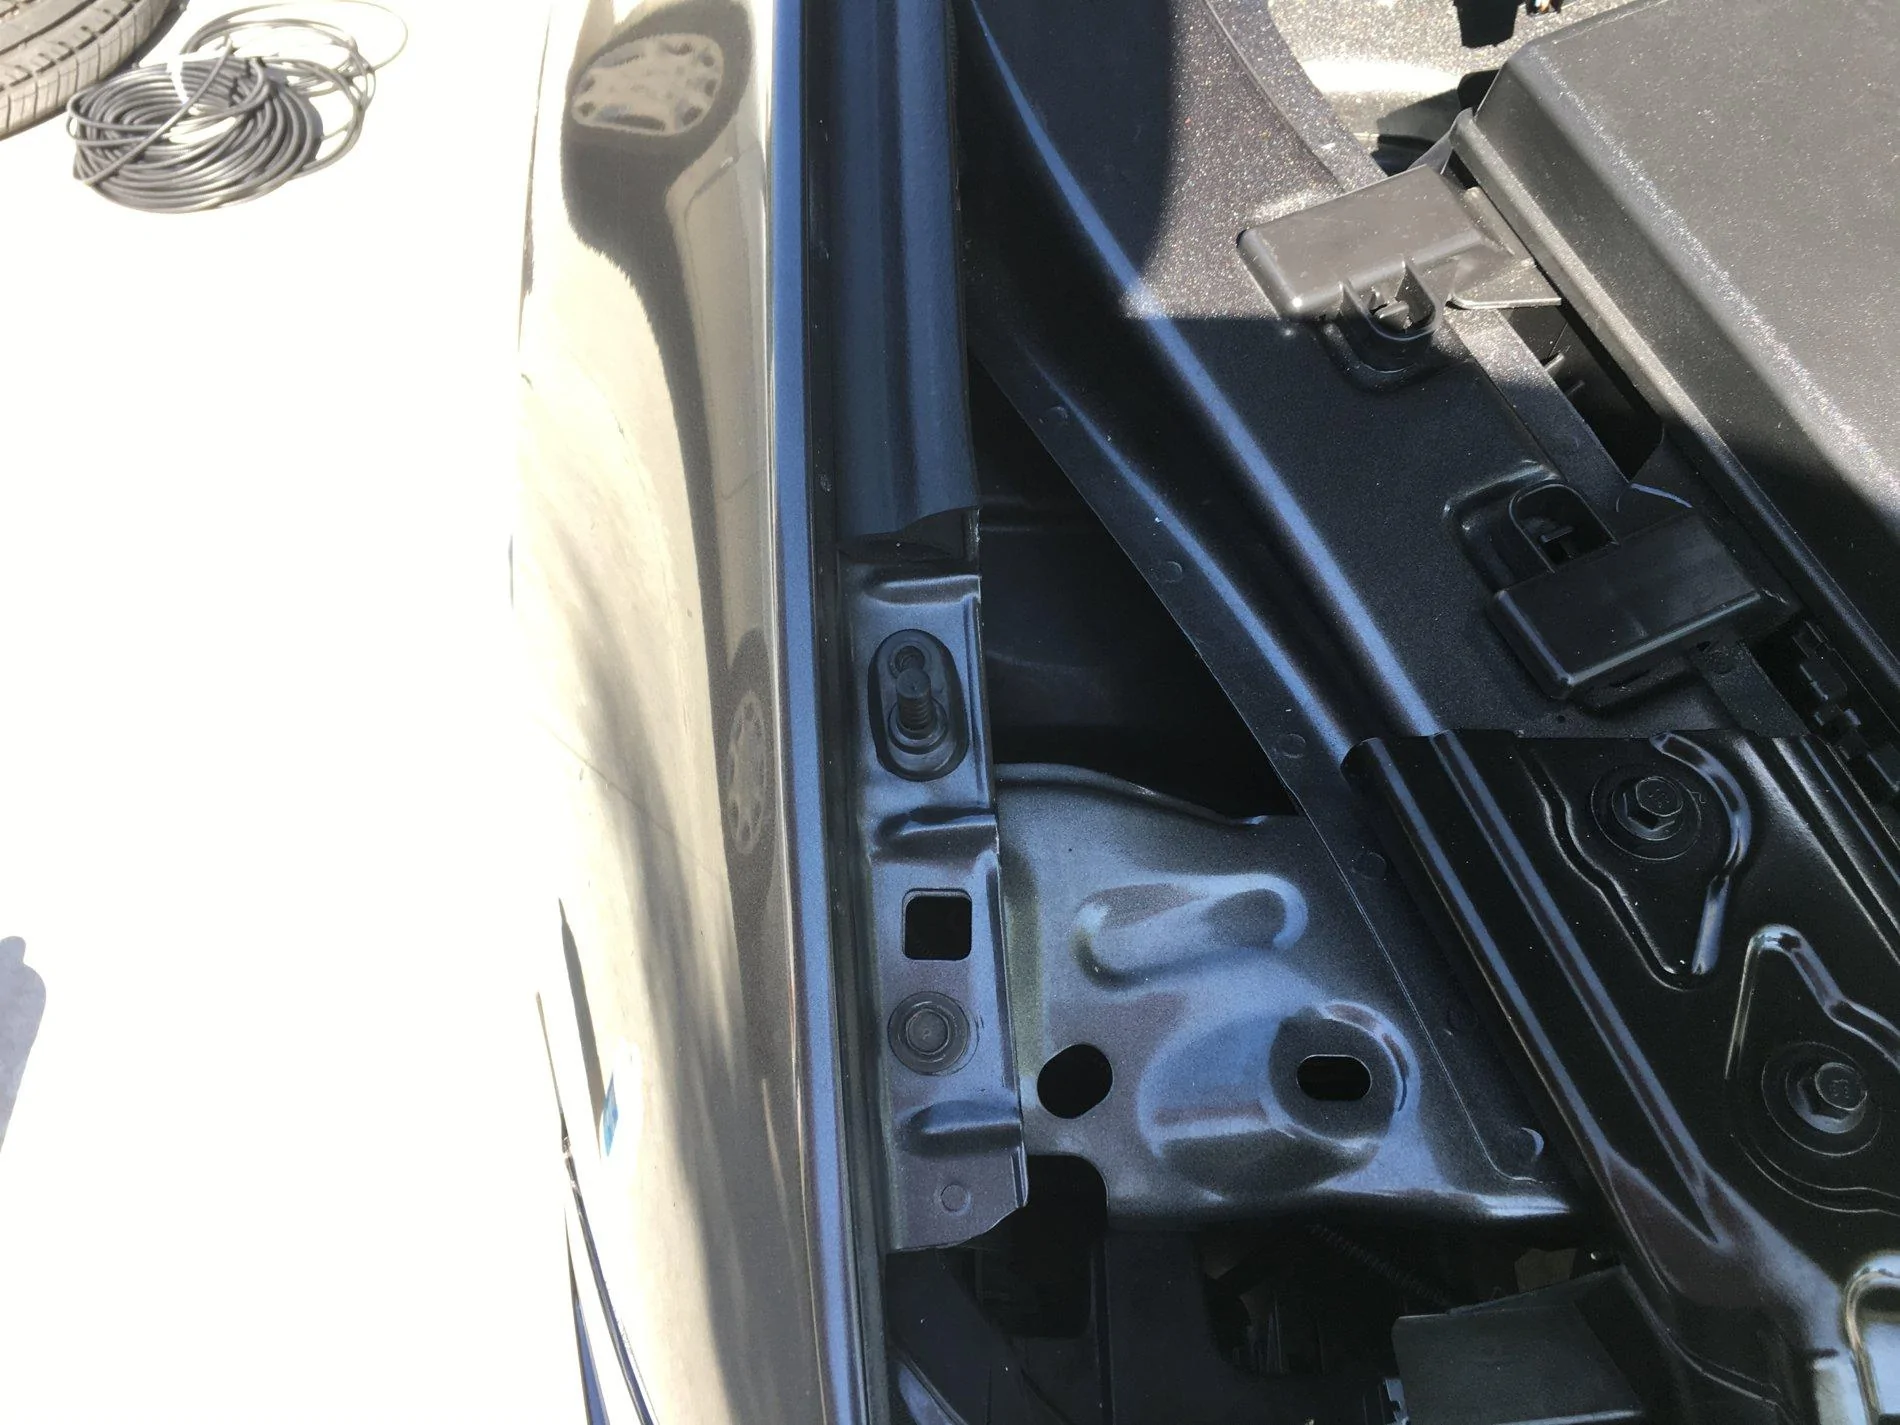 )
)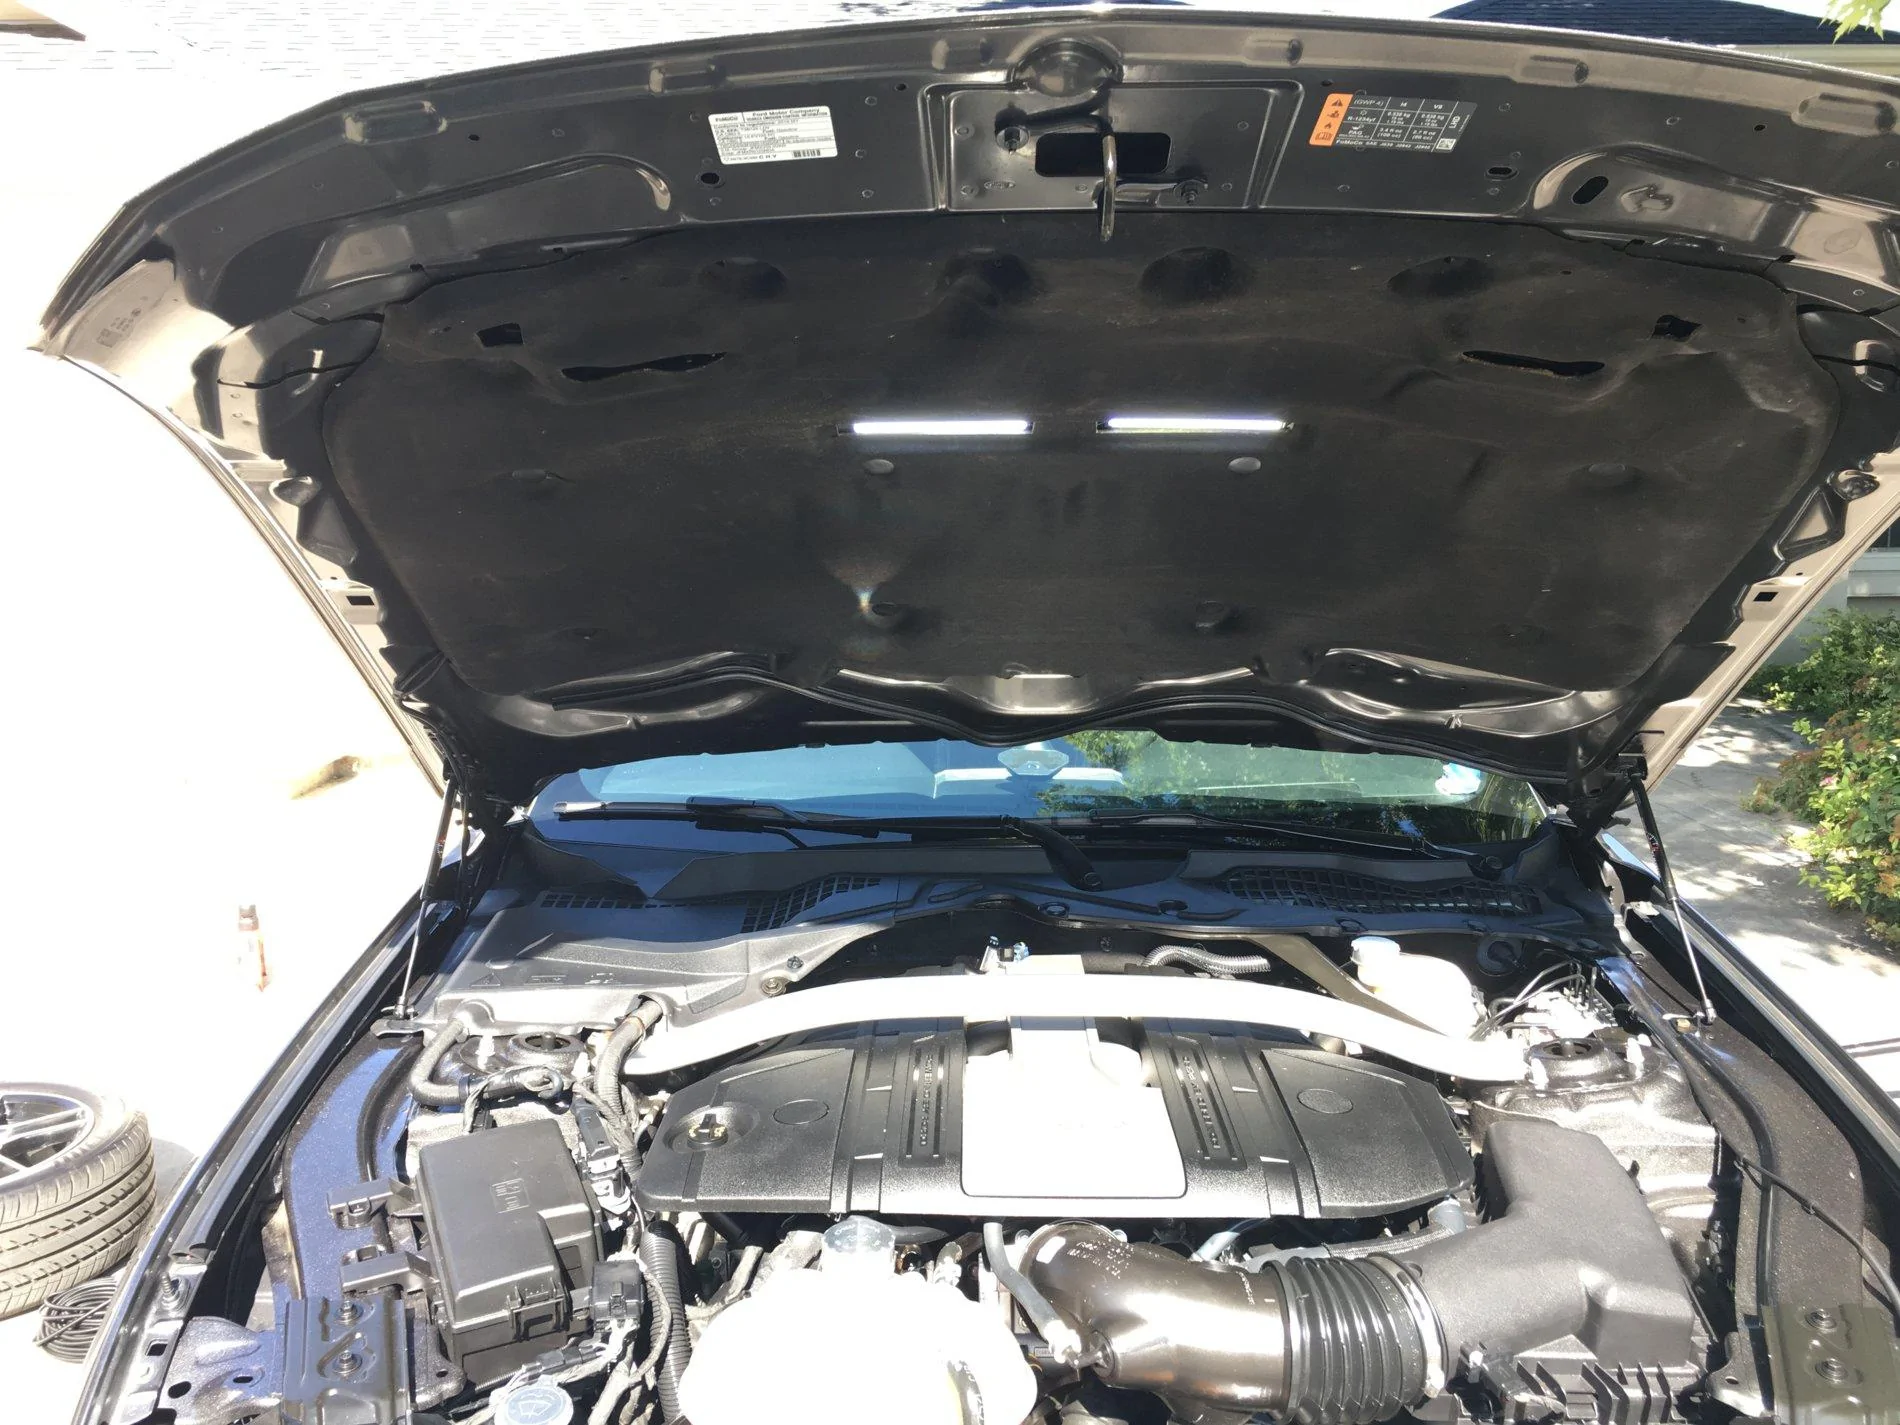 I guess I did a pretty alrighty job making it look like it should have come this way. (*Hint hint, Ford!)
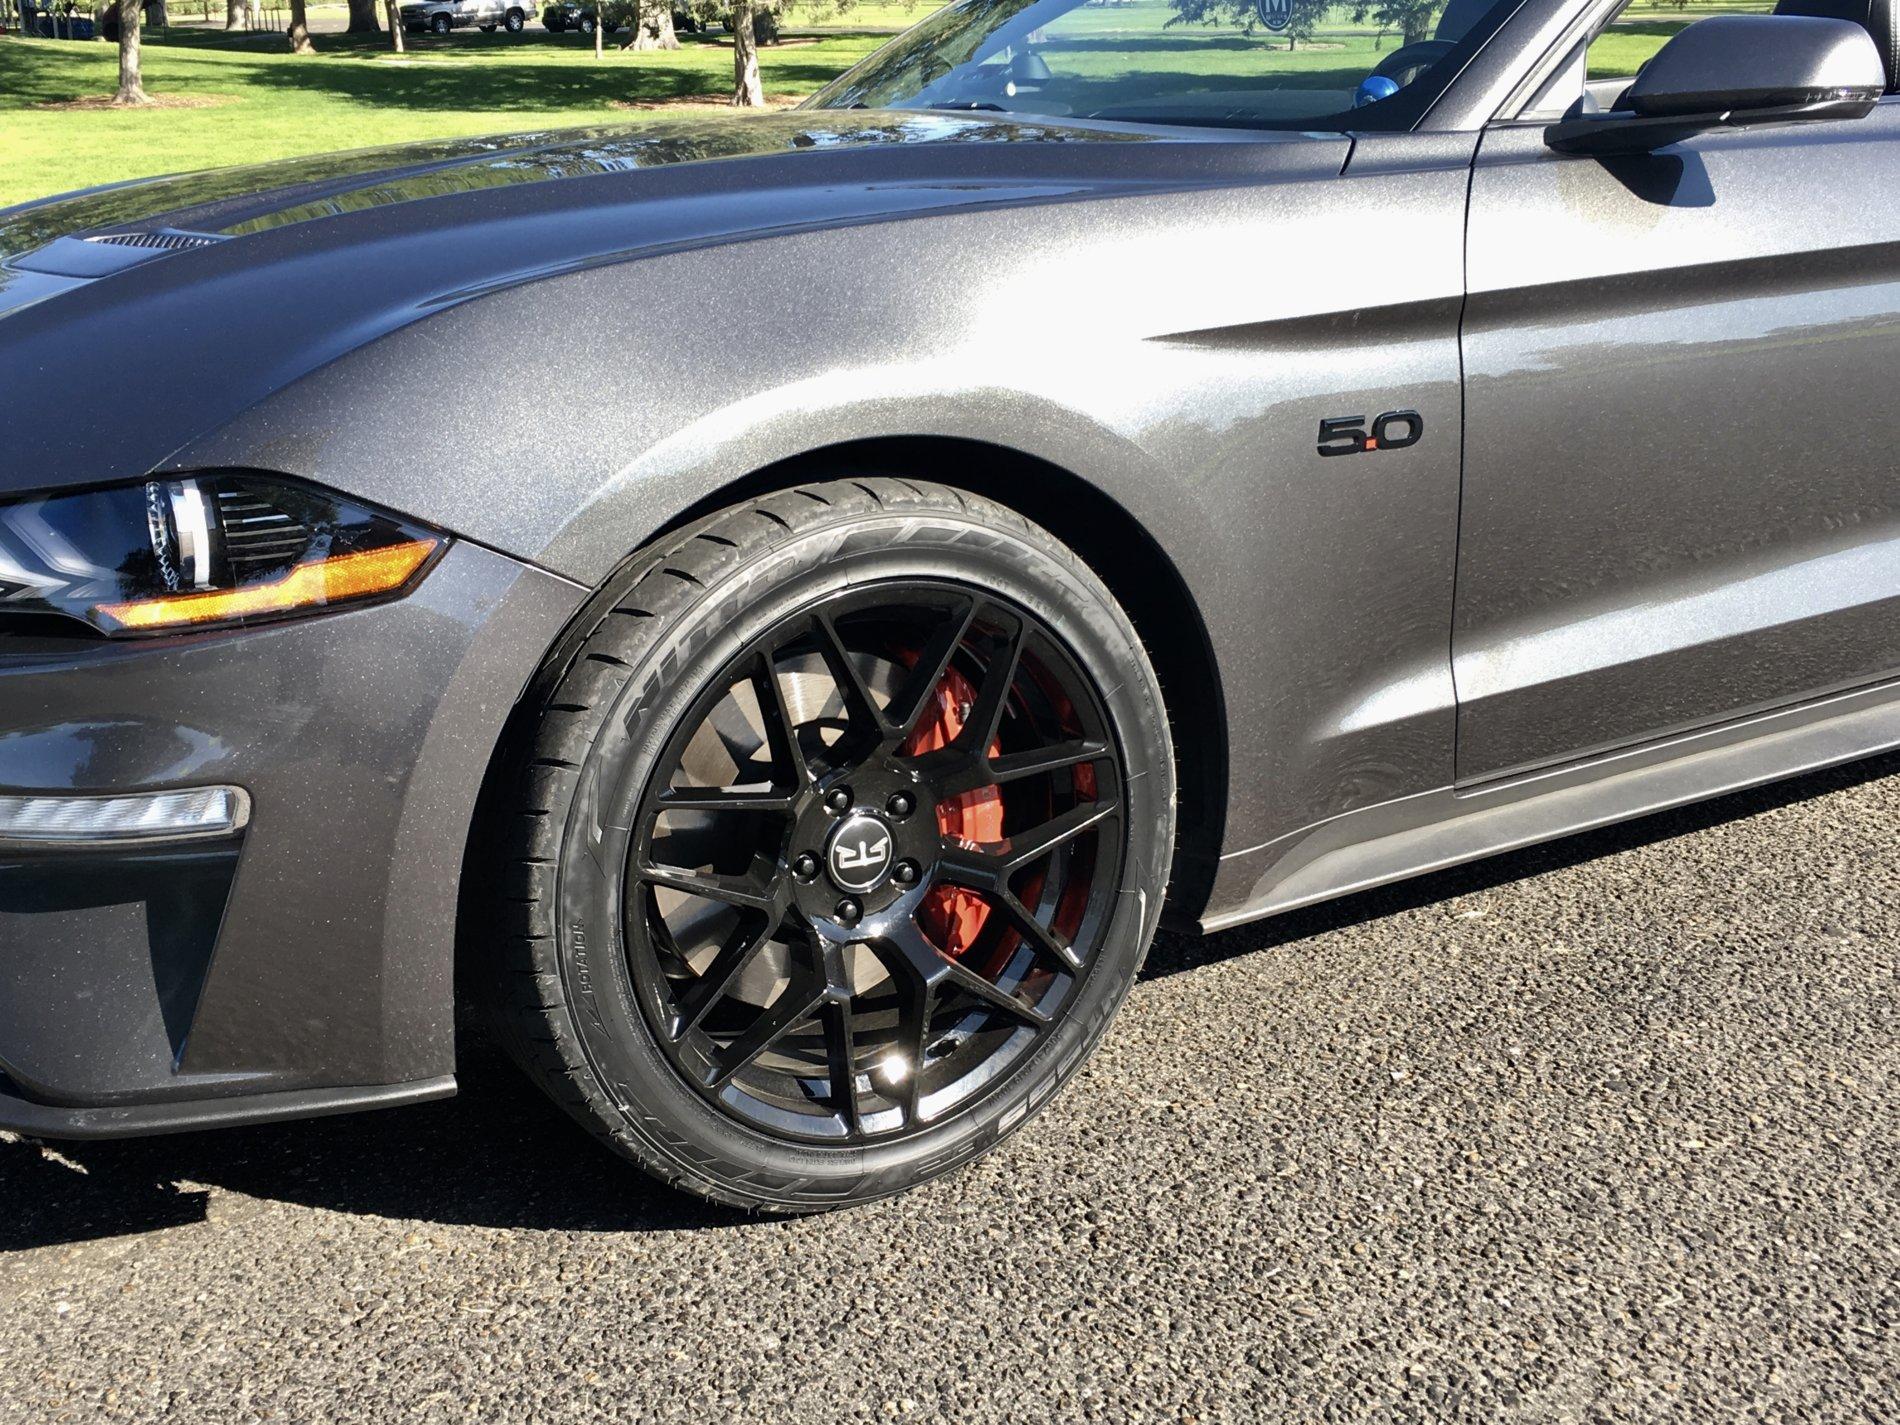
) and the gloss black wheels tie into both really well. The one thing out of place to me... the lower front grill being matte black. **Really Ford?!?! Really?!?!**
I guess I did a pretty alrighty job making it look like it should have come this way. (*Hint hint, Ford!)
) and the gloss black wheels tie into both really well. The one thing out of place to me... the lower front grill being matte black. **Really Ford?!?! Really?!?!** 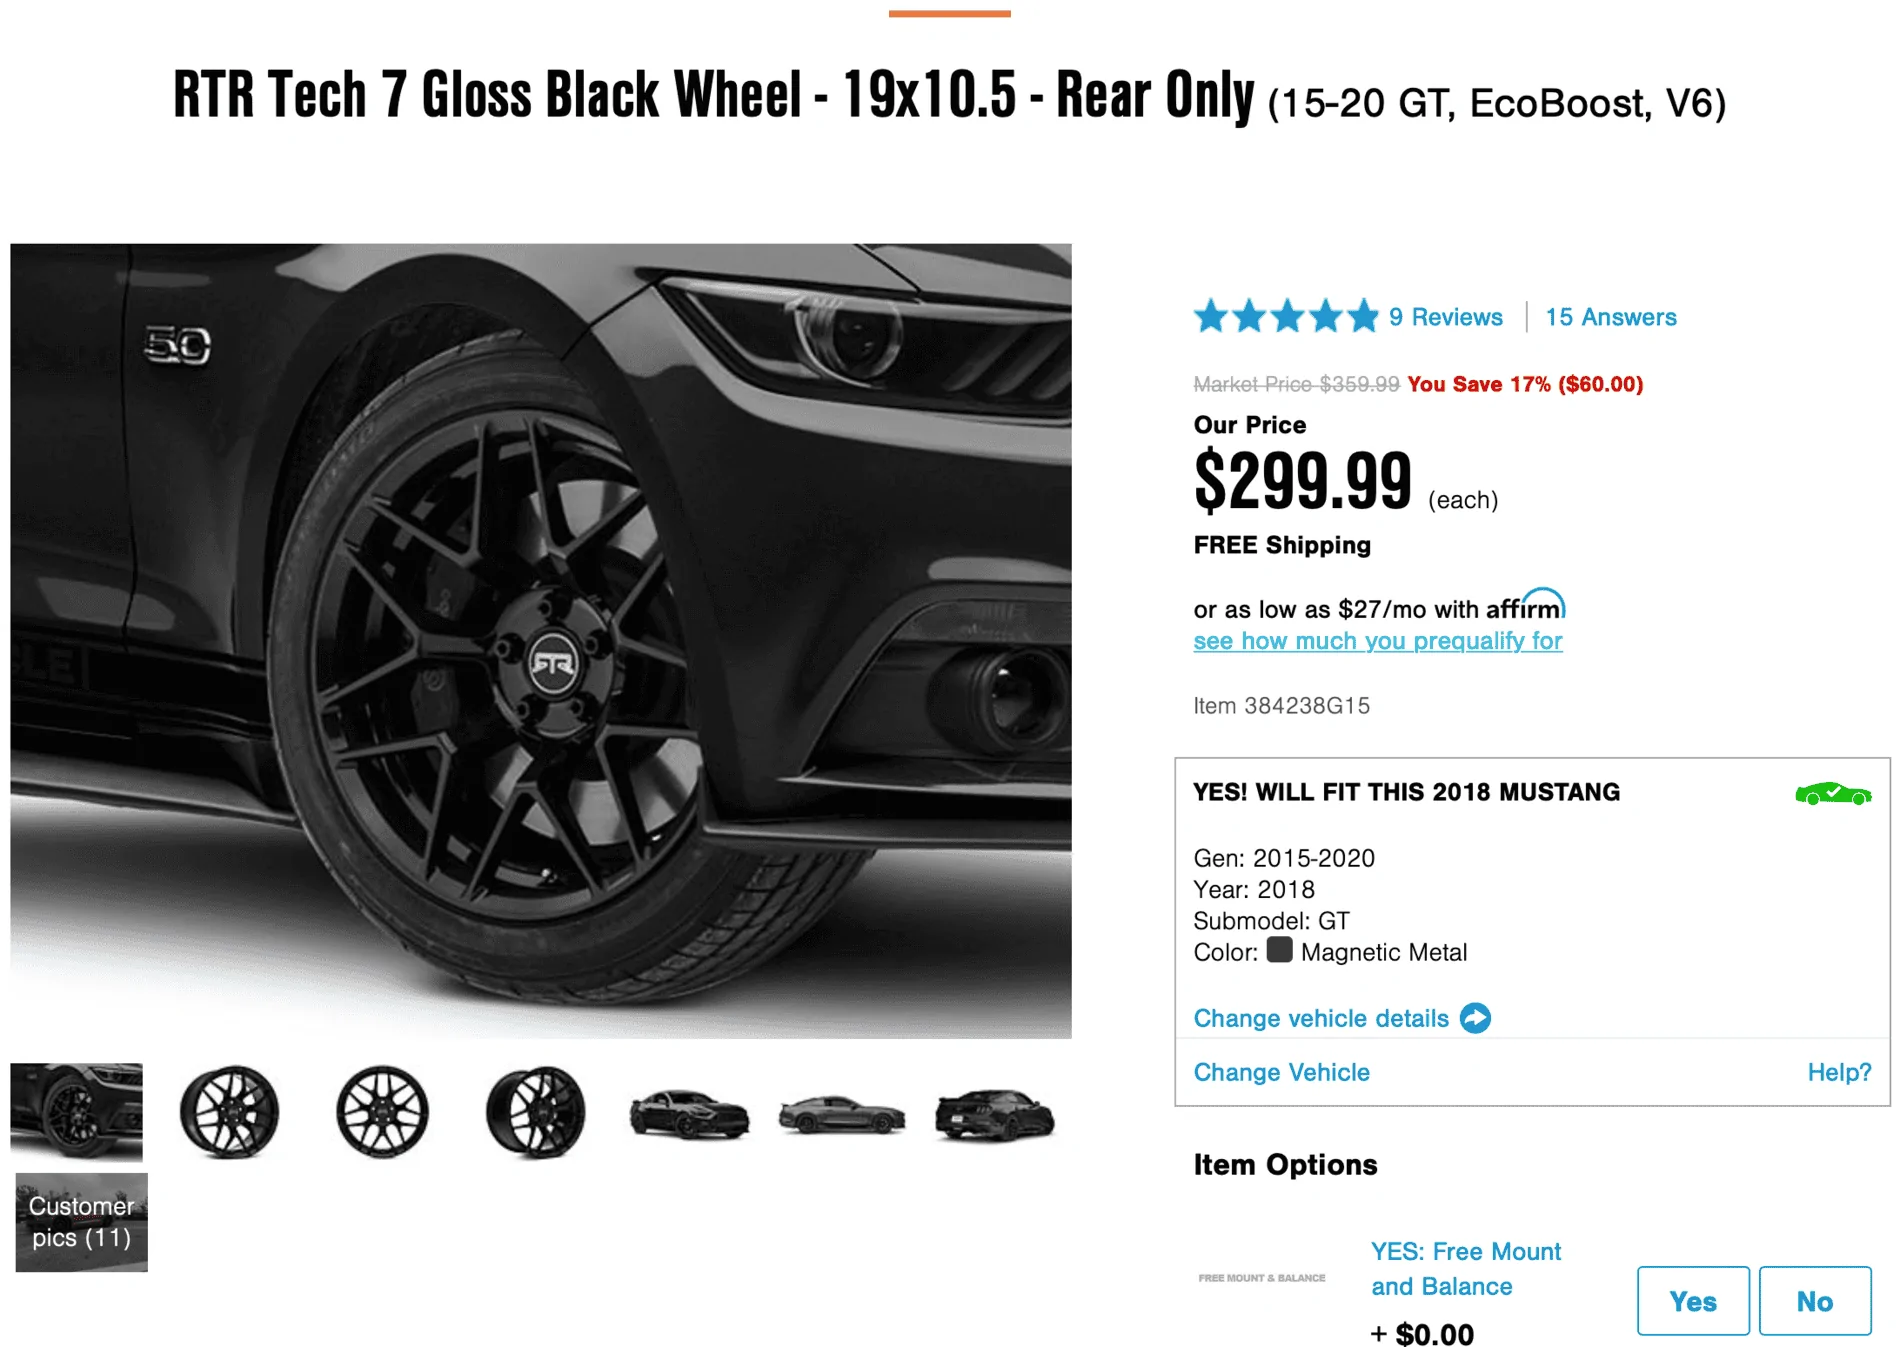
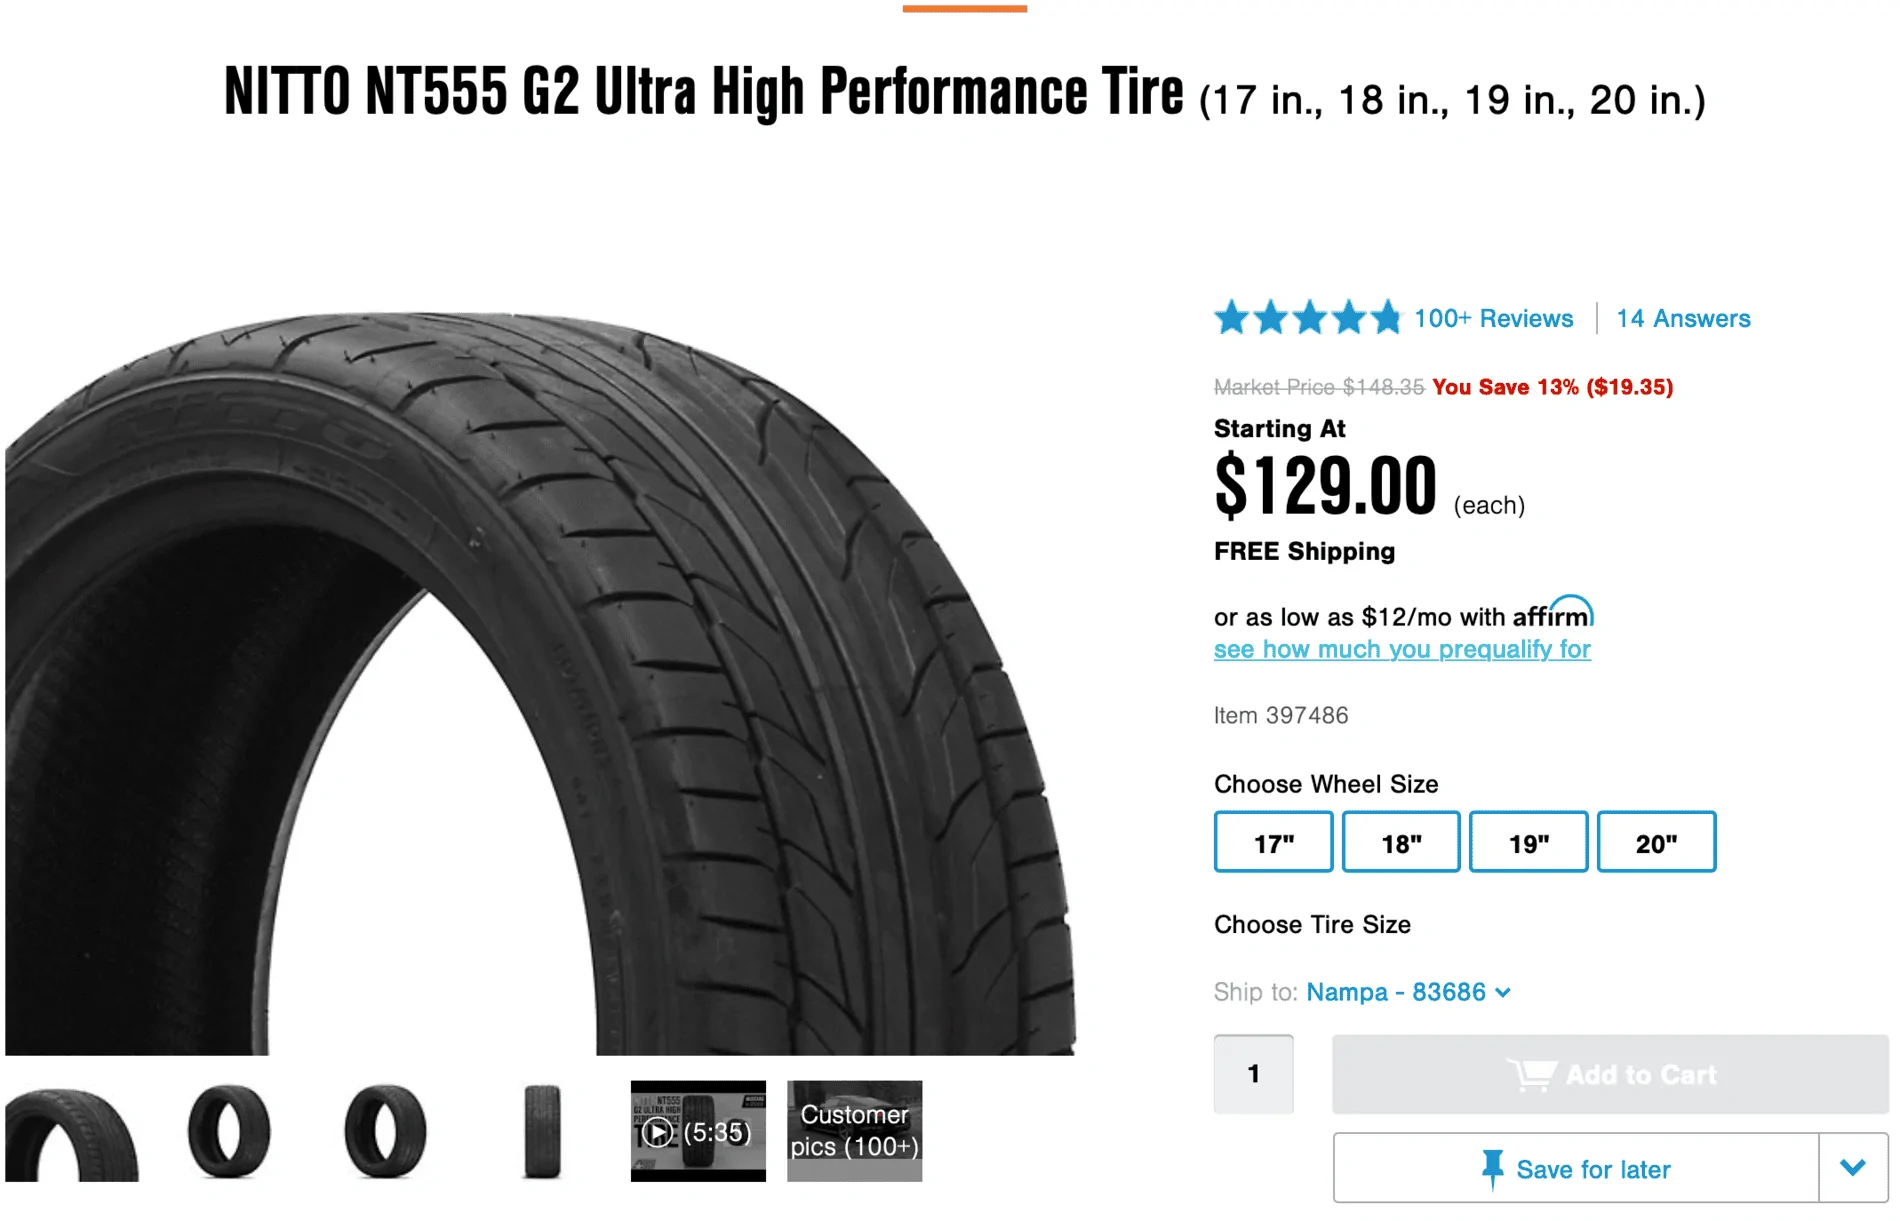
 Eventually they made it right, and I've purchased other stuff from them because of them making it right. (People that say bigger isn't better just have small wheels and tires. )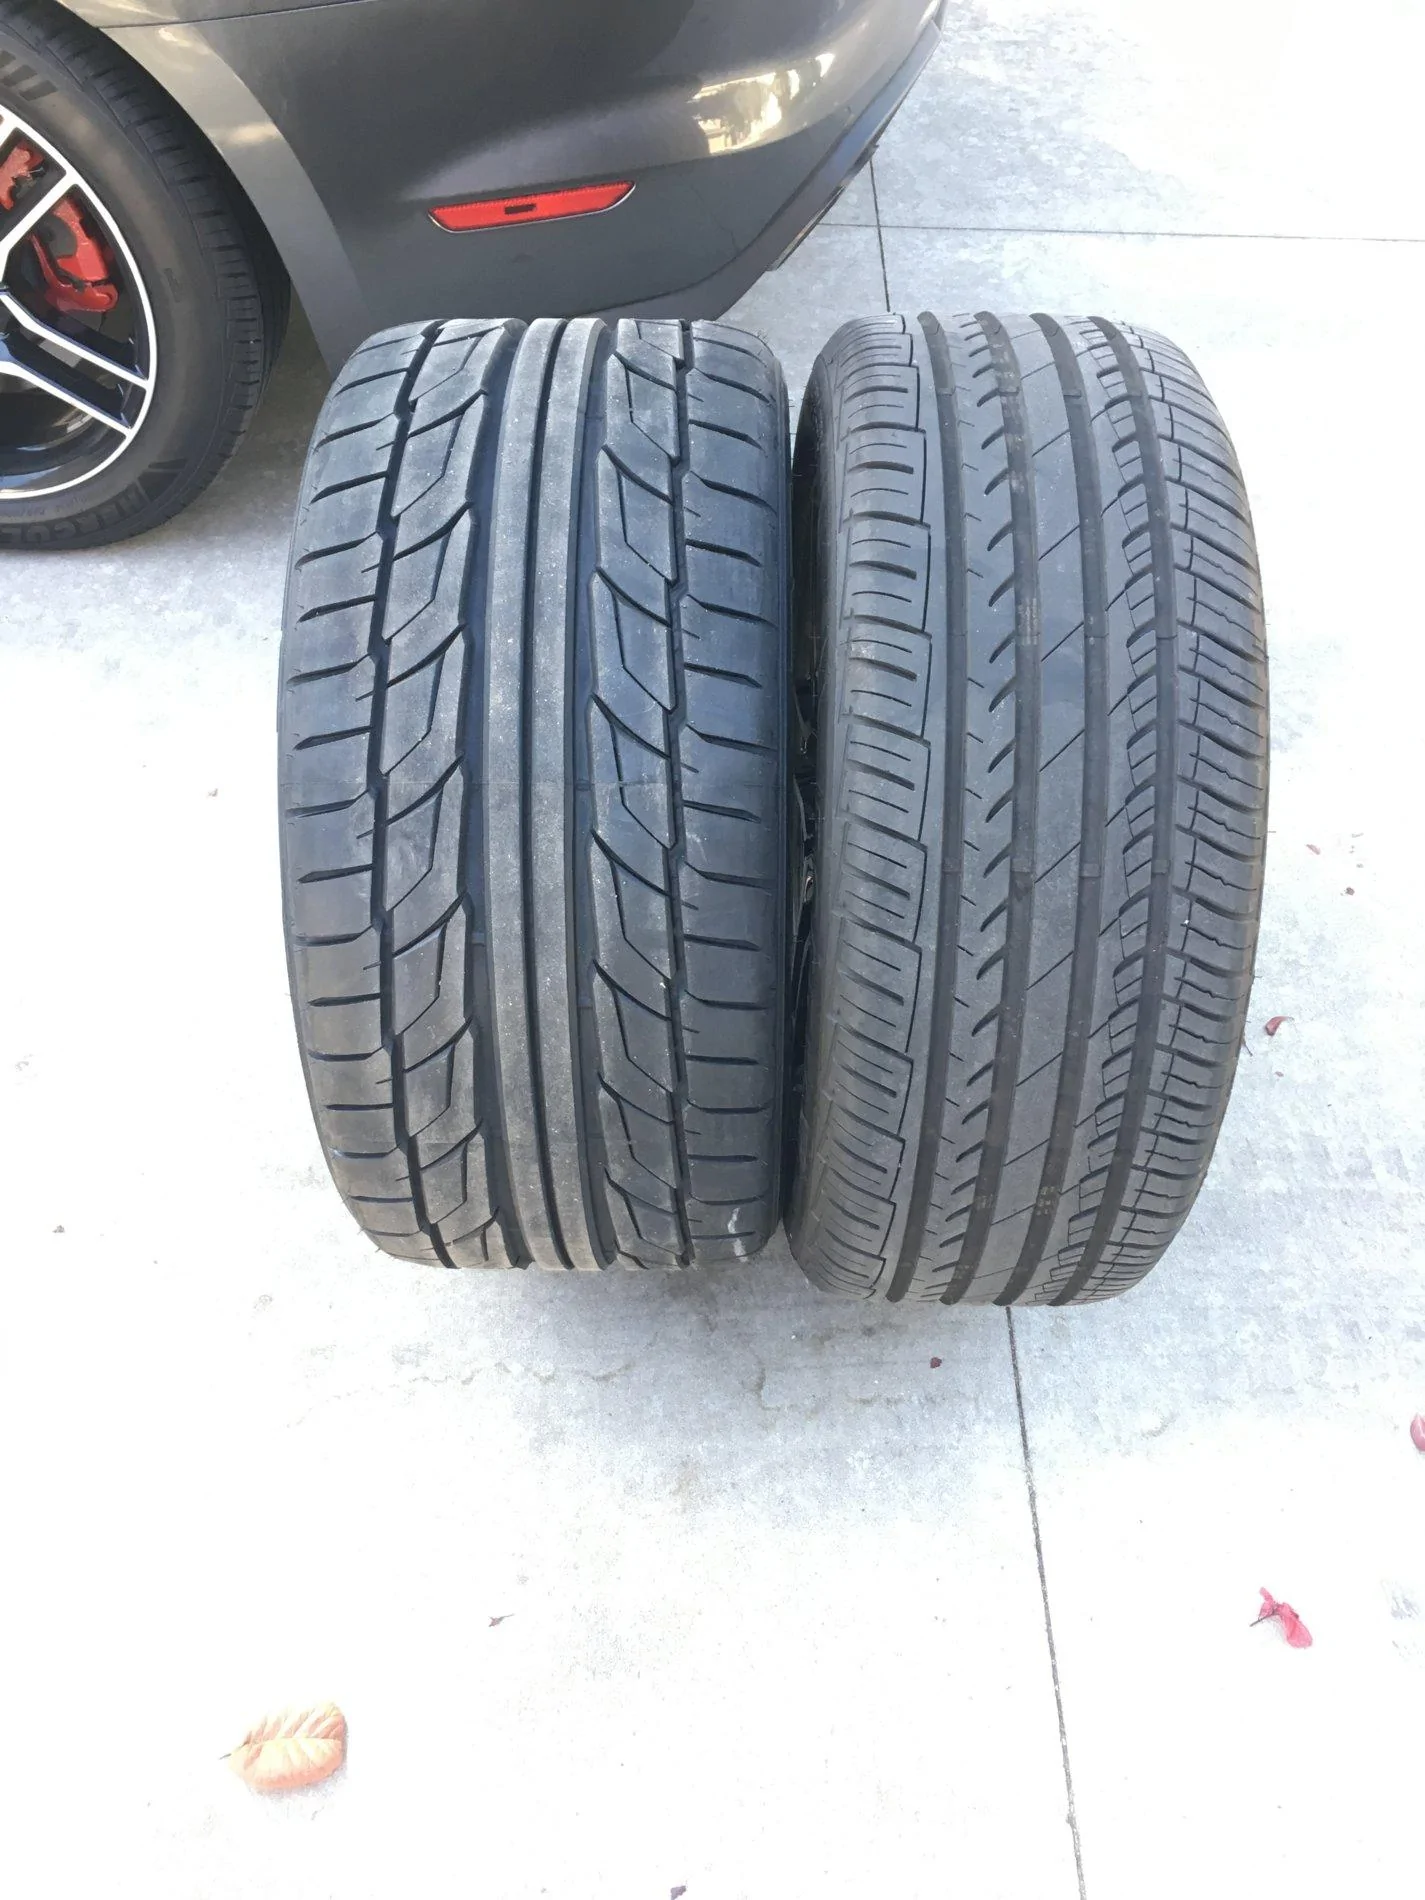
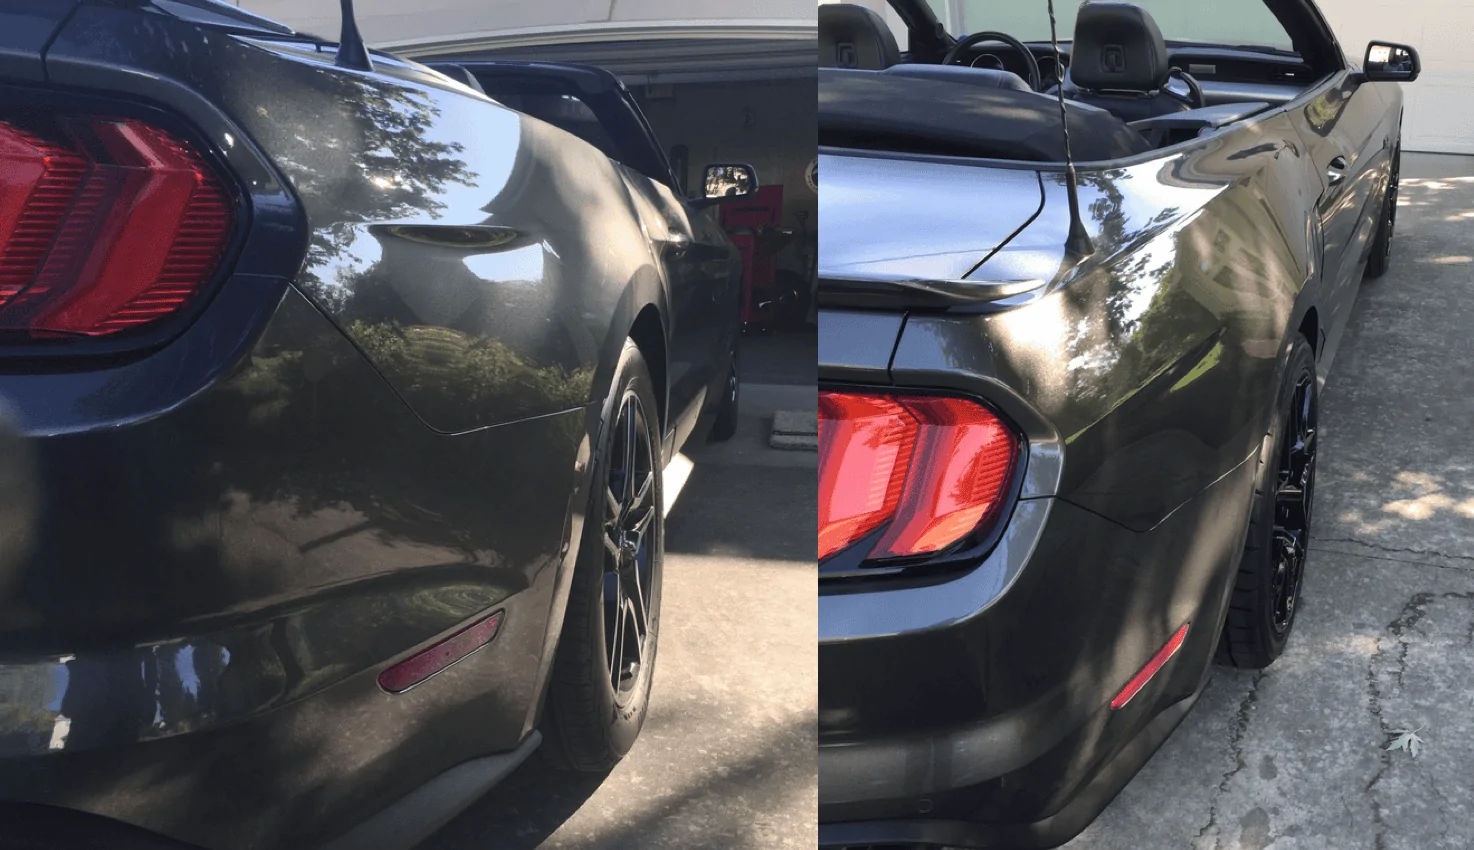
 Also, those Nitto's really grip well! I haven't gone too nuts around corners yet, but I'm impressed with the feel of these tires as I'm mashing down the loud pedal.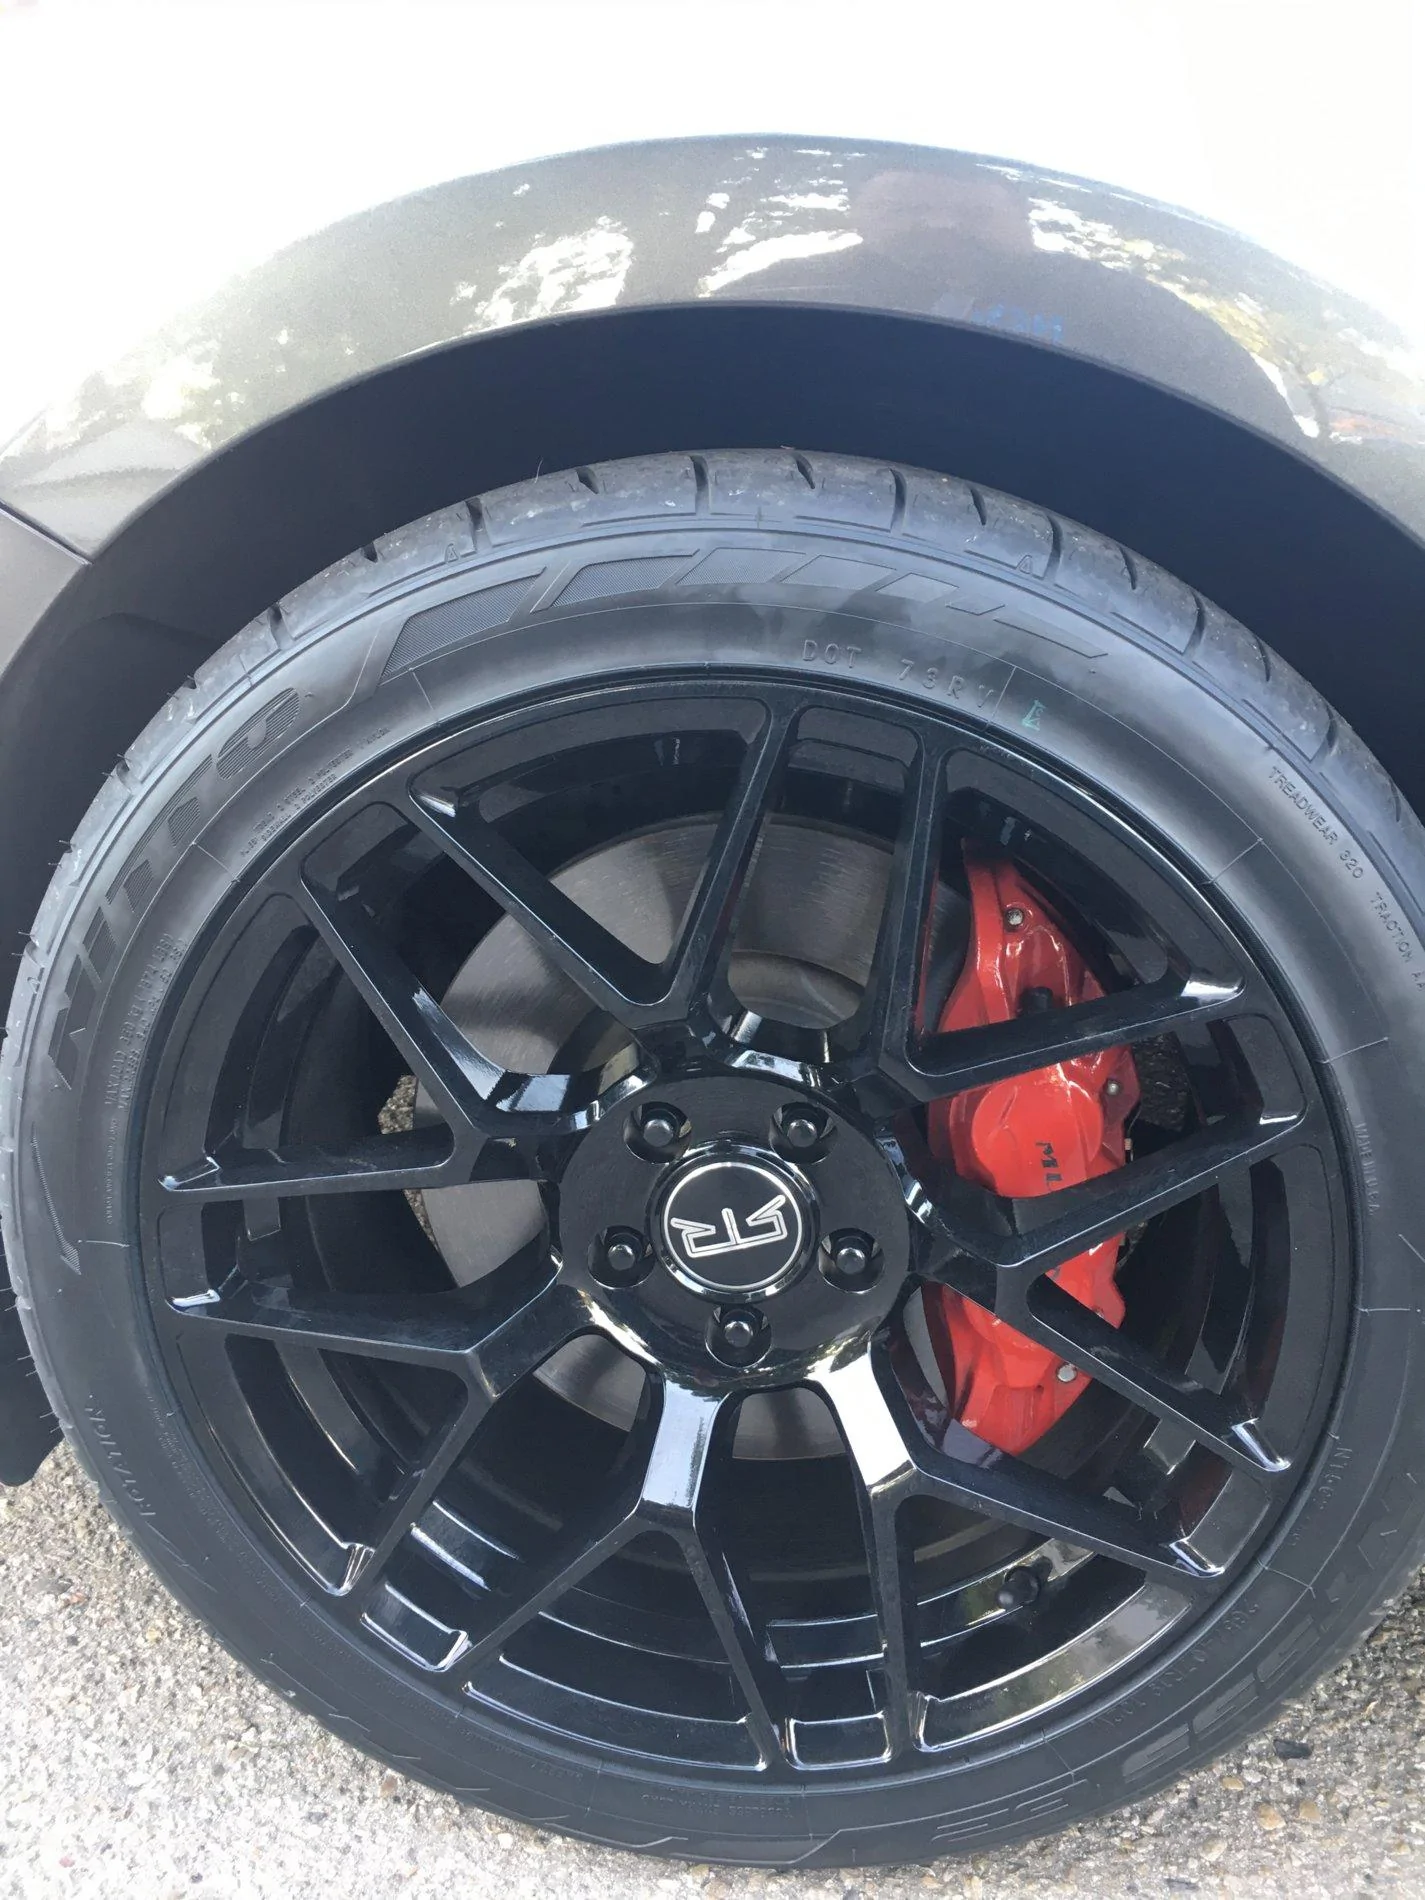
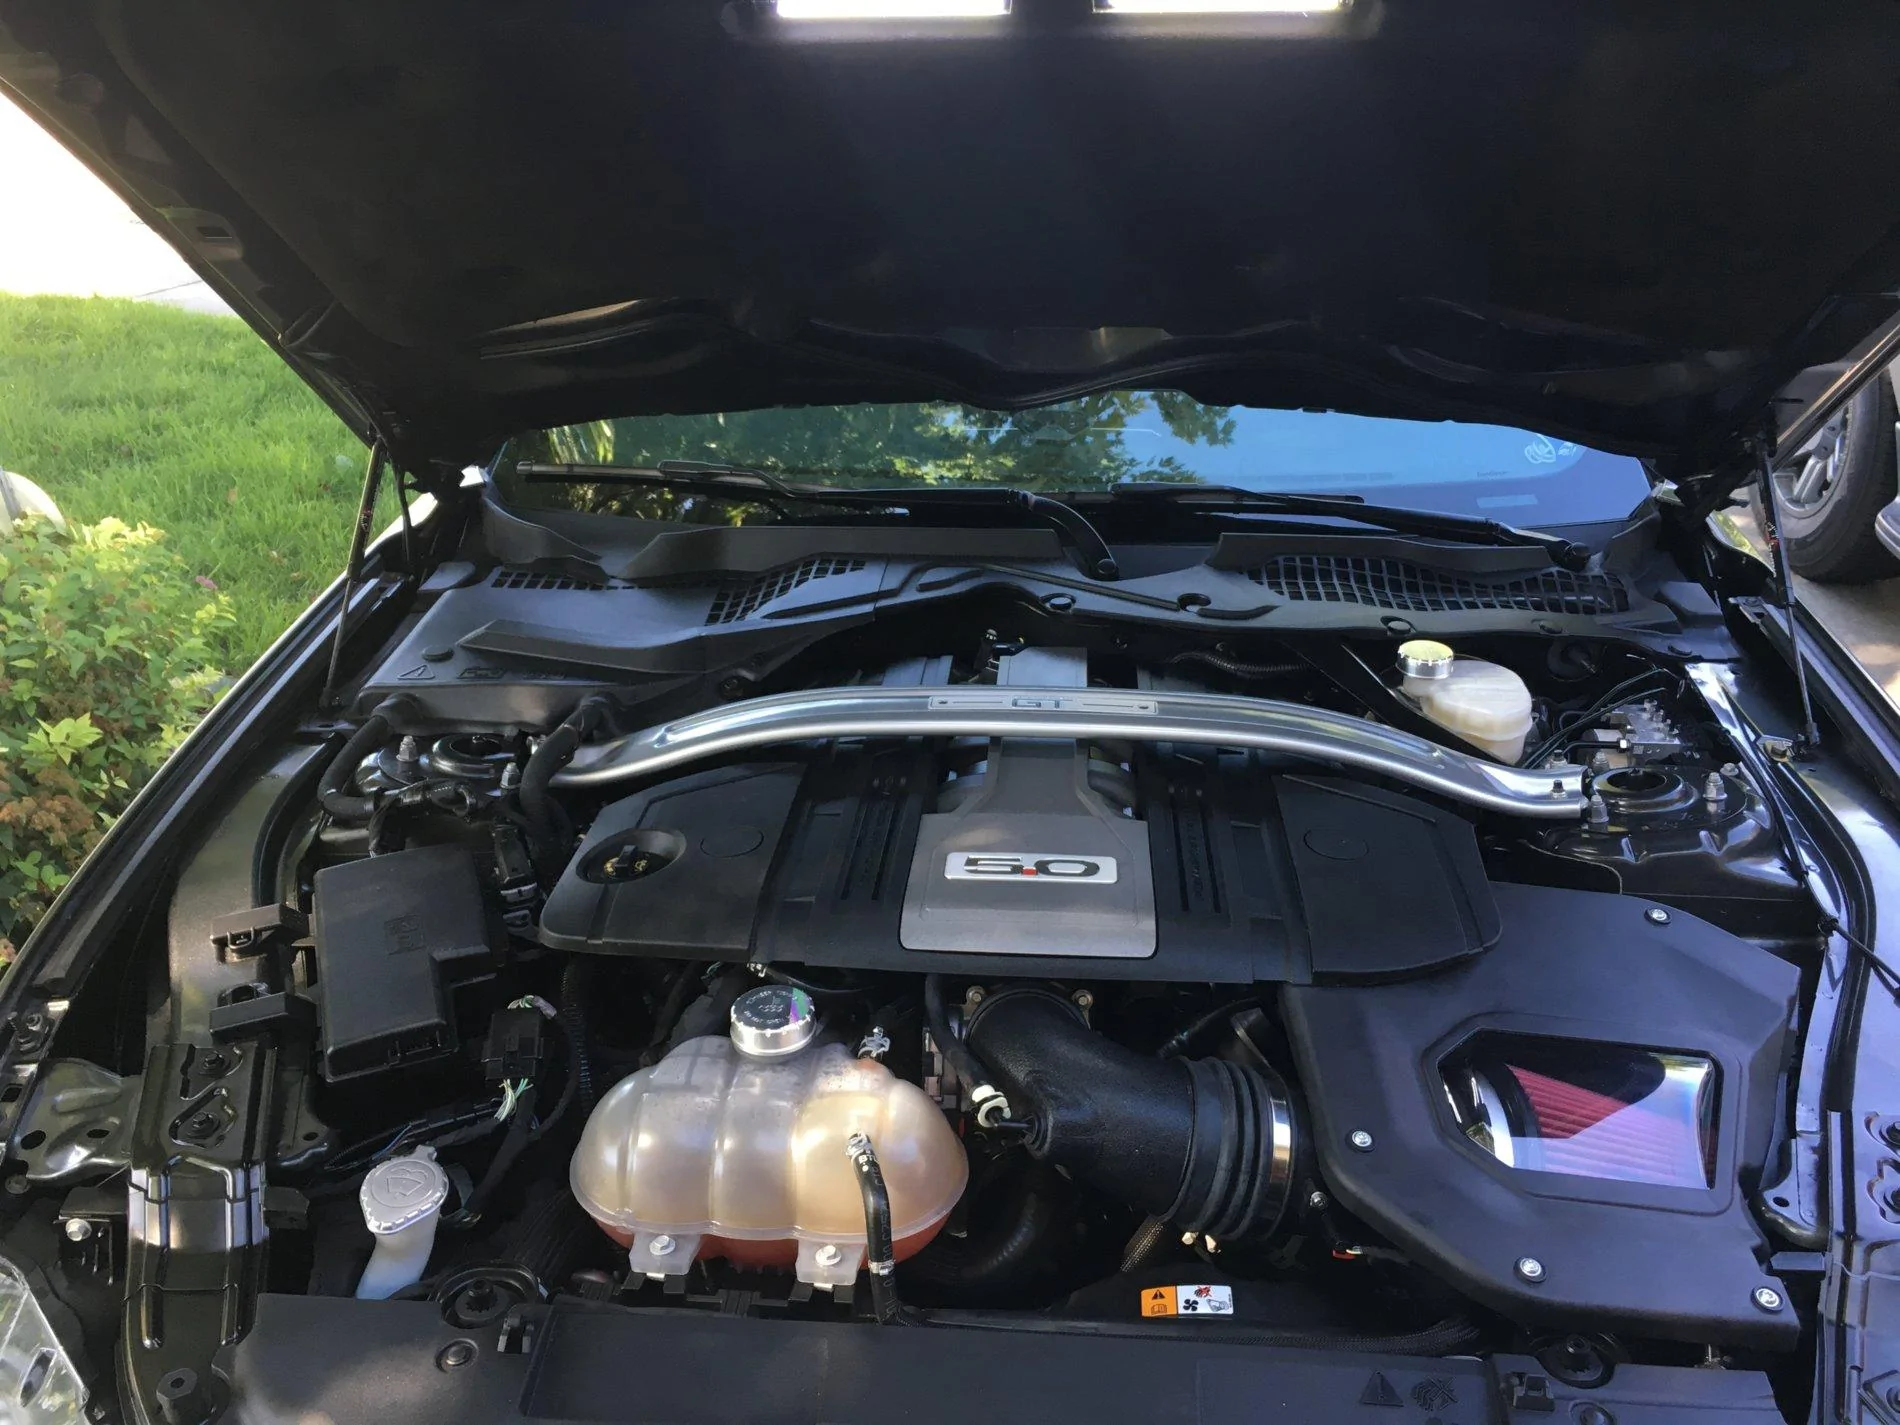
 We can easily configure a GT at $50,000 and higher but you still include a stupid hood prop? REALLY (are you guys purposely supporting aftermarket? lol)
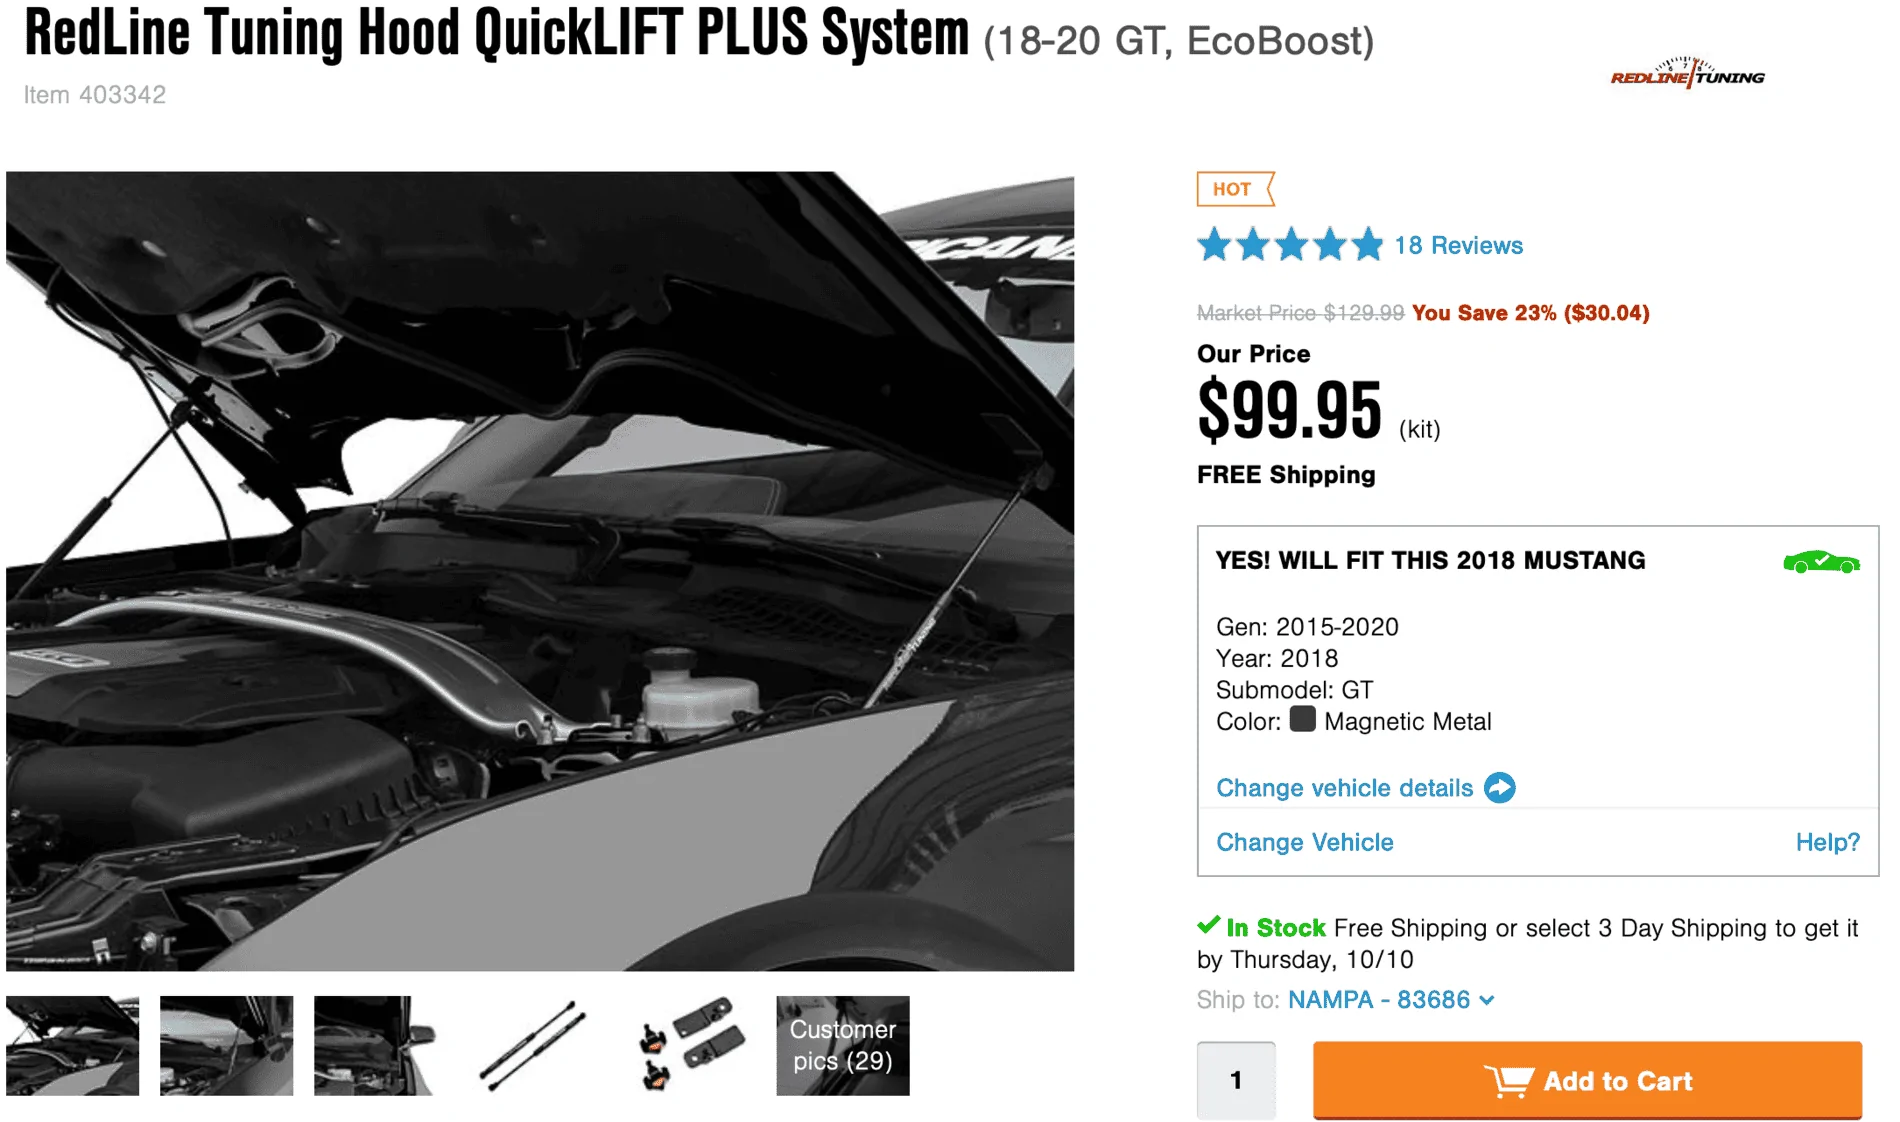 Do not try to remove or partially remove the c-clip! Have someone old the hood up (or use that stupid hood prop for its last moment of glory before it gets relocated to the trash can), and then apply some light pressure pushing the strut cup on to the ball stud, then rock the strut back and forth while keeping the pressure on it. This actually wiggles the c-clip open and after a few back and forths the c-clip opens up enough for the strut cup to snap right into place on the ball stud. It was crazy how easily it went on! It also doesn't feel at all like it wants to come off. Nice!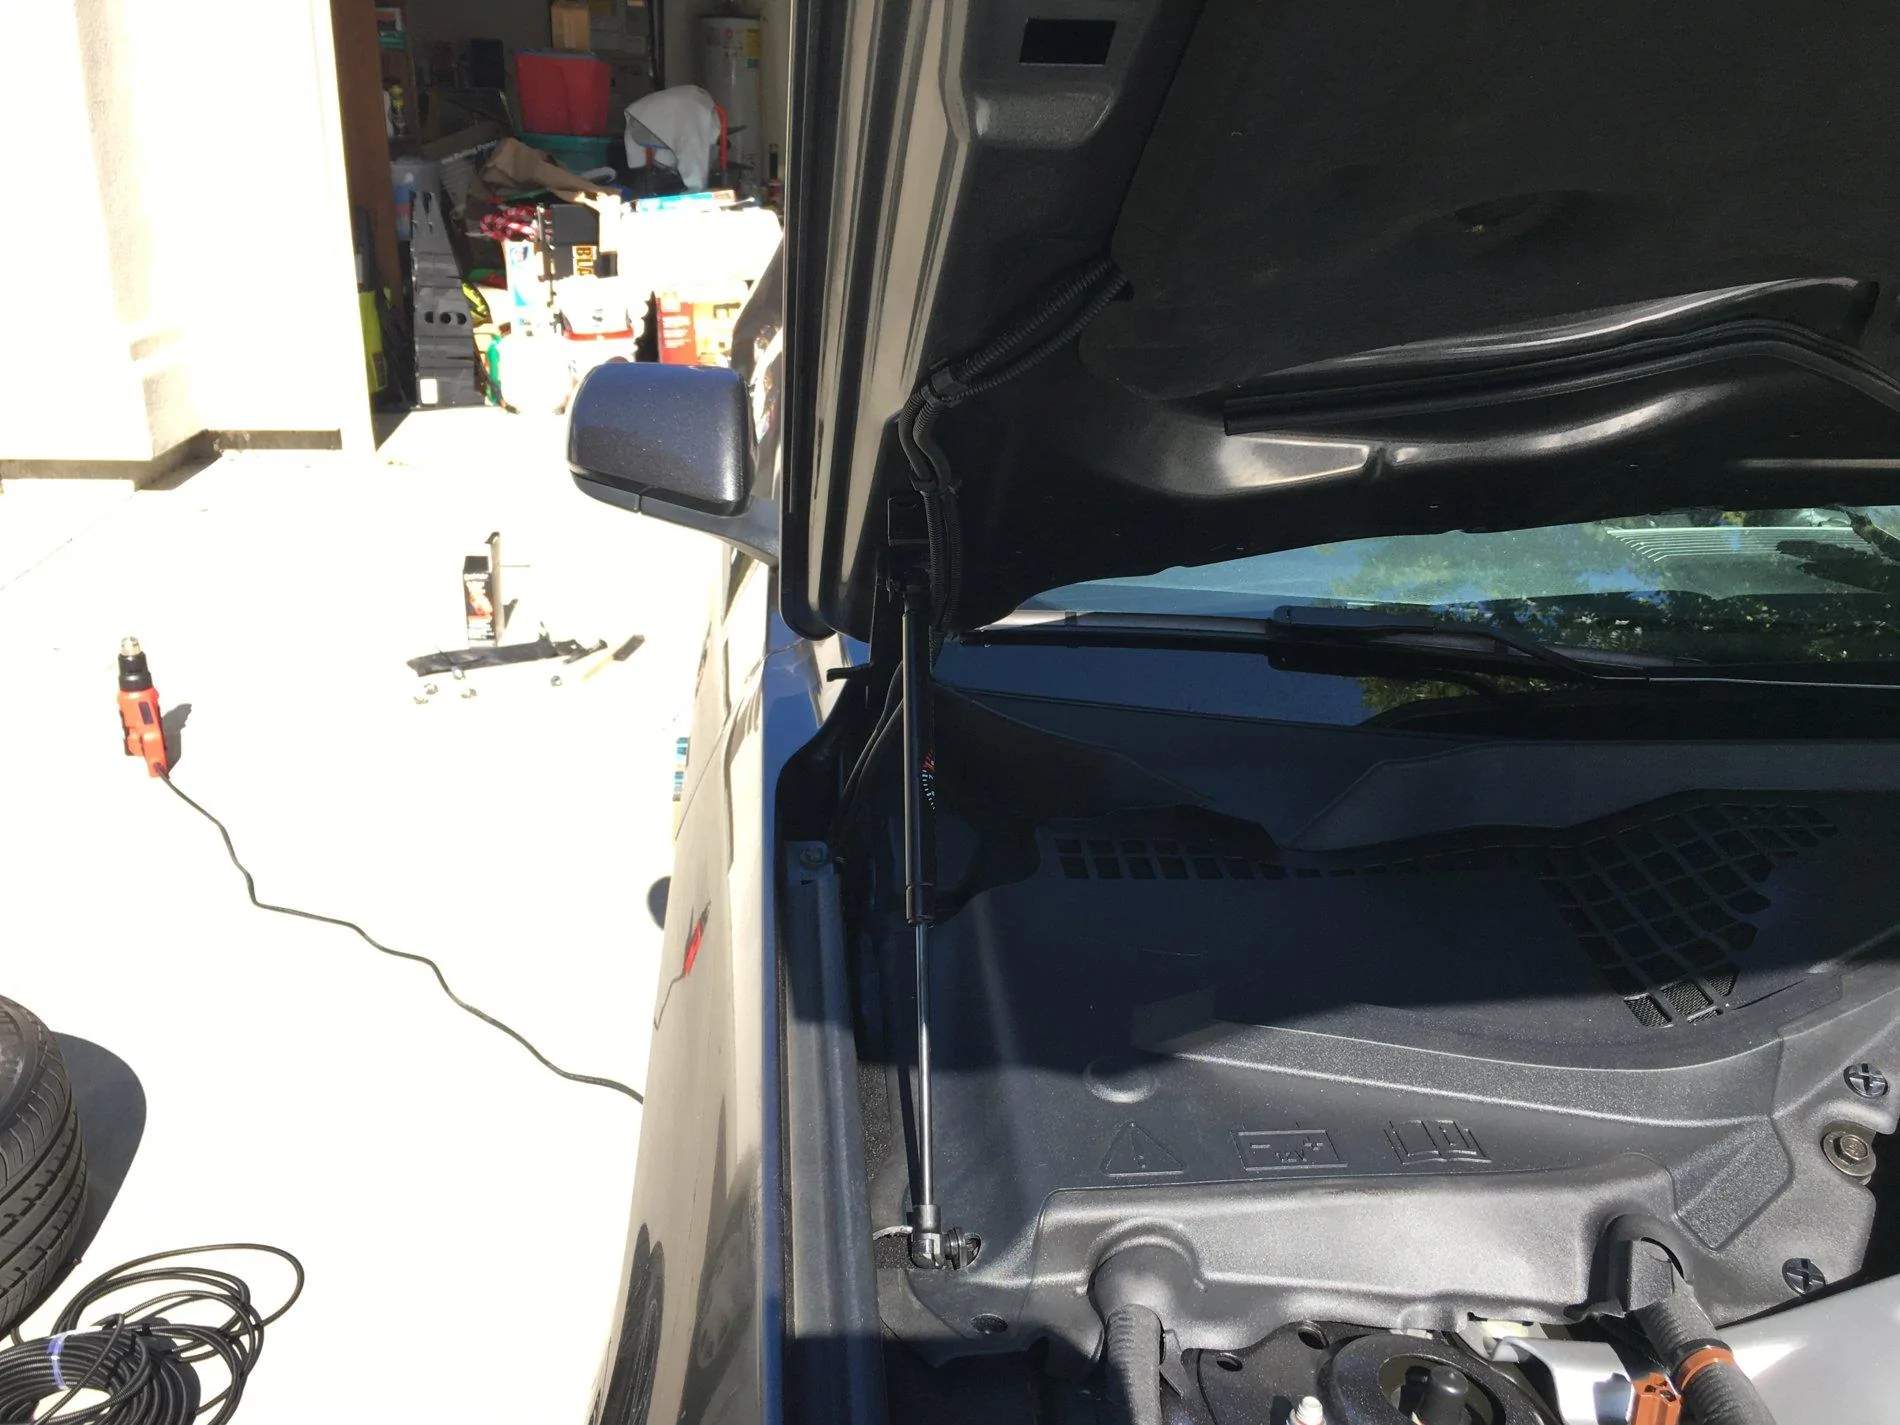
 I hope you are enjoying them!
) The visors aren't vinyl so the rectangle areas do still stand out, but at least they blend in better. Any-who... I was looking around their site and noticed that they had quite a few categories and lots of items for Mustangs! http://www.anchor-room.com/index.php?route=product/category&path=72 Very rarely are things as easy as they seem!
I hope you are enjoying them!
) The visors aren't vinyl so the rectangle areas do still stand out, but at least they blend in better. Any-who... I was looking around their site and noticed that they had quite a few categories and lots of items for Mustangs! http://www.anchor-room.com/index.php?route=product/category&path=72 Very rarely are things as easy as they seem!