UnkTob
Well-Known Member
- Joined
- Jun 26, 2019
- Threads
- 7
- Messages
- 99
- Reaction score
- 149
- Location
- Spudville Idaho
- First Name
- Rob
- Vehicle(s)
- 2018 Mustang GT Convertible Premium
- Thread starter
- #1
Hey all!
I decided to start a post with details and photos of my 2018 GT Convertible in Magnetic Metal Metallic.
This is my 3rd Mustang, and I'm loving it so far in the month and a half that I've had it! (Purchased on my Birthday this year, July 4th).
Here the different mods and stuff I've done to the car, and links once I add details and photos for each:
Exterior:
RTR 19" Tech 7 wheels (9.5" front & 10.5" rear)
Nitto NT555 G2 tires
MMD by Foose rear wing
Big Worm Graphix Dual wide full stripes in Gloss black with gloss red pinstripes
Close up of rear stripes, as requested
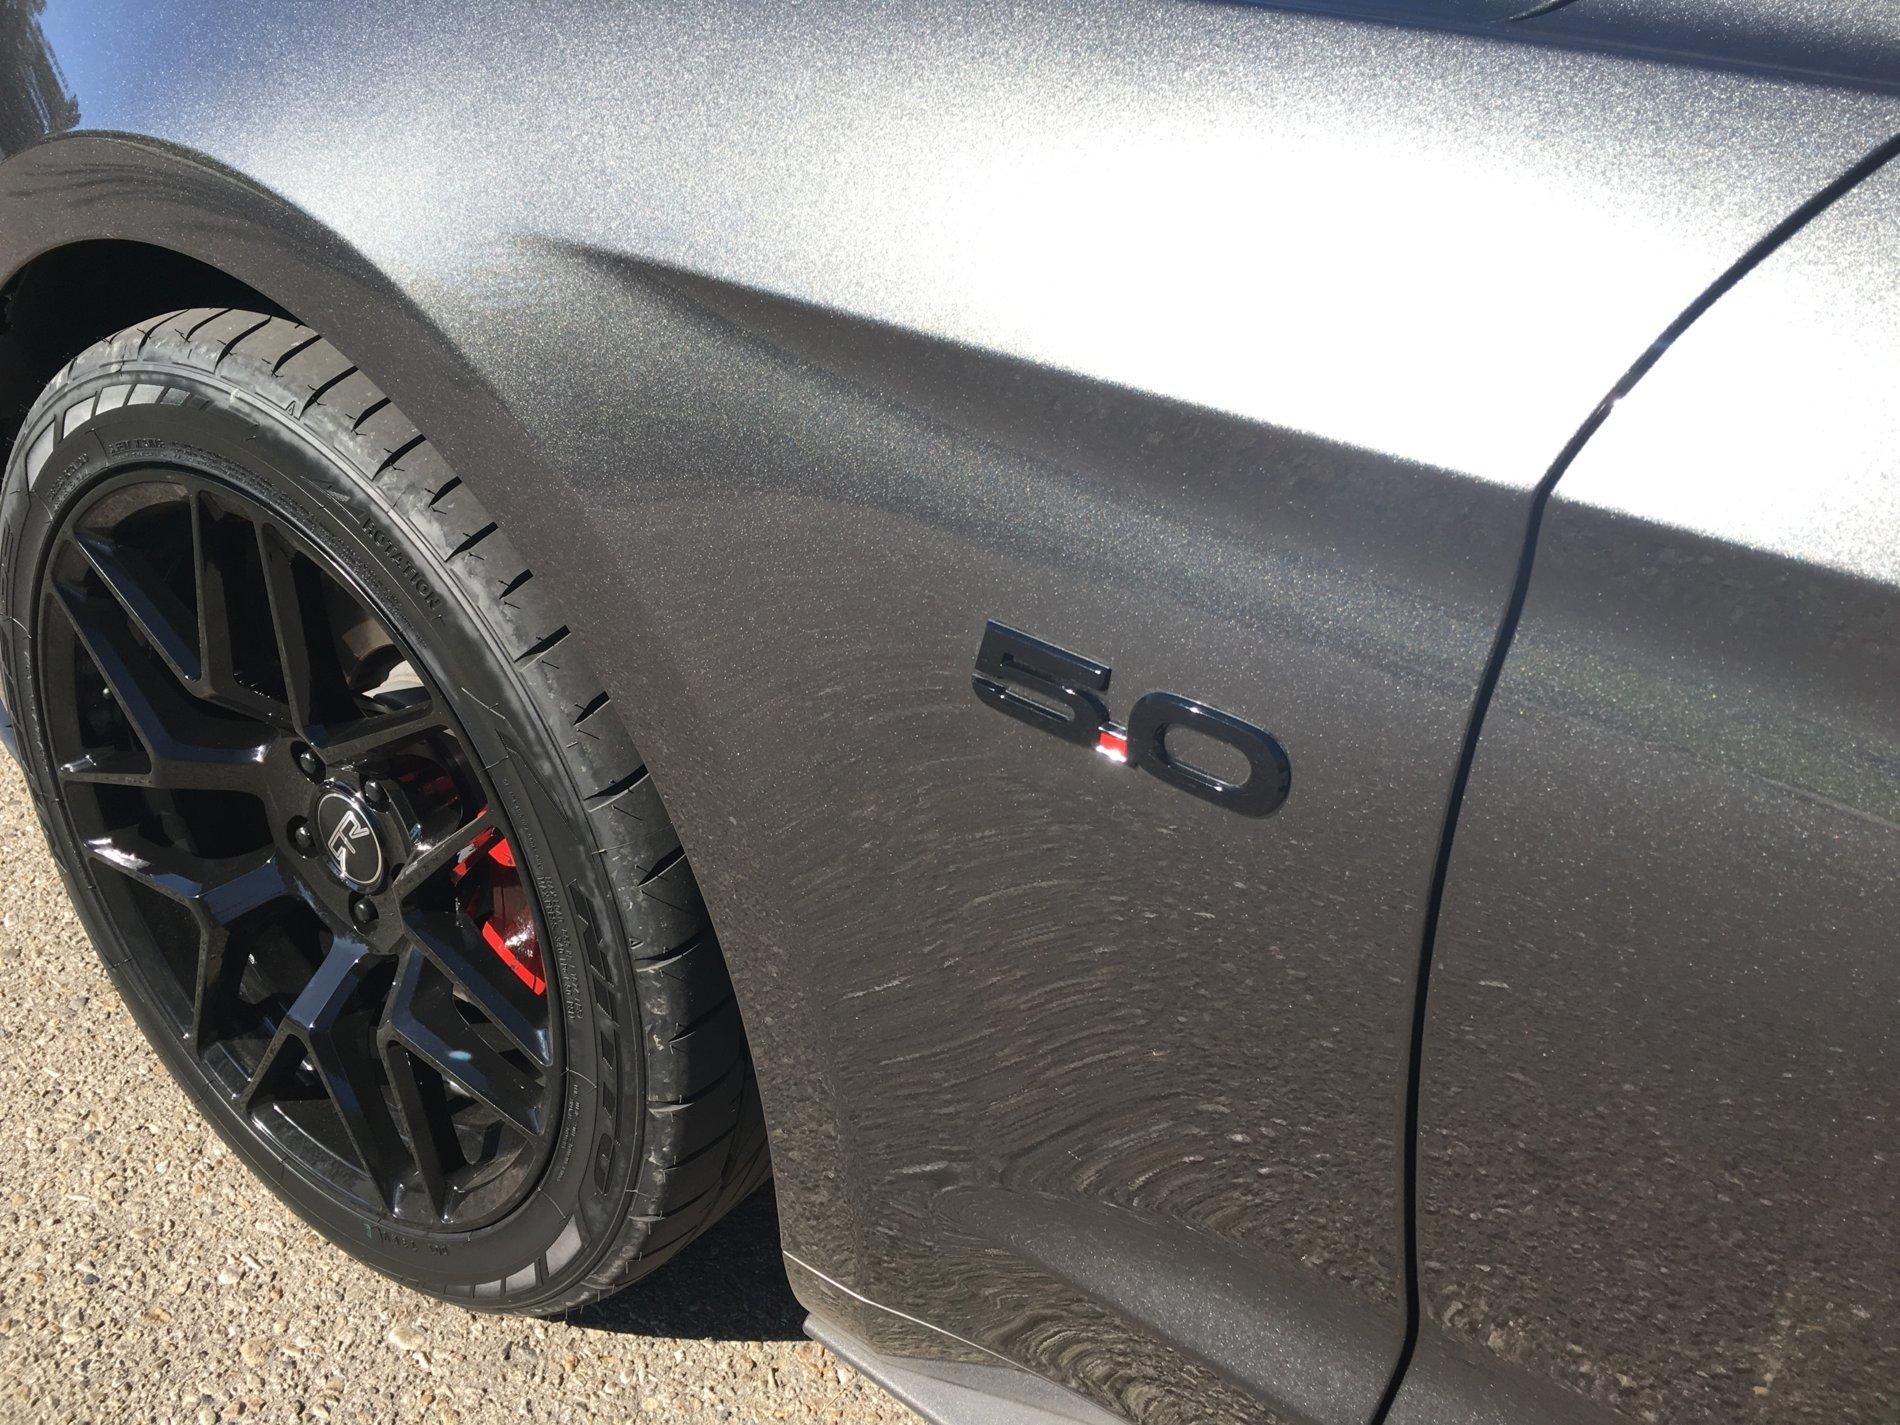
Blacked out 5.0 side emblems
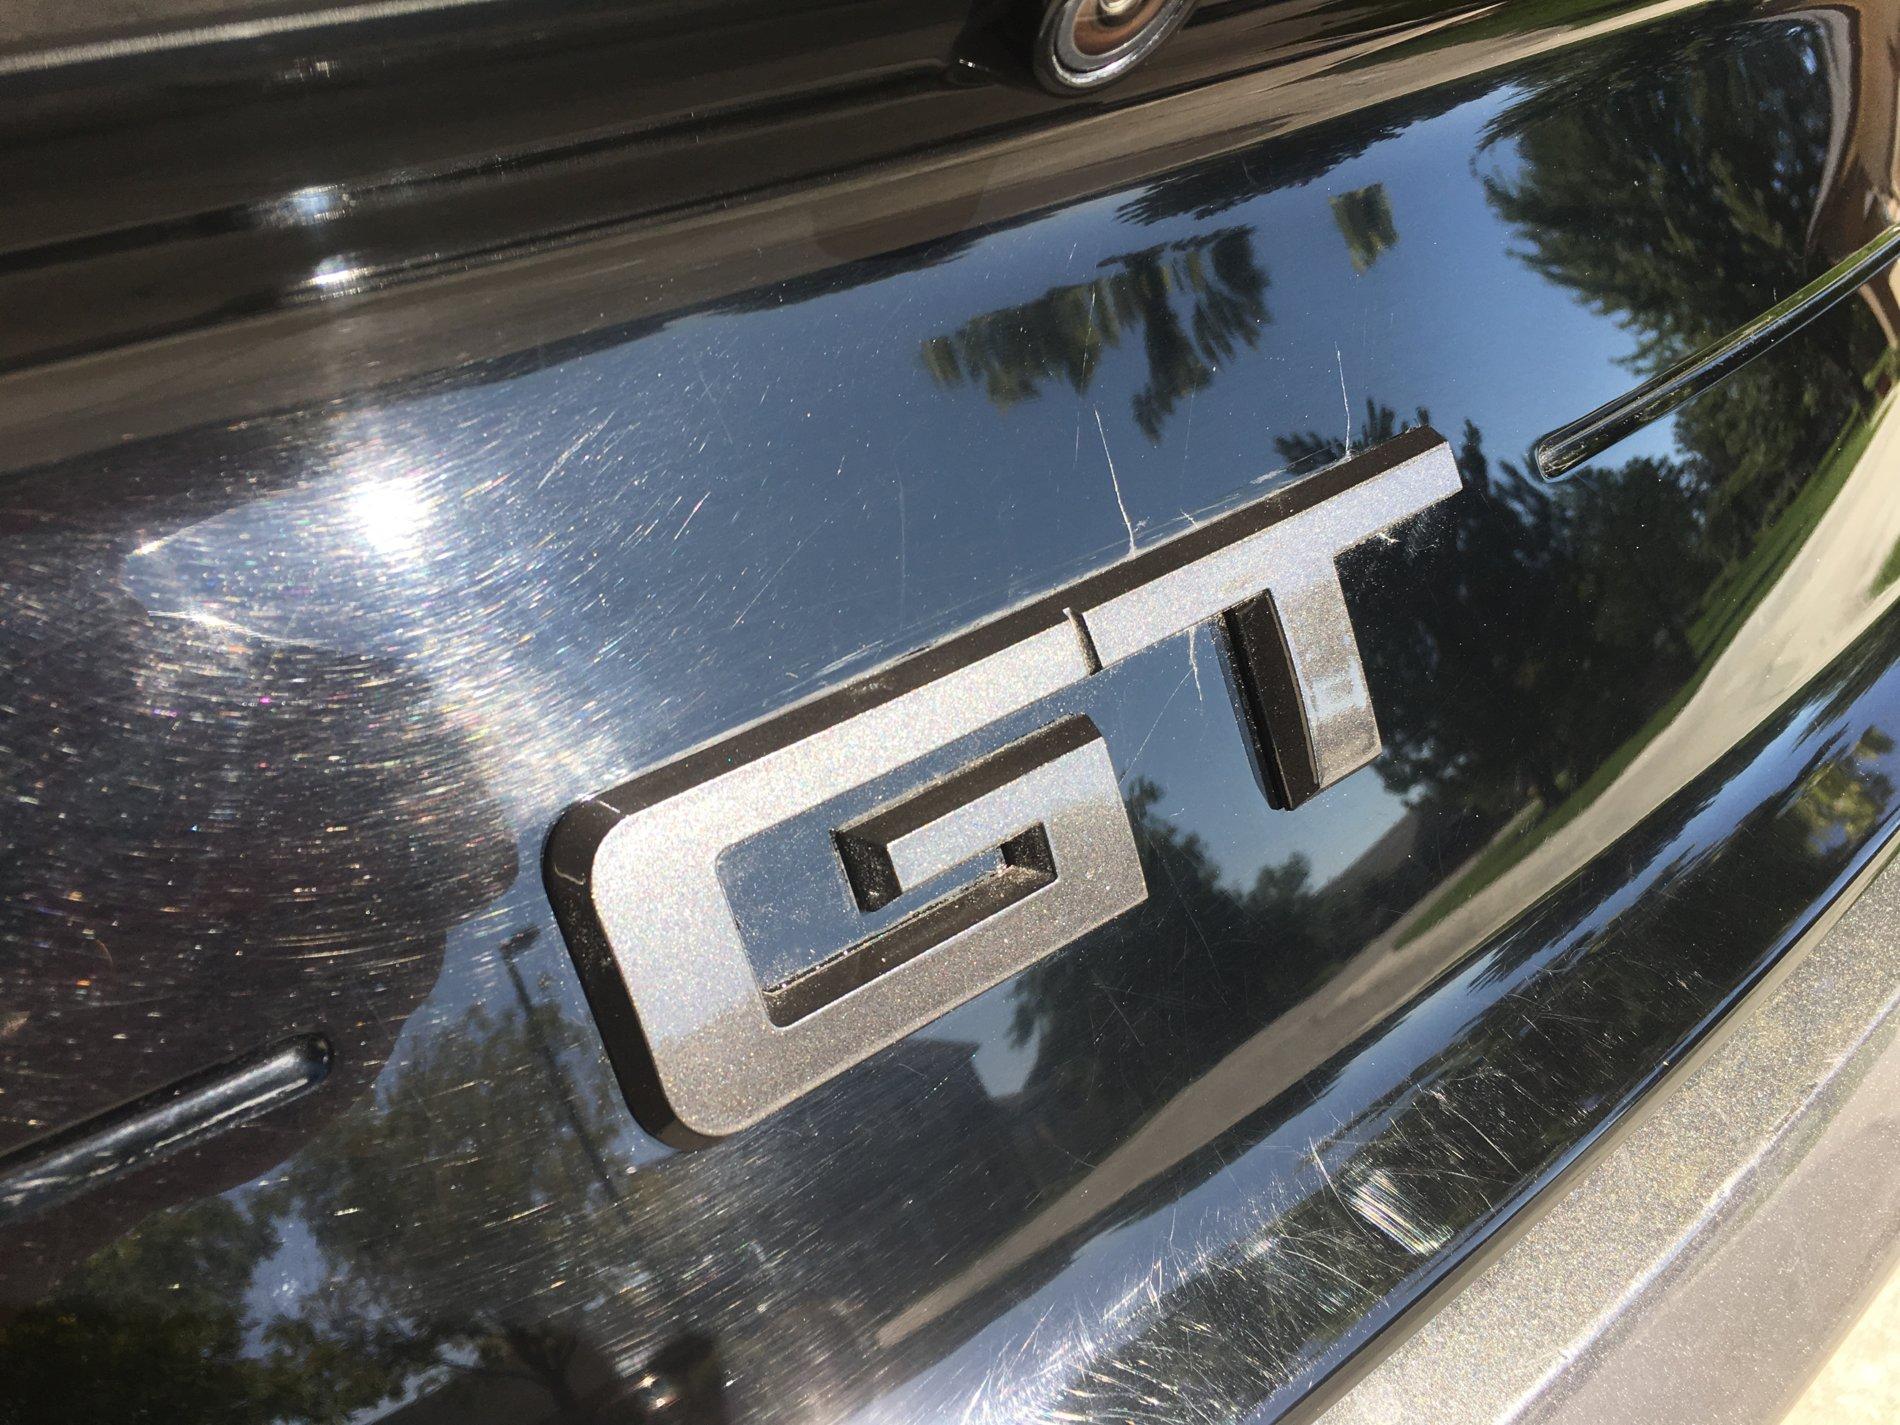
Paint matched rear GT emblem
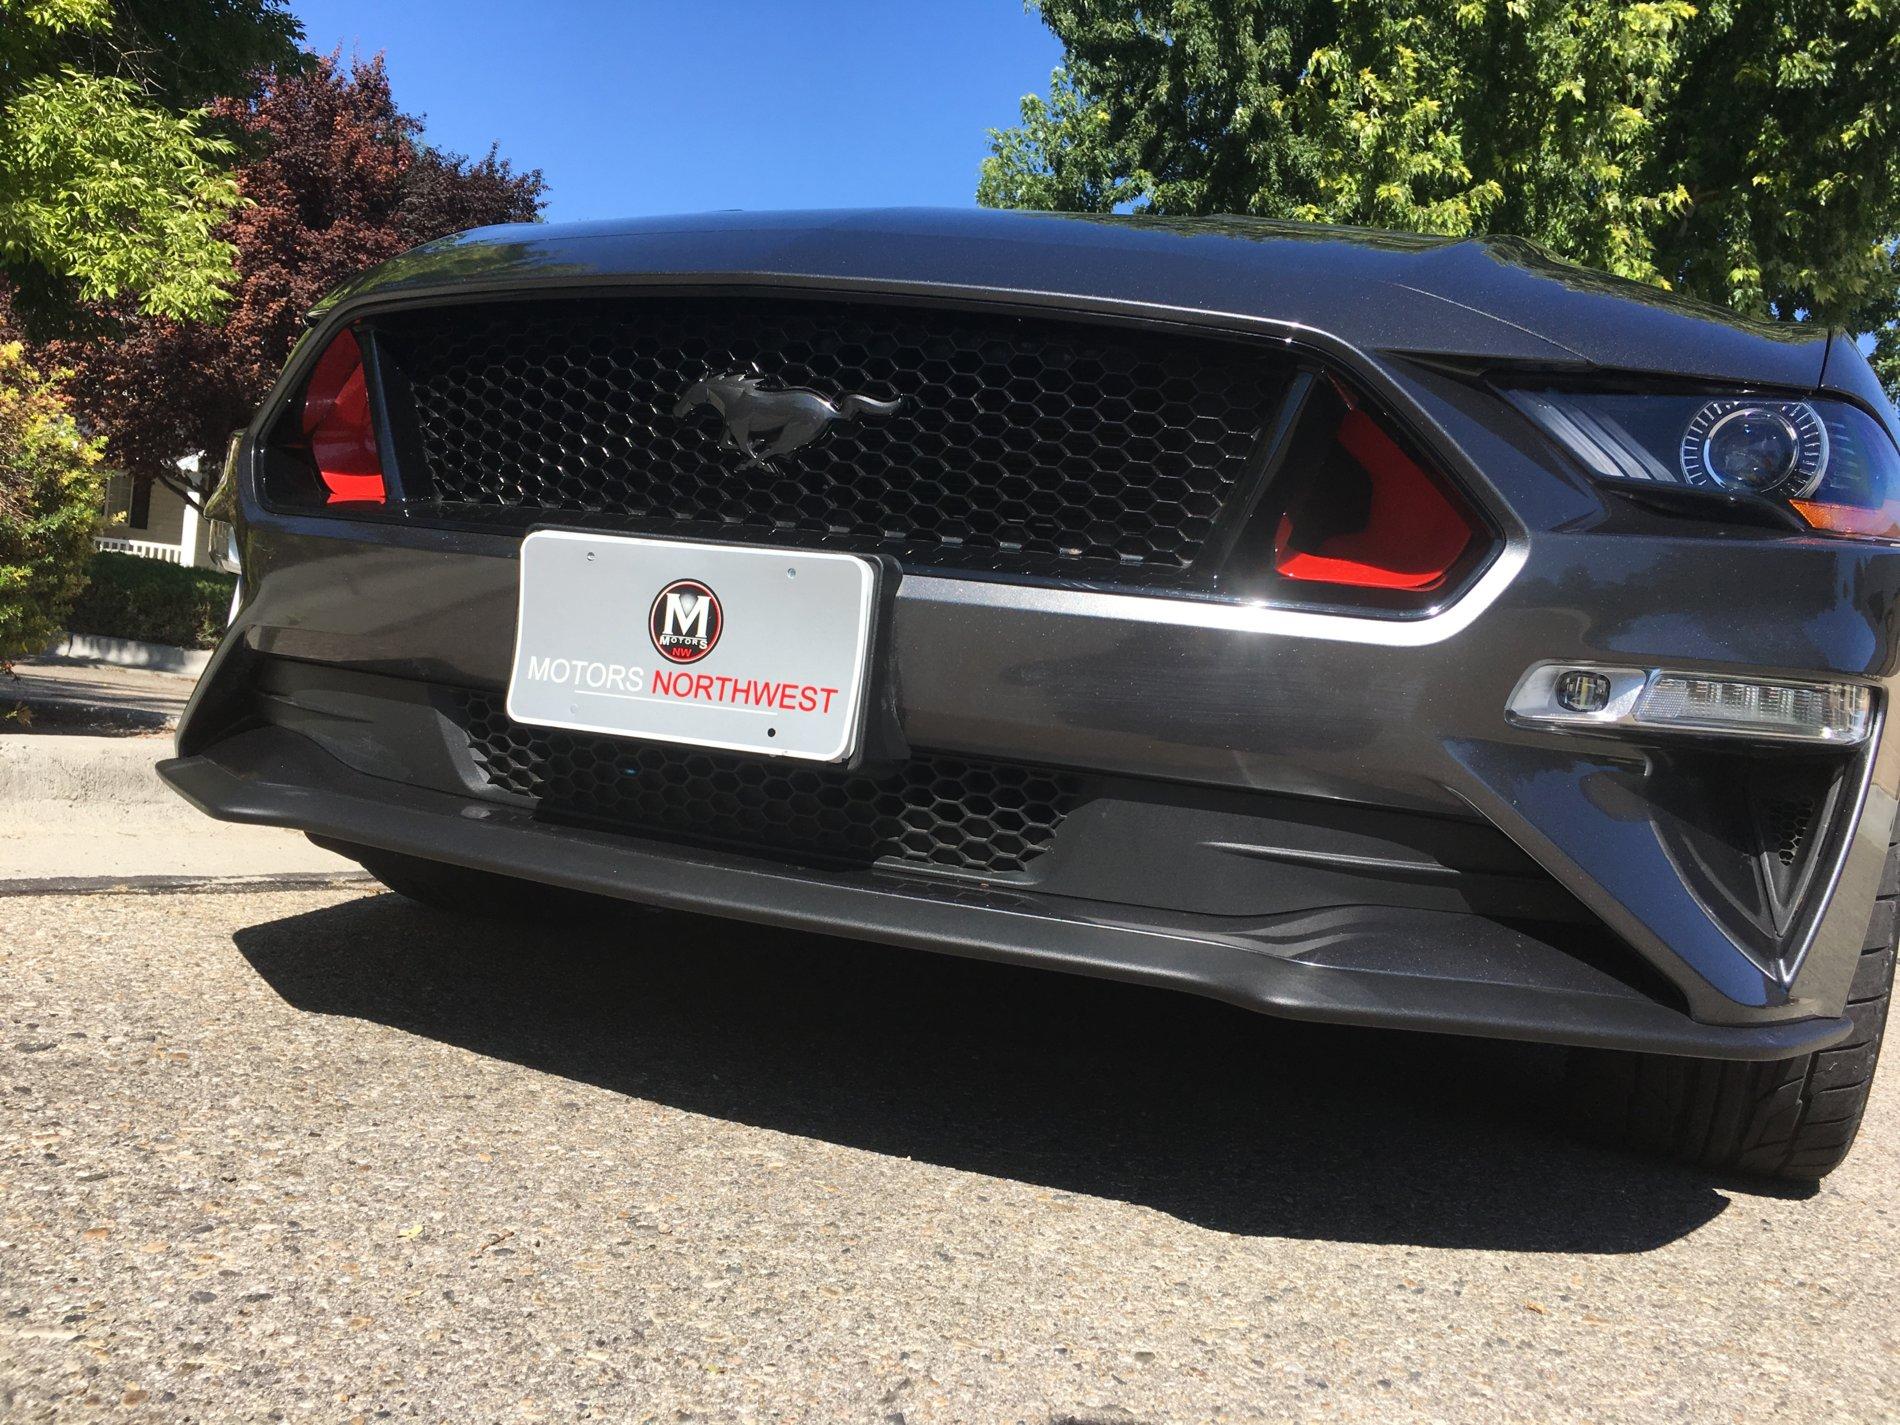
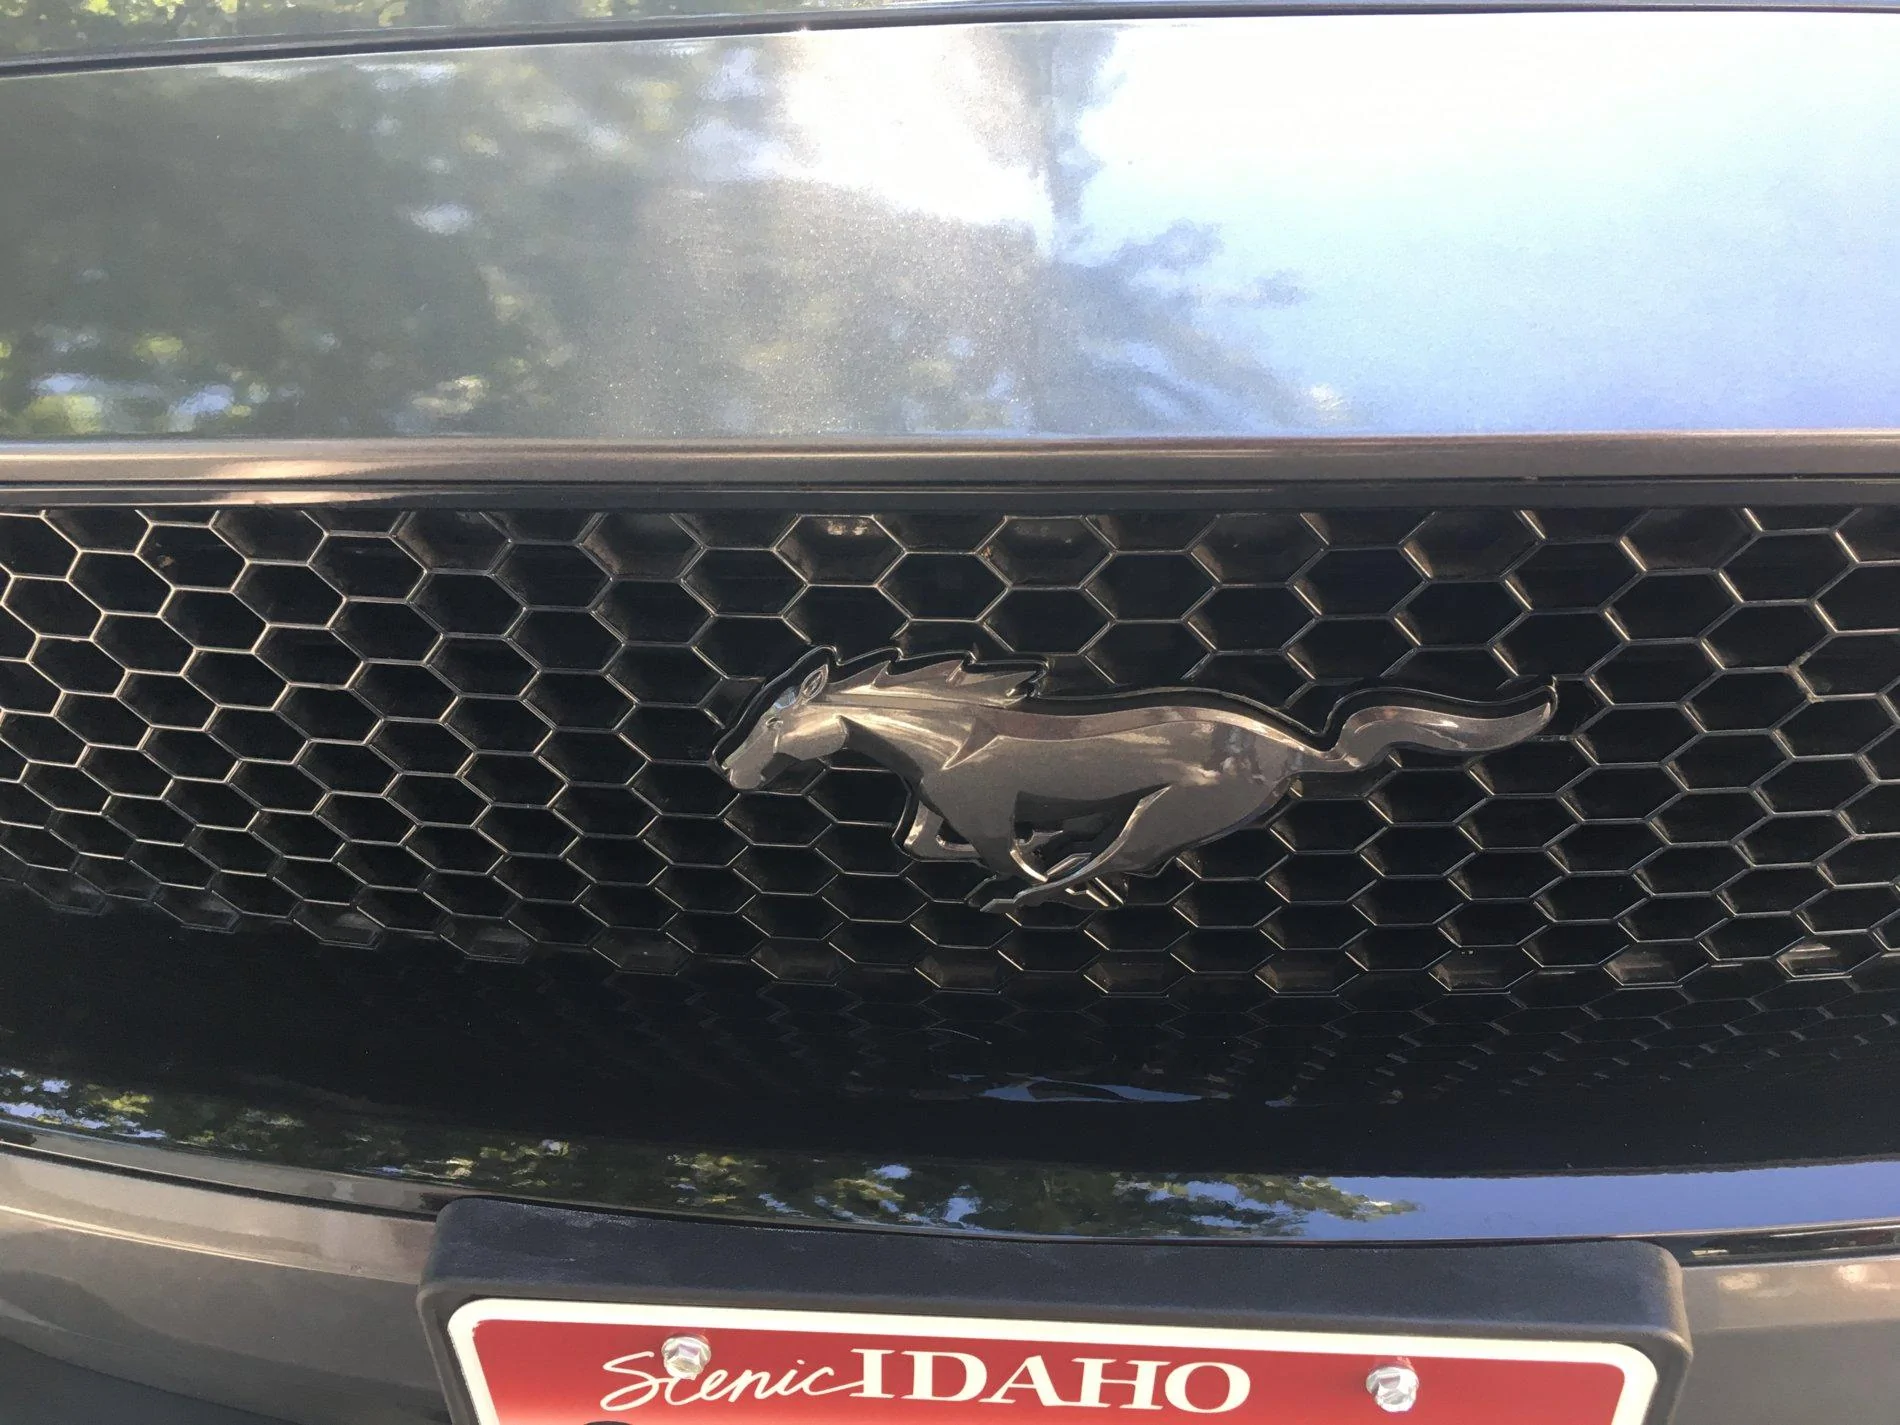
Paint matched front pony emblem
Dupli-Color red caliper paint w/Vinzdecalz Metalic Grey Mustang decals for brake calipers
15% tint all the way around from The Boise Tint Shop
15% tint on marker/fog lights and reverse light (not installed yet)
Speedform Motorized License plate mount -Installed but I barely scrapped a parking curb and it "taco'd" )
)
STO N SHO License plate bracket - replacing the stupid taco'd one.
Velossa Tech Big Mouth Air Rams (also kind of an engine mod too) including lots of cutting up of the stock front grill. (Yikes!! )
)
J&M jacking rails... in red, of course!
Engine:
Roush Cold Air Intake
Roush h-pipe resonator delete
Billet fluid caps
RedLine Tuning Hood Struts (Seriously Ford?!?! A hood prop?!?! Seriously?!?!)
LED under-hood lights and hood-pin switch
Anchor-Room engine cover vinyl stuff to try to "un-boring up" the engine cover.
Liqui Moly CeraTec
Lund Tune
Tinted Fog lights, backup light and amber part of headlights
Interior:
nGauge installed in left vent
LED bulbs
Modern Billet Speaker trim rings for Tweeters and Mid-range
Anchor-Room sun visor safety sticker cover-up's
Anchor-Room Windshield Ford Oval highlight
Controller holder
Red stitching on seats and door cards
Suspension:
Air Lift Performance 3H system - (Links will be added as details are added for each step)
"Why", overview, design and building of the platform
Custom painted air tank
Annoying issues with tank fittings and fixing them
Rear suspension install
Front suspension install
Rear ride height sensors install
Front ride height sensors install
Operation of controller, settings overview and the finished product!
Trunk:
LED light bar tied into the stock trunk light
Brakes:
Power Stop drilled & slotted zinc coated rotors with Z23 Evolution Sport Ceramic Pads
Security:
Waylens Secure 360 4G dash cam with OBD wiring (having issues with ODB share for nGauge, so changing to hardwired)
Other random stuff:
Show Board by showcarsillustrated.com
I've learned so much from the posts on this awesome forum, but a HUGE shoutout to bjstang and his ridiculously helpful posts in his "Double Race Red Journal". Many of the things I've done to my car I either learned how to do, or flat out learned that these things exists and/or are possible! LOL
Thanks for checking this blog out!


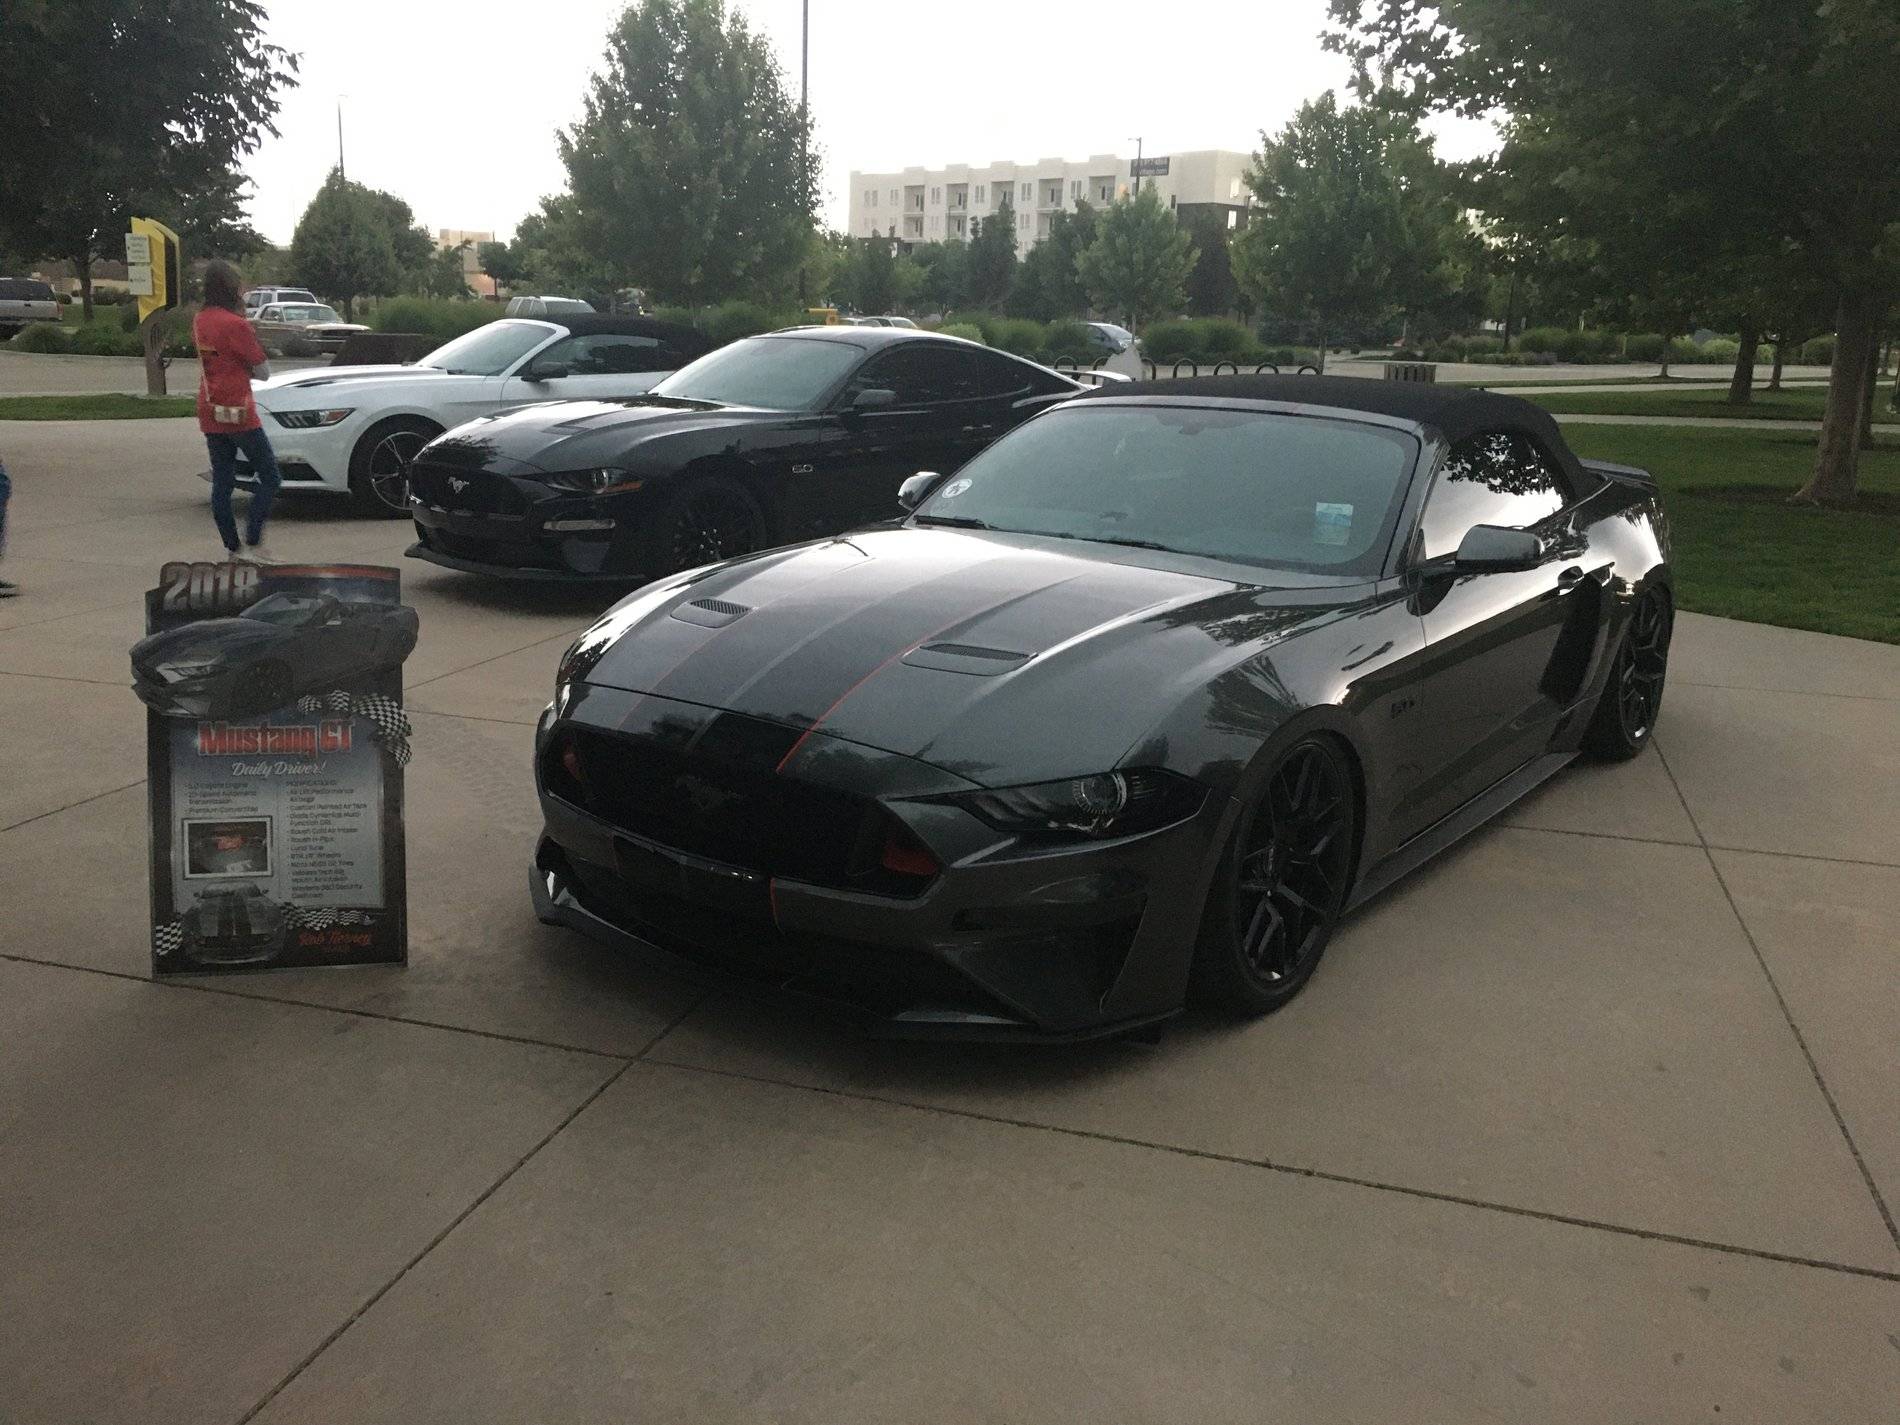
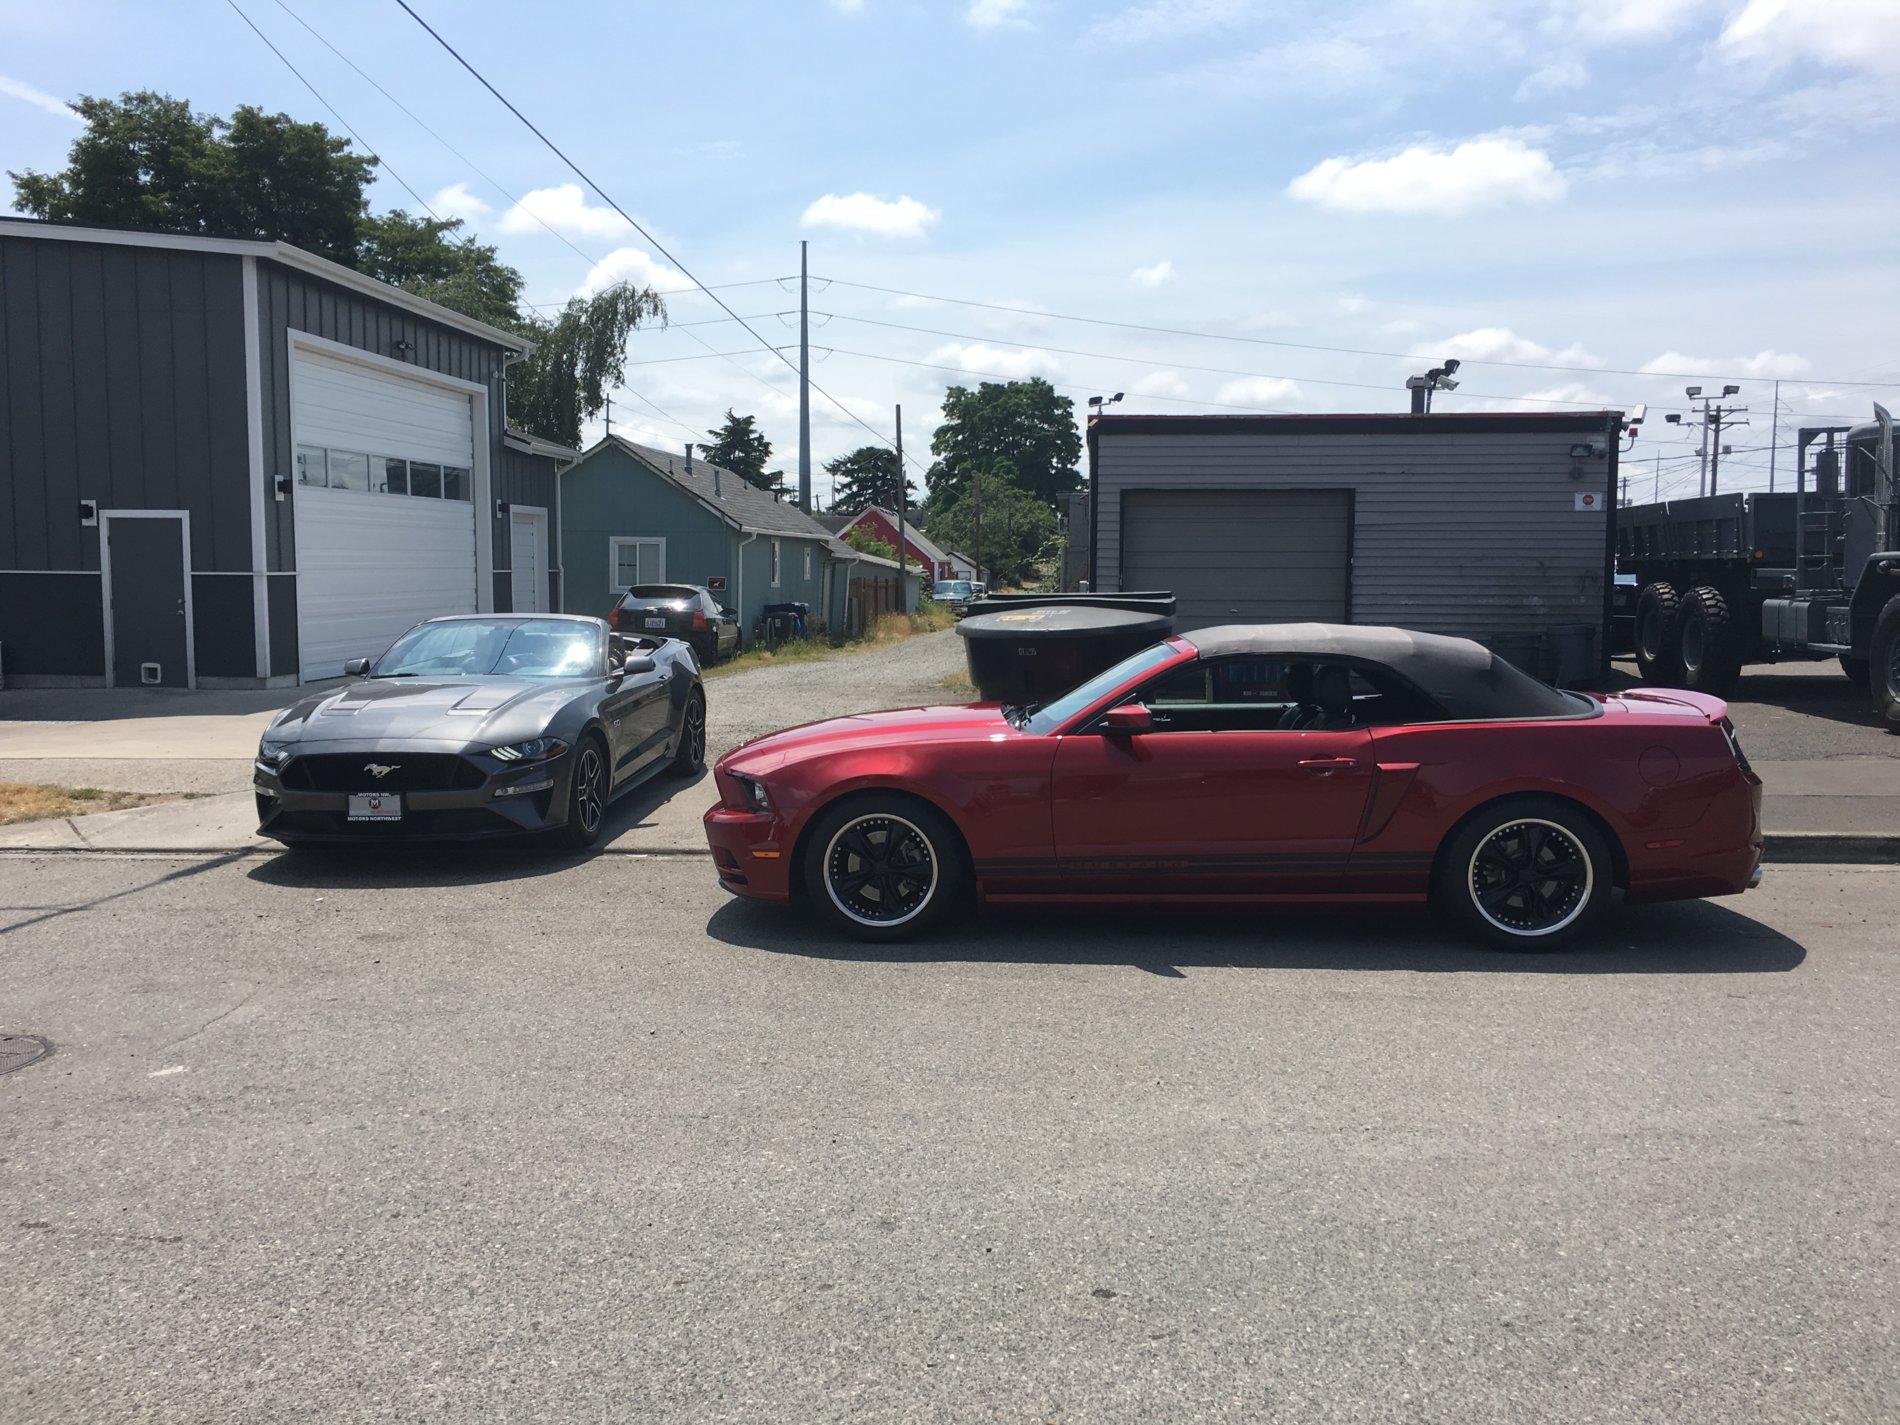
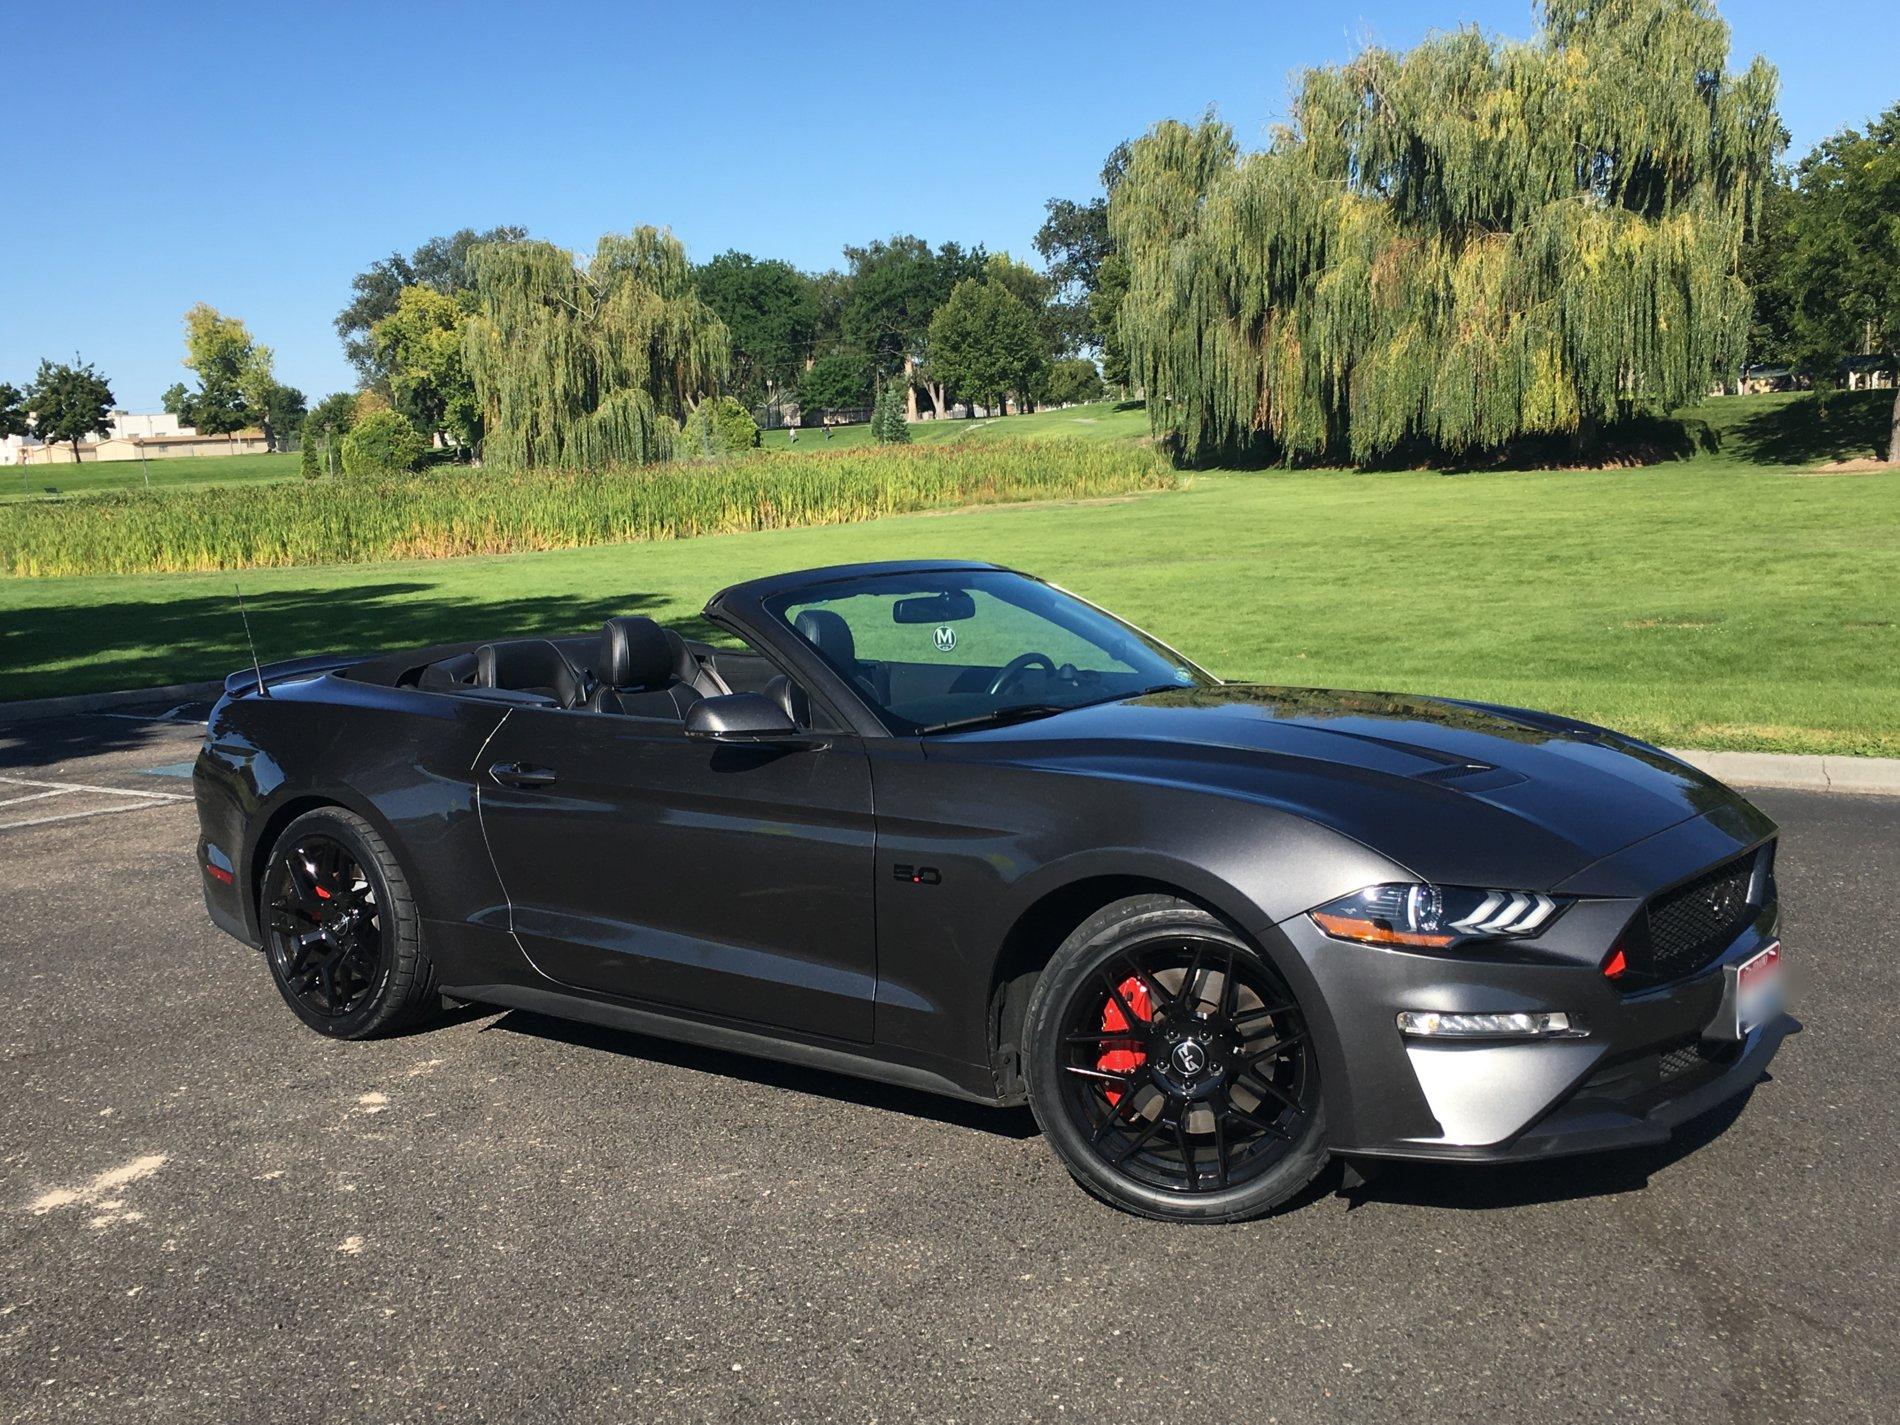
Here's a recent picture of it with the latest mods/updates at our local Mustang Club Car Show on June 13, about 10 minutes before the downpour started and the thunderstorm roared in.

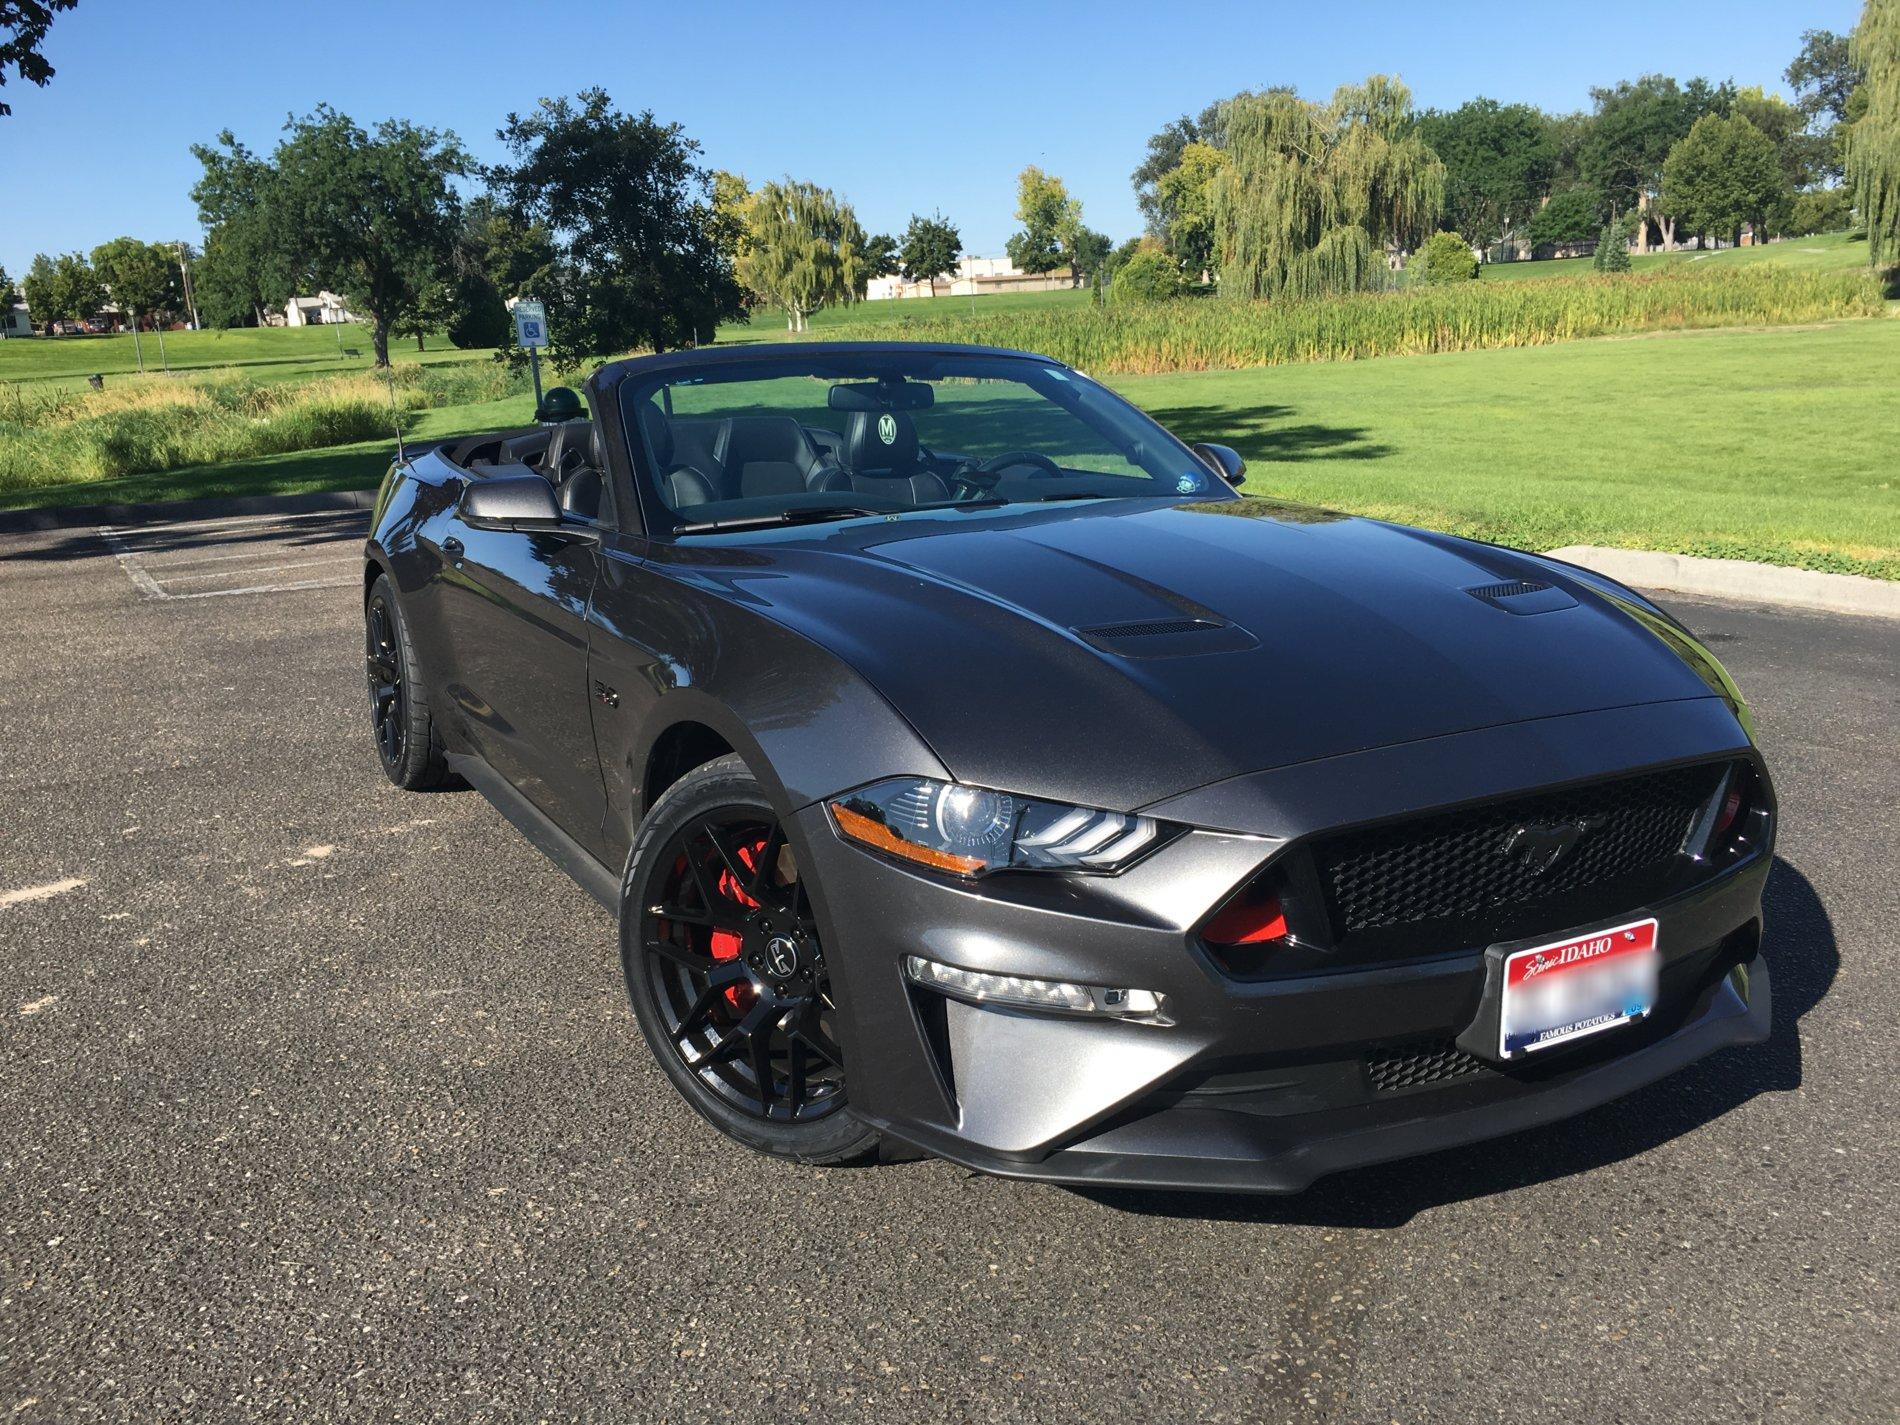
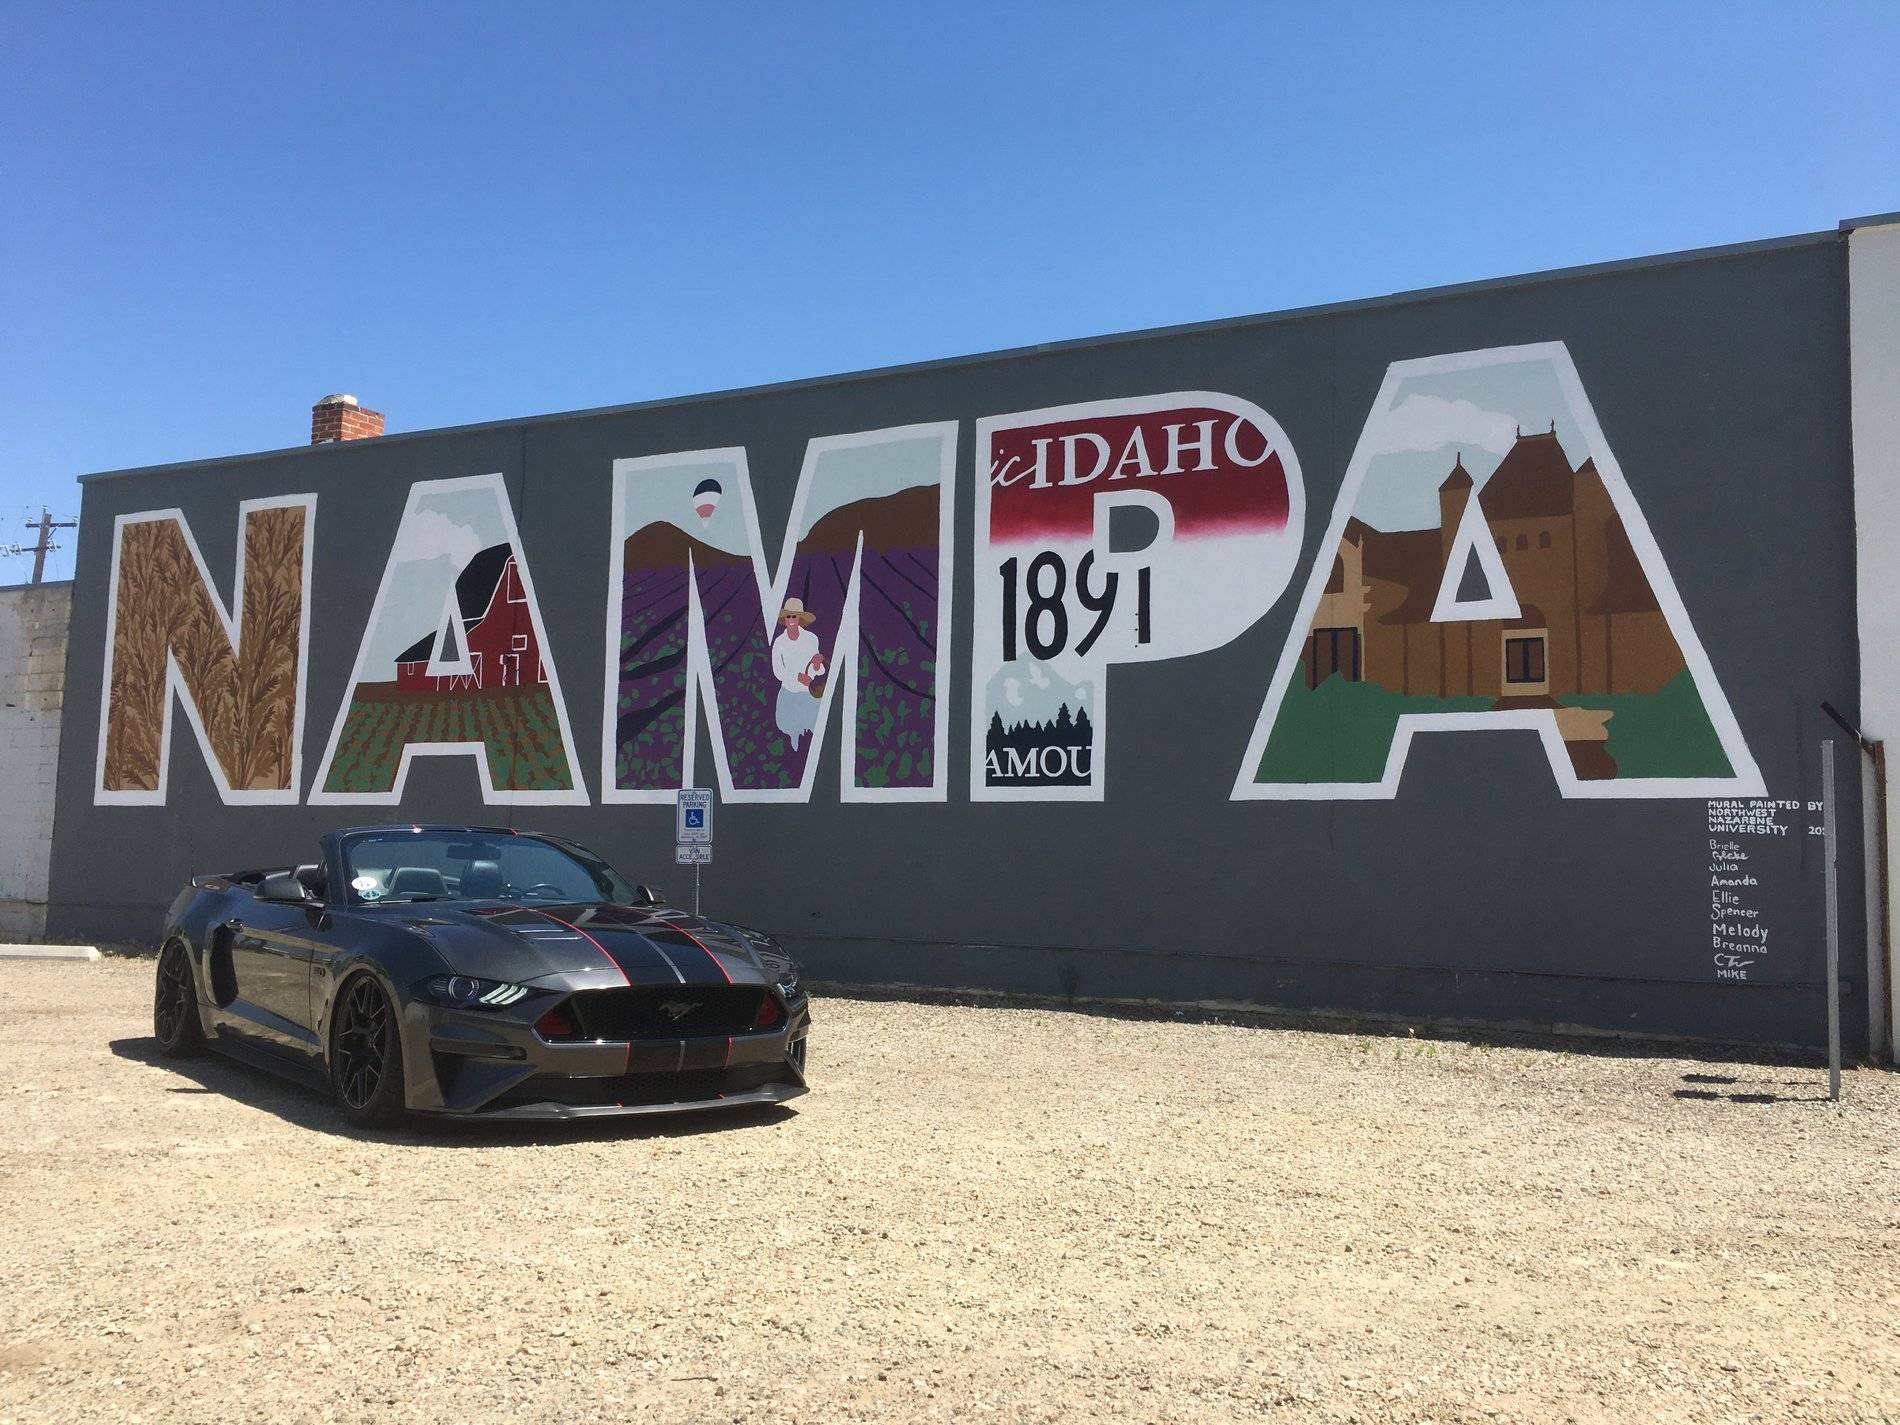
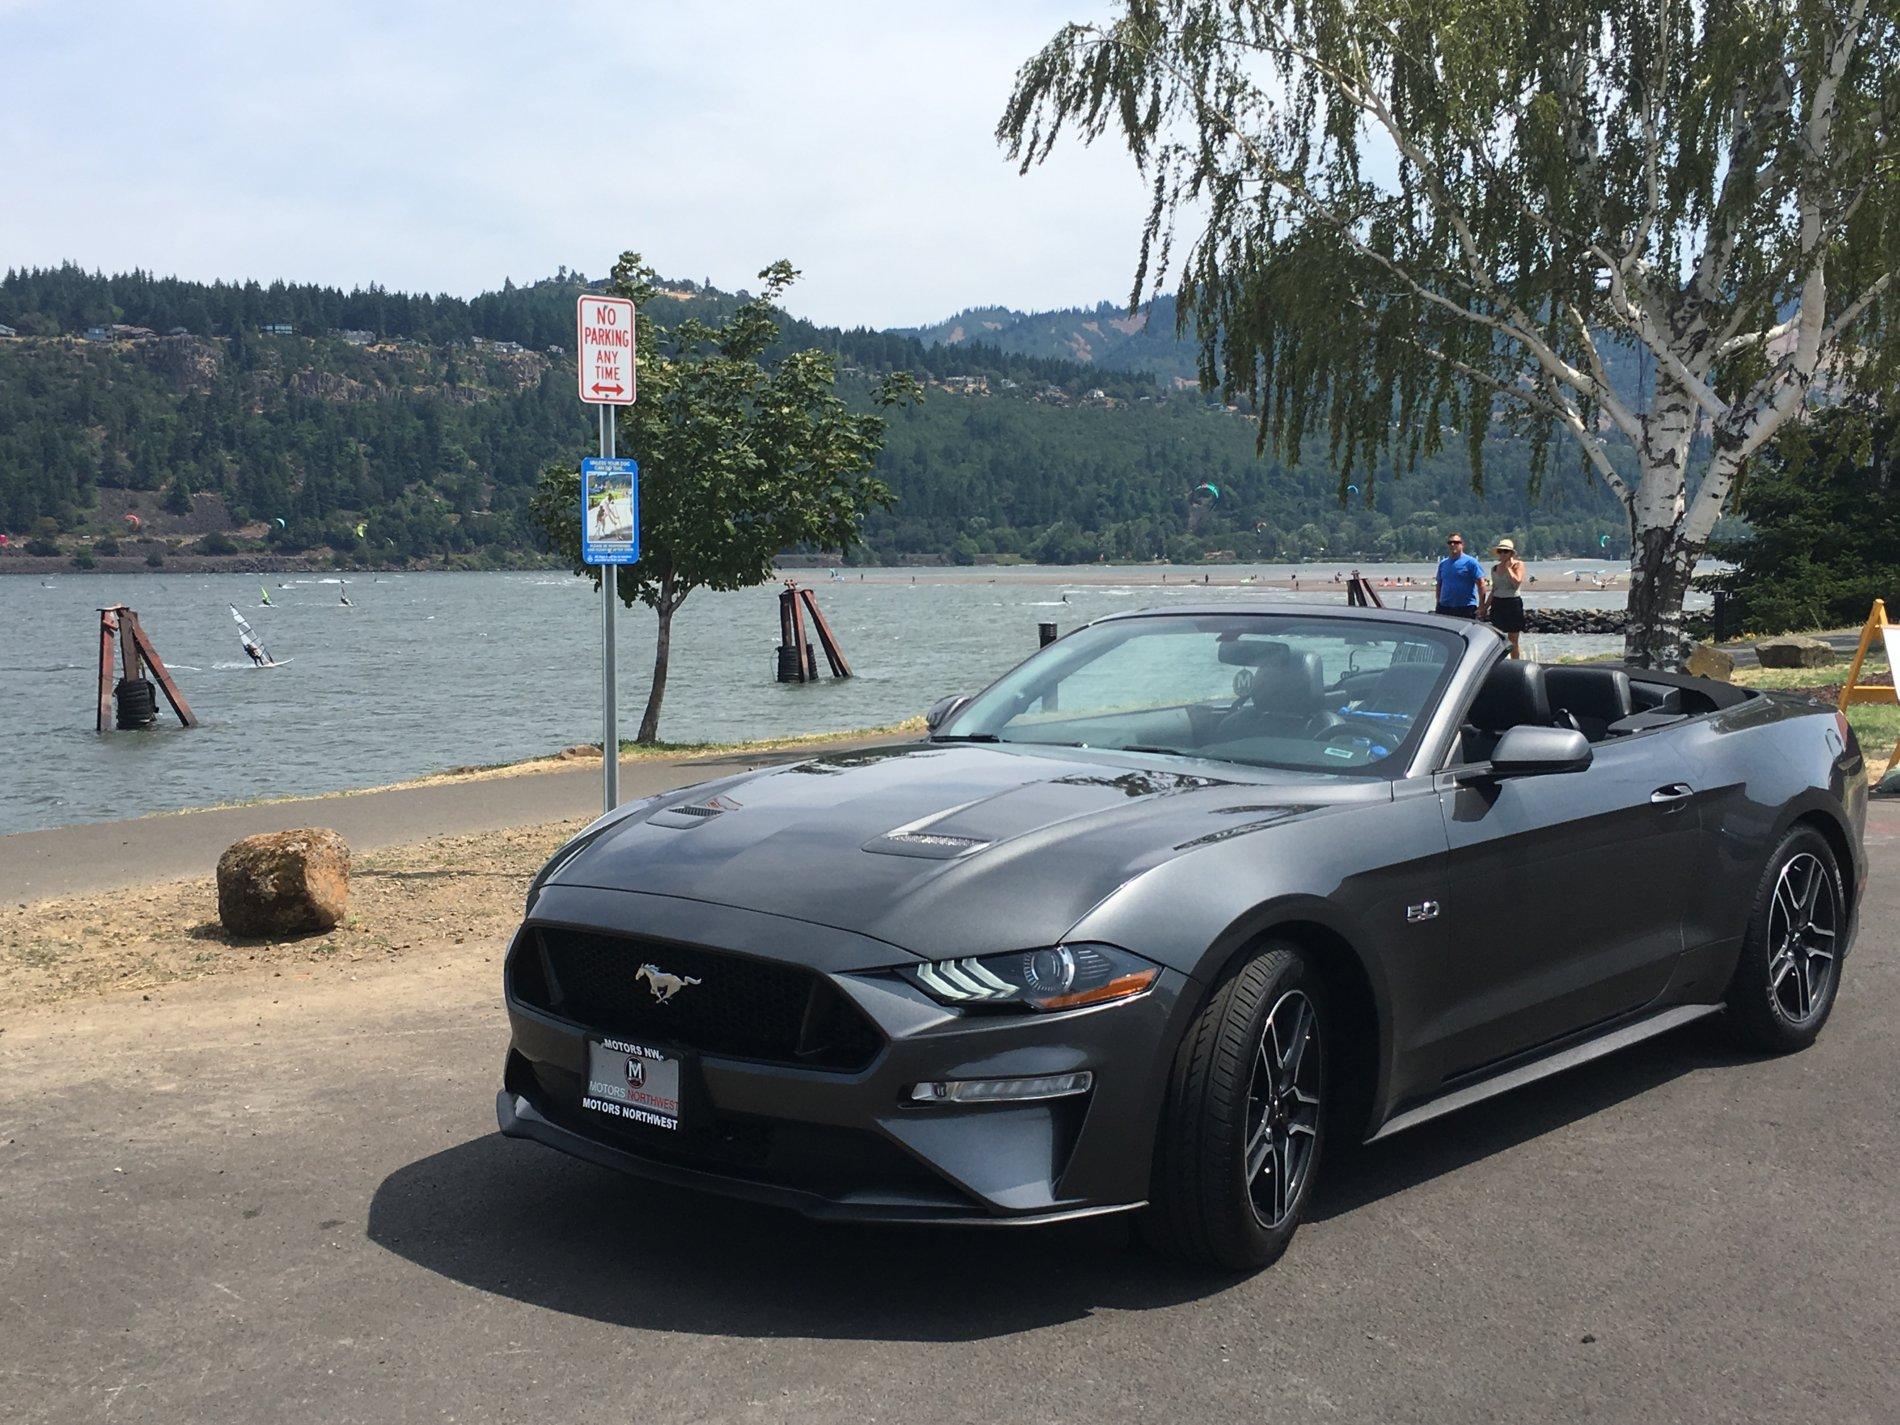
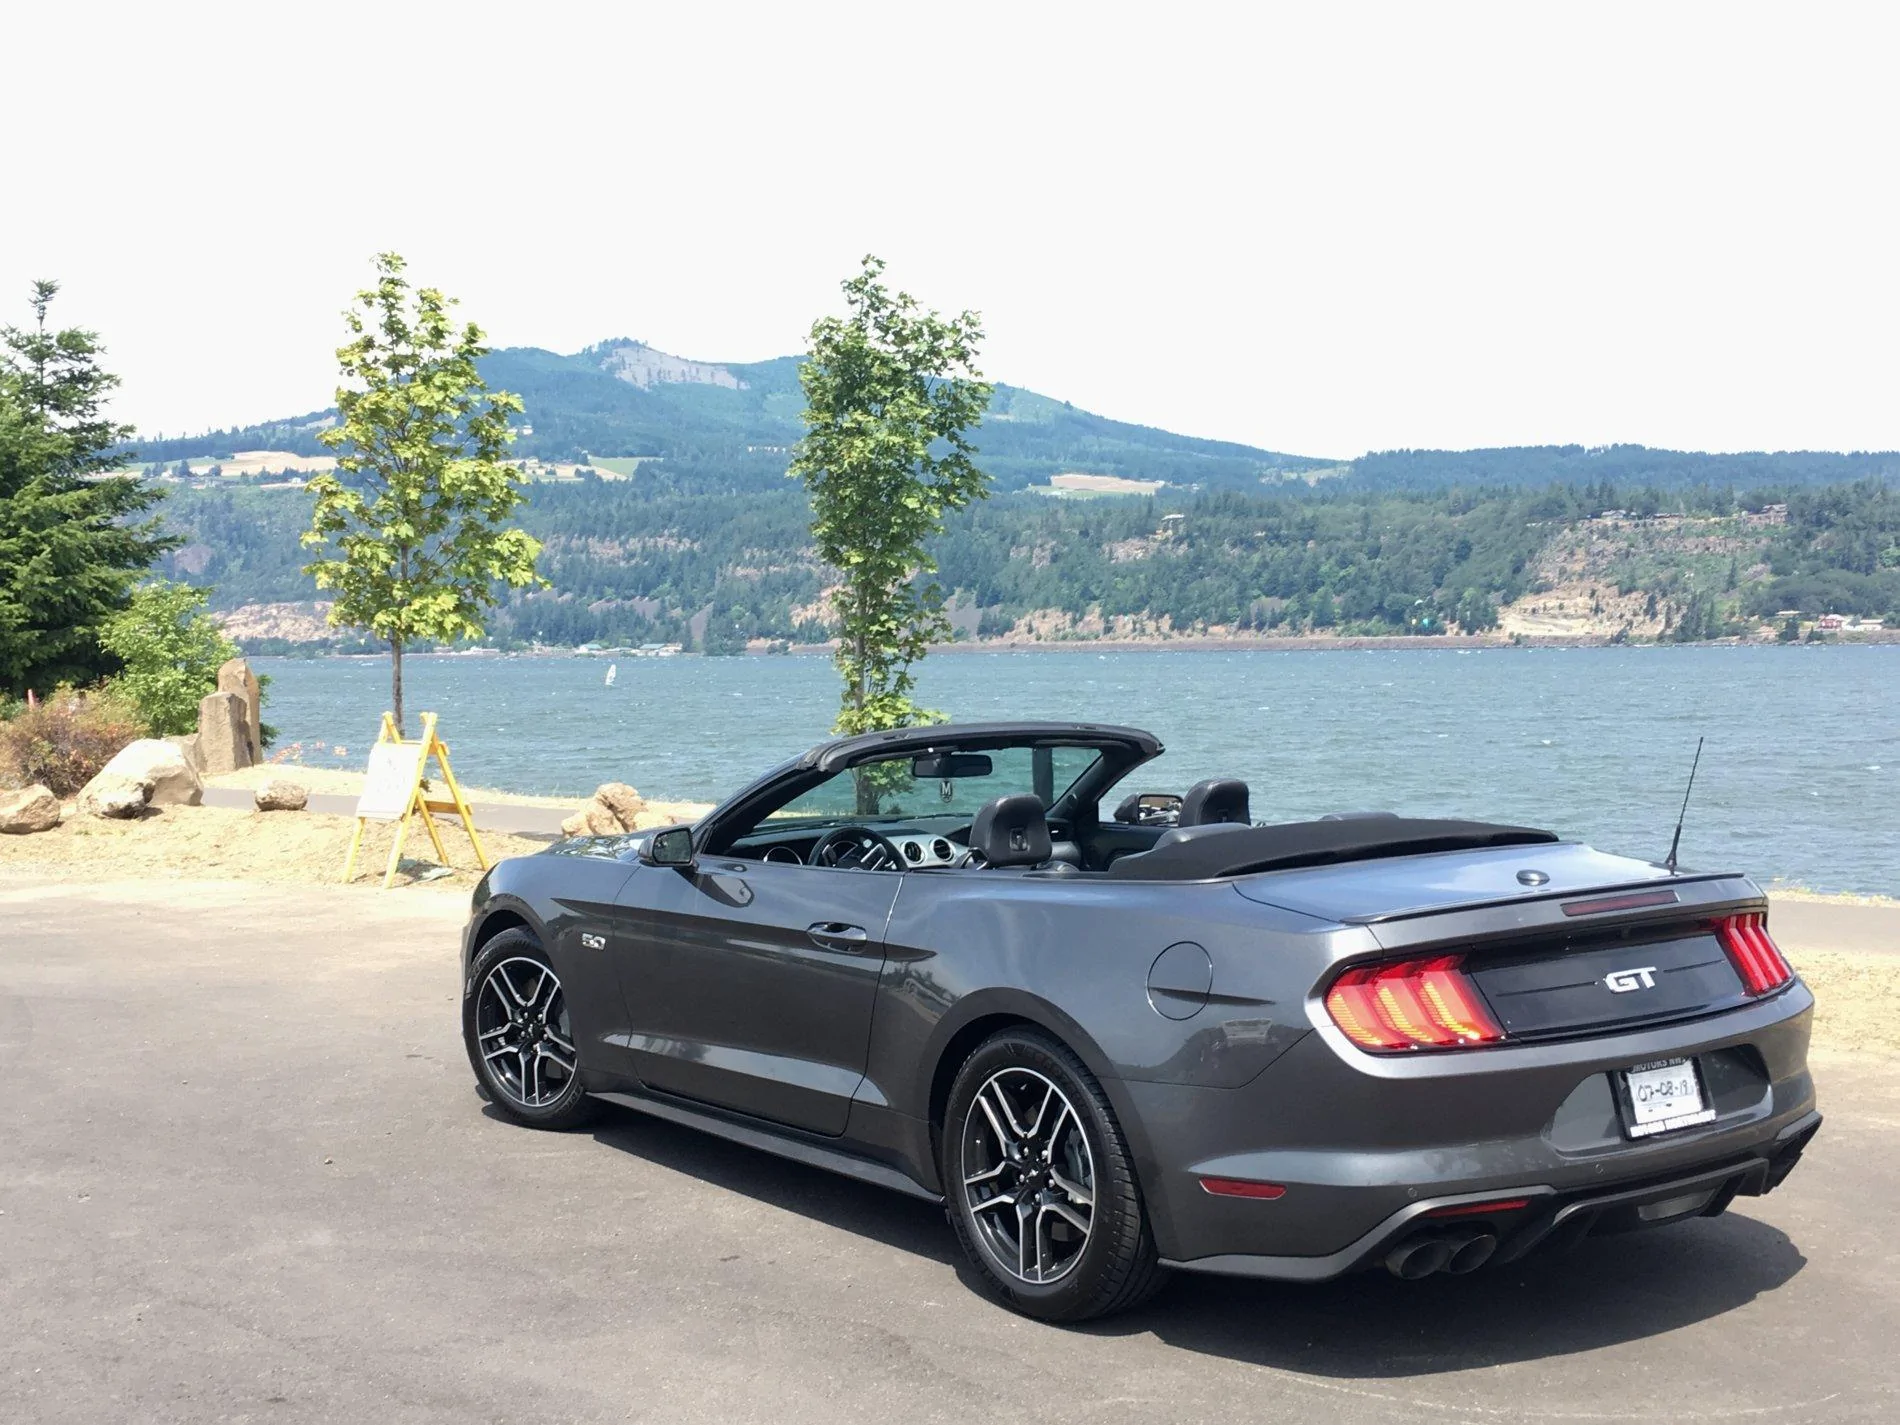
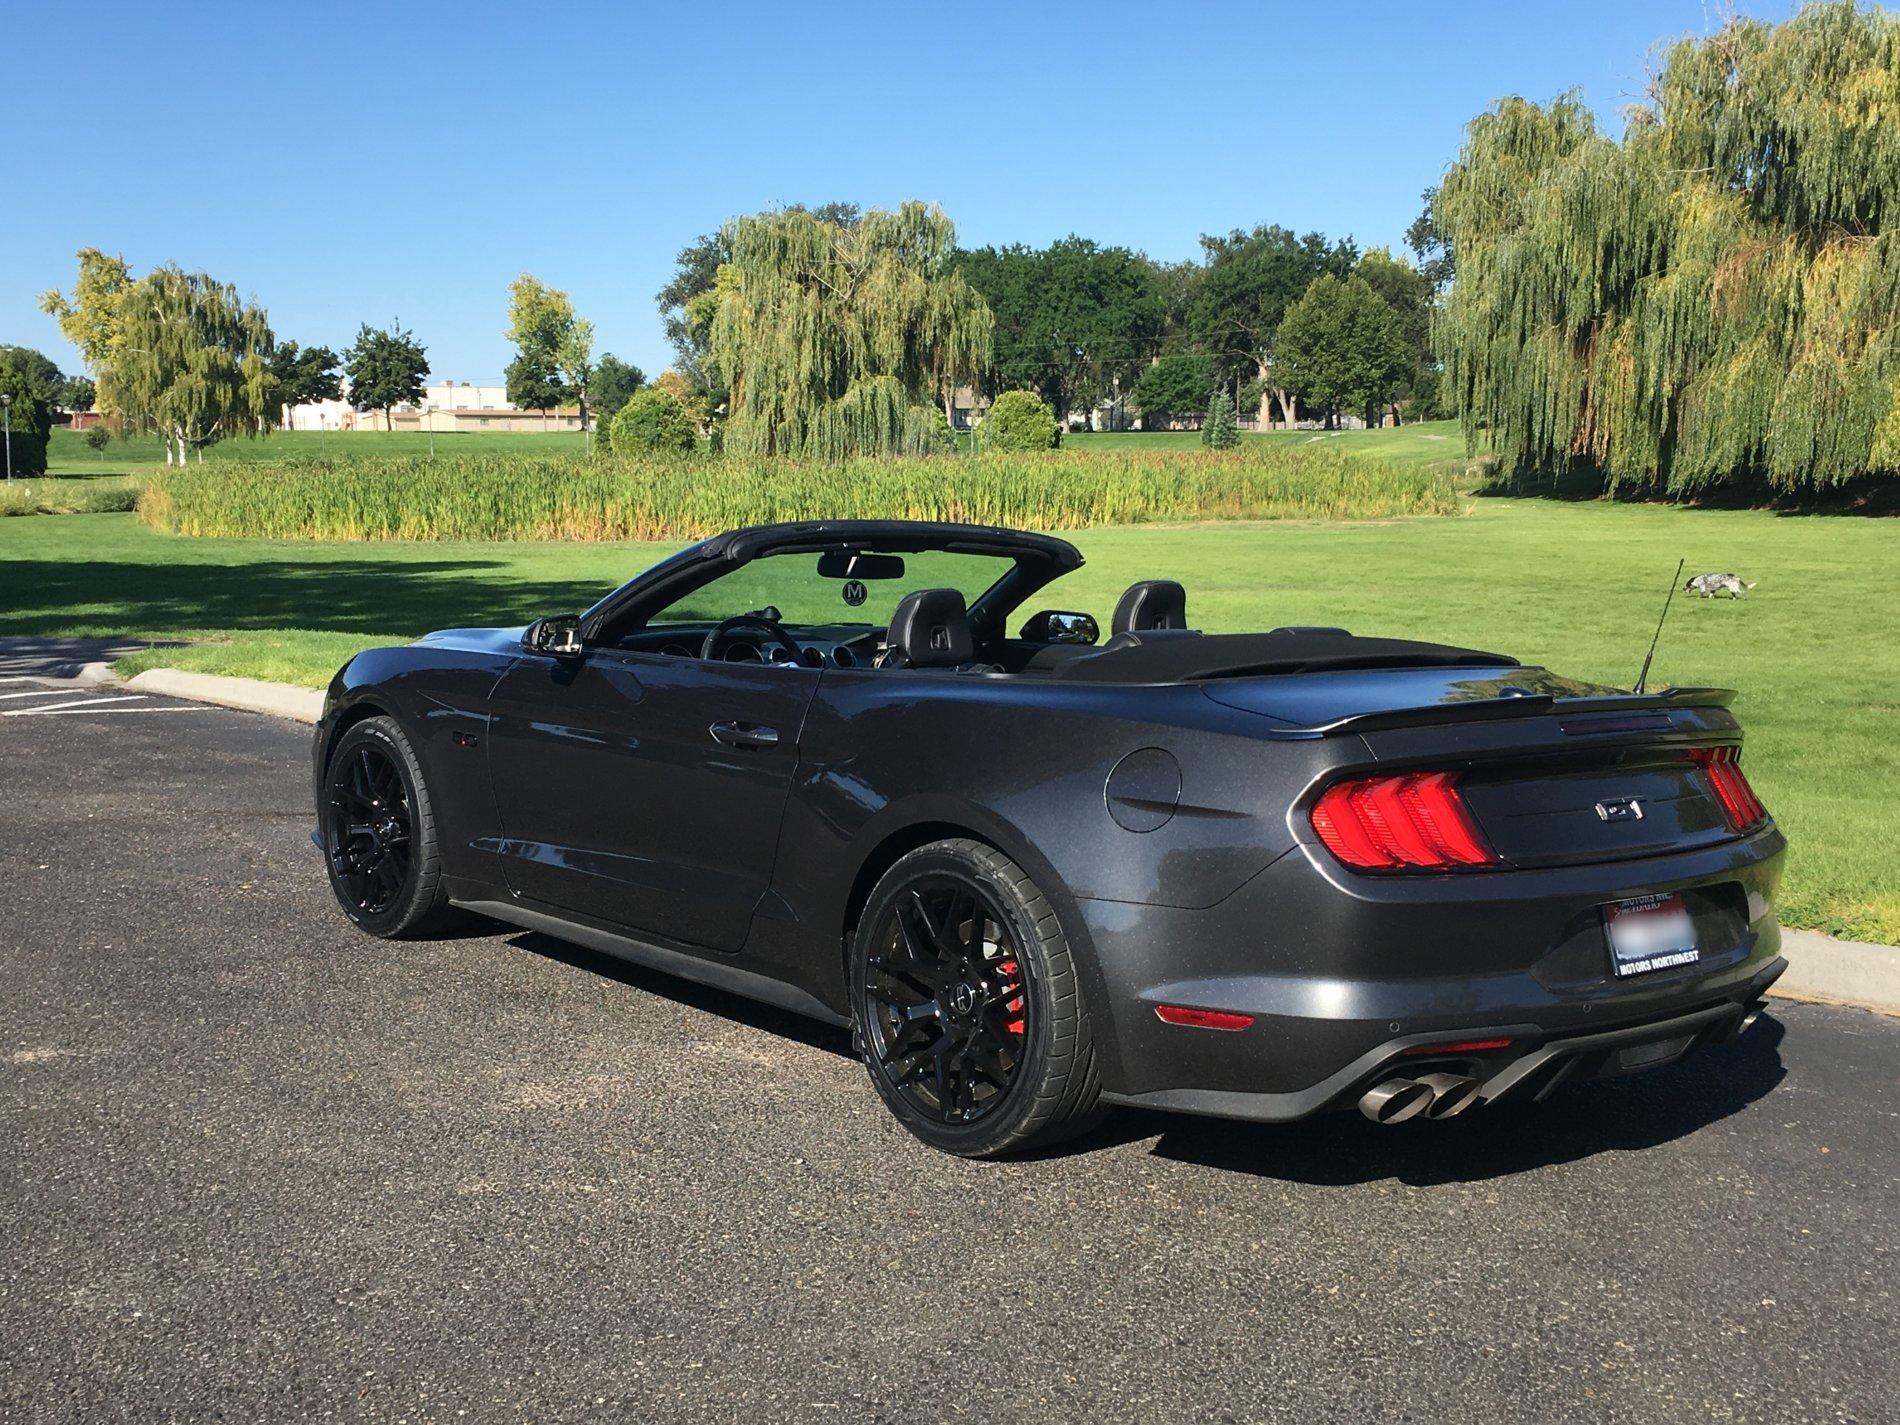
Here's a little better photo of it from July 4 2020. (not all mods are blogged yet):
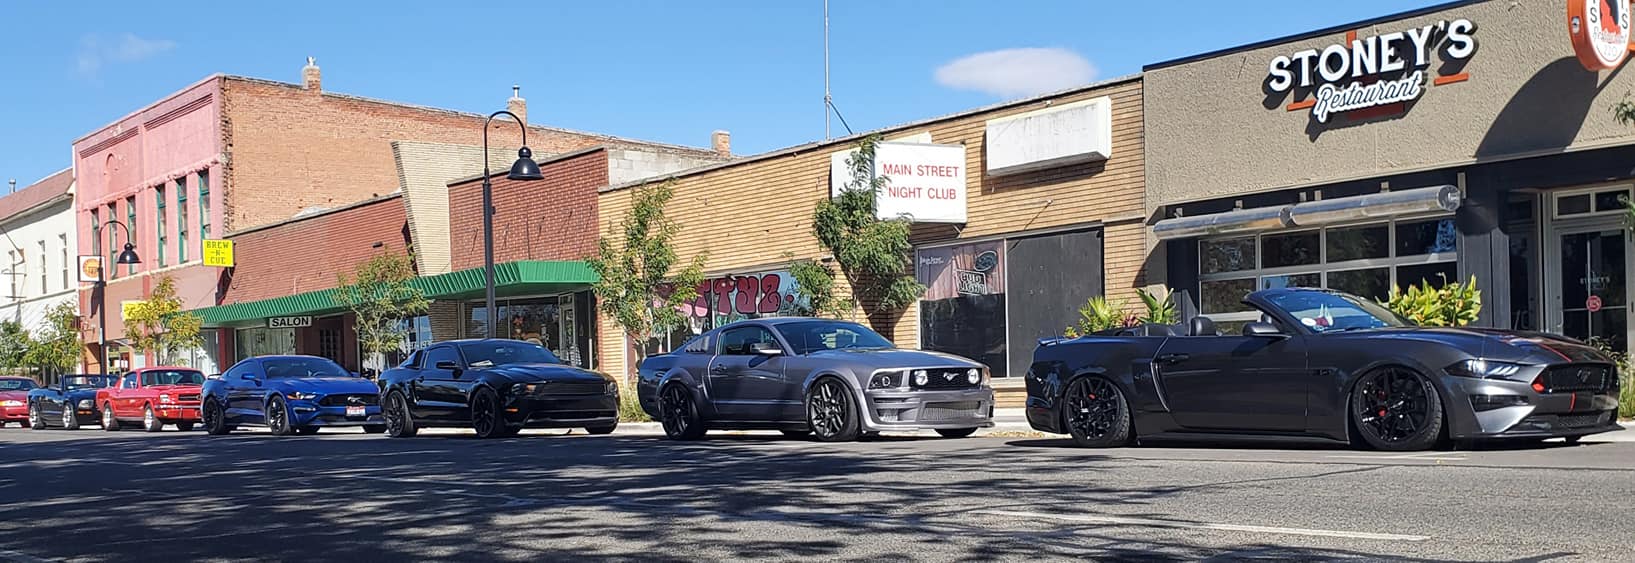
Here's one of my car leading a car cruise for the local Mustang club (I'm the VP of the club for 2021, President for 2022)from October:

I decided to start a post with details and photos of my 2018 GT Convertible in Magnetic Metal Metallic.
This is my 3rd Mustang, and I'm loving it so far in the month and a half that I've had it! (Purchased on my Birthday this year, July 4th).
Here the different mods and stuff I've done to the car, and links once I add details and photos for each:
Exterior:
RTR 19" Tech 7 wheels (9.5" front & 10.5" rear)
Nitto NT555 G2 tires
MMD by Foose rear wing
Big Worm Graphix Dual wide full stripes in Gloss black with gloss red pinstripes
Close up of rear stripes, as requested
Blacked out 5.0 side emblems
Paint matched rear GT emblem
Paint matched front pony emblem
Dupli-Color red caliper paint w/Vinzdecalz Metalic Grey Mustang decals for brake calipers
15% tint all the way around from The Boise Tint Shop
15% tint on marker/fog lights and reverse light (not installed yet)
Speedform Motorized License plate mount -Installed but I barely scrapped a parking curb and it "taco'd"
)STO N SHO License plate bracket - replacing the stupid taco'd one.
Velossa Tech Big Mouth Air Rams (also kind of an engine mod too) including lots of cutting up of the stock front grill. (Yikes!!
)J&M jacking rails... in red, of course!
Engine:
Roush Cold Air Intake
Roush h-pipe resonator delete
Billet fluid caps
RedLine Tuning Hood Struts (Seriously Ford?!?! A hood prop?!?! Seriously?!?!)
LED under-hood lights and hood-pin switch
Anchor-Room engine cover vinyl stuff to try to "un-boring up" the engine cover.
Liqui Moly CeraTec
Lund Tune
Tinted Fog lights, backup light and amber part of headlights
Interior:
nGauge installed in left vent
LED bulbs
Modern Billet Speaker trim rings for Tweeters and Mid-range
Anchor-Room sun visor safety sticker cover-up's
Anchor-Room Windshield Ford Oval highlight
Controller holder
Red stitching on seats and door cards
Suspension:
Air Lift Performance 3H system - (Links will be added as details are added for each step)
"Why", overview, design and building of the platform
Custom painted air tank
Annoying issues with tank fittings and fixing them
Rear suspension install
Front suspension install
Rear ride height sensors install
Front ride height sensors install
Operation of controller, settings overview and the finished product!
Trunk:
LED light bar tied into the stock trunk light
Brakes:
Power Stop drilled & slotted zinc coated rotors with Z23 Evolution Sport Ceramic Pads
Security:
Waylens Secure 360 4G dash cam with OBD wiring (having issues with ODB share for nGauge, so changing to hardwired)
Other random stuff:
Show Board by showcarsillustrated.com
I've learned so much from the posts on this awesome forum, but a HUGE shoutout to bjstang and his ridiculously helpful posts in his "Double Race Red Journal". Many of the things I've done to my car I either learned how to do, or flat out learned that these things exists and/or are possible! LOL
Thanks for checking this blog out!
Here's a recent picture of it with the latest mods/updates at our local Mustang Club Car Show on June 13, about 10 minutes before the downpour started and the thunderstorm roared in.
Here's a little better photo of it from July 4 2020. (not all mods are blogged yet):
Here's one of my car leading a car cruise for the local Mustang club (I'm the VP of the club for 2021, President for 2022)from October:
Sponsored
Last edited:
 I'm sure that's pretty relatable!

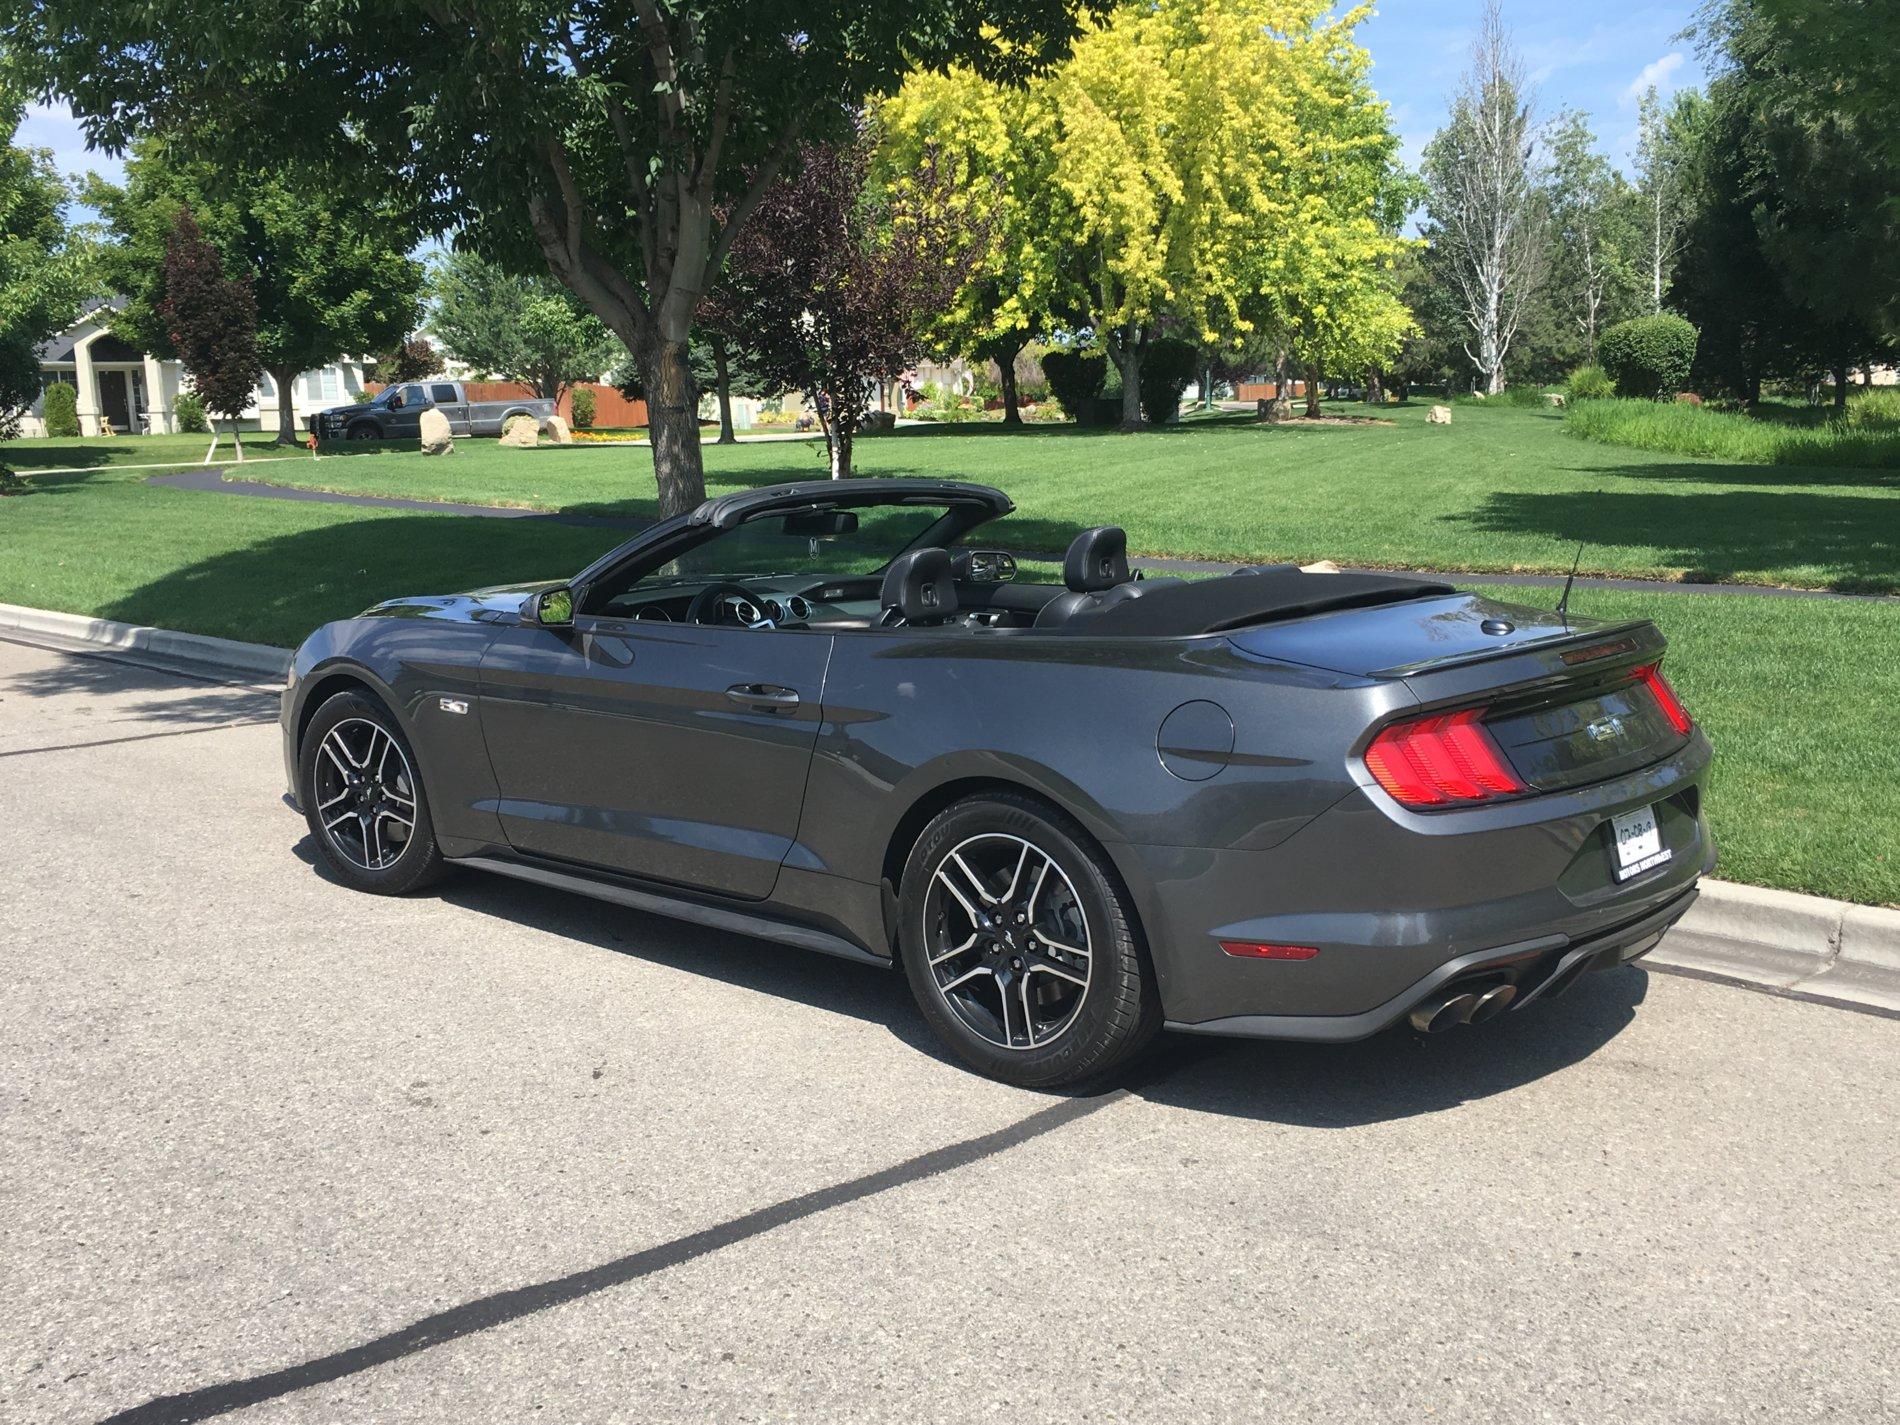
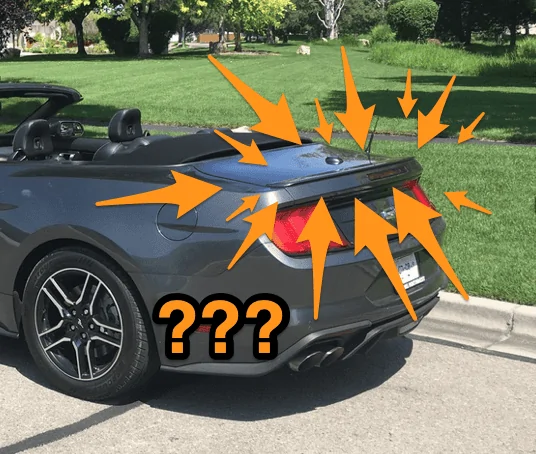


 So this was the first thing gone when the mods started!! I actually ordered it a couple of days before I officially bought the car!
 ) But any who... I digress... Back on track... Getting the old one off was a little challenging, but nothing unexpected. Removing the adhesive from the old one? Much more tedious than I expected. And yes, I knew it would be somewhat of a pain. Goof Off just kind of smeared it all around. The best method I had available that day... rubbing it with my fingers? (Uh... what?) Not that, you sicko!
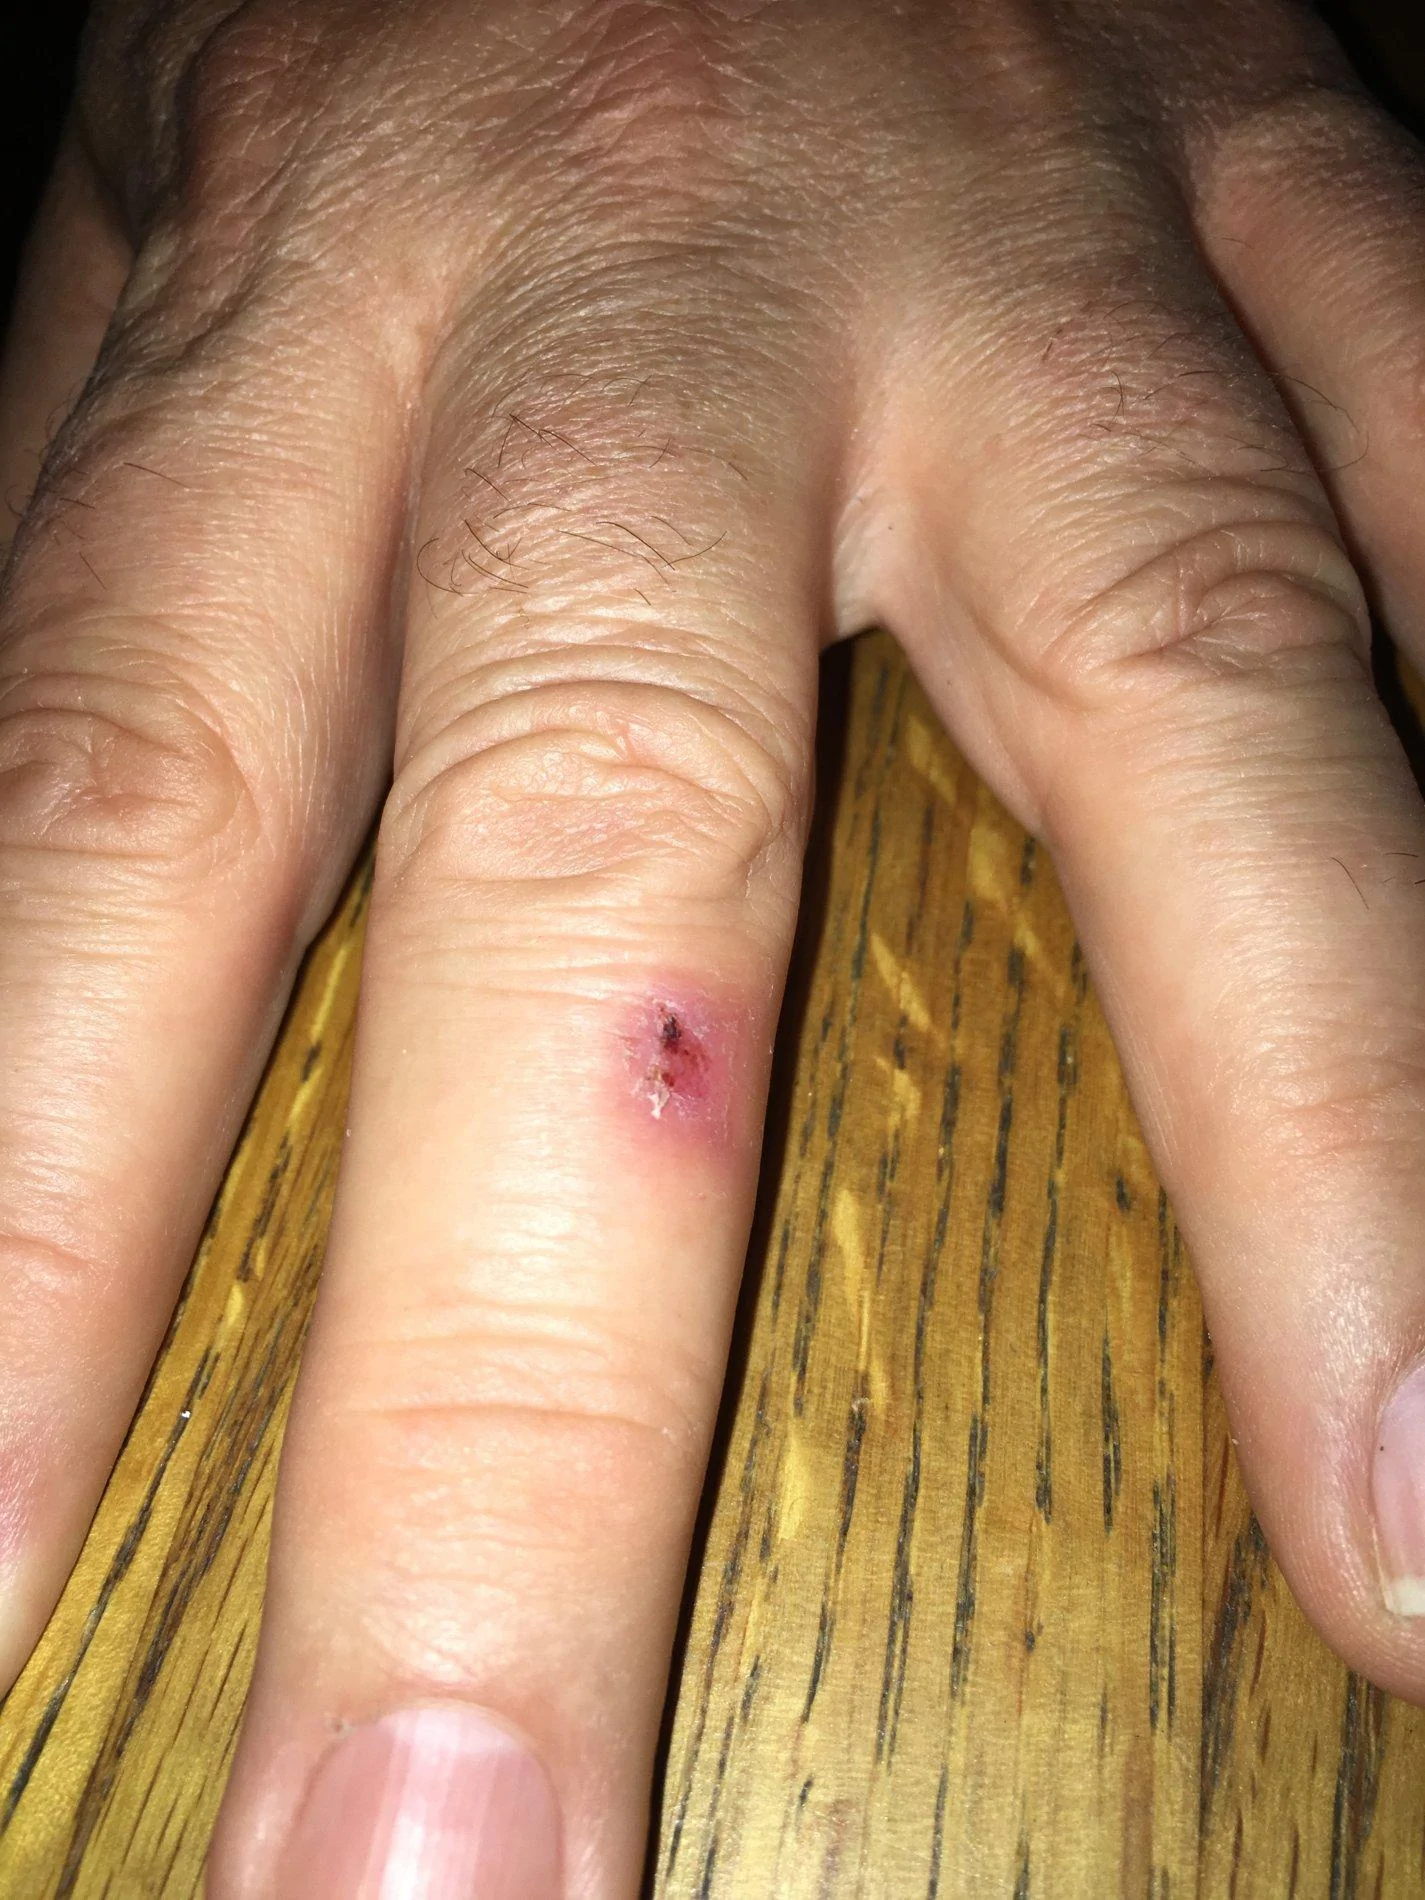
  Pushing the adhesive over on to itself with my fingers was the only thing I found that actually removed it. Then a little Goof Off afterwards for the residue. I actually had blood blisters on the tips of some of my fingers afterwards. LOL However, I'd say it was worth the effort overall.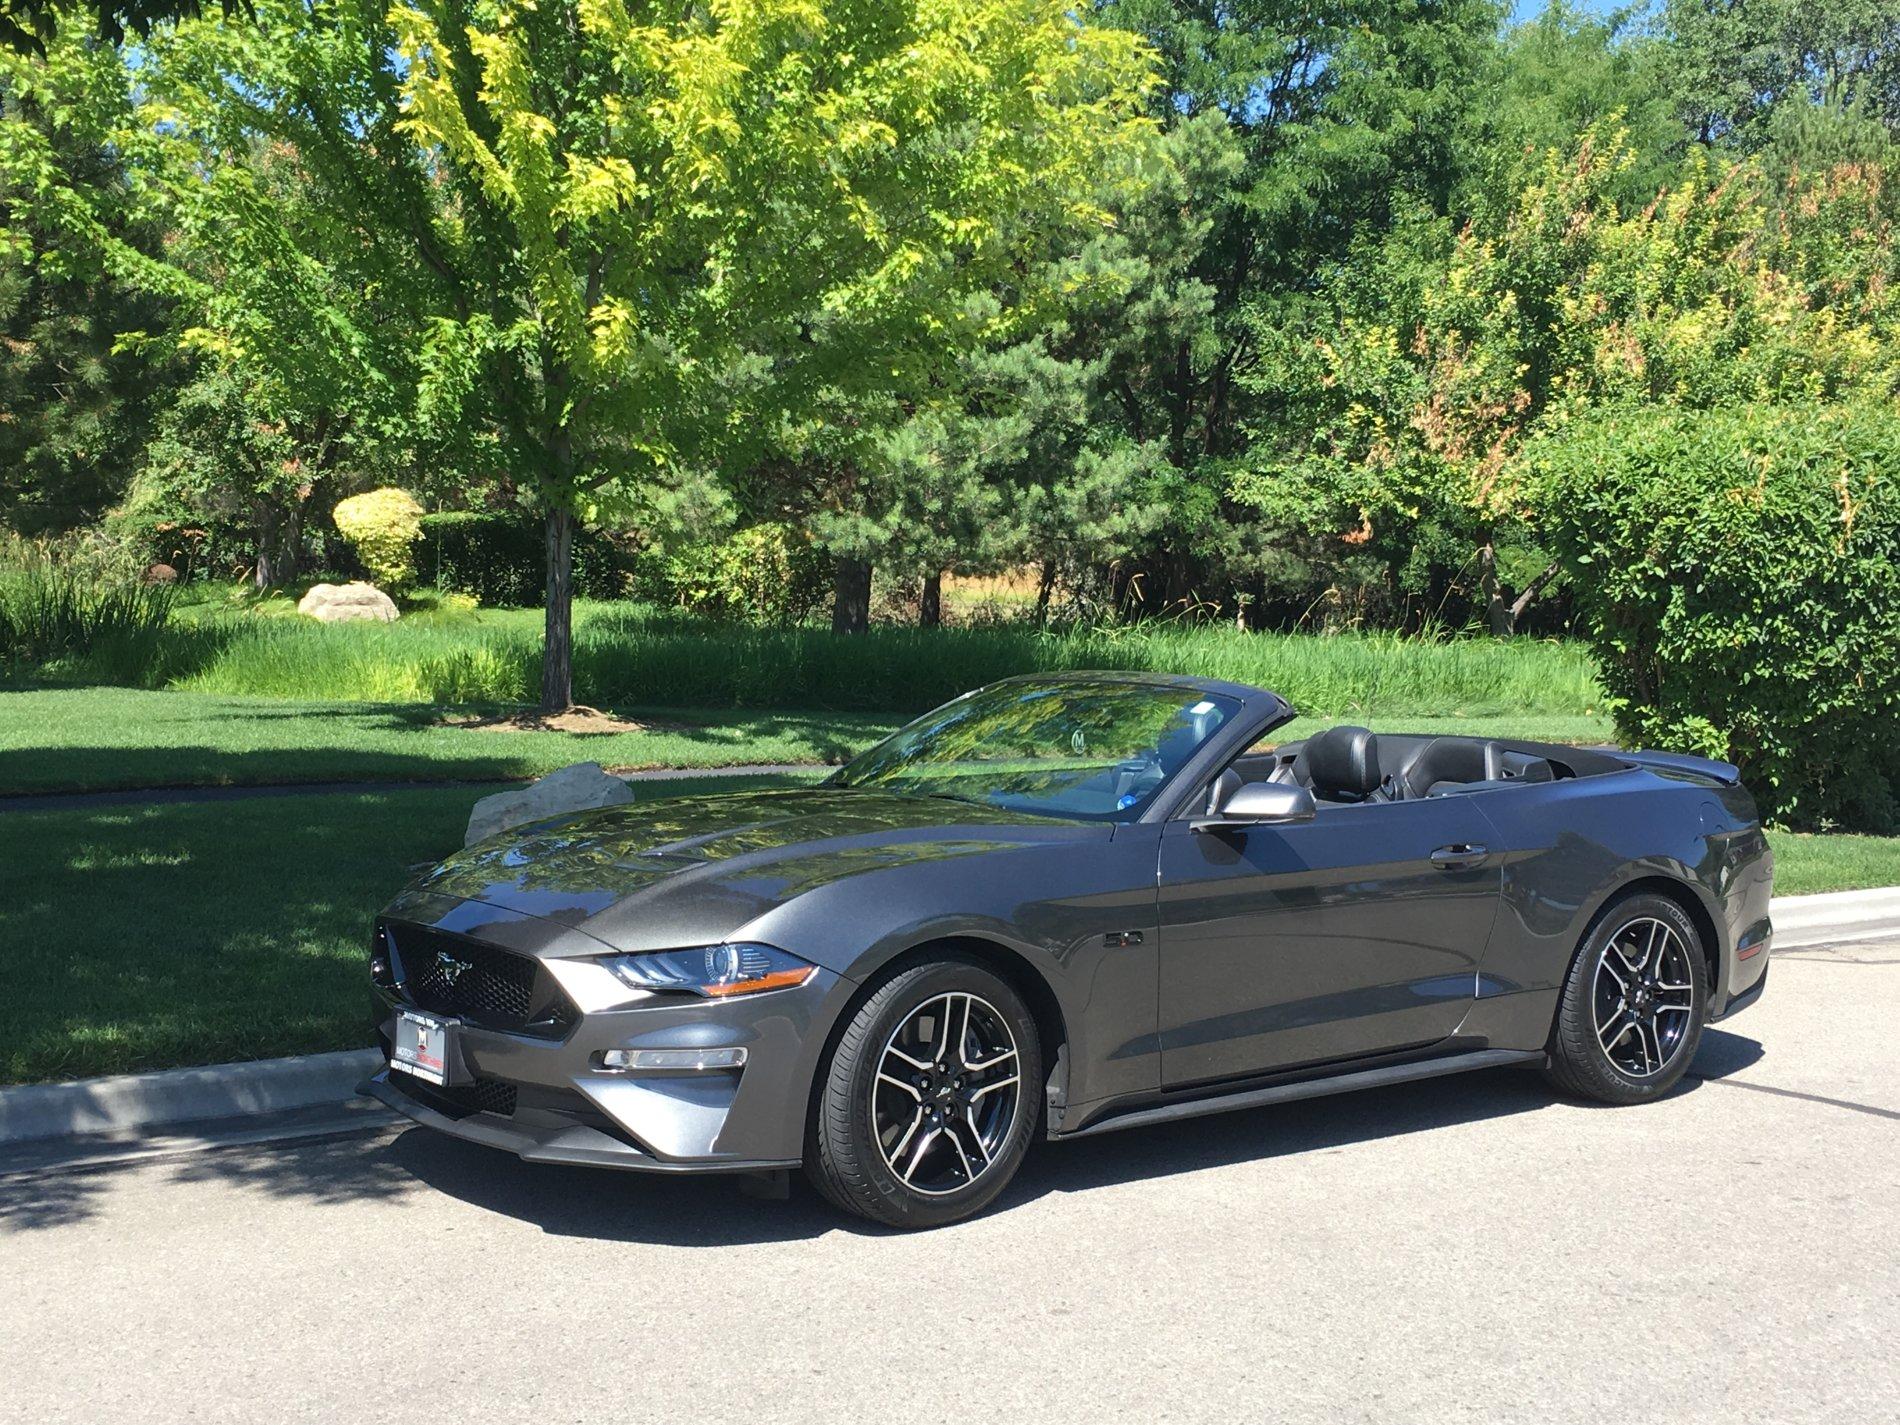
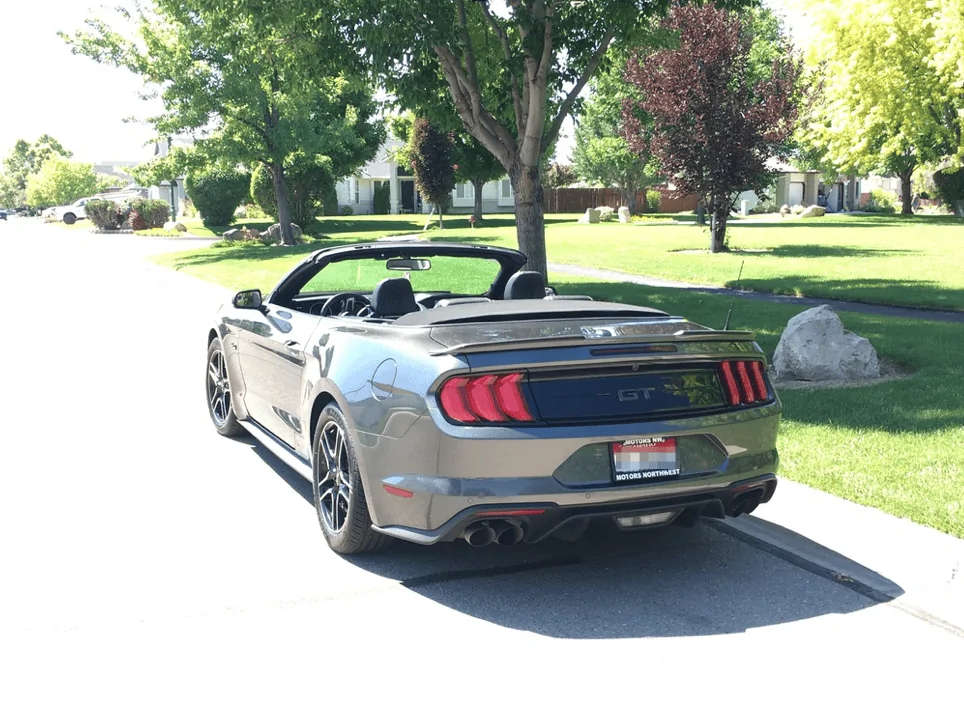
 ) "It isn't the size of the spoiler, it's how you use it." is only said by people with small spoilers.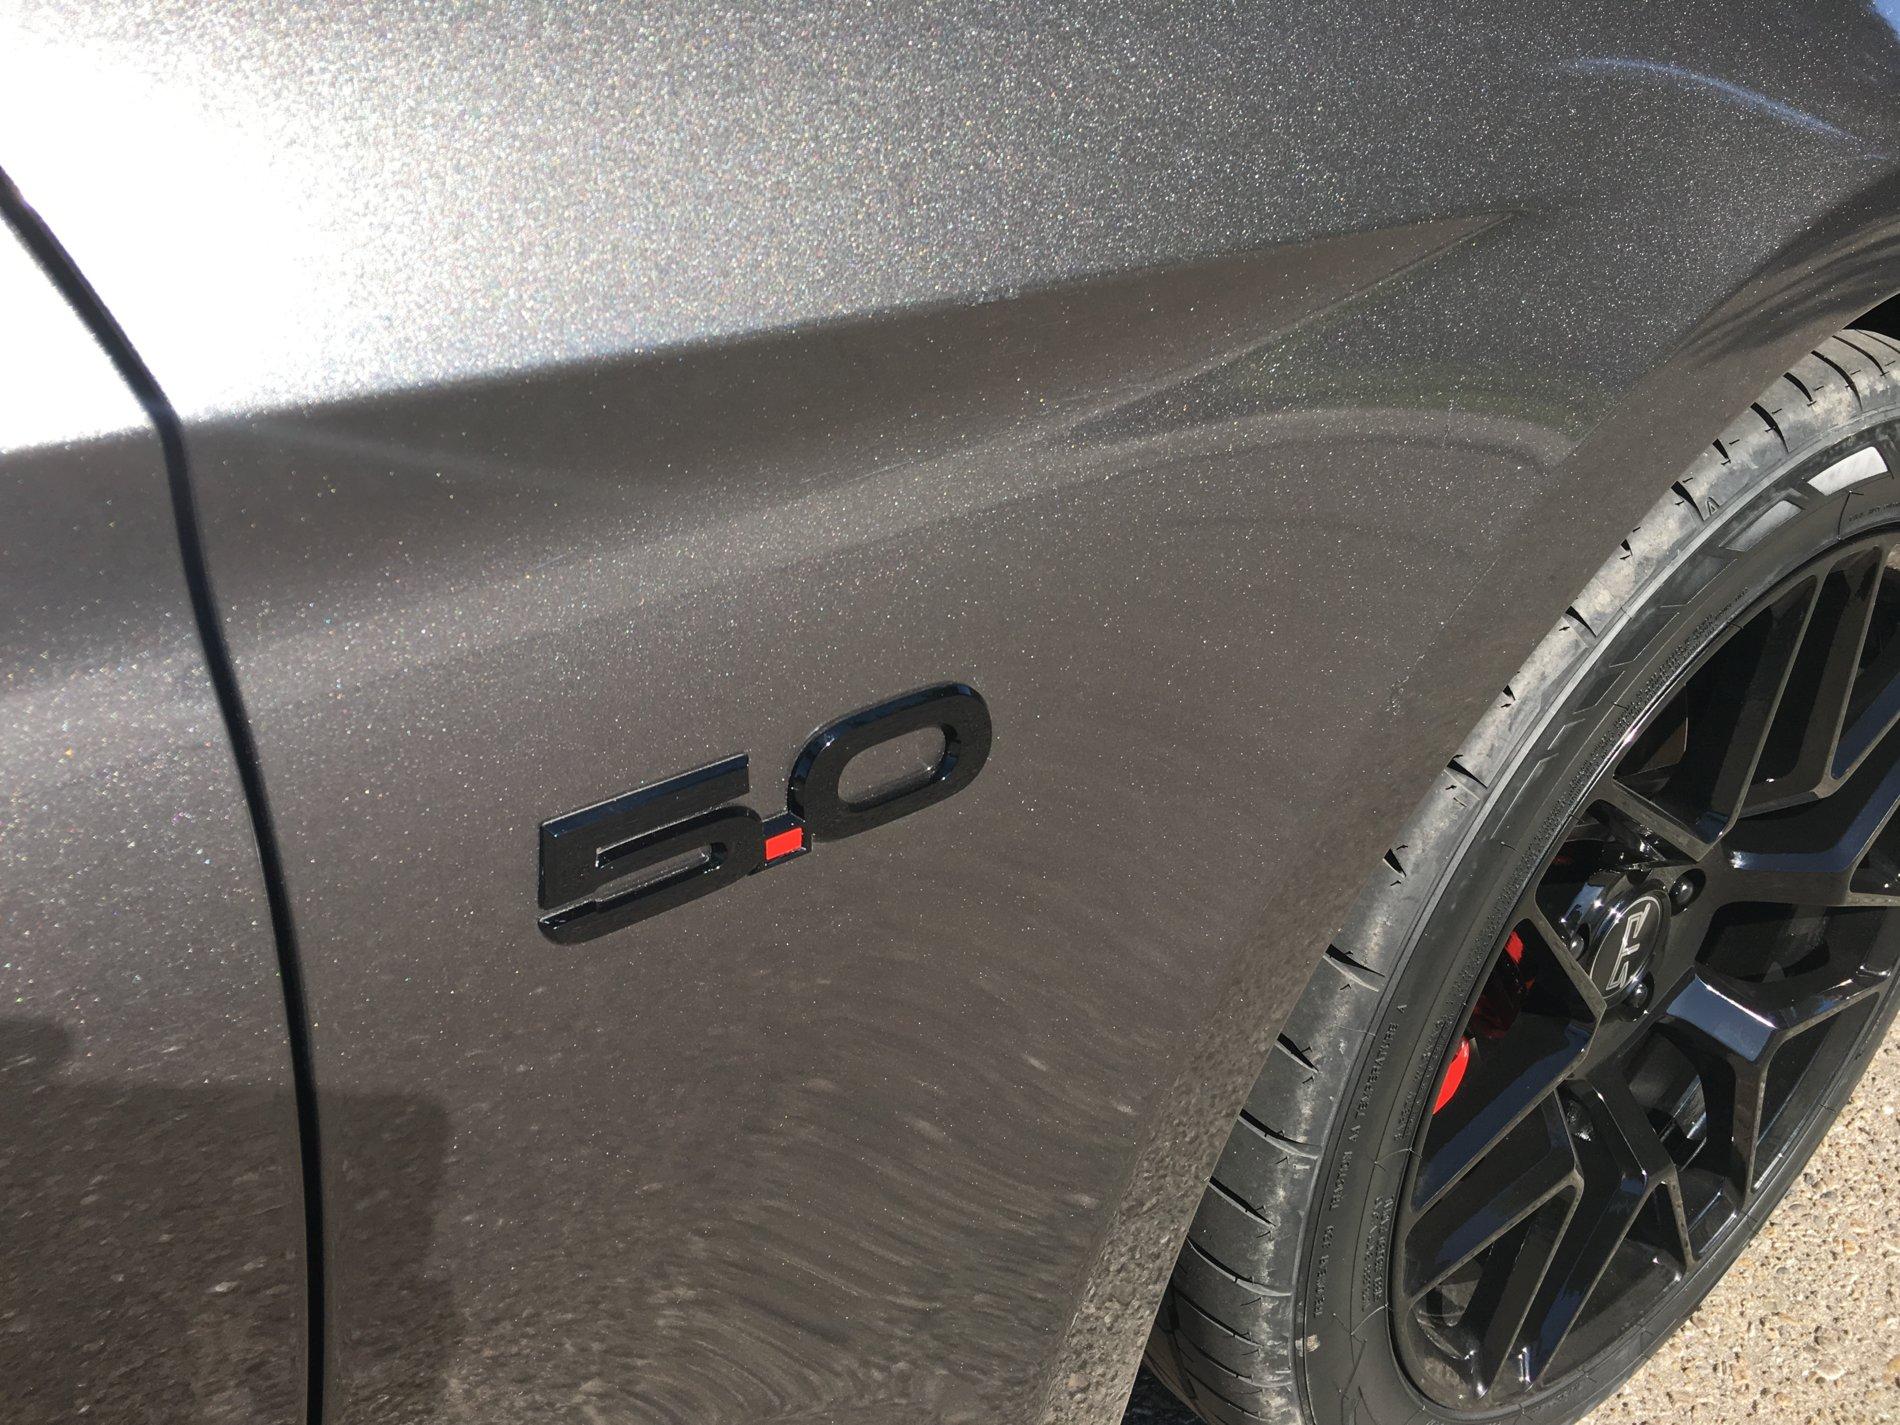
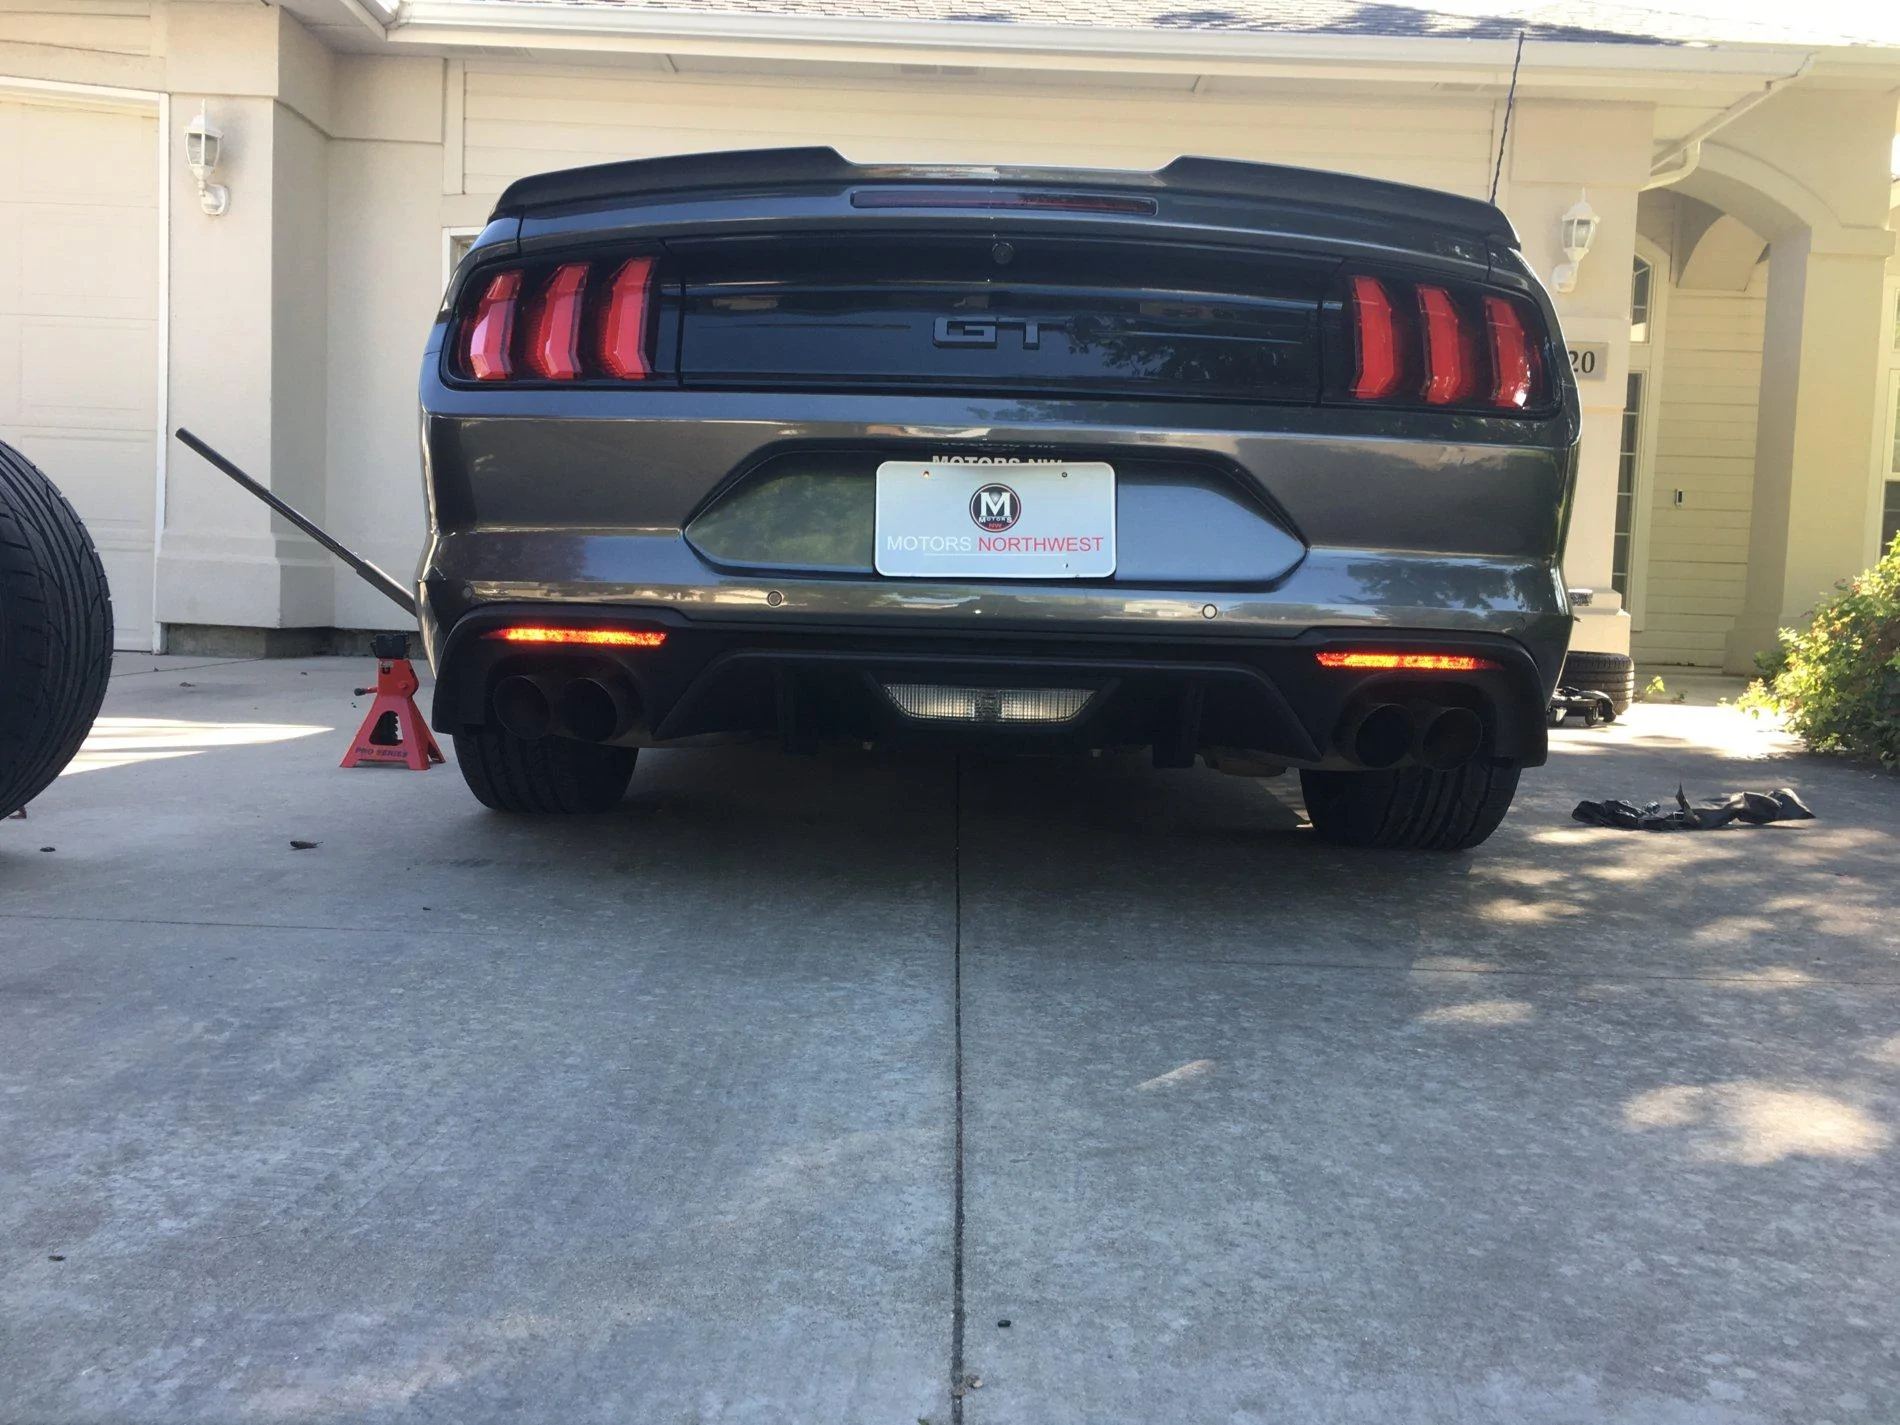
 So first of all. That gloss black panel is super susceptible to scratches, but no news here. We all know that! Also, as it turns out, it is fairly brittle too. When I bought my car I noticed it had one little crack around the emblem. While trying to remove that rear panel (took some fairly serious prying, even using panel pry tools) I could hear cracking sounds. Sure enough, there were more cracks showing up and the first crack grew. Once the panel was off, the instructions made it sound very simple to remove the original. Nope. The mounting tabs were melted/glued overly aggressively when the emblem was mounted to the panel, and it took lots and lots of careful drilling and prying to remove the stock emblem. Unfortunately, despite trying to take my time and being very careful, the cracks grew. I've decided I'll have to replace that panel.