Fordever
Well-Known Member
- Joined
- Mar 6, 2016
- Threads
- 83
- Messages
- 2,568
- Reaction score
- 1,309
- Location
- NL, Canada
- First Name
- Derek
- Vehicle(s)
- 2016 GT/CS Convertible
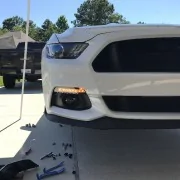
So why not e-transfer the funds to your "someone you know". Have them place the order and they can ship to you when they get it.I'm extremely pissed off!!!
First they've said no international shipping - please send it to someone you know in US and they can forward it to you. So I did...and they canceled my order due the different PP address/shipping address...what a bunch of assholes!!!!!!!!!!!!!!
Sponsored
 :barf::thumbdown: