Sponsored

Rear Bumper Drop Fix

Alfa Male

Well-Known Member
Joined
Mar 2, 2018
Threads
31
Messages
583
Reaction score
437
Location
Worcestershire Sauce Country
Vehicle(s)
Alfa Giulia
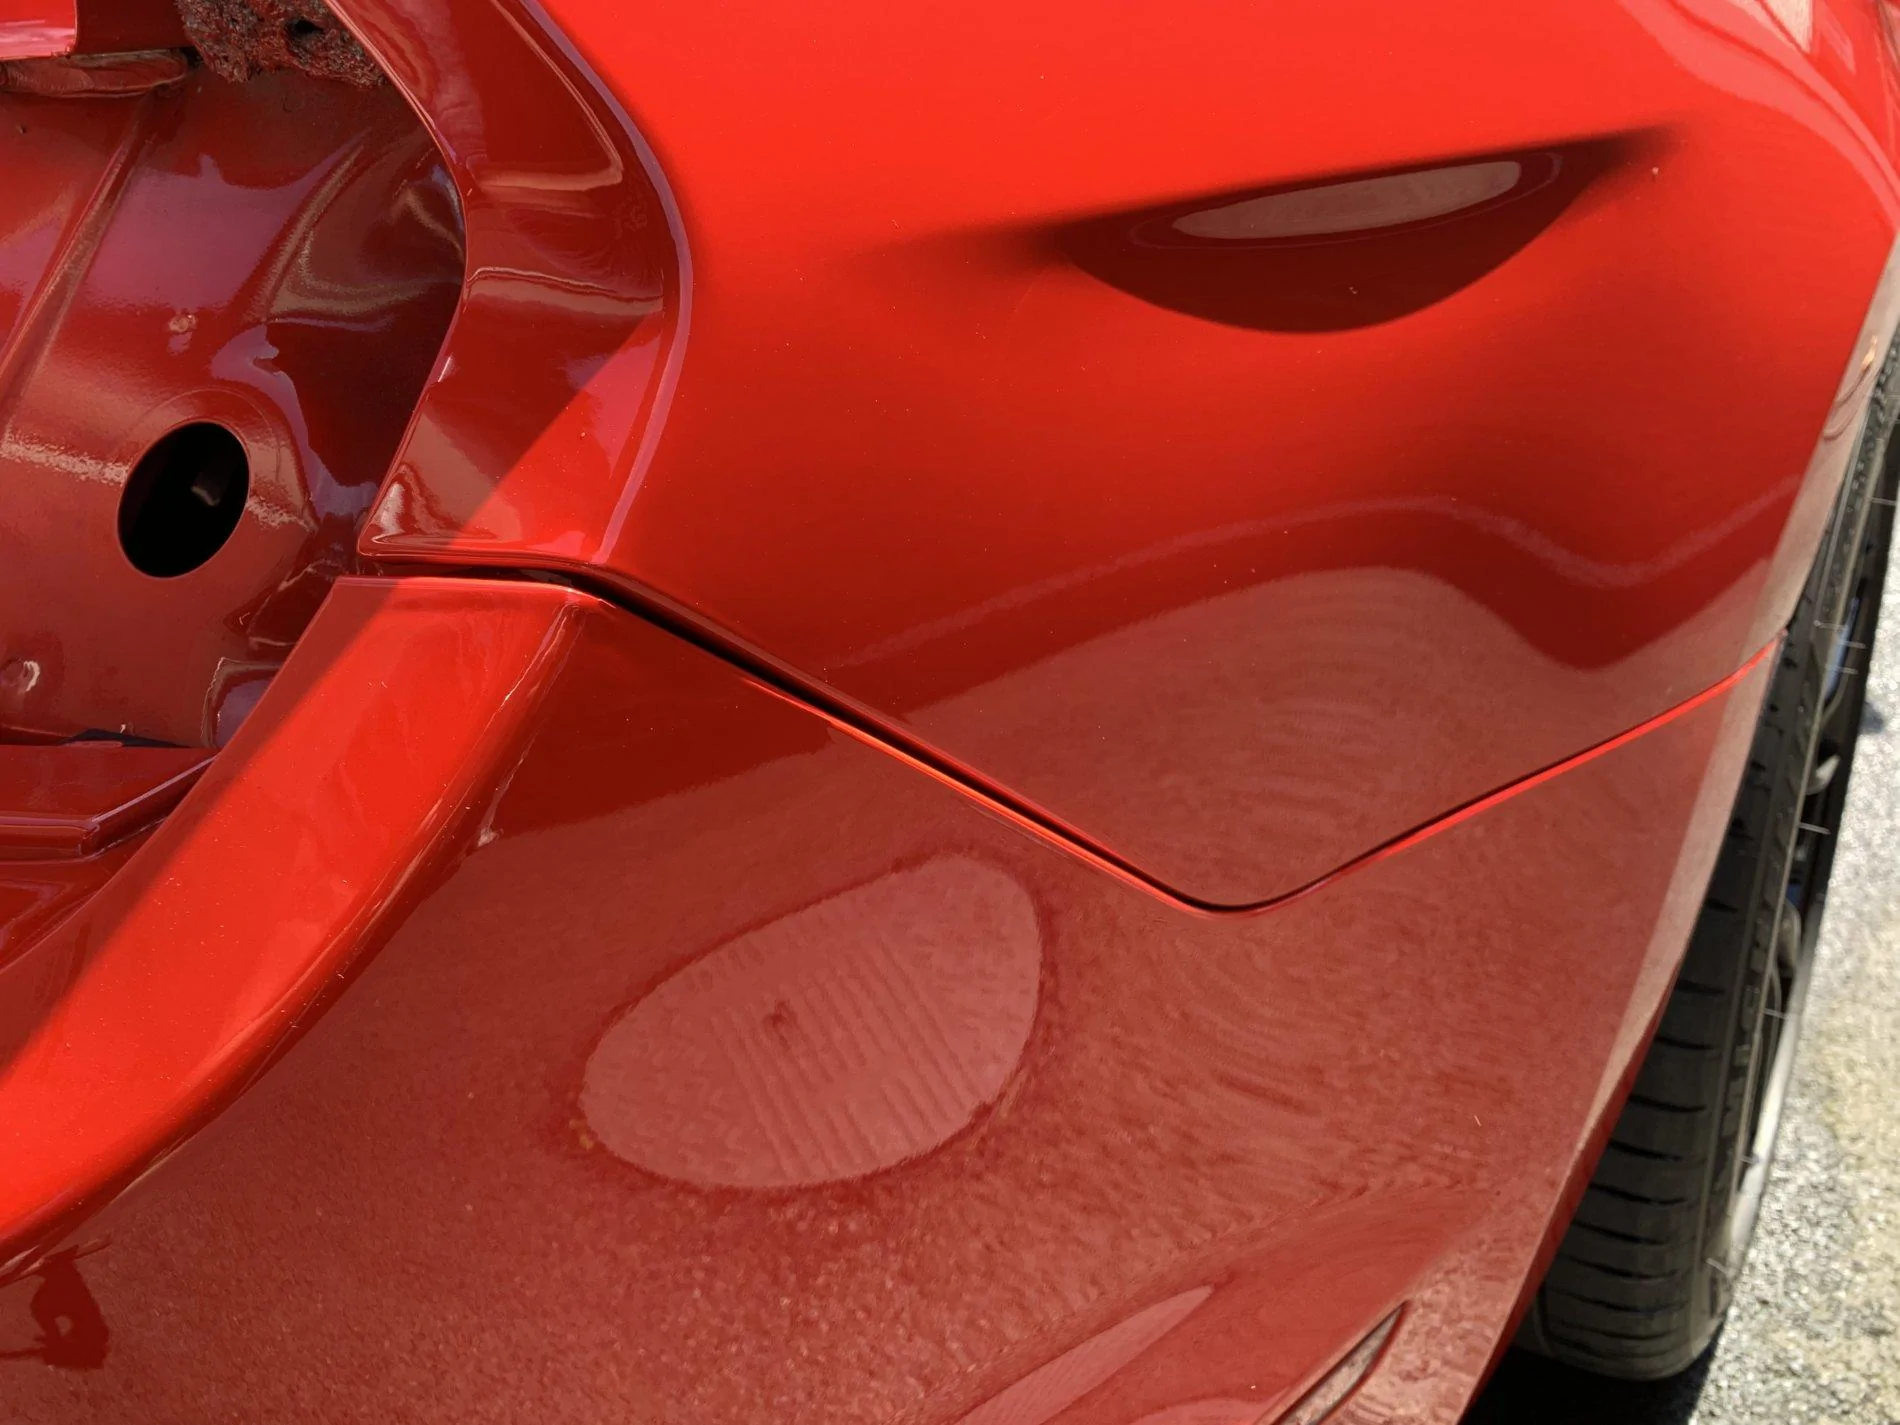
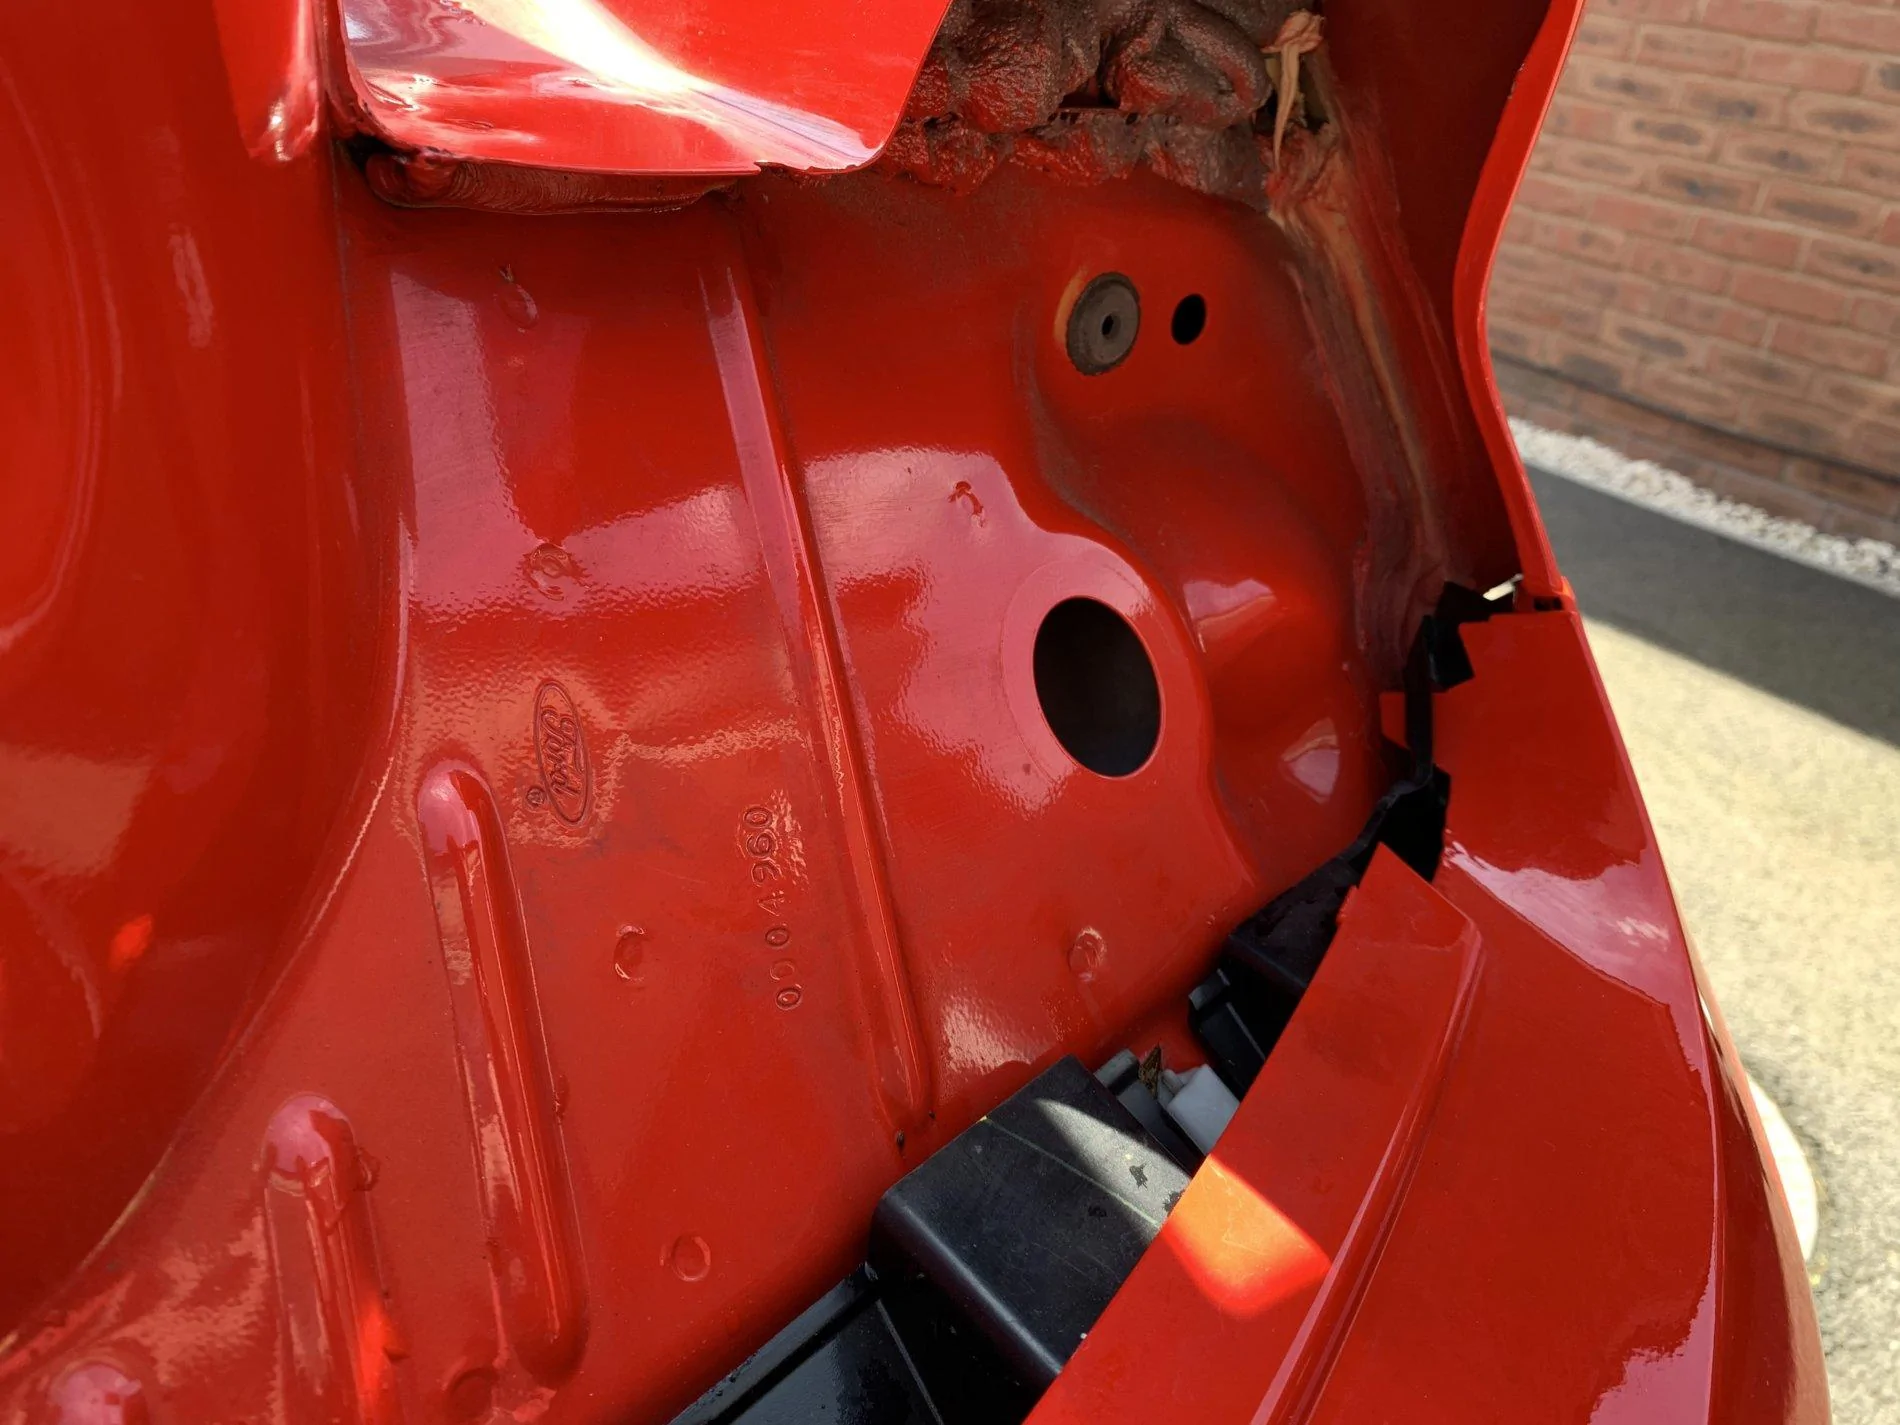
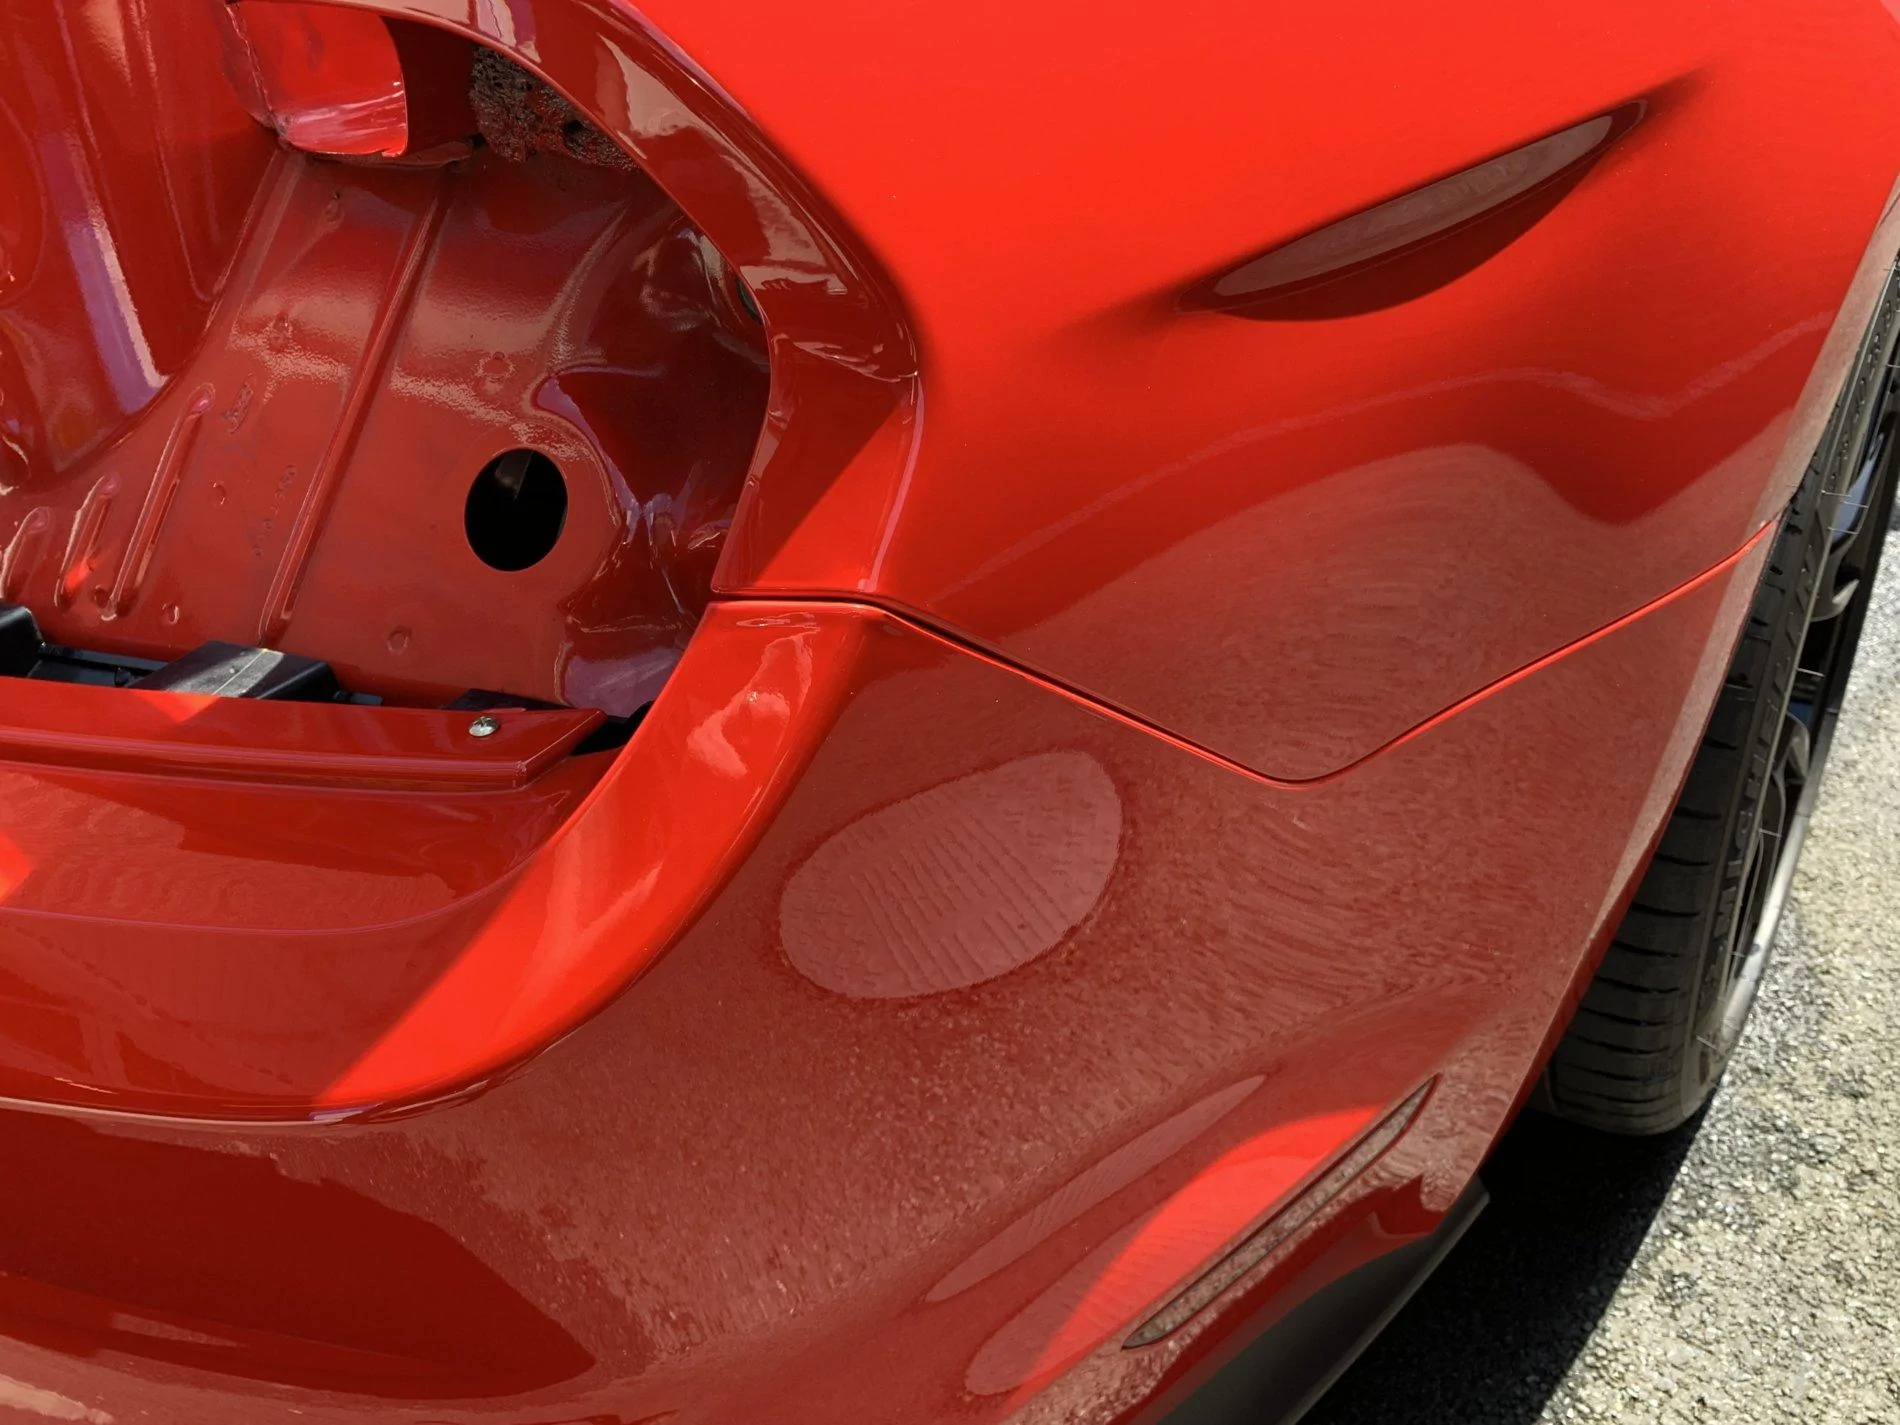
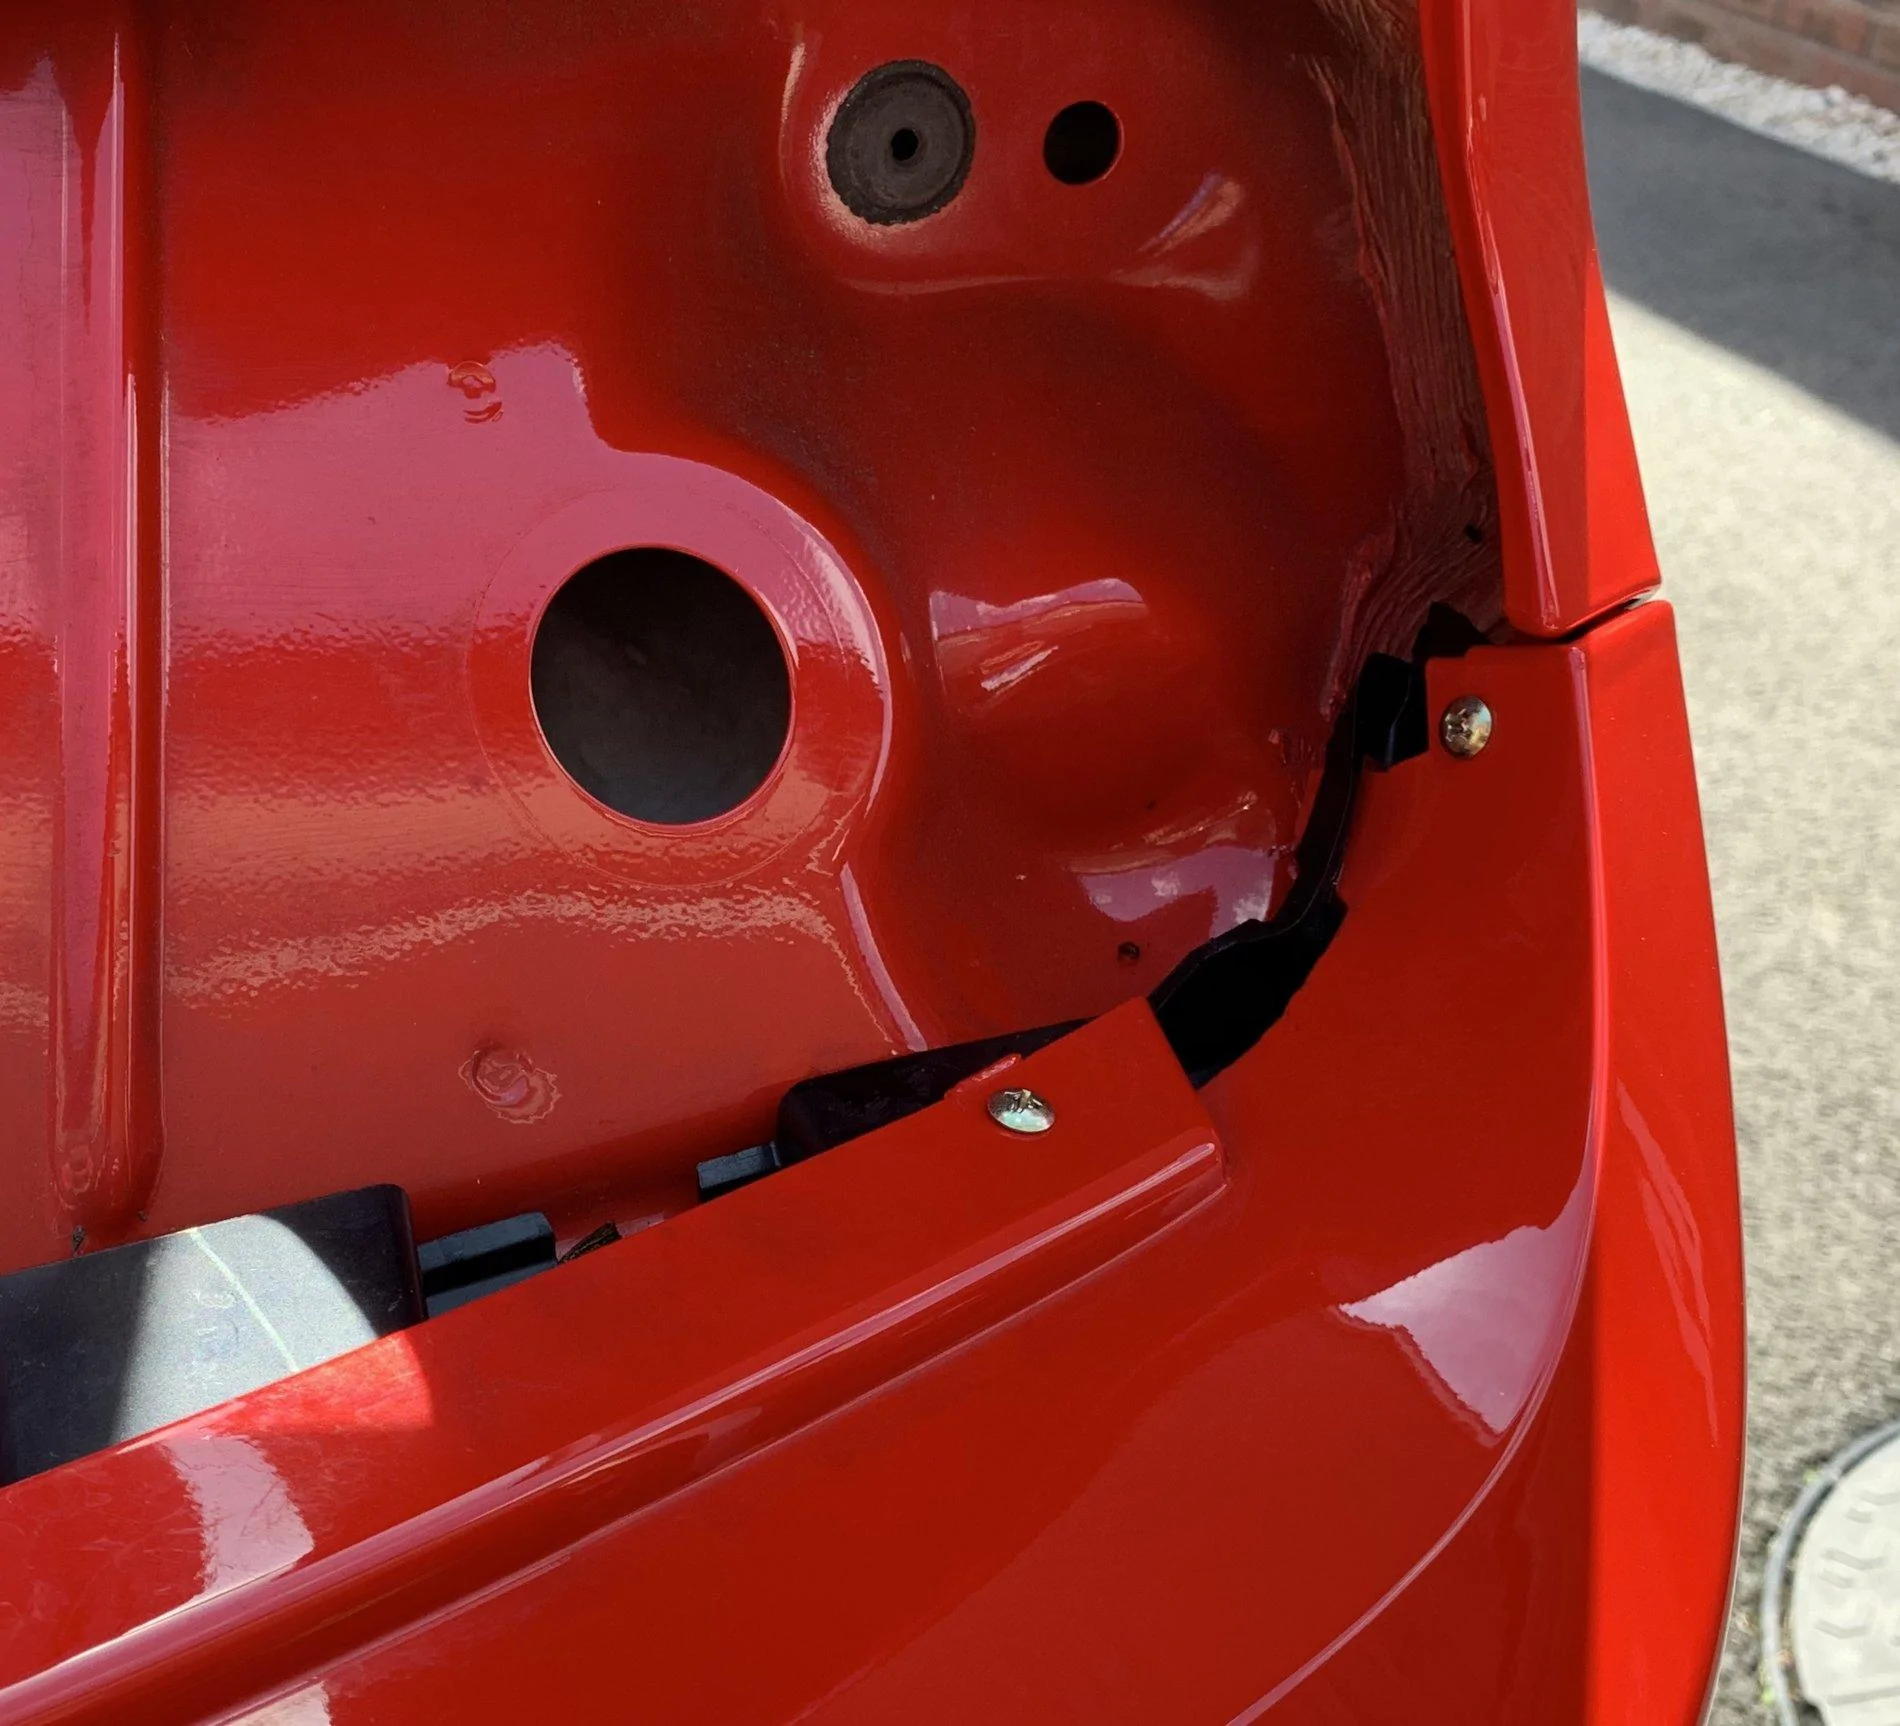
So I’ve suffered for a while now the common rear bumper drop. To be honest I’ve had this from brand new but hoped when it went into the body shop to the have the GT350 rear valance dotted they would’ve resolved this issue but they didn’t.

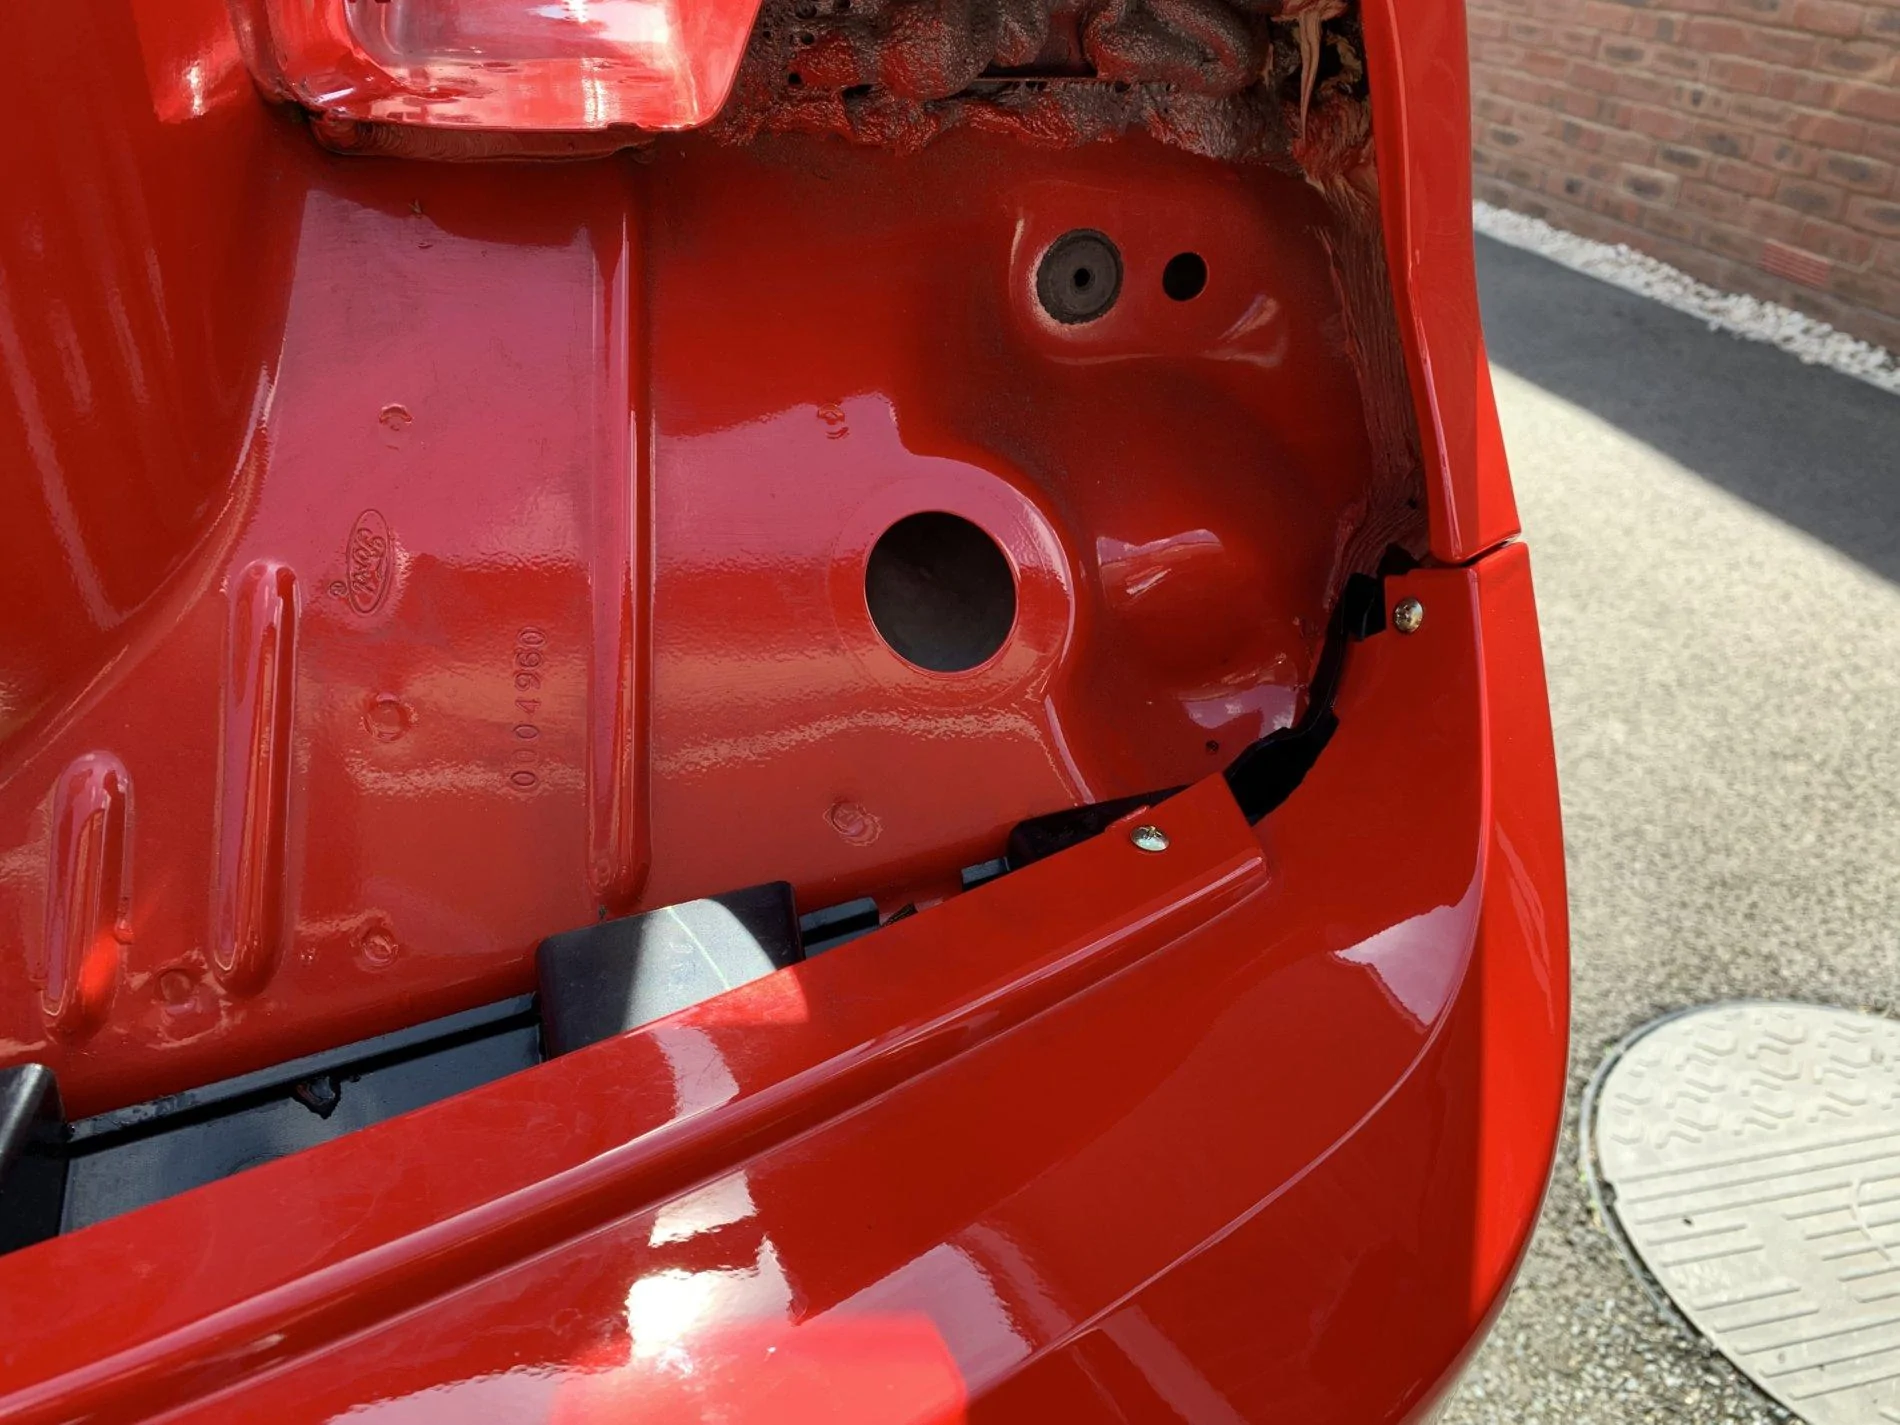
So it went back to Ford but as I’ve ‘messed with’ the rear bumper their warranty would not cover it.

I’ve done a lot of research on this and it’s a really common issue. The Yanks cite a TSB for a repair fix from Ford but it’s very crude by all accounts and they are all rejecting it as an option. Notwithstanding that Ford UK claim there is no TSB despite it being on the net.

So next I stumbled across this thread on here:

https://www.mustang6g.com/forums/threads/how-to-fix-your-bumper-gap-easy-way.104521/

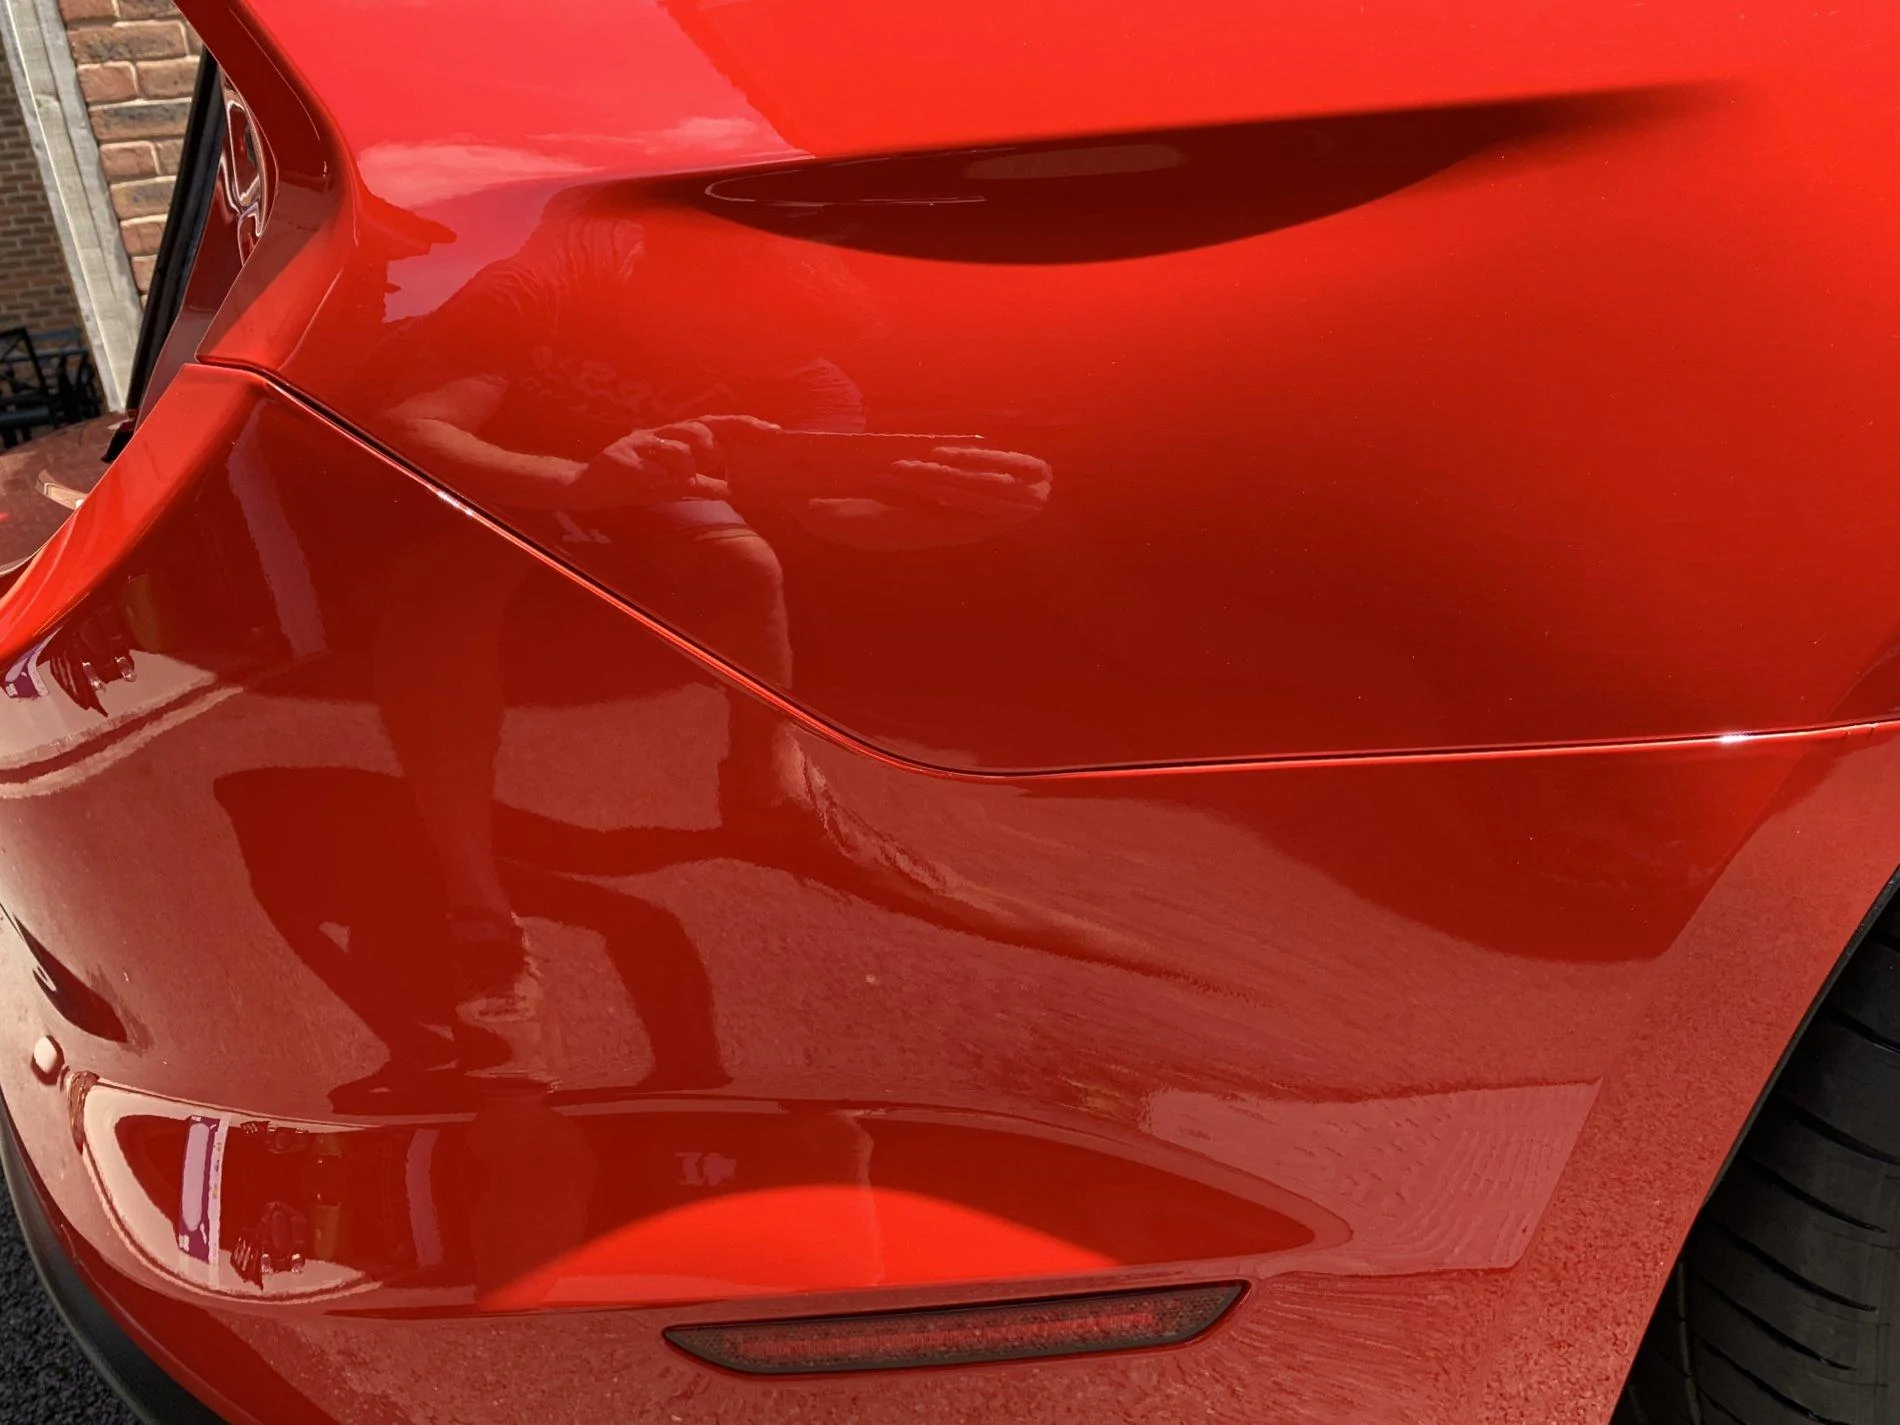
This got me inspired and I thought I’d try this myself...
Sponsored

 
Last edited:
OP
OP
Alfa Male

Alfa Male

Well-Known Member
Joined
Mar 2, 2018
Threads
31
Messages
583
Reaction score
437
Location
Worcestershire Sauce Country
Vehicle(s)
Alfa Giulia
So first up some pictures of the bumper drop. As you can see it’s pretty bad. Almost a point coin width at its worst and on both sides !

E8B8AFD1-3234-4337-9F74-990CD84ACAB0.webp
95CCDA77-8FA9-4B36-B387-244958810D55.webp
599EF699-C054-4F41-9FB1-15A6C24CD003.webp


So stripped back the lights and looked to follow the mod exactly as per the above thread. But looking at it in more detail I wasn’t convinced that would be enough to fully pull the bumper up.

E6784D59-191B-4C61-B785-737FB98D764E.webp
213B5197-91B7-4183-B220-0E2F917AE871.webp


So I went for two screws, lifting the bumper up to fully close the gap I bravely started drilling my baby

5007C9E5-6F3D-41E2-B375-F0646D64B886.webp

0699DCF5-5199-4ECB-9DE8-0F1053DA4588.webp


Also despite the fixings being hidden behind the rear lights I painted the heads race red to blend in with bodywork.

So the end result and I’m very pleased with it.
M
F2F64AC5-1561-4EAD-8BFC-376AB5E4F7AB.webp
CDC7F115-DDAB-46E2-AC0D-3E707A530D4C.webp
484BF400-EE5B-433F-8363-3334C7717AD4.webp
606859EC-63FD-4913-A27A-62FFF9546510.webp
F243D25E-405F-4CC0-9402-3E715F9F9BBF.jpeg
532947D5-15CE-4E51-A36E-69C78C95A62D.webp
AEACB7FA-F4CB-4E17-81E0-C86B2DE7BEB7.webp
1D52CD0A-7C21-407E-8F85-33541BFCACB7.webp
BE9B7301-8D55-4E28-A9AA-FF70F380EE39.webp
 

SteveS

...Bon Scott Land...
Joined
Mar 17, 2015
Threads
16
Messages
4,549
Reaction score
1,232
Location
Bon Scott Land
First Name
Steve
Vehicle(s)
Mustang GT Magnetic
Good job, and nice cat :like:
 

SteveS

...Bon Scott Land...
Joined
Mar 17, 2015
Threads
16
Messages
4,549
Reaction score
1,232
Location
Bon Scott Land
First Name
Steve
Vehicle(s)
Mustang GT Magnetic
tbh i'm a bigger fan of other people's cats. Not desperate for one myself!
 

Sponsored

Manders Mustang

The Boss
Joined
Dec 3, 2015
Threads
96
Messages
12,999
Reaction score
2,441
Location
Birmingham - United Kingdom
First Name
Steve
Vehicle(s)
2016 Race Red Ecoboost
Vehicle Showcase
1
right, i'm trying this! any closer pictures of where the screws went/what they mounted to or any description?

I assume just some self tappers does the job?
 
OP
OP
Alfa Male

Alfa Male

Well-Known Member
Joined
Mar 2, 2018
Threads
31
Messages
583
Reaction score
437
Location
Worcestershire Sauce Country
Vehicle(s)
Alfa Giulia
right, i'm trying this! any closer pictures of where the screws went/what they mounted to or any description?

I assume just some self tappers does the job?
The painted bumper skin fits over a strong black plastic reinforcement sub structure. The hollow black plastic is really rigid and fixed to the body of the car. So when you lift the rear bumper up to close the gap it moves independently to this fixed black plastic reinforcement.
Hence you can lift the bumper and carefully pilot hole drill through both sets of plastic surfaces. Then couple of self tappers with flat head each side. I had a helping hand to lift the bumper whilst drilling, but I’m sure a trolley jack on the corner would work as well.

You can get your fingers in to the void behind this black plastic to feel around, so you can be sure you’re not going hit anything you shouldn’t when drilling.

Hopefully in the picture below you can make out the black plastic sub structure I’m referring to.

CD05A75F-CE75-472C-AD45-2423B4A01AC7.webp


When you let go of the bumper it will drop a little so make sure you have the gap as tight as possible whilst drilling to allow for the small drop afterwards.

I painted my screw heads to blend in but there isn’t a need really as the light unit covers these up anyway.

On reflection why Ford didn’t fit a screw to connect the bumper to rear quarter, similar to the one in front bumper to the wing, I don’t know! That wouldn’t been a low cost and simple cure to this issue.

Good luck...
 

2017GBGTPP

Well-Known Member
Joined
Jul 2, 2016
Threads
14
Messages
570
Reaction score
748
Location
Albuquerque, NM
First Name
Dan
Vehicle(s)
2017 Grabber Blue Premium GTPP w/ Recaros
Nice work! Your pics actually helped me solve an issue with the bumper clip right next to the taillight coming undone. I'm not too concerned about the small gap which is typical, but this caused the bumper to wiggle enough that I could hear it squeaking on bumpy roads. I wasn't able to push it back into place from the outside, but by removing the taillight I was able to get to the clip from both sides and push it together. Thanks!
 

Sponsored

Manders Mustang

The Boss
Joined
Dec 3, 2015
Threads
96
Messages
12,999
Reaction score
2,441
Location
Birmingham - United Kingdom
First Name
Steve
Vehicle(s)
2016 Race Red Ecoboost
Vehicle Showcase
1

Boss302TN

Well-Known Member
Joined
Aug 3, 2024
Threads
19
Messages
87
Reaction score
97
Location
Nashville TN
First Name
Parker
Vehicle(s)
Boss 302 Mustang
So first up some pictures of the bumper drop. As you can see it’s pretty bad. Almost a point coin width at its worst and on both sides !

E8B8AFD1-3234-4337-9F74-990CD84ACAB0.jpeg
95CCDA77-8FA9-4B36-B387-244958810D55.jpeg
599EF699-C054-4F41-9FB1-15A6C24CD003.jpeg


So stripped back the lights and looked to follow the mod exactly as per the above thread. But looking at it in more detail I wasn’t convinced that would be enough to fully pull the bumper up.

E6784D59-191B-4C61-B785-737FB98D764E.jpeg
213B5197-91B7-4183-B220-0E2F917AE871.jpeg


So I went for two screws, lifting the bumper up to fully close the gap I bravely started drilling my baby

5007C9E5-6F3D-41E2-B375-F0646D64B886.jpeg

0699DCF5-5199-4ECB-9DE8-0F1053DA4588.jpeg


Also despite the fixings being hidden behind the rear lights I painted the heads race red to blend in with bodywork.

So the end result and I’m very pleased with it.
M
F2F64AC5-1561-4EAD-8BFC-376AB5E4F7AB.jpeg
CDC7F115-DDAB-46E2-AC0D-3E707A530D4C.jpeg
484BF400-EE5B-433F-8363-3334C7717AD4.jpeg
606859EC-63FD-4913-A27A-62FFF9546510.jpeg
F243D25E-405F-4CC0-9402-3E715F9F9BBF.jpeg
532947D5-15CE-4E51-A36E-69C78C95A62D.jpeg
AEACB7FA-F4CB-4E17-81E0-C86B2DE7BEB7.jpeg
1D52CD0A-7C21-407E-8F85-33541BFCACB7.jpeg
BE9B7301-8D55-4E28-A9AA-FF70F380EE39.jpeg
Looking at a GT350 with a little sag, Is it truly as easy as taking the rear light out, having someone hold the bumper tight, and drilling those two screws in and painting over the heads?
 

V8_MOTOR

Well-Known Member
Joined
Jan 28, 2017
Threads
85
Messages
941
Reaction score
623
Location
Nottingham, UK
Vehicle(s)
MY17 S550 Mustang GT (EURO)
Excellent. I need to put my CF diffuser on and have been worried about this sag issue. No more worries.
Sponsored


Top