Rapid Red
Well-Known Member
- Joined
- Nov 4, 2019
- Threads
- 45
- Messages
- 5,049
- Reaction score
- 4,096
- Location
- Woodstock GA
- First Name
- Greg
- Vehicle(s)
- GT PP2 RaceRed Roush> Steeda> preformance
- Vehicle Showcase
- 2
Nothing wrong with that, ^ Food for thought using note book paper. Locate and put holes in it for the stud. Match the emblem perfectly, with that pattern, transfer it to a piece of card board.First of all, thanks for your suggestions and help.
A couple of quick things -
And with all that said, and thanks to the posters who've made encouraging suggestions...I'm putting this aside, for now. Two reasons:
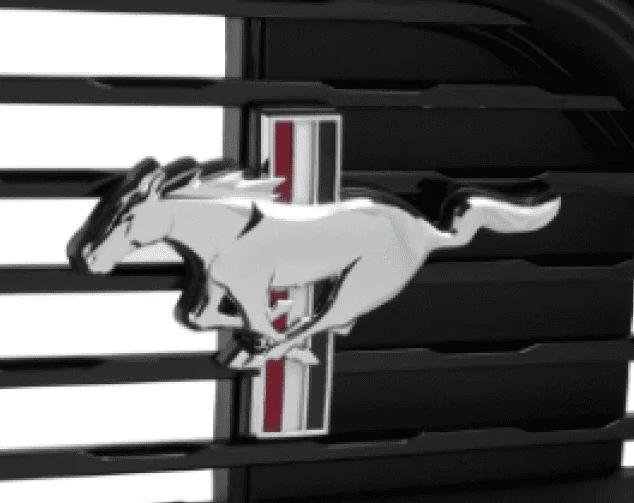
- The studs on the back of the emblem are very small. intended to enable accurate positioning on a professionally pre-drilled or formed piece. They're not really useful for anything else. The actual plastic studs for the push-nuts are on the backing piece shown in @Mustangpursuit 's post here, which is the part I don't have and was trying to substitute the steel plate for.
- The white tab at the top right is part of the protective backing on the 3M adhesive. You take hold of the tab to peel it off.
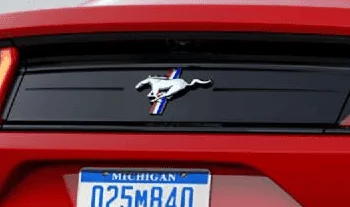
- I'm not mechanically inclined, but I tend toward perfectionism where the look of things is concerned. And to my eye, this ain't perfect; and
- I had to follow this through to see what it looked like, but at the end of the day I just don't love the look as much as I'd expected I would.
So...thanks for the interest and support, guys. I'm sure I'll circle back to this obsessive/compulsive state of posting next Spring when I go to change out the seats.
Overall card board size does not matter, best to be larger than needed for now
. Focus on the emblem stud holes so without any force or wiggling the emblem drops in to place.
Don't be to concerned about the locator pins. Here is why, they most likely will end up in between the grill holes, just floating.
Now that you have the stud hole located, and emblem slides into them. Trace the emblem onto the cardboard face. Draw a rectangle about 1/2'' larger all sides, top bottom and sides, Cut the card board.
Front of grill, move that around until it's centered, blue tap into place. Go to the back of the grill see what is where . Looks good you have a template to make your bracket.
Instead of galvanized steel plate, suggest ABS plastic for the bracket. It's playable and will conform to the grill. Without pulling/ stressing the plastic studs, easy to work with.
Regards,
Greg
Sponsored


![DSC_3682[46060].JPG](https://cdn.mustang6g.com/attachments/450/450908-7bd061b23a4afb700c9902da5d5c6510.jpg)
![DSC_3684[46059].webp](https://cdn.mustang6g.com/attachments/450/450909-e6e640b5910465475d57c4437a76e084.webp)
