Sponsored

2015-2017 headlight mods??

Gloucesternige

Well-Known Member
Joined
Dec 16, 2016
Threads
71
Messages
1,036
Reaction score
277
Location
UK
Vehicle(s)
'17 Mustang GT, GR Yaris, SWB Defender, Harley.
Hello everyone out there in Mustang land.. UK.

I have been off the scene for a little while and hence have missed out on all the great and inforamtive info on this site regarding headlights.
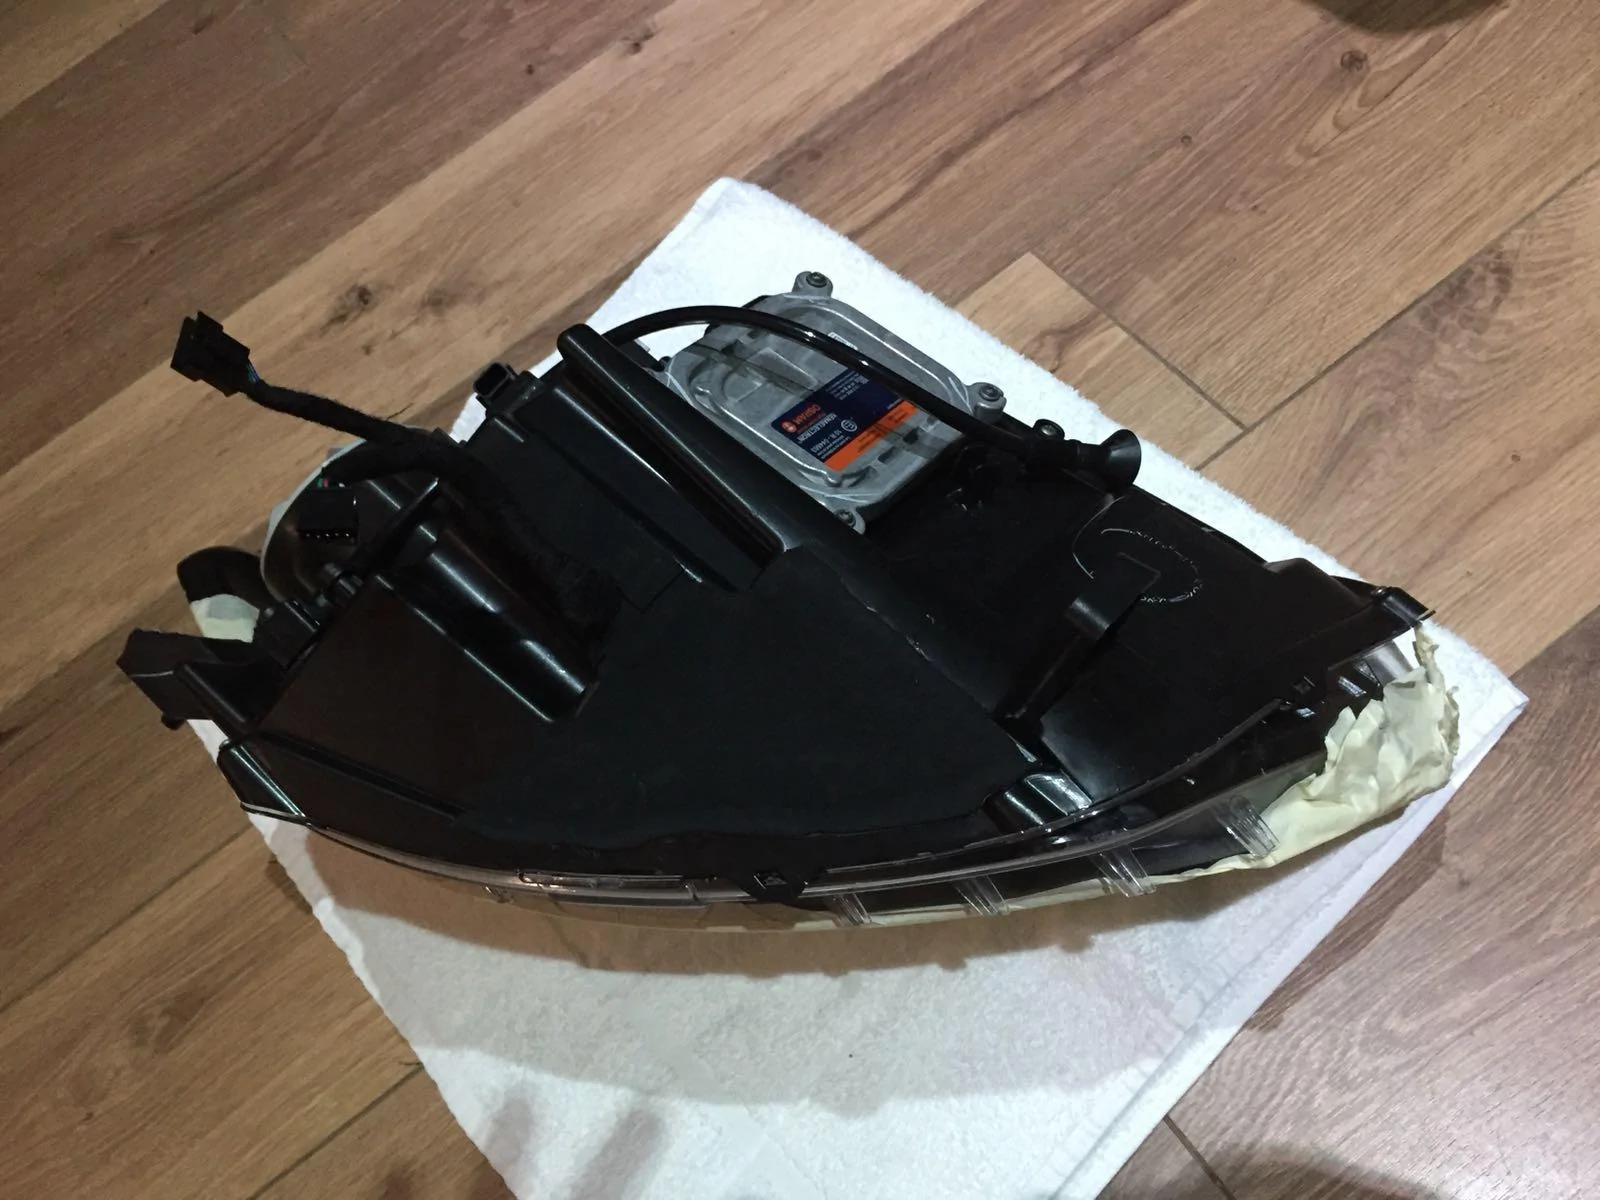
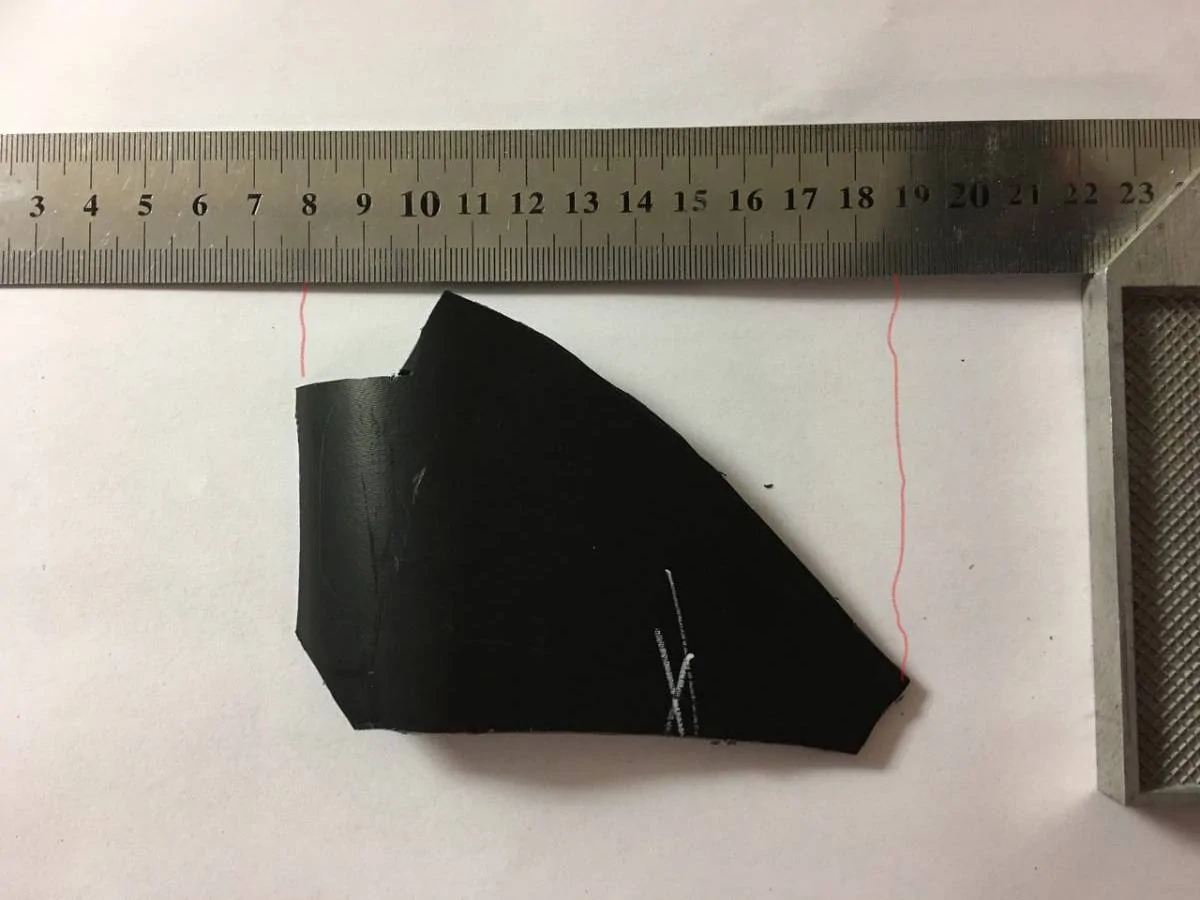
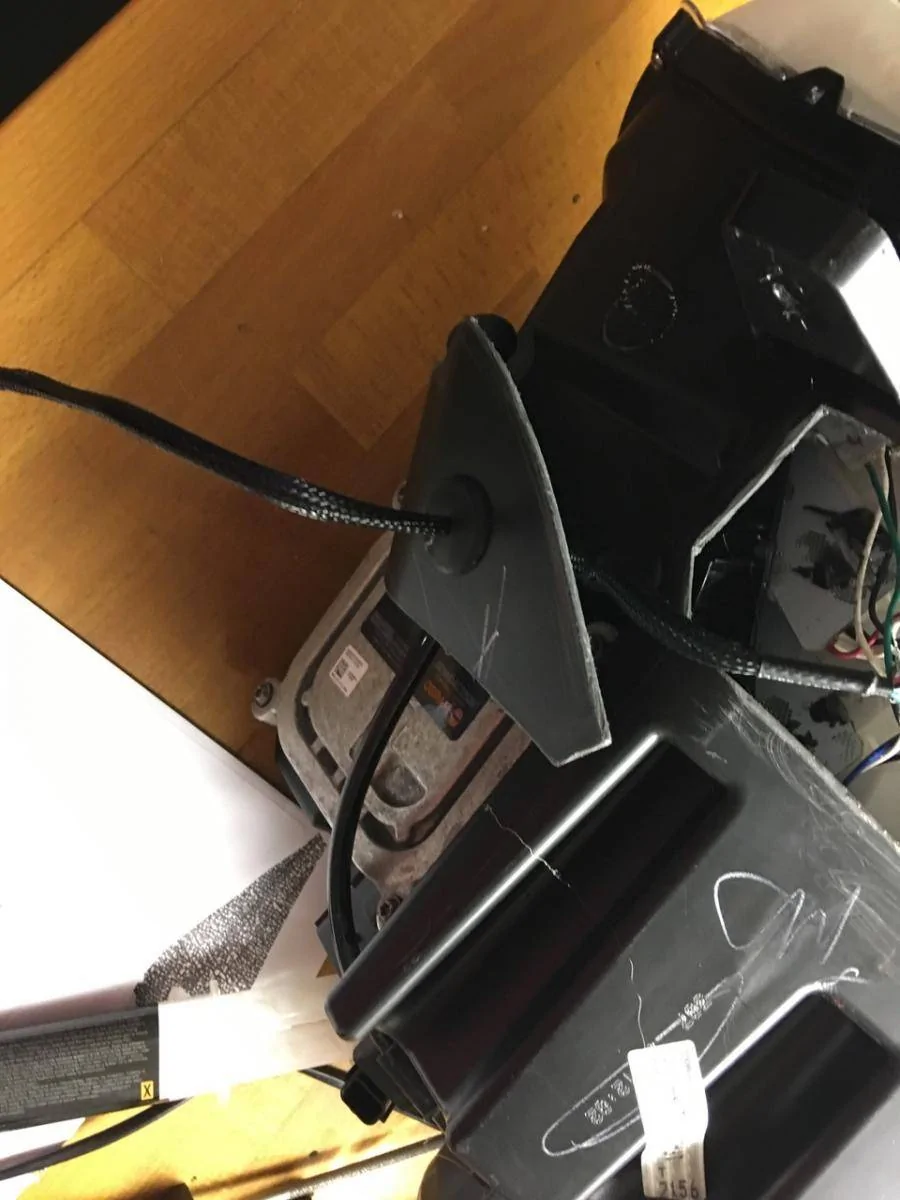
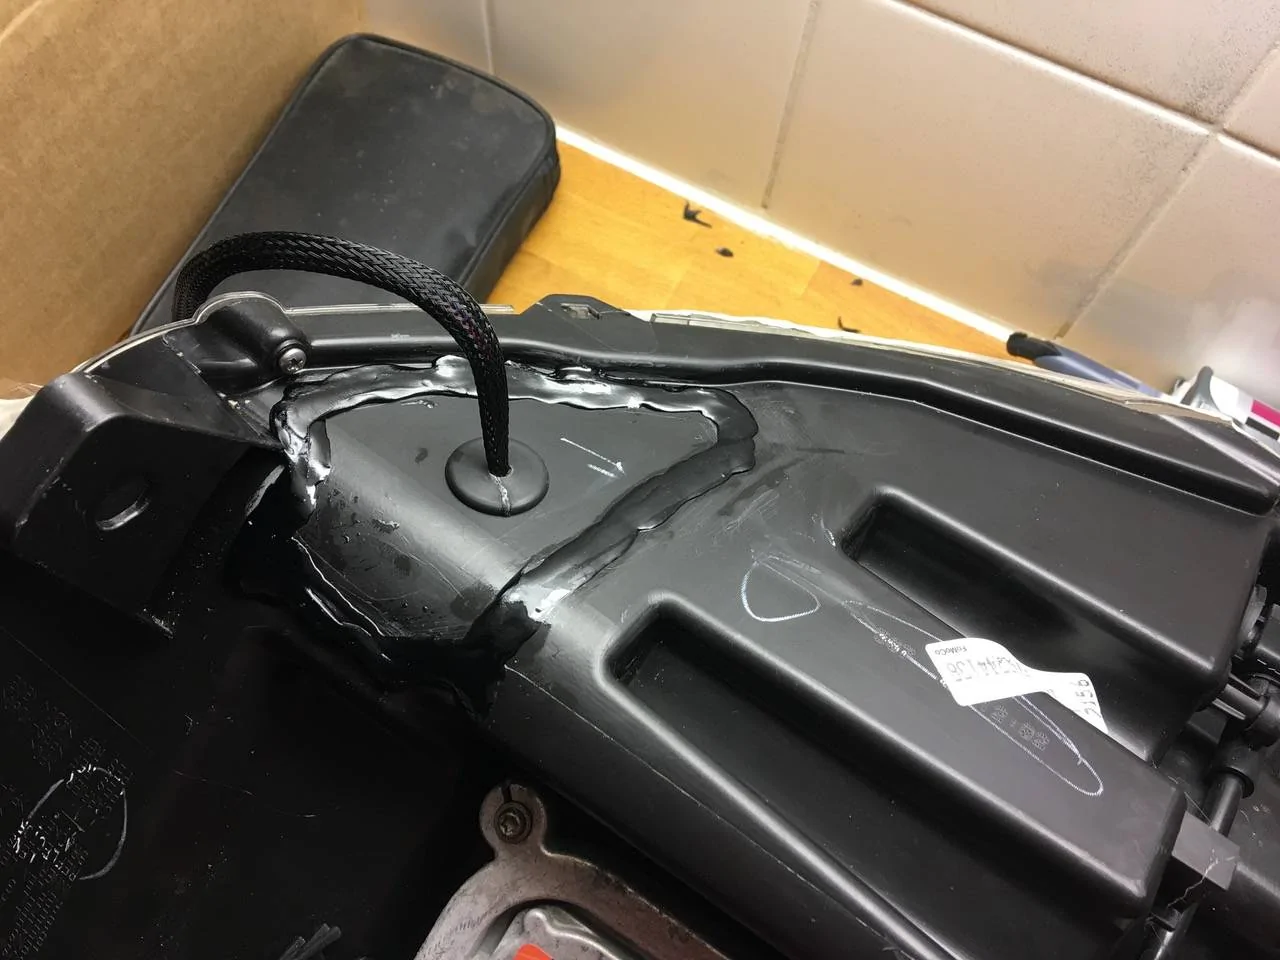
As these cars have been around for 5 years now, I'm sure there must be a recommended GO TO solution for doing a DIY job on the headlamps to enable the shark gills to work? I remember reading about solutions that were not so good, and some that were very expensive. I am looking to do this myself at home using my oven so am looking for the best DIY solution out there.
I am not worried about changing colours or rings around the main lights, I just want to make the "Gills" light up.

Thanks in anticipation of some great replies.
Sponsored


SpArKy

Well-Known Member
Joined
Jun 24, 2016
Threads
27
Messages
420
Reaction score
145
Location
Eaton Bray, UK
First Name
Steve
Vehicle(s)
Mustang GT
I don't know the specifics but the oven method is the no-go as its virtually impossible to seal them up again.

I think the current method is to make small strategically placed cuts in the bottom just big enough to slide in the boards. Would be great if someone who knows the details shared but it seems to be a guarded secret to justify the ridiculous prices charged.

Just to note I'm not saying it's not a lot of work therefore an expensive labour charge, just that it's not worth anywhere near ÂŁ600+
 

hinch

Well-Known Member
Joined
Sep 15, 2016
Threads
22
Messages
3,022
Reaction score
844
Location
uk
Vehicle(s)
Sideways
just cut the bottom of the light out with a multi tool shove the tribars in and then just use a fuck tonne of silicone/sikaflex to seal them back up far easier than fucking around with the oven
 

Supersolo

Well-Known Member
Joined
Apr 12, 2018
Threads
26
Messages
513
Reaction score
221
Location
Northamptonshire
Vehicle(s)
2019 Ford Mustang GT
I recently viewed a legit street car YT video, where the presenter opened up a pair of head lamps, using a cardboard box as an "oven".

Admittedly, it was a Mercedes, but the process seemed straight forward.
He purchased a strip of new butyl.
Applied it to the sealing flange, holding the lens against the housing with strongly sprung clips & heated the unit in the oven.


Kristian87

Super Moderator
Moderator
Joined
Mar 3, 2015
Threads
87
Messages
3,871
Reaction score
3,200
Location
Newbury, UK
Vehicle(s)
Mustang GT

Sponsored

SpArKy

Well-Known Member
Joined
Jun 24, 2016
Threads
27
Messages
420
Reaction score
145
Location
Eaton Bray, UK
First Name
Steve
Vehicle(s)
Mustang GT

hinch

Well-Known Member
Joined
Sep 15, 2016
Threads
22
Messages
3,022
Reaction score
844
Location
uk
Vehicle(s)
Sideways
the video stopped working shortly after posting


What way? The video doesn't work for me....
its the cut a hole in the bottom with a multitool way and then use loads of silicone to seal it back up :)
 
OP
OP
Gloucesternige

Gloucesternige

Well-Known Member
Joined
Dec 16, 2016
Threads
71
Messages
1,036
Reaction score
277
Location
UK
Vehicle(s)
'17 Mustang GT, GR Yaris, SWB Defender, Harley.
Thanks for all these wonderful replies guys.. it really is good to know that slitting ones bottoms is better than a complete lens removal.

As has been said, the video has stopped working?? Maybe someone has an image of precisely where to cut? I would also be interested to know the best light boards to buy please, I seem to remember some of them had issues with LED's going out in no time?
 

hinch

Well-Known Member
Joined
Sep 15, 2016
Threads
22
Messages
3,022
Reaction score
844
Location
uk
Vehicle(s)
Sideways
IMG-20180824-WA0003.webp


if you look closely there's a matt black area this is where the cuts are and the segment that was removed and re-sealed in place I believe
 

Sponsored

Spike-S550

Well-Known Member
Joined
Mar 2, 2017
Threads
7
Messages
250
Reaction score
186
Location
Australia Sydney
First Name
Spike
Vehicle(s)
5.0 GT Mustang Fastback2016
Get measurements from above first pic make paper template of cut out place on h/lamp cut out with' hot knife' (that way no swarf falls into lamp ! f it boards and re seal this was method I used .
 

SpArKy

Well-Known Member
Joined
Jun 24, 2016
Threads
27
Messages
420
Reaction score
145
Location
Eaton Bray, UK
First Name
Steve
Vehicle(s)
Mustang GT

Adam83

Yorkshireman.
Joined
Mar 17, 2018
Threads
31
Messages
938
Reaction score
758
Location
York, UK
First Name
Adam
Vehicle(s)
Oxford White 2017 GT
Tempted for a go at this, what’s the boards everyone’s using? I’m only after white DRL lights I dont want multicoloured max power lights.
 

Chappers

Well-Known Member
Joined
Sep 11, 2017
Threads
32
Messages
594
Reaction score
183
Location
Sutton Coldfield, UK
First Name
Greg
Vehicle(s)
Toyota Supra MkV - Tungsten Silver
Tempted for a go at this, what’s the boards everyone’s using? I’m only after white DRL lights I dont want multicoloured max power lights.
i've used diode dynamics white and amber, although having trouble with the splice connectors arent making great contact,

The best way i found to do the above, was to strap a stanley knife to a soldering iron to melt the plastic in a triangle but on one face do not cut, then use a heat gun on the face that wasnt cut to bend the plastic. do all the board installation using resin glue to glue the boards in place, i used a chopstick to put a dot on the bottom peg. then use the heat gun to bend the pannel back and heat up the cut to then use a flat head screw driver to merge the plastic cut, then use more resin along the cut to seal it.

i cut a little out of the ballast housing for the wire to come through then used a glue gun to put a tonne of glue then screwed the ballast back in to seal it. never had any issues.
Sponsored


Top