Sponsored
OP
OP
Sonicblue_5.0

Sonicblue_5.0

Active Member
Joined
Jan 3, 2026
Threads
1
Messages
26
Reaction score
66
Location
Netherlands
Vehicle(s)
2005 Mustang (currently V6, soon to be coyote swapped). 2018 Mustang EcoBoost PP
I realize you are already past this stage, but the 350 hood/fenders/bumper/headlights is a significant modification, you made the right choice for sure. And you have to do all the bits, plus then you have a front end that is two inches wider, and would look odd with stock wheels.

Very cool, very interesting rebuild.
Although I absolutely love the GT350, and long term it is definitely a dream car, it is not the direction I want to take with this build.

First of all, OEM GT350 parts are extremely expensive to get to Europe, and I would need the entire front end, radiator support, brackets, fenders, hood, headlights, etc. It would probably be the best solution from a technical standpoint, but the costs add up very quickly.

The aftermarket GT350-style bumpers also do not look right to me. I am not a fan of the GT350 bumper combined with the 2018+ headlights. In my opinion the GT350 front end only really works with the 2015–2017 headlights, so even if I went that route with using aftermarket parts, I would still be looking at a full 2018 to 2015 front end swap.

So once the inspections are done, my plan is to go with a Mach 1 front bumper combined with GT350-style fenders. In my opinion the Mach 1 front end looks absolutely amazing.
Sponsored

 
OP
OP
Sonicblue_5.0

Sonicblue_5.0

Active Member
Joined
Jan 3, 2026
Threads
1
Messages
26
Reaction score
66
Location
Netherlands
Vehicle(s)
2005 Mustang (currently V6, soon to be coyote swapped). 2018 Mustang EcoBoost PP
So, I know it’s been a while, but the project definitely hasn’t stranded. It has, however, run into some major delays.

Right now I’m busy getting the car ready, again, for its TÜV re-inspection in Germany. I made a few small and stupid mistakes during my first-ever TÜV inspection, and ran into one somewhat bigger issue with the parking brake.

Since then, I’ve replaced the parking brake cables and pads, and had all four rotors resurfaced. I’m still waiting to do the 6-piston brake conversion until after the car is imported into the Netherlands, so most of this is temporary. Unfortunately, the brakes needed to be better, and the inspection was even more strict than I expected.

Mistakes were made, lessons were learned, and now it’s time to get everything sorted and go back for round two.

I’ve already talked to my painter, and he’s just as eager to get started. So once the car has passed all the inspections, I can’t wait to finally go all-in on the last bit of prep before paint.

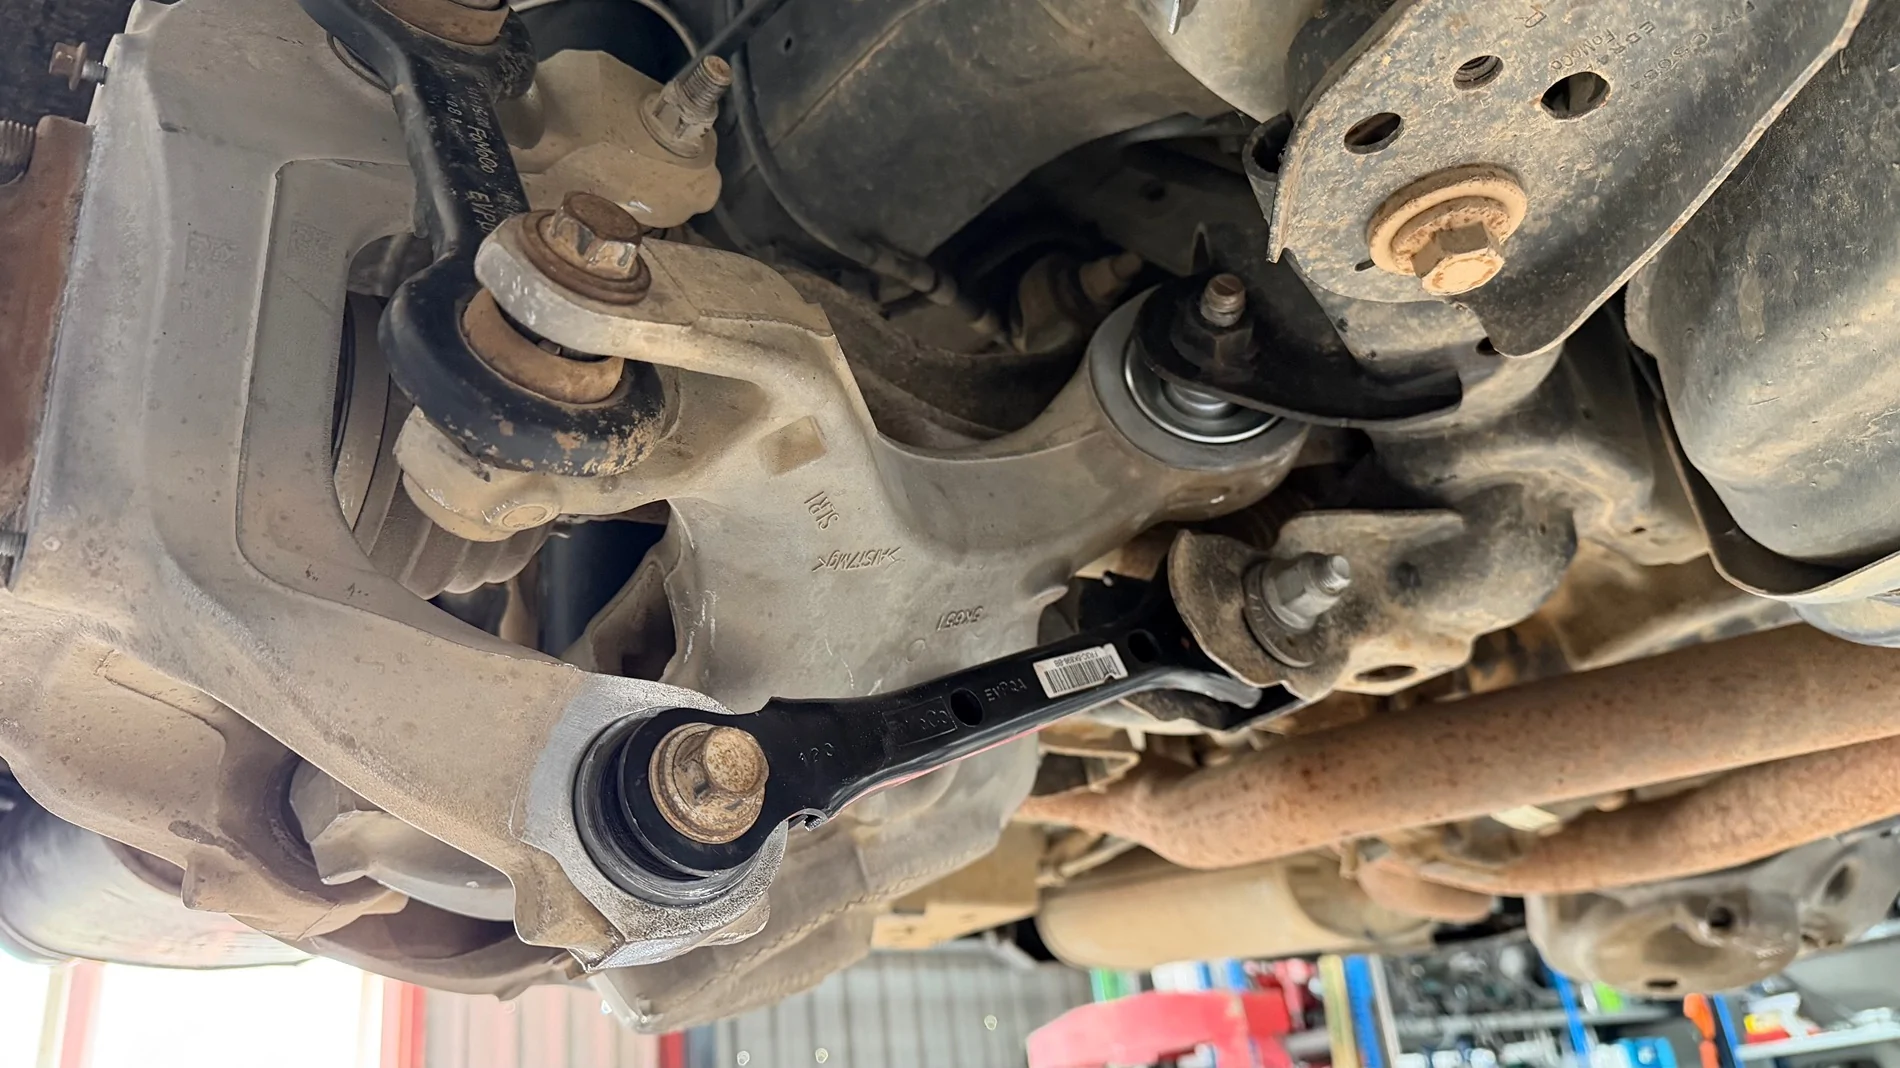
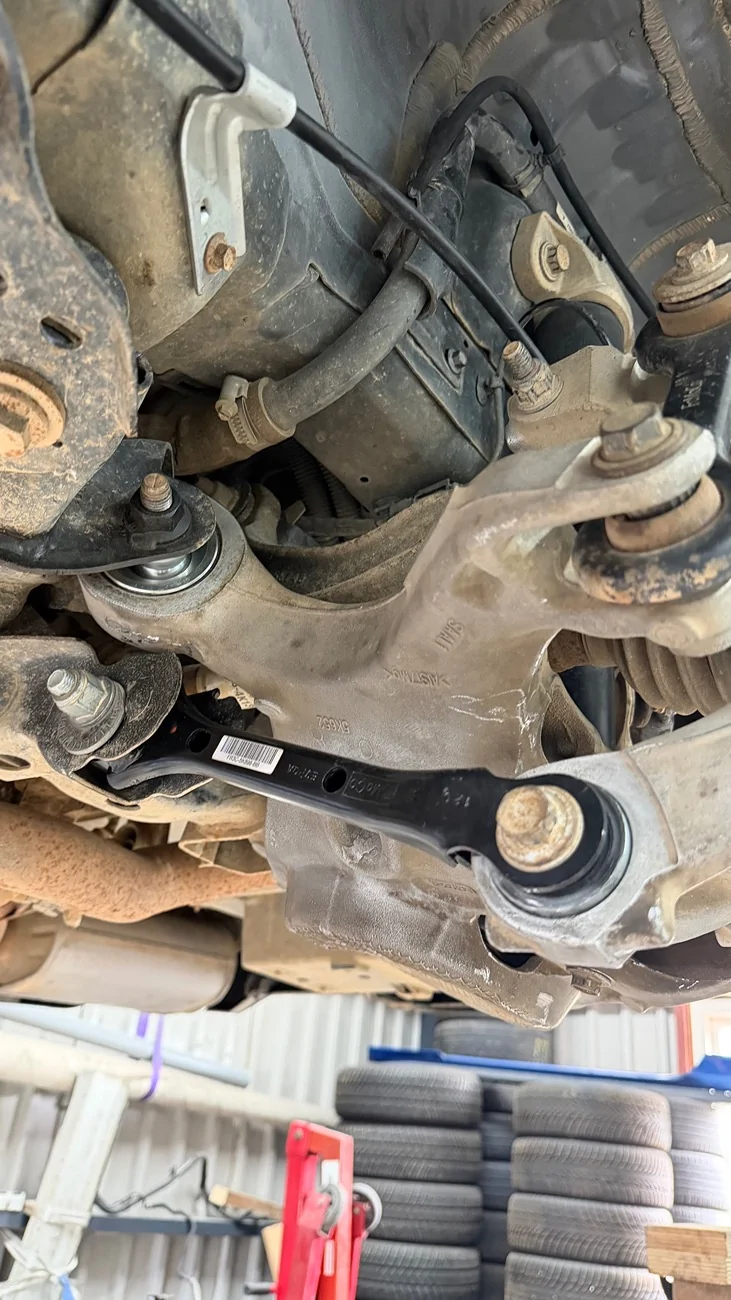
I’ll also be starting on the RLCAs this weekend, which have the well-known rubber bushing problem. I ordered the BMR BK081 bearing kit, and while I’m at it, I’ll replace the toe links with the Ford Performance toe links and install the Ford Performance toe link bearings in the knuckles. I’ll post an update on that as well.

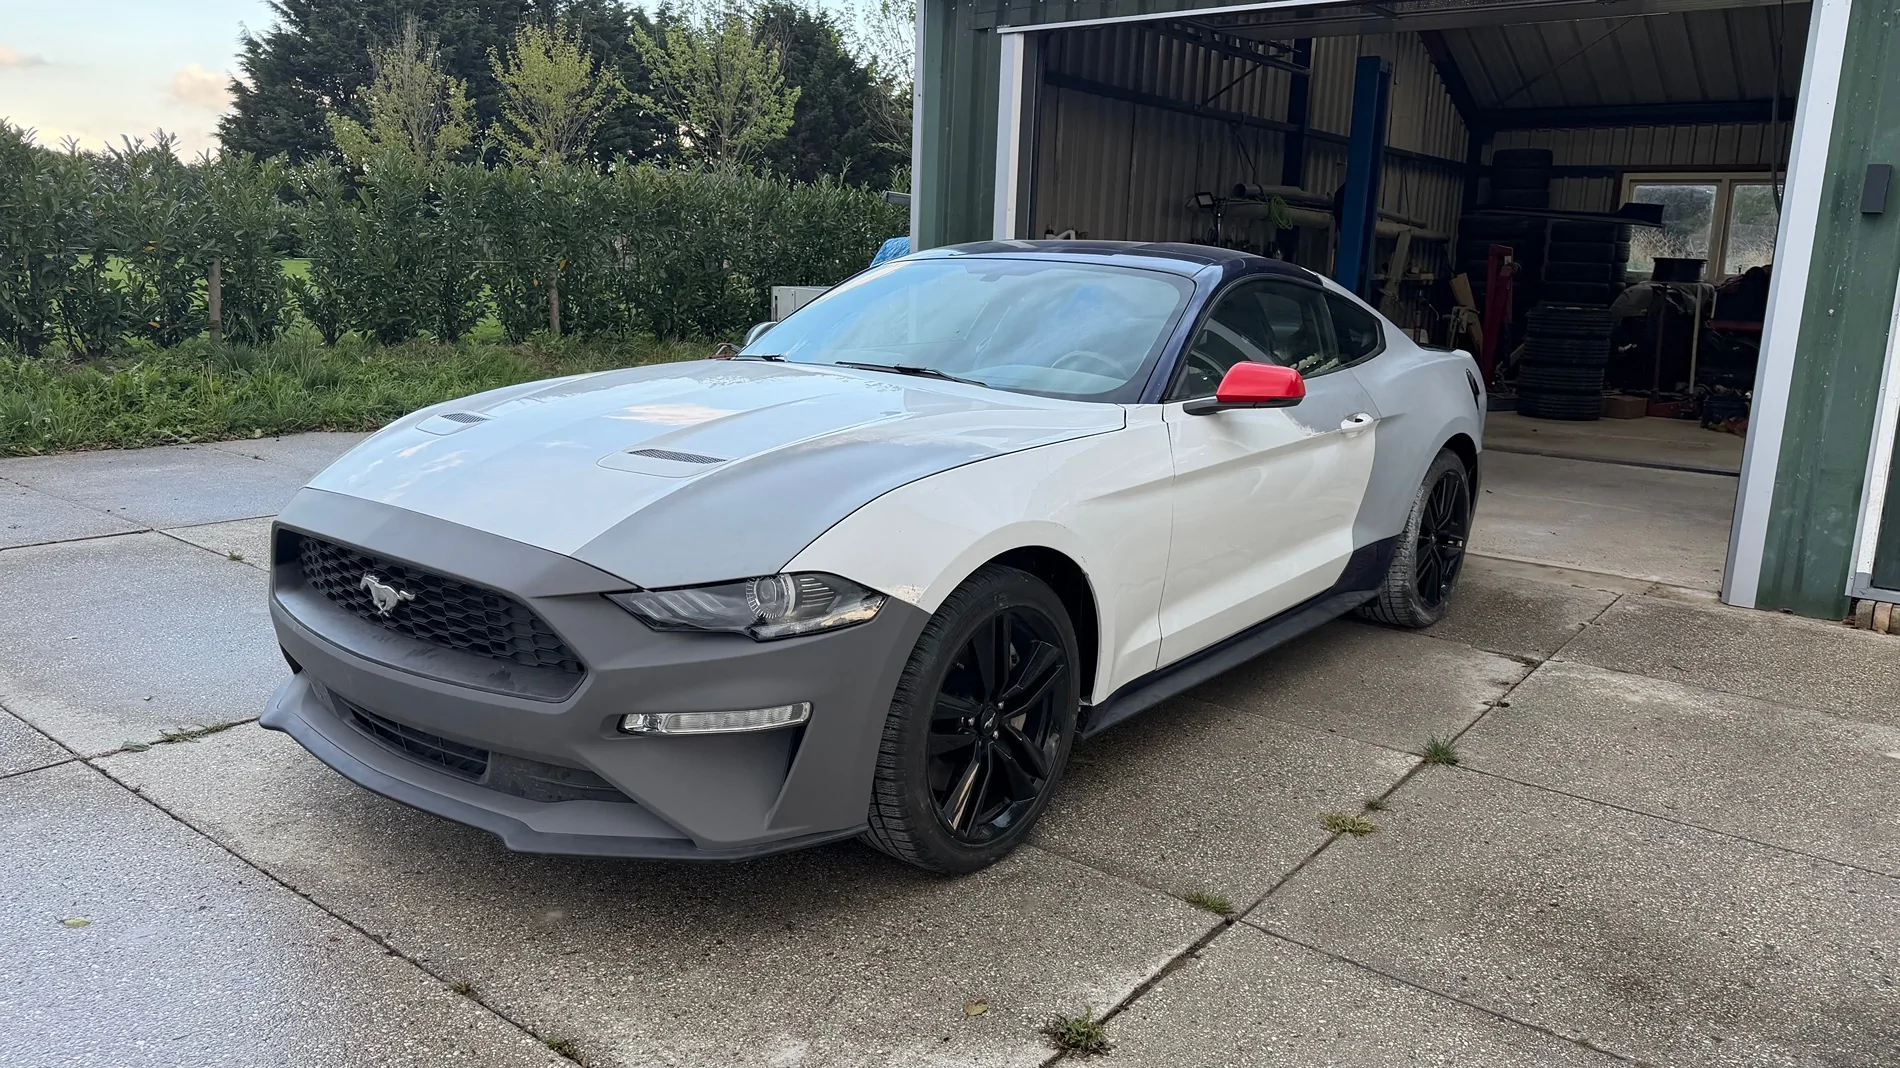
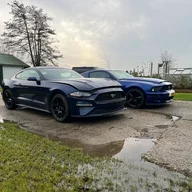
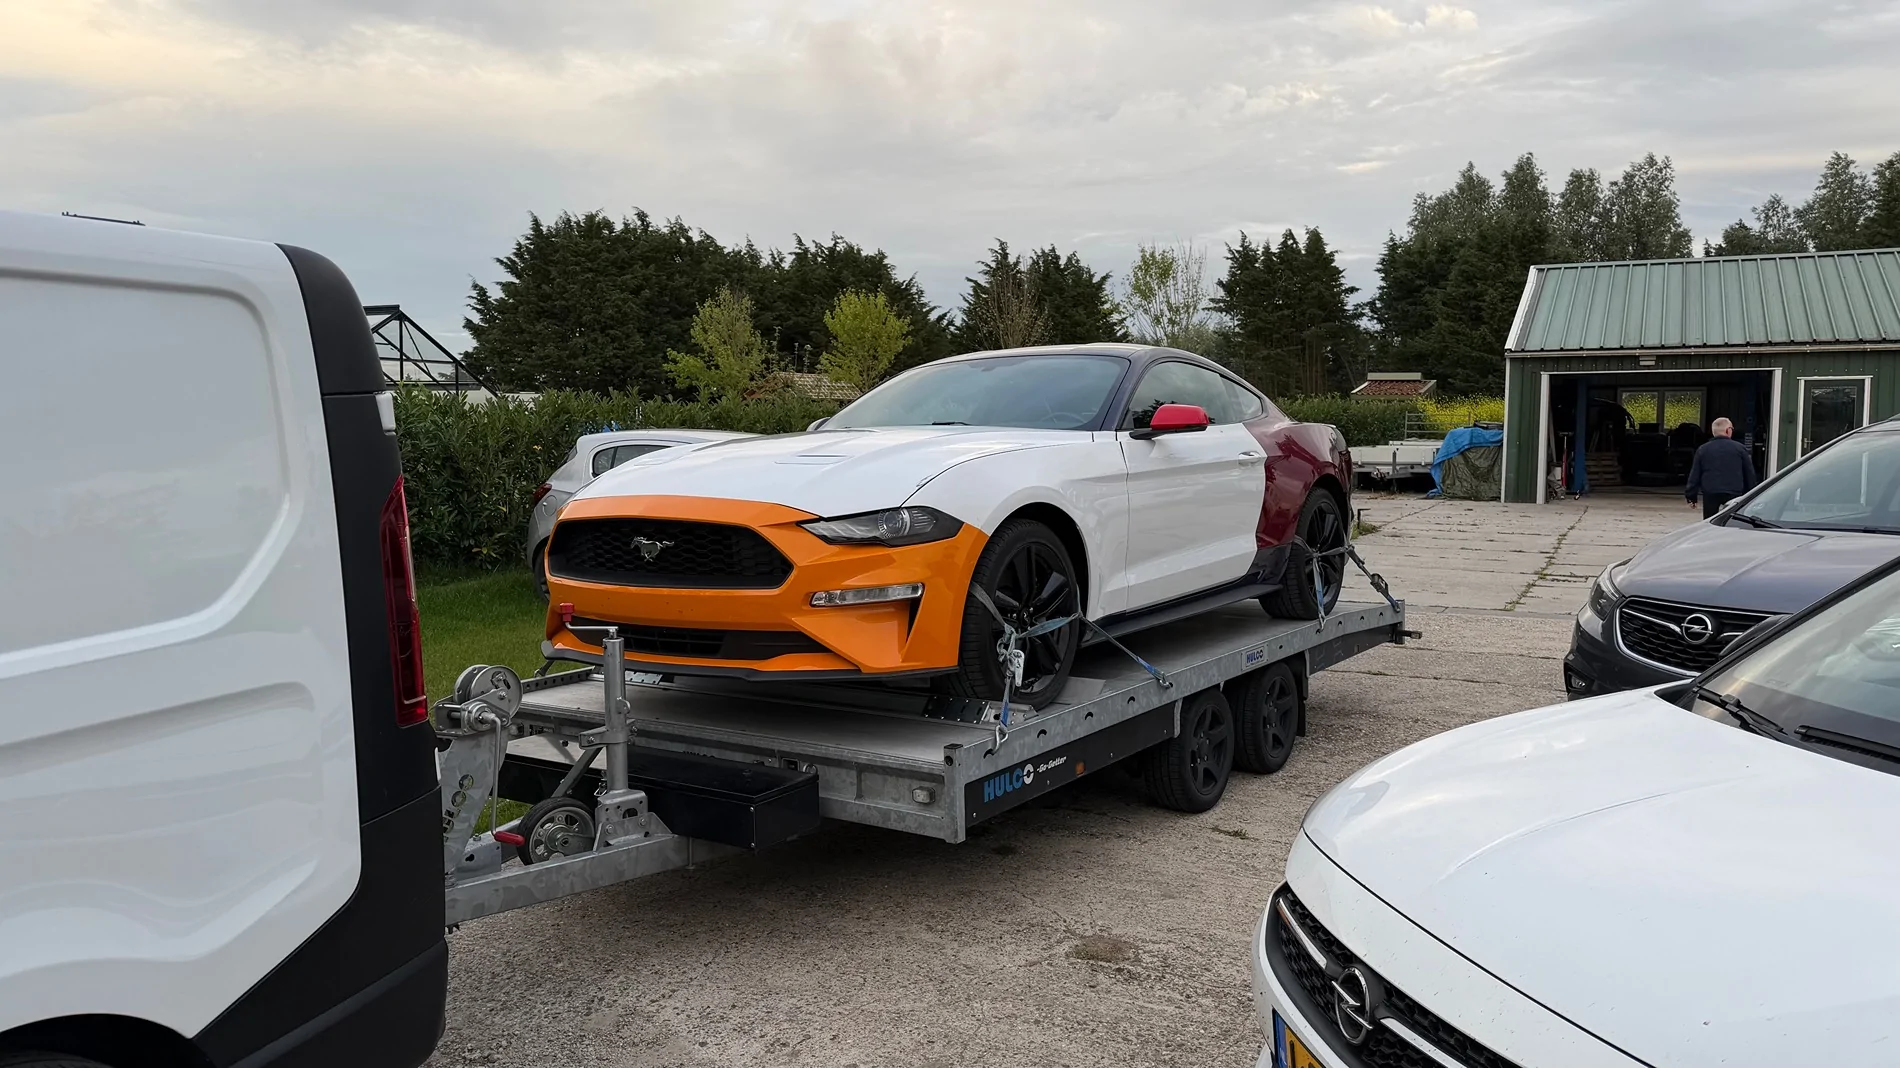
For now, here’s a nice comparison of how she looked before the first inspection versus how she sits today. šŸ‘€

IMG_0079.webp
IMG_0633.webp
 
OP
OP
Sonicblue_5.0

Sonicblue_5.0

Active Member
Joined
Jan 3, 2026
Threads
1
Messages
26
Reaction score
66
Location
Netherlands
Vehicle(s)
2005 Mustang (currently V6, soon to be coyote swapped). 2018 Mustang EcoBoost PP
As promised, here’s the small update about the Rear Lower Control Arm front bushings.

As part of the TÜV inspection I failed, there were a couple of alignment specs outside of the green. They were only yellow on the alignment sheet, so nothing terrible, but not great either.

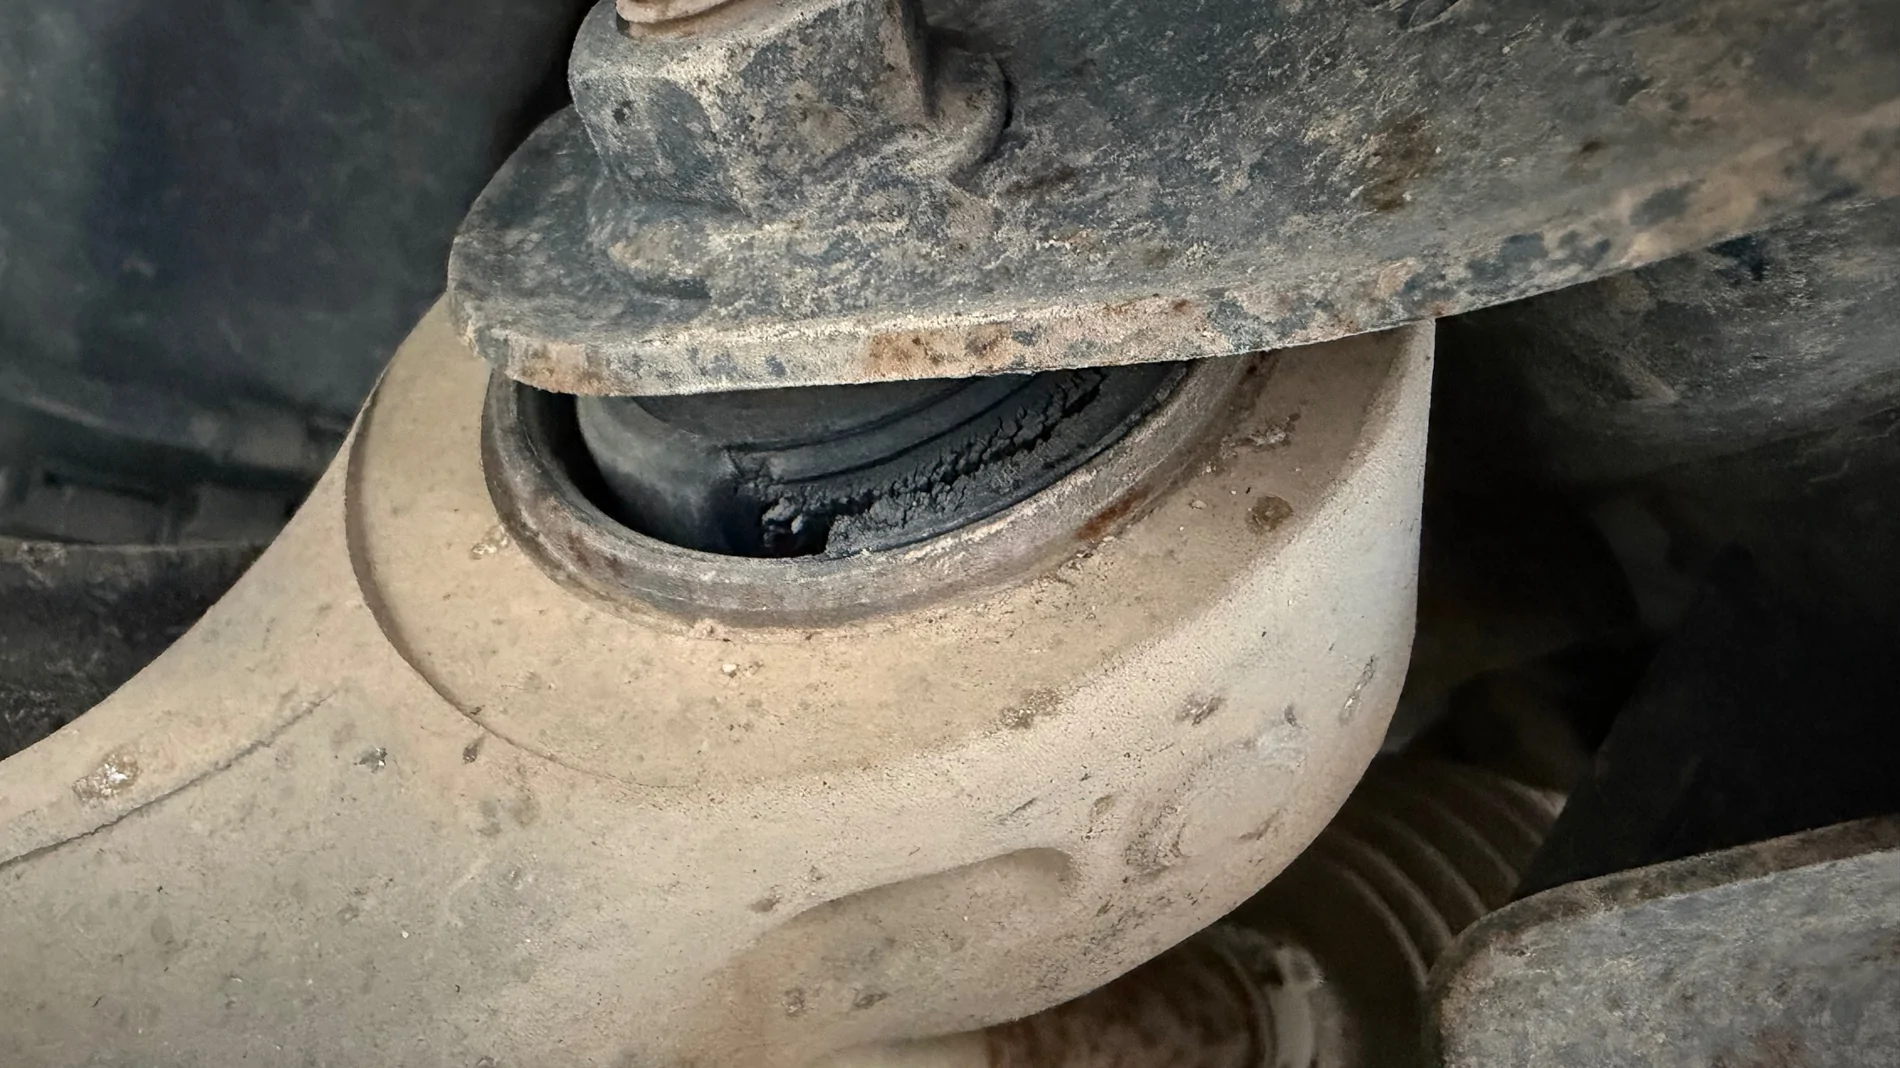
While digging into the rear suspension to figure out why the right rear camber was just a hair off compared to the left rear, I noticed that the most forward bushing of the RLCA didn’t look too healthy. It was NOT something they flagged during the TÜV inspection, but since the car already needed another alignment anyway, I thought: why not do it properly now?

It didn’t make much sense to get it aligned, pass the inspections, replace the bushings later and then have to get it aligned all over again.

IMG_0206.webp


While reading up on the best way to approach this, I quickly found out that buying two brand-new control arms was by far the most expensive option, while still leaving me with the same type of rubber bushing that could fail again in another 4 or 5 years.

Since I like a very responsive car and don’t really mind sacrificing a little bit of ride comfort for it, I figured, why not go with bearings instead? My 2005 V6 Mustang, which is still my current daily driver, has a completely upgraded suspension as well, so I’m definitely used to a slightly firmer ride.

I haven’t had the best experience with Steeda suspension parts on a daily driven car, so I opted for the BMR BK081 bearing kit. While I was in there, I also installed the Ford Performance toe links and Ford Performance toe link/knuckle bearings.

IMG_0657.webp


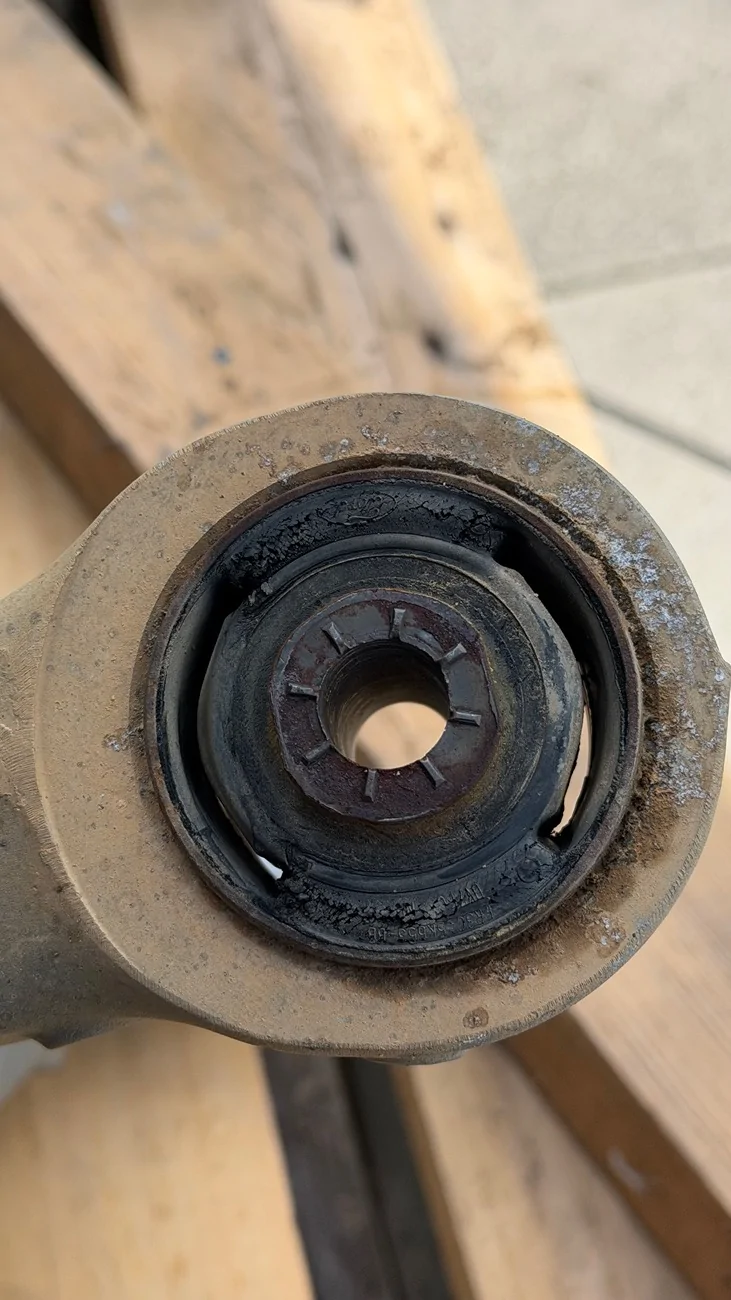
To be honest, once I had the RLCAs out of the car, the bushings didn’t even look that bad. But I’ve seen what I’ve seen while they were still installed and under load, and it just made sense to take care of them now.

IMG_0667.webp


The installation itself wasn’t too bad. The only annoying part was that I couldn’t get the axle shafts to pop out of the differential. I tried with a crowbar, but at some point I decided I wasn’t going to risk damaging an axle or the diff just to make the job a little easier. Maybe I was being a bit too careful, but better safe than sorry.

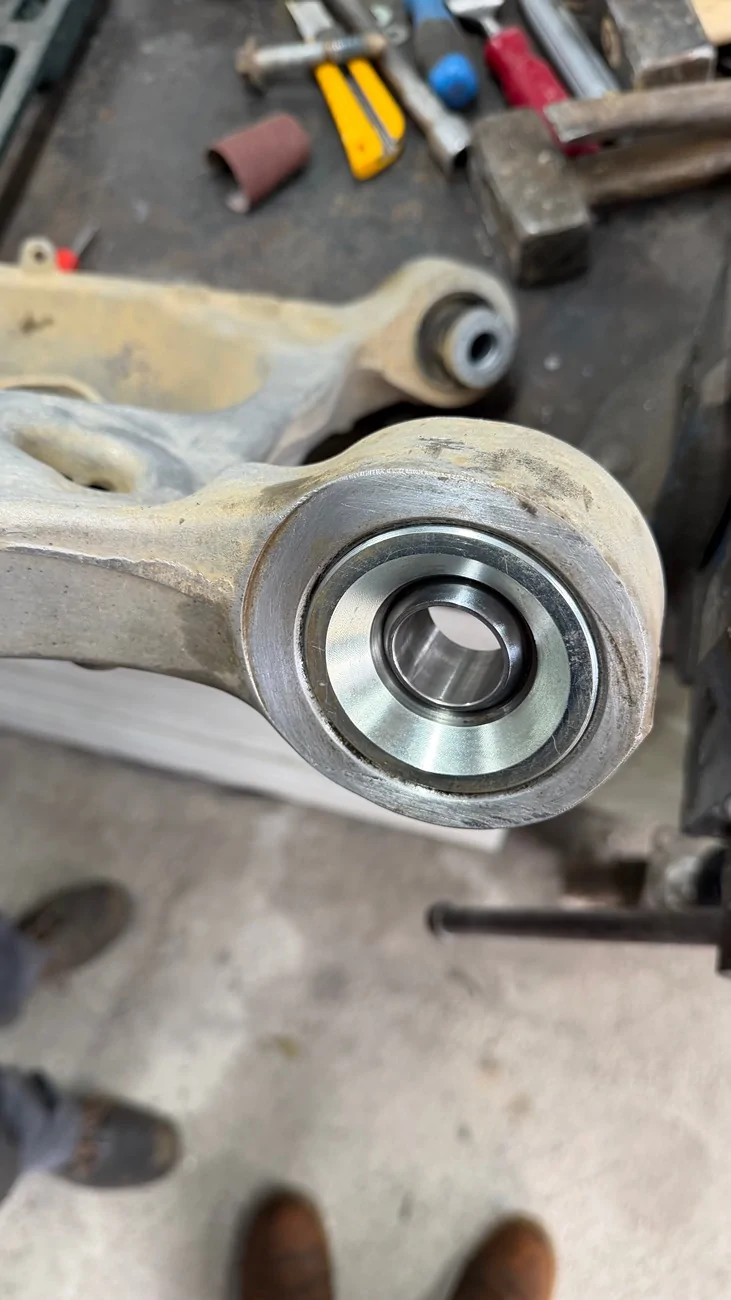
So I ended up doing the knuckle bearings on the car instead. The RLCA bushings came out with the shop press fairly easily, and pressing the new BMR bearings in was pretty straightforward as well.

IMG_0678.webp
IMG_0675.webp


So, that’s another job tackled. The car is actually being aligned as we speak.

Even on the first drive to the alignment shop, the difference with these parts was definitely noticeable. The rear already felt like it had less flex and responded more directly. I can’t wait to see how it feels once the alignment is properly dialed in.
 

Sumjay

Well-Known Member
Joined
Dec 7, 2022
Threads
8
Messages
76
Reaction score
35
Location
Long Island
Vehicle(s)
2022 GT Premium
I’ve got the Steeda RLCA in my cart for my 2022 GT. Any issues or difficulties with your install? I was planning to do the FP toe link bearing myself either rented tools but the RLCA bearing seems out of my league. I have to take my IRS apart this weekend so wanted to get it done while I’m in there.
 
OP
OP
Sonicblue_5.0

Sonicblue_5.0

Active Member
Joined
Jan 3, 2026
Threads
1
Messages
26
Reaction score
66
Location
Netherlands
Vehicle(s)
2005 Mustang (currently V6, soon to be coyote swapped). 2018 Mustang EcoBoost PP
I’ve got the Steeda RLCA in my cart for my 2022 GT. Any issues or difficulties with your install? I was planning to do the FP toe link bearing myself either rented tools but the RLCA bearing seems out of my league. I have to take my IRS apart this weekend so wanted to get it done while I’m in there.
The toe-link bearing was semi-difficult because I couldn’t remove the knuckle from the car, so I had to do everything on the car while it was on a lift. I know, first-world problems šŸ˜…

I literally used a hole saw on a drill to remove most of the rubber from the old bushing. The hole saw was just a tad smaller than the outer metal sleeve. After that, I carefully made two cuts in the metal sleeve with a hacksaw, just deep enough to weaken it. Be very careful NOT to cut into the aluminum knuckle itself. Once I had those two cuts in it, the sleeve came out pretty easily with a hammer.

The RLCA was somewhat the same process. I first pushed the rubber center out using the shop press. Then I made two careful cuts in the remaining metal sleeve with a hacksaw, again just deep enough to weaken it without cutting into the control arm itself. After that, it was relatively easy to press the old sleeve out.

Installing the new RLCA bearing was easy because I could use the shop press. For the knuckle bearing, I just used a piece of threaded rod, a couple of nuts and washers, and an oversized bushing/socket to pull it into place. Getting the new knuckle bearing in was actually the easiest part of the whole job.

So I’d say the RLCA bearing itself isn’t necessarily that difficult if you have access to a press. Getting the old bushings out is probably the most annoying part.
 

Sponsored

kz

Well-Known Member
Joined
Oct 26, 2014
Threads
62
Messages
4,635
Reaction score
2,952
Location
West Chester, OH
Vehicle(s)
Mustangs & F150
The toe-link bearing was semi-difficult because I couldn’t remove the knuckle from the car, so I had to do everything on the car while it was on a lift. I know, first-world problems šŸ˜…
Why not remove the knuckle ? That's the easiest way to deal with bushing replacements.
 

HKusp

Well-Known Member
Joined
Jul 22, 2021
Threads
39
Messages
2,302
Reaction score
2,950
Location
Hampton, Md.
First Name
Jason
Vehicle(s)
2018 Mustang GT
Why not remove the knuckle ? That's the easiest way to deal with bushing replacements.
He said he couldn't get them off the car because he was having issues with the axles coming out.

The installation itself wasn’t too bad. The only annoying part was that I couldn’t get the axle shafts to pop out of the differential. I tried with a crowbar, but at some point I decided I wasn’t going to risk damaging an axle or the diff just to make the job a little easier. Maybe I was being a bit too careful, but better safe than sorry.
 

kz

Well-Known Member
Joined
Oct 26, 2014
Threads
62
Messages
4,635
Reaction score
2,952
Location
West Chester, OH
Vehicle(s)
Mustangs & F150
He said he couldn't get them off the car because he was having issues with the axles coming out.
He did out of the differential - why not just push the axle out of the hub instead ? Don't think anyone with think to remove the knuckle together with the axle if that was the intent of getting axles out of the diff.
 
OP
OP
Sonicblue_5.0

Sonicblue_5.0

Active Member
Joined
Jan 3, 2026
Threads
1
Messages
26
Reaction score
66
Location
Netherlands
Vehicle(s)
2005 Mustang (currently V6, soon to be coyote swapped). 2018 Mustang EcoBoost PP
Why not remove the knuckle ? That's the easiest way to deal with bushing replacements.
He said he couldn't get them off the car because he was having issues with the axles coming out.
You’re both right.

Yes, I could have taken the axles out of the wheel hubs to free up the knuckles, but I know from experience with friends’ S550s how ā€œfragileā€ these rear wheel hubs can be. I didn’t really want to take the risk of removing the axle nuts and potentially disturbing perfectly good hubs, just to get the knuckles off the car.

I mean, technically it wouldn’t hurt to replace the hubs as well, but then I’d have to get two new ones shipped from the USA to Europe. I’m currently on a pretty tight timeline to get the car inspected, and I was worried I might not make the deadline if I suddenly needed to import new hubs.

So my preferred option was to remove the knuckles with the axles still connected to the hubs, which meant pulling the axles out of the diff instead. Unfortunately, I just couldn’t get them to pop out. Weirdly enough, this morning I saw someone on a Facebook forum having the exact same problem with getting the axles out of the diff.

Again, there’s a very good chance I was just being too chicken and didn’t try hard enough šŸ˜‚. But with the inspection deadline in mind, I simply didn’t want to take any unnecessary risks and turn a relatively simple bushing job into a much bigger problem
 

Sumjay

Well-Known Member
Joined
Dec 7, 2022
Threads
8
Messages
76
Reaction score
35
Location
Long Island
Vehicle(s)
2022 GT Premium
The toe-link bearing was semi-difficult because I couldn’t remove the knuckle from the car, so I had to do everything on the car while it was on a lift. I know, first-world problems šŸ˜…

I literally used a hole saw on a drill to remove most of the rubber from the old bushing. The hole saw was just a tad smaller than the outer metal sleeve. After that, I carefully made two cuts in the metal sleeve with a hacksaw, just deep enough to weaken it. Be very careful NOT to cut into the aluminum knuckle itself. Once I had those two cuts in it, the sleeve came out pretty easily with a hammer.

The RLCA was somewhat the same process. I first pushed the rubber center out using the shop press. Then I made two careful cuts in the remaining metal sleeve with a hacksaw, again just deep enough to weaken it without cutting into the control arm itself. After that, it was relatively easy to press the old sleeve out.

Installing the new RLCA bearing was easy because I could use the shop press. For the knuckle bearing, I just used a piece of threaded rod, a couple of nuts and washers, and an oversized bushing/socket to pull it into place. Getting the new knuckle bearing in was actually the easiest part of the whole job.

So I’d say the RLCA bearing itself isn’t necessarily that difficult if you have access to a press. Getting the old bushings out is probably the most annoying part.

Thanks for the input, there’s not a lot of info on these. Please let me know how the car feels once you’re aligned. I’m not afraid of NVH but I don’t really know wha to expect from these - people seem to say the knuckle bearings don’t cause any while the RLCA bearings are much louder
 

kz

Well-Known Member
Joined
Oct 26, 2014
Threads
62
Messages
4,635
Reaction score
2,952
Location
West Chester, OH
Vehicle(s)
Mustangs & F150
You’re both right.

Yes, I could have taken the axles out of the wheel hubs to free up the knuckles, but I know from experience with friends’ S550s how ā€œfragileā€ these rear wheel hubs can be. I didn’t really want to take the risk of removing the axle nuts and potentially disturbing perfectly good hubs, just to get the knuckles off the car.
You wouldn't disturb them - hubs (or specifically bearings) are a wear item - did you check them for play while you were doing this ?

This would have been good opportunity to retighten the nut and add jamnuts that OP Mustang sells. But I get it - still think no reason to be afraid to take it apart.
Sponsored


Top