Sponsored
What's In DFB's Cabinet?

amkr

Member
Joined
Sep 17, 2023
Threads
0
Messages
20
Reaction score
38
Location
Australia
Vehicle(s)
Toyota Prado, Volkswagen Passat
Good work, I never quite understood how companies have 100 years of automobile history and can’t work out how to make black trim that stays black.

and now the new trend is to have the same plastic on the exterior face of the wheel arches in a lot of new cars.

Will be interesting to see how long that solution holds up! I’ve got a mottled grey Toyota scuttle plate that could use some attention.
 
OP
OP
DFB5.0

DFB5.0

Well-Known Member
Joined
Mar 15, 2017
Threads
93
Messages
5,468
Reaction score
15,737
Location
Australia
Vehicle(s)
Mustang GT Fastback
A couple of Solution Finish specific videos -


HoosierDaddy

Well-Known Member
Joined
Jan 2, 2016
Threads
266
Messages
4,711
Reaction score
9,106
Location
Winchestertonfieldville (ok, Scottsdale), AZ
First Name
Randy
Vehicle(s)
2016 GT Premium PP, 2023 Tesla Model 3 Performance, 1978 Trans Am WS6, etc.
Now that DB will have some well deserved extra income, starting a pool on how long it takes him to gear up and start offering a rotisserie detailing service. :wink:
 
OP
OP
DFB5.0

DFB5.0

Well-Known Member
Joined
Mar 15, 2017
Threads
93
Messages
5,468
Reaction score
15,737
Location
Australia
Vehicle(s)
Mustang GT Fastback
Now that DB will have some well deserved extra income, starting a pool on how long it takes him to gear up and start offering a rotisserie detailing service. :wink:
After today, I'd settle for a lift!
 

Sponsored
OP
OP
DFB5.0

DFB5.0

Well-Known Member
Joined
Mar 15, 2017
Threads
93
Messages
5,468
Reaction score
15,737
Location
Australia
Vehicle(s)
Mustang GT Fastback
Mini Holiday Project 2 - XR6 Wheel Renovation & Coating

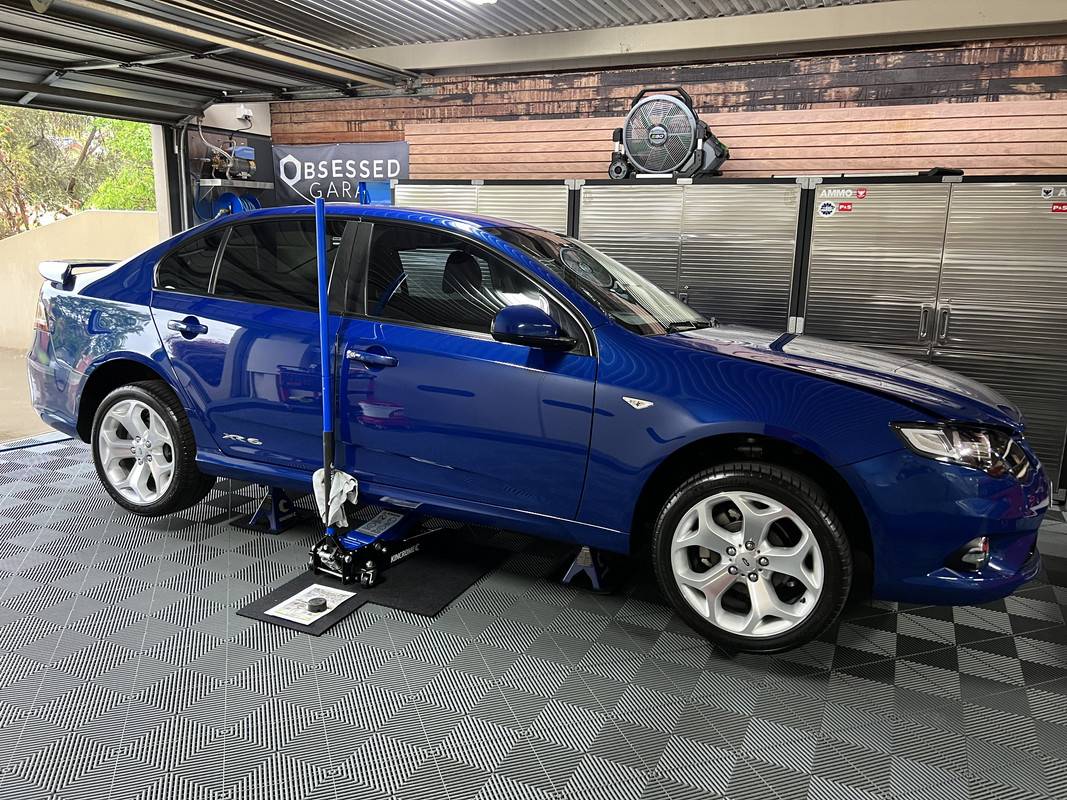
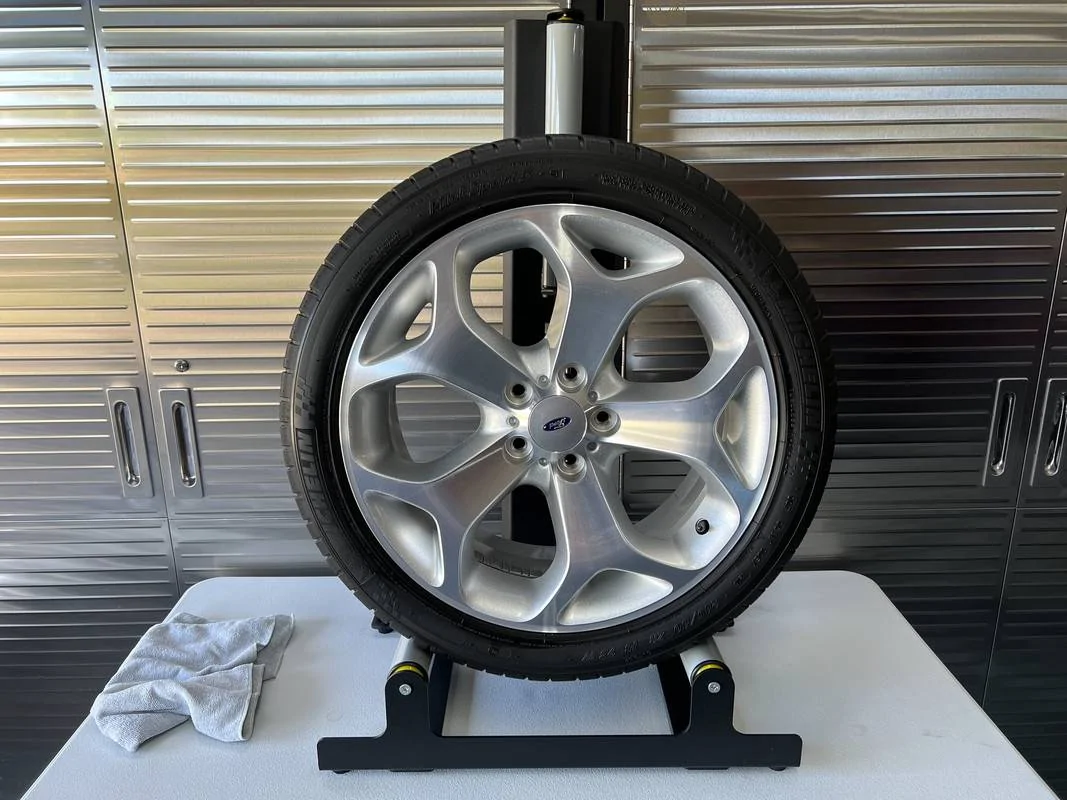
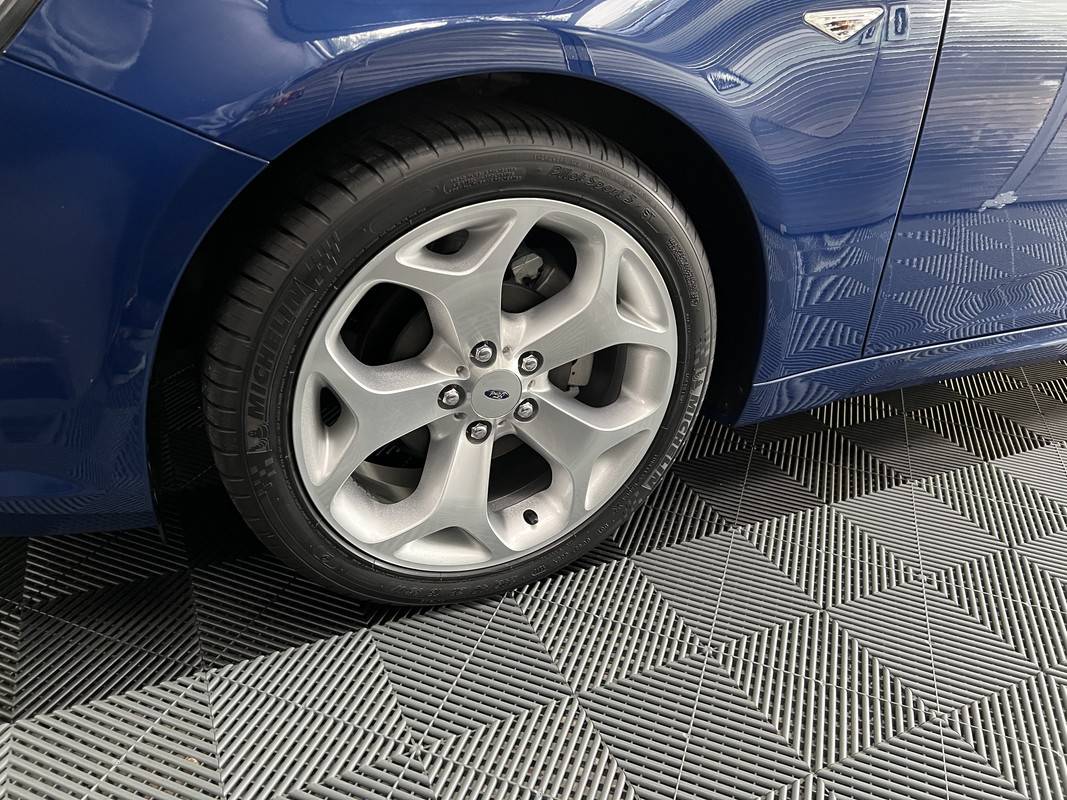
Before I start this post, I will point out these wheels are 15 years old and have a few nicks here and there. None caused by me by the way, let's just say that I hate handing my cars over to someone else's "care". Sometimes we have to learn to just let things go. I would love to have these restored, but the diamond face requires specialist attention. I considered replacing them, but at $1200 EACH!, that won't be happening for a while. As such, this is my attempt to give them a spring clean and a new lease on life.

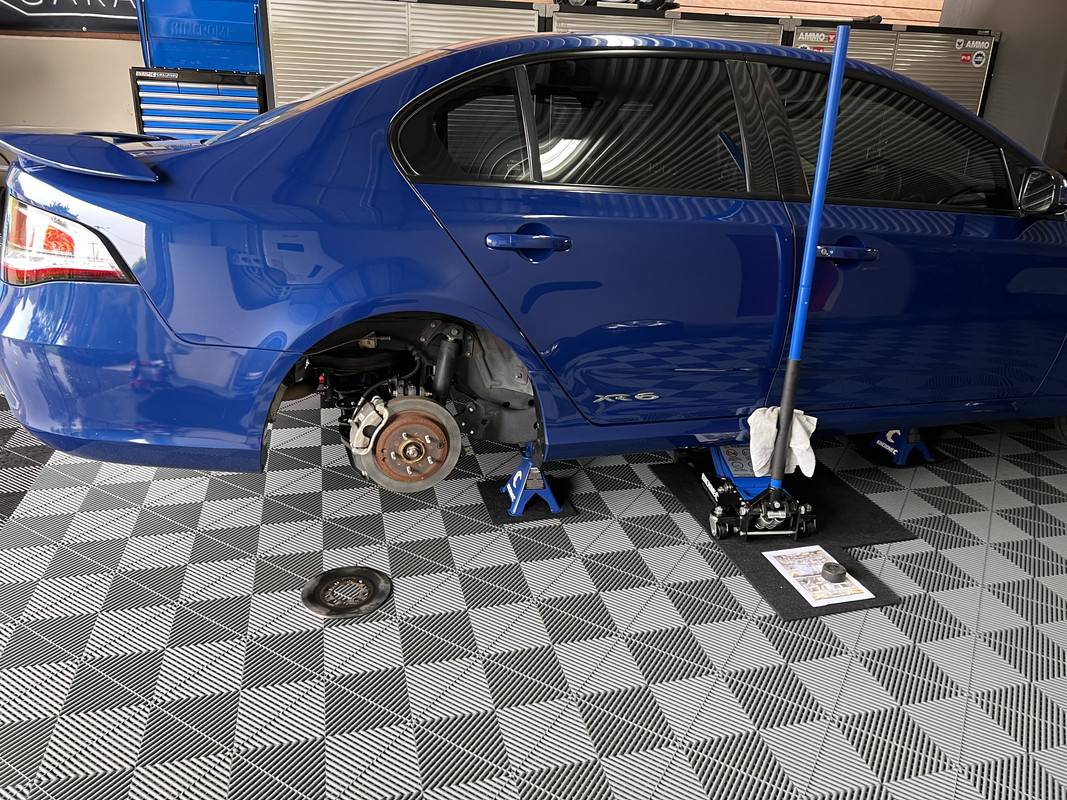
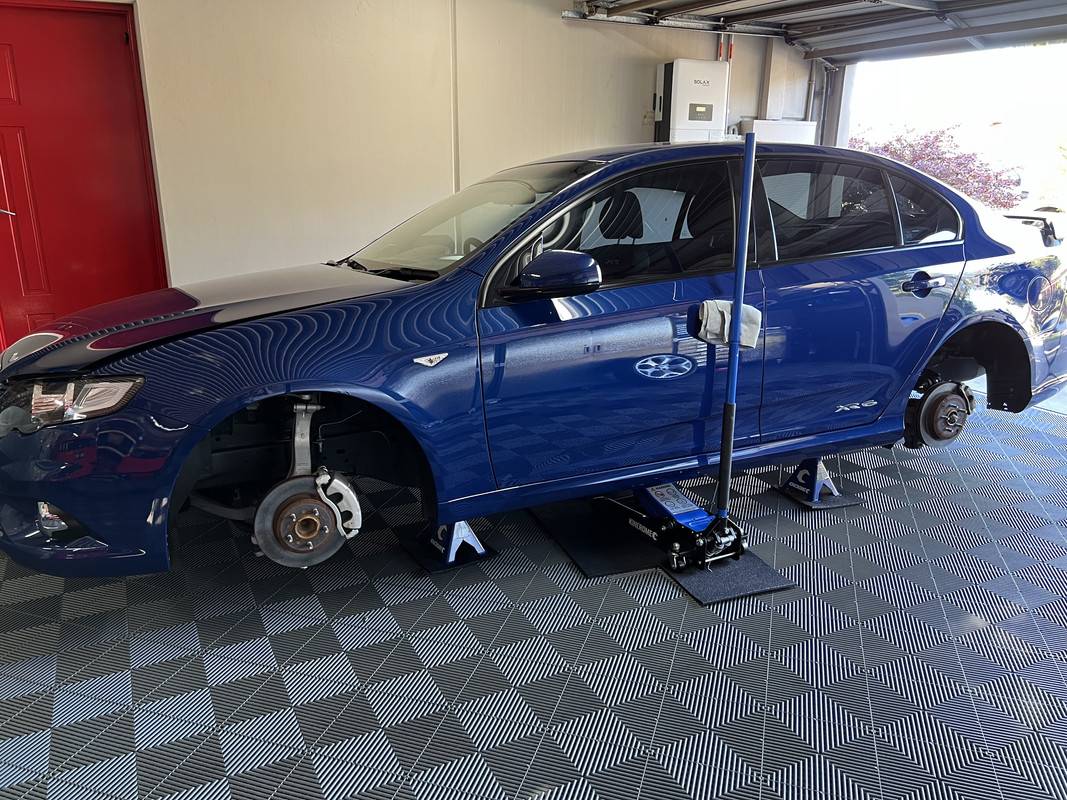
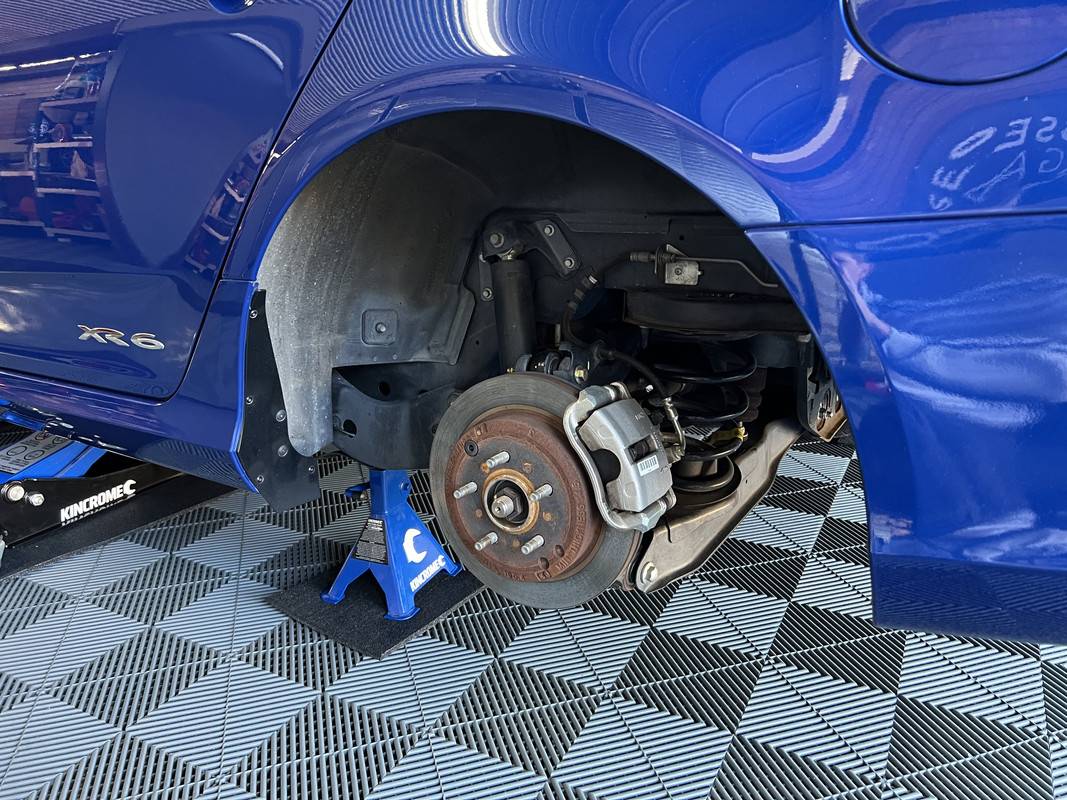
So, up on jack stands the car went. While I have used the trolley jack before, I've never used jack stands. To complicate matters, I needed to account for the flooring by placing a rubber mat underneath to prevent the stands from sliding or damaging the tiles. This stuff is actually gym matting cut into square tiles, the remaining material used under the jack.

IMG-9752.jpg


IMG-9754.jpg


I'm actually splitting this project in two, working on the right-hand side today. This is for two reasons, there was a lot of ground to cover today and a fair bit of heavy lifting. I'm also really, really nervous about putting the car up on jack stands at all four corners. Baby steps.

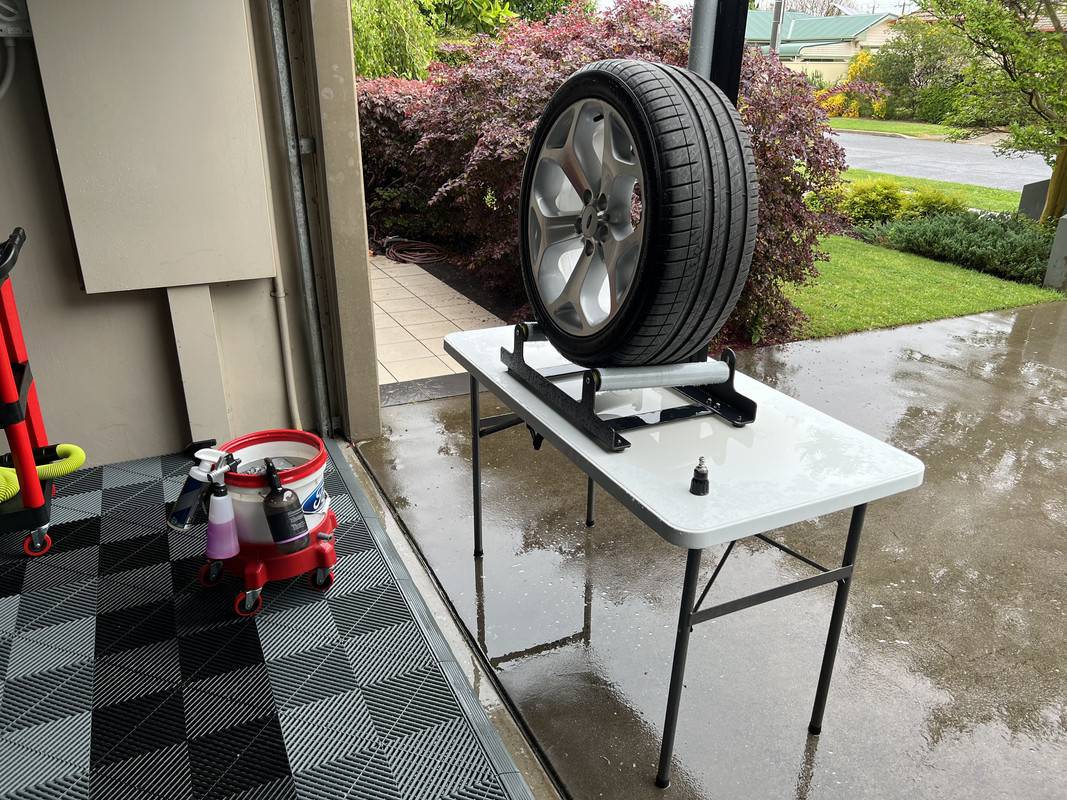
With the wheels removed, it was time to decontaminate them. The wheels were already "clean" from the previous wash, this was more about removing any remaining protection and an accumulation of tar deposits. I don't have many action shots of this, I was in the zone with a big job ahead of me. Annoyingly, my week's leave coincided with three days of heavy rain predicted. Typical. :frown:

IMG-9758.jpg


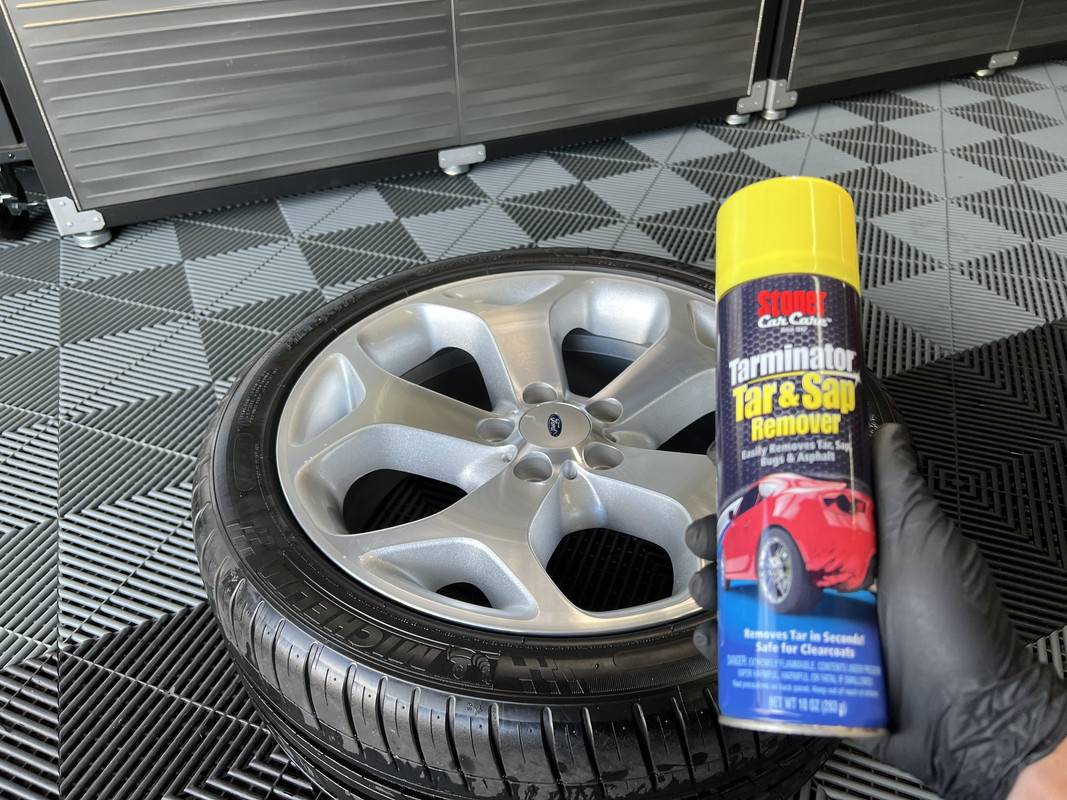
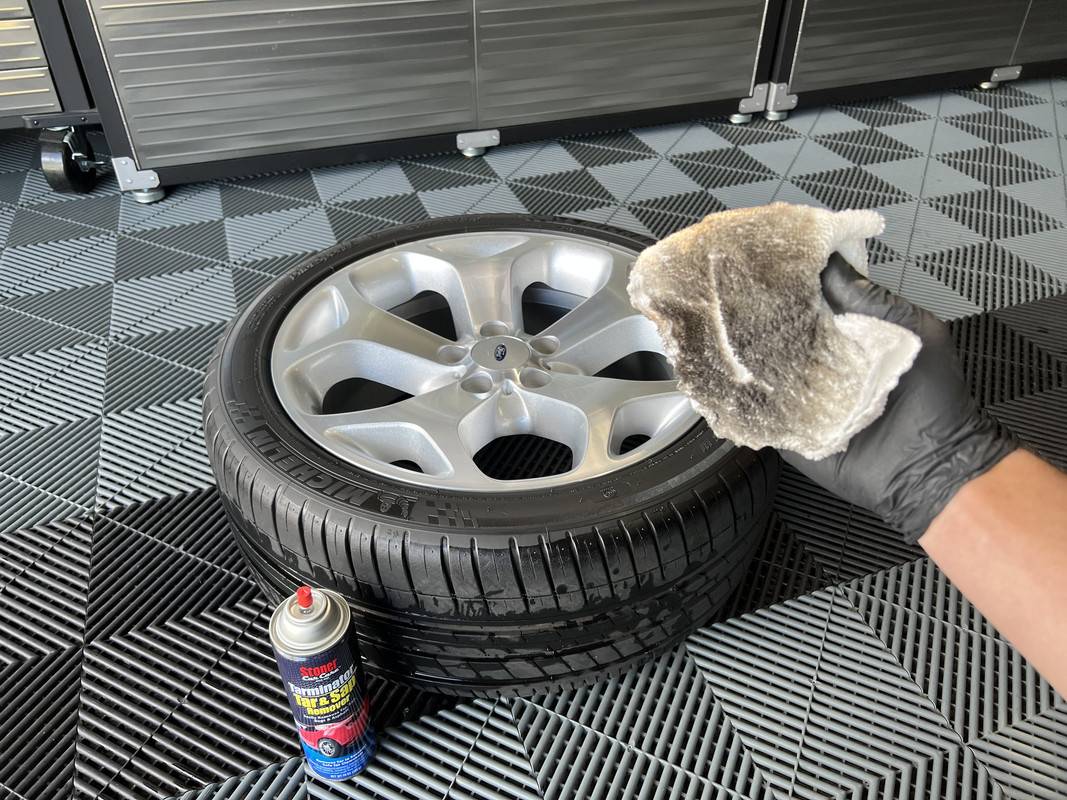
In terms of the process here, I hit the tyres front and back with Carpro ReTyre. I have mentioned this numerous times, but these tyres resist nearly every attempt at stripping them back to natural rubber. I actually had to get the Tarminator out afterwards to get them properly bare. For the wheels, I started with Brake Buster undiluted to clean and strip, rinsed and then applied NV Purify, which provided the lubricant for the clay bar. I haven't used a real clay bar in years! After another rinse, I applied Carpro TarX and used a plastic razor to lift off the baked-on tar deposits. I also needed to use KCx Eulex to remove some wheel weight adhesive residue and a couple of more stubborn tar spots. The wheel was then rinsed and dried with the Big Boi.

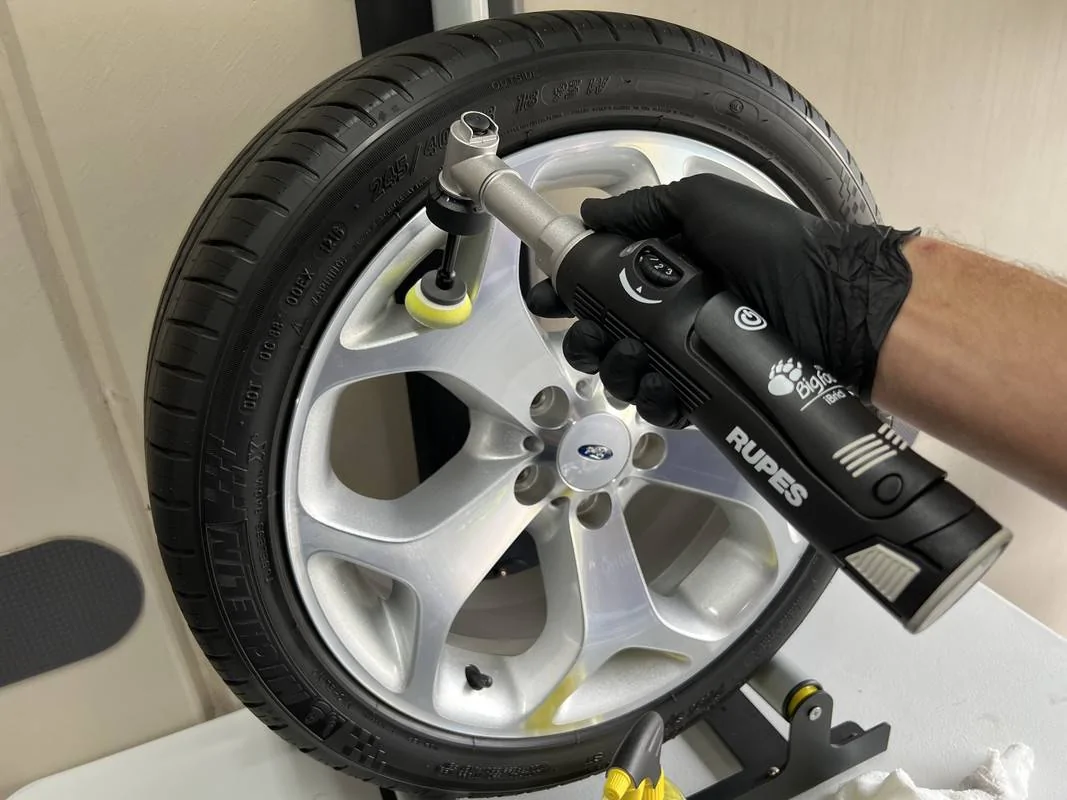
As planned, the next step was to polish the wheels. I wasn't going for perfection here, just an enhancement using Sonax Perfect Finish on a Rupes yellow. I stared out using the D/A backing plate, but switched to the rotary function for better control and precision. This is the first time I had used the extension shaft on the iBrid, which allows a little more clearance for tighter spots. The barrels were given a pass over with my 3-inch ShineMate and a yellow ShineMate pad.

IMG-9762.webp


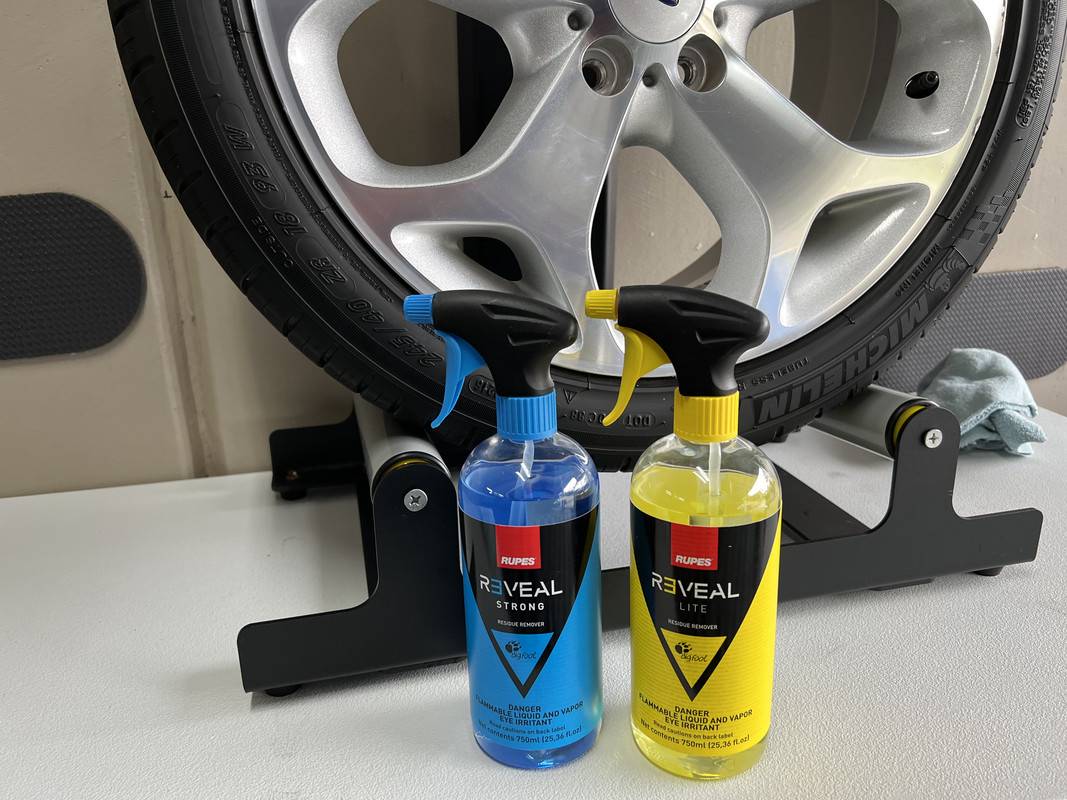
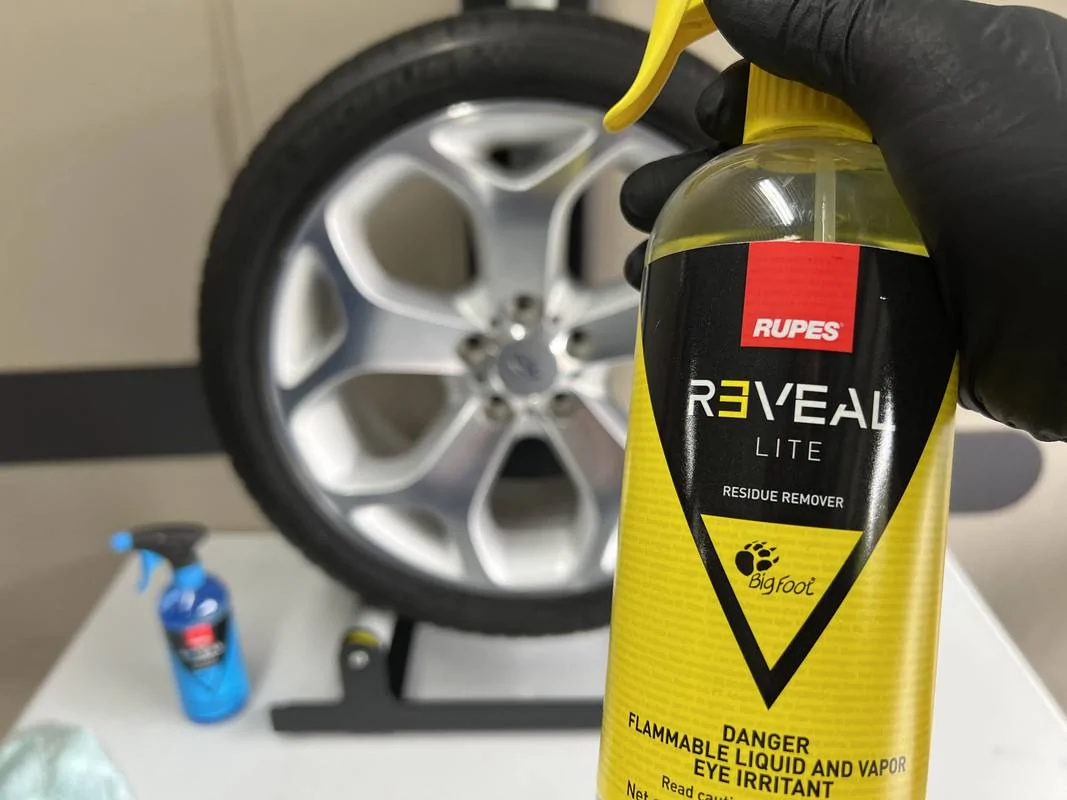
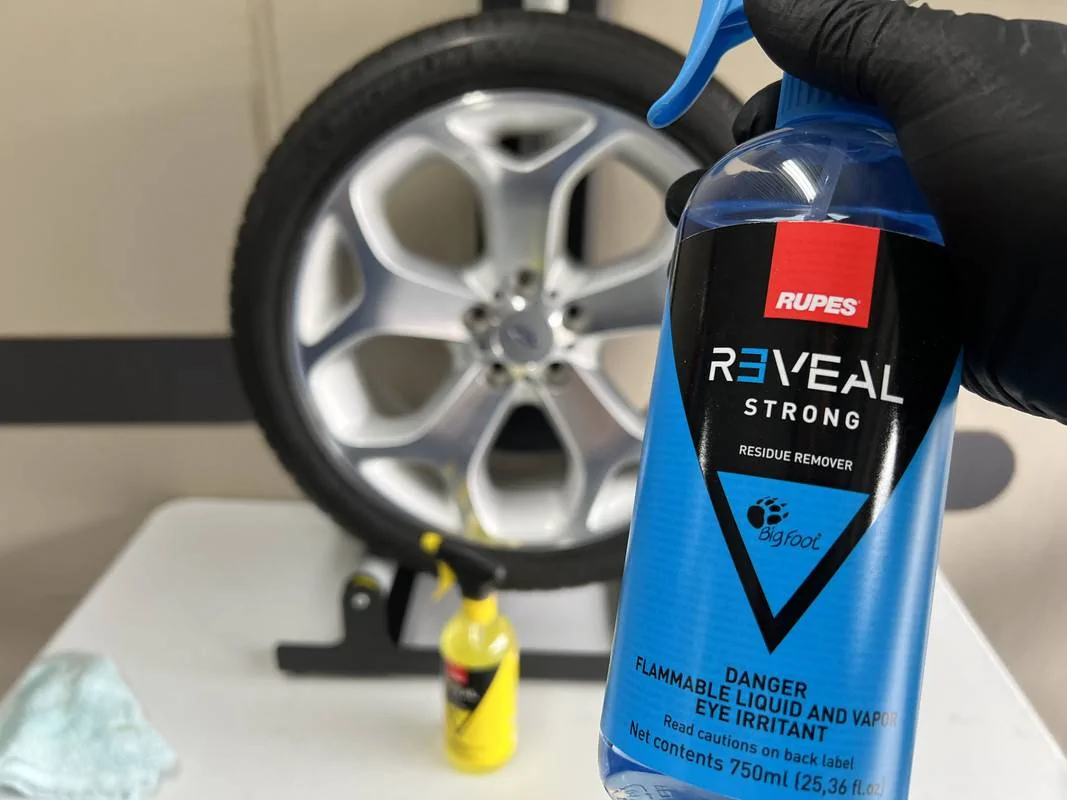
Today was also my first try of the new Rupes prep sprays, Reveal Lite and Revel Strong. For some reason, none of the detailing suppliers in Australia have this in their stores, so I had to get it from an online tool supplier. Go figure.

Rupes 9.REVEALM750 750ml Reveal Lite Residue Remover | Tools Warehouse🧰
Rupes 9.REVEALH750 750ml Reveal Strong Residue Remover | Tools Warehouse🧰

(USA Links)
RUPES REVEAL Lite Residue Remover 750mL (autogeek.net)
RUPES REVEAL Strong Residue Remover 750mL (autogeek.net)

IMG-9764.jpg


In this case, I used Reveal Lite for the polish residue wipe down. Lite can be used more generously, able to be applied directly to the surface if needed.

IMG-9770.webp


Reveal Strong is best used as the final wipe down and used with care. Do not apply this directly to the surface, rather spray into a towel and wipe. This stuff flashes very fast.

IMG-9769.webp


These two products are very nice to use, the Lite version smells delightful, while the Strong does have some potency to it. My favorite products in this space are Gyeon Prep and Carpro Eraser. The Rupes duo seem more potent than those, even the Lite version. The faster flash time of Strong could be a time saver for the pros.

With the two wheels clean, polished and prepped, it was time to apply the coating.

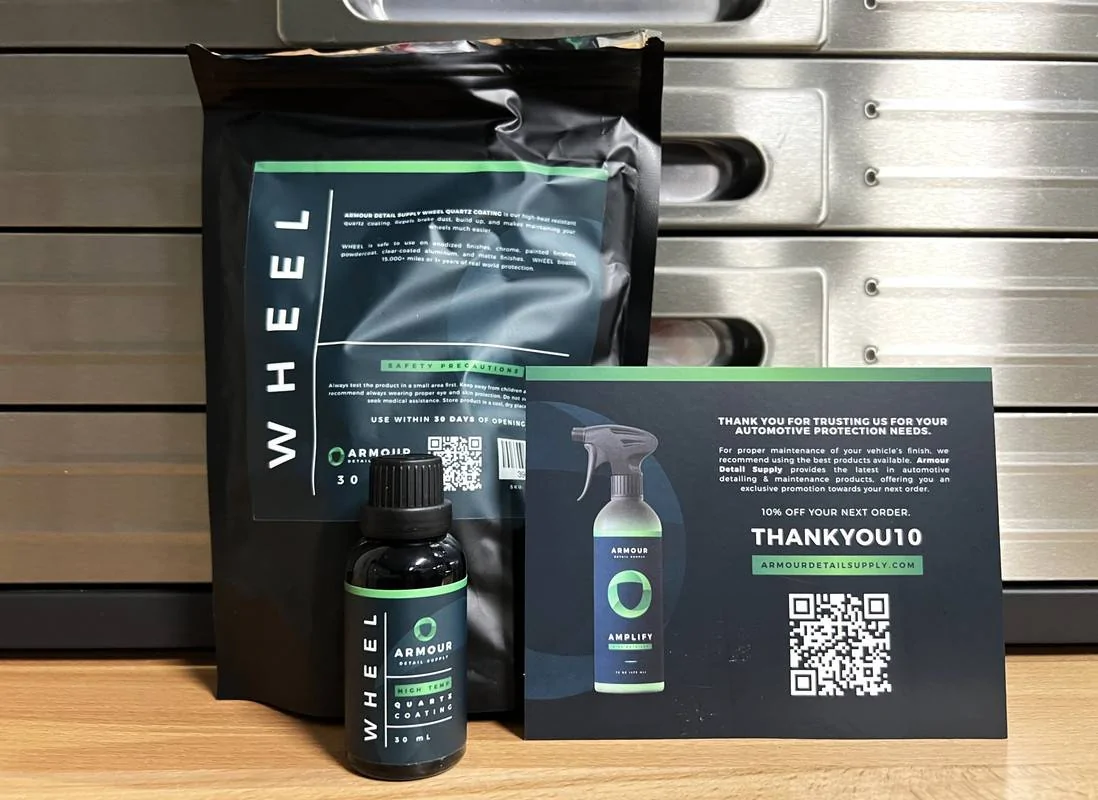
Armour Wheel Coating – Armour Detail Supply

IMG-9317.webp


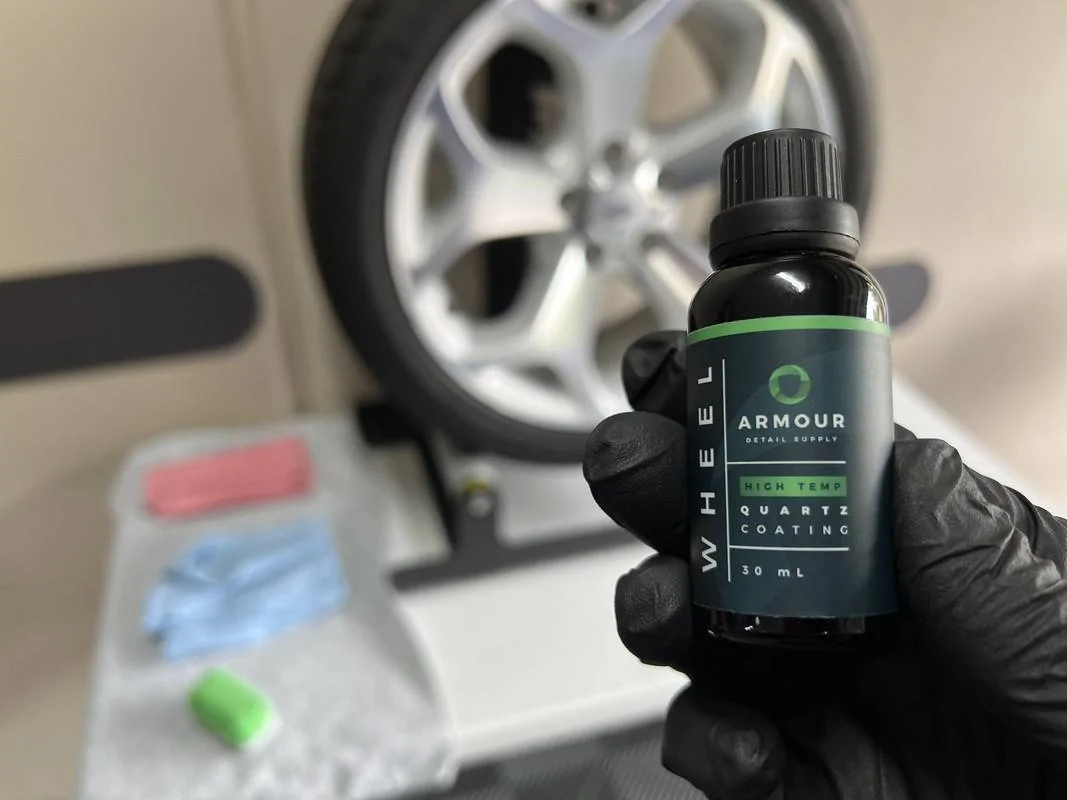
I had to order this from the USA, a product I discovered when Obsessed Garage added it to their store as the dedicated wheel coating. Armour Detail Supply Wheel Coating offers superior water beading and slickness, something that is often missing from other high-temp wheel coatings. It's also a single layer coating, which suits me just fine!

IMG-9774.webp


Due to the very high solids content, this coating is very grabby on the initial leveling wipe but smooths out to a slick finish with the secondary wipe.

With the two wheels coated, I directed some attention to the wheel arches. Not that they were too bad, but while the wheels were removed, I decided to make the most of it.

IMG-9777.jpg


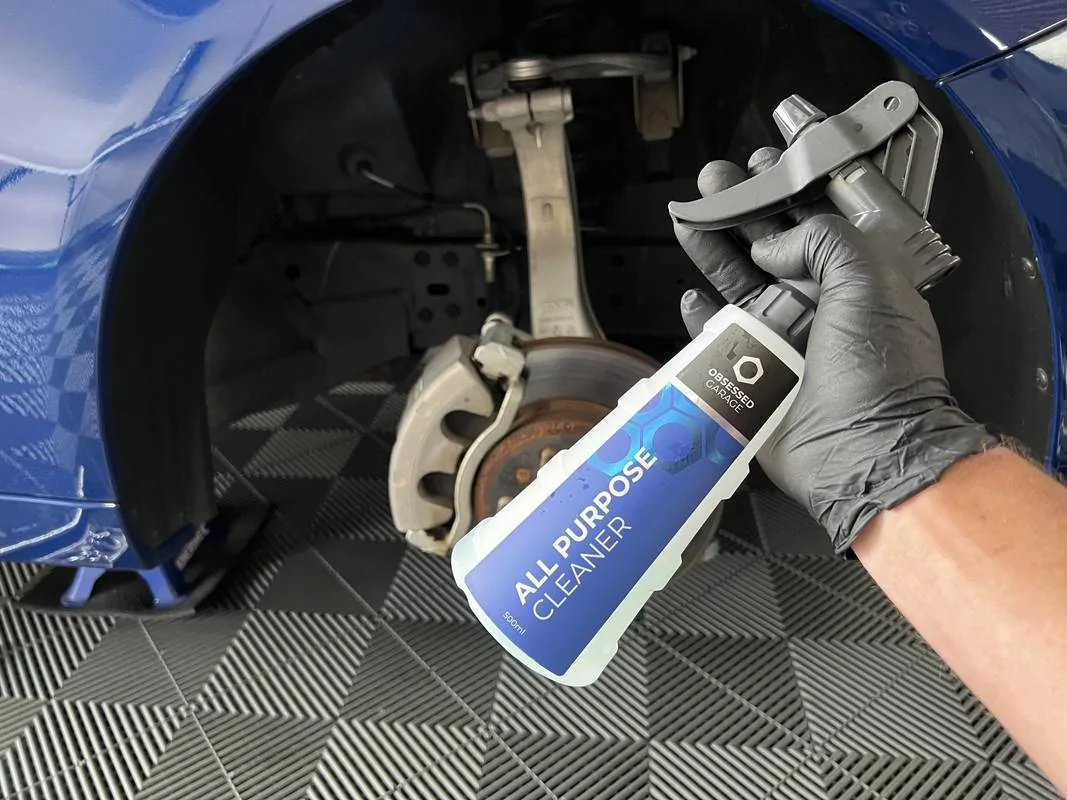
In this case, I applied some APC, blasted with the Tornador, then doused down with ONR and dried with a towel. I've used this sort of method on engine bays before and it worked just fine here too.

IMG-9781.webp


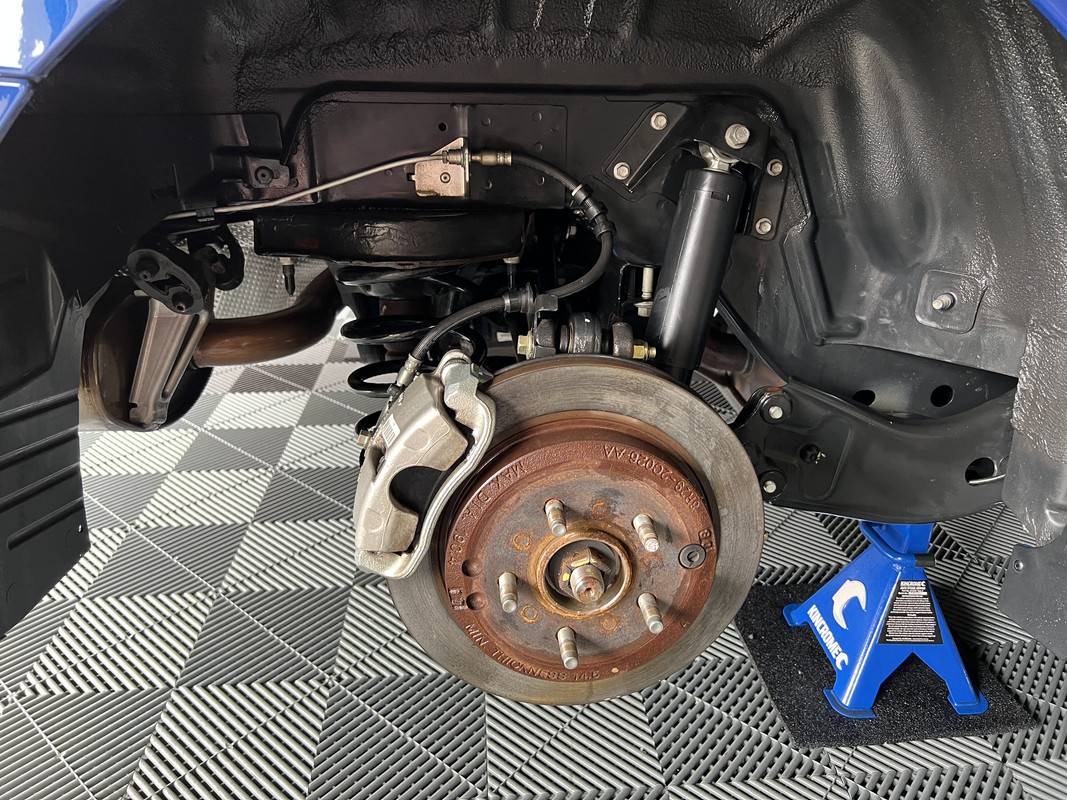
I also gave the calipers a quick once over with some metal polish. I didn't bother coating them, they are not painted and these brakes are not all that dusty. Original OE rotors and pads by the way. I note I need to replace the bump stops on the rear suspension though.

IMG-9783.jpg


IMG-9792.jpg


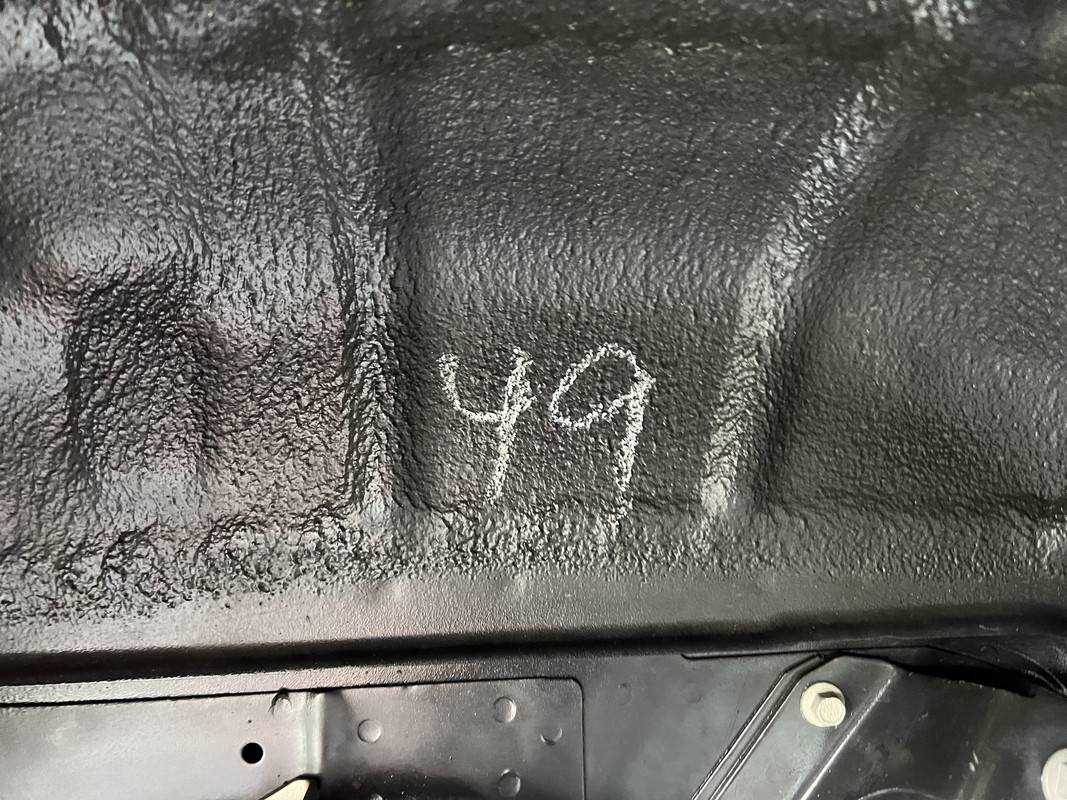
No idea what "49" means, just another little artifact of the cars birth.

IMG-9791.jpg


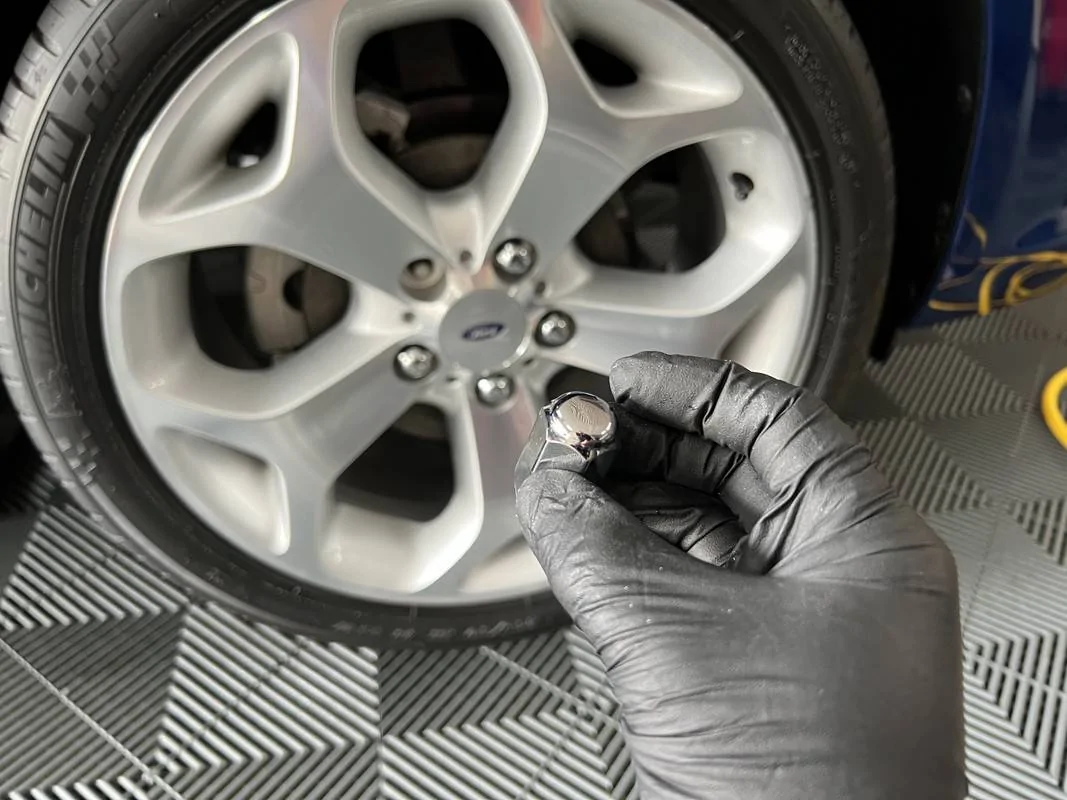
In preparation for this project, I ordered a set of NOS lug nuts. I actually tried to get these from Ford Spares, but they are now obsolete and could only supply me a grand total of 6. I even had to explain what "lug nuts" were to the parts guy. :facepalm:

I also took the opportunity to replace the factory supplied locking lug nuts for regular ones, I've always been nervous about those things.

IMG-9784.webp


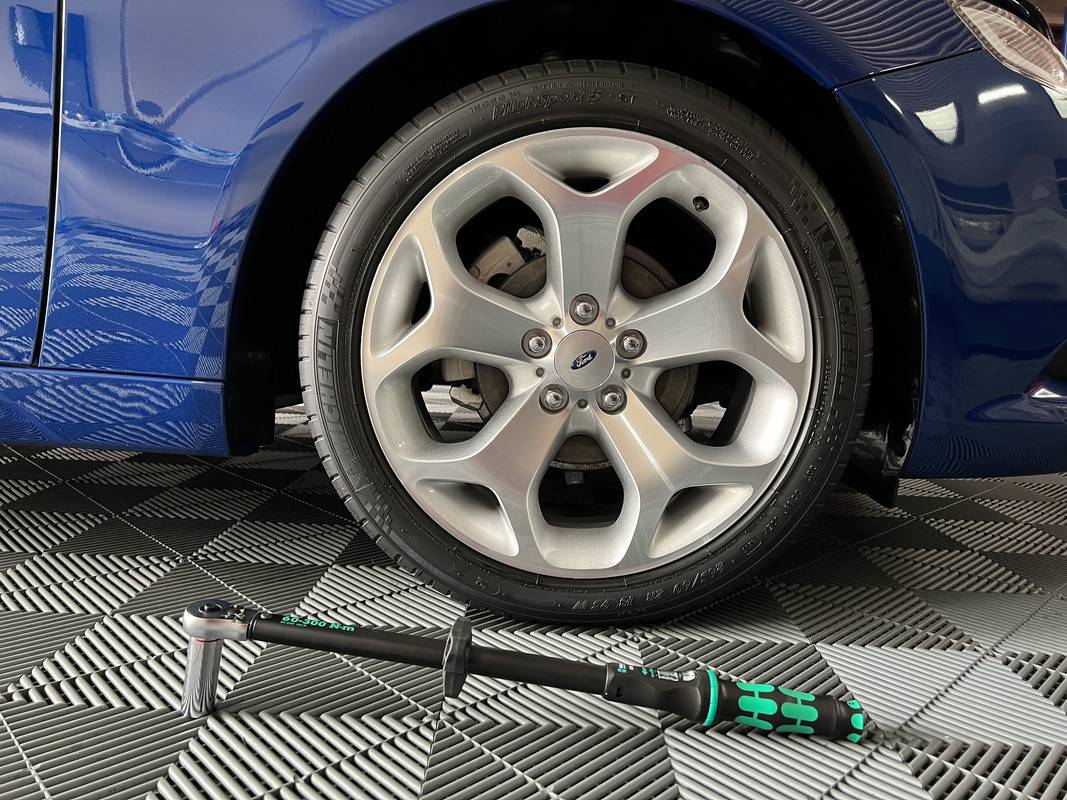
With the wheels back on and the car lowered back down, the lugs were then torqued to 130 Nm. Factory spec is pretty vague, listing 115 to 155 Nm in the owner's manual...............yes, I read the owner's manual. :like:

IMG-9800.jpg


Now to repeat all of that again tomorrow on the left side set. I wish I had a lift!

These are still one of my favorite Falcon wheels of all time, they really suited the FG styling theme and tied into the wider Ford lineup at the time. I wish they had explored the design a little more and made a 19" version for other models in the lineup.

I remember when the FG was unveiled with carry over wheels on the FPV models and the plain looking 19" XR option being very disappointing. As such, the 18" "Snowflake" or Y-Spoke wheels were the ones to have, standard on XR6 Turbo and XR8 sedans, optional on XR6 sedan and all XR Utes.

I actually ordered my XR6 with the ugly standard 17-inch wheels, but an hour later I called the salesman to add the 18-inch wheels for an additional $1000 to my order. My only stuff up was not paying the nominal $250 for the matching spare wheel, so an ugly space saver resides in my boot, never used by the way. Keep in mind I was 21 years old at the time, you really don't have much rational thinking at that age.
 
OP
OP
DFB5.0

DFB5.0

Well-Known Member
Joined
Mar 15, 2017
Threads
93
Messages
5,468
Reaction score
15,737
Location
Australia
Vehicle(s)
Mustang GT Fastback
Mini Holiday Project 2 - XR6 Wheel Renovation & Coating (PART TWO)

With a process in place from yesterday, today's progress was smoother.

IMG-9801.jpg


(Pre-cleaning)

IMG-9804.jpg


You know, at the time (and now I guess) the media and general public panned the FG Falcon for being a carry-over platform or "top hat" exercise compared to the VE Commodore. The thing is, the Commodore needed to be all new, the previous model loosely based on something that came out in the late 1970's, so they had a lot of ground to make up.

The BA Falcon was in some ways that moment for Ford, the difference being that those major upgrades were out of sync with the life cycle of the Falcon at the time. What I mean by that is going by the typical 8 - 10 year model cycles of previous models, the BA didn't get an all-new body to go with the major mechanical updates. That was obviously addressed with the FG a few years down the track. The thing is, because AU was such a disaster, Ford had to make an impact with the BA Falcon, but because the body shell needed to make another 6 years, they went for mechanical improvements instead. That sort of took some of the gloss out of the FG when it arrived in 2008 compared to the truly all-new VE Commodore.

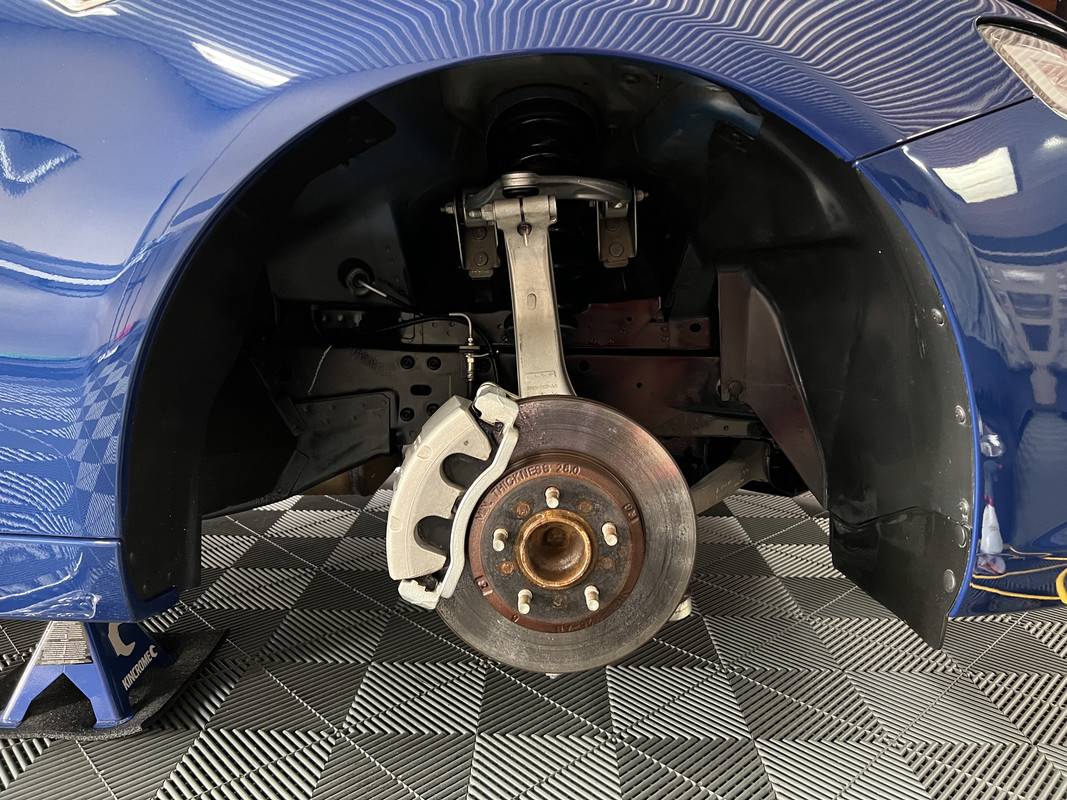
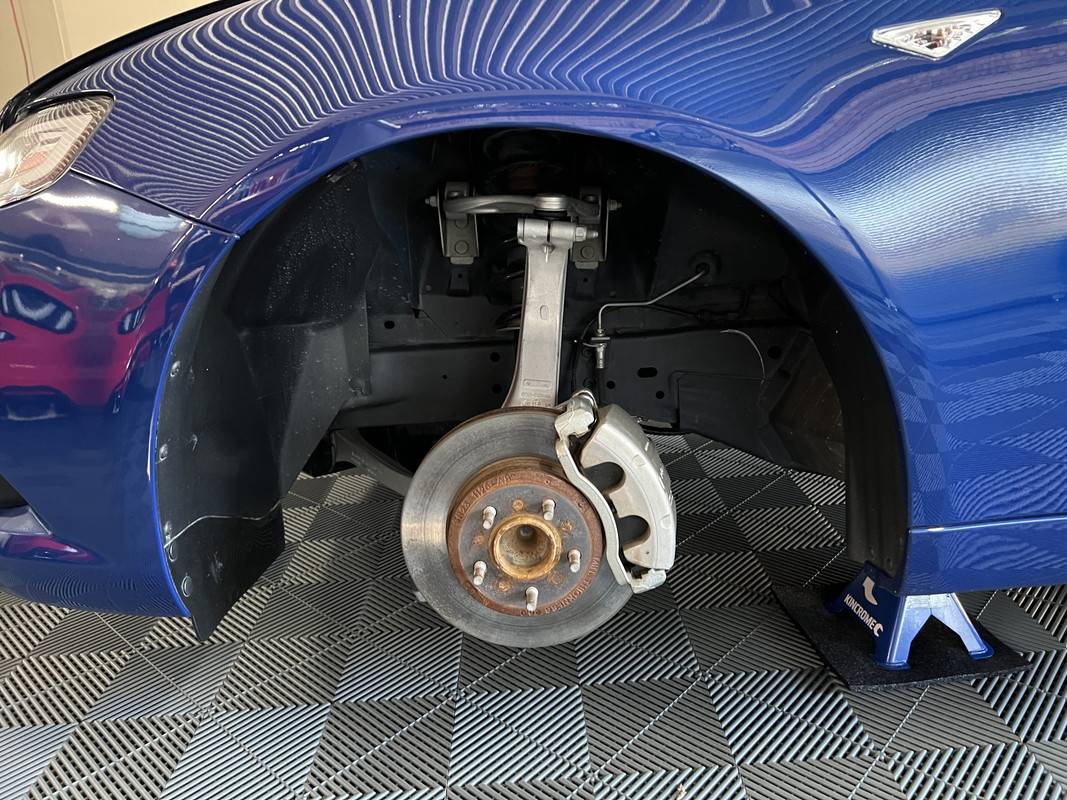
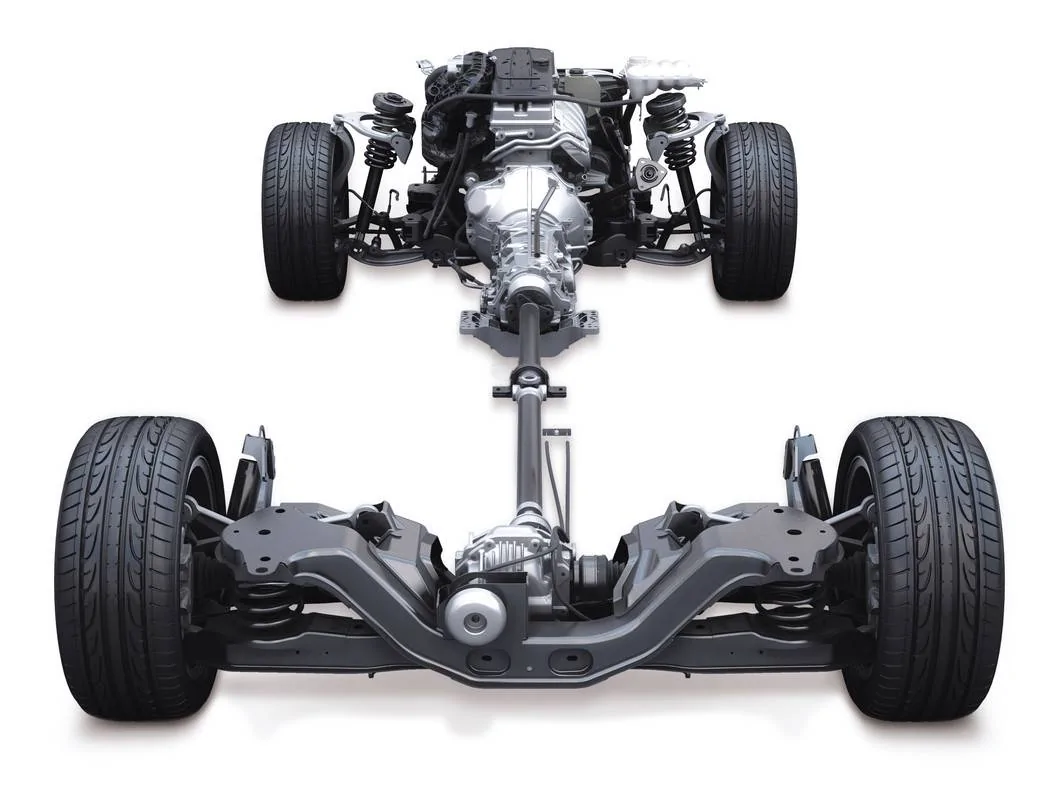
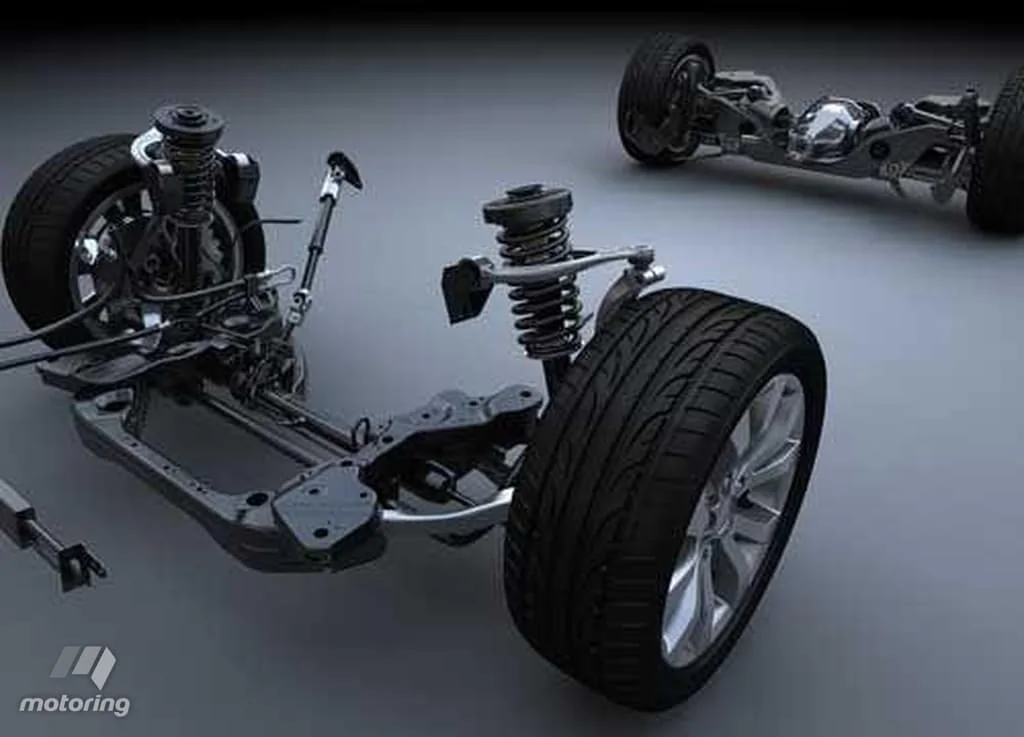
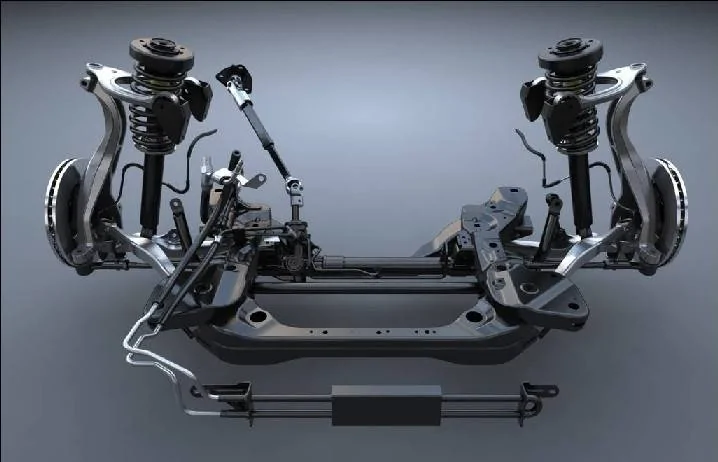
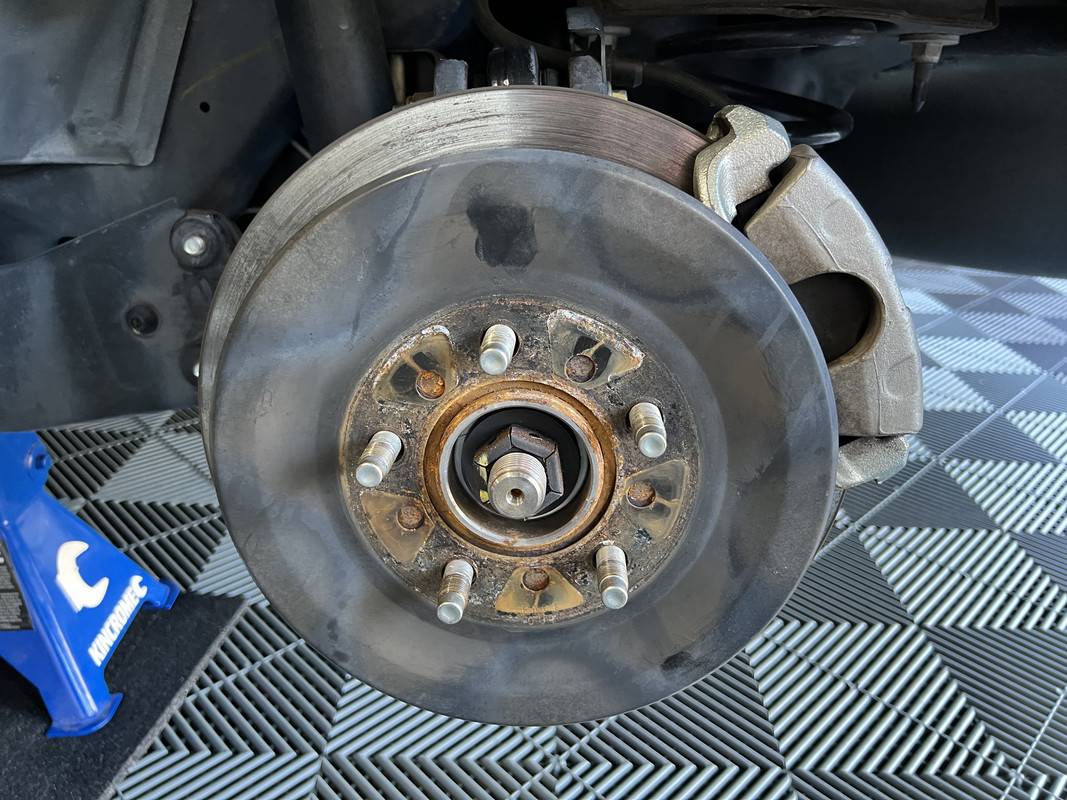
I mention all that because the FG Falcon did in fact offer some significant upgrades save for the new sheet metal wrapping around the familiar mechanical package. The most obvious being the front suspension and steering. Where AU, BA and BF's had a similar double-wishbone layout, it was all cast iron. As seen above, the spindle, upper A-arm and split lower A-arm were all made of aluminum on FG. I remember it being one of the first things I noticed when I got the car.

Anyway, history lesson over.

IMG-9803.jpg


And thankfully, it wasn't raining for today's efforts, although it was very windy. With cleaning and decontamination moved out into the driveway, I followed the same process as yesterday. Having done similar jobs like this before, having the right chemicals on hand makes it a walk in the park.

Once again, those bloody PS3's wouldn't let go of the dressing. Even with a sledgehammer in the form of ReTyre, I still had to break out the Tarminator. You can see the dressing residue still clinging to the sidewall prior to cleaning below...........

IMG-9814.jpg


One stripped tire and one ruined towel..............

IMG-9817.jpg


Polished and coated. I had to break out the CutMax on these two, for some reason these had some deeper scratches that wouldn't clear up with Perfect Finish.

IMG-9820.jpg


After cleaning the wheel arches, suspension parts and polishing the calipers, the wheels went back on and the car lowered back to ground. On the last wheel and last lug nut, I had to re-use one of the old lugs because the new one had some galled-up threads. :facepalm: I picked from the best of the old ones, gave it a polish and no would pick the difference..............except me.

IMG-9825.jpg


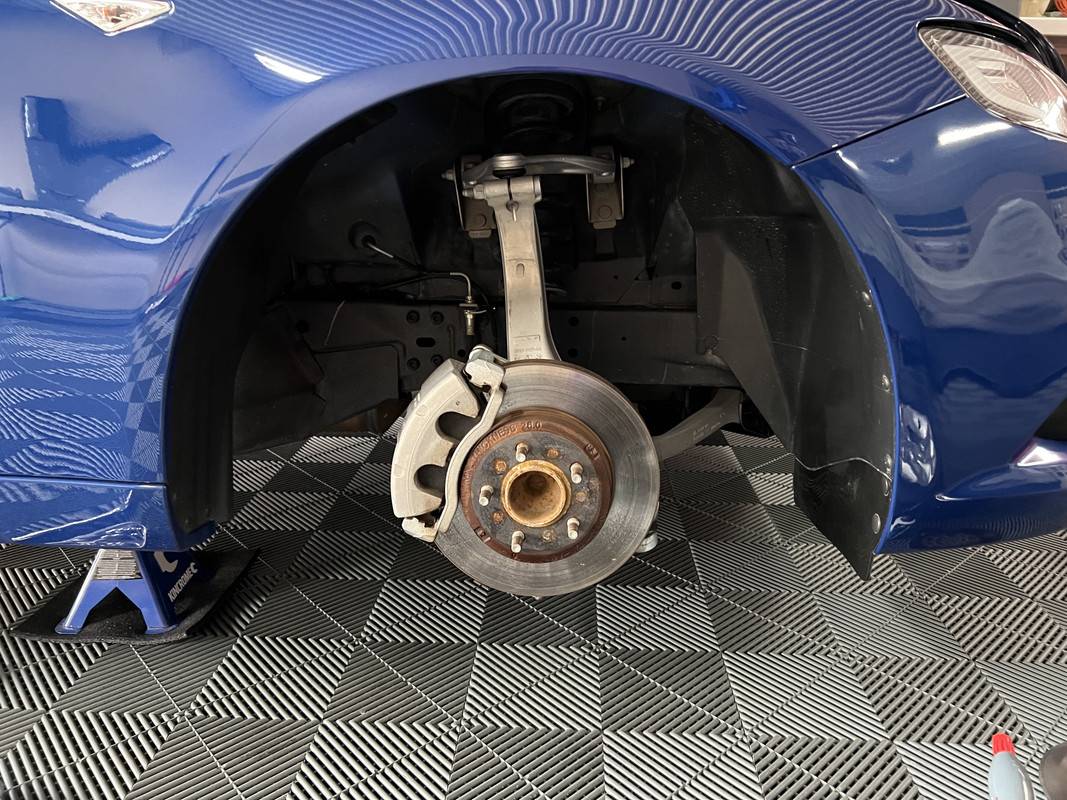
With the wheels now clean, polished and coated and back on the car, there is a problem. Well, I knew this was going to be a problem as soon as I took the first wheel off yesterday......................

IMG-9805.jpg


IMG-9807.jpg


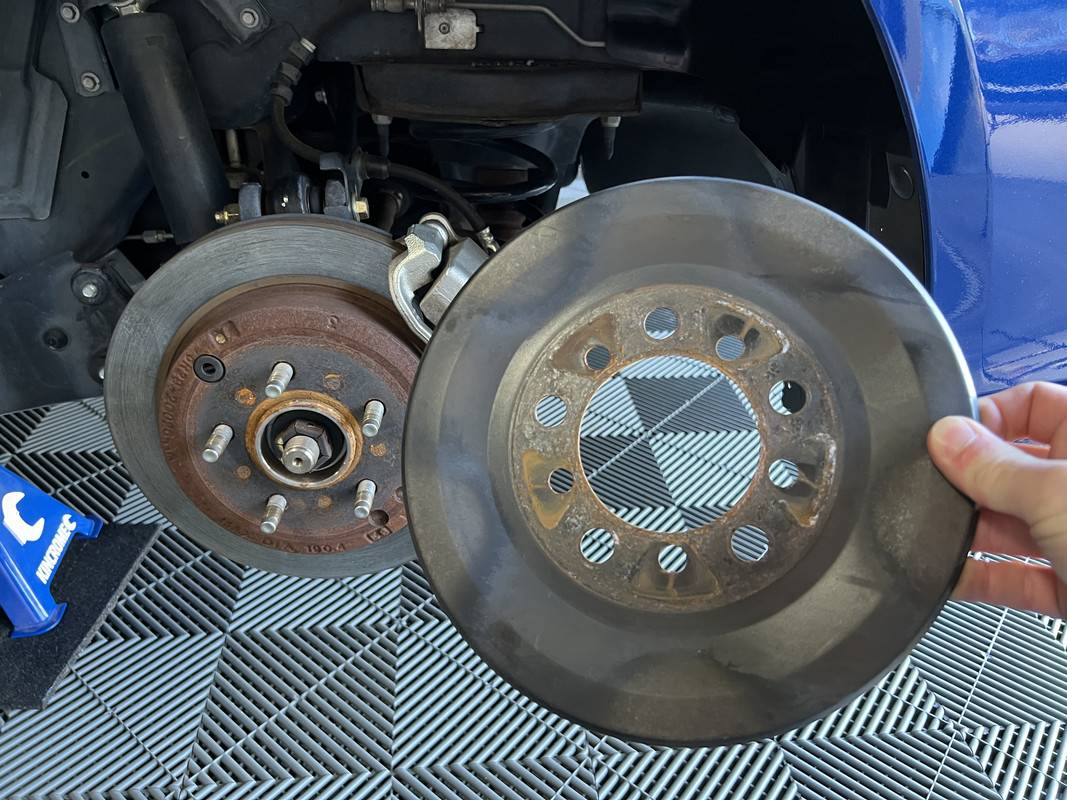
Those dust shields should be matte black in colour. They are 15 years old and I guess frequent washing didn't help the situation. :wink: Fitted to the car with the wheels on, the degradation is less obvious but..................well, you should know by now that would bother me.

The simple solution would be to sand, prime and repaint them. The cold and windy weather didn't inspire me to do that. So, the even simpler solution was to replace them. A quick call to the Ford dealer and I have four new ones arriving tomorrow. Which means taking the wheels off again. :facepalm: Ah well, at least I get to use my torque wrench again! :like:

These dust shields are largely useless on FG Falcon's with the entry level PBR brakes. Anyone who had an early BA Falcon would disagree with that, those were very dusty in comparison. Many would simply remove the dust shields, but I like how they cover up the rusty rotor hats.

So that's the next job, replacing the dust shields. I will then re-dress the tires. I think I might even have a go at replacing the rubber bump stops on the rear suspension, which seems like an easy job for a mechanical noob like me.

Oh, and I still need a lift. :giggle:
 

Bulutt

Well-Known Member
Joined
Sep 6, 2019
Threads
33
Messages
1,286
Reaction score
1,973
Location
Australia
Vehicle(s)
2019 Bullitt
Mini Holiday Project 2 - XR6 Wheel Renovation & Coating (PART TWO)

With a process in place from yesterday, today's progress was smoother.

IMG-9801.jpg


(Pre-cleaning)

IMG-9804.jpg


You know, at the time (and now I guess) the media and general public panned the FG Falcon for being a carry-over platform or "top hat" exercise compared to the VE Commodore. The thing is, the Commodore needed to be all new, the previous model loosely based on something that came out in the late 1970's, so they had a lot of ground to make up.

The BA Falcon was in some ways that moment for Ford, the difference being that those major upgrades were out of sync with the life cycle of the Falcon at the time. What I mean by that is going by the typical 8 - 10 year model cycles of previous models, the BA didn't get an all-new body to go with the major mechanical updates. That was obviously addressed with the FG a few years down the track. The thing is, because AU was such a disaster, Ford had to make an impact with the BA Falcon, but because the body shell needed to make another 6 years, they went for mechanical improvements instead. That sort of took some of the gloss out of the FG when it arrived in 2008 compared to the truly all-new VE Commodore.

I mention all that because the FG Falcon did in fact offer some significant upgrades save for the new sheet metal wrapping around the familiar mechanical package. The most obvious being the front suspension and steering. Where AU, BA and BF's had a similar double-wishbone layout, it was all cast iron. As seen above, the spindle, upper A-arm and split lower A-arm were all made of aluminum on FG. I remember it being one of the first things I noticed when I got the car.

Anyway, history lesson over.

IMG-9803.jpg


And thankfully, it wasn't raining for today's efforts, although it was very windy. With cleaning and decontamination moved out into the driveway, I followed the same process as yesterday. Having done similar jobs like this before, having the right chemicals on hand makes it a walk in the park.

Once again, those bloody PS3's wouldn't let go of the dressing. Even with a sledgehammer in the form of ReTyre, I still had to break out the Tarminator. You can see the dressing residue still clinging to the sidewall prior to cleaning below...........

IMG-9814.jpg


One stripped tire and one ruined towel..............

IMG-9817.jpg


Polished and coated. I had to break out the CutMax on these two, for some reason these had some deeper scratches that wouldn't clear up with Perfect Finish.

IMG-9820.jpg


After cleaning the wheel arches, suspension parts and polishing the calipers, the wheels went back on and the car lowered back to ground. On the last wheel and last lug nut, I had to re-use one of the old lugs because the new one had some galled-up threads. :facepalm: I picked from the best of the old ones, gave it a polish and no would pick the difference..............except me.

IMG-9825.jpg


With the wheels now clean, polished and coated and back on the car, there is a problem. Well, I knew this was going to be a problem as soon as I took the first wheel off yesterday......................

IMG-9805.jpg


IMG-9807.jpg


Those dust shields should be matte black in colour. They are 15 years old and I guess frequent washing didn't help the situation. :wink: Fitted to the car with the wheels on, the degradation is less obvious but..................well, you should know by now that would bother me.

The simple solution would be to sand, prime and repaint them. The cold and windy weather didn't inspire me to do that. So, the even simpler solution was to replace them. A quick call to the Ford dealer and I have four new ones arriving tomorrow. Which means taking the wheels off again. :facepalm: Ah well, at least I get to use my torque wrench again! :like:

These dust shields are largely useless on FG Falcon's with the entry level PBR brakes. Anyone who had an early BA Falcon would disagree with that, those were very dusty in comparison. Many would simply remove the dust shields, but I like how they cover up the rusty rotor hats.

So that's the next job, replacing the dust shields. I will then re-dress the tires. I think I might even have a go at replacing the rubber bump stops on the rear suspension, which seems like an easy job for a mechanical noob like me.

Oh, and I still need a lift. :giggle:
Just a stupid question but knowing how fastidious you are, why didn’t you paint your rusty brakes ?
 
OP
OP
DFB5.0

DFB5.0

Well-Known Member
Joined
Mar 15, 2017
Threads
93
Messages
5,468
Reaction score
15,737
Location
Australia
Vehicle(s)
Mustang GT Fastback
Just a stupid question but knowing how fastidious you are, why didn’t you paint your rusty brakes ?
Just not something I was prepared to do at this time. In any case, the dust shield covers it up and therefore not visible.
 

GT 550

Well-Known Member
Joined
Sep 4, 2017
Threads
31
Messages
2,238
Reaction score
1,994
Location
Australia
Vehicle(s)
Black GT MT S550
Where AU, BA and BF's had a similar double-wishbone layout, it was all cast iron. As seen above, the spindle, upper A-arm and split lower A-arm were all made of aluminum on FG.
I saw that in a previous post and thought my eyes were deceiving me. Cool...
 

Sponsored
OP
OP
DFB5.0

DFB5.0

Well-Known Member
Joined
Mar 15, 2017
Threads
93
Messages
5,468
Reaction score
15,737
Location
Australia
Vehicle(s)
Mustang GT Fastback
Friday Tinkering..................

While I wait for the replacement dust shields, which were supposed to turn up this morning, I pressed on tying up a few loose ends.

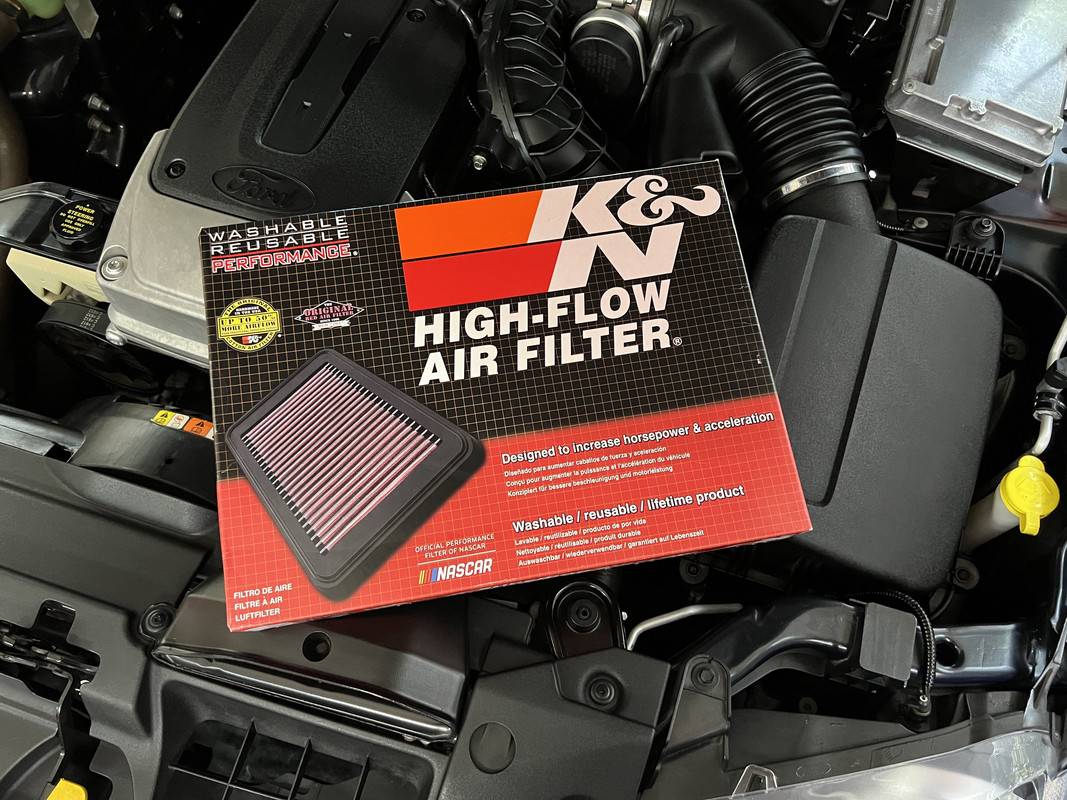
First, I decided to swap out the K&N air filter for a new one. I've had one in this car from very early on, having a second one allows me to swap it for a clean and dry filter straight away rather than having to wait for it to dry before re-oiling. An extravagance I suppose, one that somewhat negates the point of having a re-usable filter and supports the idea of just using throw-away OEM filters. But then I wouldn't benefit from the extra 40hp the K&N brings to the table.................... :giggle:

IMG-9832.jpg


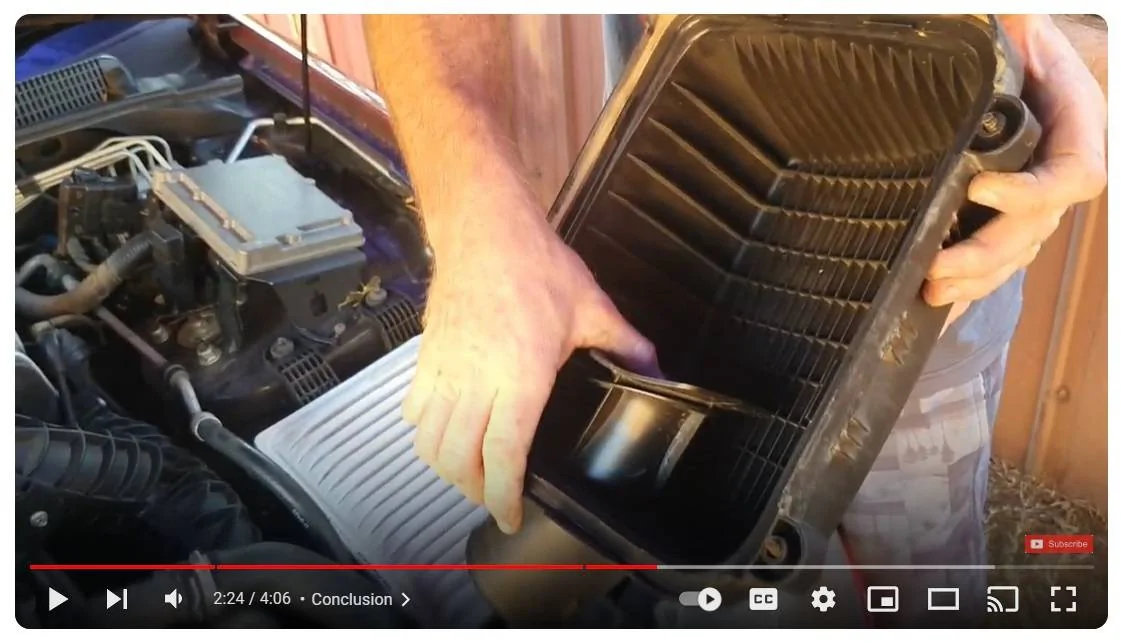
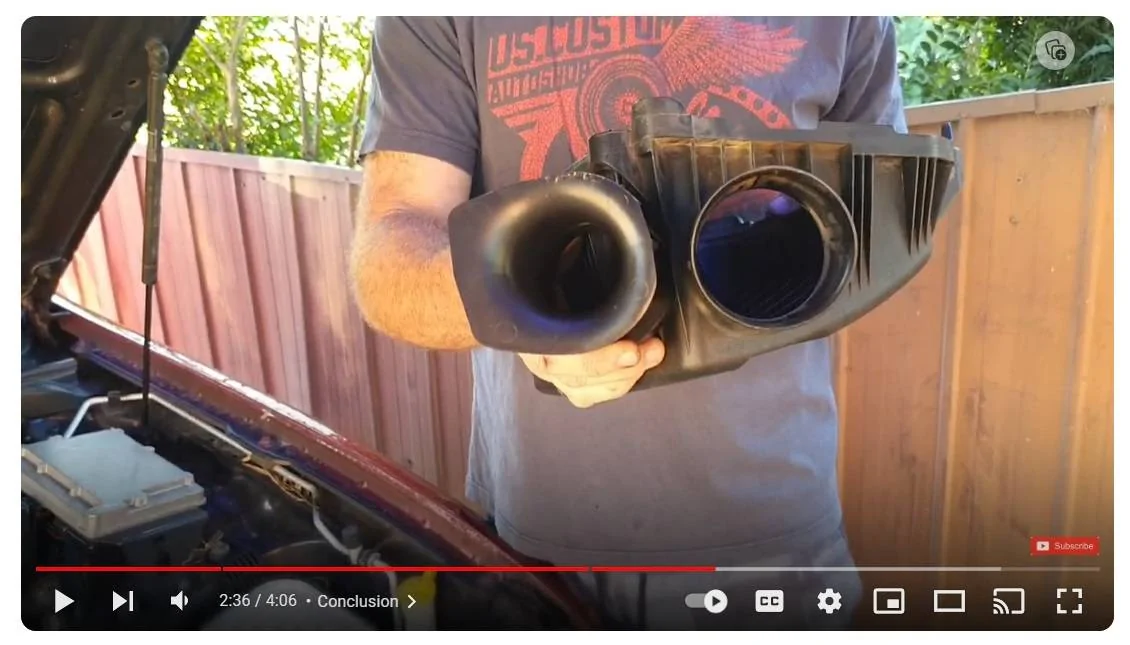
For the record, early on I tried removing the intake restrictor but immediately put it back in. At the time I remember searching for information on this apparent "free mod" only for me to discover what I felt was actually true.

That intake insert was intended to increase air velocity, in the process bolstering low-end torque and further tuning intake sound quality. So, while it has the potential to deliver more air to the engine and increase the volume of the induction note, the benefits are only felt at the top end of the rev range, while also delivering less favorable resonance. If you were racing the car, fine, take it out. But driving the car as it was intended, with the occasion run to the red line, leave it in.

This is a more technical description of what's happening I found on another forum -

"......more velocity = better atomization = better mixture distribution in the combustion chamber = better combustion = better volumetric efficiency......"

Strangely, there doesn't seem to be much imagery online about this part of the car. I lifted these shots from the video I'll post below -

Intake-Restrictor2.webp

Intake-Restrictor.webp


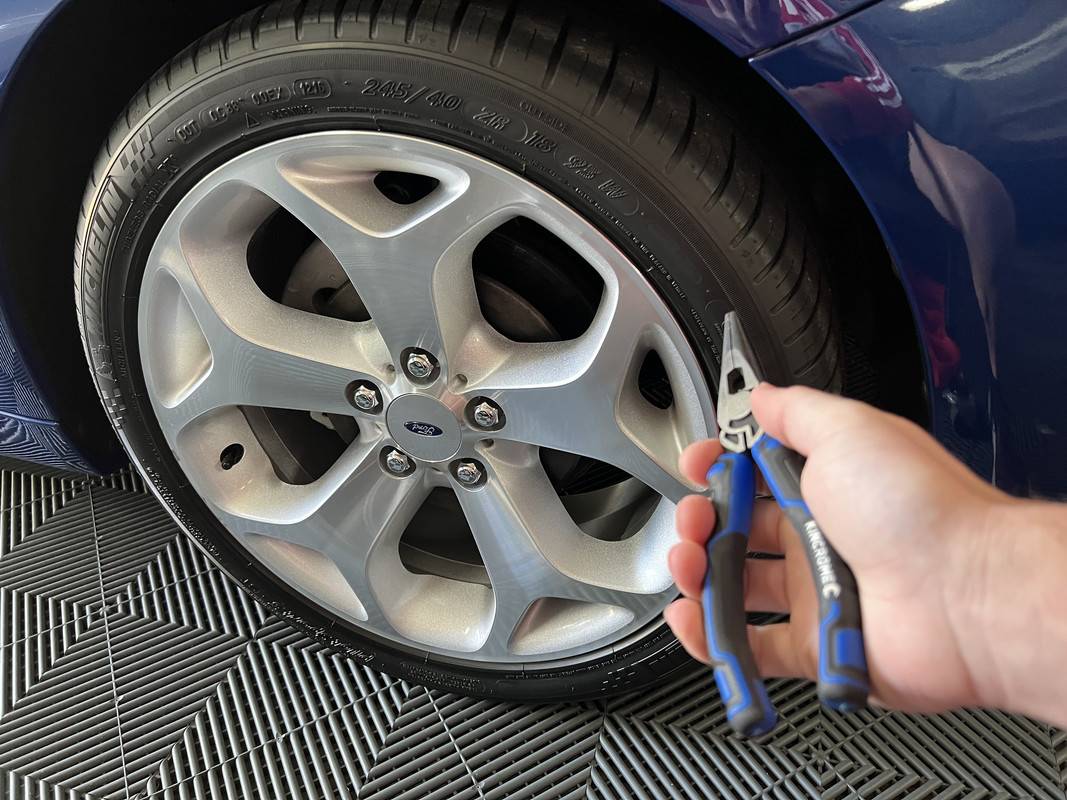
Next, onto something only the truly deranged would do............de-nibbing the tires on the XR6.

IMG-9835.jpg


A completely absurd exercise and one I even question the point of, but for some reason, tyres look better with them removed.

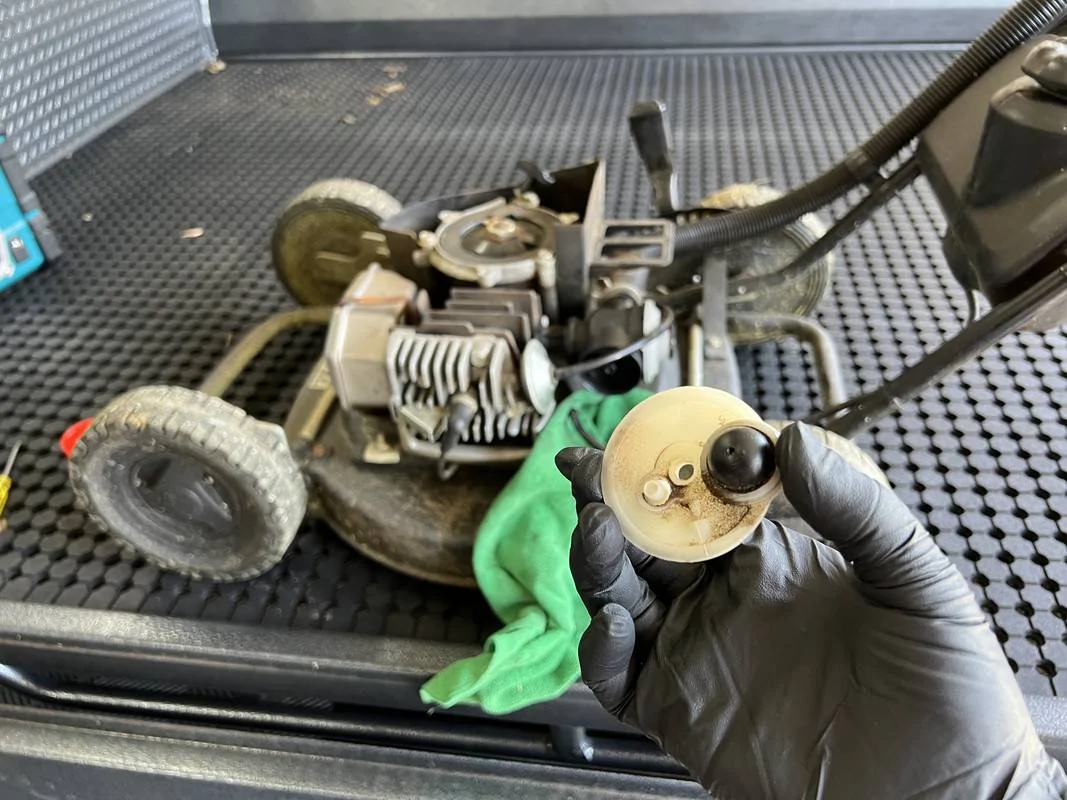
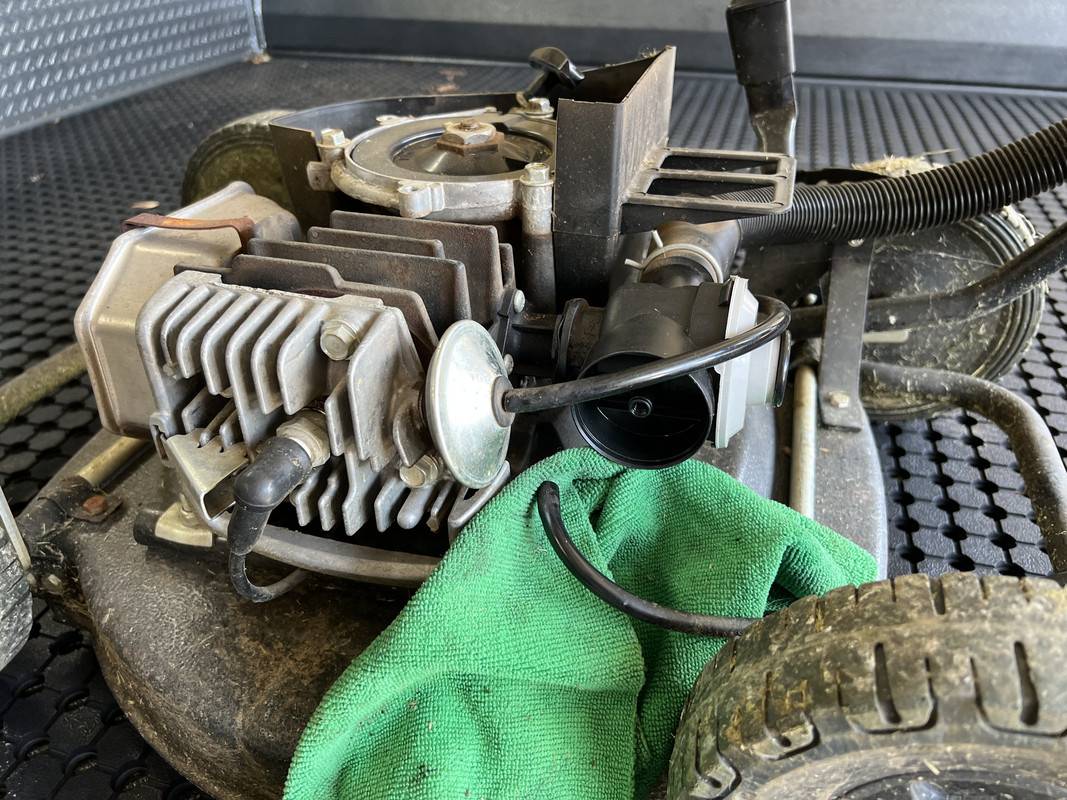
After adding some additional rubber lining to one of my cabinets, I decided to tackle the deteriorated primer bulb on my Victa MasterCut.

IMG-9839.webp


IMG-9841.jpg


While this wasn't leaking, the rubber bulb had started to perish. The bulb is not replaceable on its own, so the whole cap must be swapped for a new one. Because I had two in stock, I thought this would be an easy fix.................

But no, after replacing the primer cap with a new rubber o-ring, I turned the fuel tap back on and ended up with fuel pouring out of the primer bulb. I removed and re-seated the cap to the same result. I then removed it again and replaced the float needle and put it back together again. Same thing happened. I then pulled it back apart and discovered the OEM float was not pivoting freely on this aftermarket primer cap. So, after cleaning the original cap and re-installed with the new o-ring, the problem stopped.

Clearly the aftermarket primer cap doesn't play well with the OE float. I'll order a couple of aftermarket floats and an updated primer cap that comes with a metal, rubber tipped needle which is supposed to prevent chamber flooding.

Victa Primer Cap and Metal Needle Suits 2-Stroke Victa G4 and LM Carburetor | eBay

So, that was a wasted 30 minutes, only to have to do it all again when the parts arrive. :facepalm: I'll just write it off as a learning experience.
 

Bulutt

Well-Known Member
Joined
Sep 6, 2019
Threads
33
Messages
1,286
Reaction score
1,973
Location
Australia
Vehicle(s)
2019 Bullitt
CanCoat?
IMG_3525.jpeg
………..Sure can.

IMG_3526.jpeg
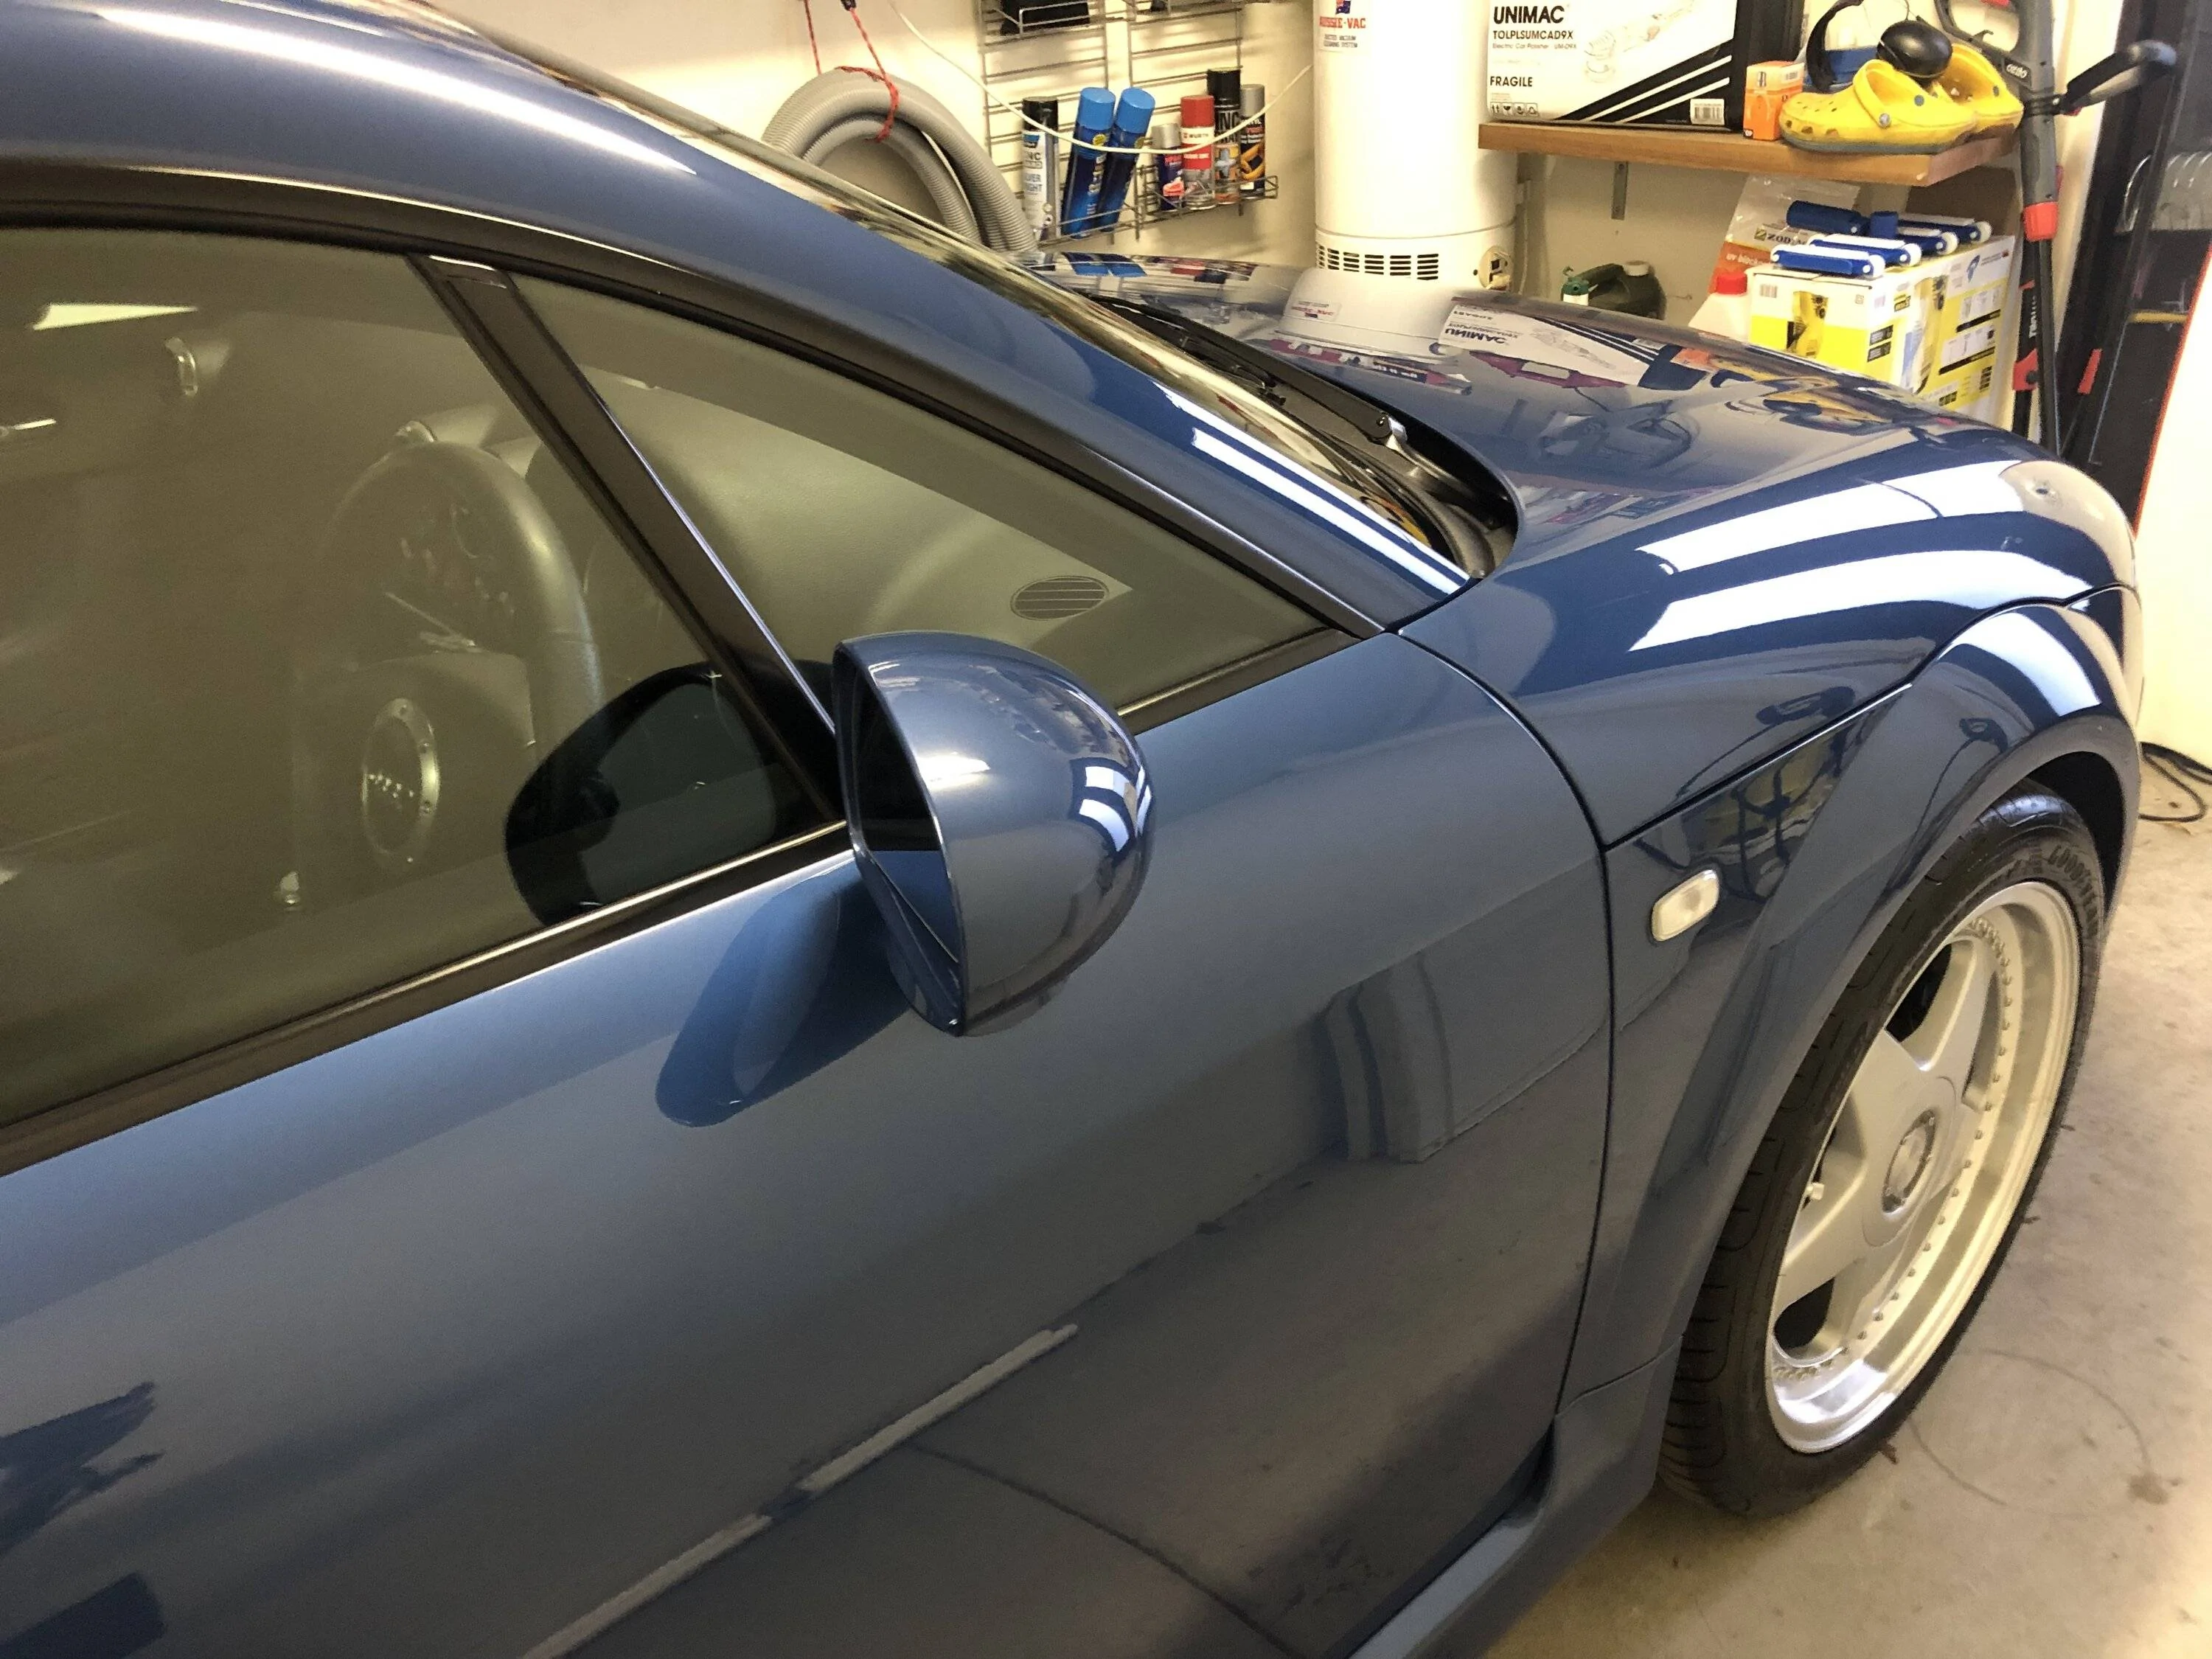
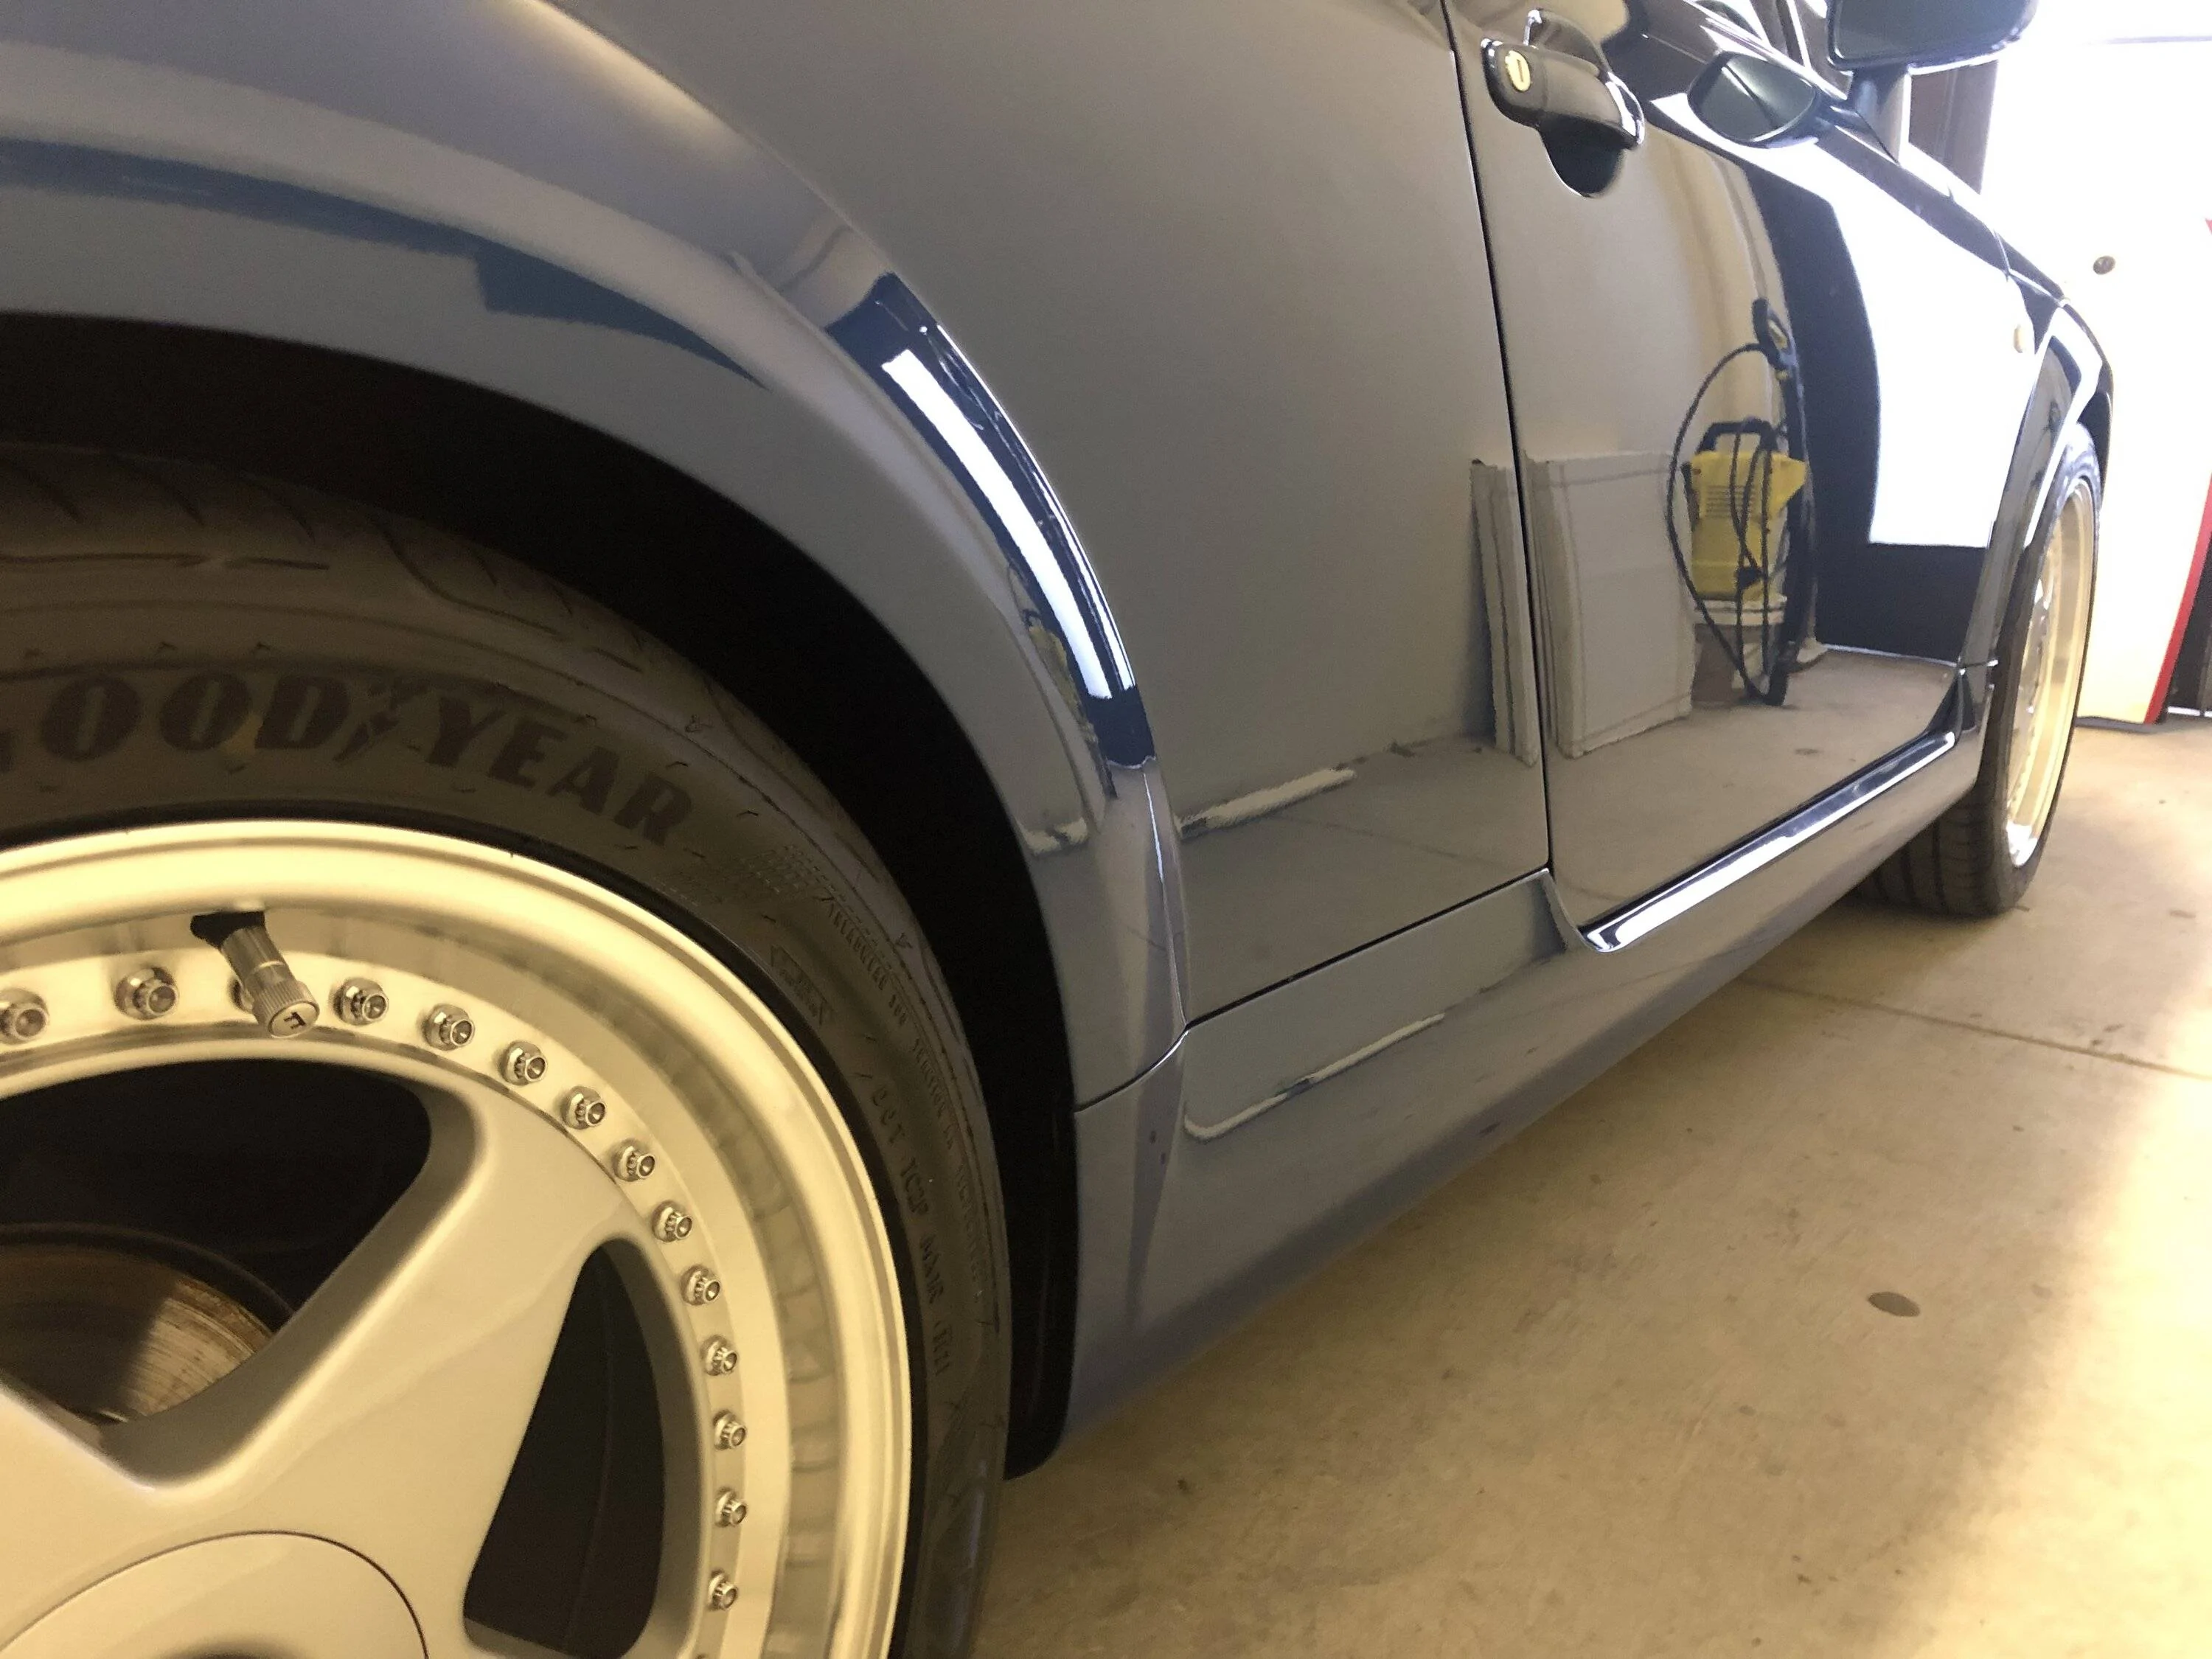
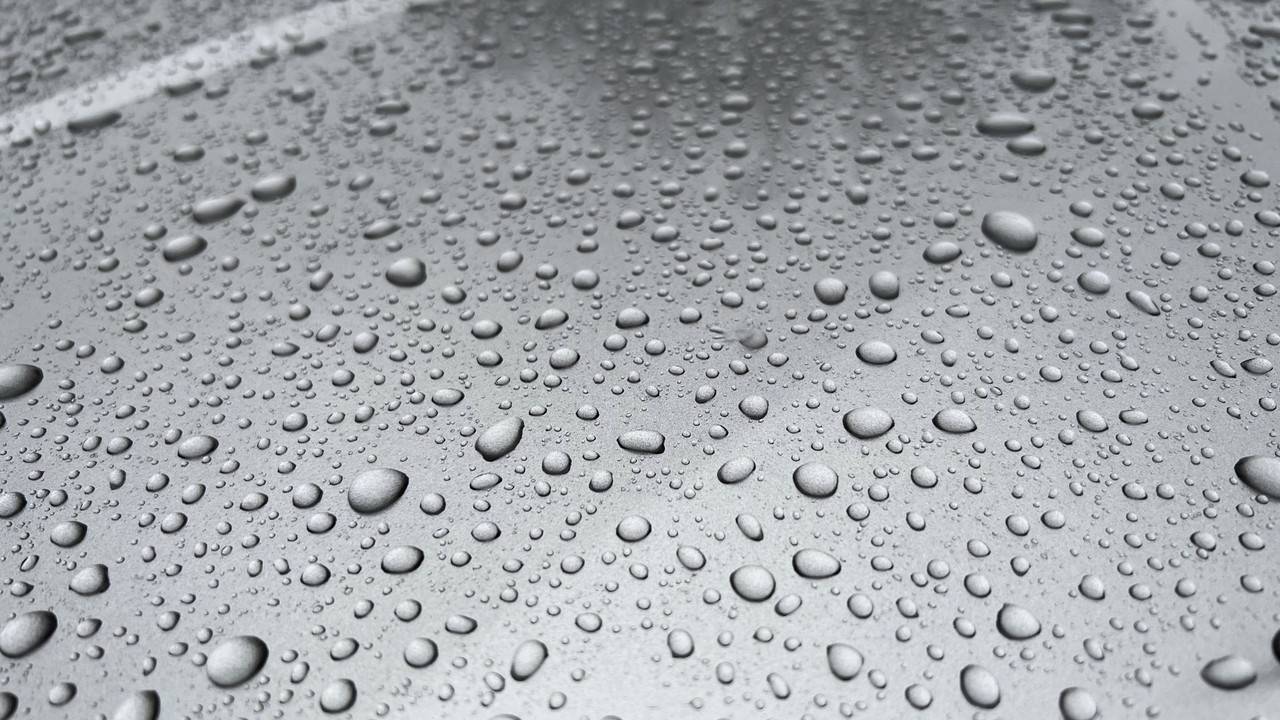
Just a quick follow up. As anyone living in Melbourne will know it’s been a very wet few days here but sun is shining today. Damn the car is barely dirty! Very impressive But the fabled beading, while good, is not really any better than I normally have with other products.
 
OP
OP
DFB5.0

DFB5.0

Well-Known Member
Joined
Mar 15, 2017
Threads
93
Messages
5,468
Reaction score
15,737
Location
Australia
Vehicle(s)
Mustang GT Fastback
Just a quick follow up. As anyone living in Melbourne will know it’s been a very wet few days here but sun is shining today. Damn the car is barely dirty! Very impressive But the fabled beading, while good, is not really any better than I normally have with other products.
Can Coat is known to produce smaller beads. I tend to end up masking that quality with the use of drying aids and toppers.

IMG-8498.jpg
 

Bulutt

Well-Known Member
Joined
Sep 6, 2019
Threads
33
Messages
1,286
Reaction score
1,973
Location
Australia
Vehicle(s)
2019 Bullitt
Can Coat is known to produce smaller beads. I tend to end up masking that quality with the use of drying aids and toppers.

IMG-8498.jpg
Going to try and find time for a second coat this weekend but if not will just wash and hit it with Ech2O. I have found that spraying Wetcoat onto a clean wet car and wiping it over the panel before spraying off with high pressure produces those small tight beads.
Sponsored


Top